Best Homemade Chocolate Ice Cream
Updated Jul 12, 2025
This post may contain affiliate links. Please read our disclosure policy.
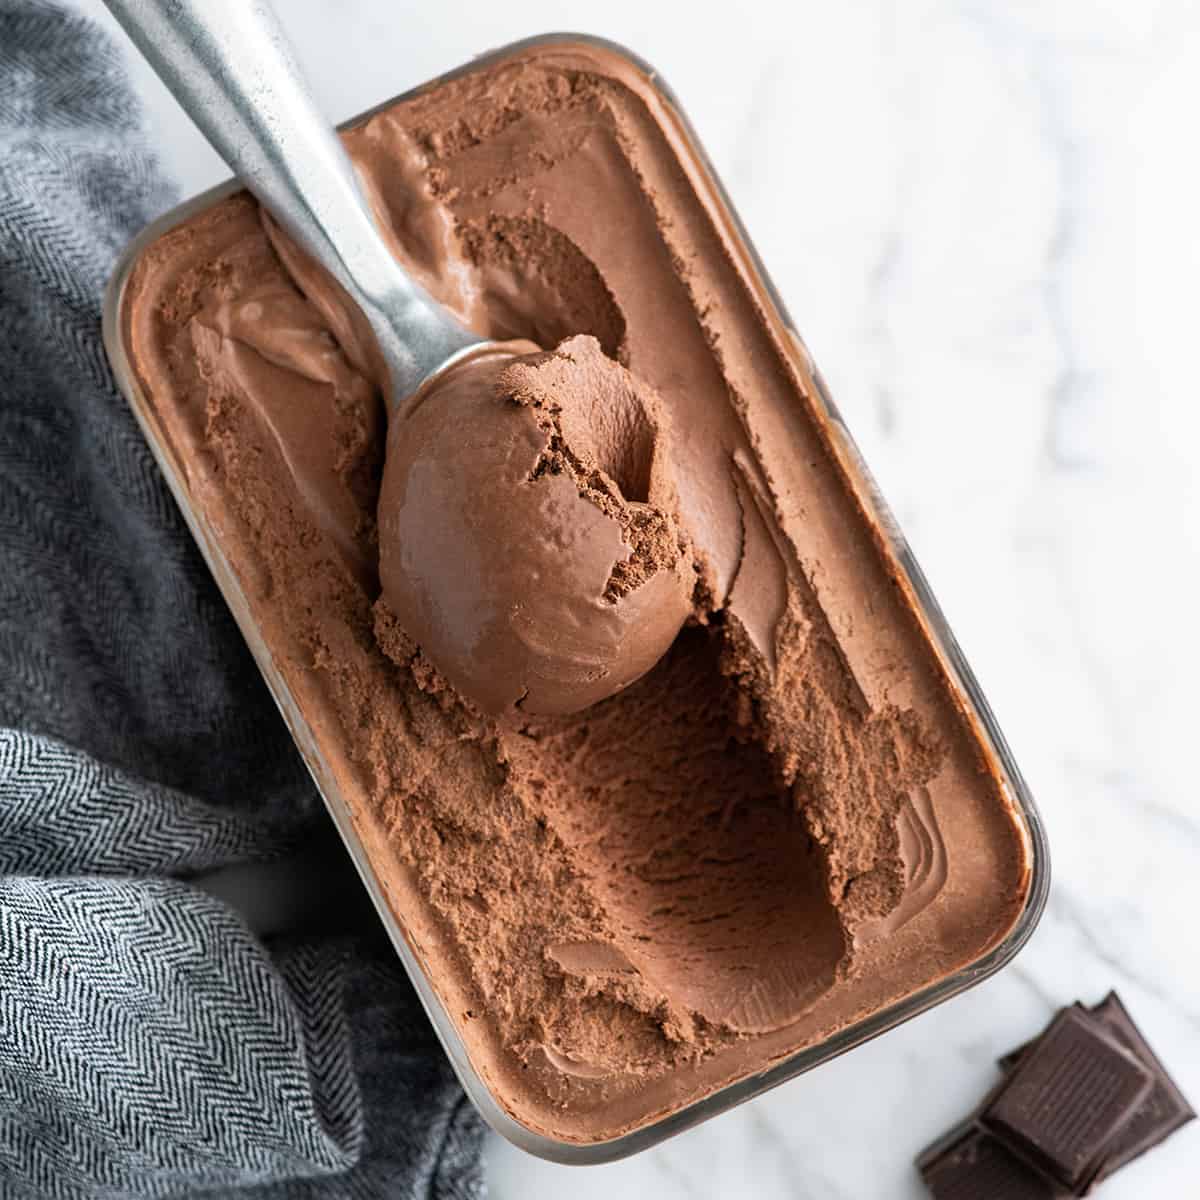
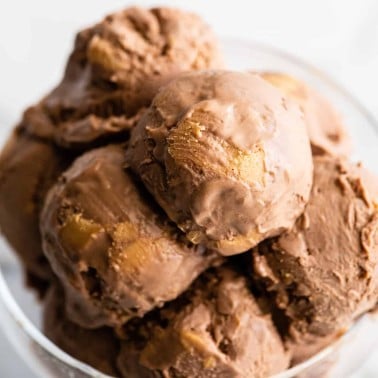
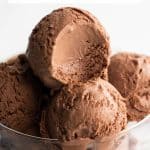
Rich, ultra-creamy, and chocolatey — this is the best homemade chocolate ice cream recipe ever! It’s easy to make with only 7 ingredients (including two forms of chocolate), has a rich chocolate flavor and is just as good as any ice cream shop!
, has a rich chocolate flavor, and is just as good as any ice cream shop!")
We love making ice cream! It’s a fun and delicious process — and nothing beats homemade! Which is why I am sharing my recipe for the best homemade chocolate ice cream ever!
This chocolate ice cream is irresistibly creamy and made with two forms of chocolate for a deep rich flavor. It’s not overly sweet, and is just as delicious (maybe even more-so) than your favorite ice cream shop! Serve it alongside a slice of favorite chocolate cake, a piece of this giant cookie cake or eat it all by itself!
, has a rich chocolate flavor, and is just as good as any ice cream shop!")
Chocolate Ice Cream: Ingredient & Substitutions
, has a rich chocolate flavor, and is just as good as any ice cream shop!")
- Heavy cream. There really isn’t an adequate substitution for heavy cream. It gives the ice cream it’s ultra-creamy texture.
- Cocoa powder. If you’re into very dark chocolate ice cream, try using dark cocoa powder.
- Semisweet chocolate. I use 60% dark chocolate chips to make this recipe. Use whatever percentage you prefer—just know that milk chocolate will result in a sweeter ice cream and the darker the chocolate the more intense the chocolate flavor will be.
- Whole milk. Half and half is an acceptable substitute for whole milk!
- Granulated sugar. There’s really no substitute here! I use organic cane sugar or regular white sugar.
- Egg yolks. Another critical ingredient that contributes to the creaminess, don’t leave them out!
- Vanilla extract. Vanilla beans (seeded) or vanilla bean paste can be used in place of extract.
Equipment
Here is the gear you will need to make this chocolate ice cream recipe!
- Ice Cream Maker (I have this Cuisinart ice cream maker. If I was going to buy a new one, I’d get this ice cream maker).
- Saucepan
- Fine mesh metal strainer
- wire whisk
- Batter bowl with lid
- Freezer-friendly ice cream container
How to Make Chocolate Ice Cream
Making this homemade chocolate ice cream recipe involves a few steps—plus some chilling and freezing—but it’s well worth the time it takes to make the best chocolate ice cream ever! We’ll walk through the process together step-by-step, but don’t forget to watch the video!
The first step in making this recipe is to make the chocolate base. Begin by whisking together the cream and cocoa powder. Bring the mixture to a boil. Reduce heat and boil/simmer for 30 seconds, whisking constantly.
, has a rich chocolate flavor, and is just as good as any ice cream shop!")
Then, remove the chocolate/cream mixture from the heat and add chopped chocolate. Whisk until smooth. Add remaining cream and whisk to combine.
, has a rich chocolate flavor, and is just as good as any ice cream shop!")
Transfer mixture to a large bowl and position a fine mesh strainer over it. This strainer will be used to strain the custard part of the chocolate ice cream recipe. It’s absolutely critical.
What if I don’t have a fine Metal strainer?
A nut milk bag or tea towel would work fine, but a fine mesh metal strainer is a kitchen must-have for sure, I use it almost every day.
, has a rich chocolate flavor, and is just as good as any ice cream shop!")
Make the Custard
Next we will make the custard component of this chocolate ice cream recipe. To do this, we need to temper the eggs so they don’t cook when they’re added to the warm milk mixture. Begin by whisking the egg yolks together in a medium bowl.
Then, in a saucepan over medium heat, whisk together milk, sugar and sea salt. Once the milk mixture is slightly warm, add ½ cup of warm (not hot) milk to the beaten egg yolks and whisk to combine. Add the milk/egg mixture back into the saucepan, whisking as it’s being added.
, has a rich chocolate flavor, and is just as good as any ice cream shop!")
Continue to cook the custard over medium heat, and stir the mixture constantly with a spatula until the it thickens and coats the spatula (it does this when it reaches about170 degrees F).
Assemble
Pour the thickened custard through the metal strainer into the other ingredients in the bowl. Stir until combined. Discard any custard residue left on the strainer.
, has a rich chocolate flavor, and is just as good as any ice cream shop!")
Chill
Add the vanilla and stir to combine. Place a lid on top and let the mixture chill in the refrigerator for at least 6 hours, or overnight.
, has a rich chocolate flavor, and is just as good as any ice cream shop!")
Churn
Once the ice cream mixture is cooled to just below room temperature, churn it in an ice cream maker until thick and frozen (30-40 minutes).
, has a rich chocolate flavor, and is just as good as any ice cream shop!")
Freeze
Transfer the chocolate ice cream to an airtight container and freeze for at least 6 hours.
Favorite Ice Cream Containers:
Here are some of my favorite storage containers for ice cream:
, has a rich chocolate flavor, and is just as good as any ice cream shop!")
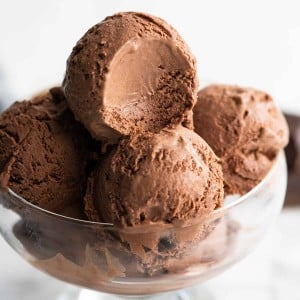
Serve
Serve this chocolate ice cream on cones, in a dish, drizzled with chocolate sauce or caramel sauce with a dollop of fresh homemade whipped cream, etc.!
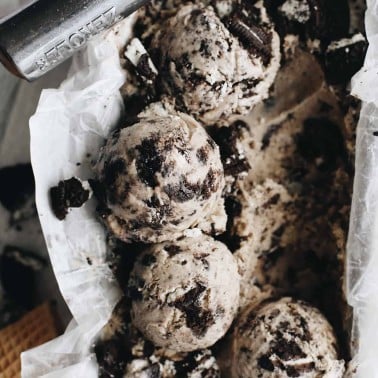
Or, use it to stuff between two cookies to make the best homemade chocolate chip cookie ice cream sandwiches (like a chipwhich only so much better).
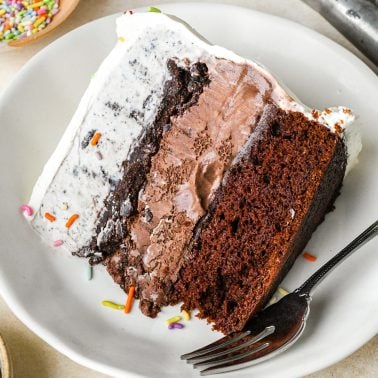
We also love using it as one of the layers in this homemade ice cream cake or to make this chocolate milkshake recipe.
, has a rich chocolate flavor, and is just as good as any ice cream shop!")
Chocolate Ice Cream Recipe FAQs
Here are some commonly asked questions about making homemade chocolate ice cream:
If you do not have an ice cream maker, you can churn this chocolate ice cream recipe by hand. It’s just a lot more work! Here’s how:
Once the ice cream base is made, put it in a freezer-friendly container and put it in the freezer.
After 1 hour, check the ice cream. If is has started to freeze, use a hand-held mixer (or a whisk or spatula) to beat it vigorously.
Continue to mix the mixture with a mixer or by hand every 30 minutes until it is frozen. This should take about 3-6 hours.
This ice cream stays fresh in the freezer in an airtight container for up to 2 months.
Yes, absolutely. Towards the end of the churning process add your preferred mix-ins. I suggest edible cookie dough – yum.
, has a rich chocolate flavor, and is just as good as any ice cream shop!")
If you make and love my recipes, it would mean so much to me if you would leave a comment and rating! And don’t forget to follow along on Instagram, Pinterest, Facebook, TikTok and Youtube – be sure to tag @joyfoodsunshine and use the hashtag #joyfoodsunshine so I can see your creations!
Best Homemade Chocolate Ice Cream Recipe
Video
Equipment
Ingredients
- 2 cups heavy cream divided
- ¼ cup unsweetened cocoa powder
- 6 ounces semisweet chocolate chopped (or chocolate chips)
- 1 ½ cups whole milk
- ¾ cup granulated sugar
- ⅛ tsp sea salt
- 3 large egg yolks beaten
- ½ tsp pure vanilla extract
Instructions
- Whisk together 1 cup cream and cocoa powder. Bring to a boil. Reduce heat and boil/simmer for 30 seconds whisking constantly.
- Remove from heat and add chopped chocolate and whisk until smooth. Add remaining 1 cup of cream and whisk to combine.
- Transfer mixture to a large bowl and position a fine mesh strainer over it. Set aside.
- In a small bowl, whisk together egg yolks.
- In a saucepan over medium heat, whisk together milk, sugar and sea salt.
- Once the milk mixture is slightly warm, add ½ cup of warm milk to the beaten egg yolks and whisk to combine. Add the milk/egg mixture back into the saucepan, whisking during the addition.
- Continue to cook the custard over medium heat, and stir the mixture constantly with a spatula until the it thickens and lightly coats the spatula (it does this when it reaches about 170 degrees F).
- Pour the thickened custard through the metal strainer into the other ingredients in the bowl. Stir until combined. Discard any custard residue left on the strainer.
- Add the vanilla and stir to combine.
- Place a lid on top and let the mixture cool in the refrigerator for at least 6 hours, or overnight. To speed up the cooling process, you can place the container of the chocolate ice cream liquid base into an ice bath and stir it often.
- Once the ice cream mixture is chilled, churn it in an ice cream maker until thick and frozen (30-40 minutes).
- Transfer to an airtight container and freeze for at least 6 hours.
- Serve!
Notes
- Heavy cream. There really isn’t a substitution for heavy cream, it gives the chocolate ice cream it’s ultra-creamy texture.
- Cocoa powder. If you’re into very dark chocolate ice cream, try using dark cocoa powder.
- Semisweet chocolate. I use 60% dark chocolate chips to make this chocolate ice cream. Use whatever percentage you prefer, just know that milk chocolate will result in a sweeter ice cream, and the darker the chocolate used the more intense the chocolate flavor will be.
- Whole milk. Half and half is an acceptable substitute for whole milk!
- Granulated sugar. There’s really no substitute here! I use organic cane sugar or regular white sugar.
- Egg yolks. Another critical ingredient that contributes to the creaminess, don’t leave them out!
- Vanilla extract. Vanilla beans (seeded) or vanilla bean paste can be used in place of extract.
- Once the ice cream base is made, put it in a freezer-friendly container and put it in the freezer.
- After 1 hour, check the ice cream. If is has started to freeze, use a hand-held mixer (or a whisk or spatula) to beat it vigorously.
- Continue to mix the mixture with a mixer or by hand every 30 minutes until it is frozen. This should take 3-6 hours.
Nutrition
Nutrition information is automatically calculated, so should only be used as an approximation.

I’m coming back to tell everyone
Omg this recipe is perfect thanks for sharing with us.
I made it without ice cream mixer and it turned out awesome .everyone loved it
Thank you so much! I’m so happy you love it!
Have you ever tried adding in creamy peanut butter at the very end of the churn to make like a chocolate with peanut butter swirl ice cream? Would that work?
Kim, you *have* to make my chocolate peanut butter ice cream. It’s my favorite ice cream flavor of all time and I took great care in developing it to be the best ice cream I’ve ever had! 🙂
How much does this make I have a 4 qt maker.
1 quart!
This ice cream was incredible. So creamy and chocolatey. My family was very impressed. Thank you for this recipe!
Thank you Meg!
This is the best chocolate ice cream I ever tasted! I’m a chocoholic and I love ice cream. I can’t believe it’s homemade. It’s creamy, chocolatety, goodness on a spoon! Thank you so very much! I mean it is really, really, really good! I’m so happy!😁
I’m SO happy you love it, Sherri!