Best Cinnamon Rolls Recipe (Better than Cinnabon)
Posted Nov 18, 2018, Updated Mar 05, 2025
This post may contain affiliate links. Please read our disclosure policy.
This is the Best Homemade Cinnamon Rolls Recipe you will ever eat! These gooey cinnamon rolls are even better than Cinnabon cinnamon rolls, and are topped with a delicious cream cheese frosting! They’re easy to make and can be prepared the day before and left to rise overnight in the refrigerator.
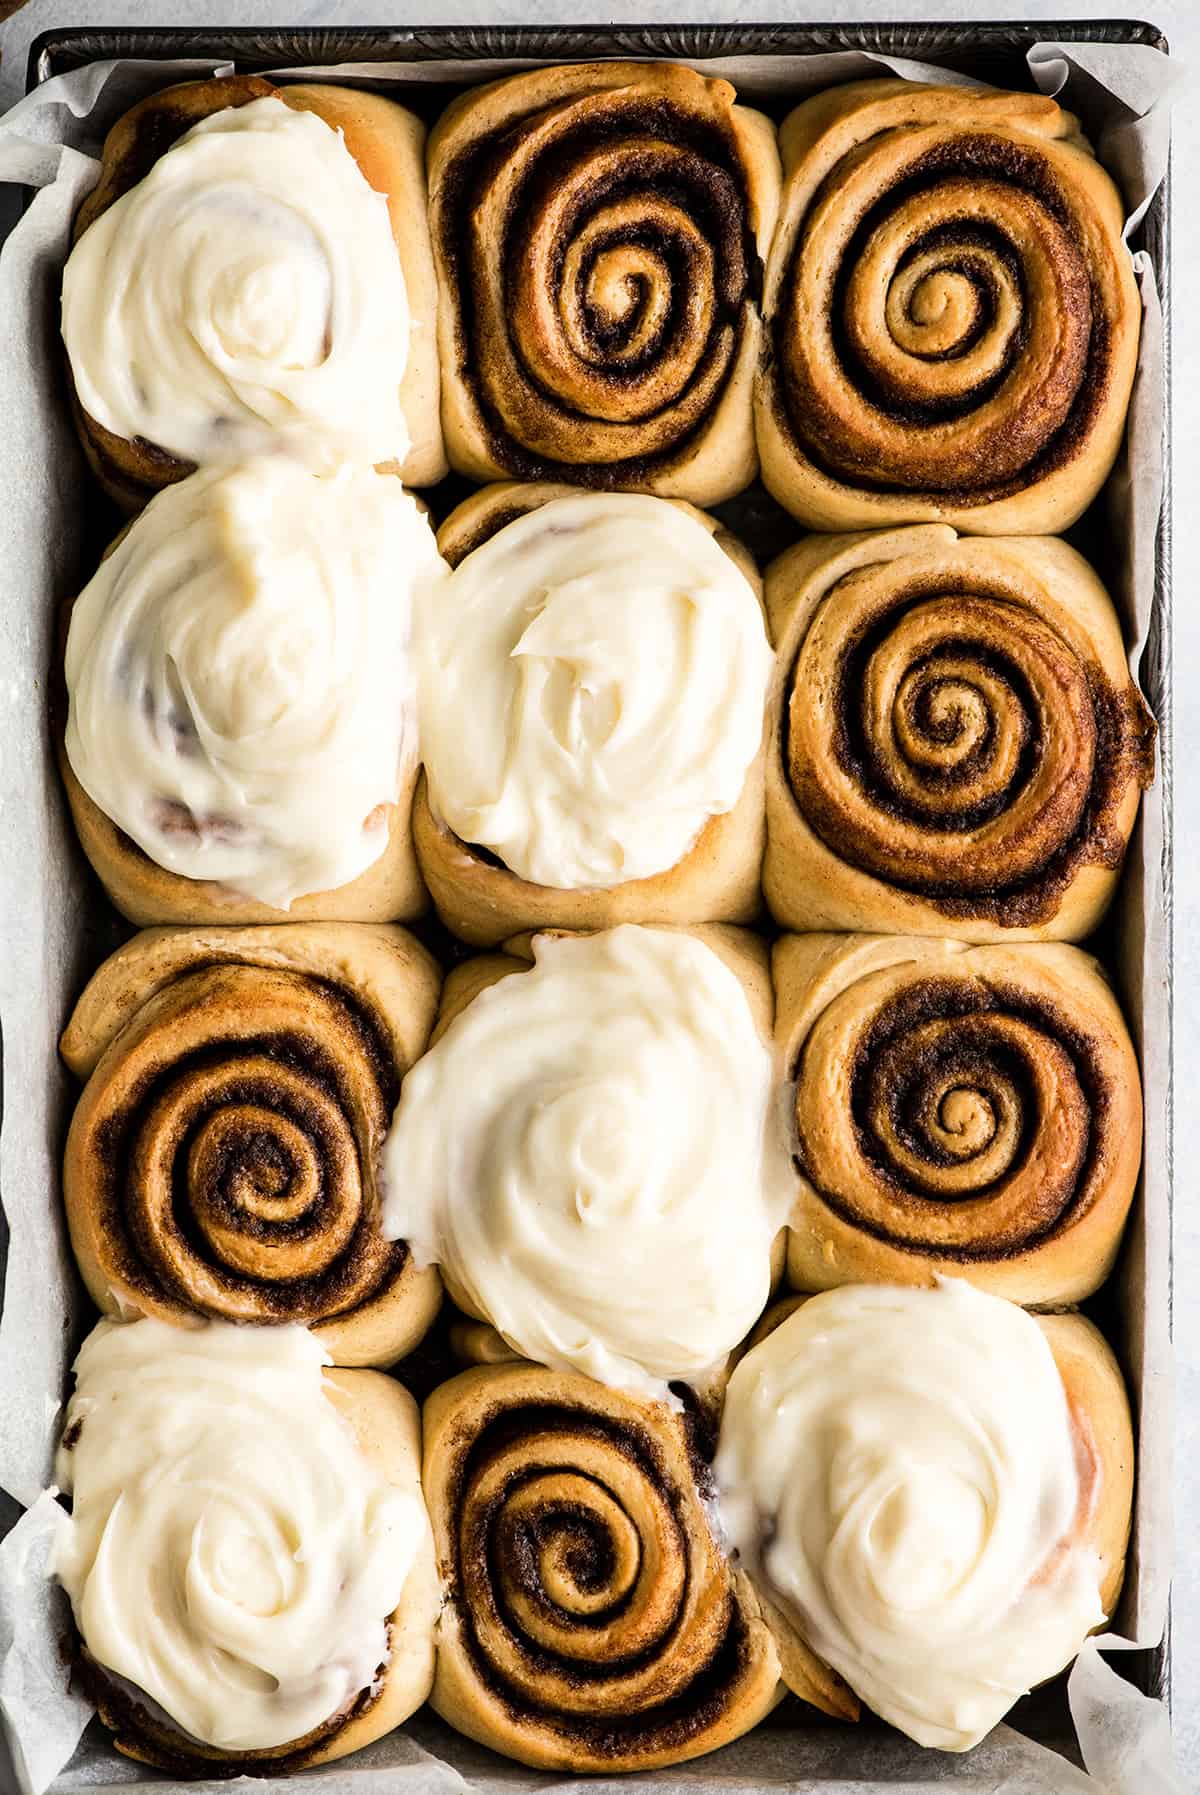
Whenever I need to make a special breakfast, I always turn to this homemade cinnamon roll recipe. Christmas morning, birthdays, you name it, my family requests that we begin our celebrations with these gooey cinnamon rolls.
This particular cinnamon roll recipe is a step above the rest. With a few special ingredients and an easy-to-follow method, you can make the best cinnamon rolls you’ve ever eaten, in the comfort of your own home.
I can honestly say they are even better than Cinnabon cinnamon rolls, because nothing beats fresh rolls straight from the oven! They are also easy to prepare a day in advance and let them rise overnight in the refrigerator, or they can be prepared a few weeks in advance and frozen.
And we can’t forget one of the best parts, these gooey cinnamon rolls are topped with the best cream cheese frosting ever! Once you make this cinnamon roll recipe it is sure to become your favorite for years to come! So let’s get baking.
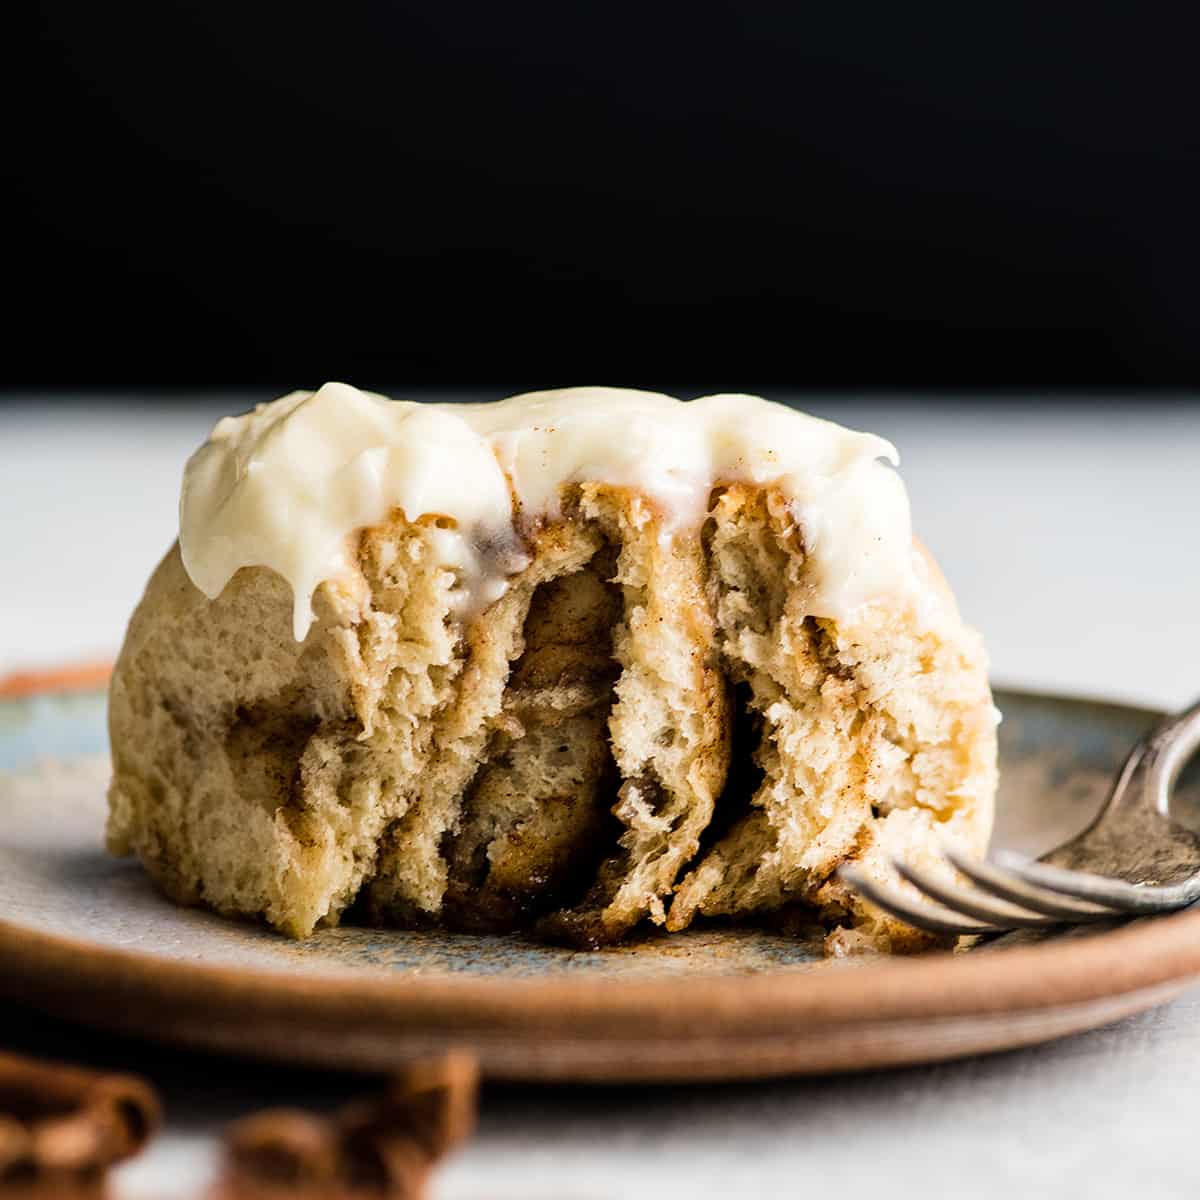
Best Cinnamon Roll Recipe: Ingredients and Substitutions
This recipe took me years to perfect, and as such I do not recommend making any substitutions. These homemade cinnamon rolls contain only a few, common ingredients that most of us always have on hand! Flour, sugar, butter, eggs, salt, cinnamon, etc.
What makes this cinnamon roll recipe stand out among the rest is that there is both vanilla extract and cinnamon in the cinnamon roll dough. These two additions take these cinnamon rolls from good, the best you’ve ever had.
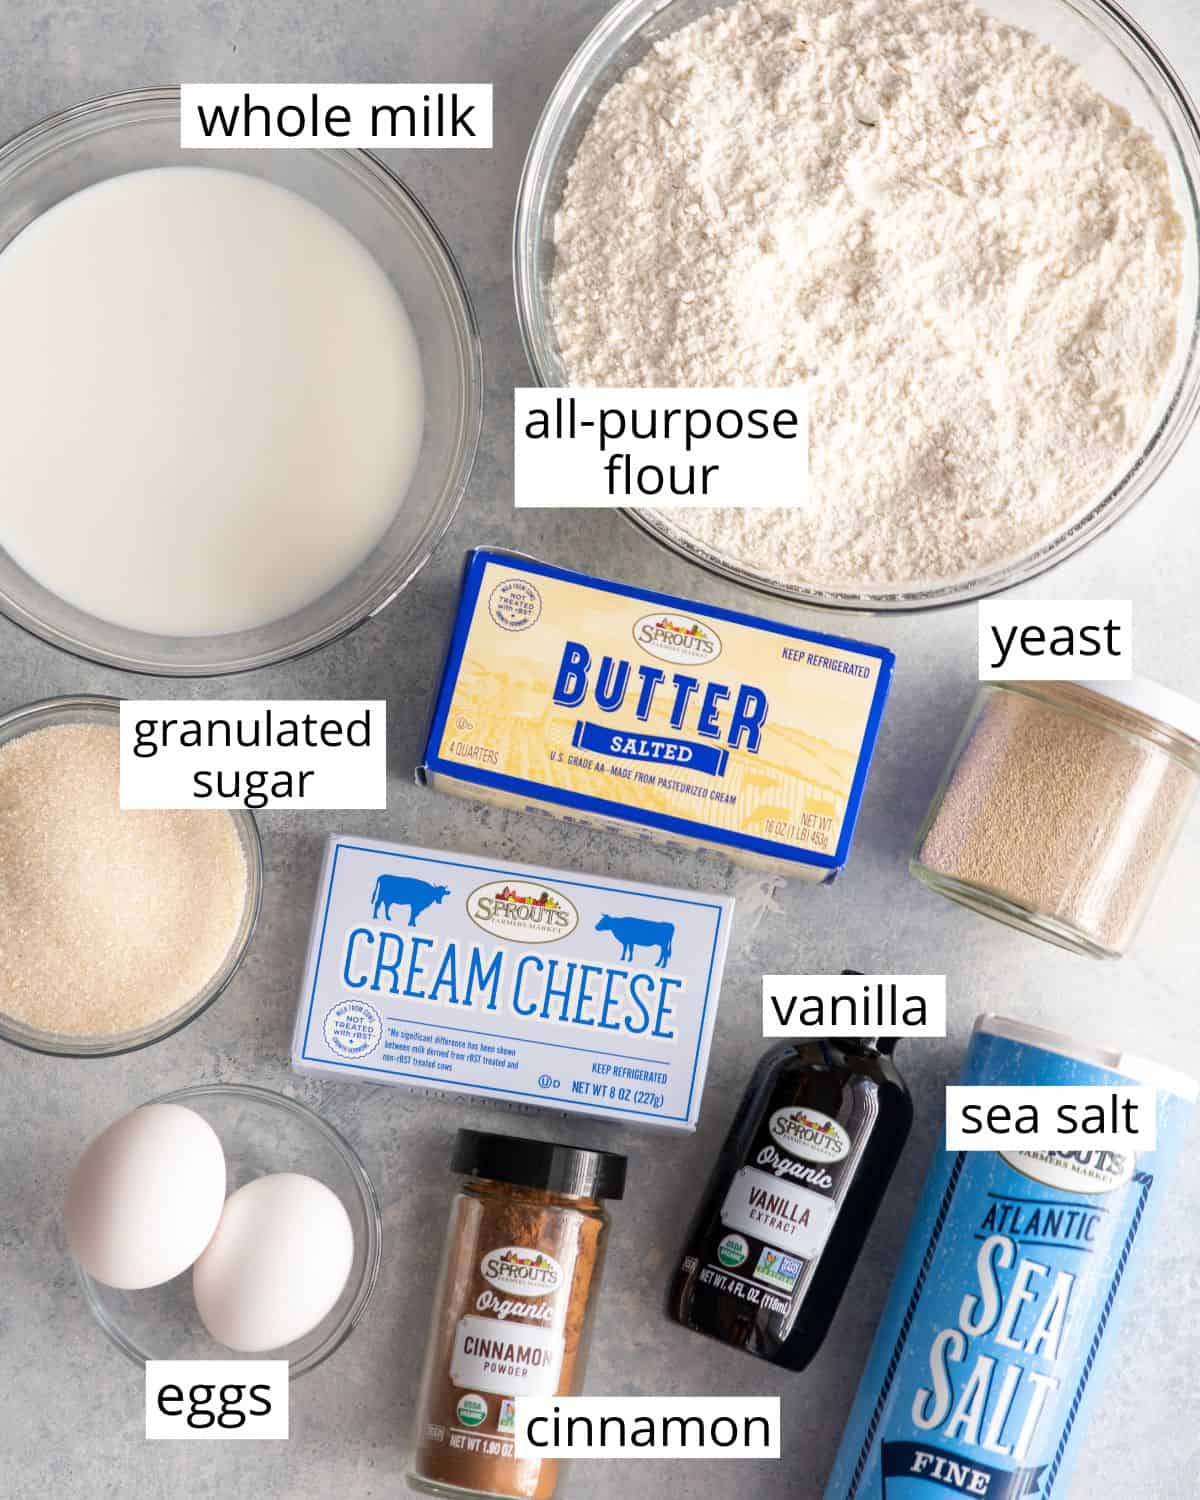
- Milk. I recommend using whole milk, but 2% milk works well too. I do not recommend going lower than 2% because the fat content really matters to making rich, moist, and dense cinnamon rolls.
- All-purpose flour. bread flour may be used in place of all-purpose flour for a little bit lighter texture. I have not tried using any healthier substitutions like whole wheat flour, so I cannot speak to the success in the outcome if you try it.
- Butter. both salted and unsalted butter work well.
- Brown sugar. I recommend using light brown sugar in this recipe, however if you love the molasses-y taste of dark brown sugar you can use that in place of some or all of the light brown sugar.
- Ground Cinnamon. choose a high-quality cinnamon for the best result0.
- Cream cheese. Full fat or light cream cheese both work well in this recipe. Obviously, the higher the fat content, the richer the taste.
- Vanilla Extract. I implore you to only ever use pure vanilla extract in your baking! No imitation extracts need apply here!
How to Make cinnamon rolls
Let’s walk through how to make cinnamon rolls, and don’t forget to watch the video. Begin by making the dough.
Make the Dough
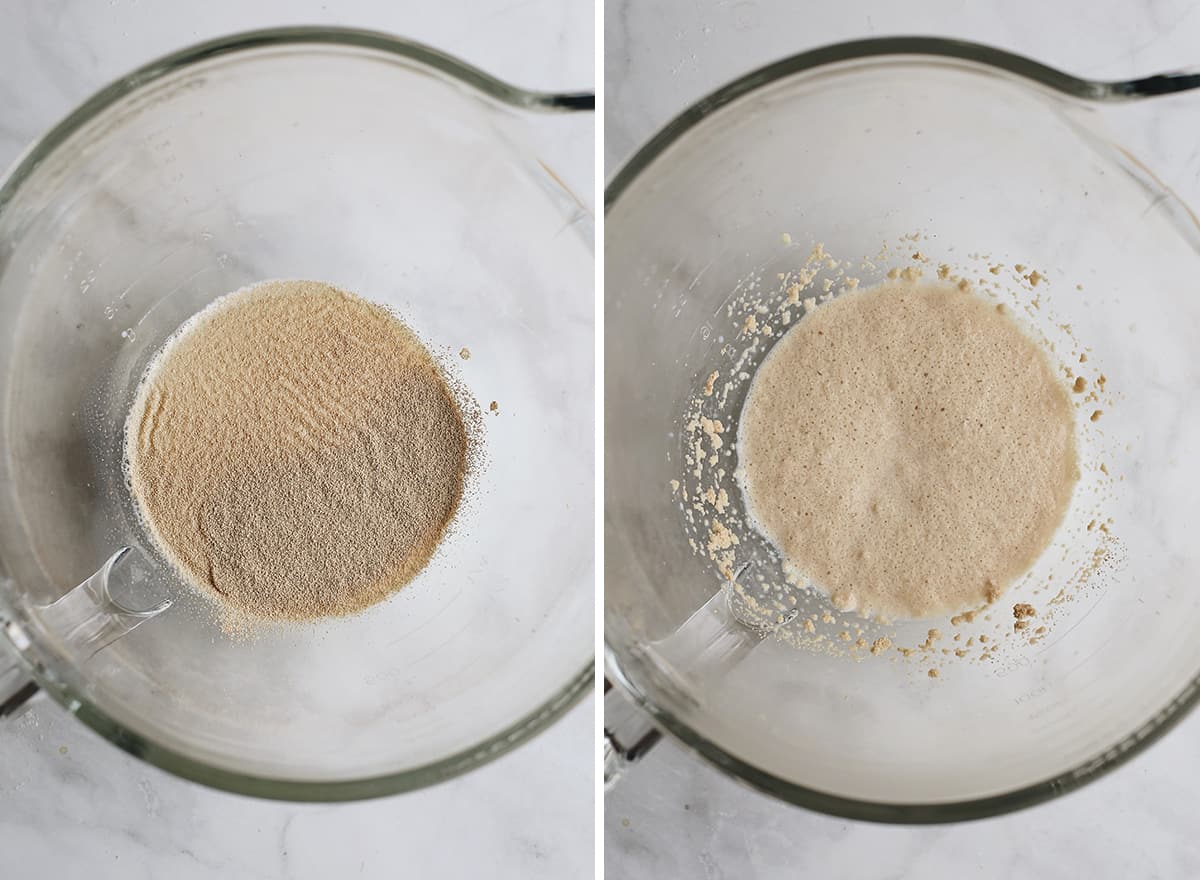
Start by proofing the yeast until it is foamy.
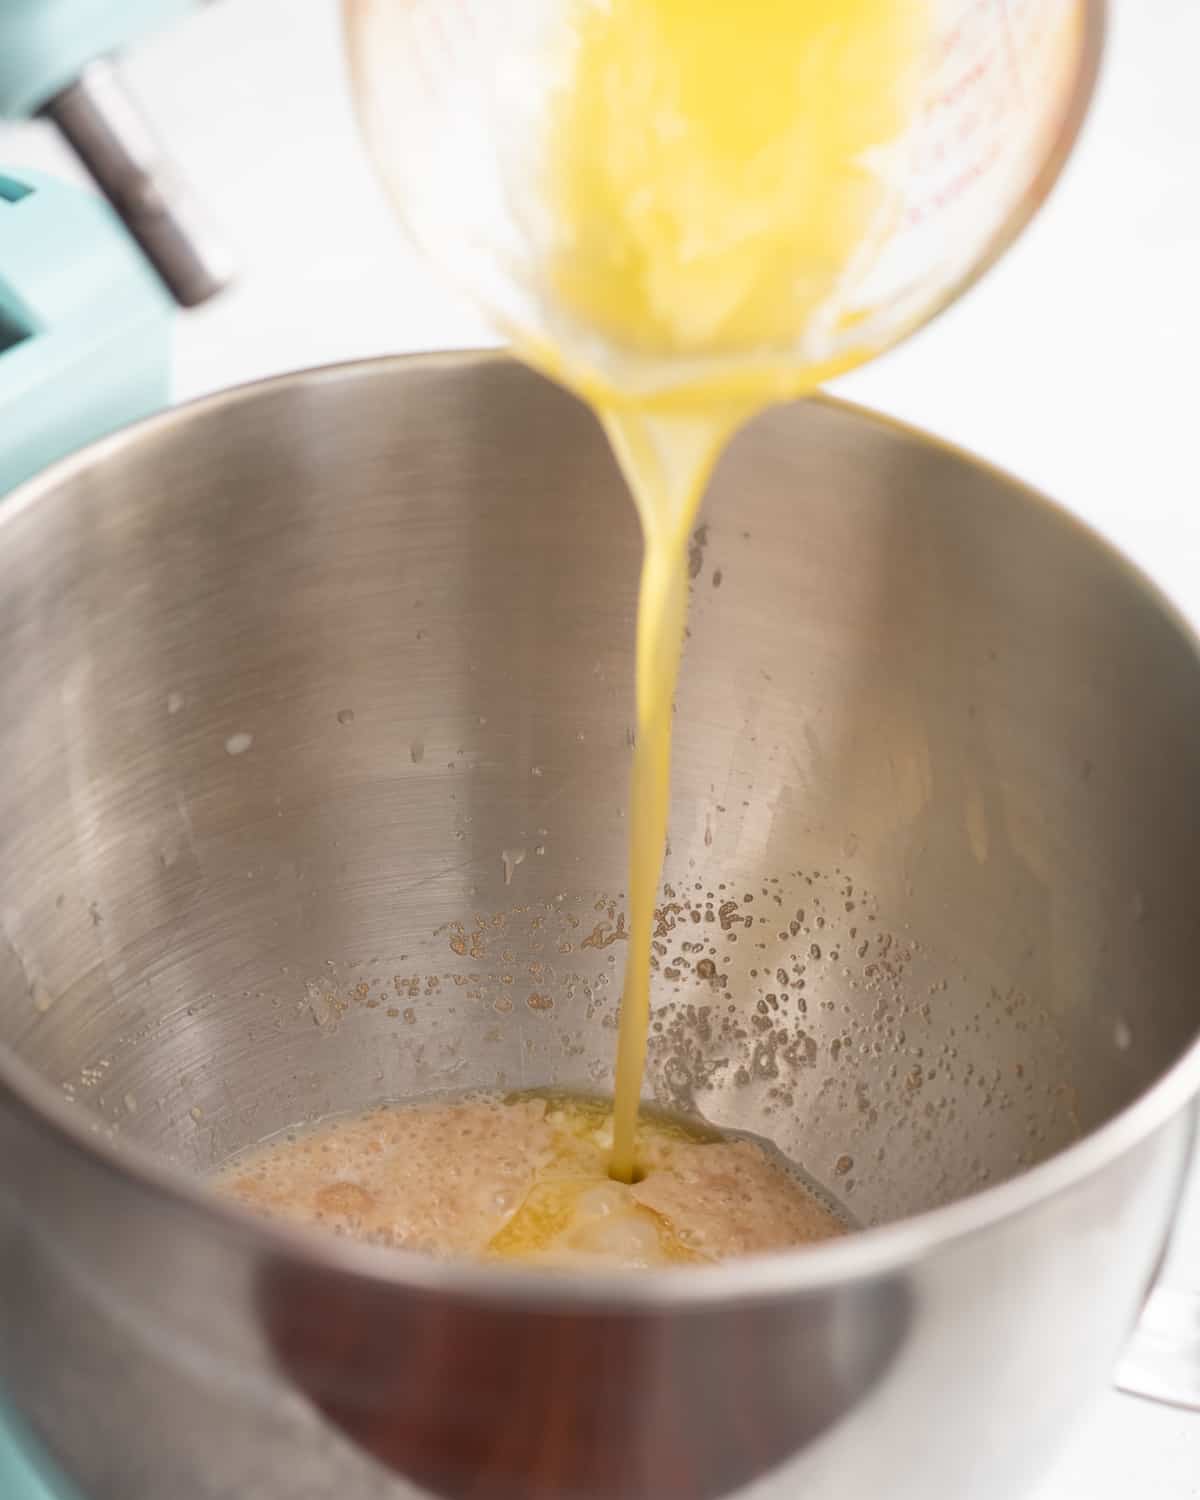
Then add the rest of the wet ingredients stir until they are just combined.
Combine the dry ingredients then add them to the wet ingredients, then stir to combine. You can do this two ways:
1: Use a standing mixer:
I recommend using a standing mixer fitted with the dough hook to make the dough for these best cinnamon rolls. Add a about 1/3 of the dry ingredients at a time, mixing after each addition, to avoid making a mess!
2. Mix the dough by hand:
Mixing the dough by hand is also very easy to do. The only difference will be that mixing the dough requires more kneading by hand than using the standing mixer.

Knead the Dough
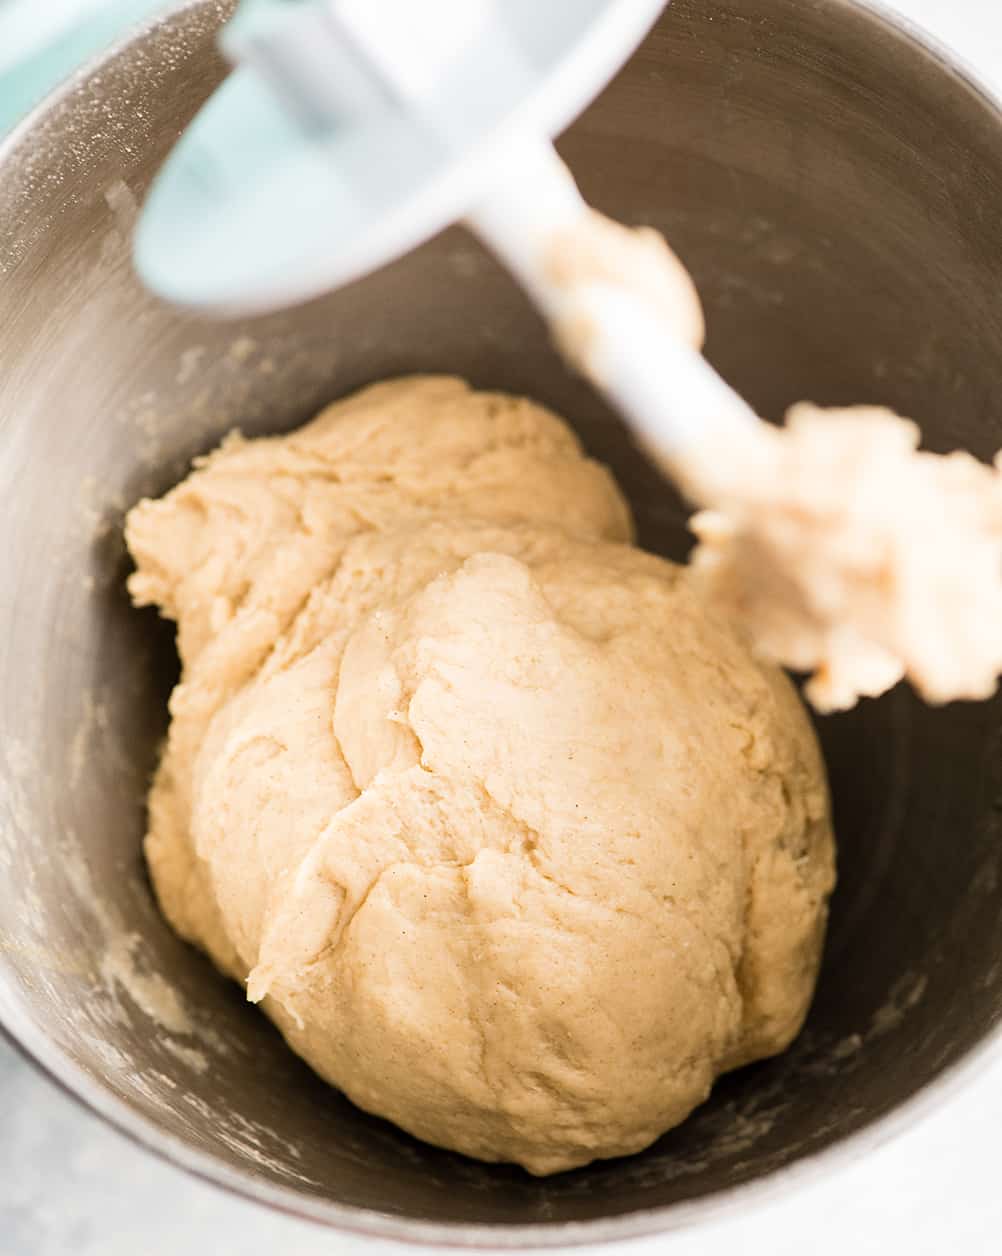
Once a firm but slightly tacky dough ball has formed in the standing mixer (as pictured below), turn the dough out onto a well-floured surface and knead by hand, adding more flour if necessary.
Knead the dough for 2-5 minutes, or until it is smooth and elastic, but still a little sticky.
First Rise
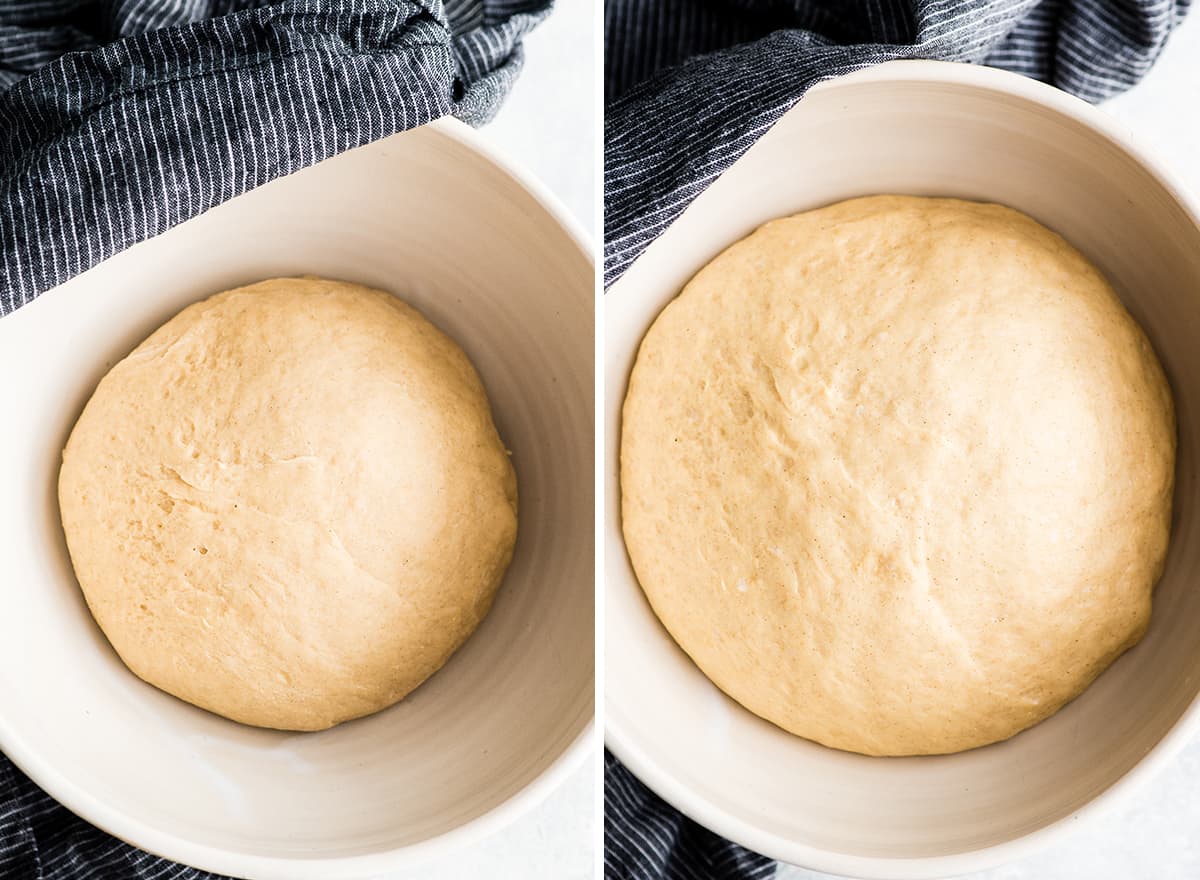
Once the dough is smooth and elastic, place it in a lightly greased bowl to rise. I recommend covering it with a warm, damp towel and putting the bowl in a warm place to rise (for about 1 hour).
Speed up Rising:
To help the dough rise faster, boil some water and put it in a bowl or measuring dish next to the bread that’s rising.
Cover the bread and the vessel containing the boiling water with a damp towel. This creates a warm, moist environment that yeast loves.
I also recommend putting the dough/boiling water/damp cloth apparatus in your oven with the lights turned on. This creates a warm moist environment, which speeds up the rising process.
Make the Cinnamon Sugar Filling
While the homemade cinnamon roll dough is rising, make the cinnamon sugar filling. This is very easy to do, however there are two different methods :
1. Combine all ingredients and then spread onto the dough. For this method, add softened butter, brown sugar and cinnamon to a medium-sized bowl and combine with a fork until the mixture in homogenous. Then spread this mixture on the dough with your hands and a greased spatula.
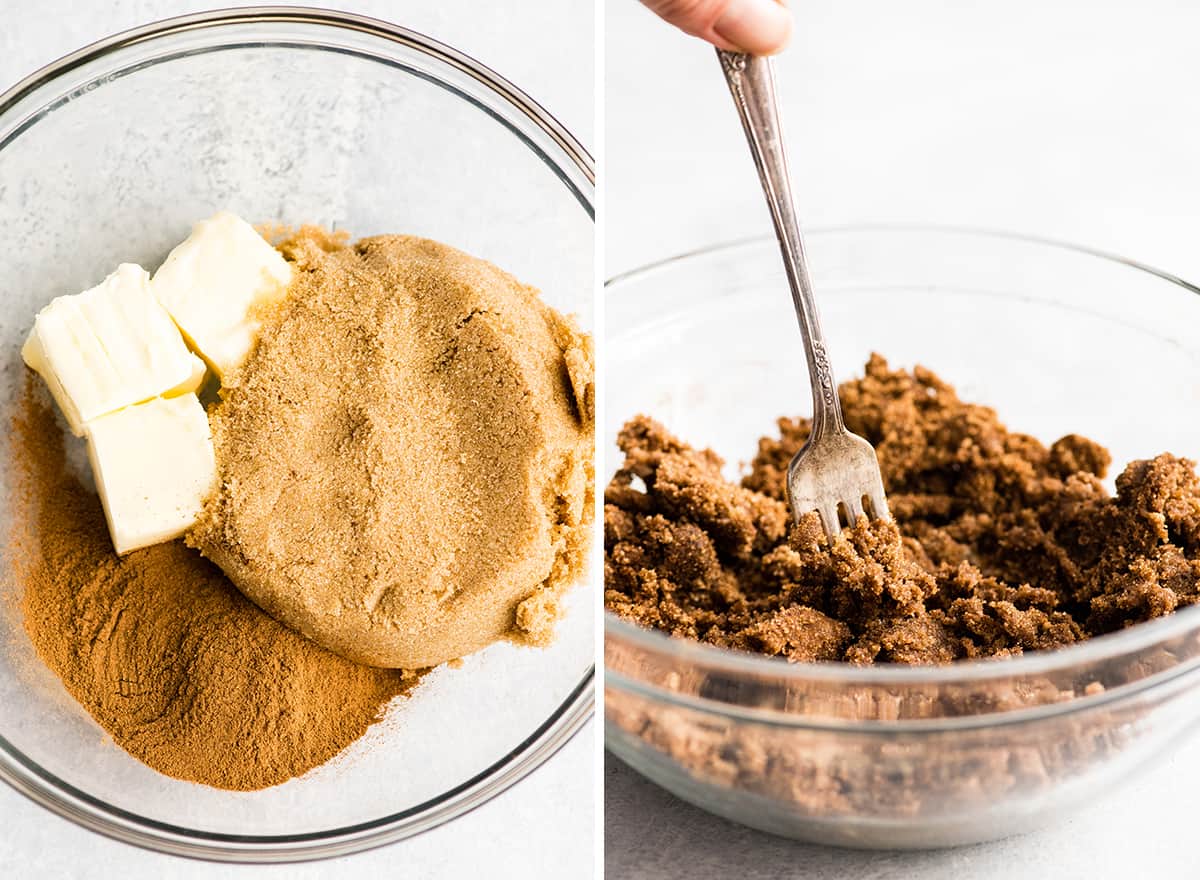
2. Combine dry ingredients, but melt butter and brush it on the dough. For this method, combine the cinnamon and sugar in a bowl and mix well. Then, melt the butter and use a pastry brush to brush it on the rolled out dough. Next, sprinkle the cinnamon sugar mixture over the melted butter and roll it out.

The second method is easier (in my opinion), because spreading the butter/brown sugar/cinnamon mixture is a little bit difficult. However the first method (mixing all the ingredients together) is my preferred method.
I prefer this method because the filling doesn’t leak to the bottom of the pan (and out of the cinnamon rolls) as much it does with method #2. There is virtually no filling leakage when all the ingredients are combined and spread onto the dough, but there is some leakage with the melted butter method.
Assemble the Cinnamon Rolls
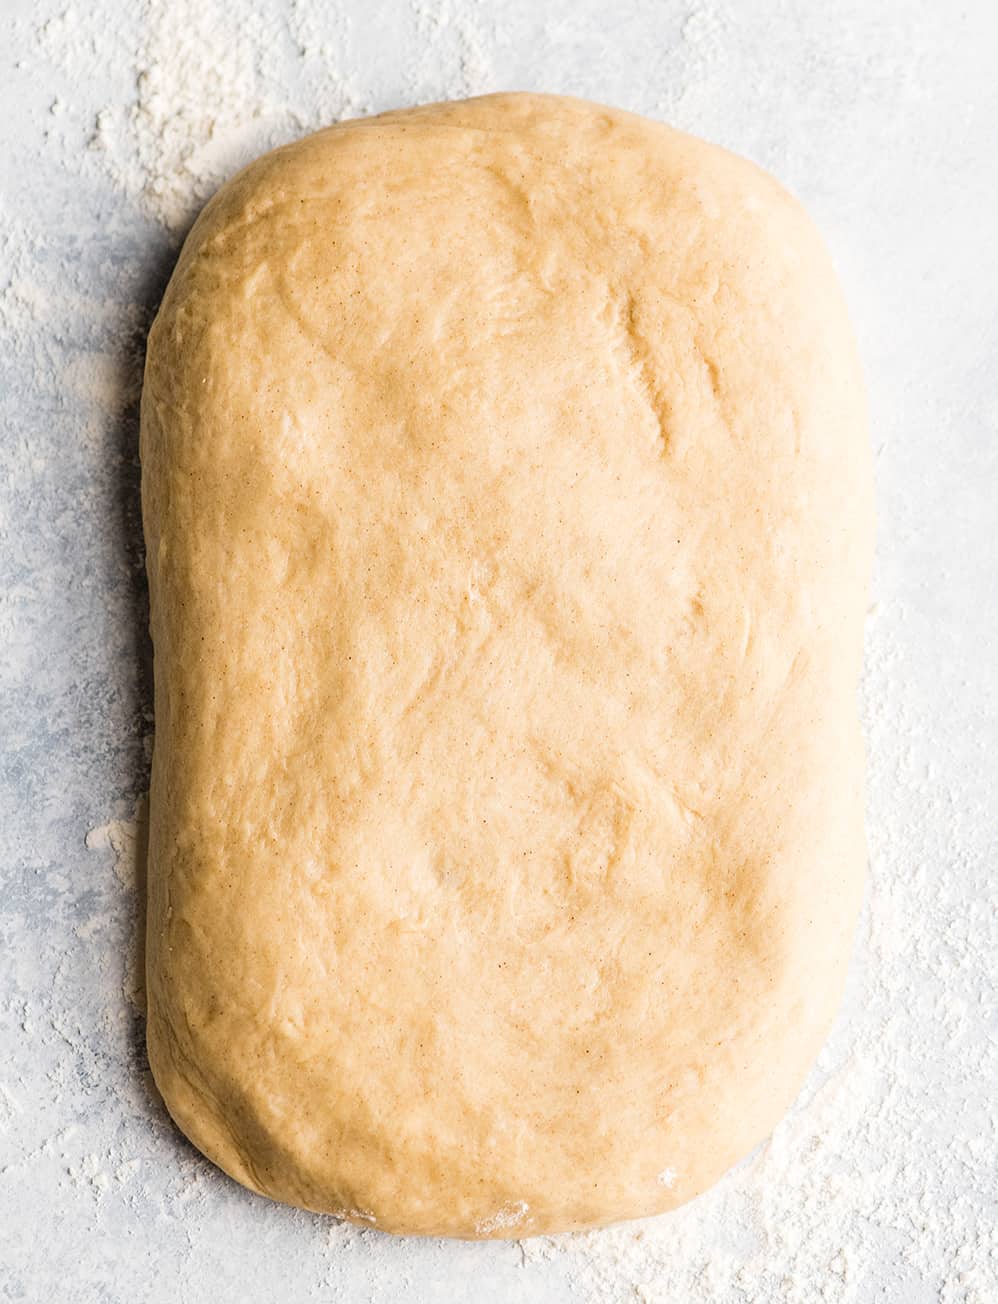
After the dough has risen, press it down to release the air from it and form it into a rectangle. This step is important because it makes it easier to roll the dough into the desired shape (which is a large rectangle).
Roll out the Dough
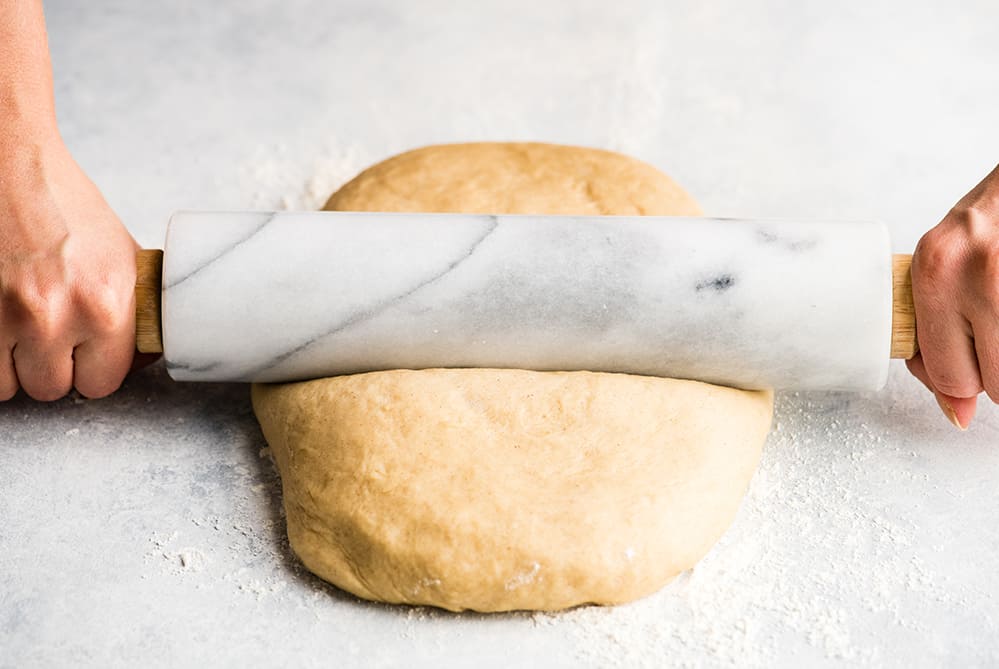
Next, roll the dough into a rectangle that is 24×12” and about 1/4″ thick. This dough is so easy to work with that this step should be very easy.
If you find the dough is sticking to the rolling surface, add a light dusting of flour.
I use this marble rolling pin in every recipe that requires rolling and I absolutely love it. The weight is perfect to get a nice even roll, especially for yeasted dough.
Add the Filling
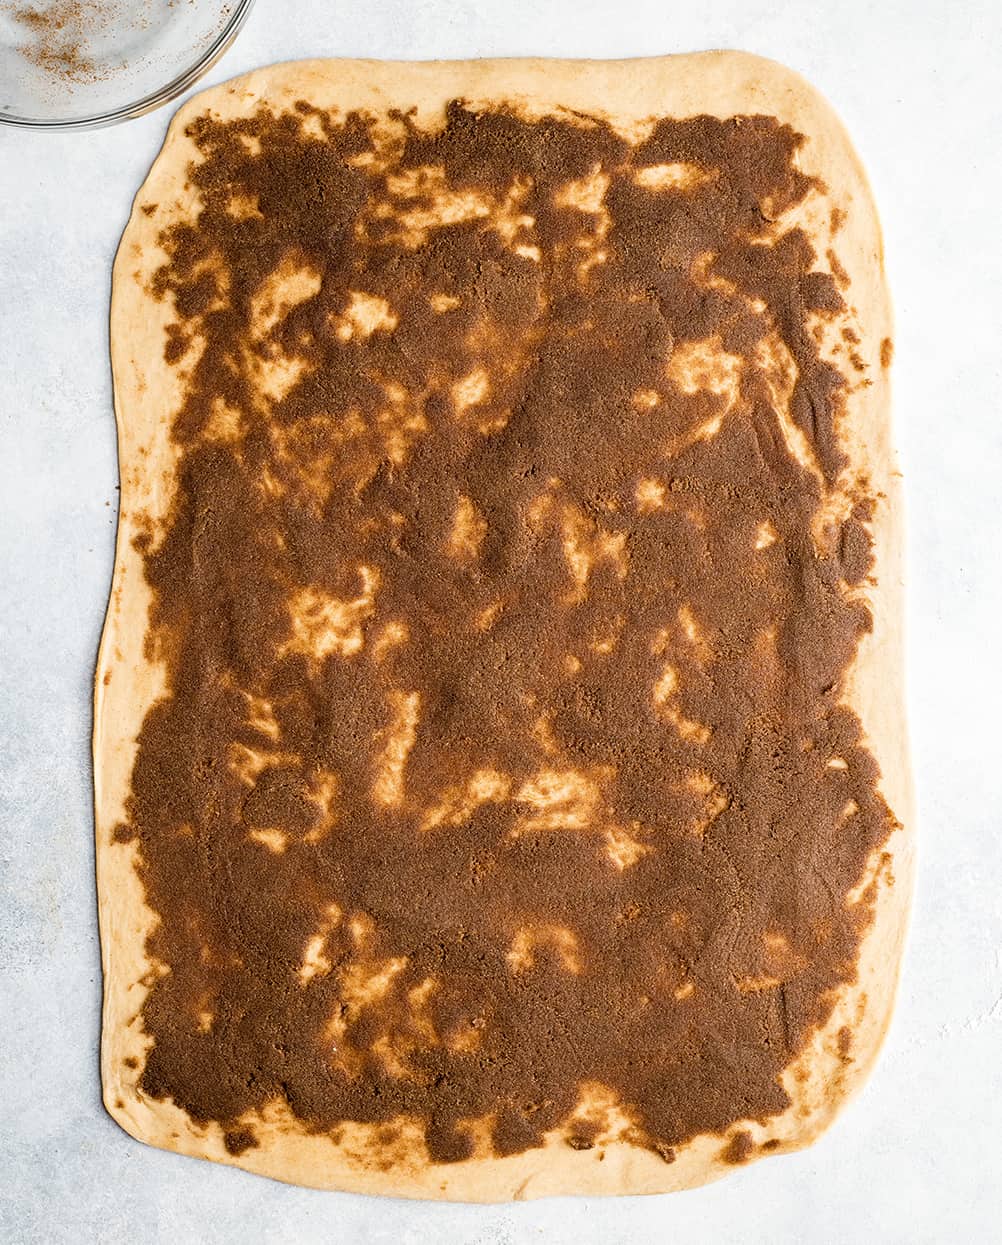
Once the dough has been rolled out into the desired shape and size, add the cinnamon sugar filling. As I mentioned above, spreading the filling can be a little tricky, but here are a few tips to make it easier:
- Start by sprinkling most (but not all) of the filling evenly over the dough. It will look like there isn’t enough, but do not worry there definitely is.
- Take a greased spatula and spread the filling evenly over the dough. While this cinnamon roll dough is hearty, you still need to be careful not to tear it while you are spreading the filling.
- Add the rest of the filling where needed, and spread until it’s evenly distributed.
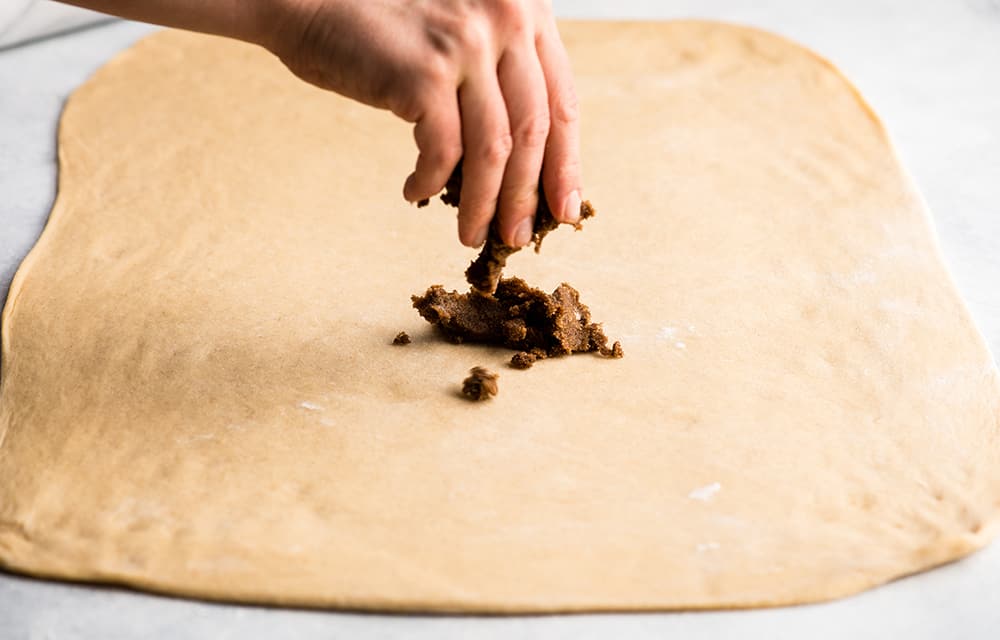
When the filling is evenly spread, it will look like the photo below. Be sure to leave a 1/4″ border around the edges without filling so that it doesn’t leak during baking.
Roll Lengthwise
It is very important to get a tight roll on the dough. I recommend pulling the dough towards you and gently pressing down as you roll it.
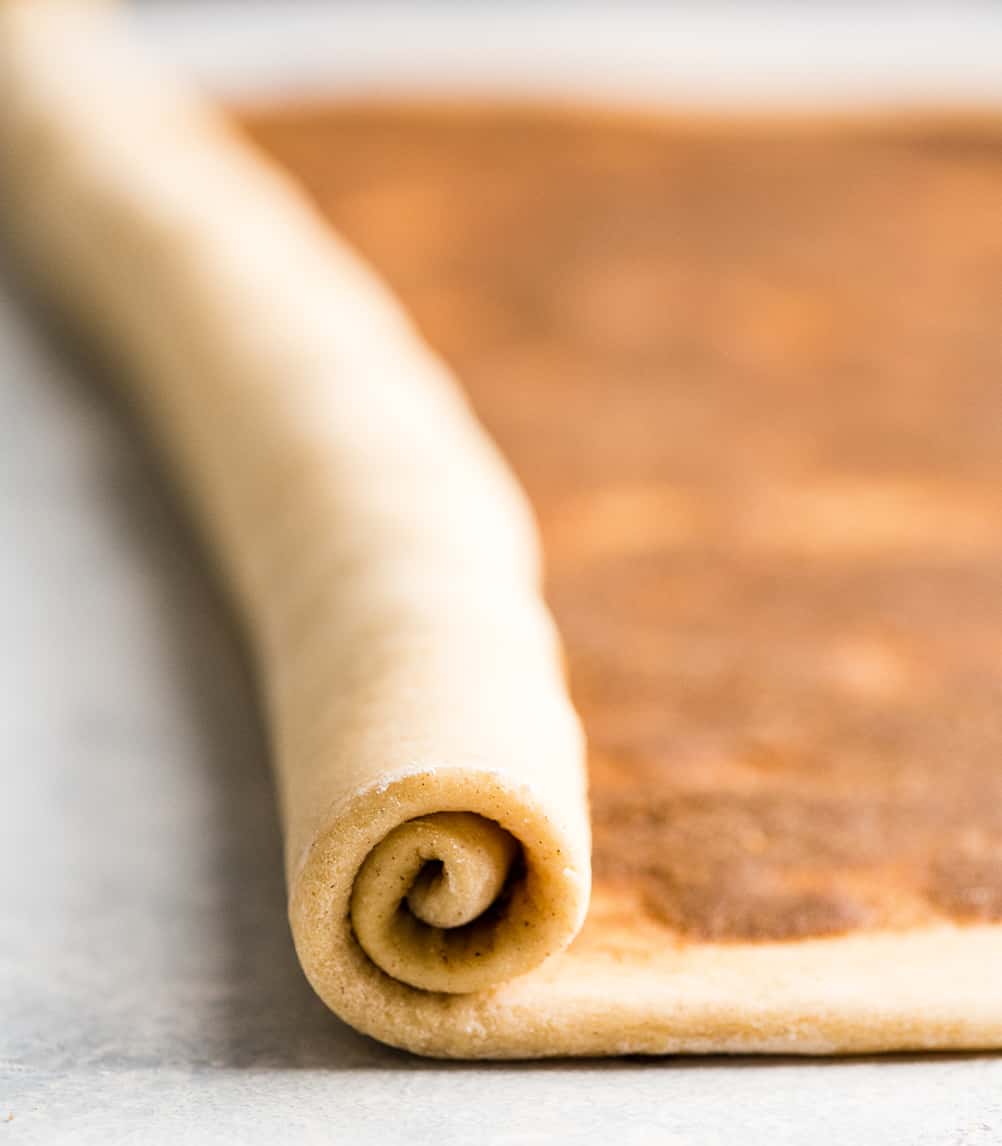
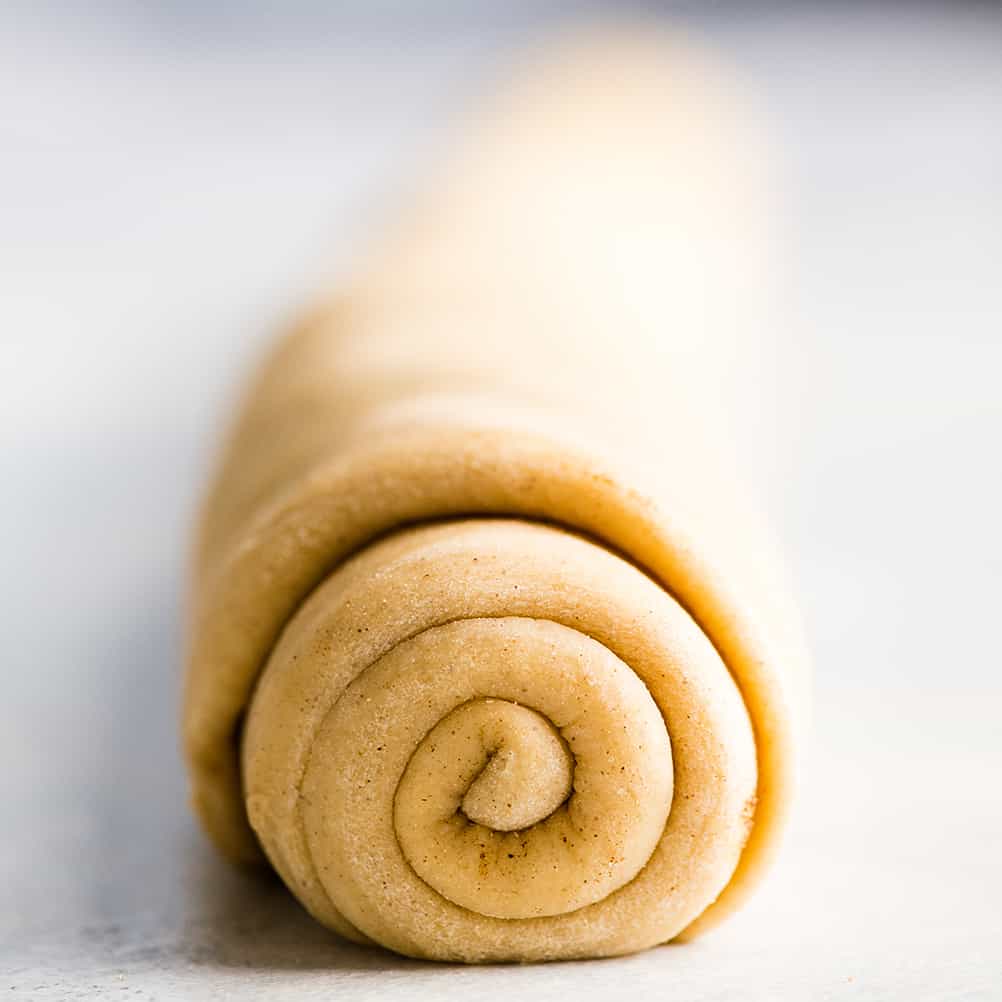
Once you have finished tightly rolling the best cinnamon roll dough, it should look like the photo below. Be sure to pinch together the dough where the end meets the roll, to prevent the filling from leaking.
Cut Into 12 Rolls
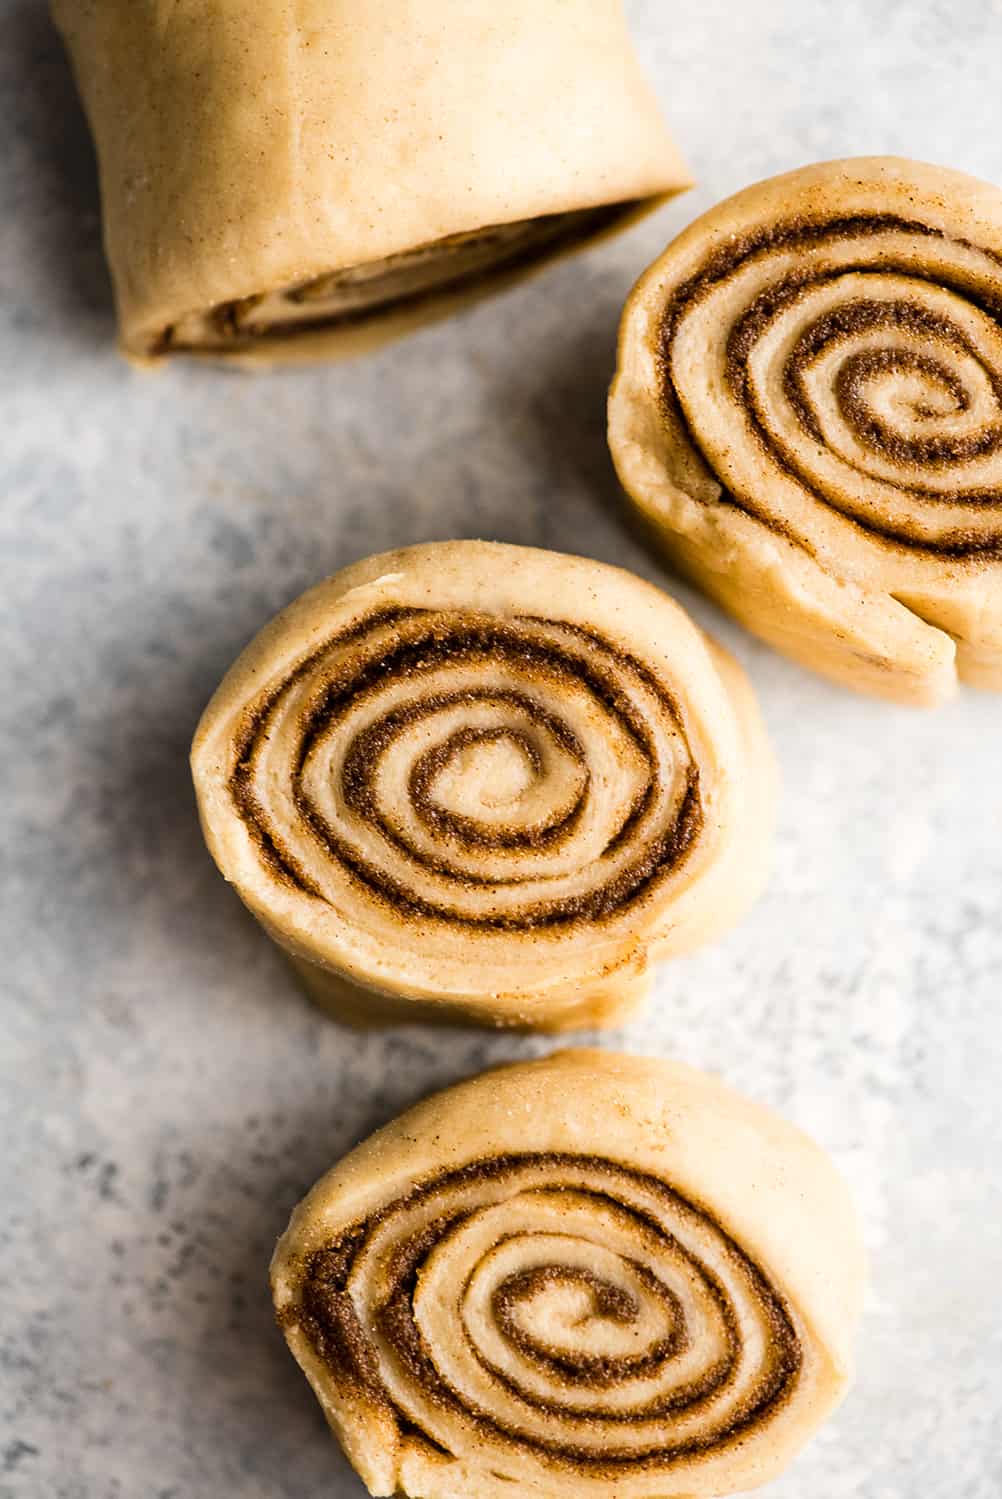
Now it’s time to cut these homemade cinnamon rolls into individual pieces. I recommend using a very sharp knife or even a string to cut them, to avoid smushing the rolls and ruining the swirl.
Measure Before Cutting
I highly recommend that you do not eyeball the cutting process. Instead, measure the length of the dough roll (which should be 24″ long) and divide it by 12 to determine how long each cinnamon roll should be.
Then, use your knife to make marks at the places you will cut (in the case of a 24″ roll that would be every 2 inches). After you have marked out all of your cuts, then use either a knife or string to cut the rolls.
Second Rise
Arrange the cinnamon rolls into four rows of three in a 9×13″ baking dish. They will rise and touch each other, but this is a good thing, because it makes them extra gooey.
I recommend lining the baking sheet with parchment paper to prevent the cinnabon cinnamon rolls from sticking to the pan.
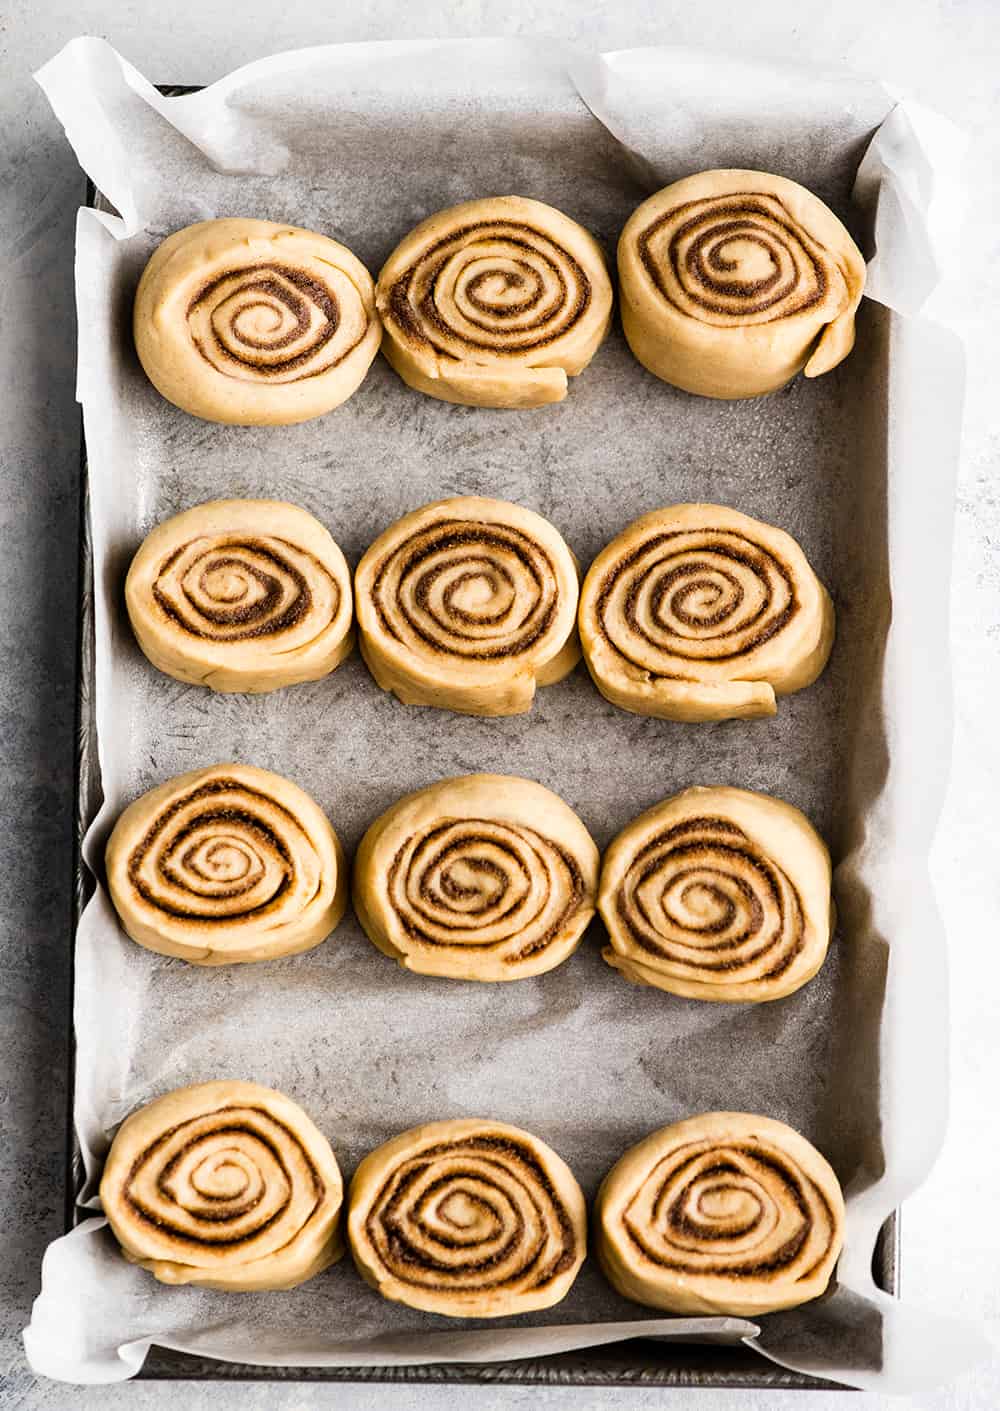
Once the homemade cinnamon rolls are arranged in the baking sheet, cover them with a warm damp towel and let them rise until doubled in size. Be very careful not to let the towel touch the tops of the cinnamon rolls.
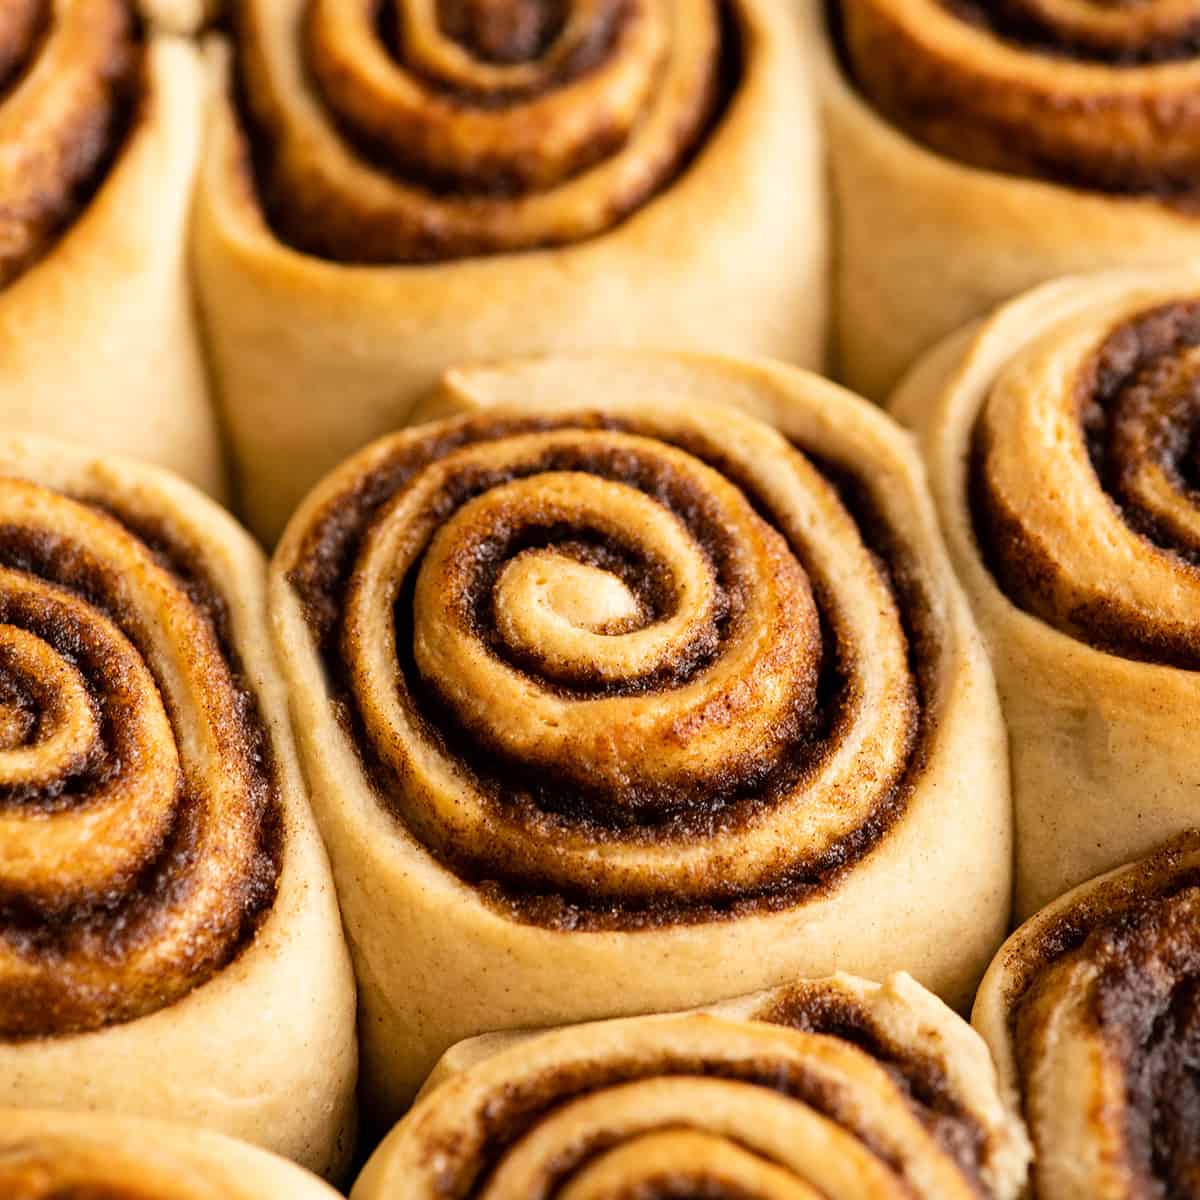
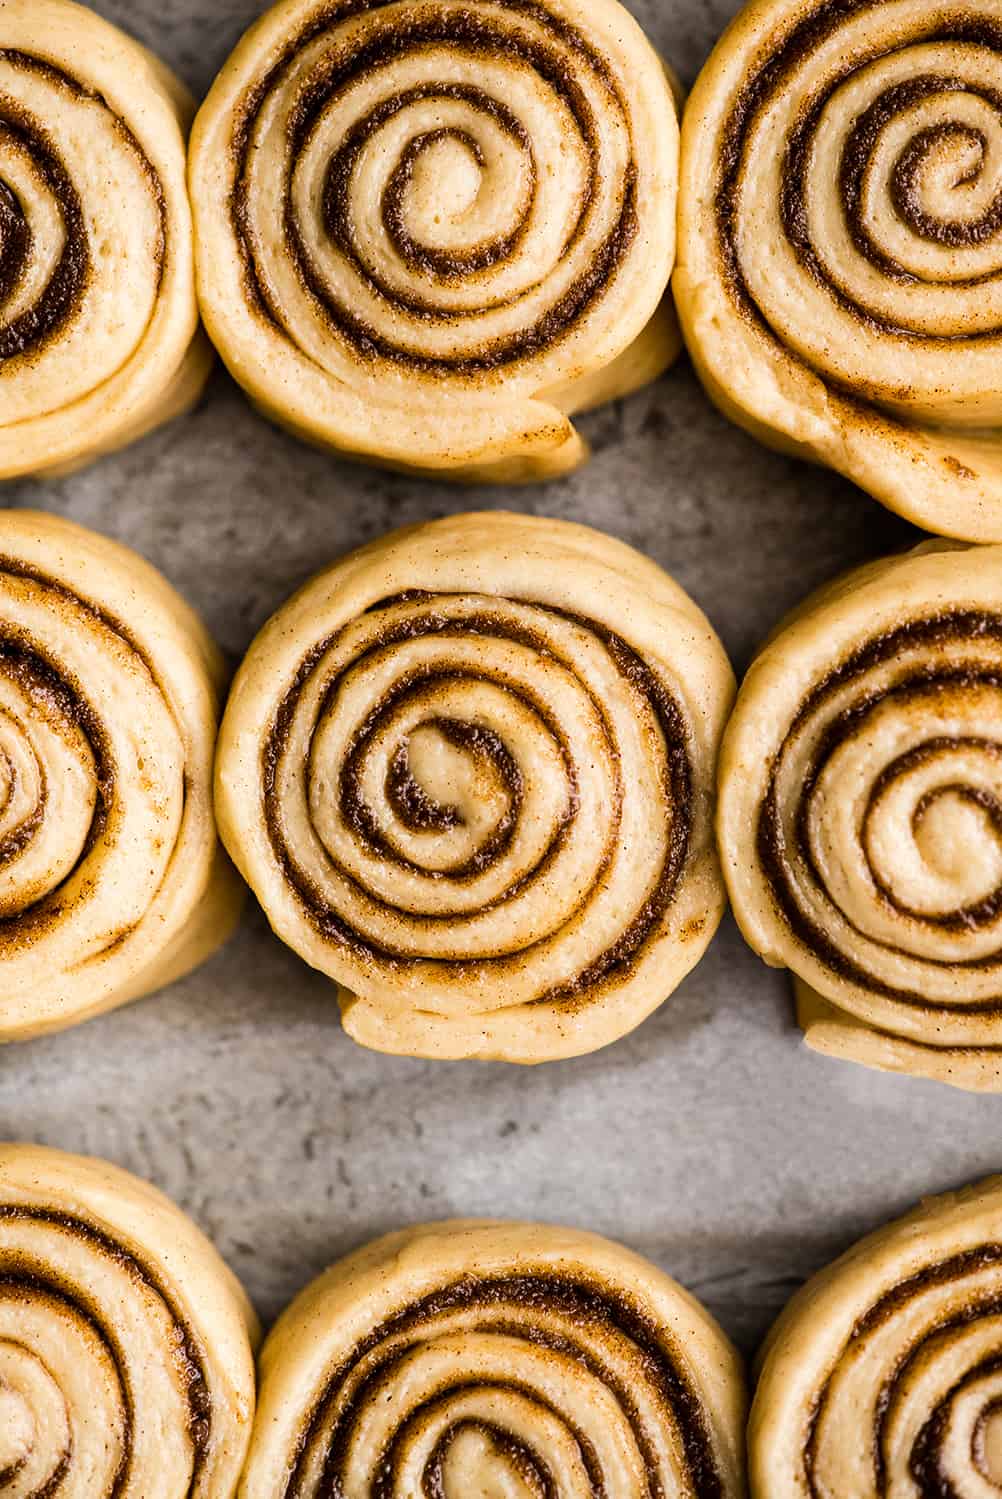
During this rise, preheat the oven to 350 degrees F so the oven is ready to go once the dough has risen (which takes between 30 and 60 minutes). After they have risen, they should look like the photo below.
Bake
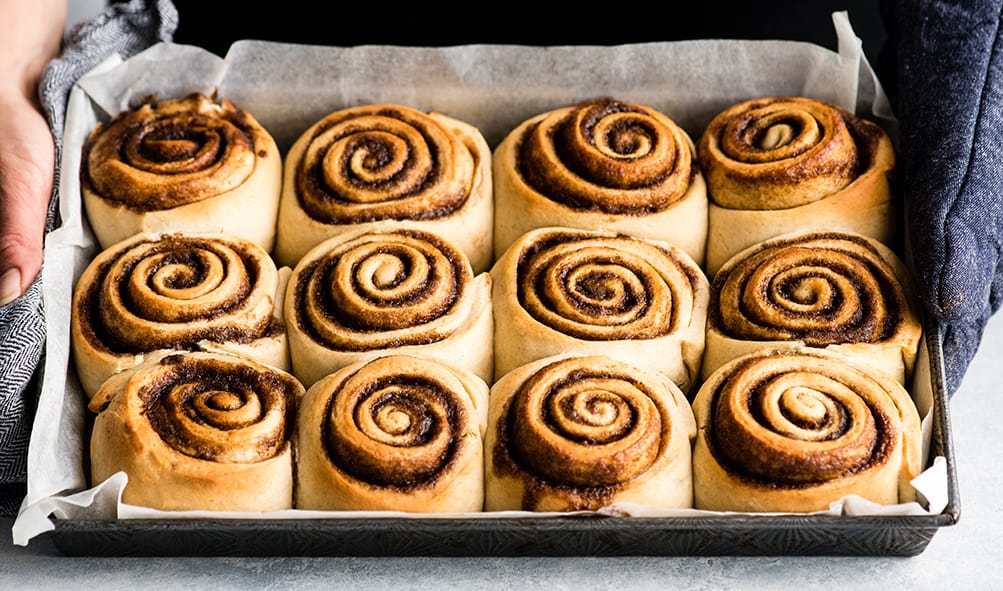
After the rolls have doubled in size, it’s time to put them in that oven and bake. Something important to note is that this cinnamon rolls recipe will rise more in the oven. So do not be surprised if you see the rolls start to puff up even more as they bake.
Bake them for 20-25 minutes. You will know the rolls are done when:
- they are golden brown on top
- they sound hollow when gently hit with a wooden spoon.
- the outside of the rolls feel firm (and not doughy) to the touch.
- A thermometer inserted inside the middle roll reads 185 degrees F.
Make the Cream Cheese Icing
In my opinion, there is no other way to top a cinnamon roll than with a delicious, homemade cream cheese frosting. I recommend making the frosting while the cinnamon rolls are baking. Maple glaze and vanilla icing are also delicious choices.
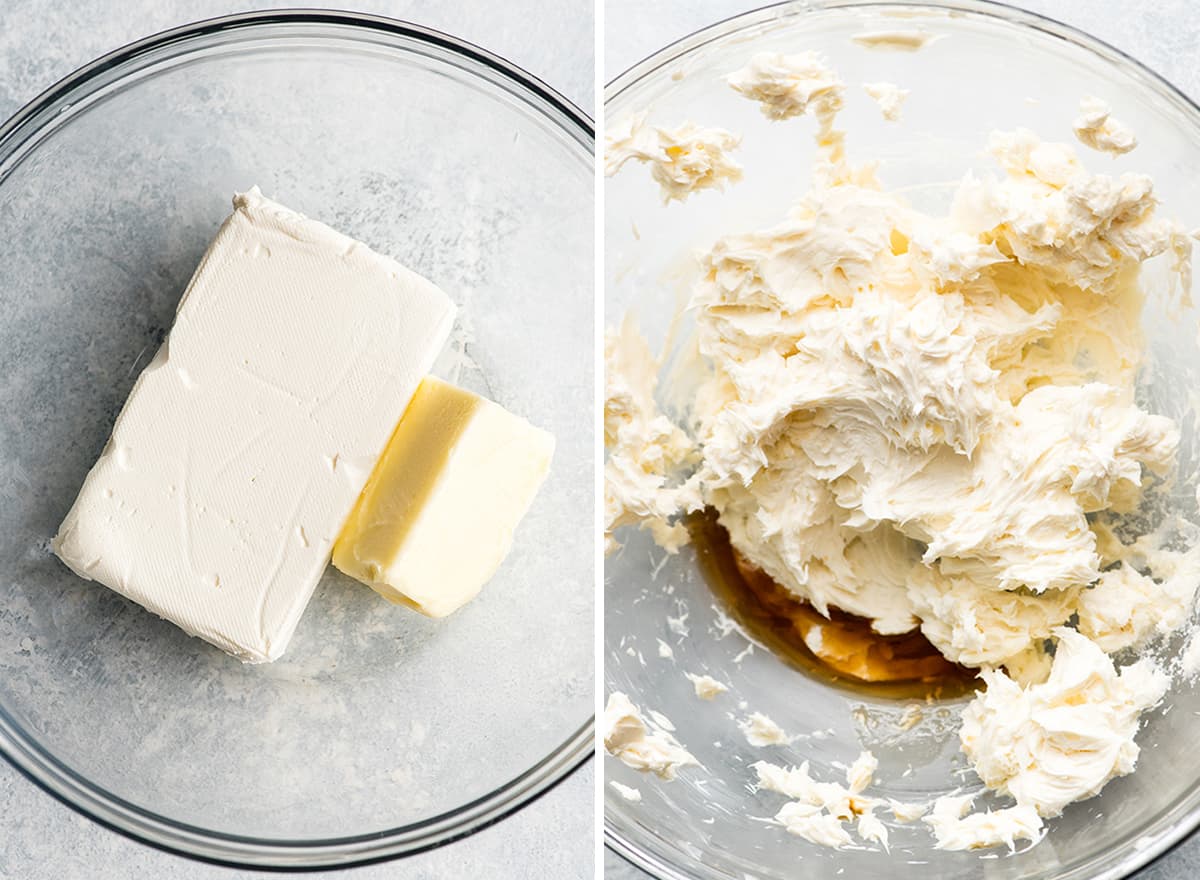
Begin by beating together the butter and cream cheese until smooth. You want to ensure there are no lumps.
Then add the vanilla and beat until combined.
Next, carefully add the powdered sugar. I recommend adding half at a time and beating the frosting after each addition.
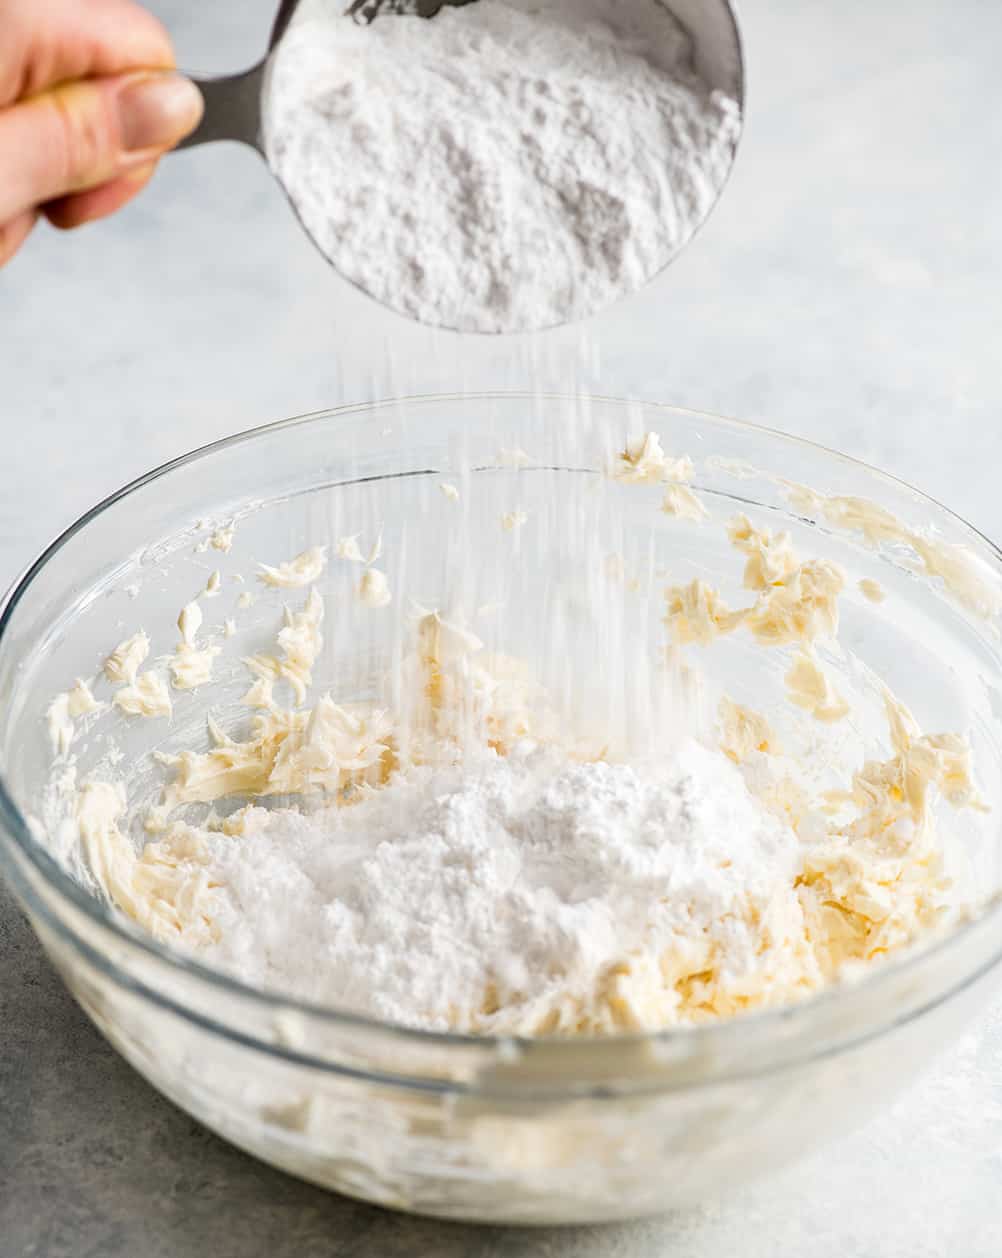
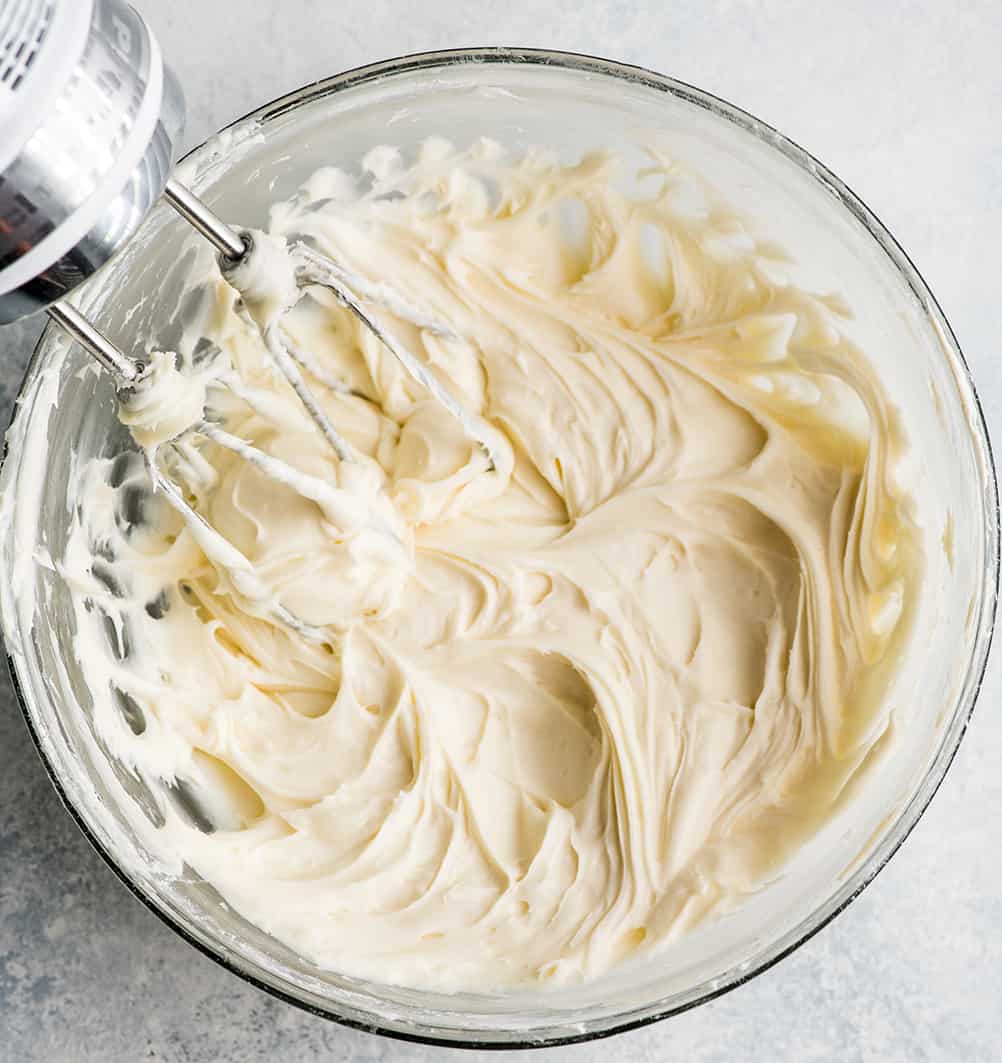
Finally, beat the cream cheese icing until silky smooth. Make sure to fully incorporate the powdered sugar so there are no lumps! Again, you can either use a standing mixer or a hand mixer!
Keep the cream cheese frosting at room temperature. The frosting incorporates into this cinnamon rolls recipe the best when it is at room temperature. If you are making the rolls right away, do not refrigerate the frosting.
When making in advance: if you are making the recipe the night before to bake in the morning, remove the cream cheese frosting from the refrigerator and place it on the counter to come to room temperature as the cinnamon rolls rise and bake.
Frost the Baked Cinnamon Rolls
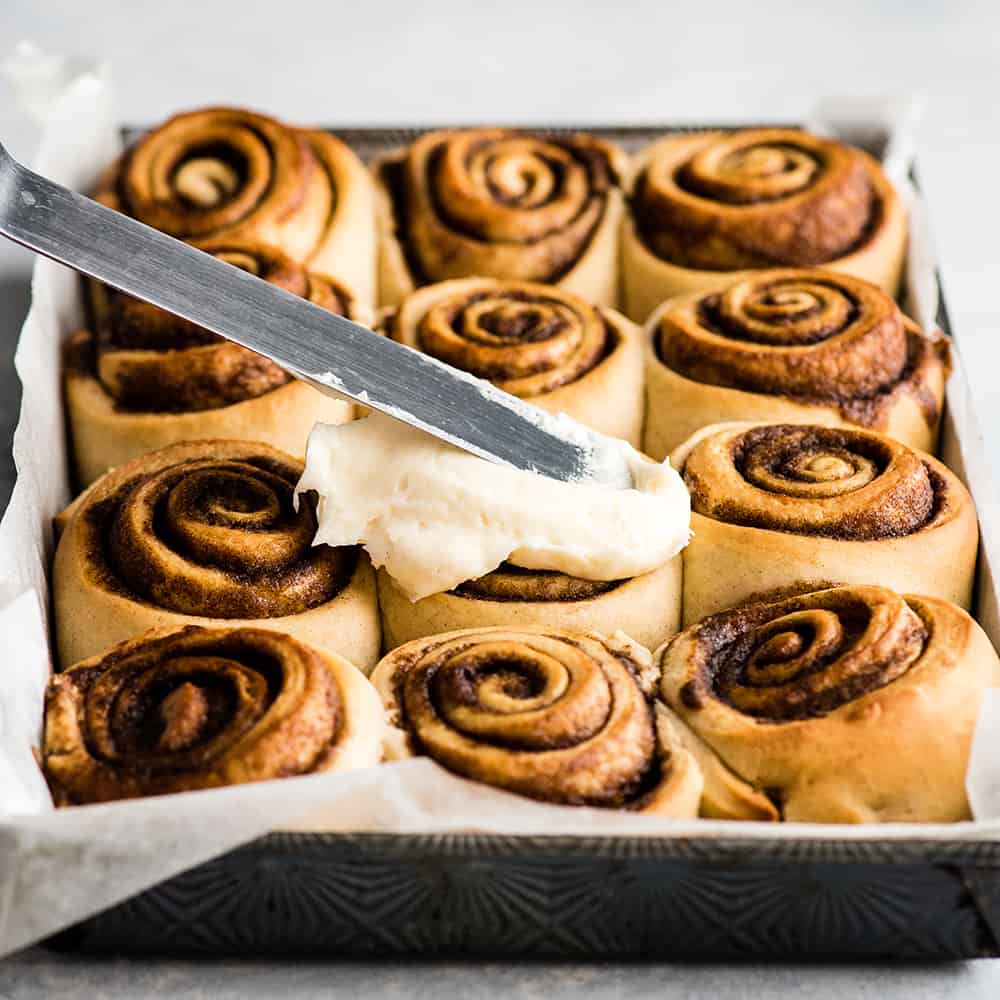
Frost the cinnamon rolls as soon as you remove them from the oven. I cannot stress this enough!
Adding the cream cheese frosting to the warm cinnamon rolls causes the icing to melt into the cracks of the rolls, is one of the factors that makes them gooey – just like Cinnabon.
Serve
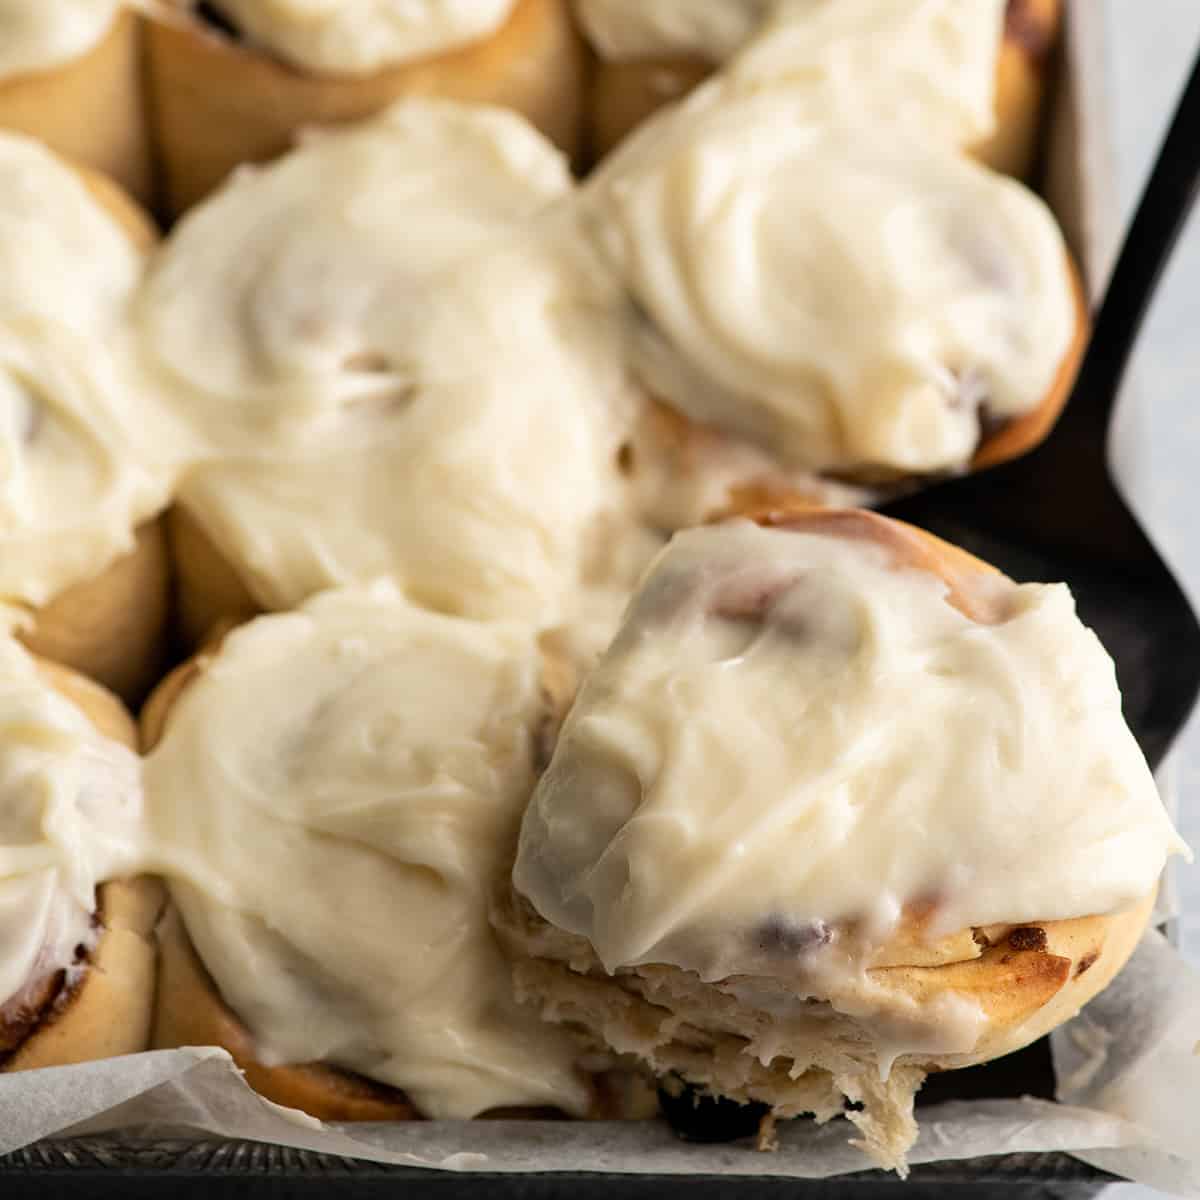
Finally, it is time to dig in and enjoy these homemade cinnamon rolls! I recommend letting them cool for 10 or so minutes before serving. But eating them warm is definitely the best way to enjoy them.
Serve them alongside your favorite breakfast recipes!
To Prepare in Advance
I receive many questions about making these in advance. There are many ways to do this, here are my suggestions below. Always tightly cover the rolls so no air can get to the dough and dry it out.
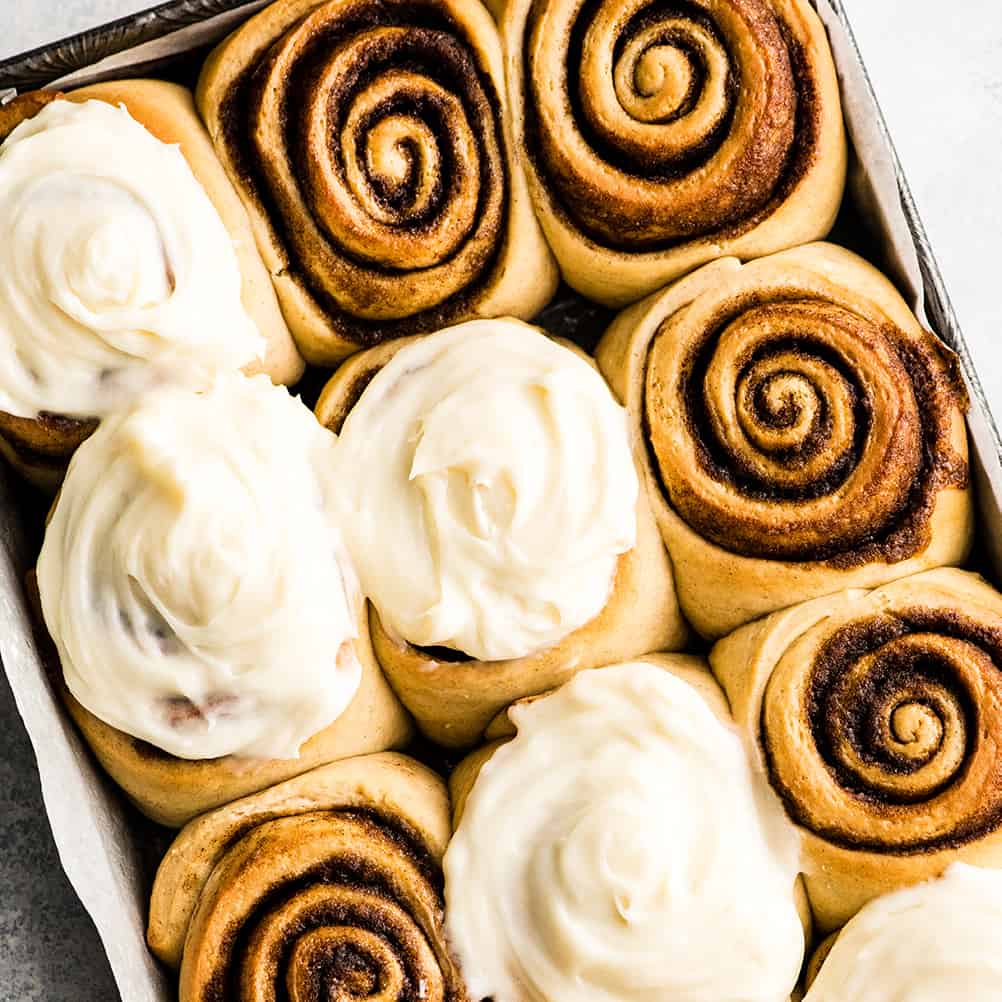
Refrigerate dough after 1st rise before making rolls.
- Punch down the dough after the first rise.
- Place the cinnamon roll dough in a large bowl and tightly cover it with plastic wrap and a tea towel or with a lid and refrigerate overnight.
- To make the rolls: remove the dough and proceed with the recipe. Keep in mind assembled rolls may take longer to rise if the dough is cold.
Refrigerate assembled cinnamon rolls to bake the next day (preferred)
- Tightly wrap the assembled, but not risen, cinnamon rolls with plastic wrap and cover with a damp tea towel or the lid to the baking dish.
- Refrigerate overnight.
- In the morning, remove the assembled rolls from the refrigerator. Loosen the plastic wrap and let the cinnamon rolls come to room temperature and complete their second rise covered with loose-fitting plastic wrap and a warm, damp tea towel.
- Bake risen rolls according to the recipe!
Freeze assembled cinnamon rolls to bake at a later date.
- Tightly wrap the assembled, but not risen, cinnamon rolls with plastic wrap and cover with tin foil or the lid to the baking dish.
- Place the cinnamon rolls in the freezer for up to 1 month (but I don’t recommend any longer than 1 month).
- To bake, remove cinnamon rolls and let them come to room temperature overnight and complete their second rise.
- Bake according to recipe instructions.

Homemade Cinnamon Rolls Recipe FAQS
I want to take a moment and answer many of the questions about this cinnamon roll recipe that I’ve been asked over the years.
Yes. I often make this recipe the night before a special holiday or event (like Christmas, my daughter’s birthday, etc.) and let them rise overnight.
However, it is very important that you put the dough in the refrigerator. Do not leave them at room temperature overnight, because you run the risk of them rising too much and becoming a big doughy mess.
To store the unbaked cinnamon rolls in the refrigerator, wrap the pan tightly with plastic wrap and cover it with tin foil or a lid. I often use this glass baking dish with a lid, to ensure that the dough doesn’t dry out overnight.
Yes! I recommend refrigerating the dough after it has been cut, as discussed above.
Yes. I do this all the time to prepare even farther in advance than the night before. To do this, place the cinnamon roll dough in baking sheet and wrap it as mentioned above (wrap the pan tightly with plastic wrap and cover it with tin foil or a lid). Then place it in the freezer for up to 1 month (but I don’t recommend any longer than 1 month).
Here are a few tips for making the cream cheese icing for this cinnamon roll recipe:
Use room temperature ingredients. It is critical that the cream cheese and butter have completely reached room temperature and are softened before trying to combine them. Cold ingredients will be much harder to beat together.
Thoroughly beat the cream cheese and butter before adding other ingredients. Do this to ensure there are no lumps in your cream cheese frosting. You can use a standing mixer or a hand mixer.
Add vanilla and beat again. After adding vanilla, be sure to beat the mixture again until it’s well combined.
This homemade cinnamon roll recipe bakes at 350 degrees Fahrenheit (which is about 177 degrees Celsius). Please do not try to rush the baking process by increasing the temperature. It is important to the final rising process that these rolls bake at 350 degrees F!
Bake for 20-25 minutes, or until:
The rolls are golden brown on top.
They sound hollow when gently hit with a wooden spoon.
The outside of the rolls feel firm (and not doughy) to the touch.
A thermometer inserted inside the middle roll reads 185 degrees F.
Yes. Flash-freeze the cinnamon rolls on a pan. Once they are frozen, wrap them tightly with plastic wrap and put them in an airtight container in the freezer.
To reheat, either leave them at room temperature until they are soft and then microwave for 25-30 seconds, or use the defrosting setting in your microwave to thaw the cinnamon rolls. They can also be warmed in an oven set to 300 degrees! Just be sure to watch them so the frosting doesn’t completely melt!
I do not recommend baking these directly from frozen for one very important reason: The dough needs to rise.
To bake cinnamon rolls after the dough has been frozen:
Remove the frozen cinnamon roll dough from the freezer the night before you would like to bake them.
Leave the dough on the counter to come to room temperature and rise until doubled in size.
After the dough has risen, bake and frost according to the recipe instructions.
This cinnamon roll recipe makes the absolute best, gooiest cinnamon rolls for the following reasons:
The rolls touch each other while baking. After the cinnamon rolls rise they will be touching each other on all sides (except for the part pointing to the outside of the pan). This keeps the centers nice and soft and gooey!
The filling doesn’t leak out. Using the method where all the ingredients are mixed together and then spread onto the dough keeps the filling inside the homemade cinnamon rolls where it belongs, which makes them nice and gooey.
Frosting while warm. Like I explained above, frosting the cinnamon rolls while they are warm makes them extra gooey and delicious!
Sometimes things happen during the baking process and the filling leaks out. To get it back into the rolls simply cover the pan of warm rolls with a lid or another baking sheet and invert the baking sheet.
This will cause the filling to drip back into the cinnamon rolls and become nice and gooey again!
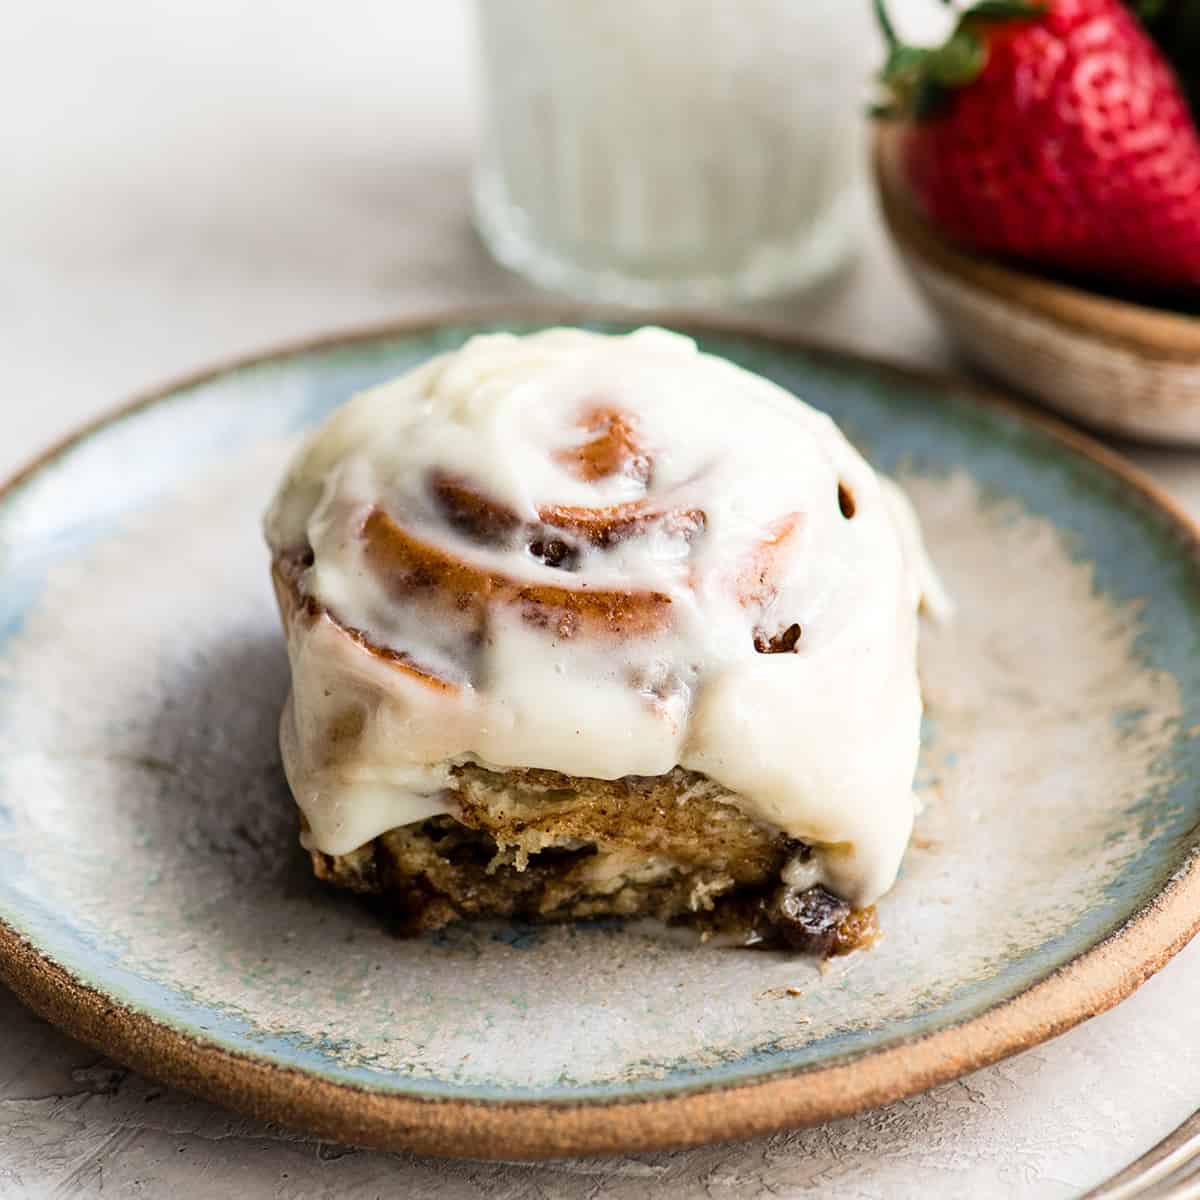
If you make and love my recipes, it would mean so much to me if you would leave a comment and rating! And don’t forget to follow along on Instagram, Pinterest, Facebook, TikTok and Youtube – be sure to tag @joyfoodsunshine and use the hashtag #joyfoodsunshine so I can see your creations!

Best Cinnamon Rolls Recipe (Better than Cinnabon)!
Ingredients
Cinnamon Roll Dough:
- 1 cup whole milk warm (105 degrees F)
- ½ cup + 1 Tablespoon granulated sugar divided
- 1 Tablespoon Active dry yeast
- 2 large eggs room temperature
- 6 Tablespoons salted butter melted
- 1 teaspoon pure vanilla extract
- 4 to 4 ½ cups all-purpose flour
- 1 teaspoon fine sea salt
- 1 teaspoon ground cinnamon
Cinnamon Sugar Filling:
- 1 cup brown sugar packed
- 2 ½ Tablespoons ground cinnamon
- 6 Tablespoons salted butter softened
Cream Cheese Frosting:
- 8 ounces cream cheese softened
- ¼ cup salted butter softened
- 2 cups powdered sugar
- ½ teaspoon pure vanilla extract
- ⅛ teaspoon fine sea salt
Instructions
Make the Cinnamon Roll Dough:
- Warm milk in the microwave milk for 45-60 seconds. It should be warm but not hot to the touch (about 105 degrees F).
- Place milk into the bowl of your standing mixer, then add 1 TBS sugar and 1 TBS yeast to the warm milk. Stir and let it sit (proof) for five minutes or until it becomes foamy.
- Add the ½ cup sugar, butter, eggs, and vanilla to the mixture in the bowl of your standing mixer. Use a dough hook to stir until combined
- Add 4 cups flour, salt and cinnamon and stir the dough hook, starting on low and increasing to high.
- Knead dough in the standing mixer until a large ball is formed. The dough should be smooth and only slightly tacky to the touch. If the dough seems too sticky and is not forming a ball, add more flour 1 TBS at a time until a smooth ball is formed.
- Transfer dough to a floured surface and knead with your hands until it is smooth and elastic (about 3-5 minutes). Form it into a ball.
- Grease a large bowl and place the dough inside.
- Cover the bowl with a warm, damp towel and put the bowl in a warm place to rise.
- Let the dough rise in a warm place about 1 hour or until dough has doubled in size.
Make the Filling
- While the dough is rising, make the filing. In a small bowl, combine butter, brown sugar and cinnamon until mixture is homogenous (uniform throughout). Set aside.
- Alternately, you can combine the cinnamon and sugar. Then melt the butter and brush it on the rolled dough, then sprinkle the cinnamon sugar on the butter-brushed dough. (I think this way is easier)!
Assemble the Cinnamon Rolls
- Sprinkle a large work surface with flour.
- Gently press the gas out of the dough and form it into a rectangle.
- Roll the dough into a 24×12” rectangle, about 1/4 inch thick.
- Spread the filling all over the dough using greased hands or a greased spatula. This process can seem difficult but it gets easier as you spread it. (Alternately: if you only combined the cinnamon and sugar, then melt the butter and use a pastry brush to spread the melted butter all over the dough. Then sprinkle the dough with cinnamon sugar and pat it down gently to insure it sticks).
- Roll up dough cut into 12 equal sized rolls (feel free to measure and cut each roll to be 2” long).
- Line a 9×13 inch glass baking dish with parchment paper and lightly grease. Then place rolls in 4 rows of three, evenly spaced.
- Cover and let rise until nearly doubled, about 30 minutes.
Bake
- Preheat the oven to 350 degrees F.
- Once rolls are doubled in size, bake them in the preheated oven until golden brown, about 20-25 minutes. They will rise more in the oven. (NOTE: Check the center cinnamon rolls and make sure they are baked through. If your oven bakes cool or unevenly you may need to increase the baking time up to 10 minutes longer. If the top starts to brown before the center is baked, tent the baking pan with foil to prevent further browning).
Make the Cream Cheese Frosting
- While rolls are baking, beat together cream cheese, butter, powdered sugar, vanilla extract and salt. Do not chill the frosting. Keep it at room temperature until the cinnamon rolls are baked.
- Once the cinnamon rolls have bene removed from the oven, spread the cream cheese frosting on them while they are still warm.
- Let cool slightly and serve warm.
Video
Notes
- After the cinnamon rolls have been assembled in a baking dish, wrap tightly with plastic wrap and cover with a tea towel or aluminum foil and place them in the refrigerator.
- In the morning, remove the baking dish from the refrigerator and let them come to room temperature and finish rising (this takes about 30-40 minutes).
- Then bake according to recipe instructions.
- Assemble the cinnamon rolls in the baking pan.
- tightly cover with plastic wrap and then with aluminum foil or a lid.
- freeze for up to 1 month.
- To bake, remove cinnamon rolls from the freezer the night before you’d like to bake them.
- Let them come to room temperature and rise overnight, then bake according to the recipe instructions.
- If you find some of the cinnamon/sugar filling at the bottom of your baking pan when you pull them out of the oven, immediately place a lid or a baking sheet over the top of the cinnamon rolls and flip them upside down (invert them). This will cause the filling to reincorporate into the rolls!
Nutrition
Nutrition information is automatically calculated, so should only be used as an approximation.






Why is it important to hand knead after the mixer? Will that affect how well the assembled rolls do in the fridge or freezer or is it to avoid over working the dough?
If i replace all-purpose flour to bread flour, will i need to adjust the milk proportion?
No, you shouldn’t need to!
I’ve tried and loved your other recipes.
I don’t have easy access to cream cheese though. Can I substitute something else for it?
Yes, you can use a different frosting! I suggest vanilla buttercream. Or try this maple glaze!
This is truly the best cinnamon rolls recipe. I have made it for years and they are still the best cinnamon roll I’ve eaten. I also made them once for a special occasion for work and they’ve been asking me ever since to make them again.
Thank you so much Fernanda!!!!
They didn’t rise when the dough had to rest, but once in the oven, they tripled in size! They were delicious and my parents and school friends loved them. Thanks for this wonderful recipe!
Thank you Louise!
These are amazing! They’ve become our Christmas/Easter/any special occasion tradition.
Quick question – any suggestions for adapting these into mini-cinnamon rolls? Looking to make several dozen smaller ones out of a single batch for a group.
If you make them smaller into mini cinnamon rolls, you’ll need to shorten baking time!
by many minutes in the oven much do you recommend for the mini cinnamon rolls?
These cinnamon buns are amazing!! They taste better then store bought and my family can’t stop eating them! Would 100% recommend these!
Thank you so much Alex!
As good as – or better than – advertised! While being quarantined during the pandemic, I set out to learn to make the perfect cinnamon rolls. I thought I was going to have to try various recipes, make my own tweaks, the whole ordeal. Good thing I started with these because that was the end of my search – they are to die for! I’ve been making them ever since! My ideal amount of icing is 3/4 of this recipe, so that’s the only change I make. Thank you Laura for this masterpiece of a recipe!
If I don’t have a mixer, can I just mix it without?
Made it once its a heat!!! Now making it twice with my bf swearing to keep your recipe always thank you every1 loves it😘