Dairy-Free Chocolate Peanut Butter Ice Cream
Posted May 06, 2018, Updated Jul 01, 2024
This post may contain affiliate links. Please read our disclosure policy.
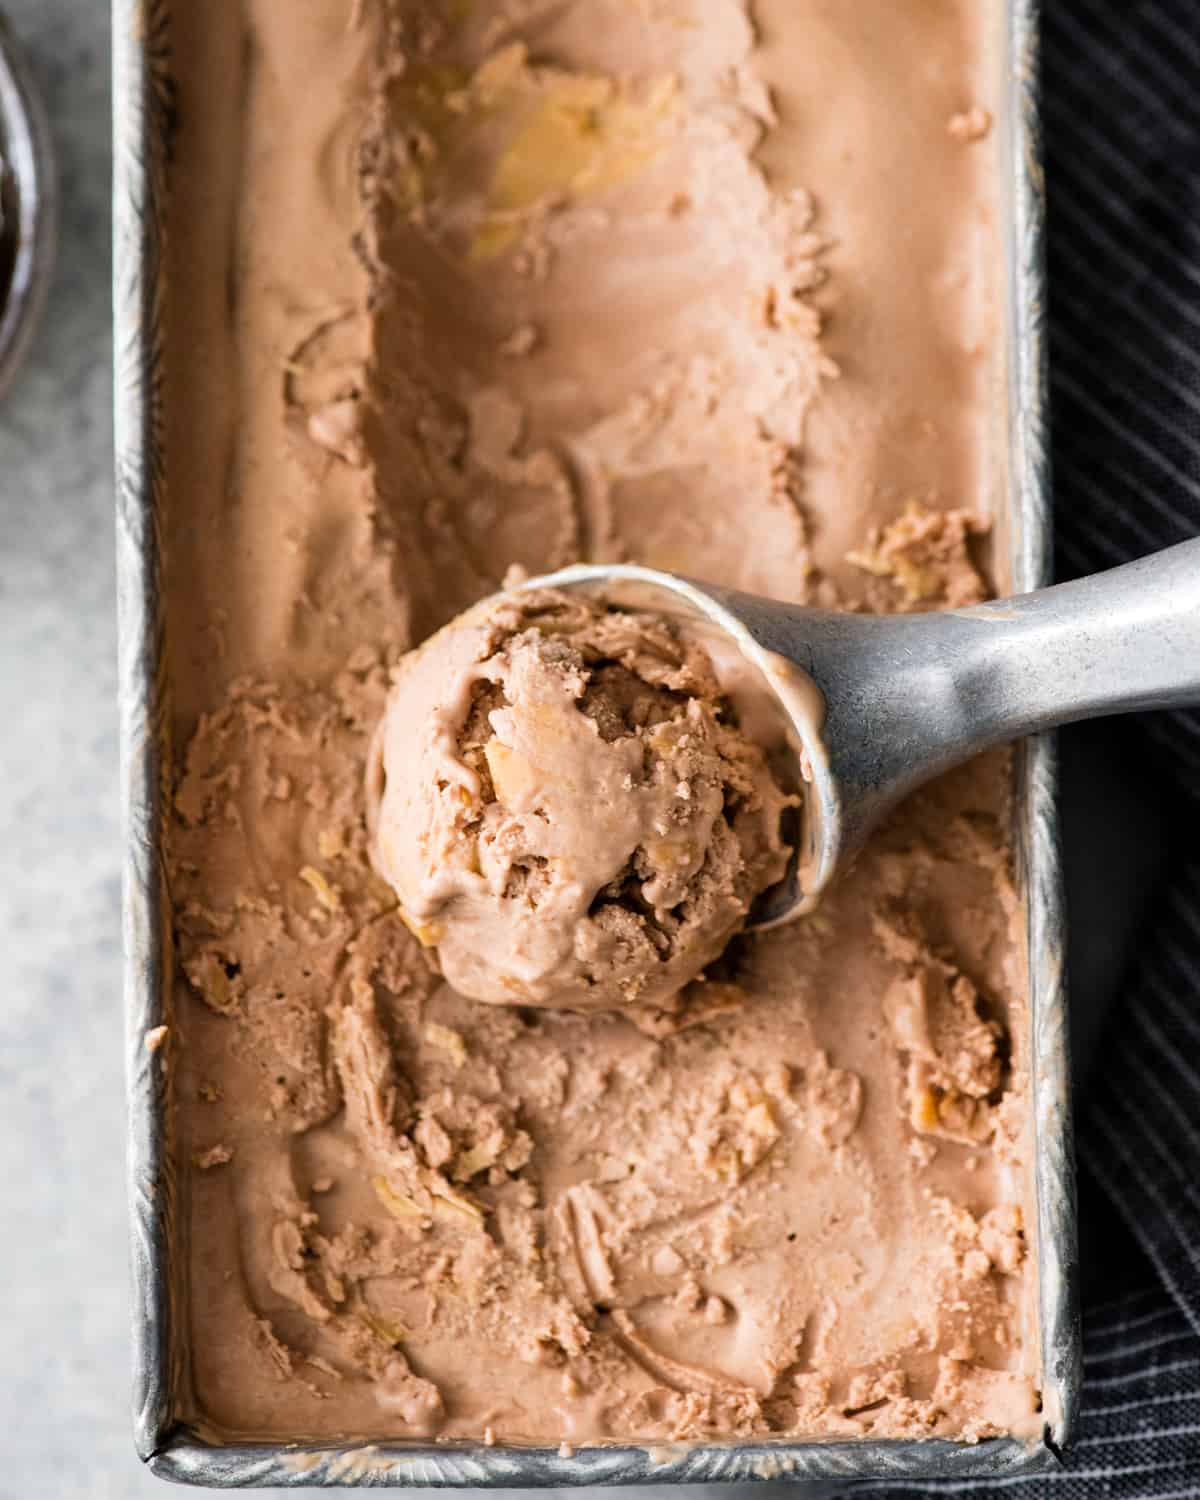
This dairy-free chocolate peanut butter ice cream is easy to make with 6 nutritious ingredients! It’s rich and creamy, and no one would ever guess that it’s dairy-free!
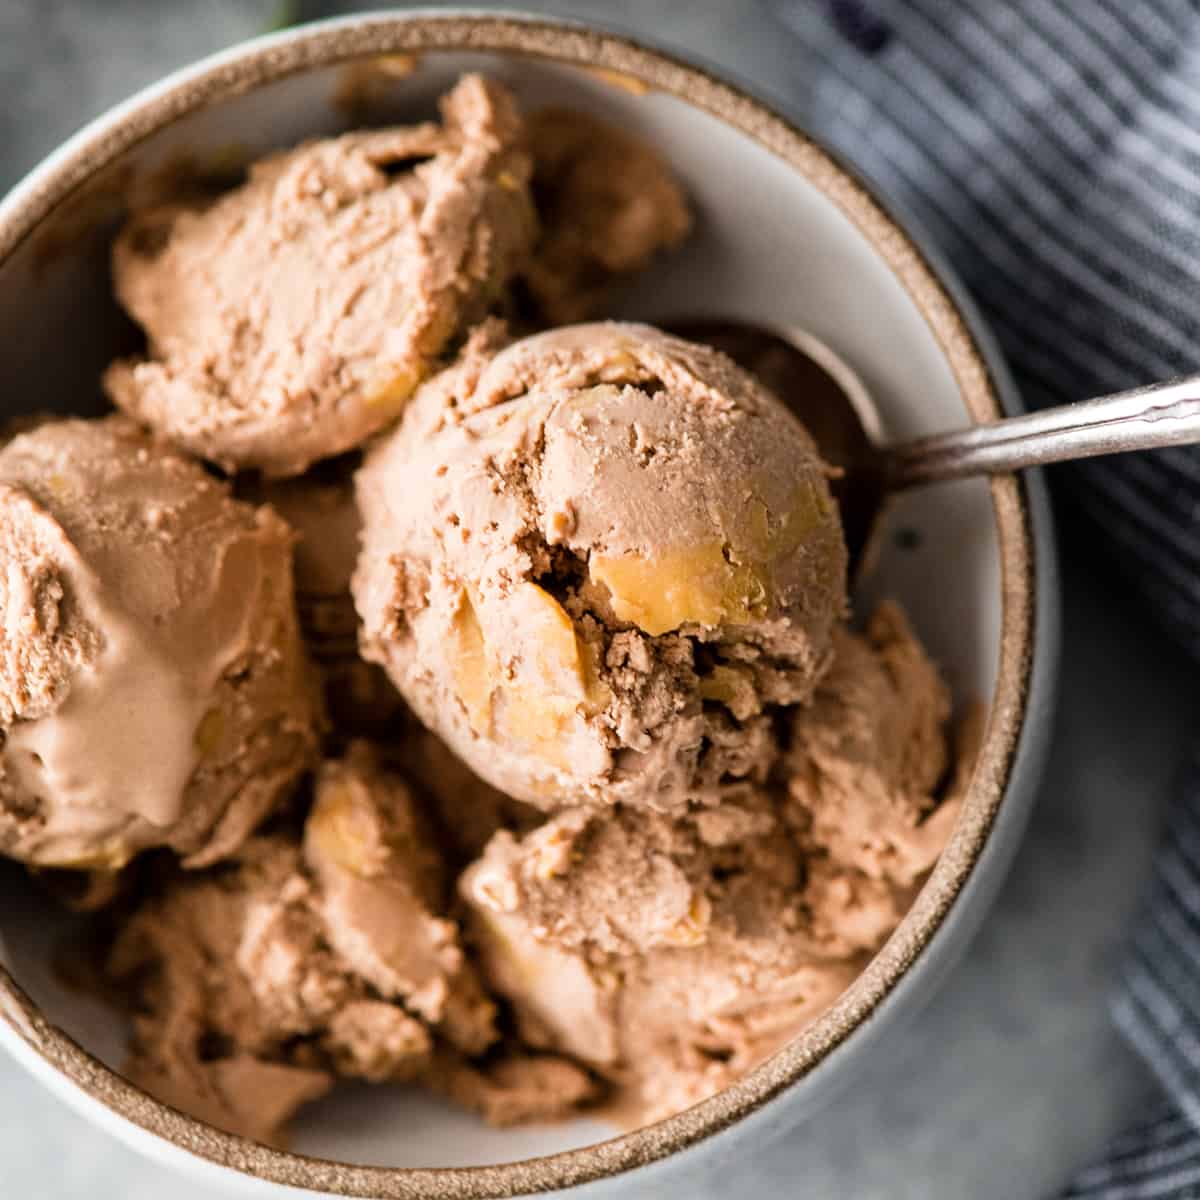
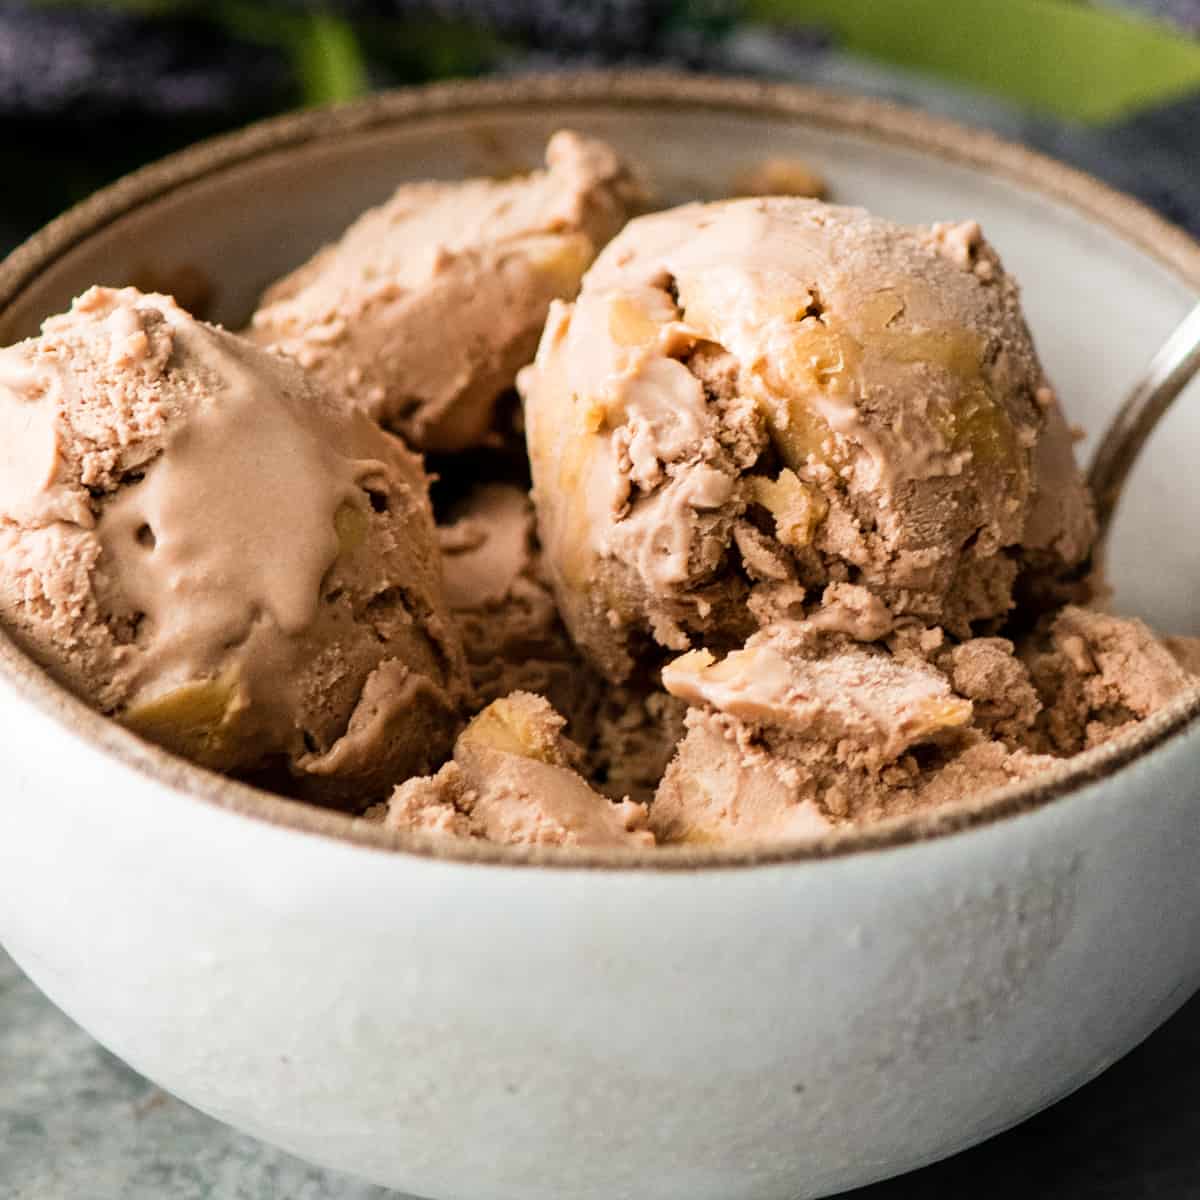
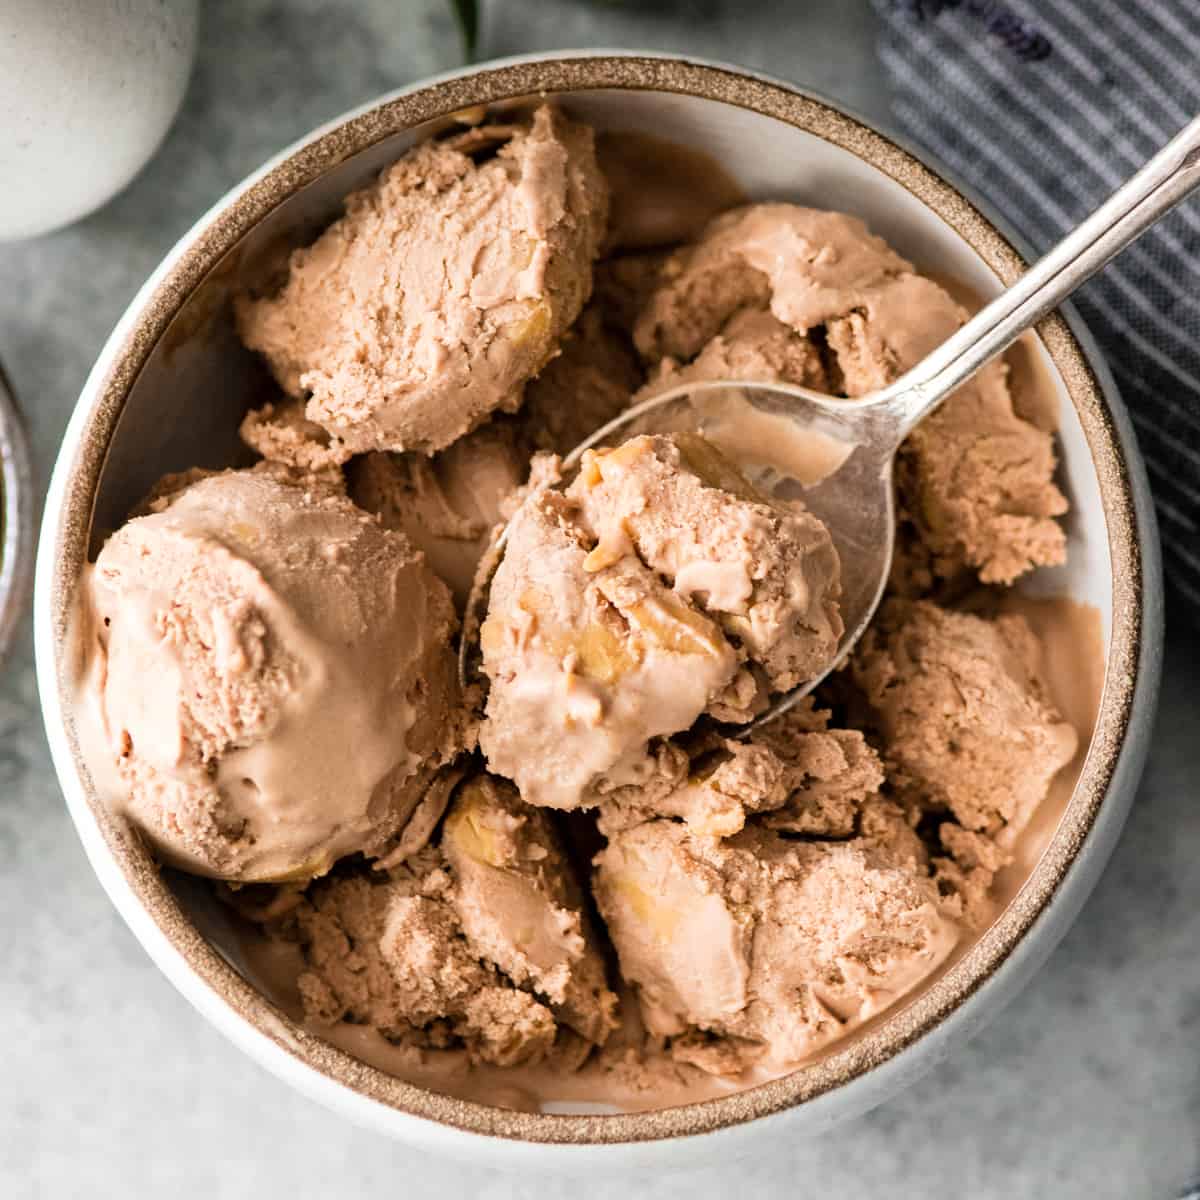
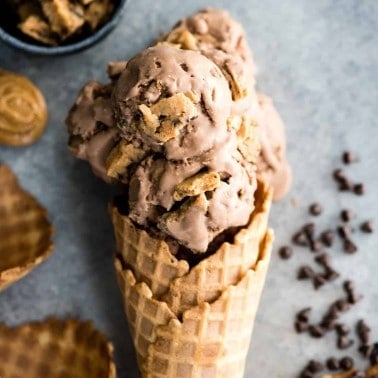
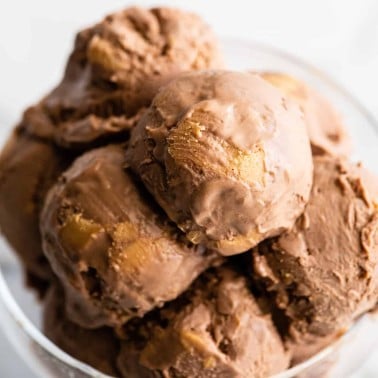
This recipe goes out to all my lactose-intolerant friends who love ice cream. This dairy-free chocolate peanut butter ice cream is one of my all-time favorite treats. It’s rich and chocolatey with peanut butter chunks in every bite!
So many dairy-free ice cream recipe turn out icy or rock-hard and definitely lack in the creaminess department. But that’s not the case with this recipe.
Using coconut cream instead of other non-dairy milk makes this dairy-free ice cream smooth and creamy and rich.
Dairy-Free Chocolate Peanut Butter Ice Cream: Substitutions & Ingredients
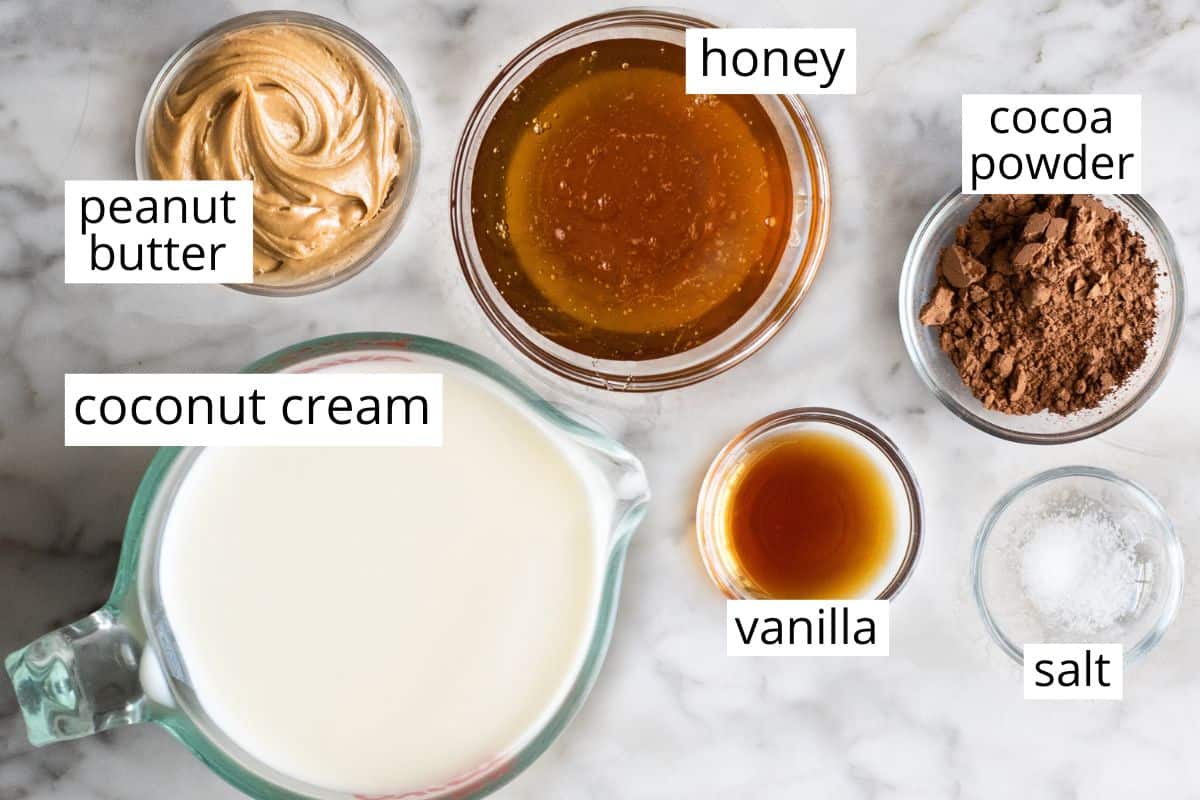
- Peanut Butter: If you are allergic to peanuts you can use any nut or seed butter.
- Honey: Maple syrup can be used in place of honey for a vegan version.
- Coconut cream. Full-fat coconut milk works just as well as coconut cream. I don’t recommend any other substitutions.
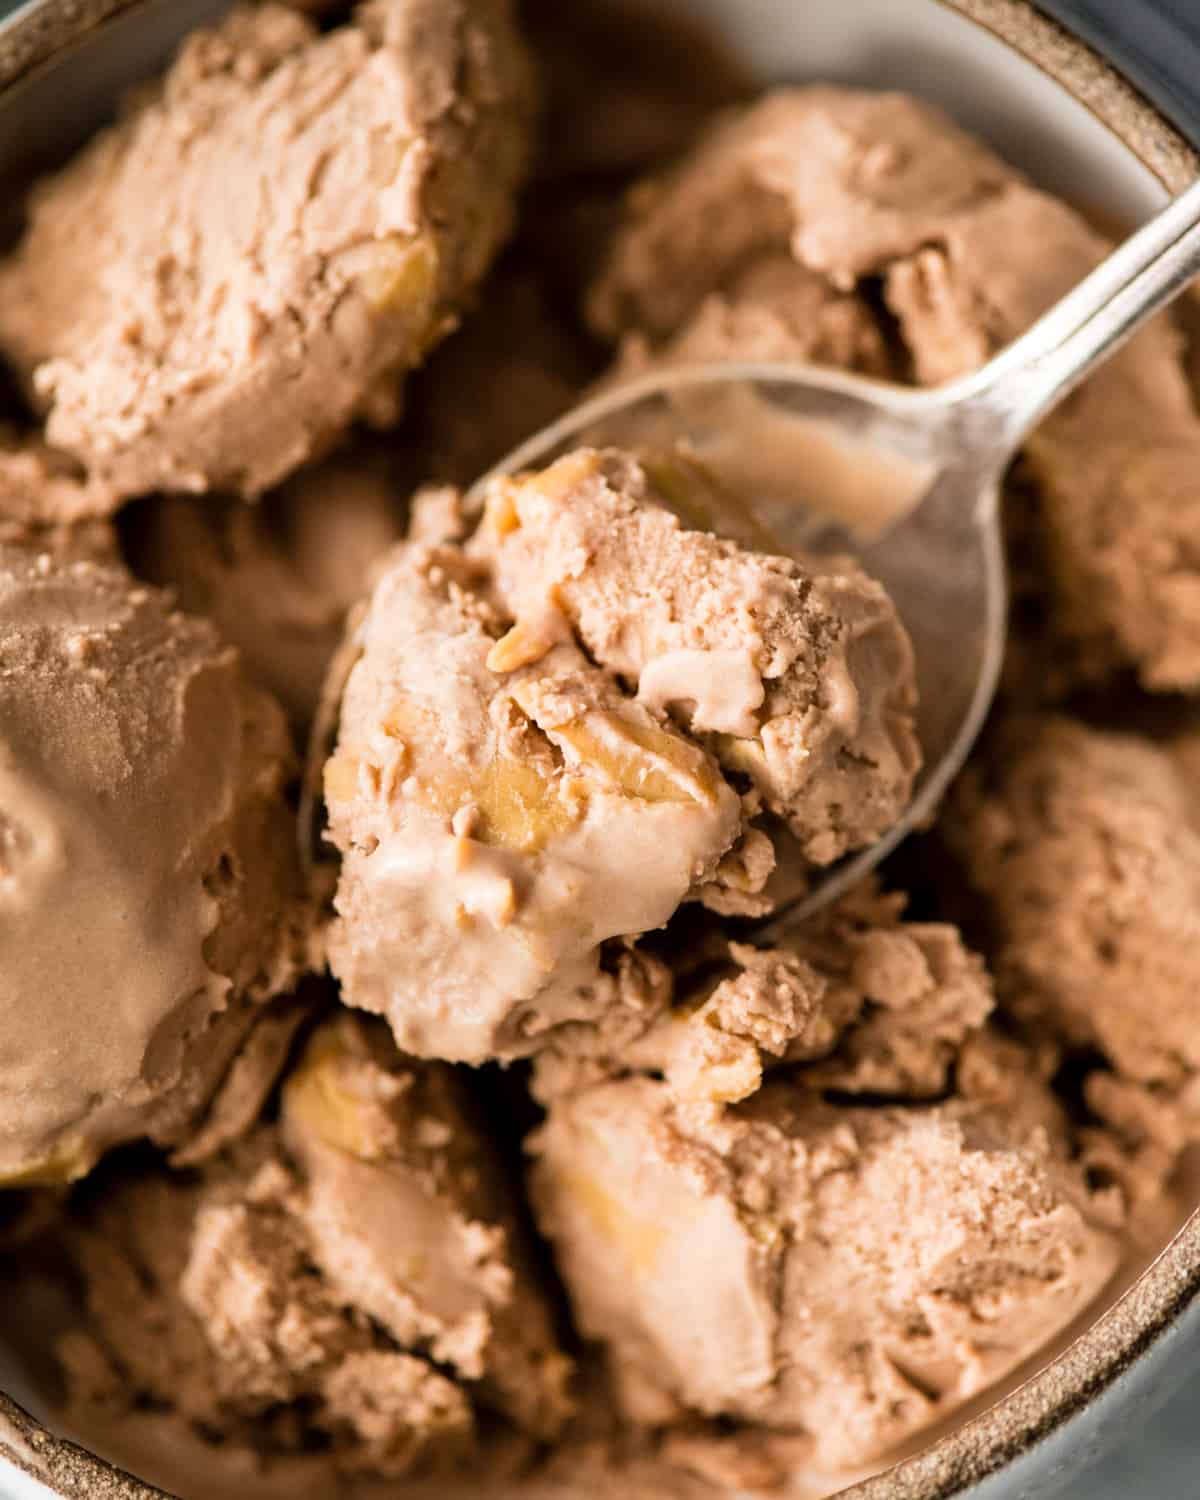
How to Make Dairy-Free Chocolate Peanut Butter Ice Cream
Let’s discuss how to make this recipe, and don’t forget to watch the video.
Make the Peanut Butter Chunks
The first thing you need to do is make the frozen peanut butter chunks! Everybody knows that the absolute best chocolate peanut butter ice cream has lots of chunks of peanut butter mixed in.
There have been (many) times that I actually added extra peanut butter balls to store-bought ice cream because there simply wasn’t enough, which is why I prefer homemade ice cream.
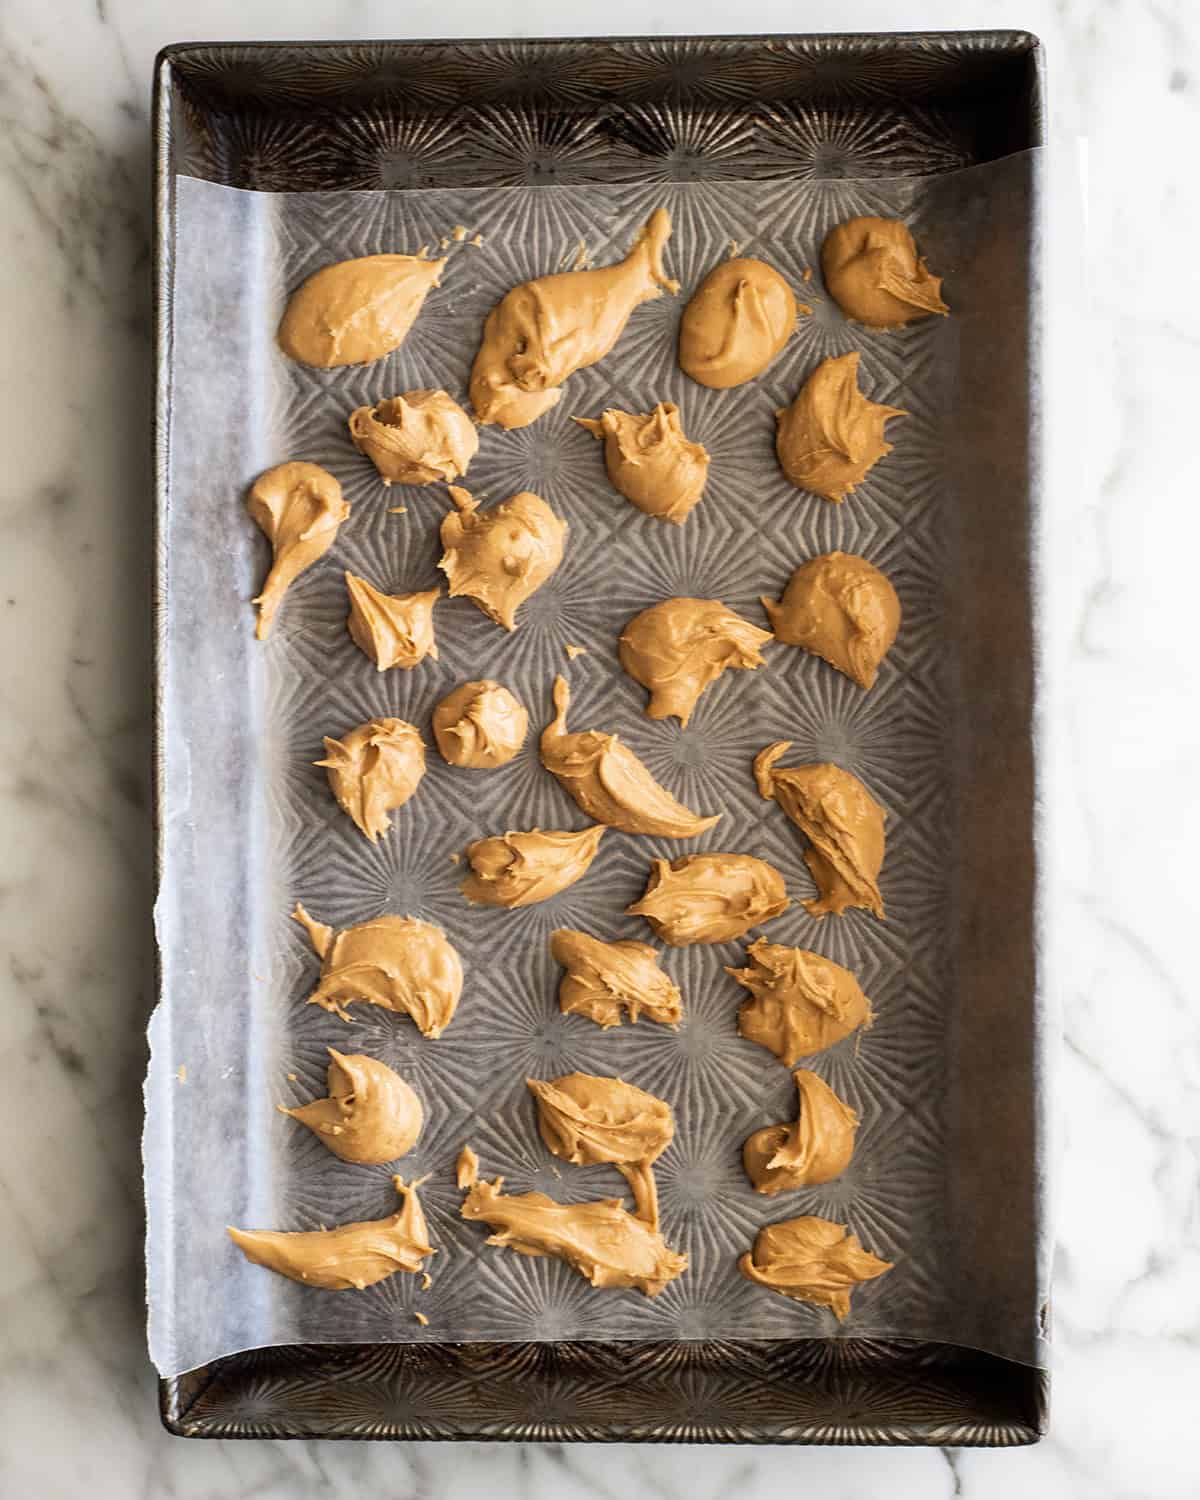
I prefer to use pure peanut butter (not add any sugar to it). Simply portion out the desired amount of your favorite peanut butter onto a tray lined with waxed paper. Then freeze it for one hour.
Make the Ice Cream
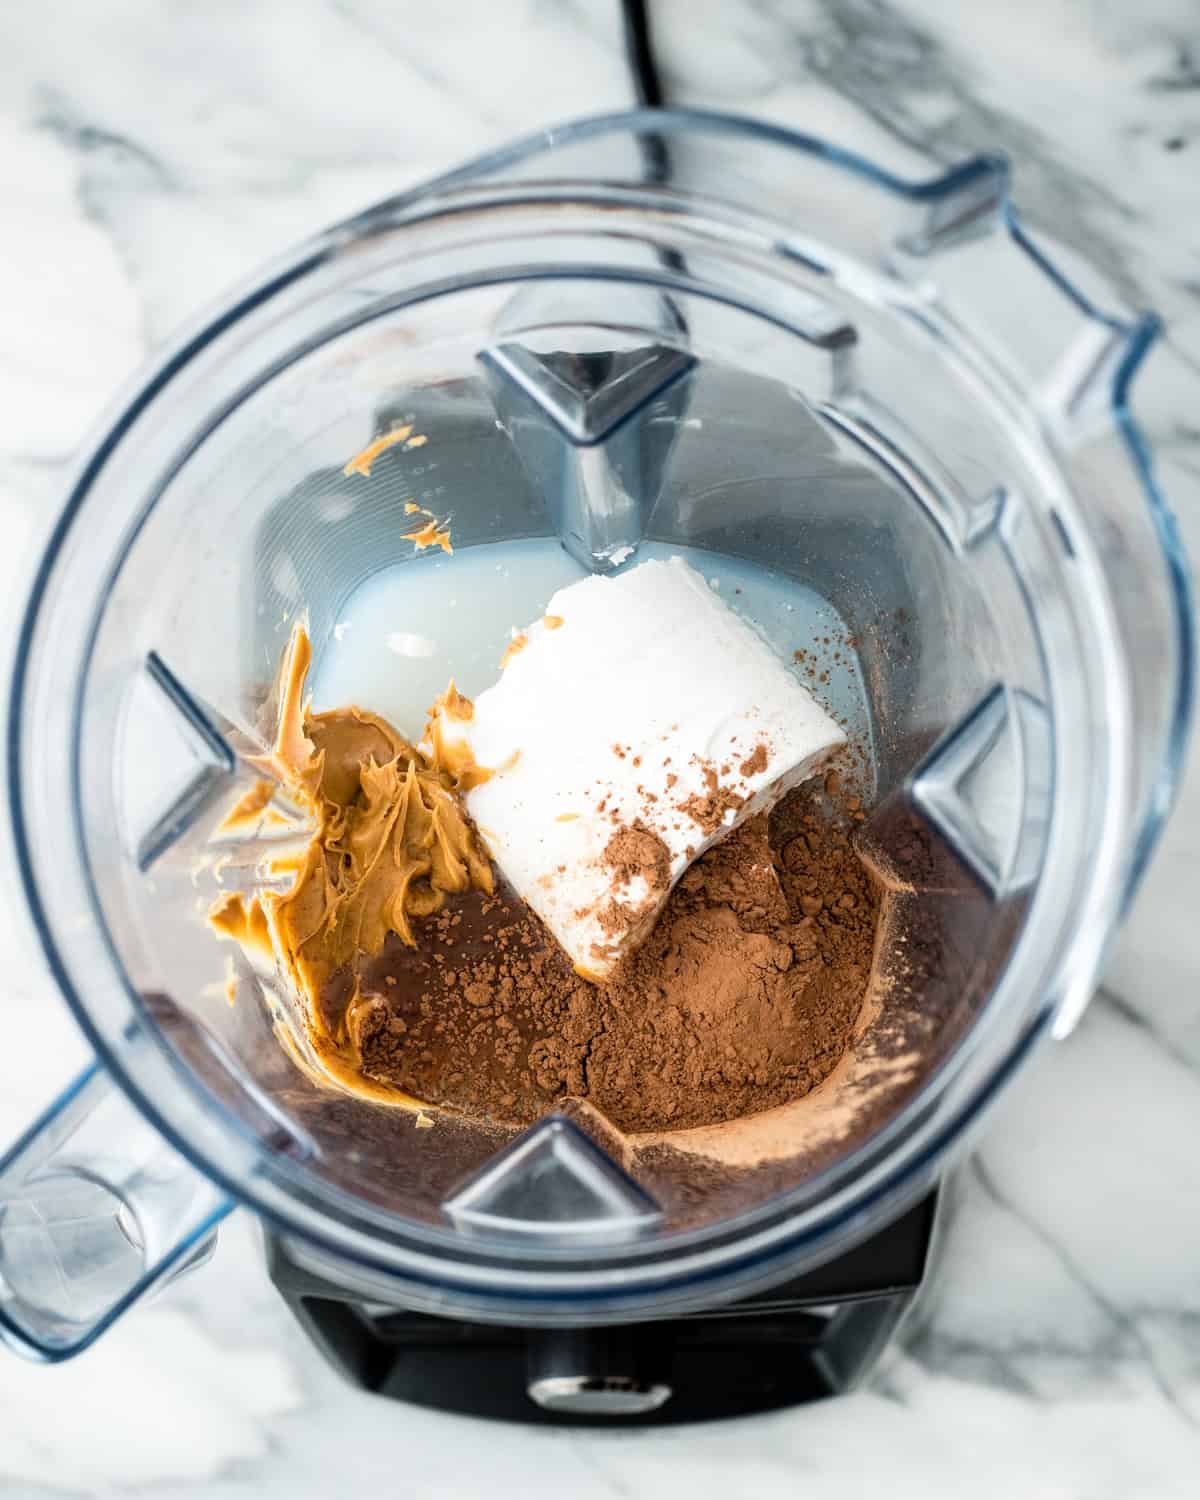
Once the peanut butter is frozen, add all of the ingredients for the ice cream into the container of your Vitamix and blend until smooth.
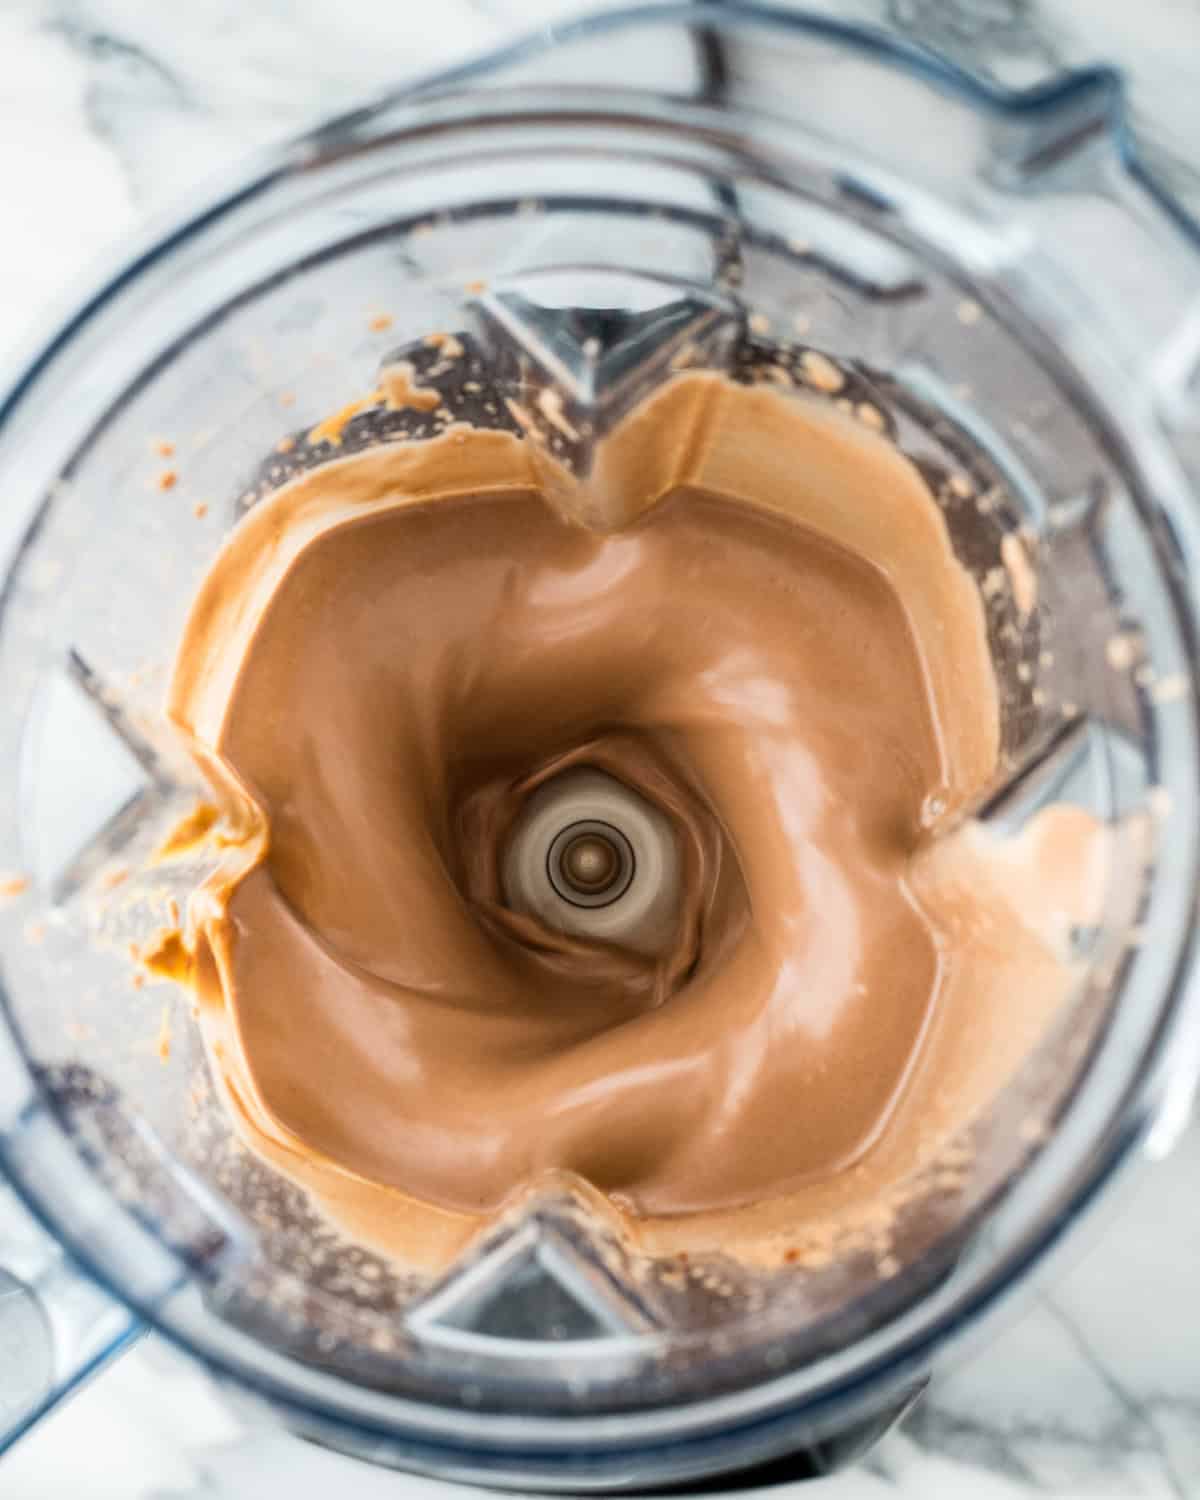
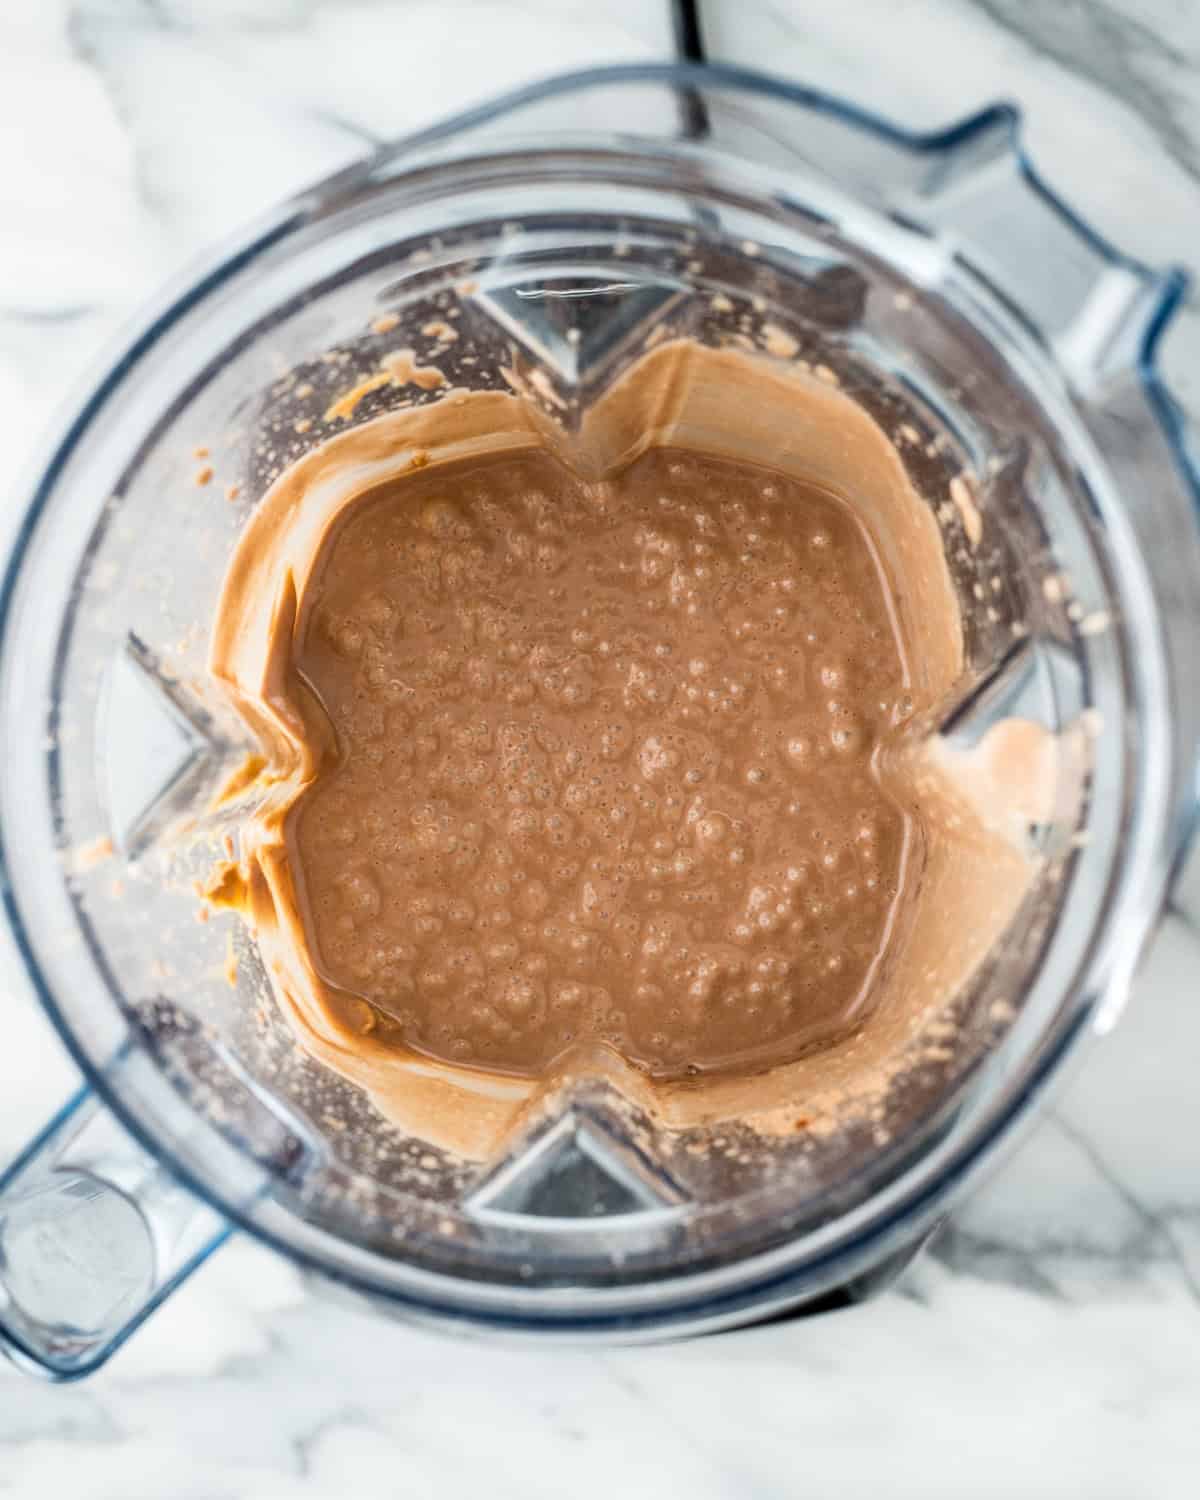
Then pour the mixture into an ice cream maker and let it churn! It’s important that (unlike many other recipes) you do not chill the chocolate peanut butter ice cream mixture! It must go directly from the Vitamix into the ice cream maker.
The bowl of your ice cream maker must be frozen in order to churn the ice cream!
Turn on Ice cream maker
Turn the ice cream maker on before you pour the mixture into it. Pouring ice cream into an already moving container ensures that it will not freeze to the bottom or sides, which could hinder the churning process by preventing the machine from rotating.
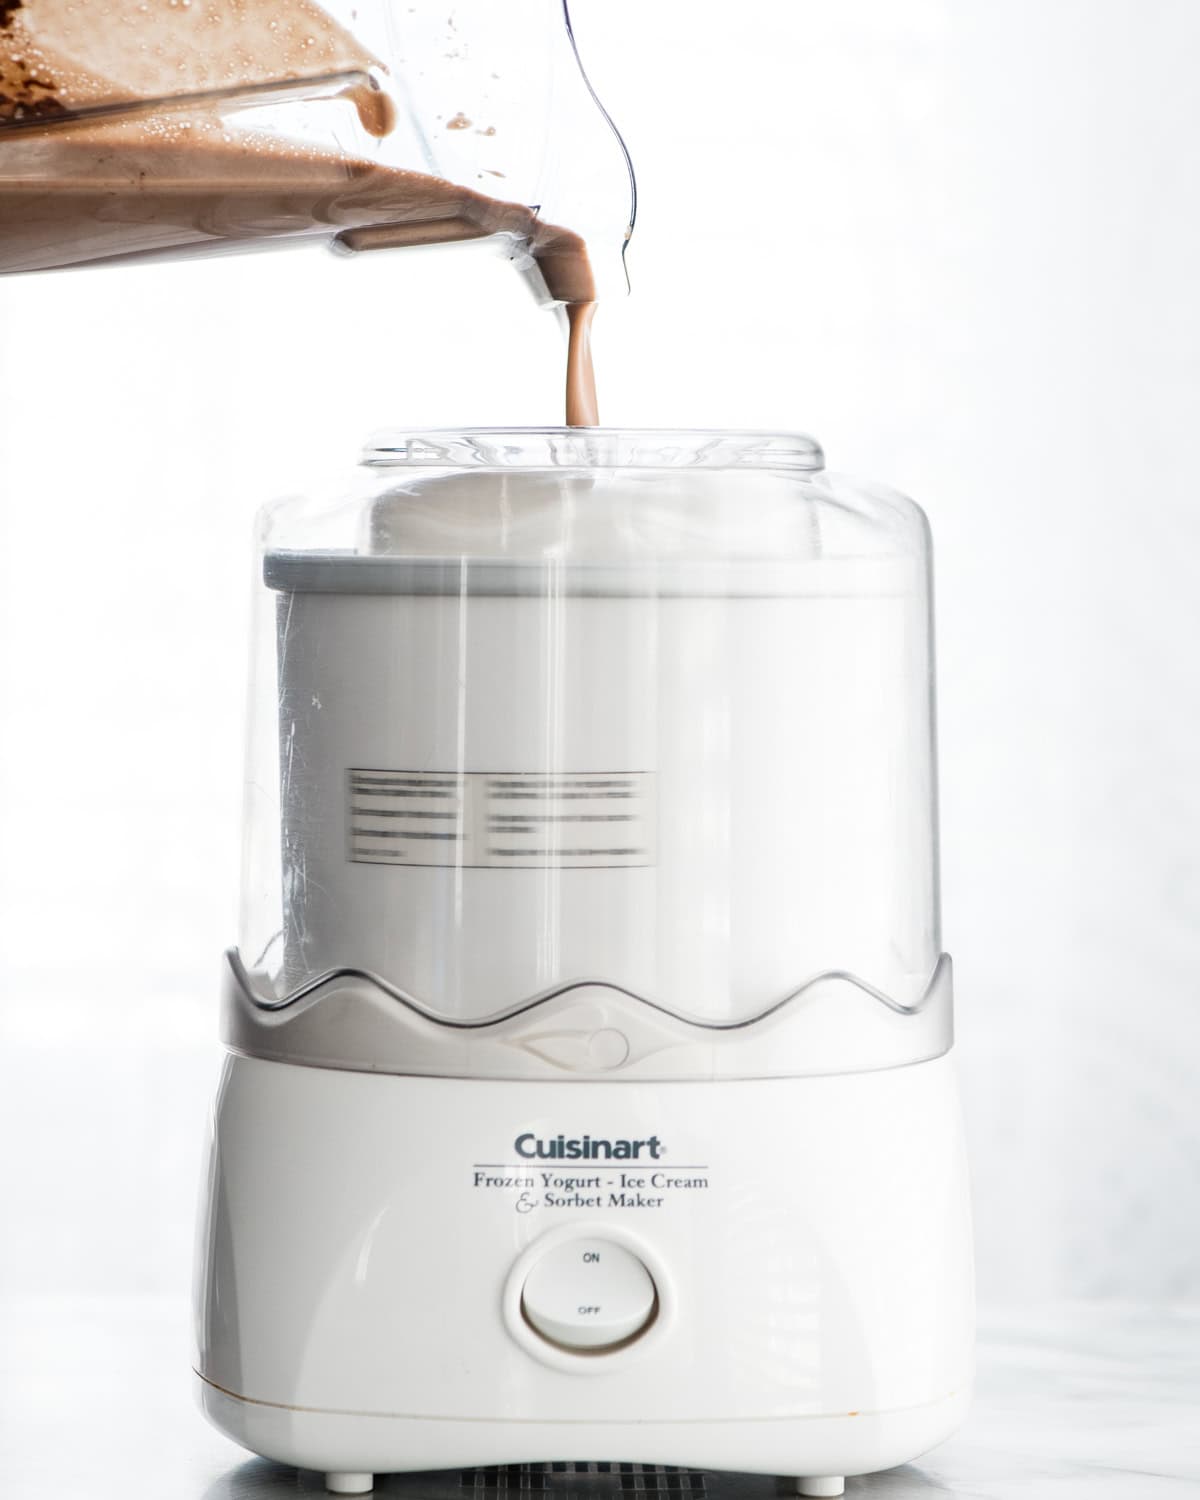
When your Dairy-Free Chocolate Peanut Butter Ice Cream forms a ball and no longer has a liquid consistency, it is done! At this point it could become so thick that the ice cream maker stops rotating, which is another indicator that it’s ready!
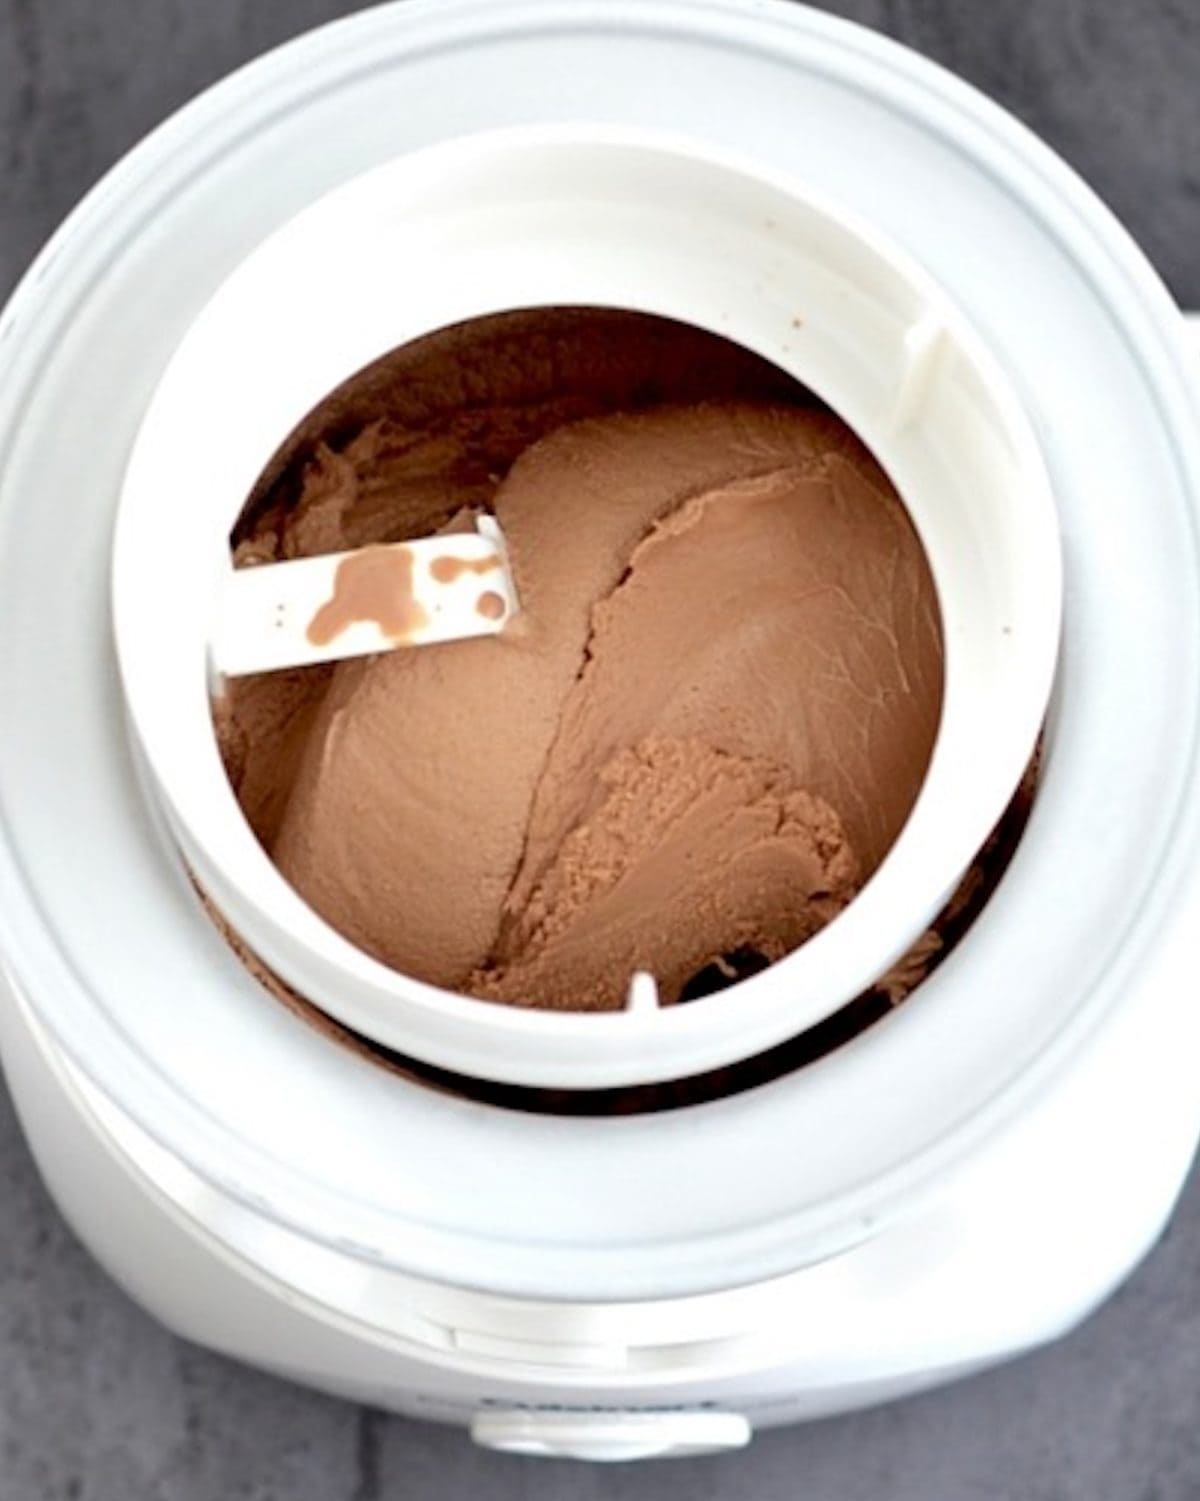
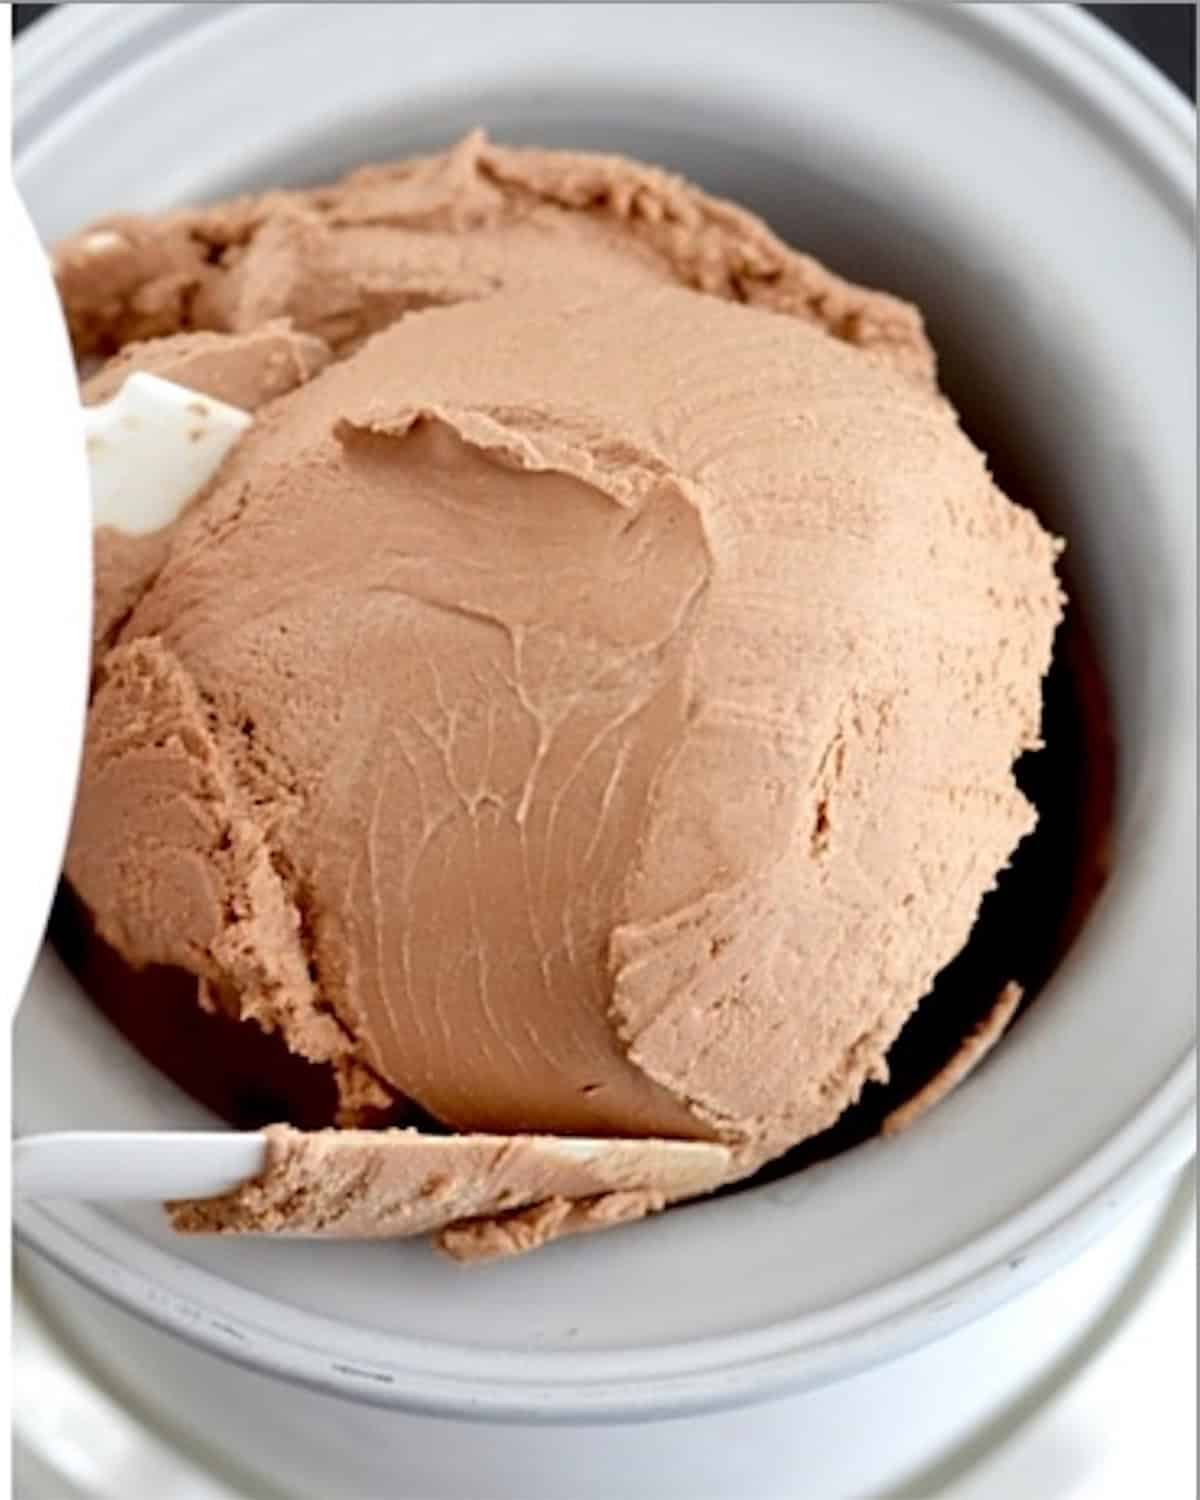
Assemble
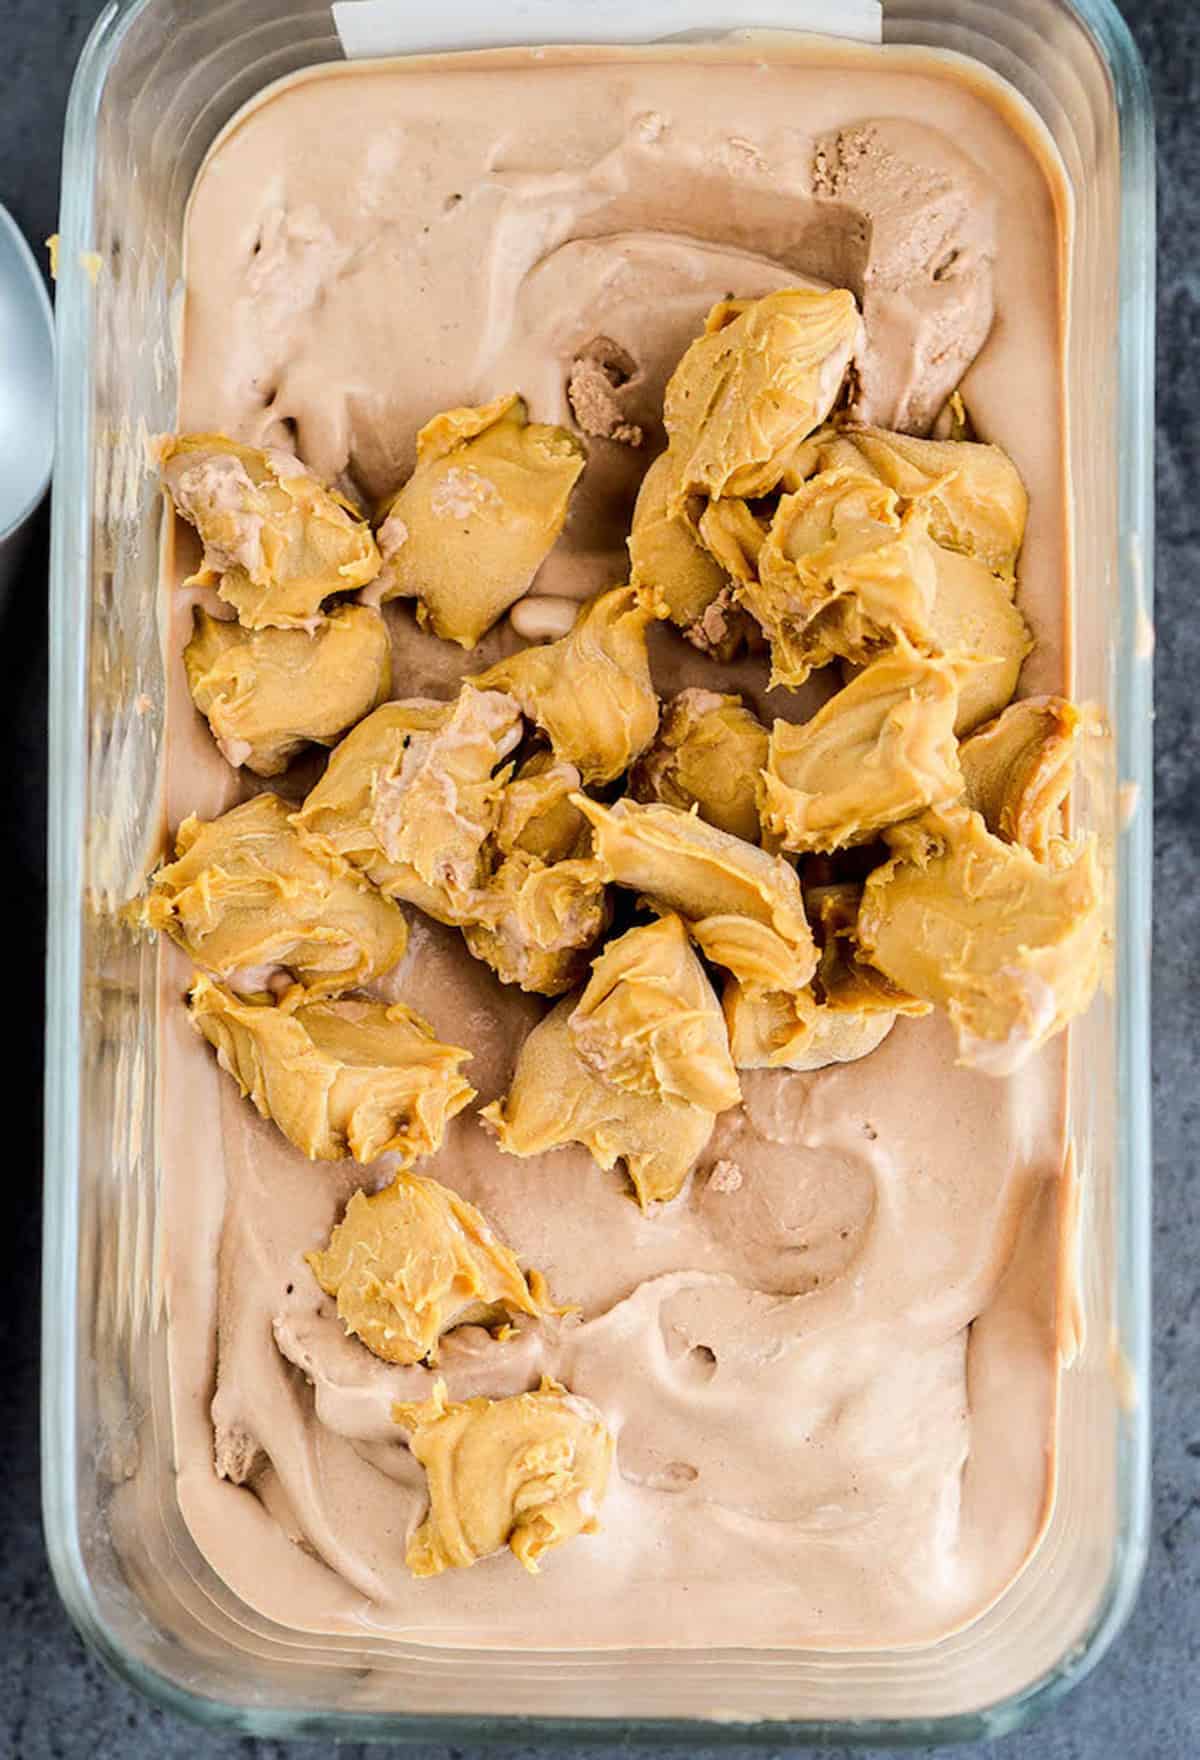
Once the ice cream is churned, mix in the peanut butter balls and freeze again.
The peanut butter balls will thaw very rapidly, especially if you use an all-natural variety. This means that you need to mix in the chunks as quickly as possible when you remove them from the freezer.
Either mix the peanut butter balls in by hand, or add them to the ice cream maker before the base forms a ball too solid to add mix-ins .
Freeze/Store
Once the ice cream is finished, freeze it for at least 1 hour before serving. Store in an airtight container in the freezer for up to 3 months.
Serve
You may need to remove it from the freezer for 5 minutes to soften enough to scoop and serve. Serve it with your favorite toppings or plain!
Dairy-Free Chocolate Peanut Butter Ice Cream Recipe FAQs
When stored in an airtight container in the freezer it lasts for up to 2 months.
Yes, but you will either need to churn it in two batches or use a larger ice cream maker.
If you make and love my recipes, it would mean so much to me if you would leave a comment and rating! And don’t forget to follow along on Instagram, Pinterest, Facebook, and Youtube – be sure to tag @joyfoodsunshine and use the hashtag #joyfoodsunshine so we can see your creations!
Dairy-Free Chocolate Peanut Butter Ice Cream
Equipment
Ingredients
Peanut Butter Chunks
- ¼ cup creamy peanut butter
Chocolate Peanut Butter Ice Cream
- 14 ounces coconut cream
- ¼ cup honey (or maple syrup)
- ¼ cup creamy peanut butter
- 2 Tablespoon unsweetened cocoa powder
- 1 teaspoon pure vanilla extract
- ¼ teaspoon fine sea salt
Instructions
Make the Peanut Butter Chunks
- Cover an 8×8” baking pan with wax paper. Drop 1 teaspoon spoonfuls of peanut butter onto the waxed paper.
- Put the baking pan in the freezer until the peanut butter is hardened.
Make the Ice Cream
- Add all ice cream ingredients in the order listed to the container of a blender.
- Blend for 30-60 seconds or until the mixtures is smooth.
- Turn on the ice cream maker and pour the mixture into the machine while it is spinning. (**See note below if you do not have an ice cream maker)
- Churn the ice cream for 20-25 minutes until it becomes a firm ball or the ice cream maker stops rotating.
- Add the peanut butter chunks at the end of churning. You can add them to the ice cream maker just before the mixture becomes too hard, or you can mix them in by hand.
- Transfer the ice cream to an airtight, freezer-friendly container and freeze for at least 2 hours, or until completely frozen.
Video
Notes
- Peanut Butter: If you are allergic to peanuts you can use any nut or seed butter.
- Honey: Maple syrup can be used in place of honey for a vegan version.
- Coconut cream. Full-fat coconut milk works just as well as coconut cream. I don’t recommend any other substitutions.
Nutrition
Nutrition information is automatically calculated, so should only be used as an approximation.


Just a reminder to all who don’t have coconut cream “on hand”. If you put your full fat coconut milk on the fridge for the day, you can open it and use only the thick white firmed up parts at the top of the can – that’s coconut cream! And much cheaper than buying it separately.
I was wondering what brand “coconut cream” you are using so I can find it in the grocery??? I do have TRADER JOE’S Coconut cream on hand.
I am not happy w any store bought non dairy they are not creamy like SWEET RITUAL in Austin TX.
I have used Trader Joe’s Coconut Cream! I also really love Thai kitchen as a brand or Sprouts!
Hi, I tried making this following the recipe exactly, but instead of using a Vitamix, I used an immersion blender. The mixture got grainy with tiny white dots. It’s now in the freezer and the texture is still pretty grainy and not really creamy. Any idea what went wrong? Thanks
Hey Naomi! I am unsure why that would happen! Maybe it’s the choice of blender! Did you make any other modifications to the method?
I have a question too for the blogger or the world…I don’t have a VITAMIXER can’t afford one right now. I have a nutribullet and an immersion blender, Will it turn out? Has anyone tried alternate blender????
Yes it absolutely will! This recipe is very easy to blend and can work in any blender!
Hey Naomi,
That happened to me as well. The coconut cream split. I searched on YouTube for what to do when your cream splits and saw a video that said heat it gently. So I poured it into a saucepan and put it on low heat. It became smooth again within a few minutes. The mixture was room temperature at this point. I poured it into my blender on ice-cream mode. The texture was good and creamy after that. Hope it helps.
What is the reason for not chilling the ice cream base?
It doesn’t need to be chilled before it’s churned in the ice cream maker.
I was a little confused by this too because when I read that I thought she meant you don’t have to freeze the base of the ice cream maker, as in the bowl of the maker. But after reading further I realized she was referring to the actual ice cream after being blended when she said ‘base’. You do indeed need to freeze the bowl of the ice cream maker. Don’t know if this helps but I thought perhaps you read it the same way I did.
Brinn, thank you. I did understand though that she meant the ice cream mixture. 🙂 I’ve just never heard of not chilling it before putting it in the ice cream maker and I wondered if there was a reason why she emphatically said not to do so.
It will become solid and be difficult to churn if it’s chilled!
So is this why a layer of my ice cream has always stuck/frozen to the sides of the ice cram maker bowl as it churns? Mine has never come out in a lovely big ball of ice cream like in your video.
p.s. And my ice cram maker was always already turning before adding my chilled ice cream base, as the instructions said (both the turning and the chilling). You might just move into superhero status here!
LOL Making sure the ice cream maker is already churning is important! 🙂
So easy, so delicious!
Love that it can be made from pantry ingredients.
Thank you!
After how amazing the greek yogurt brownies came out, I had to try this recipe and I’m glad I did! So yummy! I didn’t have an ice cream maker so it was more labor intensive than I usually like to do but it was worth it! Had a little trouble figuring out the best freezer friendly container to use…what do you usually use?
I’d like to try this right away, but don’t have coconut cream on hand, just full fat coconut milk. Do you know if it will still firm up using that? Or would it be best to wait until I can get the coconut cream? Thanks
You absolutely can use full-fat coconut milk. Be sure to use the entire can (both liquid and solid portions). It won’t be quite as creamy, but I have made it using full-fat coconut milk instead of cream and it is still amazing!
Third time making it this month!! YUM!!! My future son-in-law and I ate it all as soon as it finished churning – never made it to the freezer. I think I have just won a permanent place in his heart. LOL. 🙂 🙂 🙂
This is just perfect. The kids are bugging me to make ice cream and I guess peanut butter flavor would be a great choice. Thank you so much for sharing the recipe. I can’t wait to try it.
An ice cream recipe that I don’t feel guilty eating! I love the protein-sugar ratio.
Thank you Gina! It’s my absolute favorite!
Thank you for his awesome recipe. I have tried many dairy free ice cream recipes and this was by far the creamiest! I am so excited to try your other ice cream flavors on your amazing blog! I love your blog and I think your family is beautiful.