Peanut Butter Granola
Posted Feb 17, 2019, Updated May 13, 2024
This post may contain affiliate links. Please read our disclosure policy.
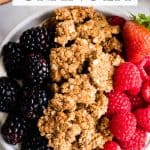
This peanut butter granola recipe is easy to make with 6 ingredients in 30 minutes! It’s a nutritious alternative to store-bought granola!
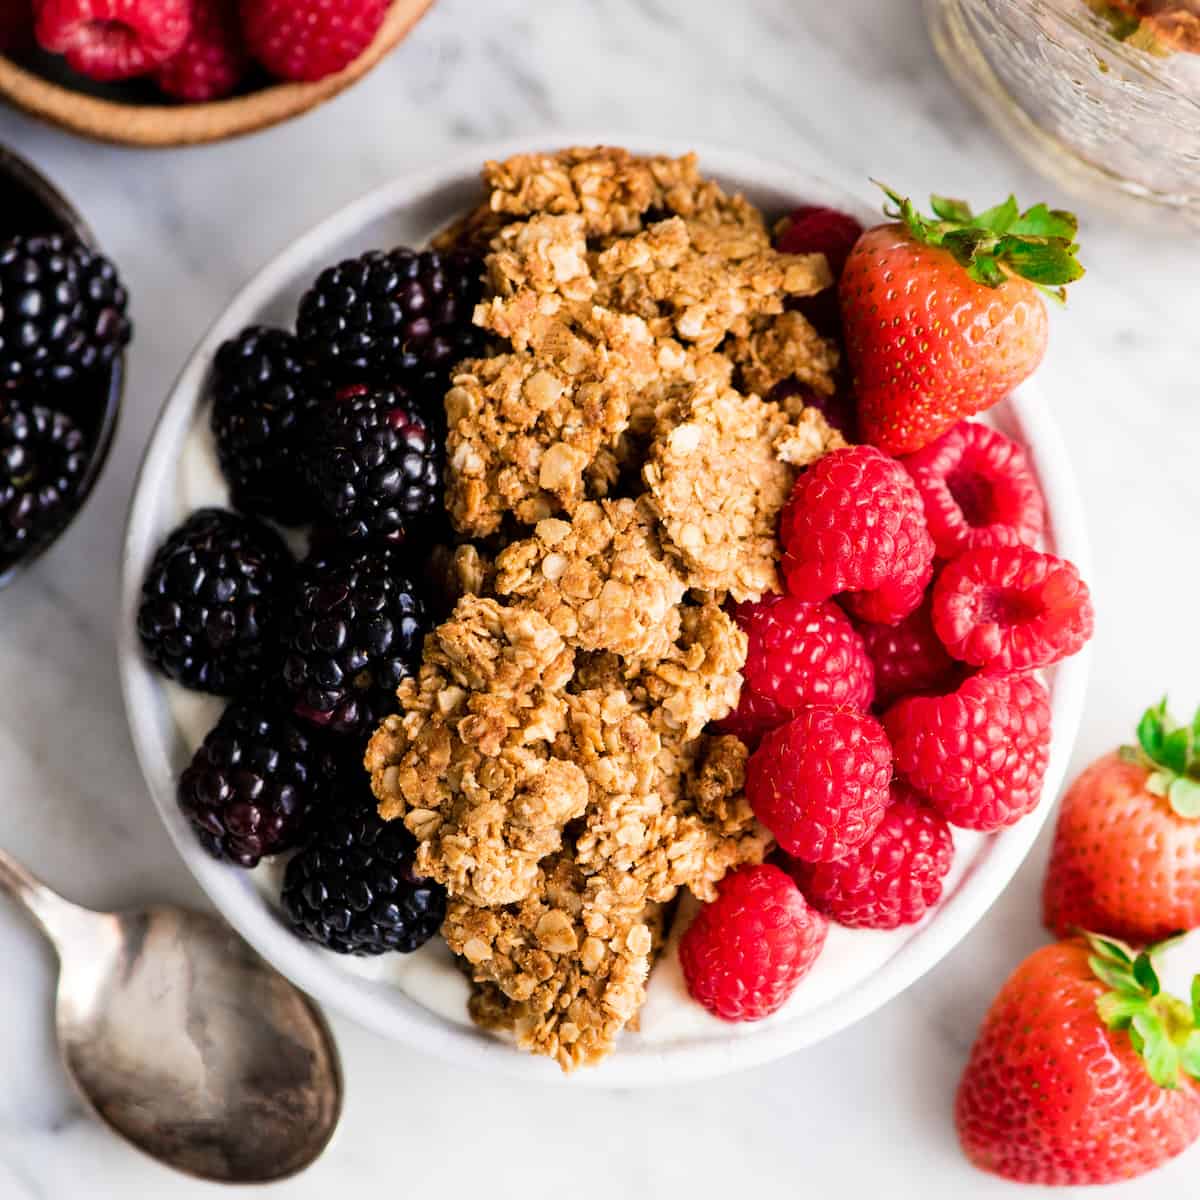
This Healthy Peanut Butter Granola Recipe is a tried and true family favorite in our house! We love enjoying it over yogurt, overnight oats, smoothie bowls, or in milk!
This peanut butter granola recipe is gluten-free, dairy-free, oil-free, and refined-sugar free – a nutritious alternative to sugar-laden, store-bought varieties. But it’s still irresistibly delicious – with a rich peanut butter flavor and big chunks!
It’s a delicious, make-ahed granola perfect for breakfast on the go.
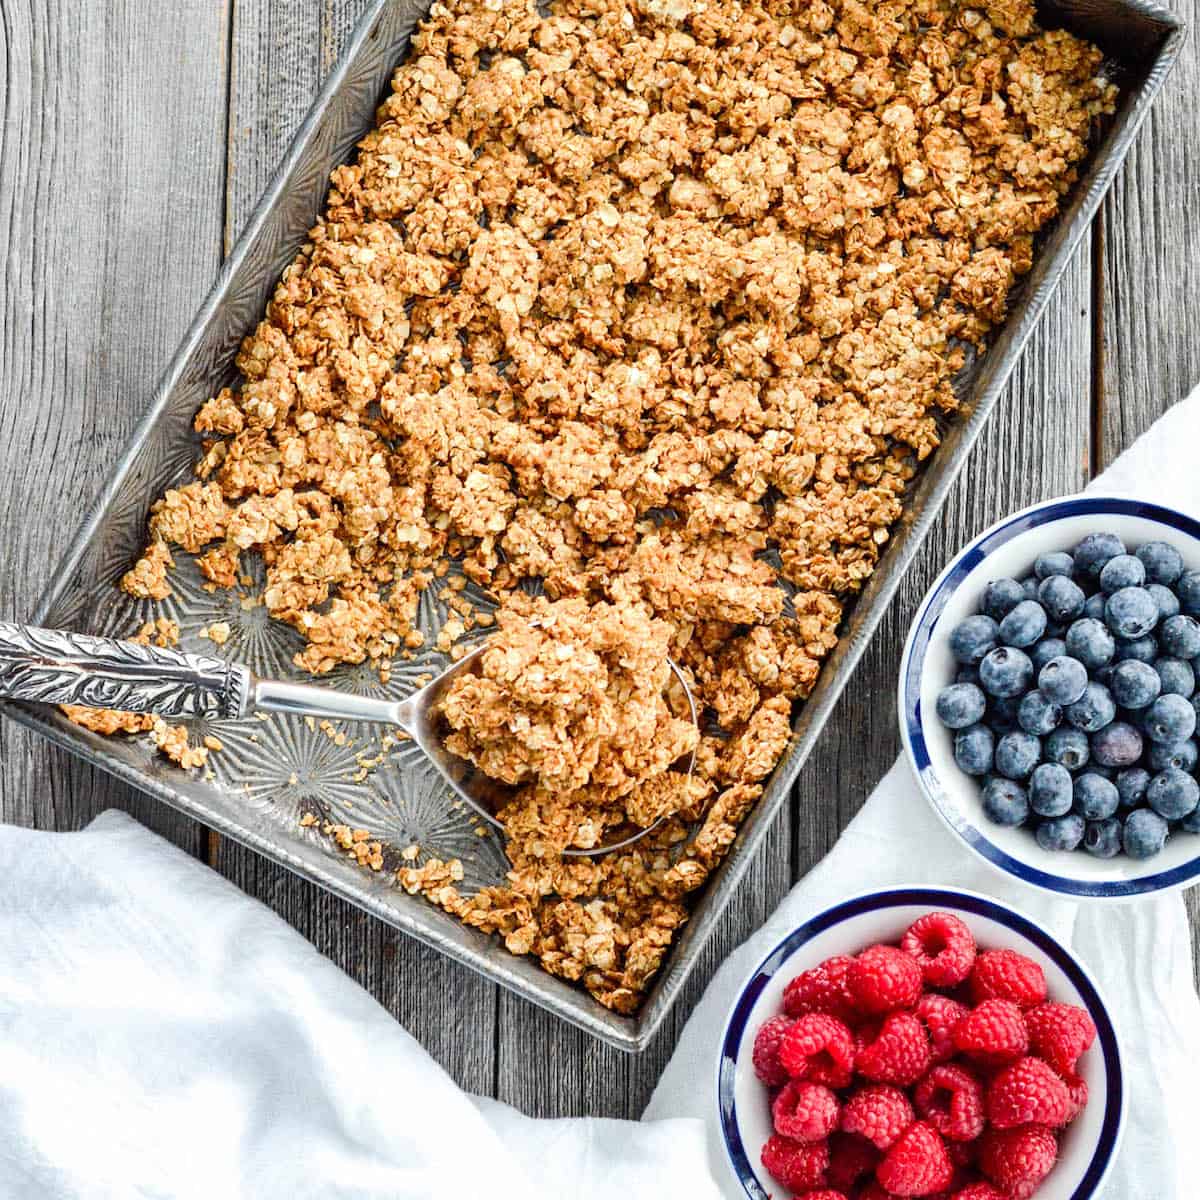
Healthy Peanut Butter Granola: Ingredients & Substitutions
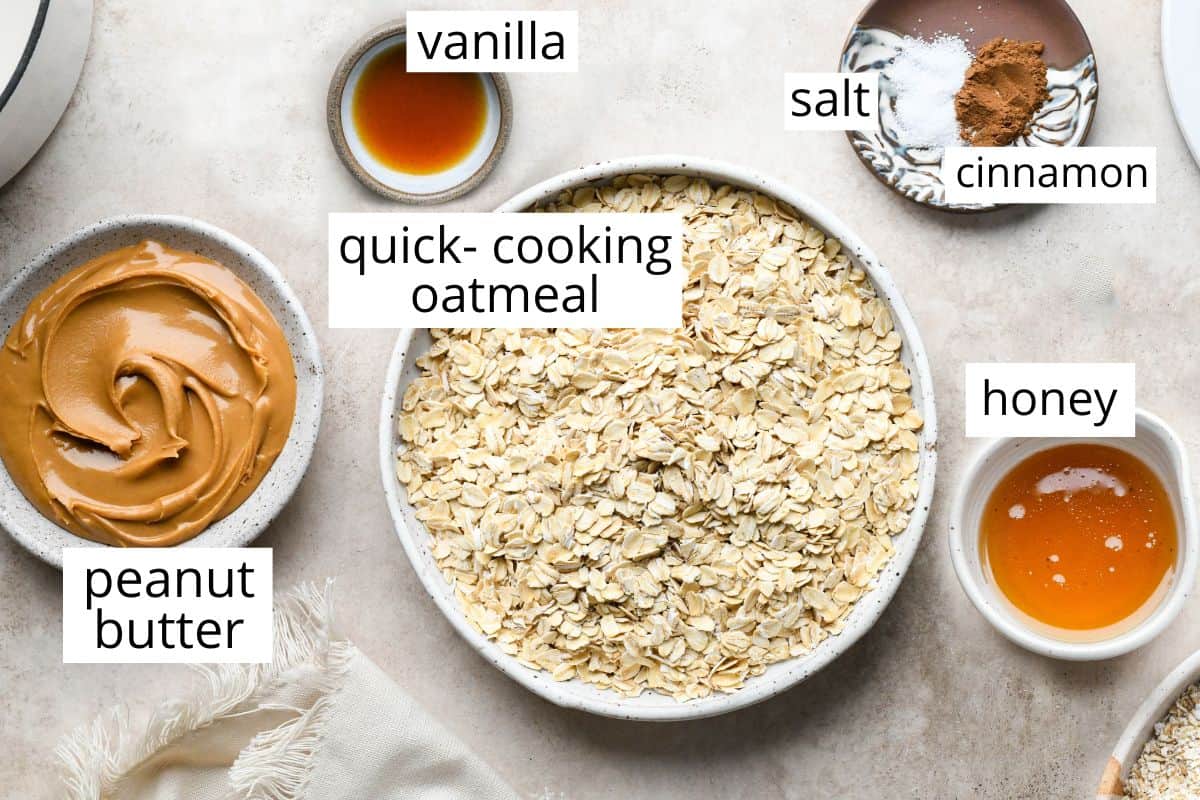
- Oats: I have had great success with both quick-cooking and old-fashioned oats in this recipe. Using the quick-cooking variety produces a chunkier granola which we prefer.
- Honey: Maple syrup is a great substitute.
- Peanut Butter: Any nut or seed butter can be used in place of peanut butter. If you use a firmer variety of peanut butter, just be sure to melt it completely with the honey before adding the rest of the wet ingredients.
How to Make Peanut Butter Granola
Let’s discuss how to make peanut butter granola, and don’t forget to watch the video.
Begin by melting together the honey and peanut butter over very low heat, stirring constantly until smooth.
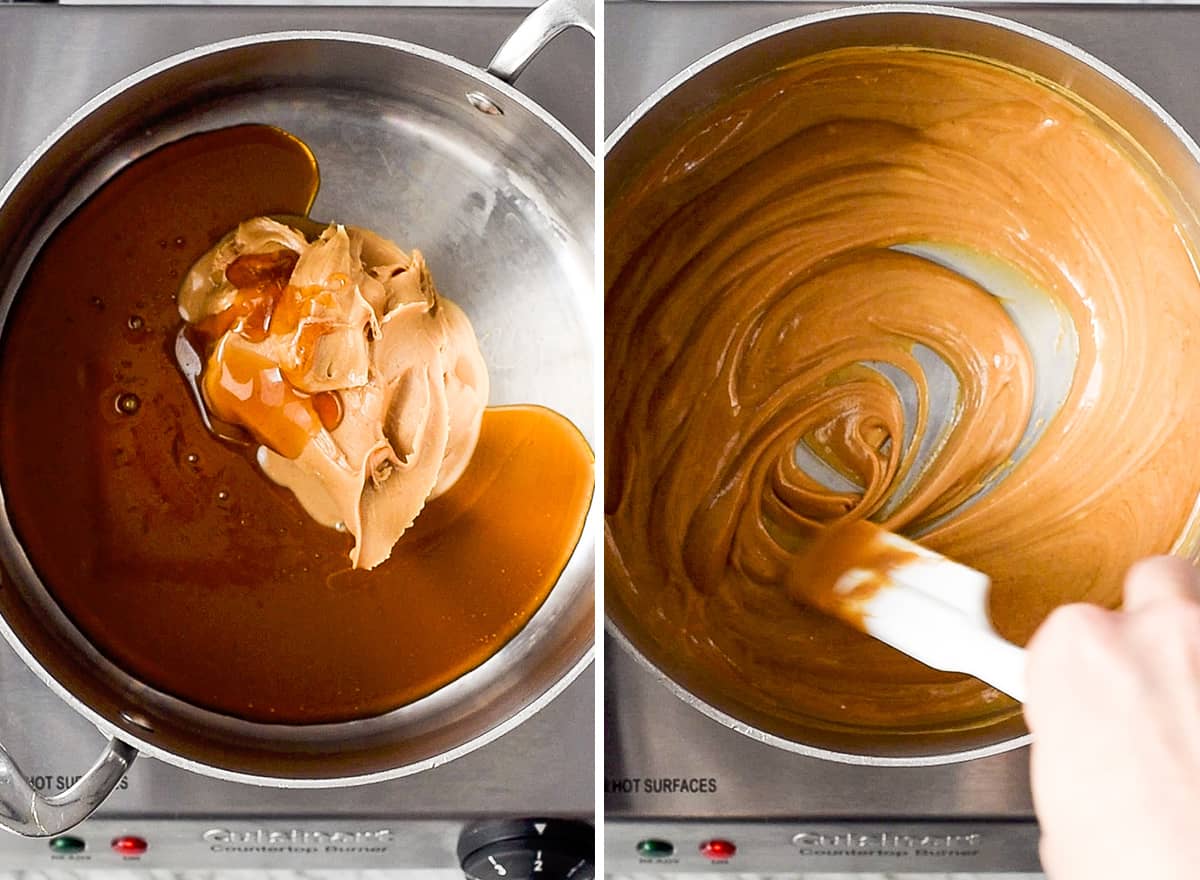
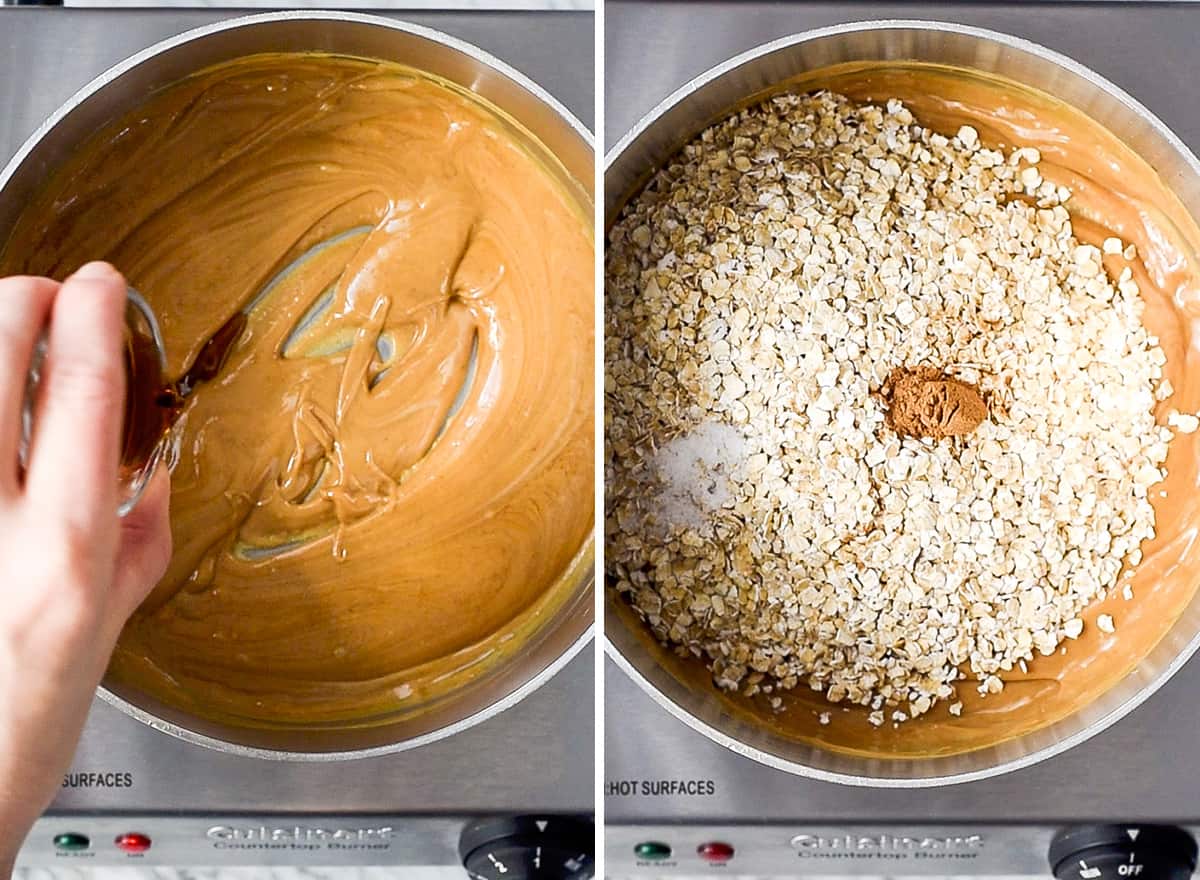
Next, add the vanilla and stir then add the dry ingredients & stir to combine.
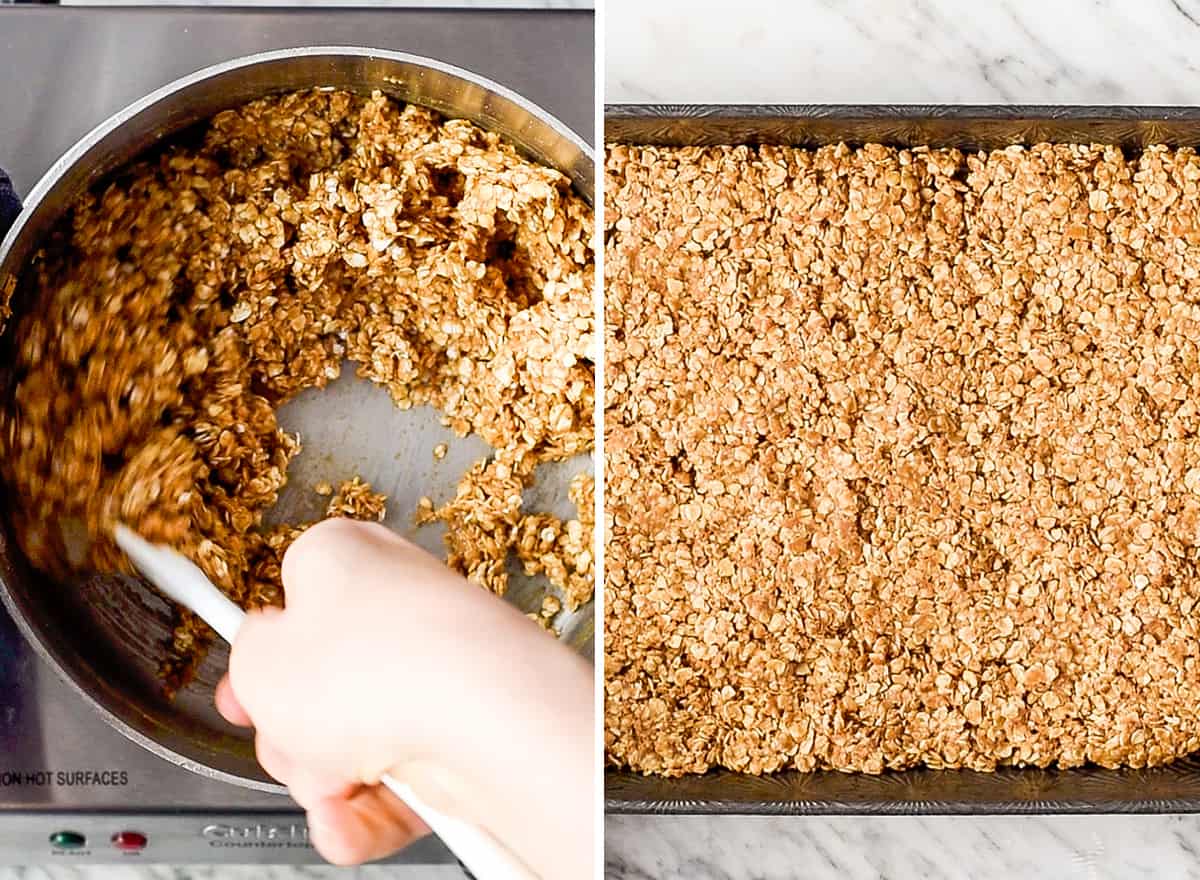
Bake
Transfer the peanut butter granola mixture to a greased baking sheet and press it onto the pan and bake.
See! It’s such an easy granola recipe! The only note I have is that if you get to the final stage (before transferring the granola from the saucepan to the baking sheet), and the granola looks crumbly and not wet, add more peanut butter or honey until you reach the consistency pictured below. This is key in achieving clumps!
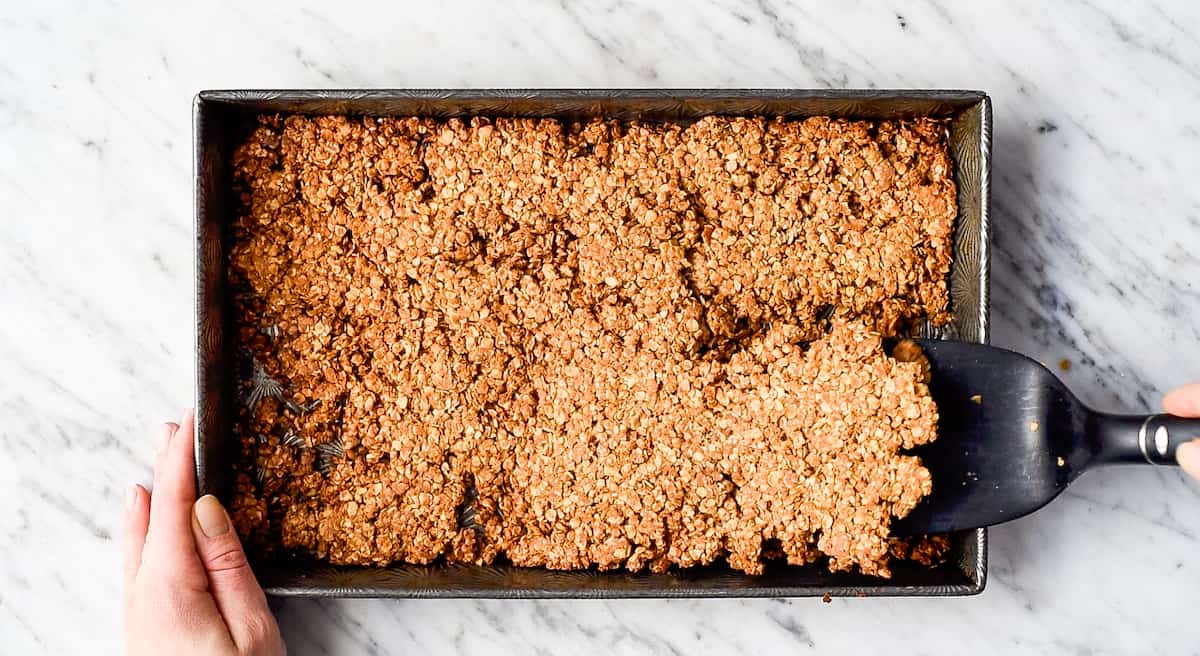
When the peanut butter granola is finished baking, it will look slightly golden-brown.
Tip: In order to be extra sure the granola is done, remove a piece or two from the pan and let it cool on the countertop. If it hardens relatively quickly (in 1-2 minutes) then it’s done. If not, continue baking until it is crunchy at room temperature.
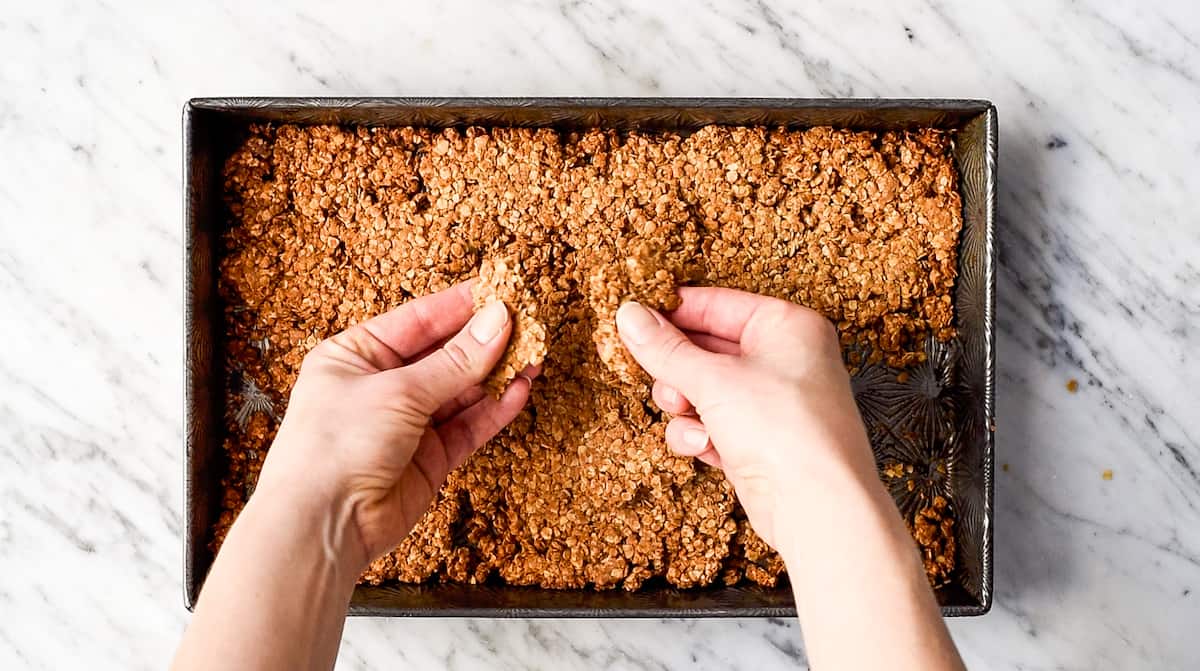
Remove the granola from the oven and let it cool completely, then break it into chunks and serve or store.
Store/Freeze
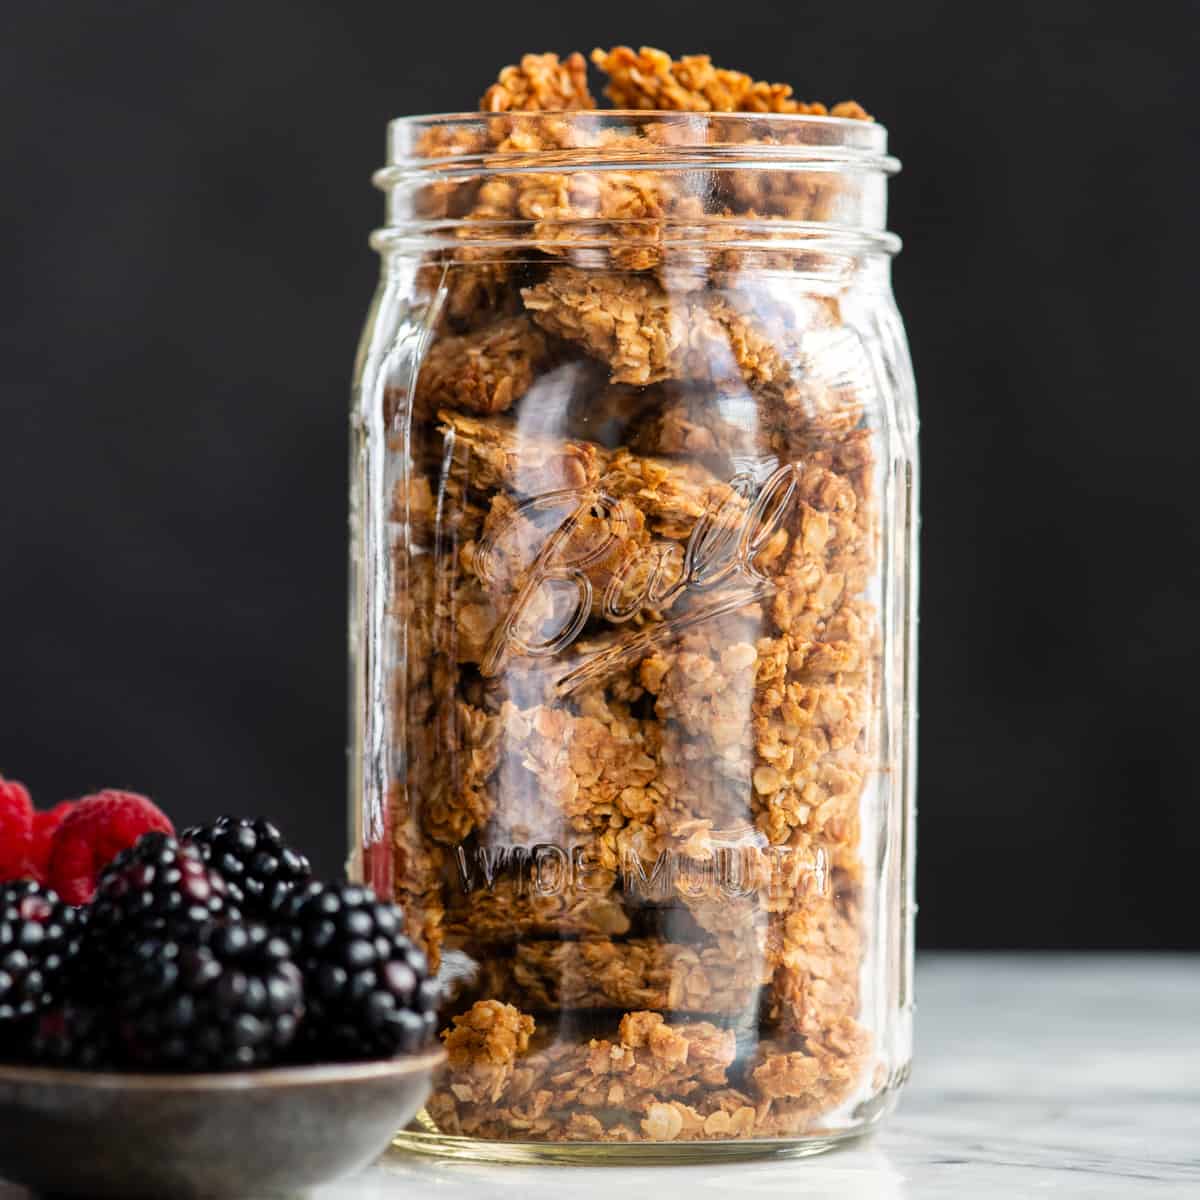
Store this peanut butter granola in an airtight container or glass jar with a lid at room temperature for up to 2 to 4 weeks or in the freezer for up to 2 months.
Serving Suggestions
Here are some of our favorite ways to enjoy this peanut butter granola.
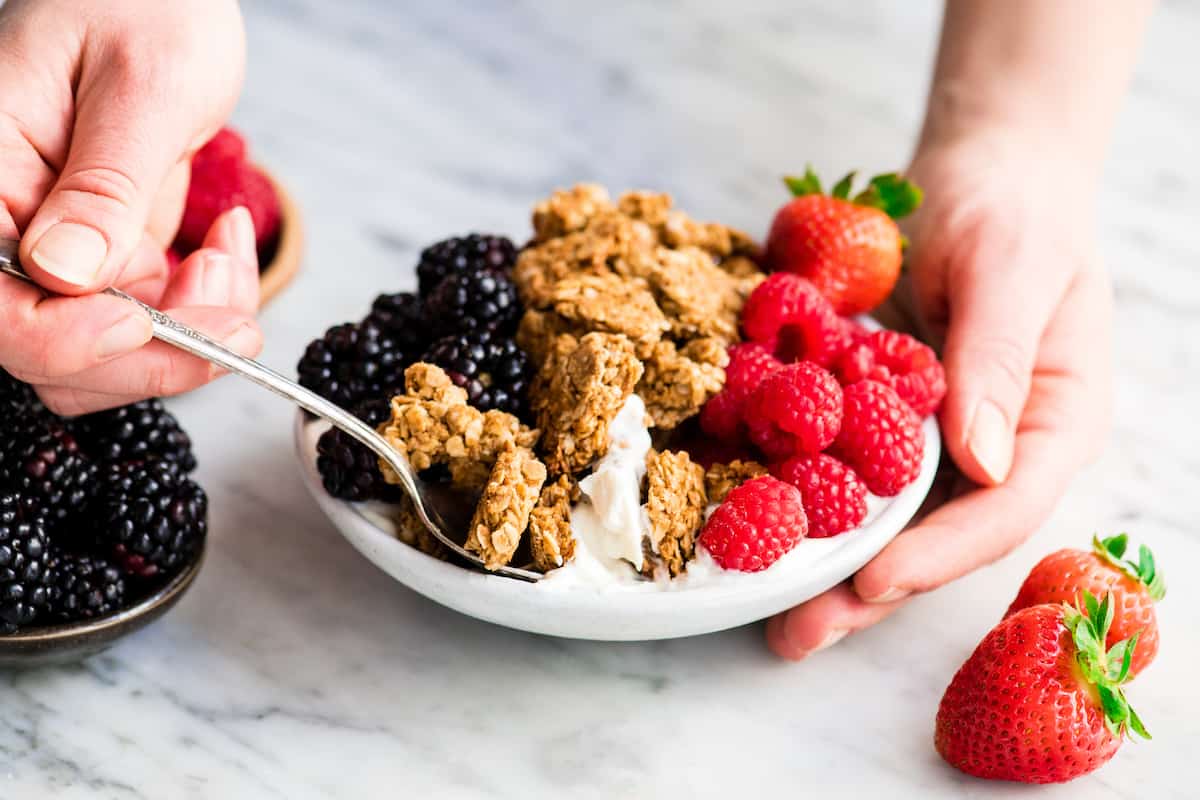
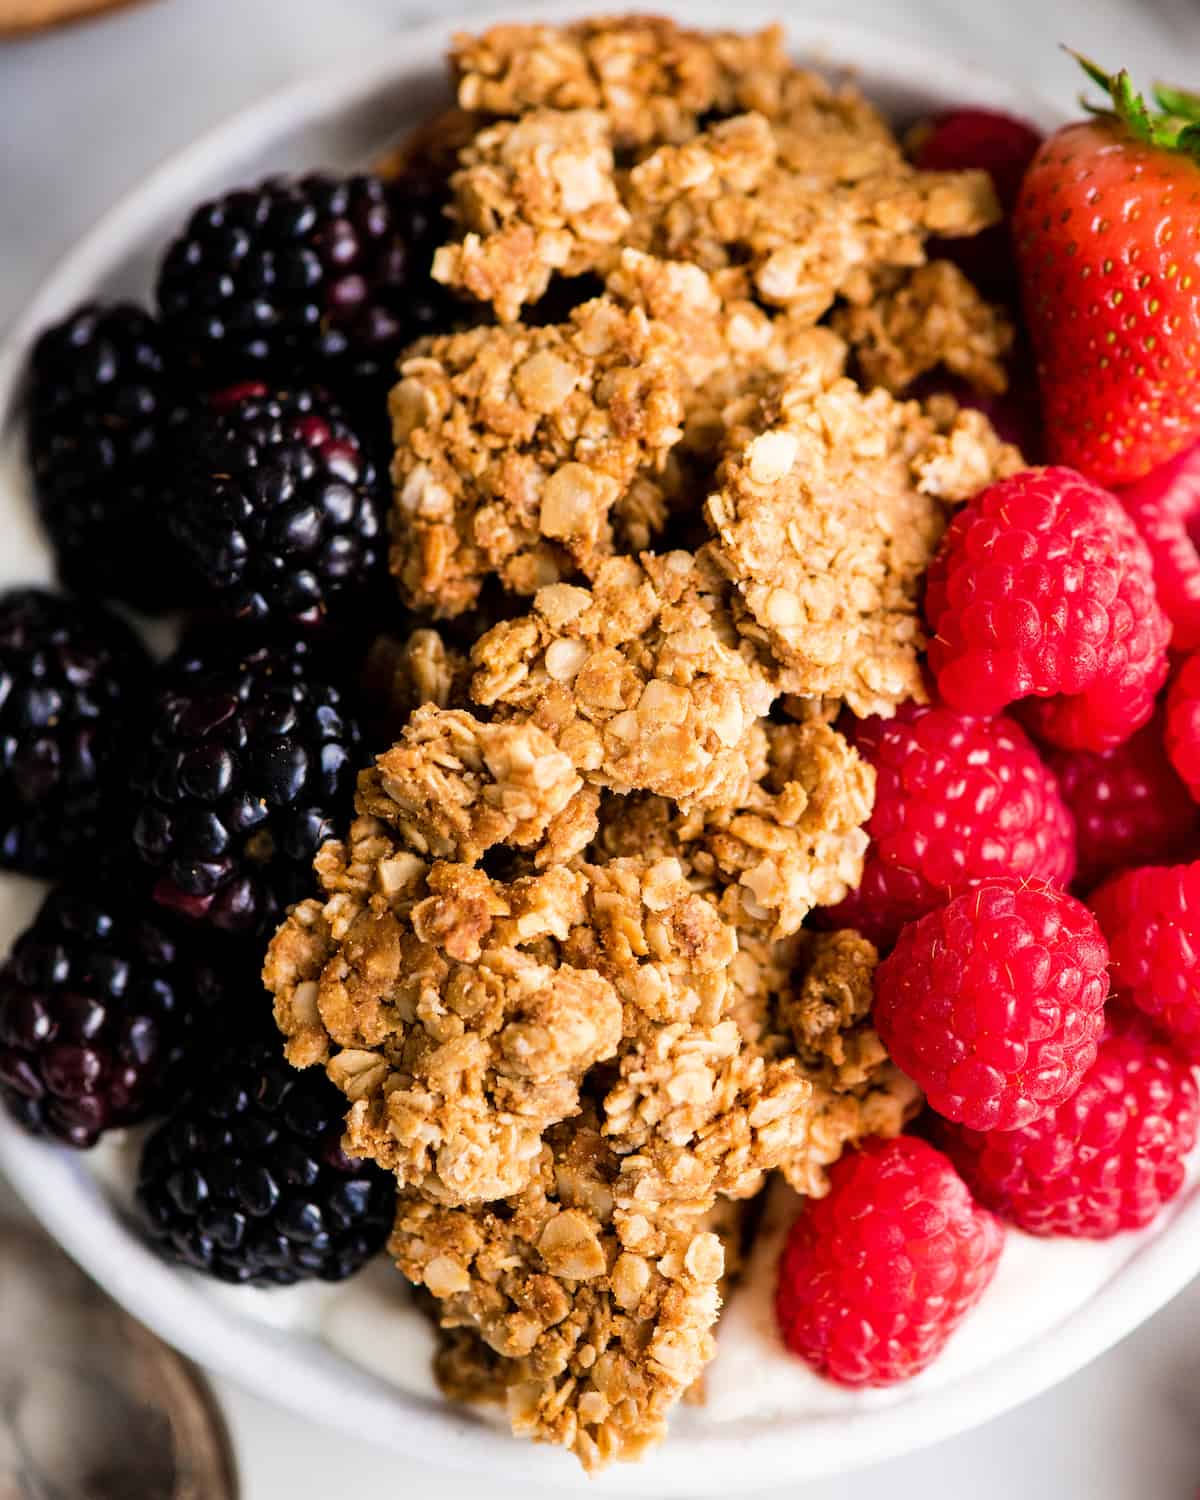
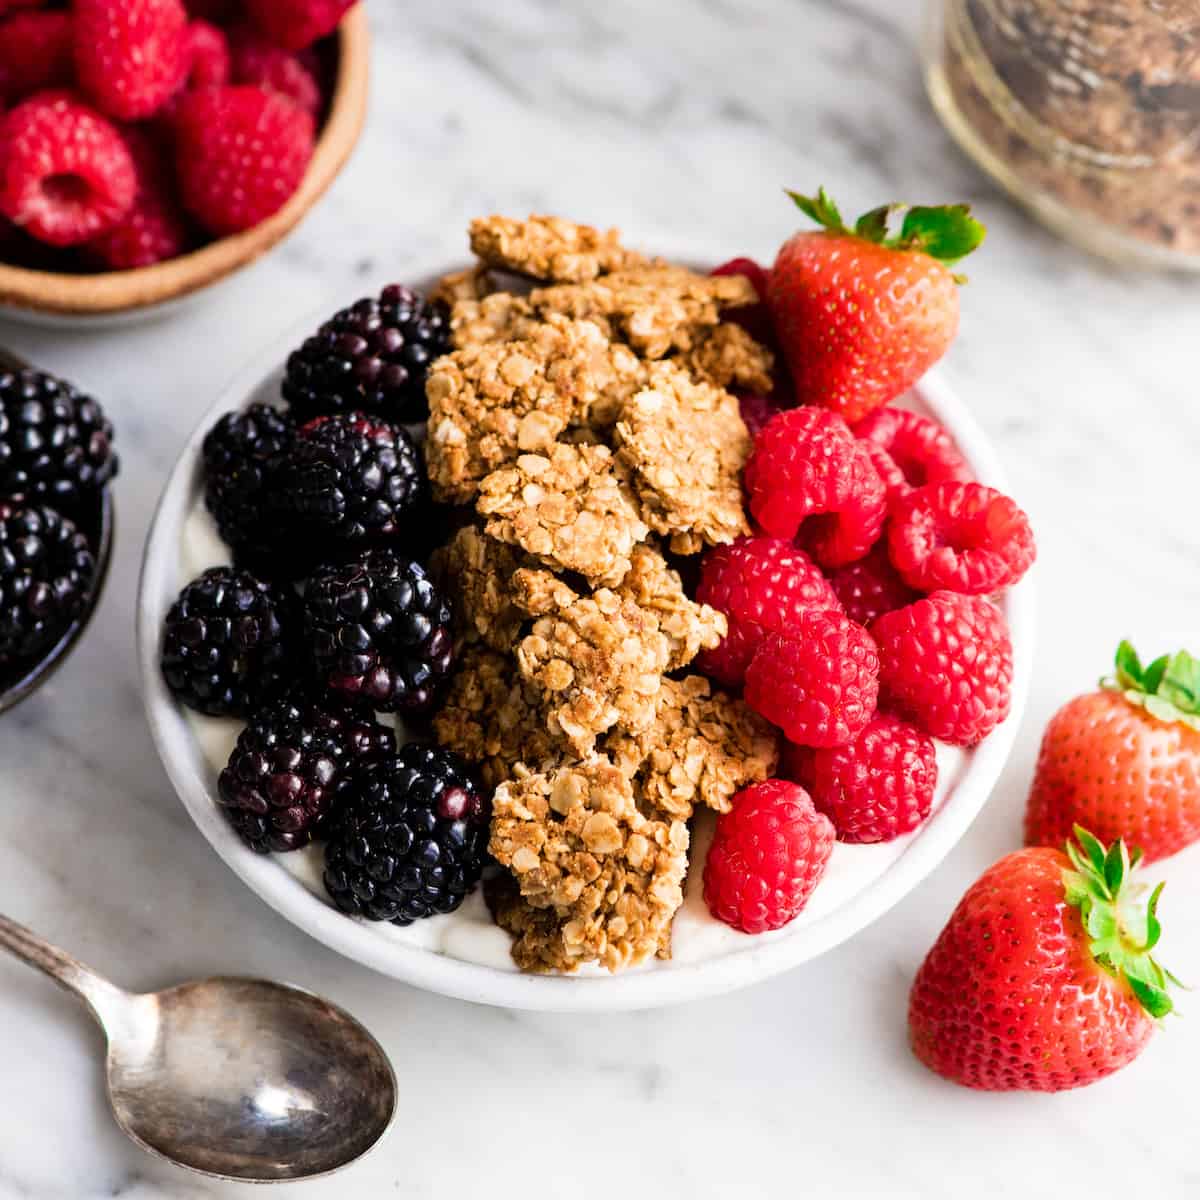
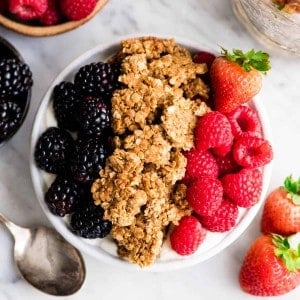
- On top of yogurt. I recommend eating this served on top of your favorite yogurt with fresh berries! It adds the perfect crunch (or yogurt overnight oats).
- In a bowl with your choice of milk. You can also serve this homemade granola as a cold cereal! Simply use your favorite dairy-free or regular milk and enjoy!
- As a snack. Sometimes we like to pack individual containers of this healthy peanut butter granola when we go hiking or to the park as a delicious snack!
Peanu Butter Granola Recipe FAQs
Here are a few tips and tricks for ensuring that your peanut butter granola is crunchy (and stays crunchy)…
Bake at a low temperature. This peanut butter granola bakes at 325 degrees F, which a lower temperature than I usually bake most recipes. The low, slow baking process ensures that the granola will dry out sufficiently to stay nice and crunchy.
Use enough wet ingredients. The clumps are what make this peanut butter granola so amazing. Making sure the mixture is sufficiently wet before baking is very important.
How you bake the homemade granola is key. This peanut butter granola needs to be baked in one sheet pressed to the bottom of the pan to achieve maximum crunchiness. The reason for this is that it creates clumps, which are very important to crunchy granola!
This homemade peanut butter granola lasts 3-4 weeks when stored at room temperature in an airtight, glass container.
Granola is best when stored in an airtight container at room temperature – it retains it’s crispness this way best.
Reheat in the oven set to 300 for 2-5 minutes. Be very careful not to let it burn.
If you make and love my recipes, it would mean so much to me if you would leave a comment and rating! And don’t forget to follow along on Instagram, Pinterest, Facebook, and Youtube – be sure to tag @joyfoodsunshine and use the hashtag #joyfoodsunshine so we can see your creations!
Healthy Peanut Butter Granola Recipe
Ingredients
- 2 cups quick-cooking oats
- ½ teaspoon ground cinnamon
- ¼ teaspoon sea salt
- 6 Tablespoons creamy peanut butter
- ¼ cup honey (or maple syrup)
- ½ teaspoon pure vanilla extract
Instructions
- Preheat oven to 325 degrees F. Grease a large cookie sheet and set aside.
- In a small bowl, mix together oats, salt and cinnamon. Set aside
- In a microwave safe dish or on the stovetop, melt the peanut butter and honey (or maple syrup) together until smooth.
- Remove from heat and stir in vanilla.
- Stir in dry ingredients and mix until well combined.
- Spread mixture on prepared cookie sheet.
- Bake in the preheated oven for 15-20 minutes, or until granola is lightly browned, stirring the granola once gently half way through. (A great way to test for doneness is to remove a small portion of the granola from the pan and set it on the counter. If it hardens as it cools the rest of the granola is done)!
- Remove from oven and let sit until cooled.
- Once cooled, break apart and eat!
Video
Notes
- Oats: I have had great success with both quick-cooking and old-fashioned oats in this recipe. Using the quick-cooking variety produces a chunkier granola which we prefer.
- Honey: Maple syrup is a great substitute.
- Peanut Butter: Any nut or seed butter can be used in place of peanut butter. If you use a firmer variety of peanut butter, just be sure to melt it completely with the honey before adding the rest of the wet ingredients.
Nutrition
Nutrition information is automatically calculated, so should only be used as an approximation.


How many servings does this recipe make?
Very delicious! Made it this morning! But mine came out in lots of little pieces, not in big chunks…. and it’s very dark, a little burnt around the edges. What did I do wrong?? 🙁
Hey Julia! It sounds like you may have baked it a touch too long! I recommend reducing the baking time next time! You want to test it to see if it crisps up at room temperature earlier than you might think!
What is the serving size and calorie count with this granola?
I was wondering the same. Husband is diabetic and need to watch the sugar. There is a nutritional facts posted, but no serving size is there. Is the whole thing 12.5 grams of sugar?
I’m trying to find a gluten free breakfast recipe to accommodate someone with Celiacs disease. I’m confused though-are oats gluten free? I thought oats had wheat? This recipe looks delicious but I just want to make sure Nobody gets sick!!
Hey Kimberley! Yes, as long as you buy certified gluten-free oats they are gluten free!
When you say natural peanut butter, are you referring to the organic option that contains only peanuts and oil? If not, how would you suggest adjusting the ratio of other ingredients to accommodate the lack of extra ingredients in the peanut butter? I am wanting to make the switch to organic peanut butter in our home, but obviously we like our peanut butter to be sweet. I’m not sure if just adjusting the honey ratio will provide me with the results I’m looking for. I imagine I would need to adjust the ratio of salt as well?
Hello Kay! Absolutely! The only two ingredients in the peanut butter I used were peanuts and salt! 🙂
The recipe looks delicious! Peanut Butter …yummy! But I have to mention that it’s not vegan if your using honey as a sweetener. Just an FYI.
Hey Kara! That’s why the recipe lists maple syrup as an equally delicious vegan sweetener option. 😉
So I made this last week. It needs to come with a serious warning label like ” Caution: you will find yourself randomly walking into the kitchen to steal small handfuls of this..only to come right back in for a larger portion” Something like that..lol
It’s crazy delicious. I’ve eaten it by the handfuls,on top of my Greek yogurt..but mostly bu handfuls 🙂 Thank you so much for the recipe! It will be made often 🙂
LOL Sonya I’m SO SO glad you enjoyed it!
Peanut butter really isn’t one of my favourites but I really love peanut butter granola – your recipe looks super simple so I’ll be giving it a go. Thanks for sharing!
I love the added protein it adds! YUM!
Wow, this granola looks and sounds perfect! I love peanut butter and could eat it on anything. I love how you have incorporated it into granola, I will definitely be giving this one a try!
I’m totally with you! I eat peanut butter a little more than I should…just a little though! 😉
Omg SO chunky and delicious!!!! I’m making this with sunflower seed butter (I’m allergic to nuts!) ASAP!!!
Perfect! You have to let me know how that turns out!!
I made it for the first time & mine did not get this formed , mine stayed like flat oats and didn’t ball up …..but it has the BEST taste, so I’ll try again.. Do you think more peanut butter maybe to form more round chunks like your pic?
i just made this and it came out the same as you Sheree. Any tips to have the end product crunchy and chunky, as opposed to crumbly version I made?
I would add more peanut butter and honey as well.
I’ve found that in order to get chunky granola of any kind that you should press it firmly into a pan, and just leave it alone while cooking. When you pull it out of the oven you should let it cool for like 45 minutes to an hour… still without touching it. Once it cools you break it into pieces. If you try to stir it while cooking or before it cools, then all you’ll get is crumbs. When I first tried it I was worried that I wouldn’t get proper browning, but that was a fear that was quickly put to rest.
Hey Sheree and Jodie! If you make this using old-fashioned oats it is definitely less clumpy. Using quick cooking oats (which is what I used for these photos) results in a clumpier granola. Also, try pressing it onto the pan in one sheet (kind of stuck together) and baking it that way. When it’s time to stir, gently flip it in large pieces instead of breaking it up. You may just need to add an extra TBS of both peanut butter and honey to get it to stick together the way you’d like! Let me know if this is helpful or if you have more questions!
The extra honey & PB helped so much!!!!! I made the first batch without the extra and it definitely needed it !!! Love this recipe !!! Amazing
YAY Karen! I’m so glad you found out what works for you and enjoyed it!!! SO glad!