Homemade Povitica Bread Recipe
Posted Dec 22, 2020, Updated Mar 15, 2024
This post may contain affiliate links. Please read our disclosure policy.
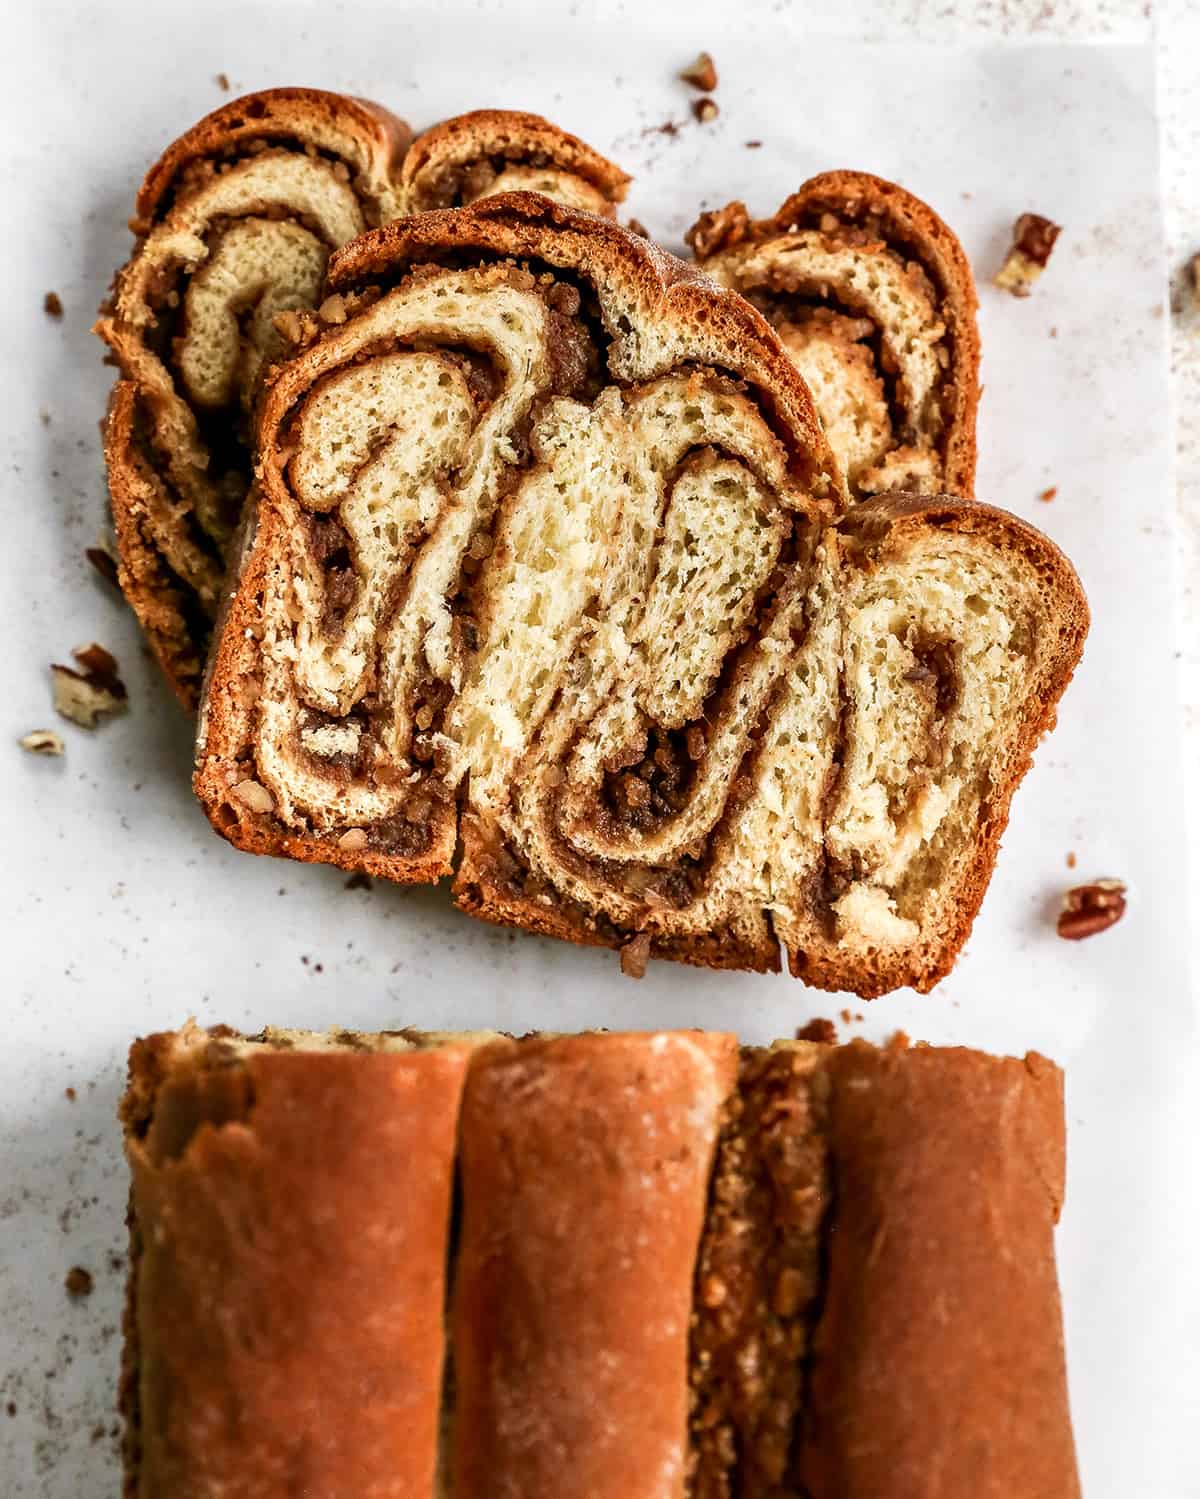
This Homemade Povitica Recipe is a beautiful and delicious treat that’s perfect to give as a gift for the holidays! Povitica Bread is a rich homemade bread with a cinnamon walnut filling that is an old family favorite.
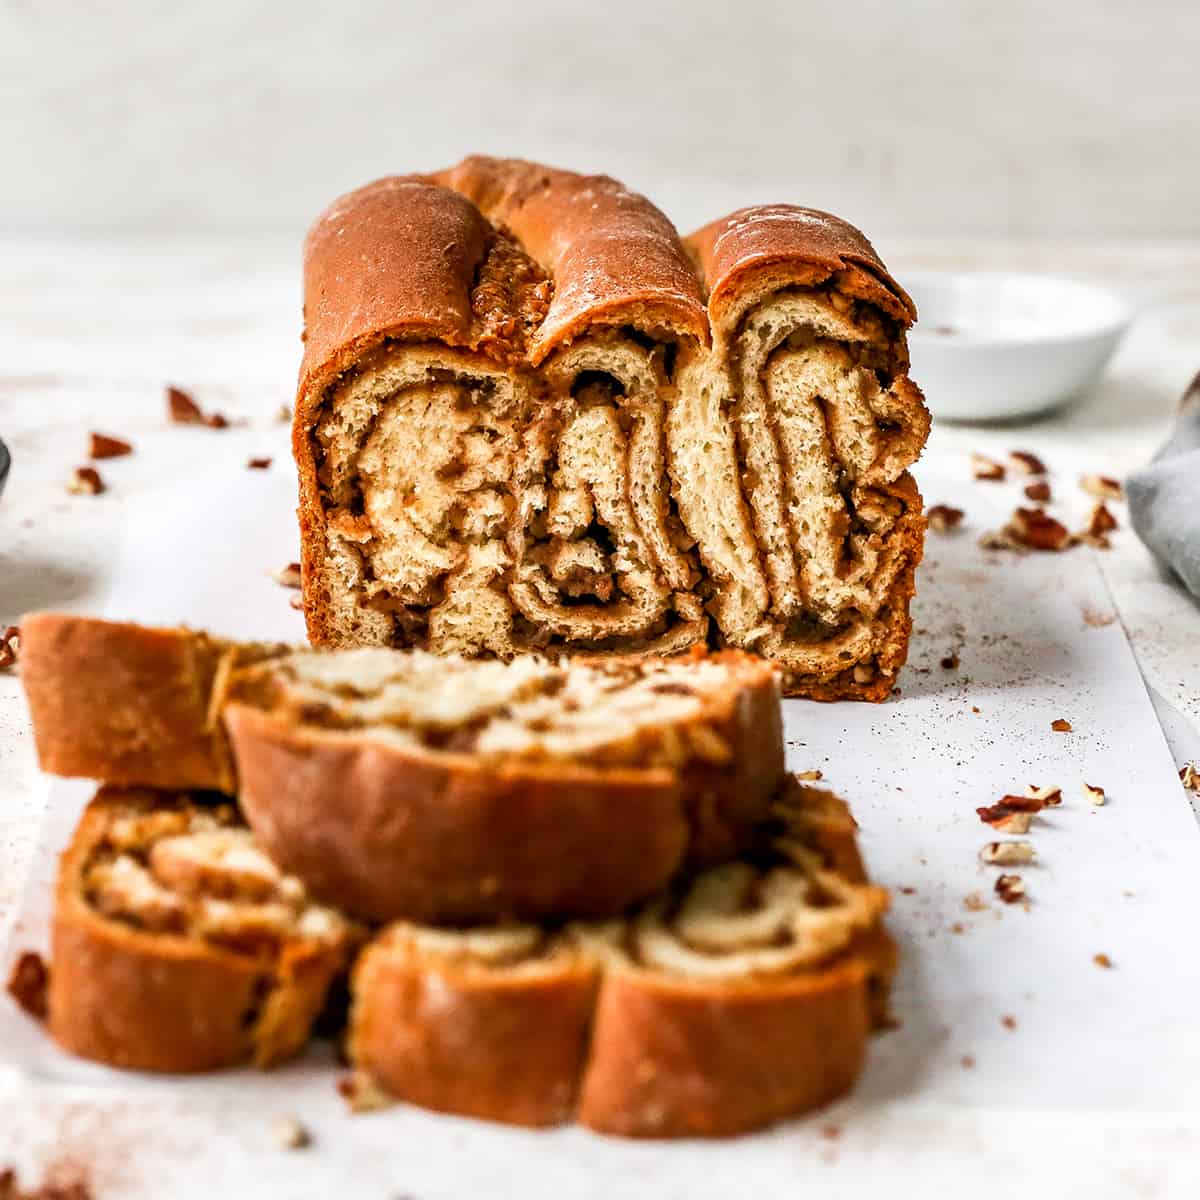
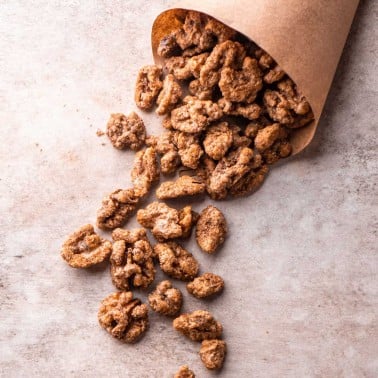
When I think about the holidays, this Povitica Recipe always comes to mind (along with these snickerdoodles, these cut-out sugar cookies and these cinnamon rolls)! It is a very special and beautiful holiday treat that is the perfect gift to bring wrapped up, still warm from the oven, to a neighbor or friend. Add a bag full of these cinnamon pecans and you’re set!
Povitica Bread is a rich homemade bread with a cinnamon walnut filling that is an old family favorite, delicious for a Christmas morning breakfast, Mother’s Day brunch, etc.
Povitica Recipe: Ingredients & Substitutions
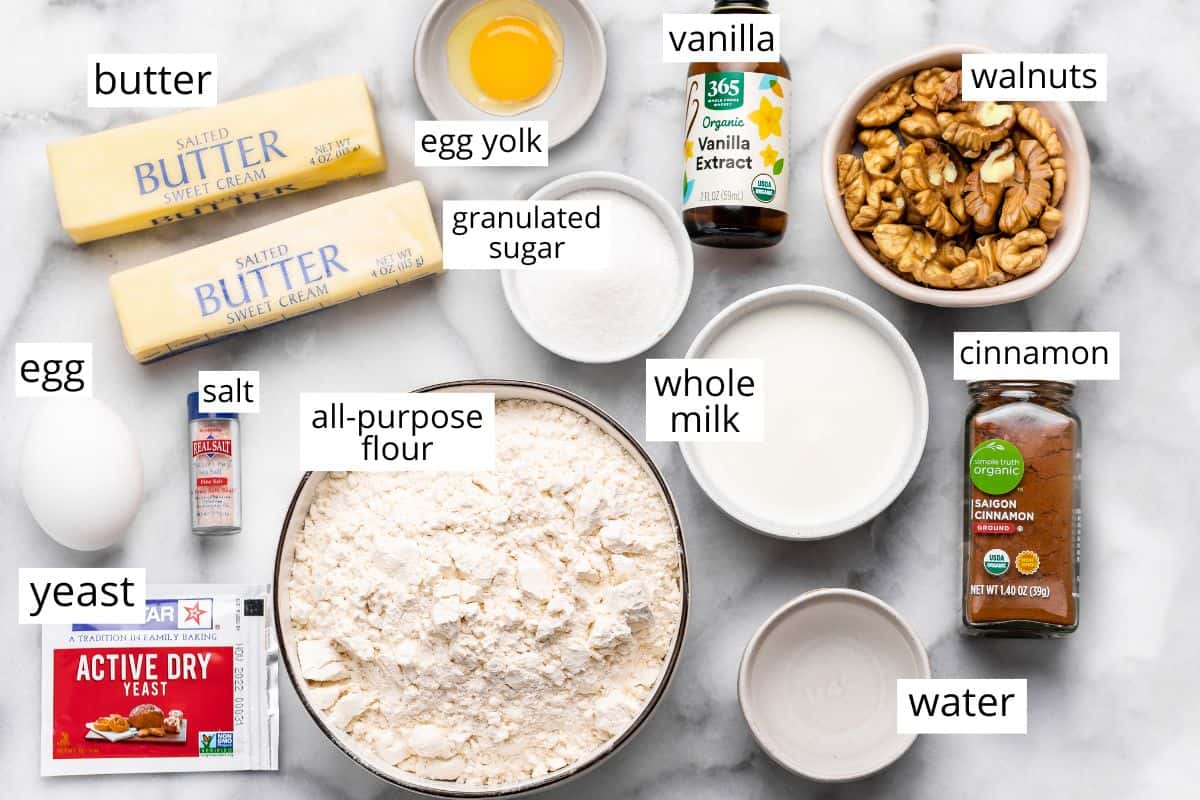
As always this recipe for povitica bread is the best when made as written. The only potential substitution I could (in good conscience) recommend is using pecans in place of walnuts if you’re not a walnut fan!
How to Make Povitica Bread
This Povitica recipe has a few different steps, and as always we’ll walk through them together. Don’t forget to watch the video too!
Begin by proofing the yeast, water and sugar.

Begin this povitica bread reicpe by preparing the wet ingredients. In a medium saucepan, heat the milk to just below boiling (about 180°F), stirring occasionally. Allow to cool slightly, until it is about 105°F. Once cooled, whisk in the melted butter, sugar and salt to the milk until combined. Add egg, vanilla and yeast mixture and stir to combine.
The most important thing to note about this process is to make sure that your ingredients are below 105 degrees F before combining them with the yeast. If they are warmer than that you will very likely kill the yeast and the bread will not rise.

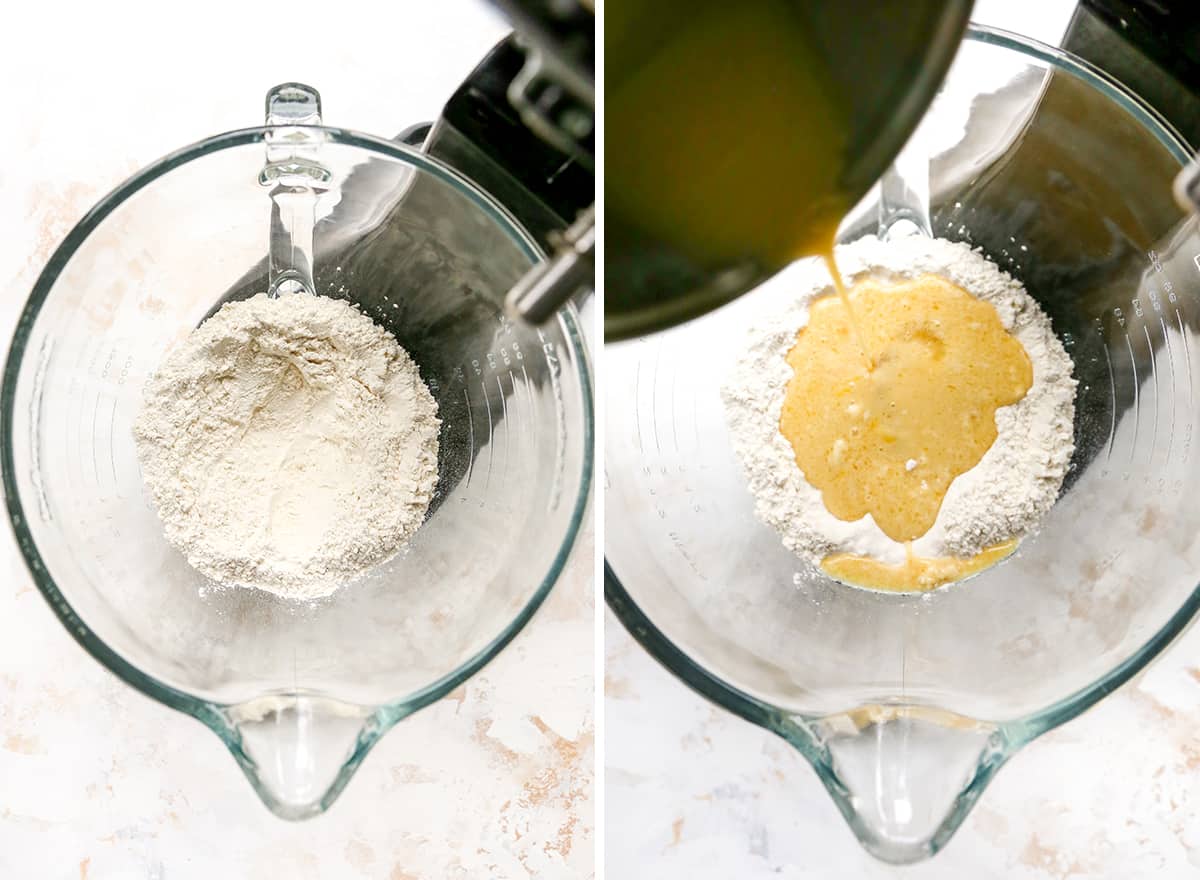
Once the wet ingredients are prepared, add the flour to the container of a standing mixer fitted with a dough hook. You can also place it in a large bowl and mix by hand.
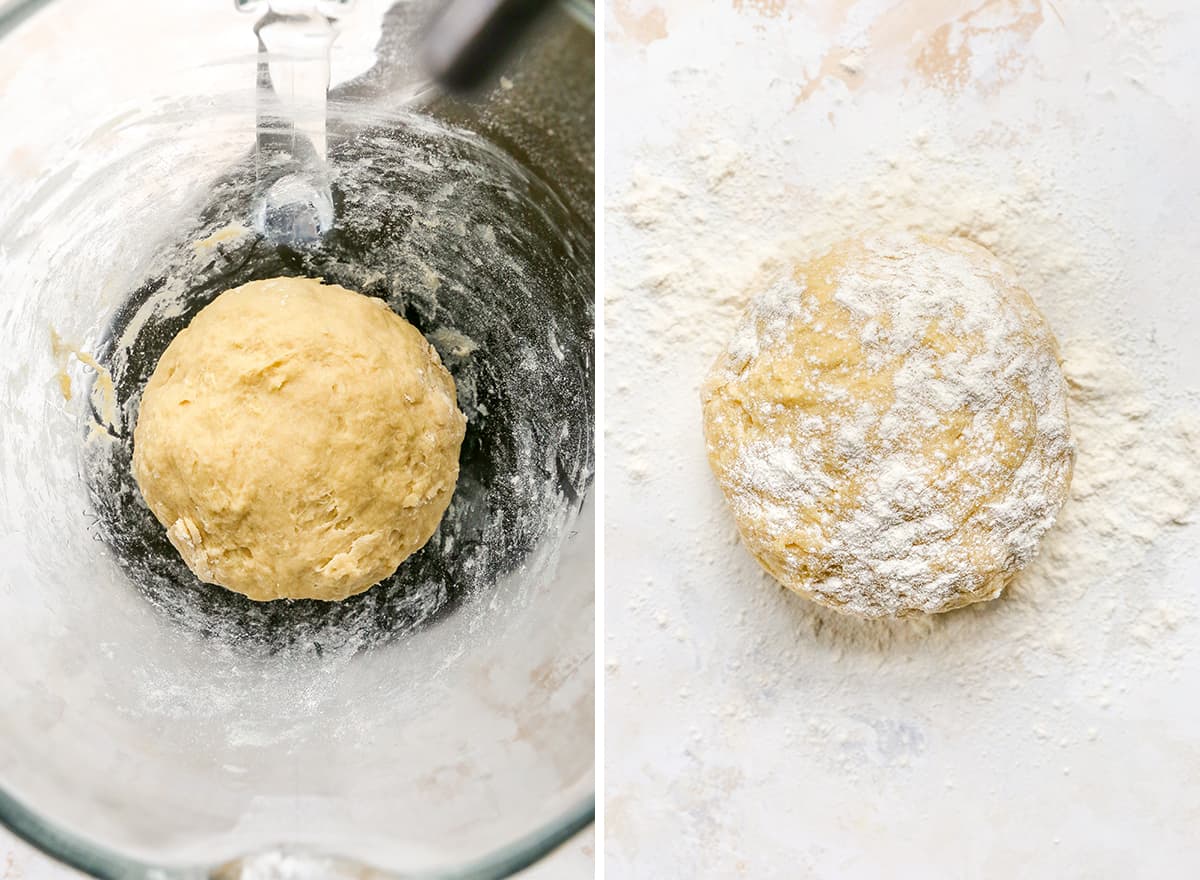
Pour the wet ingredients into the flour and mix the dough with the dough hook until it forms a smooth, elastic ball.
If necessary, add up to 2 Tablespoons more flour until dough is smooth and no longer sticky. Turn dough out onto a lightly floured surface and form into a ball.
Rise
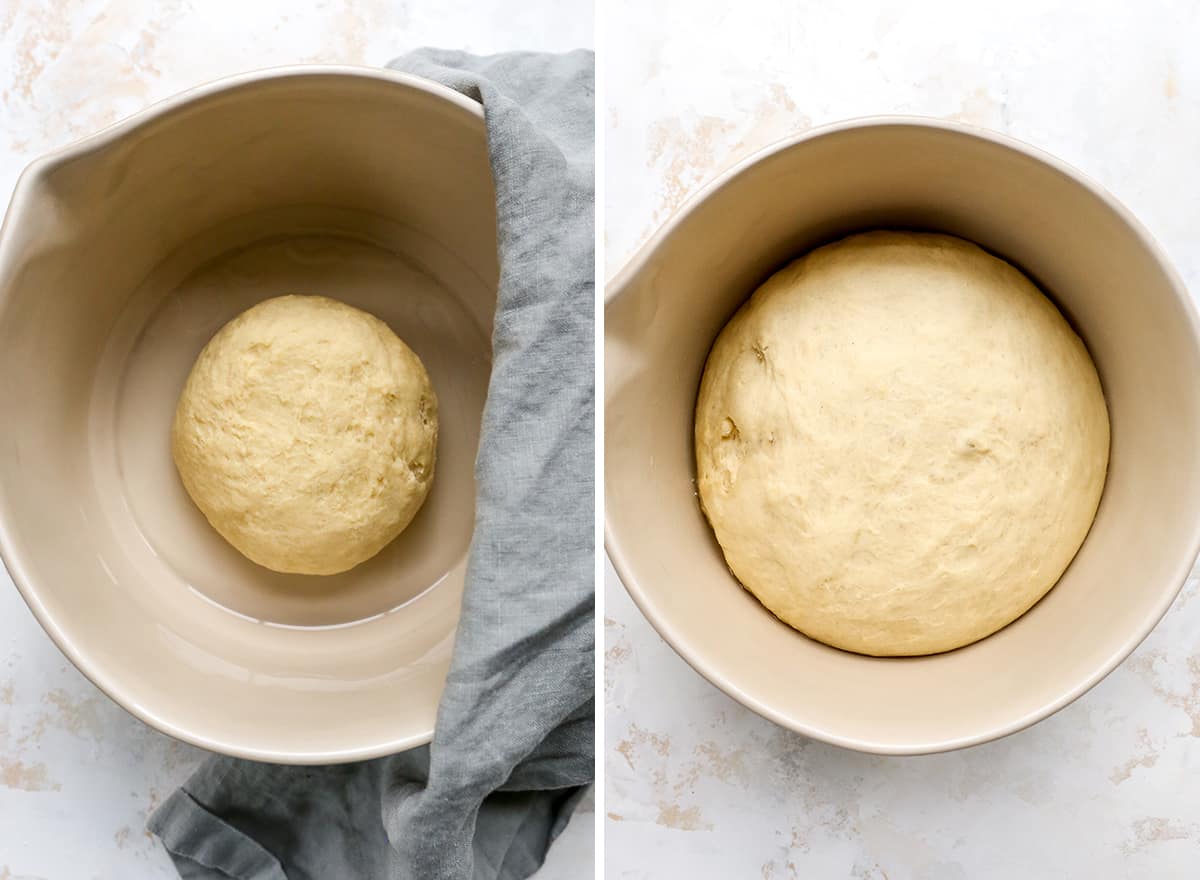
Place the Povitica dough in a lightly-greased bowl covered with a wet towel and let it rise for 1.5 to 2 hours (or until doubled in size).
Make the Povitica Filling
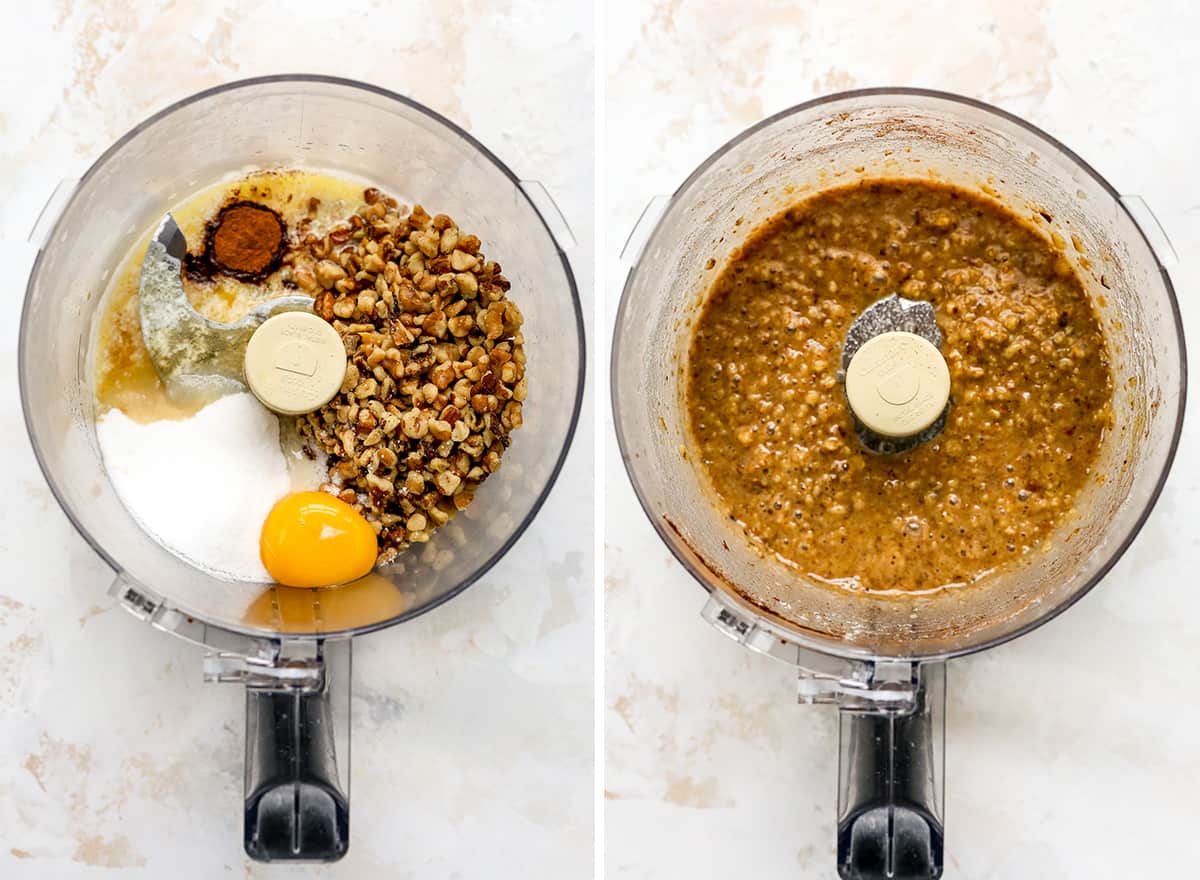
While the Povitica bread dough is rising, make the filling. You can use a high-powered blender or food processor to make the filling.
Start by putting the wet ingredients into the container and blending/processing until they are warm. Then add the rest of the ingredients and pulse until ingredients are combined and walnuts are chopped into small pieces. Let the filling stand-covered-at room temperature until the rise is complete!
Roll & Assemble Povitica Dough
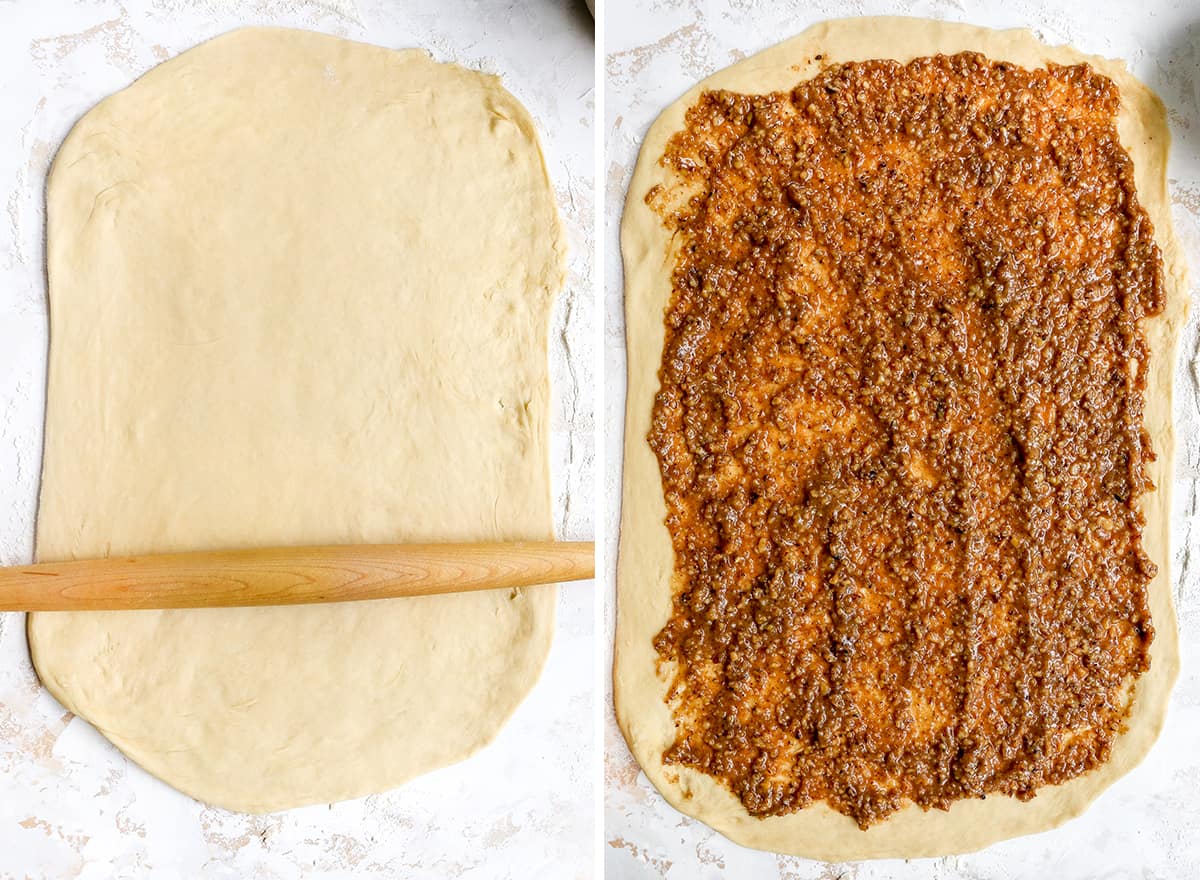
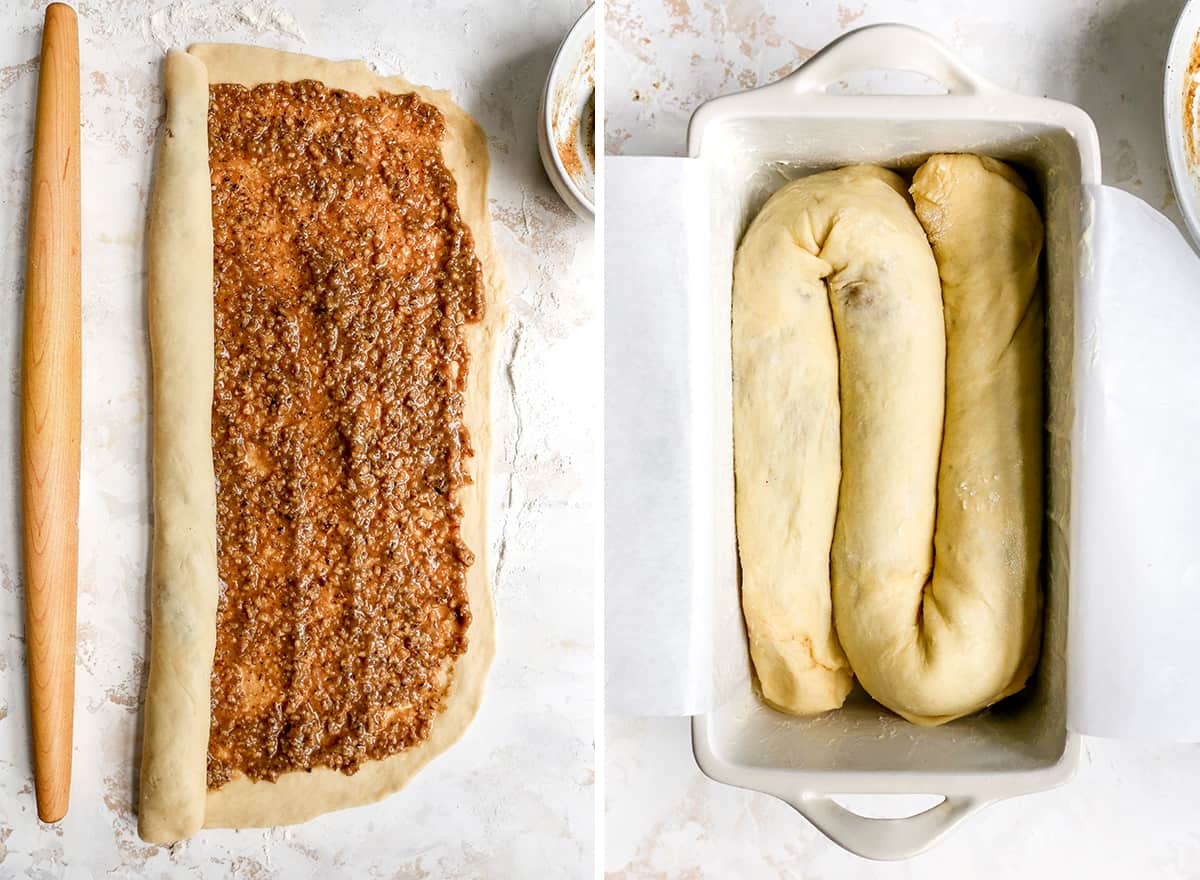
Next comes the rolling and assembling. Roll out the povitica bread dough into a large rectangle and gently spread the filling over it, leaving a 1/2″ space at the edges bare. Tightly roll the dough into a jelly roll, making sure to apply ample pressure to ensure a tight roll.
Make an “S” Shape in the Pan
Take the rolled povitica bread dough “rope” and stretch it just a touch. Then form it into an “S” shape in a prepared baking pan. This is what gives this povitica recipe it’s beautiful appearance! At this point let the bread sit, covered, while you preheat the oven and get ready to bake.
Bake
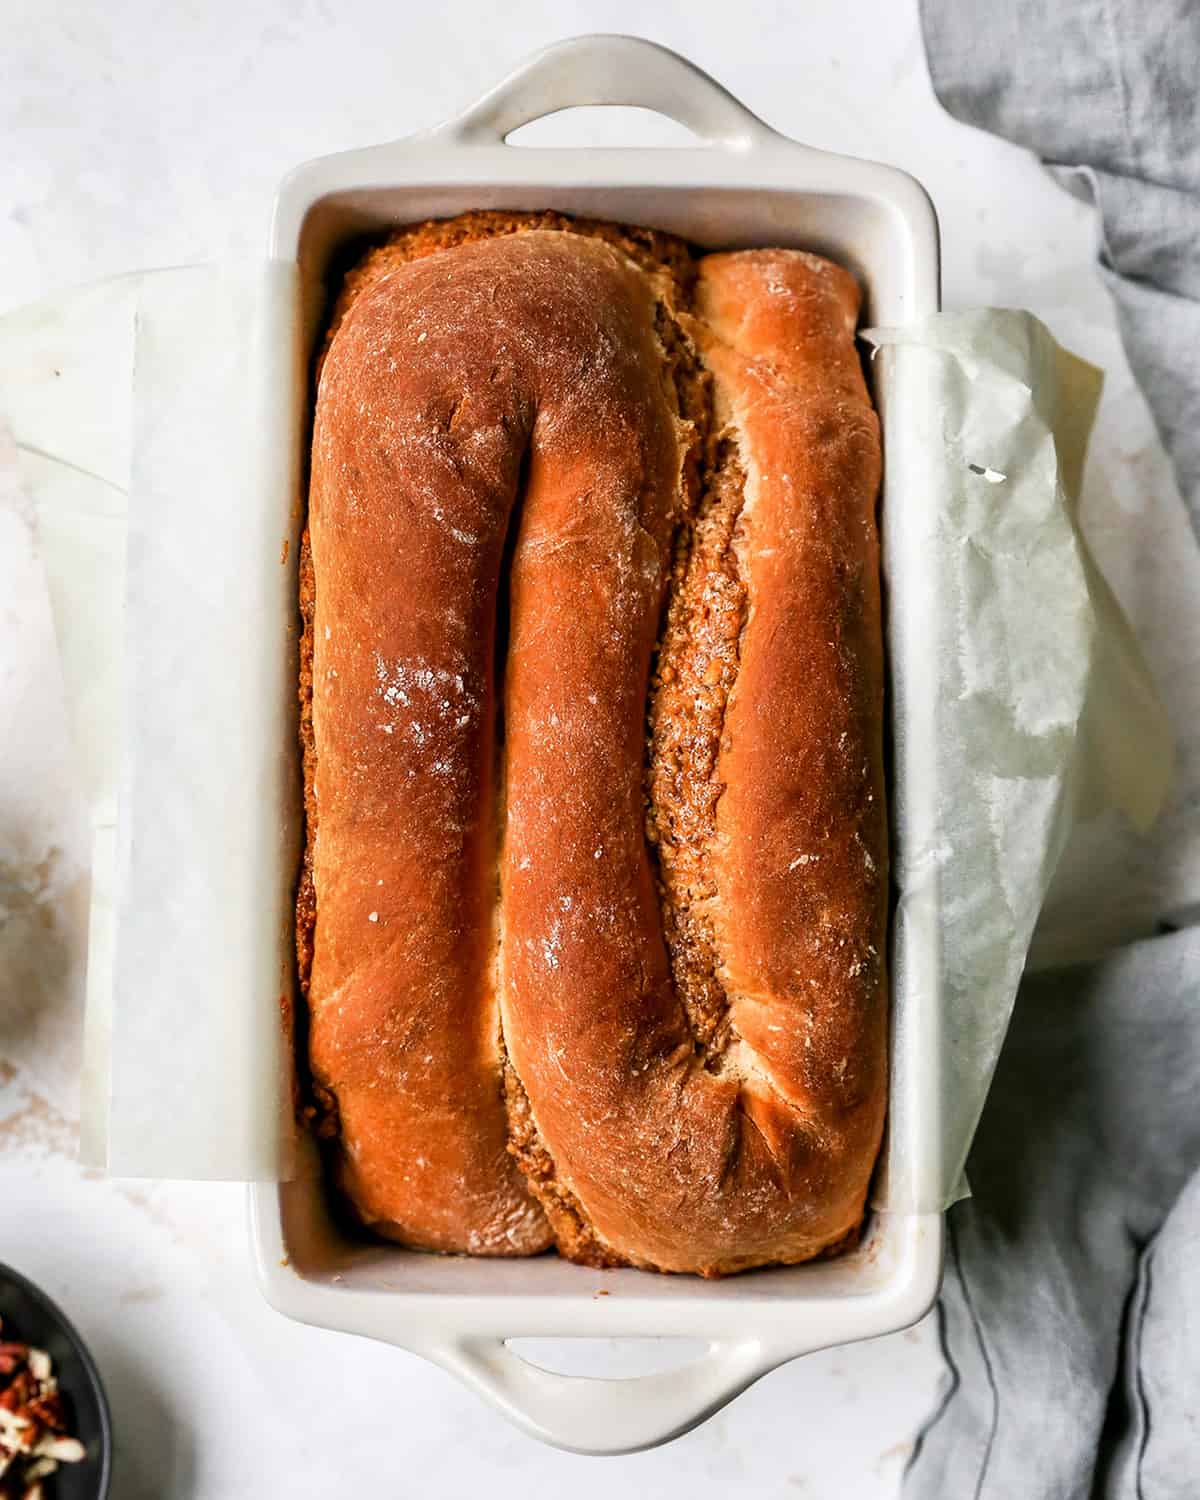
Bake the Povitica bread in the oven once it’s preheated, and after 15 minutes, decrease the temperature and continue baking for about 45 more minutes!
Cool & Serve
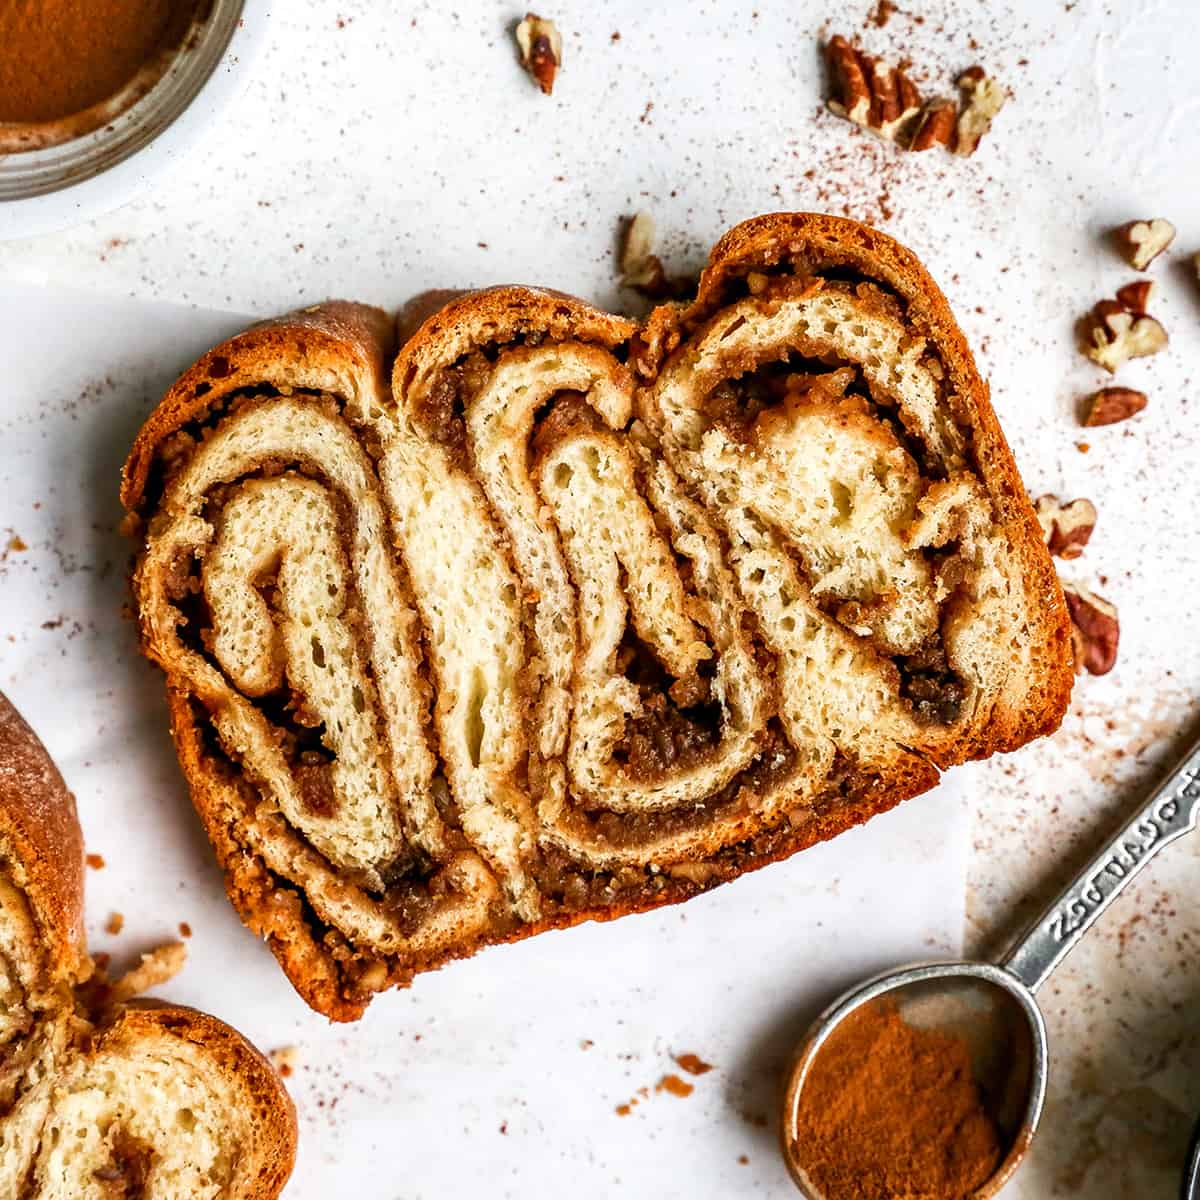
When it is finished, place the bread in the pan on a wire rack to cool. This povitica bread is heavy, so it is very important to leave it in the pan while it cools so that it retains its shape. Once this povitica recipe completely cool dive on it! Carefully slice the povitica bread and share with your family and friends!
Store
Store this povitica bread in an airtight container at room temperature for up to 5 days.
To Freeze
You can freeze the entire, baked loaf of Povitica bread. Let it cool completely, then wrap it in plastic wrap and put it in an airtight container or ziplock bag and freeze for up to 2 months. You can also freeze individual slices in the same way.

Povitica Bread Recipe FAQs
You can easily double (or triple) this recipe to make more loaves to share with your loved ones!
It’s Croatian, povitica means walnut bread.
Yes! You can form the loaf and let it rise in the refrigerator overnight if you want to bake it fresh in the morning for breakfast. You can also bake the loaf and freeze it.
If you make and love our recipes, it would mean so much to me if you would leave a comment and rating! And don’t forget to follow along with us on Instagram, Pinterest, Facebook, and Youtube – be sure to tag @joyfoodsunshine and use the hashtag #joyfoodsunshine so we can see your creations!
Povitica Recipe
Ingredients
Dough:
- 2 Tablespoons warm water
- ½ teaspoon granulated sugar
- 2 teaspoons active dry yeast
- ½ cup milk 2% or whole
- 3 Tablespoons granulated sugar
- ¾ teaspoon sea salt
- 1 Tablespoon butter melted
- 1 large egg lightly beaten
- ¼ teaspoon pure vanilla extract
- 2 to 2 ½ cups all-purpose flour
Walnut Filling:
- ¼ cup milk 2% or whole
- ¼ cup butter melted
- 1 ¾ cup walnuts
- ½ cup granulated sugar
- ¼ teaspoon sea salt
- ½ teaspoon ground cinnamon
- 1 large egg yolk lightly beaten
- ½ teaspoon pure vanilla extract
Instructions
Make the Dough
- In a small bowl, stir ½ teaspoon sugar, and yeast into warm water. Set aside until foamy (about 5 minutes)
- In a medium saucepan, heat the milk to just below boiling (about 180°F), stirring occasionally. Allow to cool slightly, until it is about 110°F.
- Once cooled, whisk in the melted butter, 3 TBS sugar and salt to the milk until combined. Add egg, vanilla and yeast mixture and stir to combine.
- Add flour into the bowl of a standing mixer fitted with a dough hook.
- Pour wet ingredients into the flour and mix the dough with the dough hook until it forms a smooth, elastic ball of dough. (You can also mix and knead by hand).
- If necessary, add up to 2 TBS more flour until dough is smooth and no longer sticky.
- Turn dough out onto a lightly floured surface and form into a ball.
- Place dough in a lightly oiled bowl and cover with a warm, damp tea towel and let the dough rise for 1.5 hours in a warm place, or until doubled in size.
Make the Filling
- Add Walnuts, sugar, salt, and cinnamon and pulse a few times until the ingredients are combined and walnuts are crushed into smaller pieces.
- Add egg yolk and vanilla and pulse to combine.
- Allow mixture to stand at room temperature until dough is ready.
Assembled
- Line a 9×5” loaf pan with parchment paper and grease with butter. Set aside.
- After the dough has doubled in size, remove it from the bowl and place on a well-floured surface.
- Roll the dough into a rectangle about 18” x 7” in size. Be sure dough is thin but not so thin that you can see through it (about ¼” thick).
- Spread the filling evenly on the dough, leaving about 1/2” at the edges bare. (If your filling has become too thick to spread, add warm milk ½ TBS at a time until it just reaches spreading consistency).
- Staring at the edge of your rectangle, roll the dough tightly together making a jelly roll (see picture). Be sure to apply pressure and keep rolling tightly until it resembles a rope.
- Gently stretch out the “rope” and lift it into your prepared loaf pan, making an “S” shape as you put it in. (To do this, fold the dough into thirds in your pan (see pictures)).
- Cover the pan with a damp towel and let it sit in a warm place for at least 15 minutes while you preheat your oven to 350 degrees F.
Bake & Cool
- Bake for 15 minutes at 350 degrees.
- After 15 minutes turn down the oven to 300 degrees F and bake for an additional 45 minutes (about 1 hour total), or until done (will sound hollow when hit with a wooden spoon). Check your bread after about 30 minutes and cover with aluminum foil if it is getting too brown.
- Remove bread from the oven. Cool for 20-30 minutes on a wire rack before removing from pan.
- Cool completely before cutting and serving!
Video
Notes
Nutrition
Nutrition information is automatically calculated, so should only be used as an approximation.









This bread is gorgeous! I also had no idea you could use a vitamix to kneed dough – mind blown! I will have to try this out with my favorite cinnamon roll recipe over Christmas. Thanks for the great tips and yummy recipe 🙂
That sounds like an amazing idea! 🙂
I cannot get over how beautiful this bread is! It looks like it belongs in a gourmet bakery, no joke!
Thank you Bethany! 🙂 <3
This is genius and just another reason I must get a Vitamix asap!
YES! A vitamix should be a standard appliance in every kitchen!
Can this be made in the wet Vitamix container too? I don’t have the dry grains one yet.
I would not recommend making the dough in a wet container. If you need to make the dough without a dry grains container you can mix and knead the ingredients (in the same order listed) by hand…but you absolutely can use the wet container to make the filling!
Oh my this looks amazing so I forwarded it to my husband since he’s the bread maker but in a Vitamix that’s all me!! Can’t wait to make this.
LOL Love how you divide the kitchen duties! 🙂
Love this!! Pure brilliance that you use a blender to make this beautiful loaf!! Love it! And now I need a Vitamix 😉
Becky you absolutely do need a Vitamix! LOL! No friend of mine should be without one… 😉
This sounds wonderful!! My husband always enjoys something called Potica, which seems SO similar to this. I’m going to have to give this a try for him!
Hey Tara! This IS povitica! 🙂 I use two titles…one that explains what the bread is and the traditional name!
I got the Vitamix dry grains container as part of a deal with my Vitamix from Costco over a year ago, and I have yet to use it! So happy to find this and can’t wait to give it a try!
I love the dry grains container! I also use it to grind coffee and flours!
It really does a great job kneading bread! SO fun too!
Why can’t I knead b read in the wet container?
I’ve been wanting a Vitamix forever and those deals sound great – need to check it out esp. since you can make yeast bread in it – I had no clue! And I’m totally pinning this bread – reminds me of babka which I adore!
It is similar to Babka! 🙂 Seriously when I invested in one years ago I was nervous…but it has become an indispensable tool in my kitchen! I use it at least twice (usually more) every single day, not exaggerating! 🙂 When you think about it, a not so great blender cost about $100….I’d much rather invest that into something that will last for a lifetime…and has the horsepower of a small car lol!
yeah….I think I need to start exploring other uses of my vitamix besides smoothies and nut butters haha
Those are great ways to use it! But yes…there are SO many things you can do with a Vitamix!