Candy Cookie Bars
Posted Oct 17, 2016, Updated Oct 20, 2024
This post may contain affiliate links. Please read our disclosure policy.
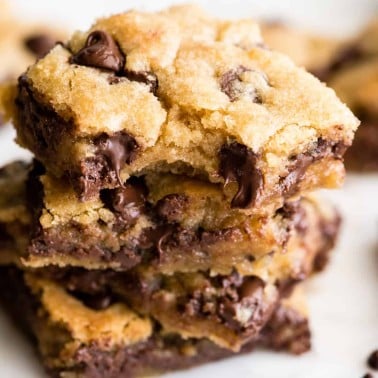
Candy Cookie Bars! Two layers of gooey chocolate chip cookie dough is stuffed with the candy of your choice. The perfect dessert recipe to use up Halloween candy or adapt them for any holiday.
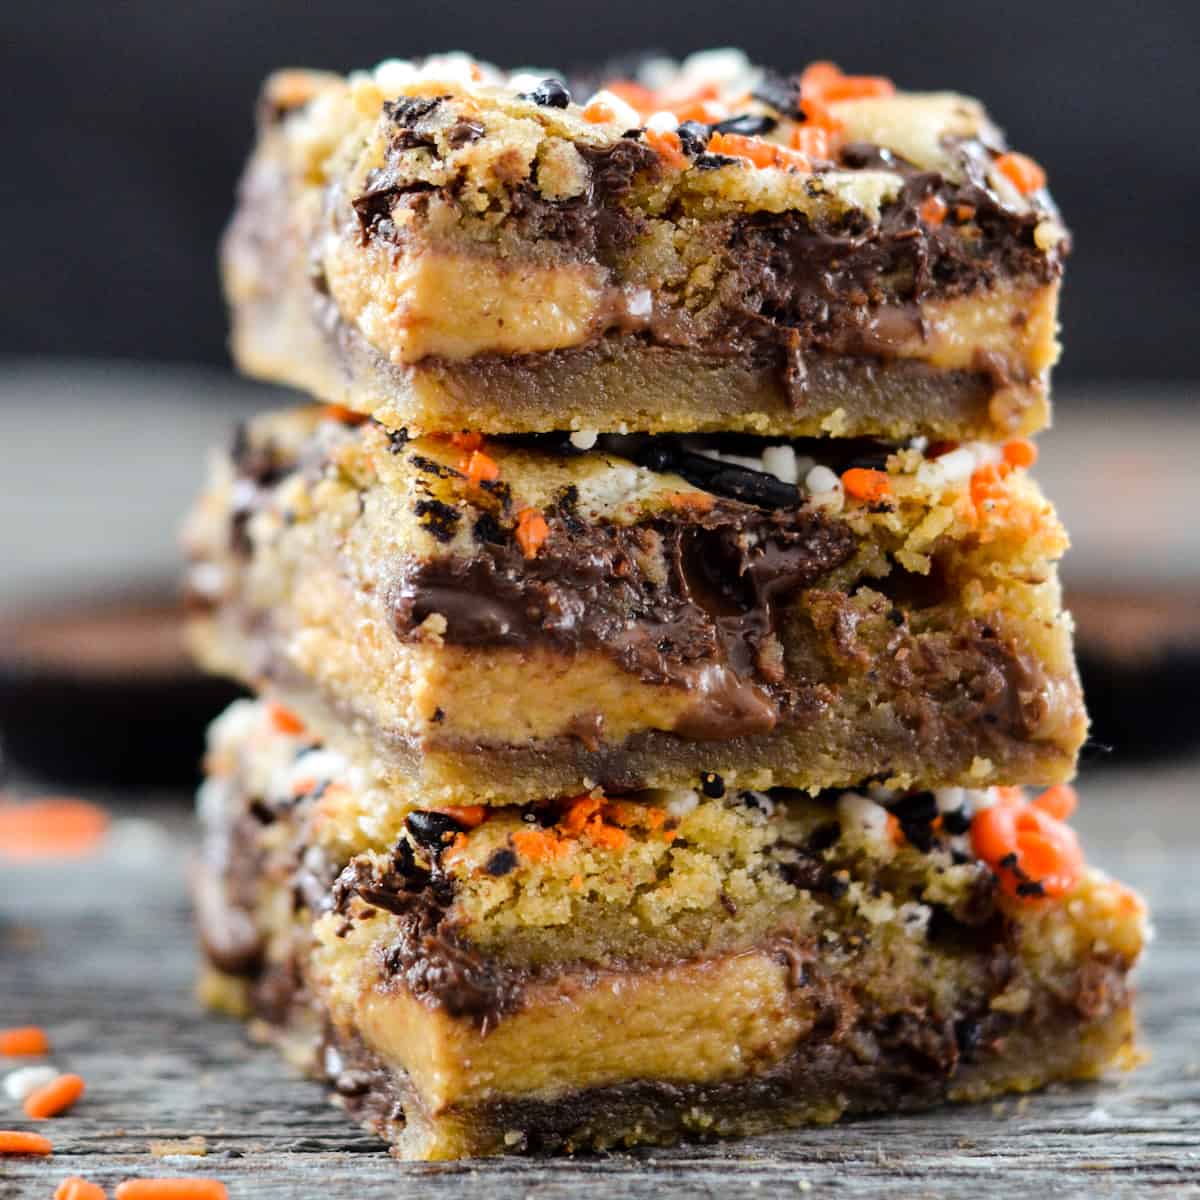
Do you need a way to use all that extra Halloween candy?
Do you want a dessert and don’t want to decide between cookies or a Reese’s (or Snickers or Twix)? Then today is your lucky day. You’re going to love these leftover halloween candy cookie bars.
In this recipe, two layers of gooey chocolate chip cookie dough is stuffed with the candy of your choice. If you need an easy to make, knock-your-socks-off dessert in 30 minutes, this recipe is it!
Candy Cookie Bars: Ingredients & Substitutions
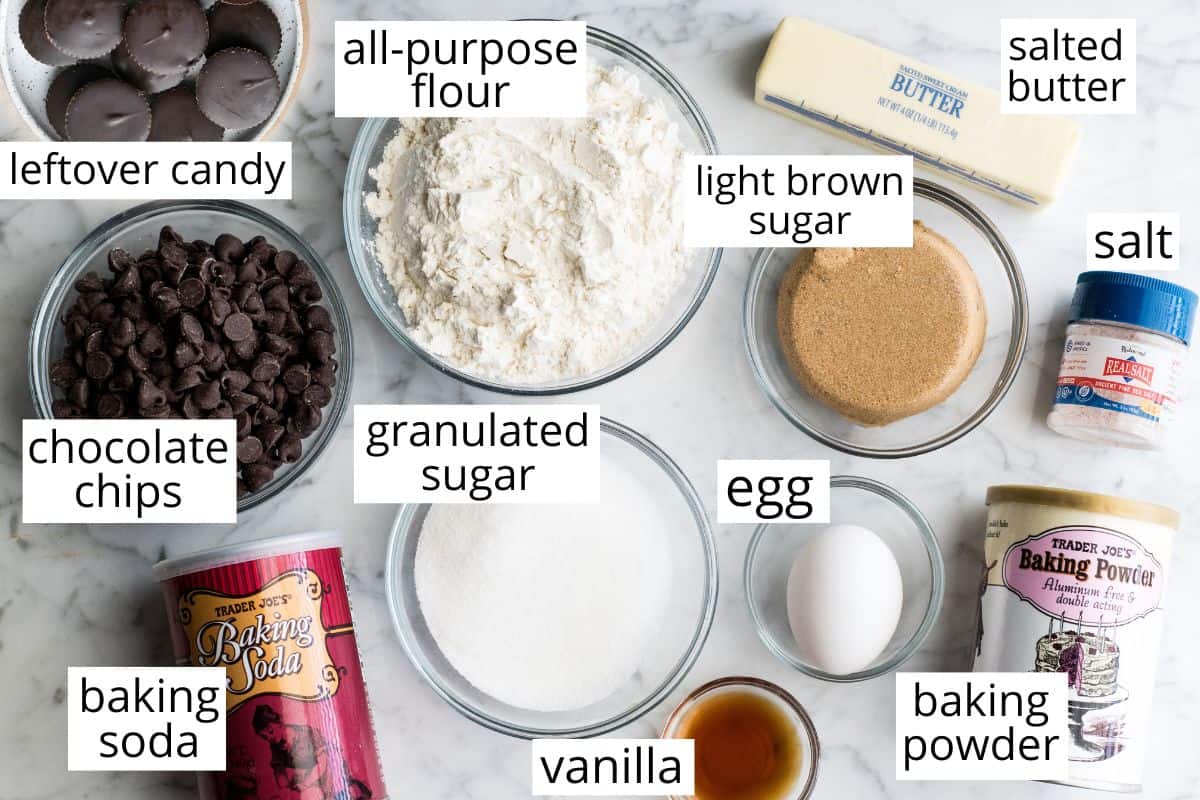
- All-Purpose Flour. If you need a gluten-free version…simply substitute Gluten-Free All Purpose Flour for the regular flour and choose gluten-free candy.
- Butter. I use salted butter, but unsalted butter works great too.
- Chocolate Chips. Both mini and regular chocolate chips work well in this recipe!
- Candy. Choose your favorite candy. I recommend sticking with chocolatey varieties, but the sky’s the limit. Here are some candy suggestions:
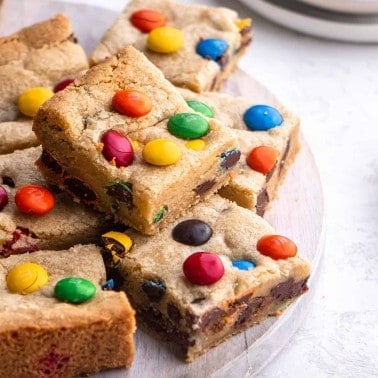
- Reese’s, Twix, Snickers, Rolos, Hershey Kisses, M&Ms, You favorite chocolate bars!, Reese’s Pieces, Peanut butter Chips, 3 Musketeers, Milky Way, etc.
How to Make Candy Cookie Bars
Let’s discuss how to make candy cookie bars step-by-step!
Make the Dough
To make the dough I simply cut my recipe for The Most Amazing Chocolate Chip Cookies in half.
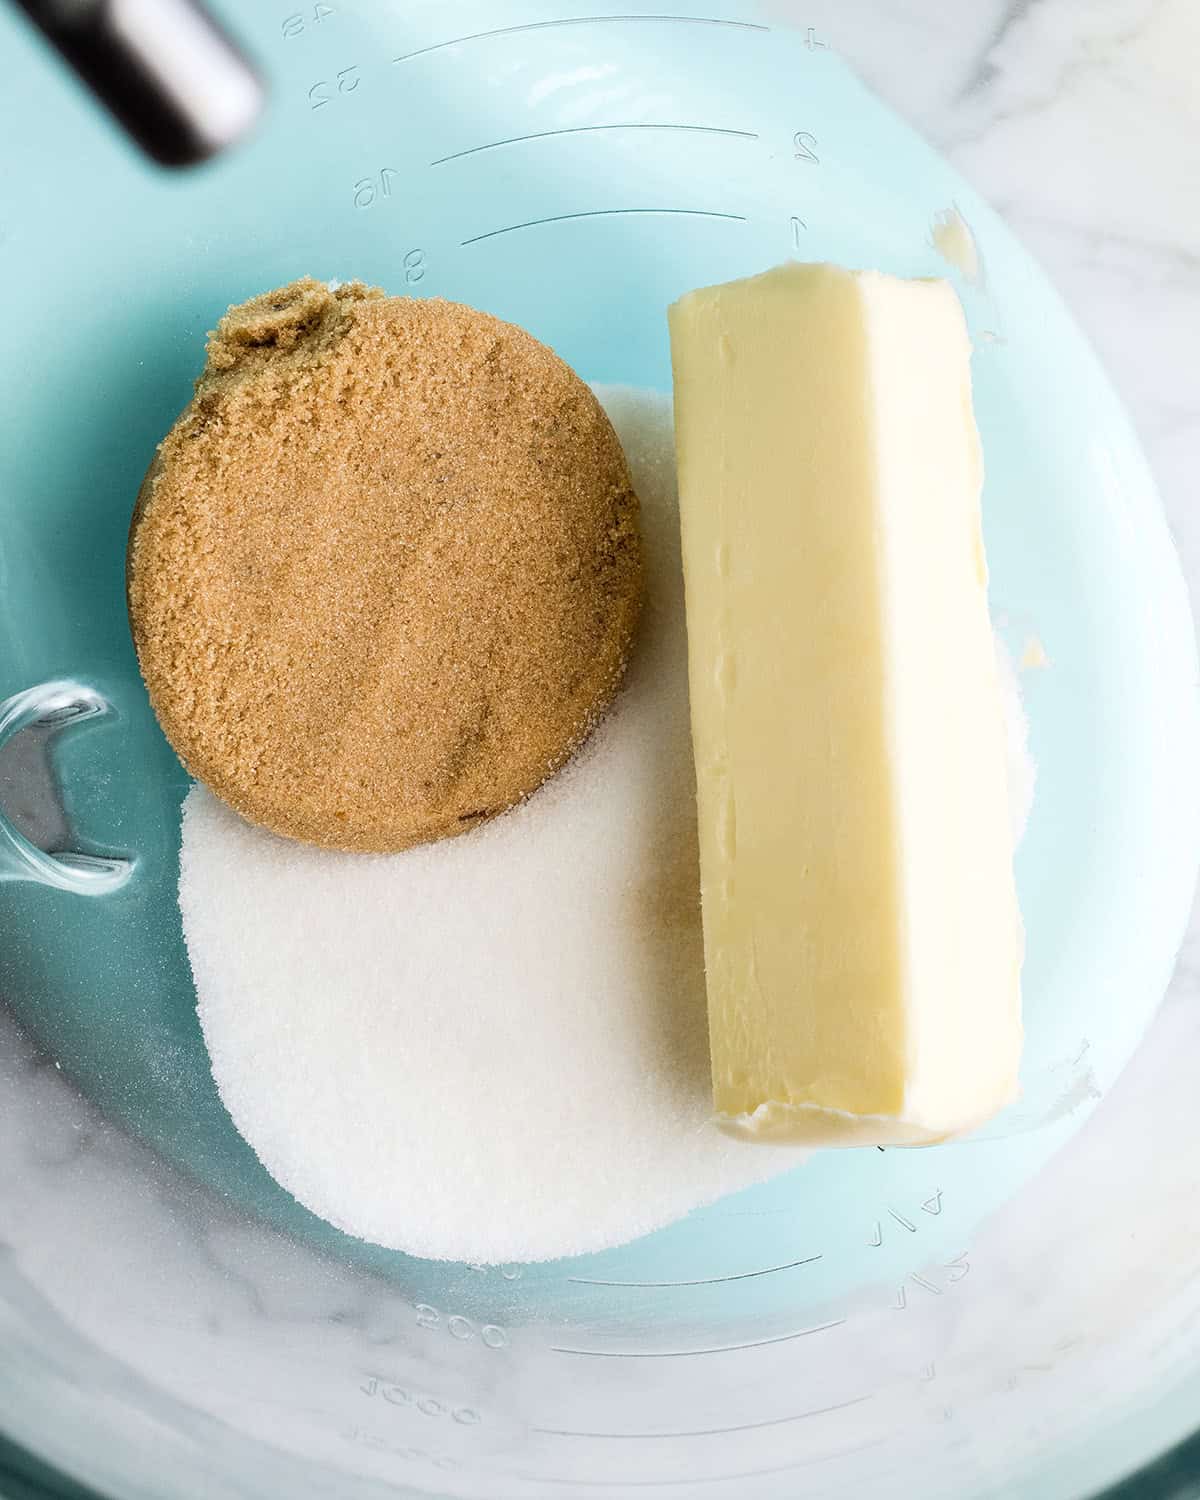
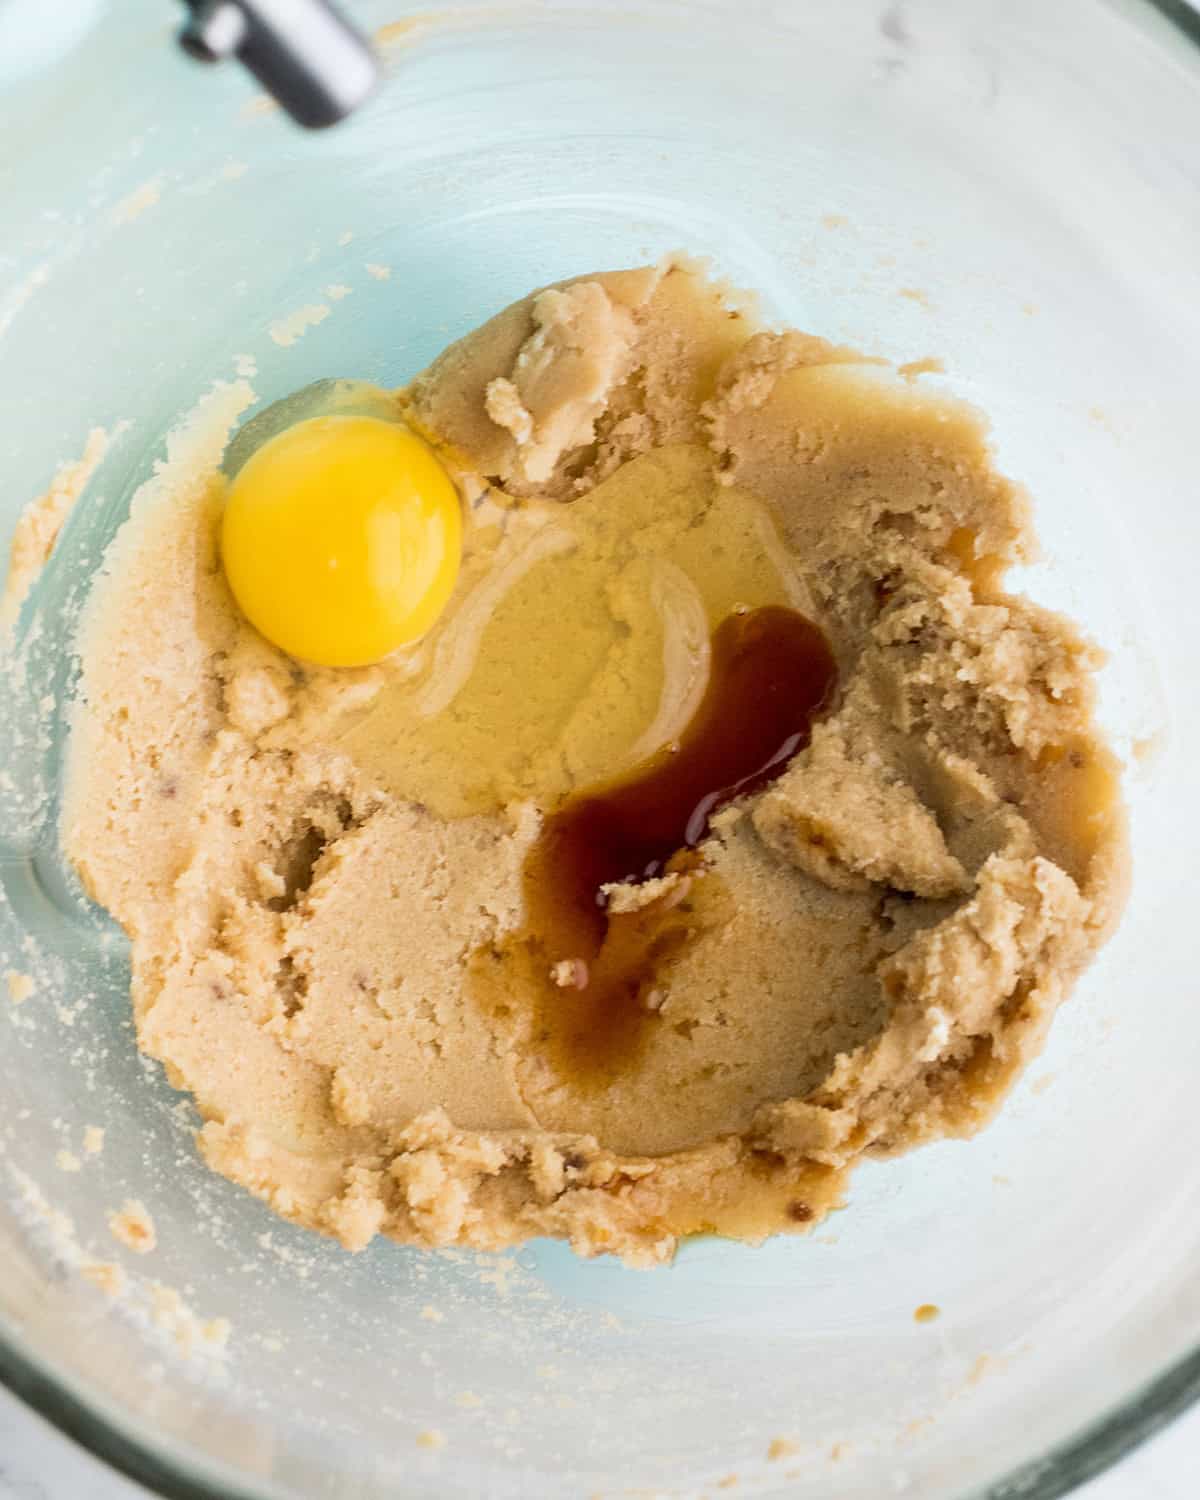
Begin by beating the butter and sugars together for 1 minute, then add the vanilla and egg and beat for an additional 1 minute.
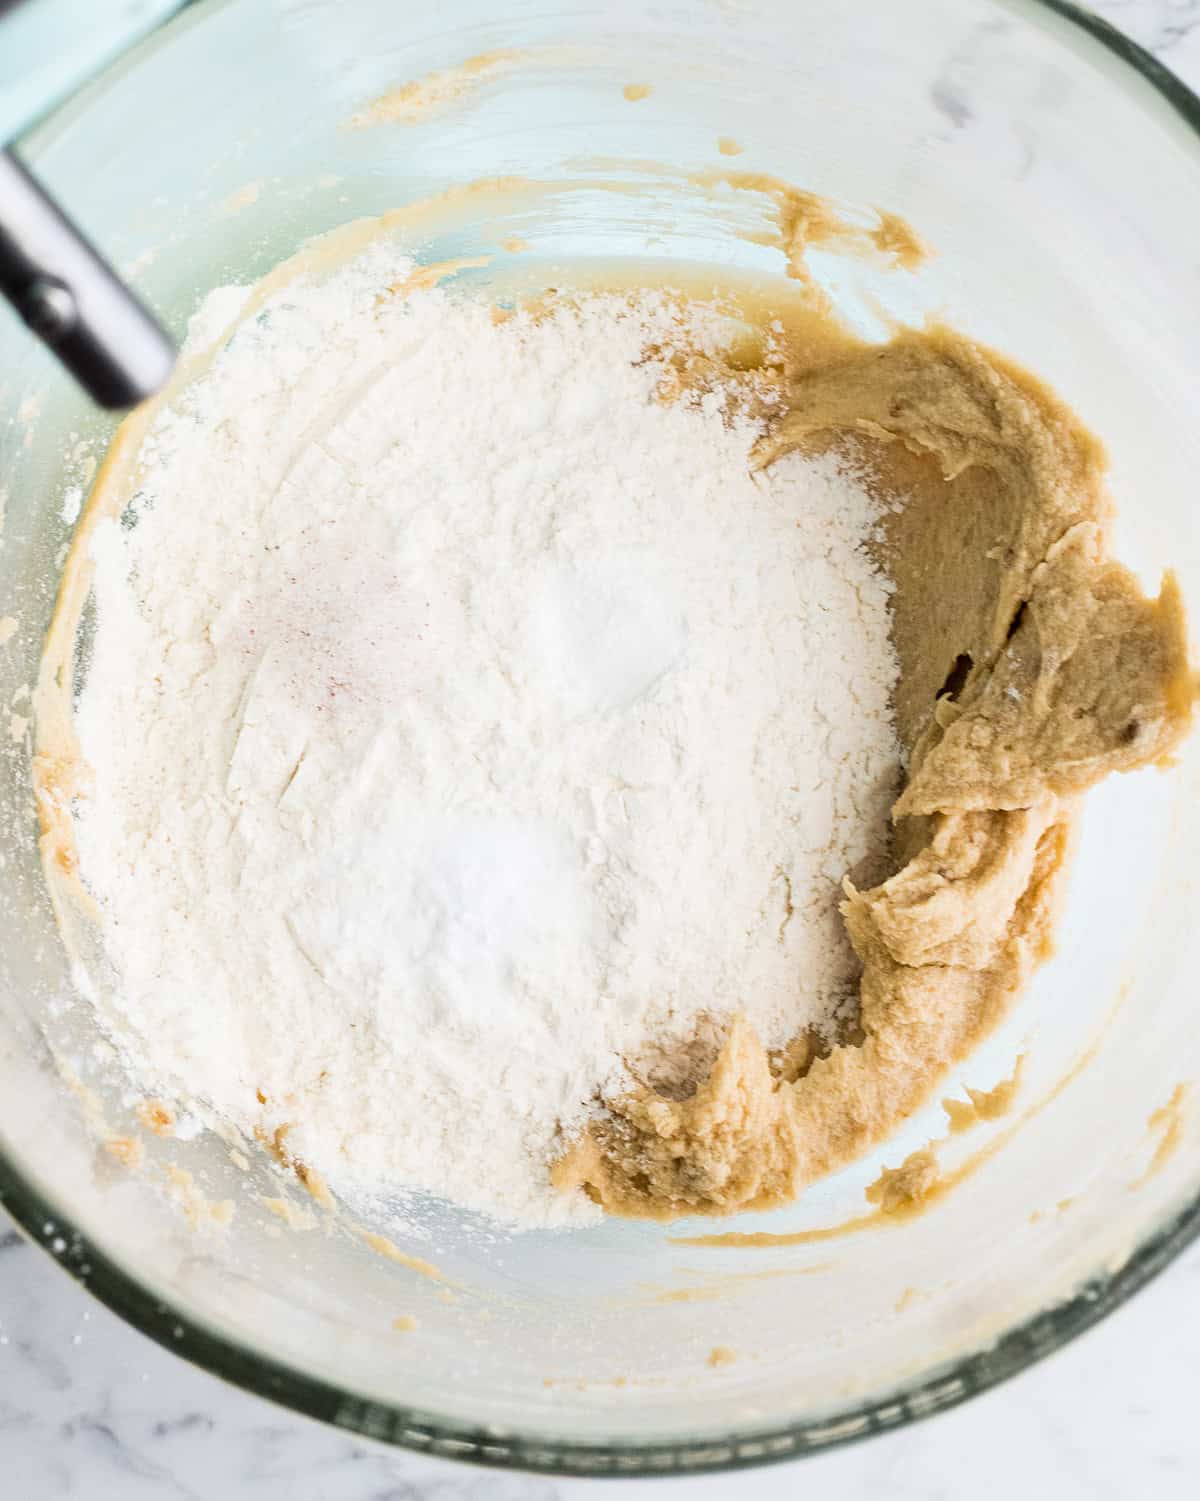
Then, add the dry ingredients and beat until just combined.
Next, stir in the chocolate chips.
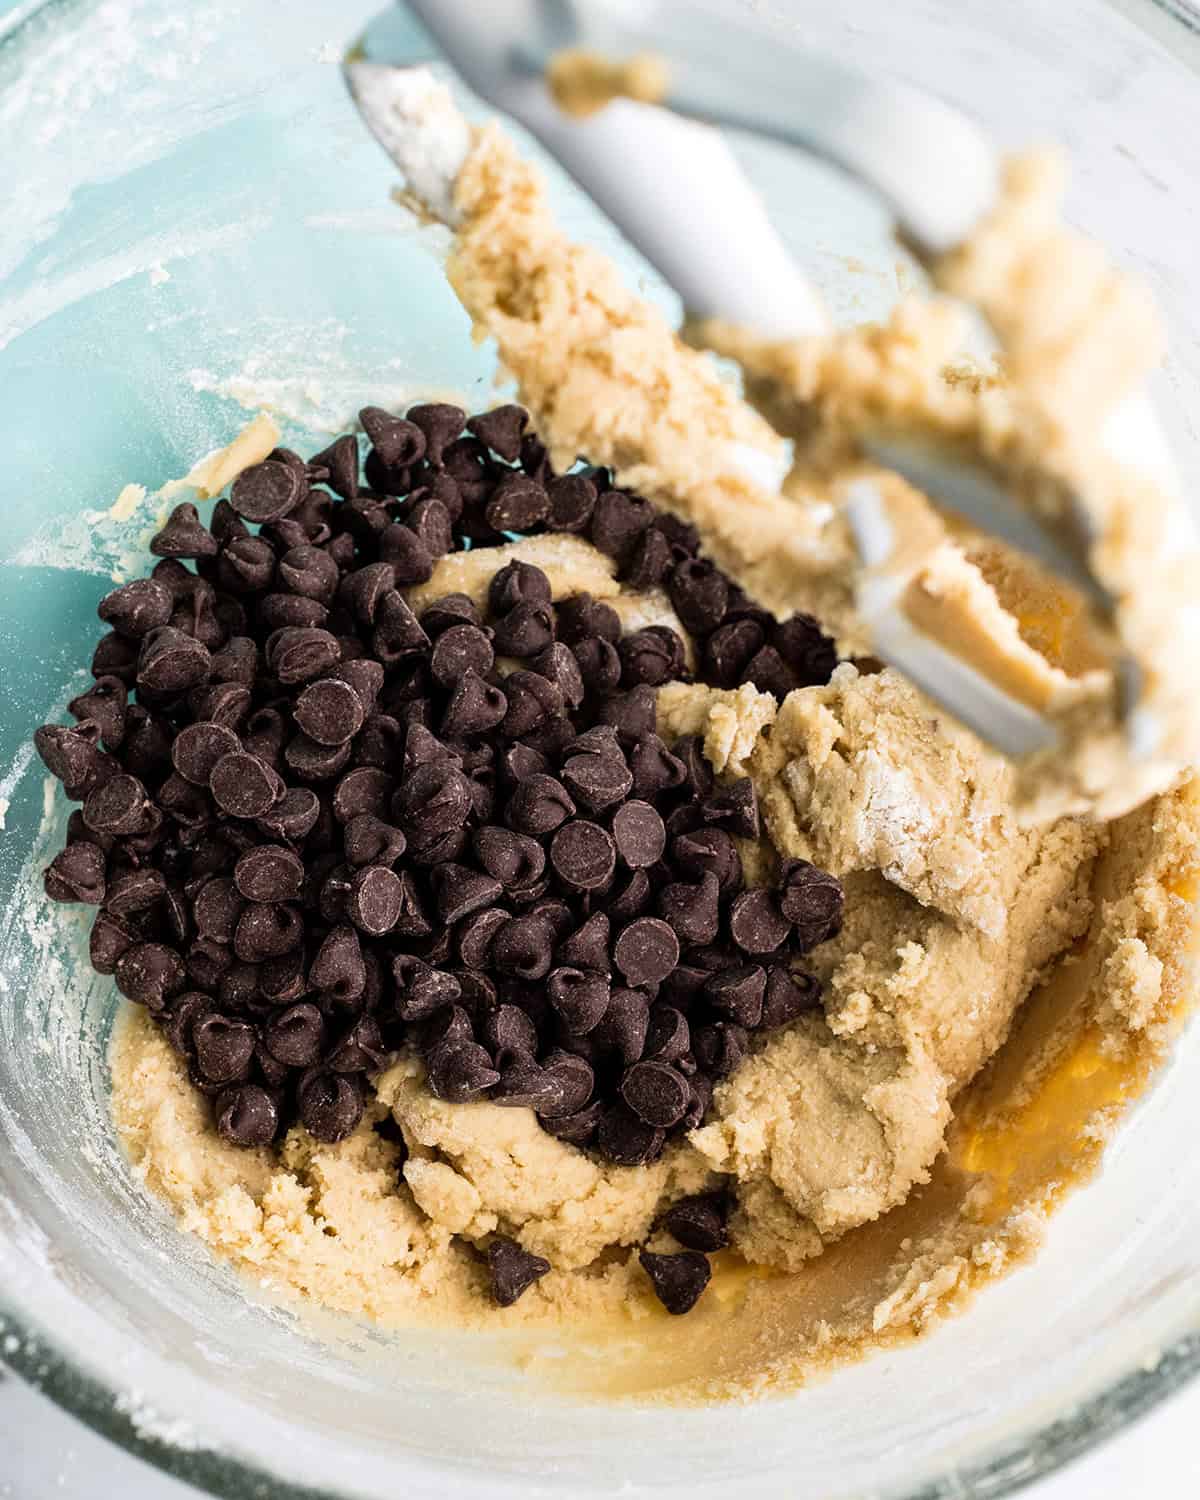
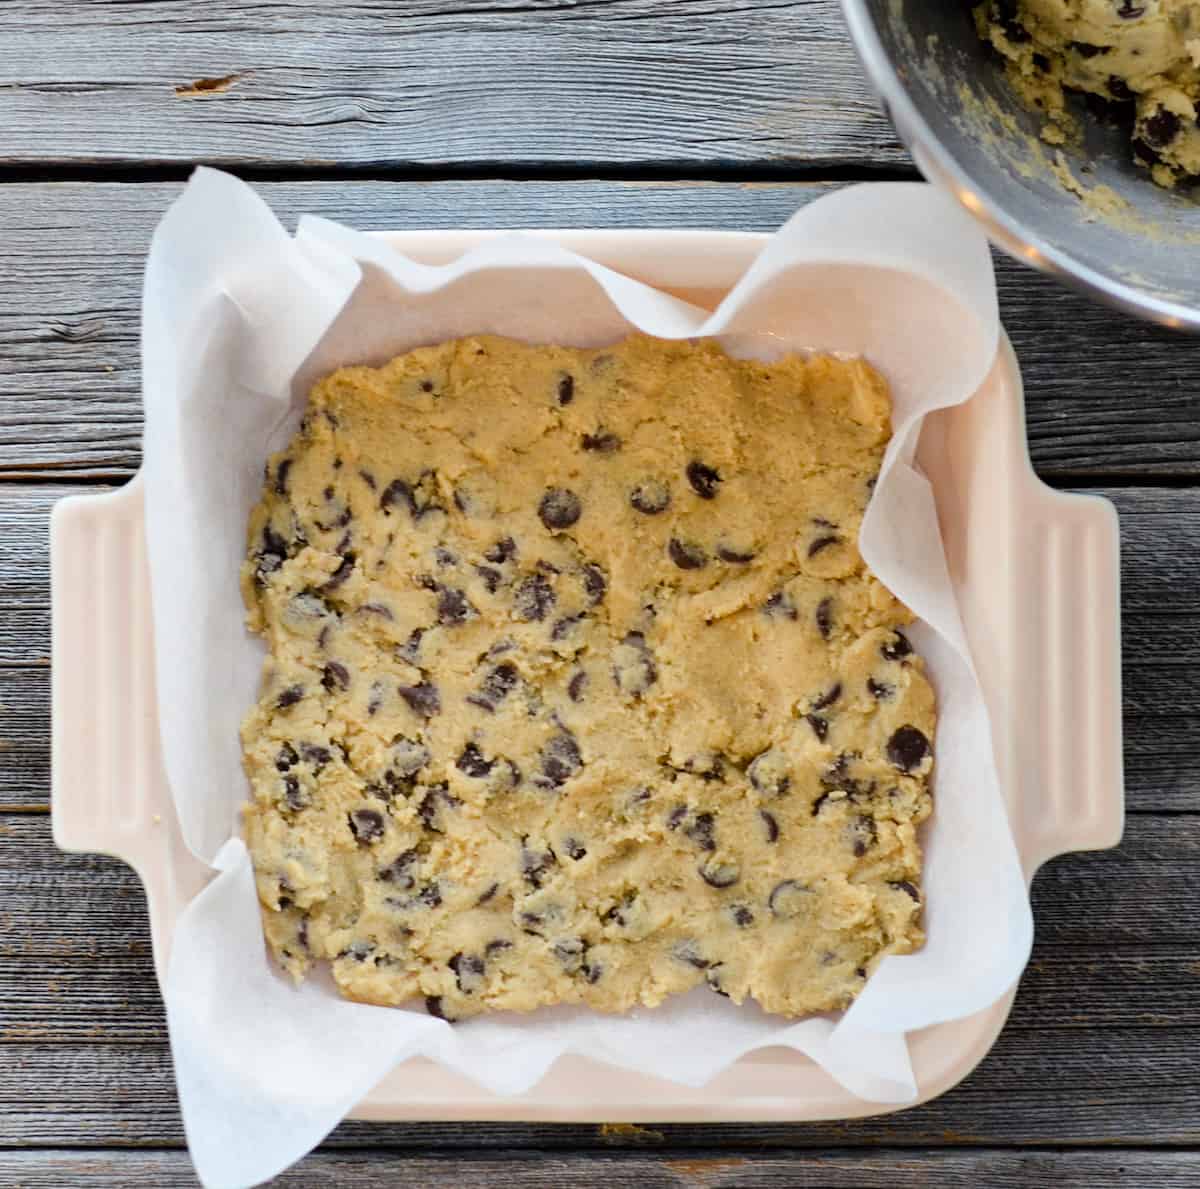
Then, when the dough is finished, spread a little less than half of the dough in the prepared baking dish.
Fill with Candy
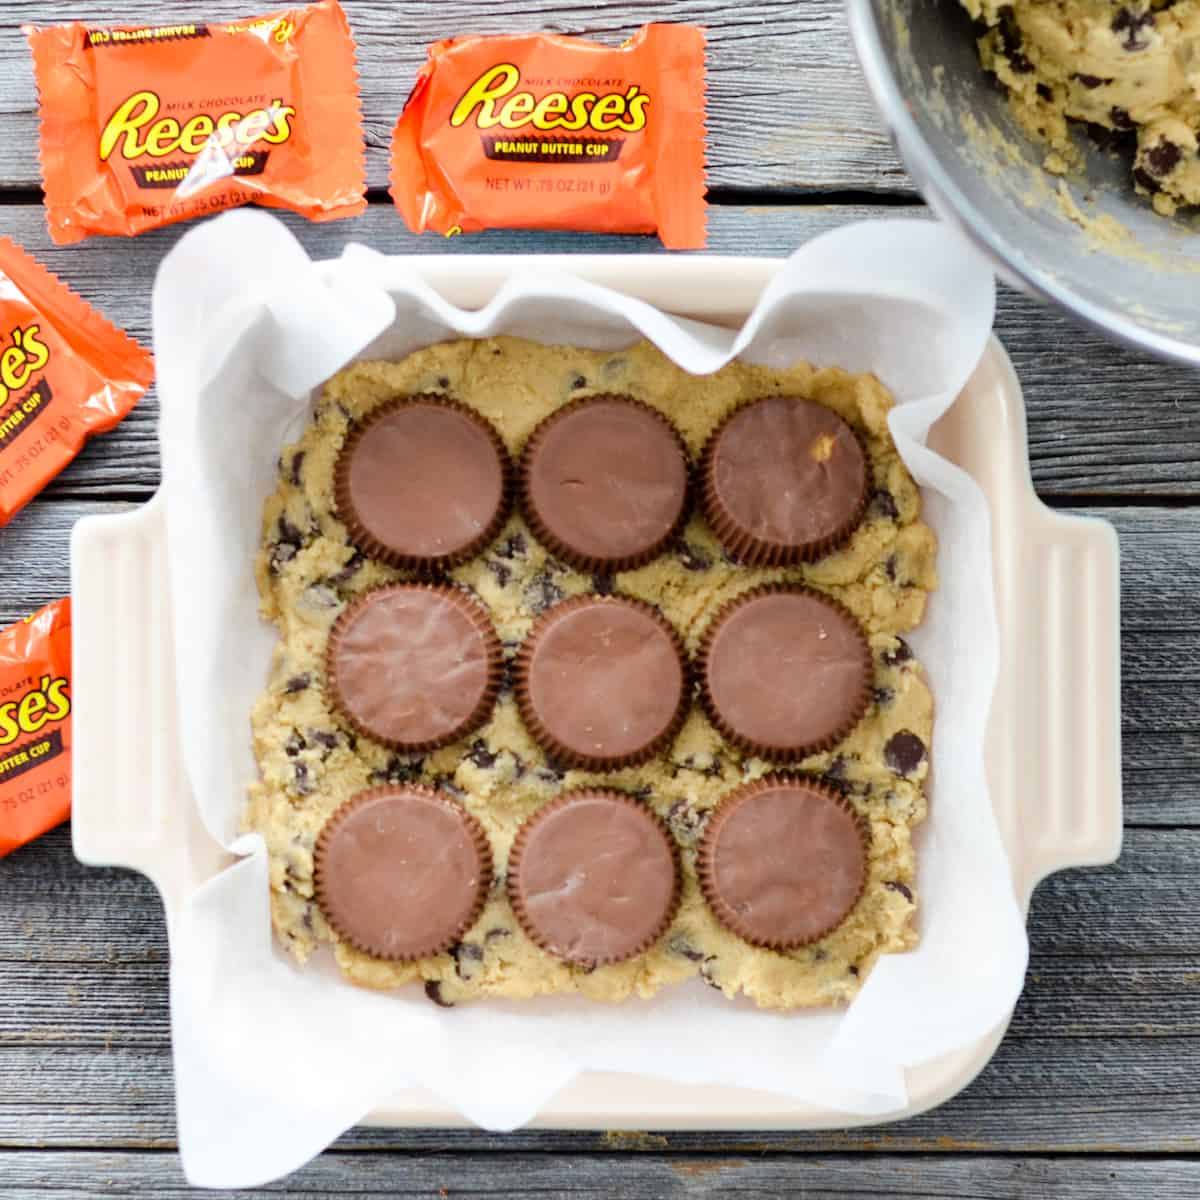
Then comes the clincher. Take your favorite candy from your kids’ trick or treat bags
(YES, you can eat as much as you want, you are raising them) and make a layer on top of the cookie dough.
I used Reese’s cups this time, but have had delicious success with every flavor of Hershey’s Kisses, Twix, Snickers, 3 Musketeers, etc.
Cover the Candy with Dough
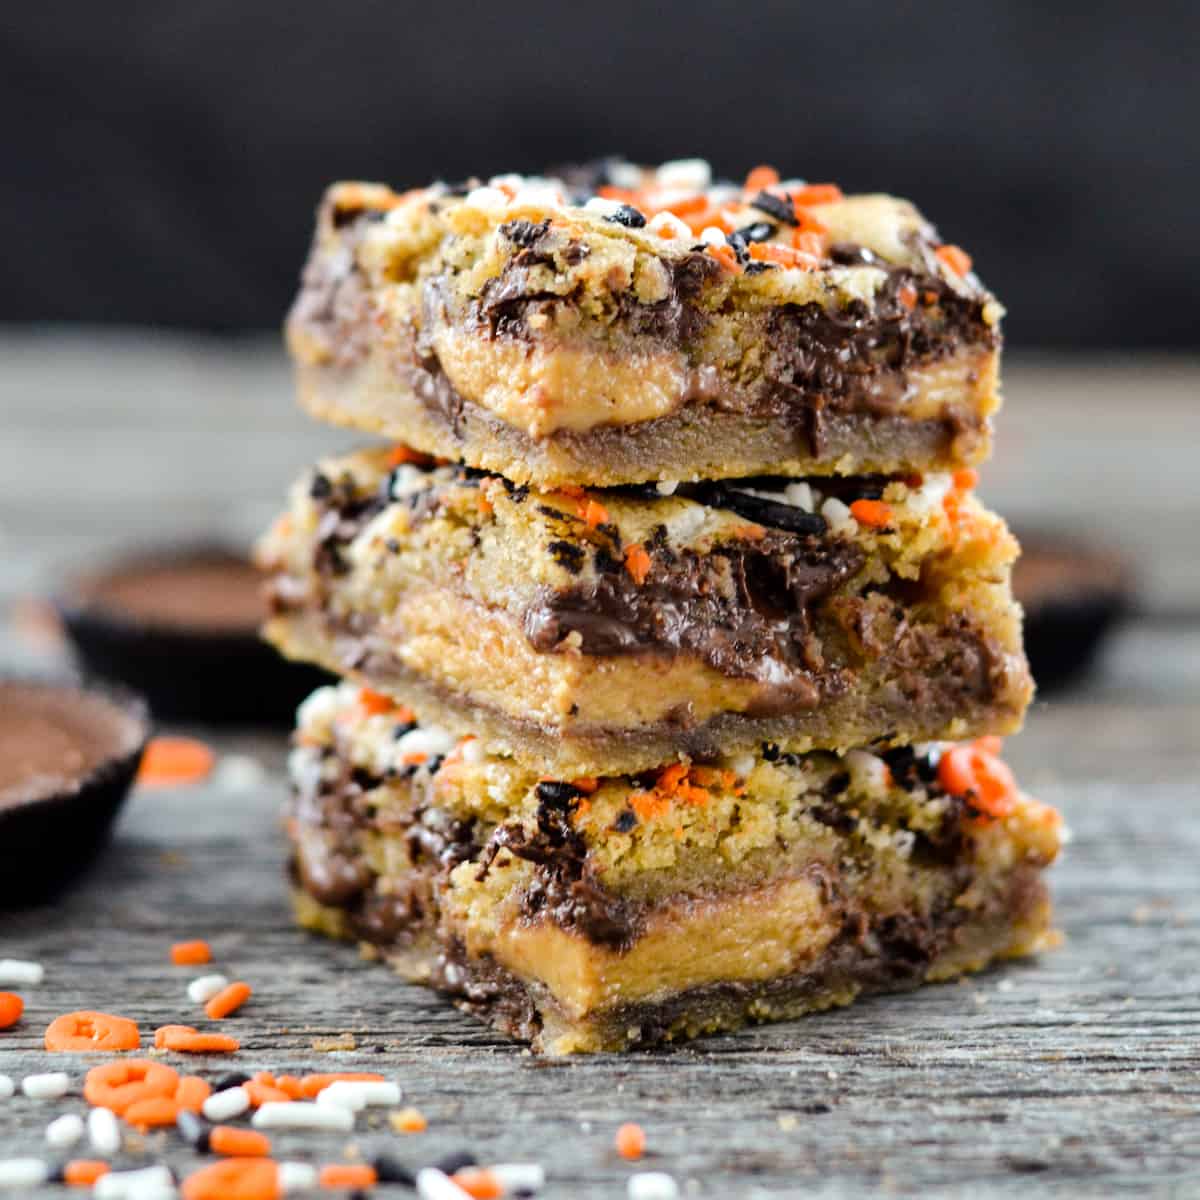
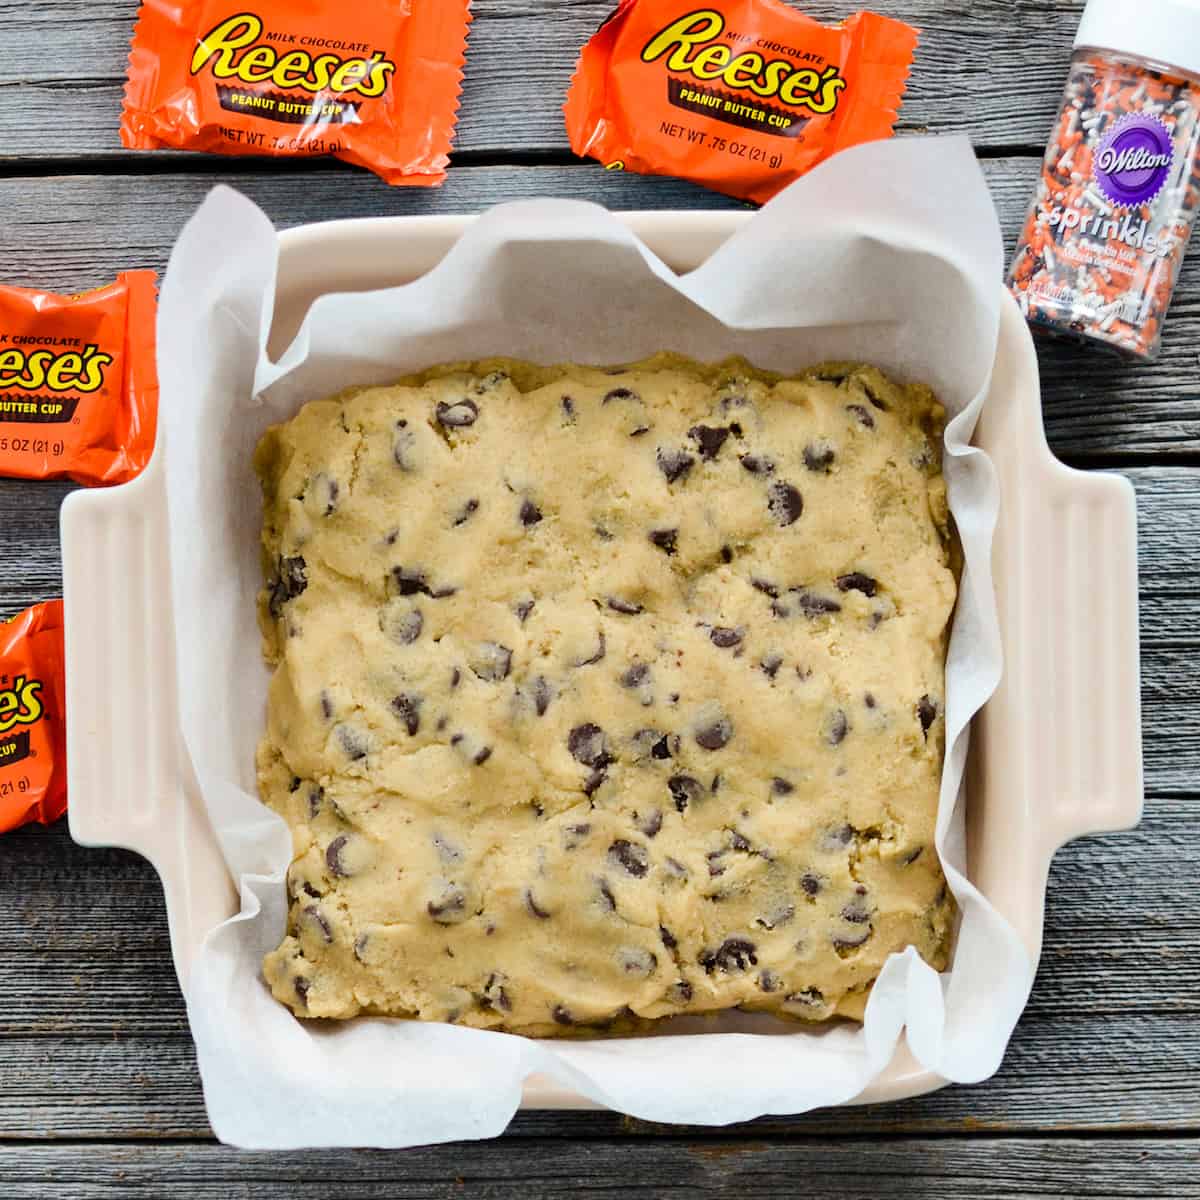
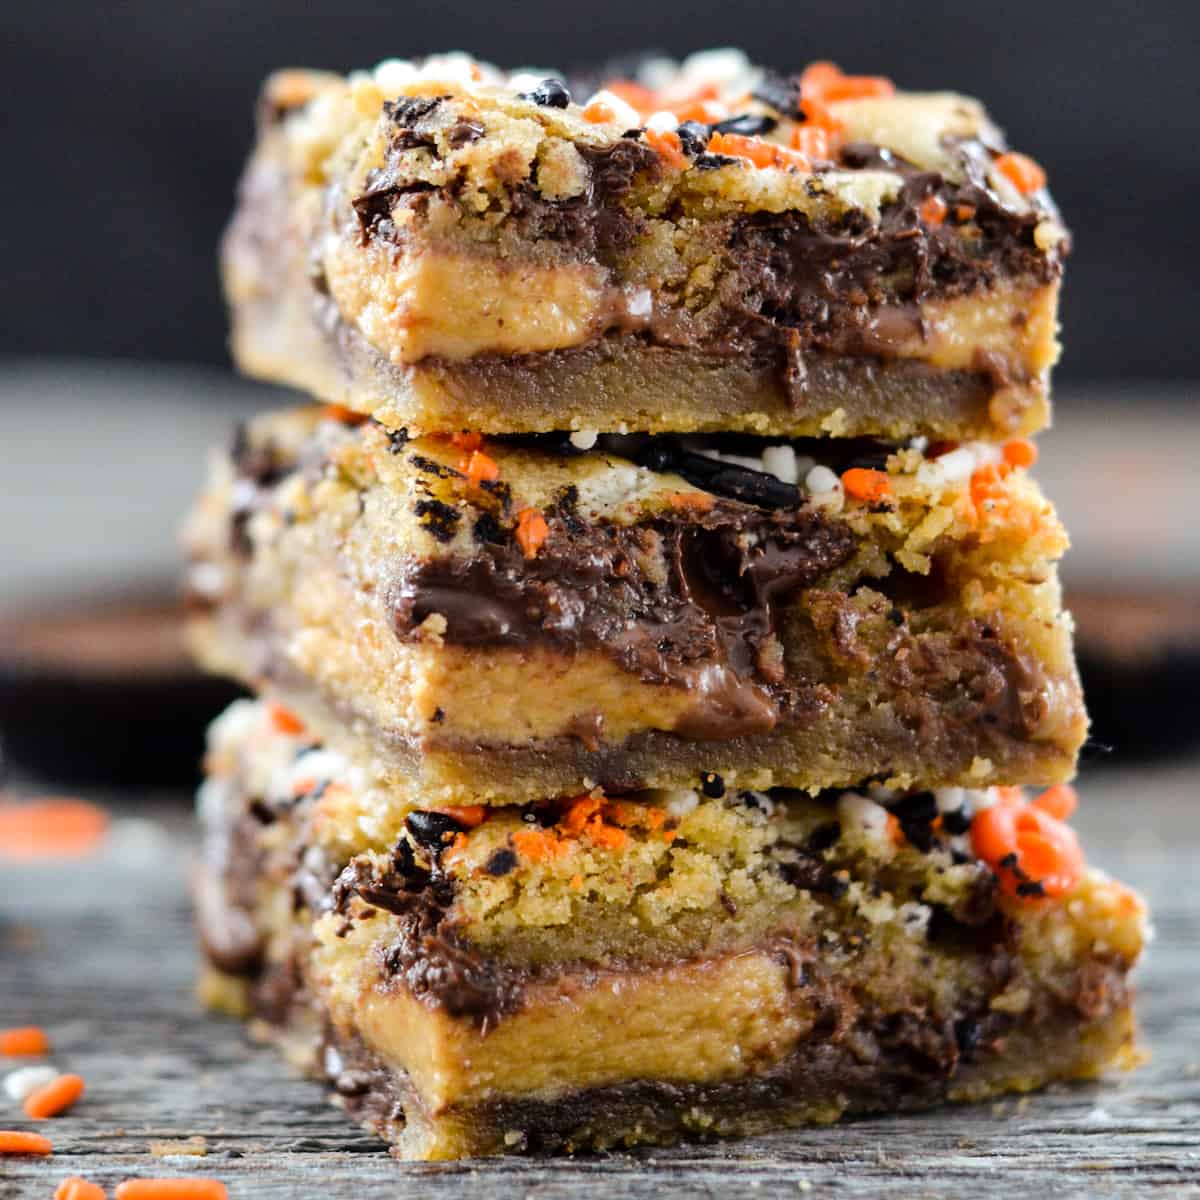
Next, take the rest of the cookie dough and completely cover the candy. If you leave a little crack you can expect to have some gooey chocolatey candy leakage occur.
Another important note, be sure to leave about a half of an inch gap between your dough and the edge/side of your pan. The Chocolate Chip Cookie Bars puff up and fill the pan as they bake.
Make the Candy Cookie Bars Fun for any Holiday
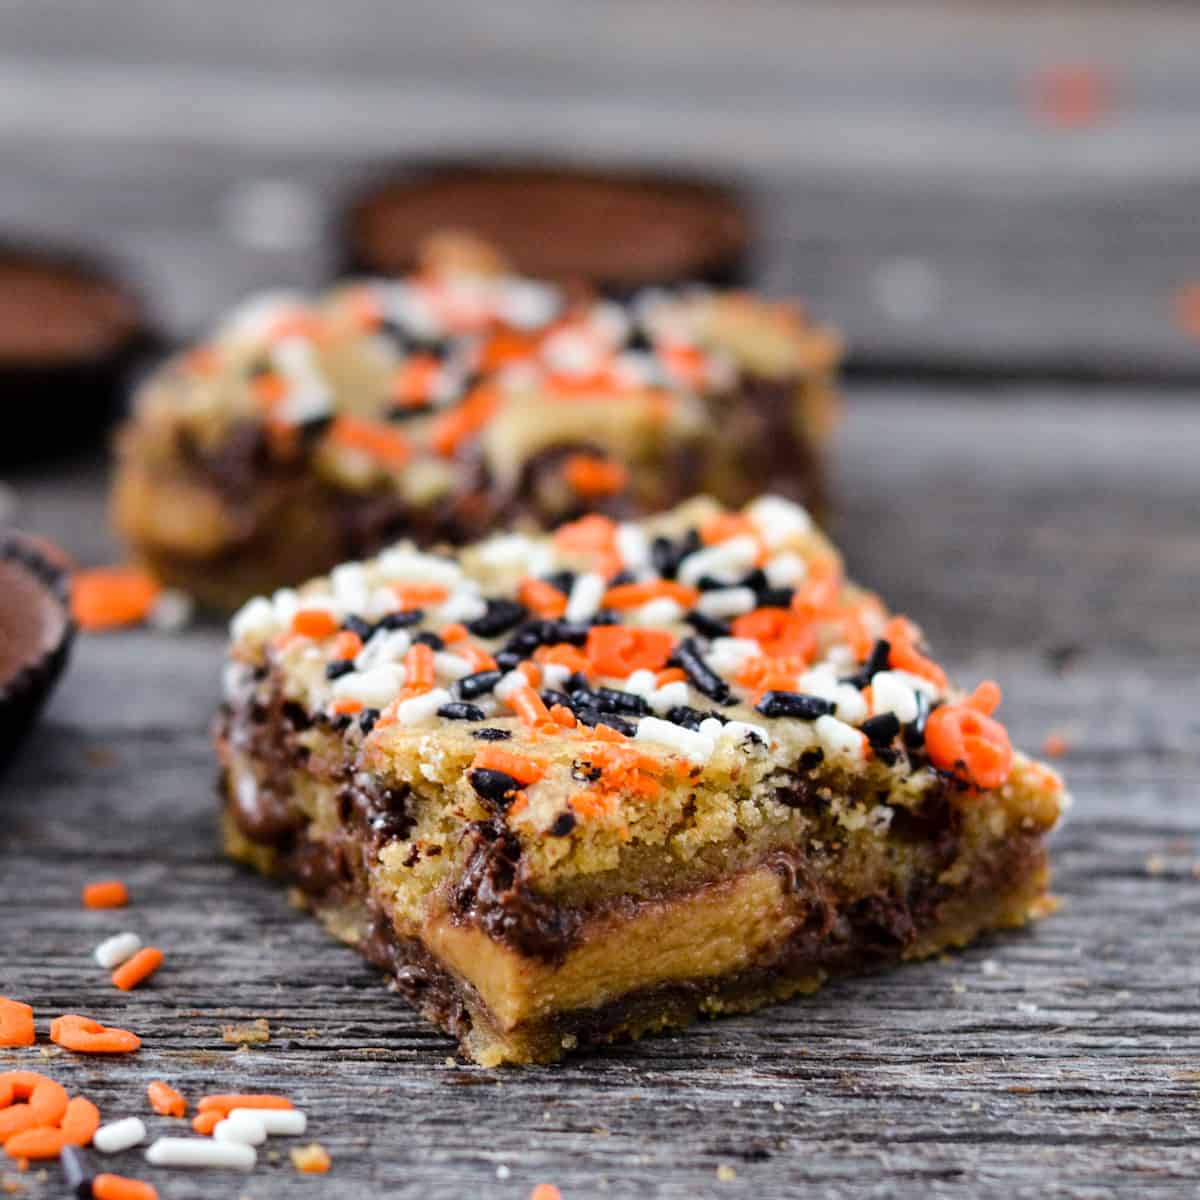
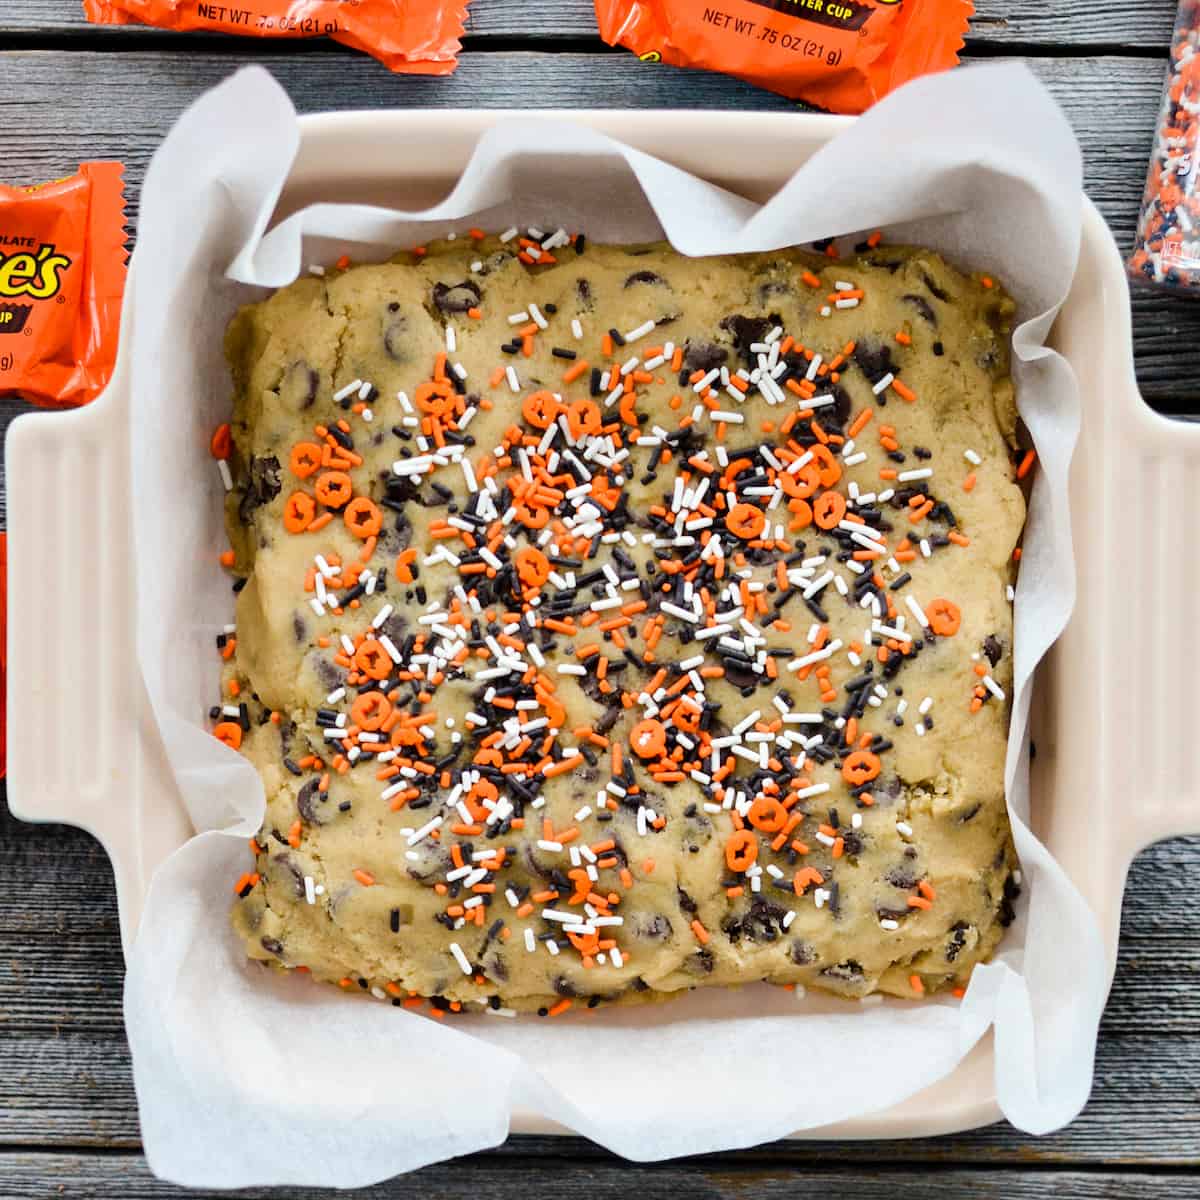
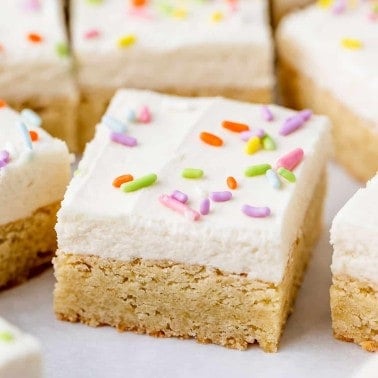
I topped these with some Halloween sprinkles (although I have left them plain)! The great thing about these Chocolate Chip Cookie Bars is you can adapt them for any season.
Try using peppermint hugs stuffed inside of a cookie completely covered in Christmas sprinkles for Christmas. Use chocolate hearts and valentine’s sprinkles for Valentine’s day. The possibilities are endless.
Bake the Candy Cookie Bars
Bake the Candy Cookie Bars for 25 to 30 minutes, or until the top is golden brown (see below). They will be a touch doughy (because that’s the only way to eat a cookie), so you have to let them cool for at least 30 minutes before serving.
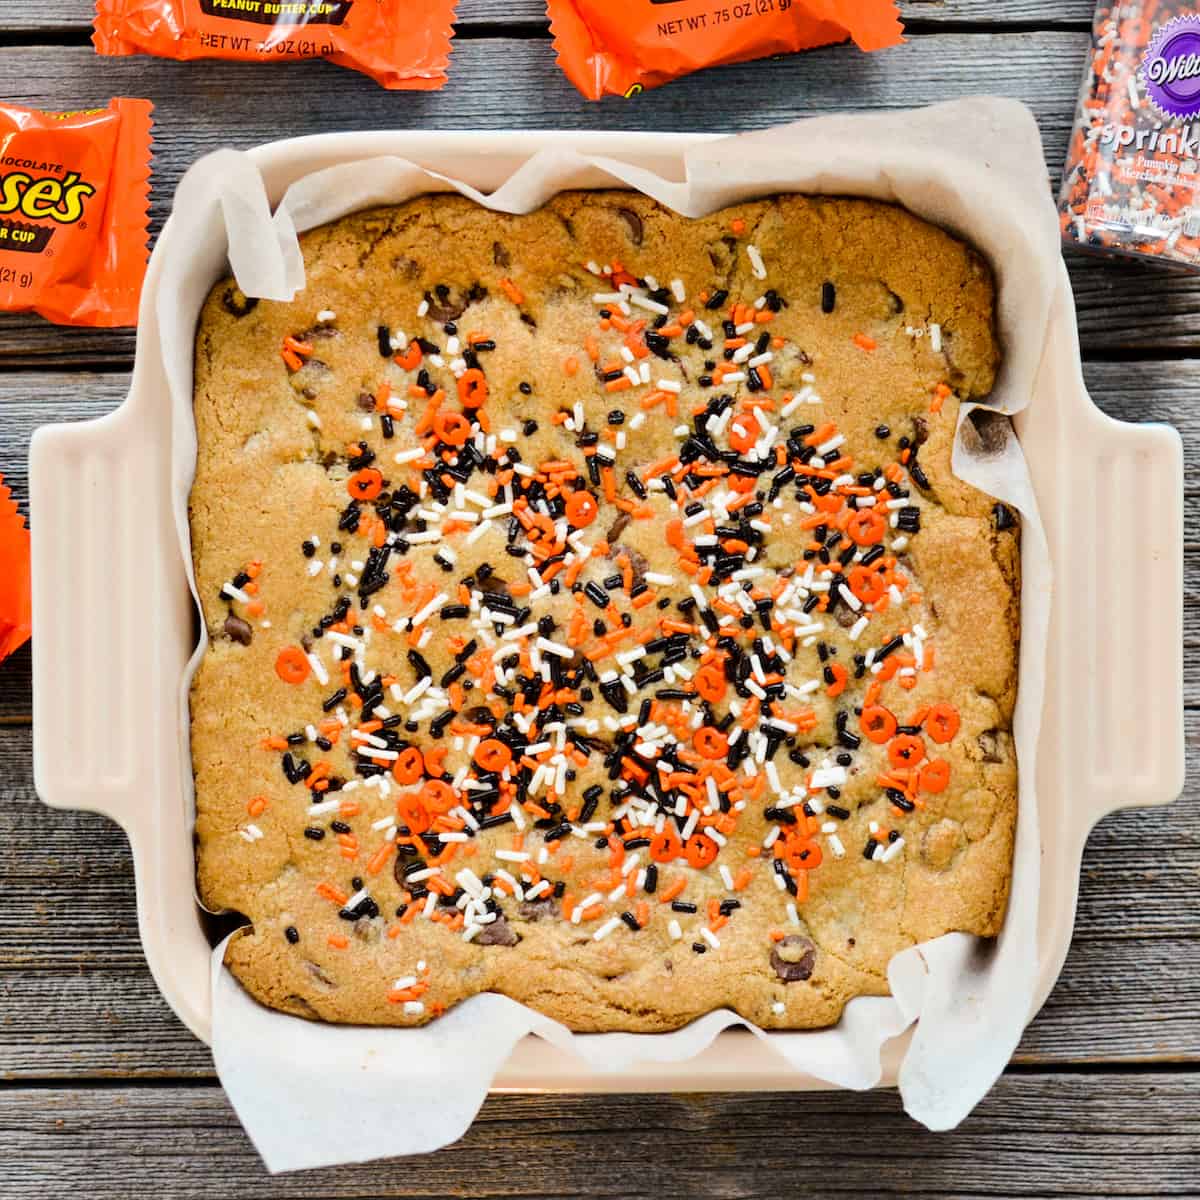
Enjoy
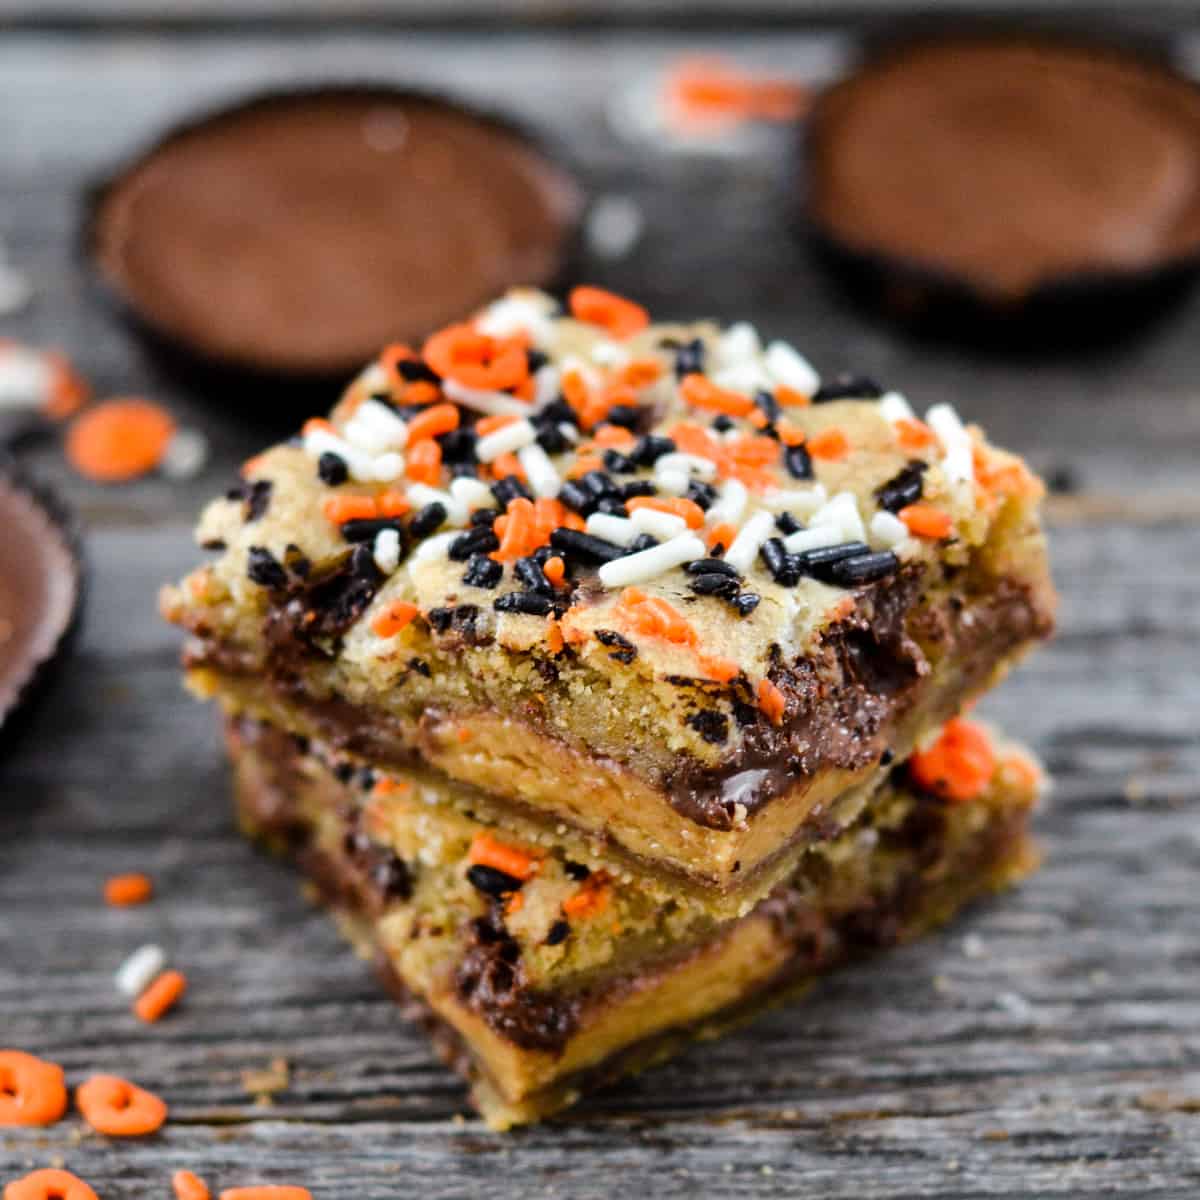
Serve these candy cookie bars slightly warm for the best flavor. They will be slightly gooey with crispy edges and little pockets of candy. YUM!
Store
These candy cookie bars keep well in an airtight container at room temperature for up to 3 days, or in the refrigerator for up to 1 week. I suggest slightly reheating them in the microwave for about 5-10 seconds to restore their fresh-from-the-oven gooeyness before enjoying.
Freeze
To freeze, let the bars cool completely. Wrap them tightly in plastic wrap then store in an airtight container in the freezer for up to 2 months.
Candy Cookie Bars Recipe FAQs
You can tell they done when the top is golden-brown and they are only slightly “jiggly.”
Technically yes, you can test many different candies and see which is your favorite. You can use a mixture of different varieties as well (e.g., Reese’s, Rolos and kisses all in one batch). Just be sure to spread it in an even layer.
When the cookie bars come out of the oven they will be softer. As they cool down, they will harden more.
Yes, you can double the recipe and bake it in a 9×13″ pan.
If you make and love my recipes, it would mean so much to me if you would leave a comment and rating! And don’t forget to follow along on Instagram, Pinterest, Facebook, and Youtube – be sure to tag @joyfoodsunshine and use the hashtag #joyfoodsunshine so we can see your creations!
Candy Cookie Bars
Ingredients
- ½ cup butter (softened)
- ½ cup granulated sugar
- ½ cup light brown sugar (packed)
- 1 large egg
- 1 teaspoon pure vanilla extract
- 1 ½ cups all-purpose flour*
- ½ teaspoon baking soda
- ¼ teaspoon baking powder
- ½ teaspoon sea salt
- 1 cup chocolate chips
- 25 Miniature Reese’s Cups (or 9 full size – or any other candy of your choosing)!
Instructions
- Preheat oven to 350 degrees F. and line a 9×9” baking pan with parchment paper
and lightly grease. Set aside. - In a small bowl, mix together flour, baking soda, baking powder, and salt. Set aside.
- In the bowl of a standing mixer, cream together butter, light brown sugar and granulated sugar until well combined.
- Add egg and vanilla to the butter/sugar mixture and beat until combined.
- Add dry ingredients and beat until all the ingredients are thoroughly combined.
- Add chocolate chips and mix until evenly distributed.
- Press a little less than half of the dough into the bottom of your prepared baking pan, leaving about a ½ inch gap between the cookie dough and the side of the pan (it expands during baking)
- Place Reese’s cups (or any other candy of your choosing) evenly spaced on top of the first layer of dough.
- Top with the remaining cookie dough, making sure to completely cover the candy on both the top and sides.
- Bake for 25-30 minutes, until the top is golden brown.
- Let the bars cool in the pan for 30 minutes. Use the parchment paper to lift the cookie bars out of the pan, then cut into squares and serve.
Video
Notes
- All-Purpose Flour. If you need a gluten-free version…simply substitute Gluten-Free All Purpose Flour for the regular flour and choose gluten-free candy.
- Butter. I use salted butter, but unsalted butter works great too.
- Chocolate Chips. Both mini and regular chocolate chips work well in this recipe!
- Candy. Choose your favorite candy. I recommend sticking with chocolatey varieties, but the sky’s the limit. Here are some candy suggestions:
- Reese’s, Twix, Snickers, Rolos, Hershey Kisses, M&Ms, You favorite chocolate bars!, Reese’s Pieces, Peanut butter Chips, 3 Musketeers, Milky Way, etc.
Nutrition
Nutrition information is automatically calculated, so should only be used as an approximation.
Oh my, these look sinfully delicious! Definitely a good for the soul recipe! 🙂
Yes…every now and then my soul just needs some butter… 😉
Reeces have been a childhood fav for me! These look so incredibly indulgent and perfect for Halloween!
I especially can’t resist the big fat holiday shaped ones…trees, pumpkins, eggs…YUM!
Oh my!! I must find a way to make these allergy friendly because I’m drooling!!
Check out my Chocolate Stuffed Paleo Blondies….they’re allergy friendly and OH so good! 😉 Link here! 🙂
Oh my! I think I gained 20 lbs just by looking at them. 🙂 I will certainly try!
LOL it’s amazing how resilient the human body is! One cookie won’t make you gain 20 lbs…I pinky promise! 😉
What a great idea for a Halloween party! Really you had me at Reece’s, combining my two favorite treats is a great idea!
Can’t go wrong with gooey cookies and Reese’s collide! 😉
These are so adorable!! My husband would die for these!! He’s a PB junkie lol
Peanut butter is my favorite food of all time. 😉
Ummmm yeah totally pinned. Who could resist these?!
LOL Chrissa! So gooey and yummy!
Oh my goodness these look good! I’d make them for my youngest daughter’s bday party this weekend if there weren’t so many allergies we had to work around with her friends. Peanut butter cups are mine and her fav!!
I know allergies can be a killer! I am thankful we do not have any in our family…every time I’m pregnant {like right now} I seriously pray that my child isn’t allergic to peanut butter! Maybe it’s crazy, and of course I’d never eat it again if it could harm my kids…but I would seriously go through a mourning period if I had to do that !LOL!
These look unreal! And Reeses are my favorite so I automatically love this! This recipe looks like one that I would completely splurge with & just enjoy them! I’m going to have to try them out!!
It’s so important (in my opinion) to splurge every now and then! 😉
What a fun and easy dessert idea for Halloween! Adding this to my recipe collection!!
Thank you Kristine! It really is so easy and everyone loves them!