Cherry Scones
Posted Aug 03, 2025
This post may contain affiliate links. Please read our disclosure policy.
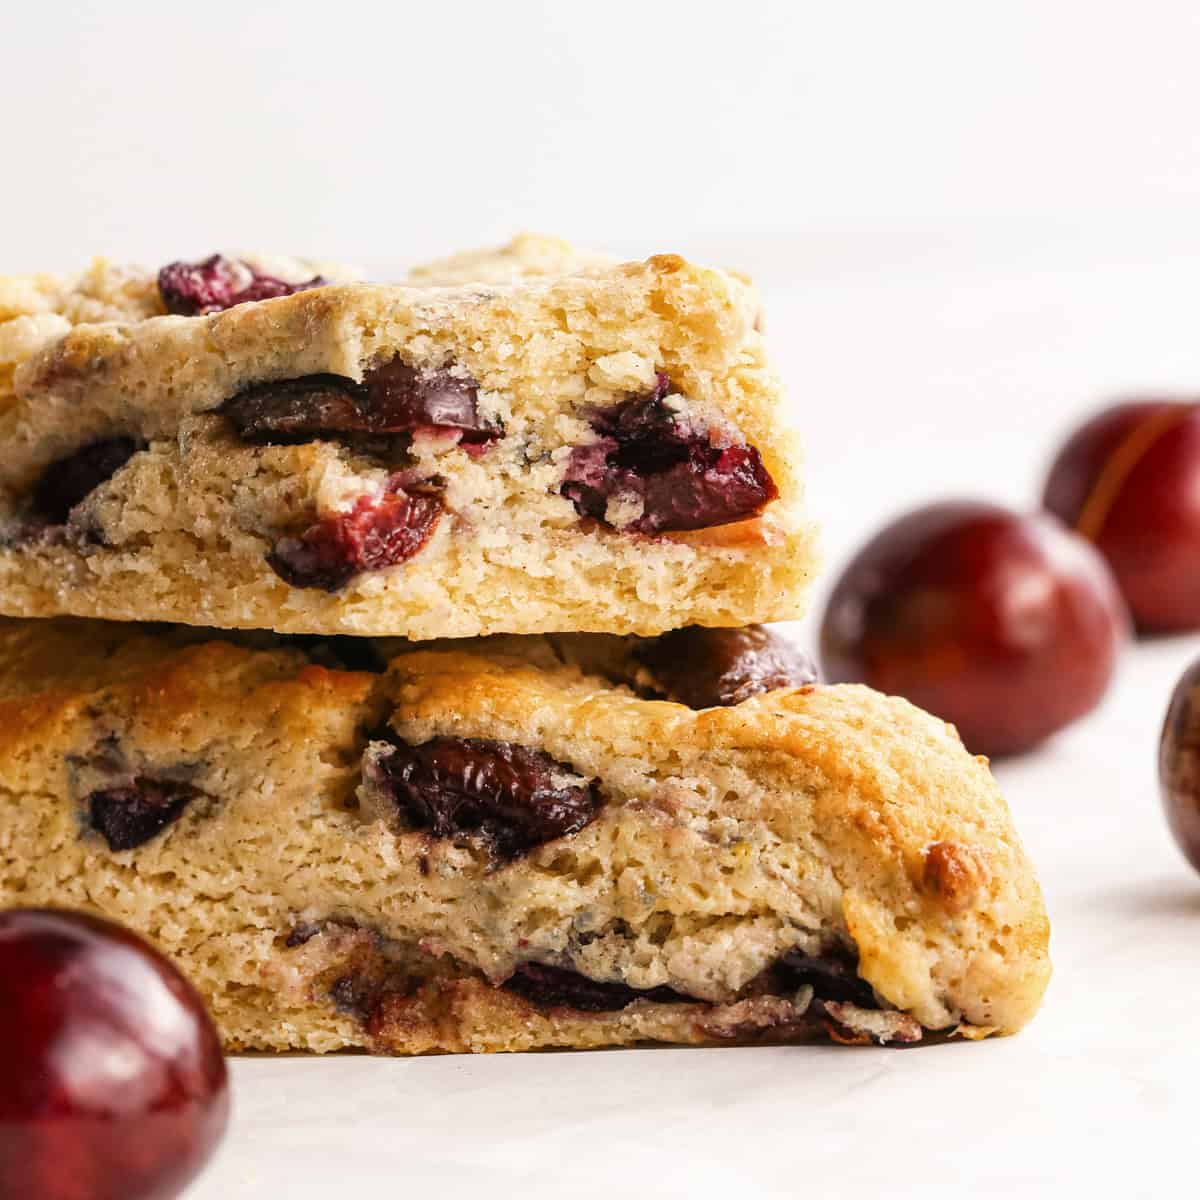
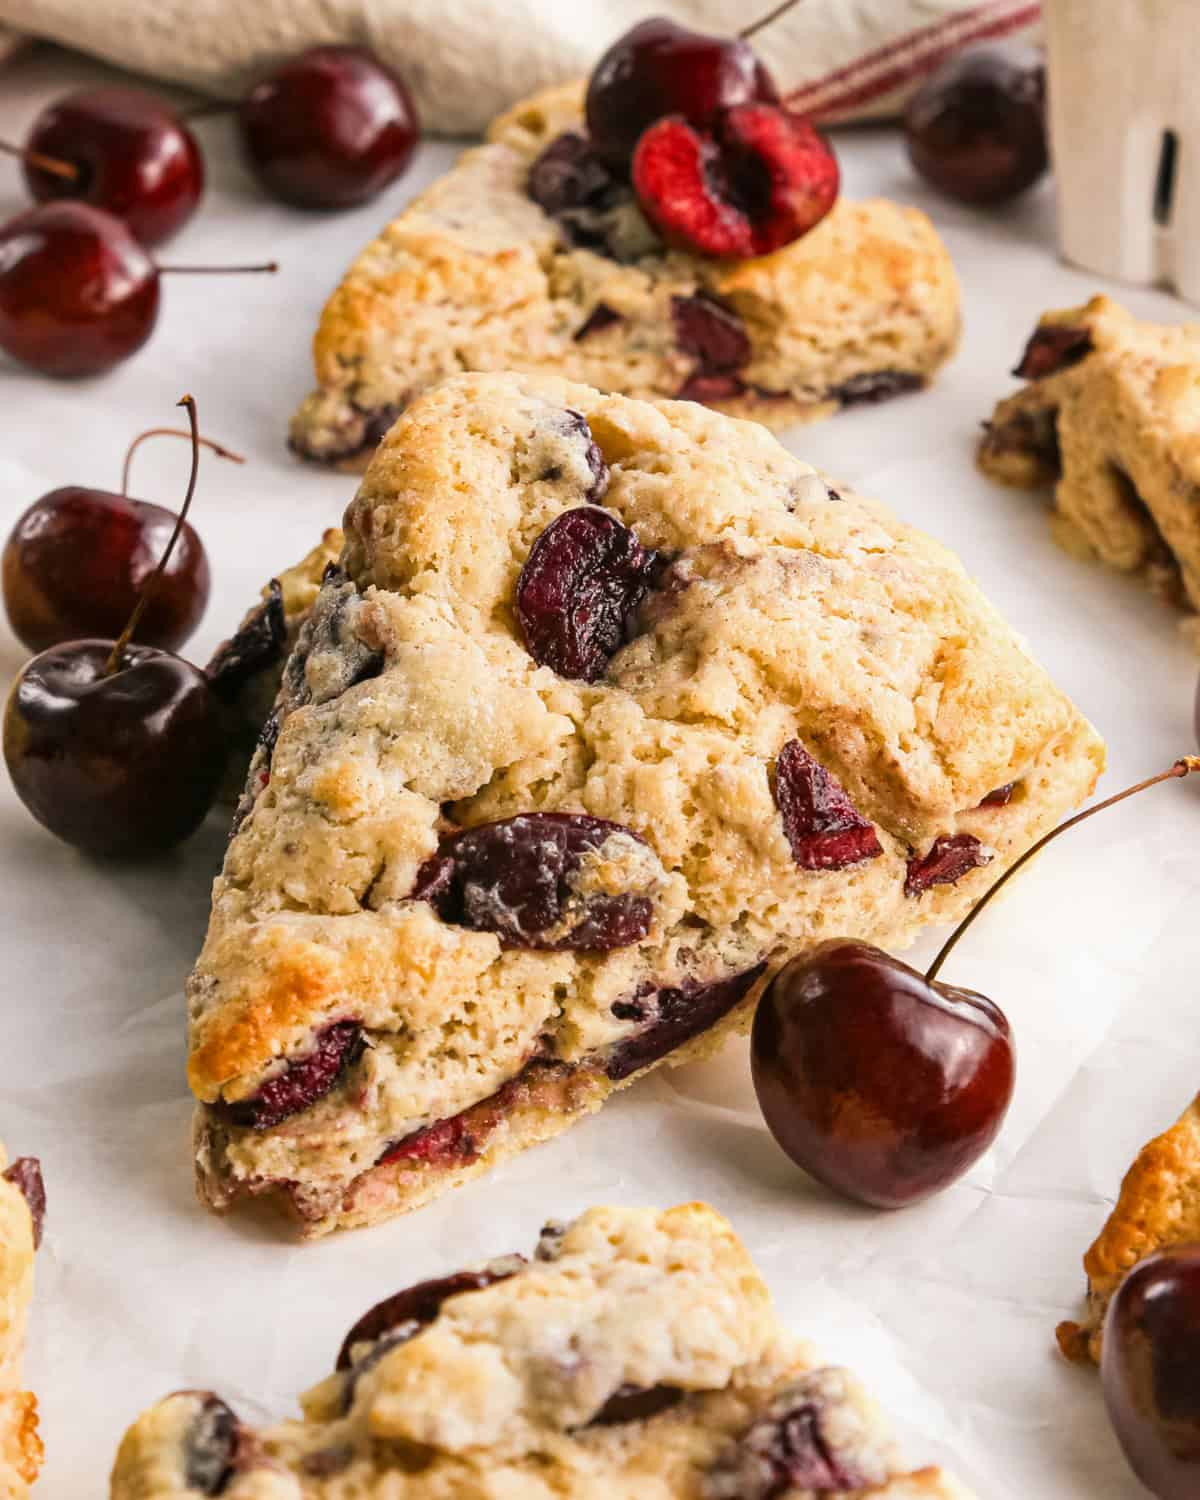
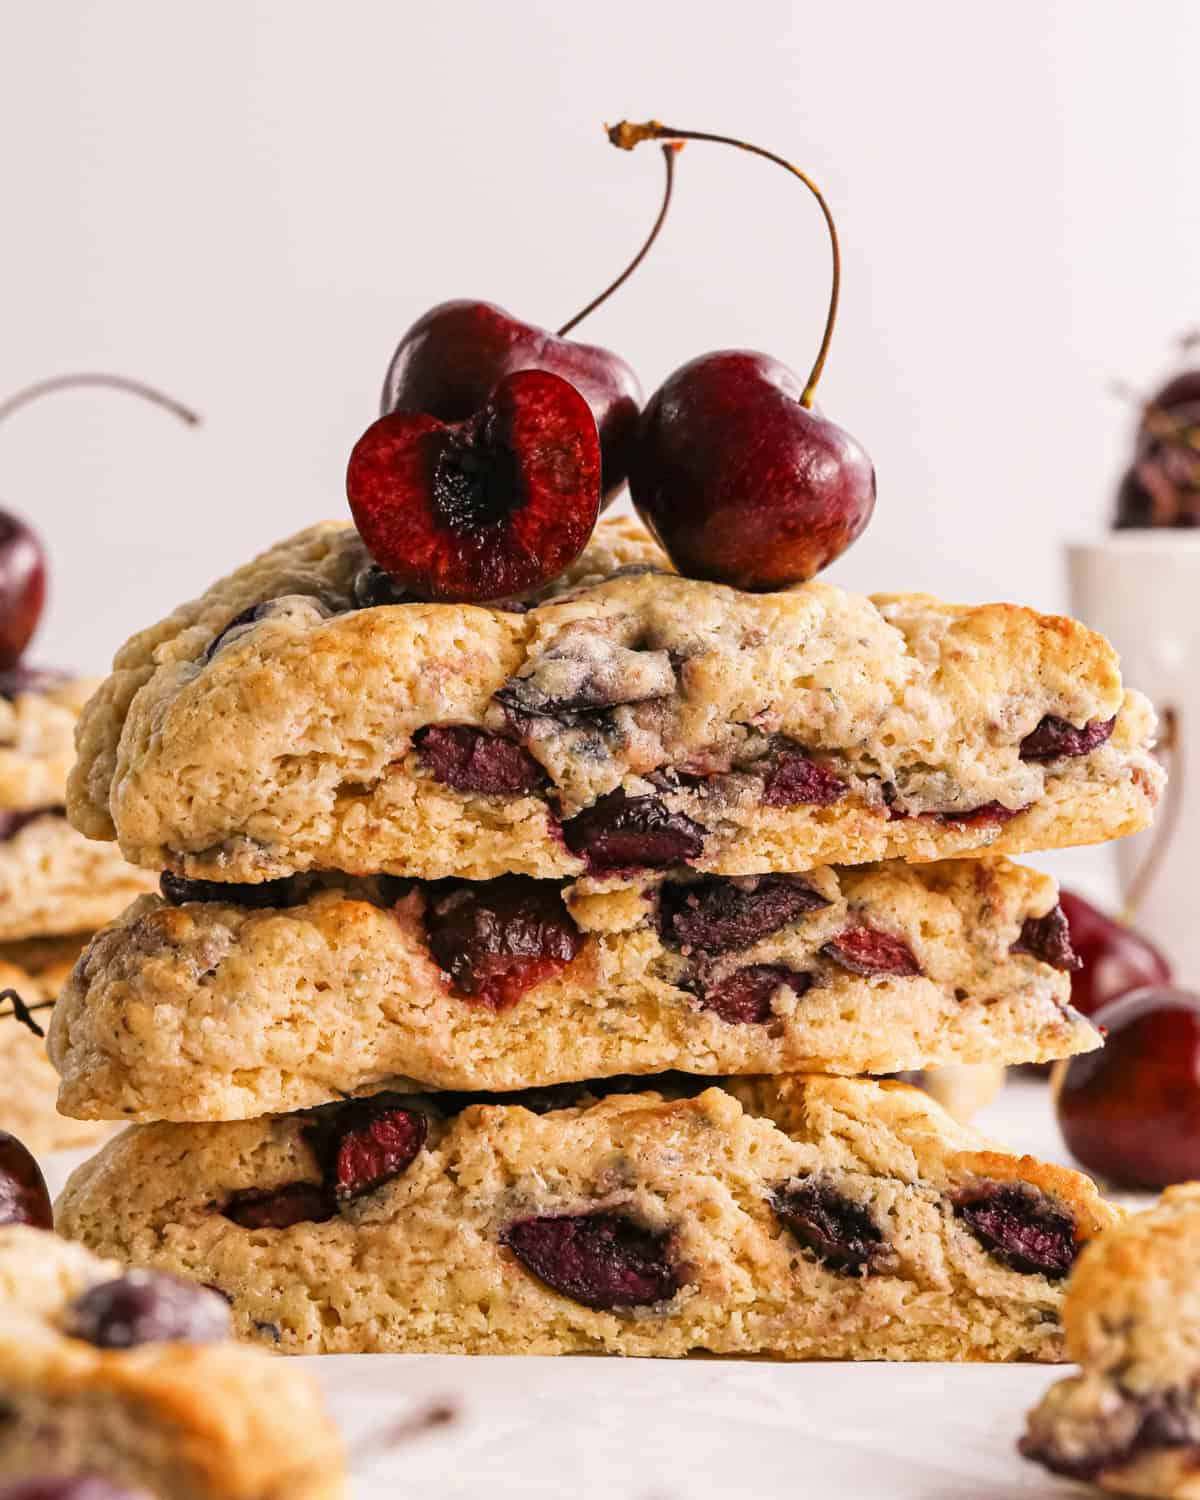
These cherry scones are buttery, and moist . They have a slightly crispy exterior and pillowy soft center and fresh cherries in every bite.
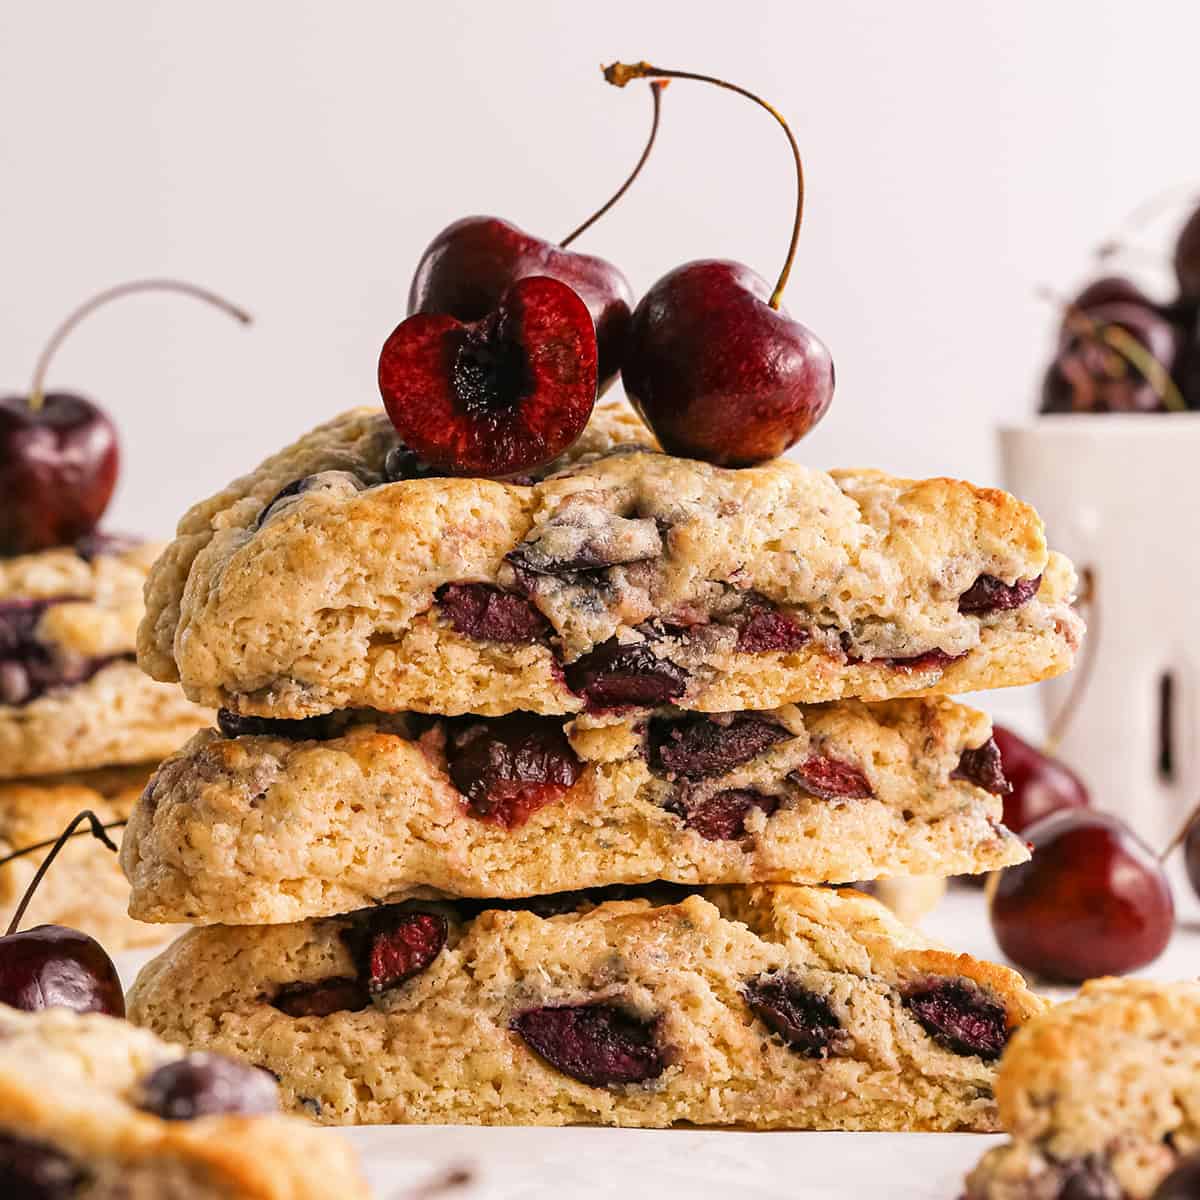
These cherry scones are everything a scone should be — with buttery layers, juicy cherries and a soft, moist crumb — they’re just like bakery-style scones, but better because they’re homemade!
Plus, these cherry scones are easy to make in about 30 minutes with simple ingredients and bake up beautifully golden brown. The longest part of the recipe is pitting and cutting the cherries – which can be done a day ahead in advance.
Whether you serve them warm from the oven with a slather of butter (or cinnamon butter), or enjoy them with a cup of coffee, these cherry scones are sure to become a favorite, just like these cinnamon chip scones and classic scones!
Cherry Scones: Ingredients & Substitutions
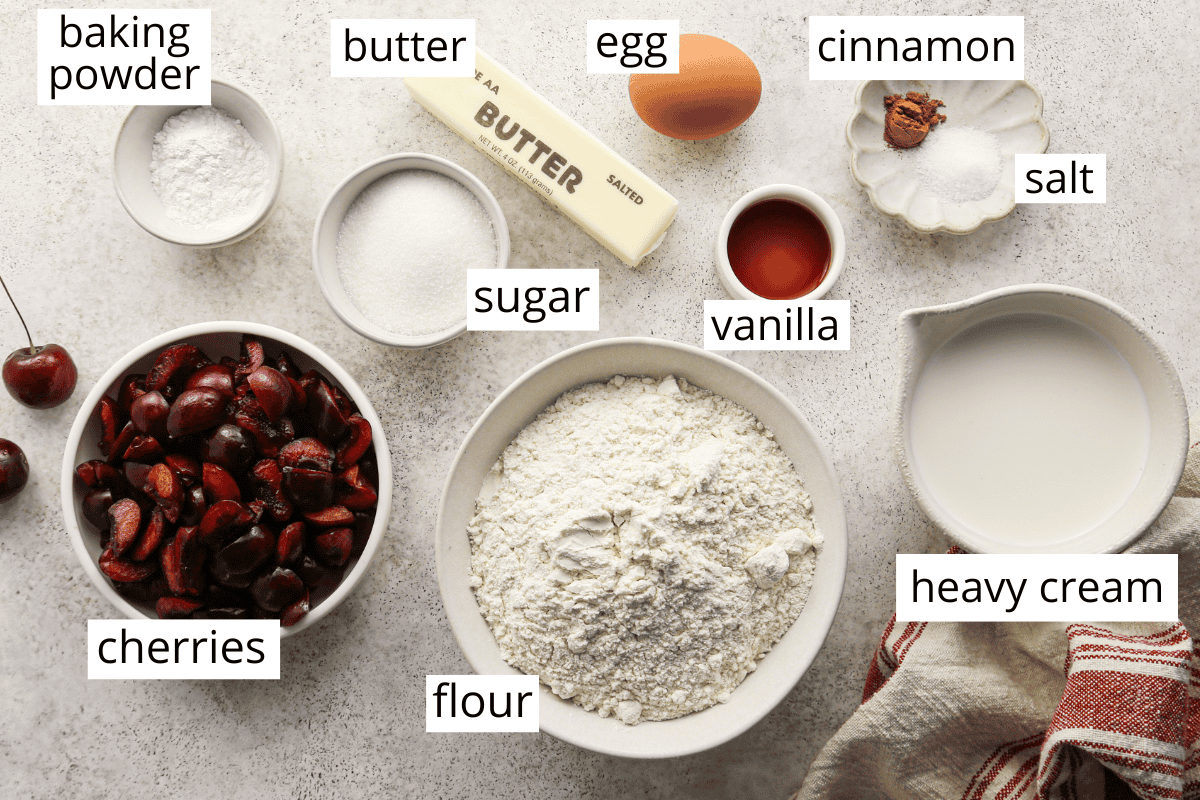
- All-purpose flour. Use a 1:1 all-purpose gluten-free baking flour to make this recipe gluten-free.
- Granulated sugar. organic cane sugar and white granulated sugar are the best choices.
- Salted Butter. Unsalted butter works well. TIP: we use frozen or cold butter to make these scones – so be sure to put a stick in the freezer or fridge well before you want to make this recipe.
- Half and Half. Heavy cream and whole milk are both good substitutes for half and half. Or, try making cherry buttermilk scones!
- Vanilla extract. For different flavors, substitute ½ tsp vanilla extract for different extracts (almond, lemon etc.)
- Cherries. I suggest using fresh cherries for the best results. Make sure they are rinsed and completely dry. If using frozen, thaw complete in a colander and pat dry.
- Heavy cream. brushing the tops with heavy cream is a must! It gives them a golden shine.
How to Make Cherry Scones
Let’s walk through this cherry scones recipe together, and as always you can watch the video for further guidance!
Begin by pitting and quartering cherries. You can use this large cherry pitter (pictured below), or use a single hand-held cherry pitter.
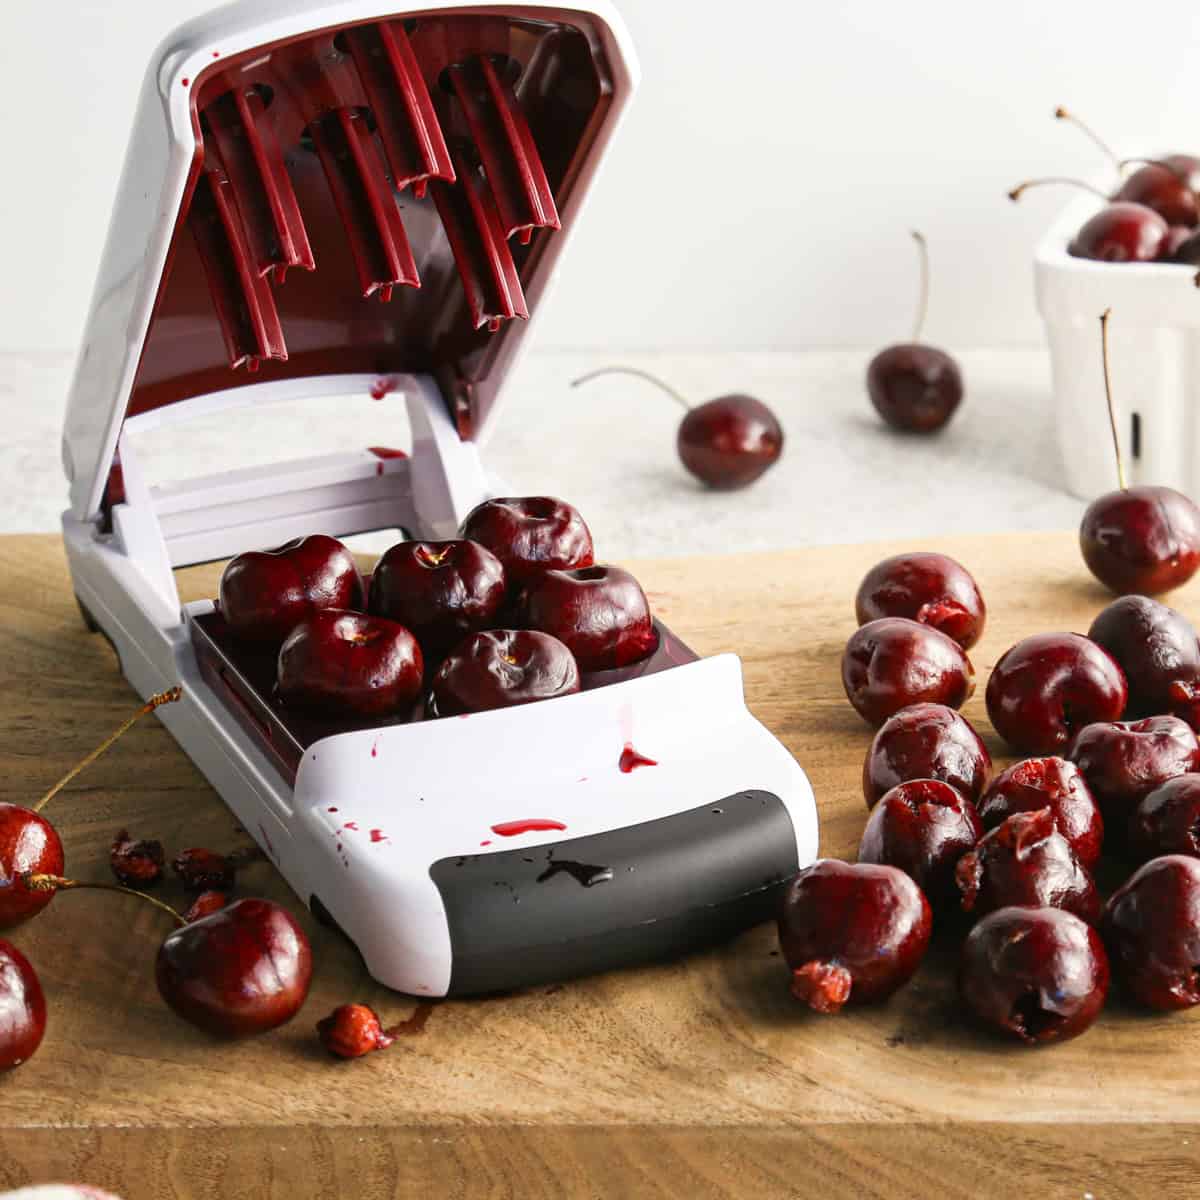
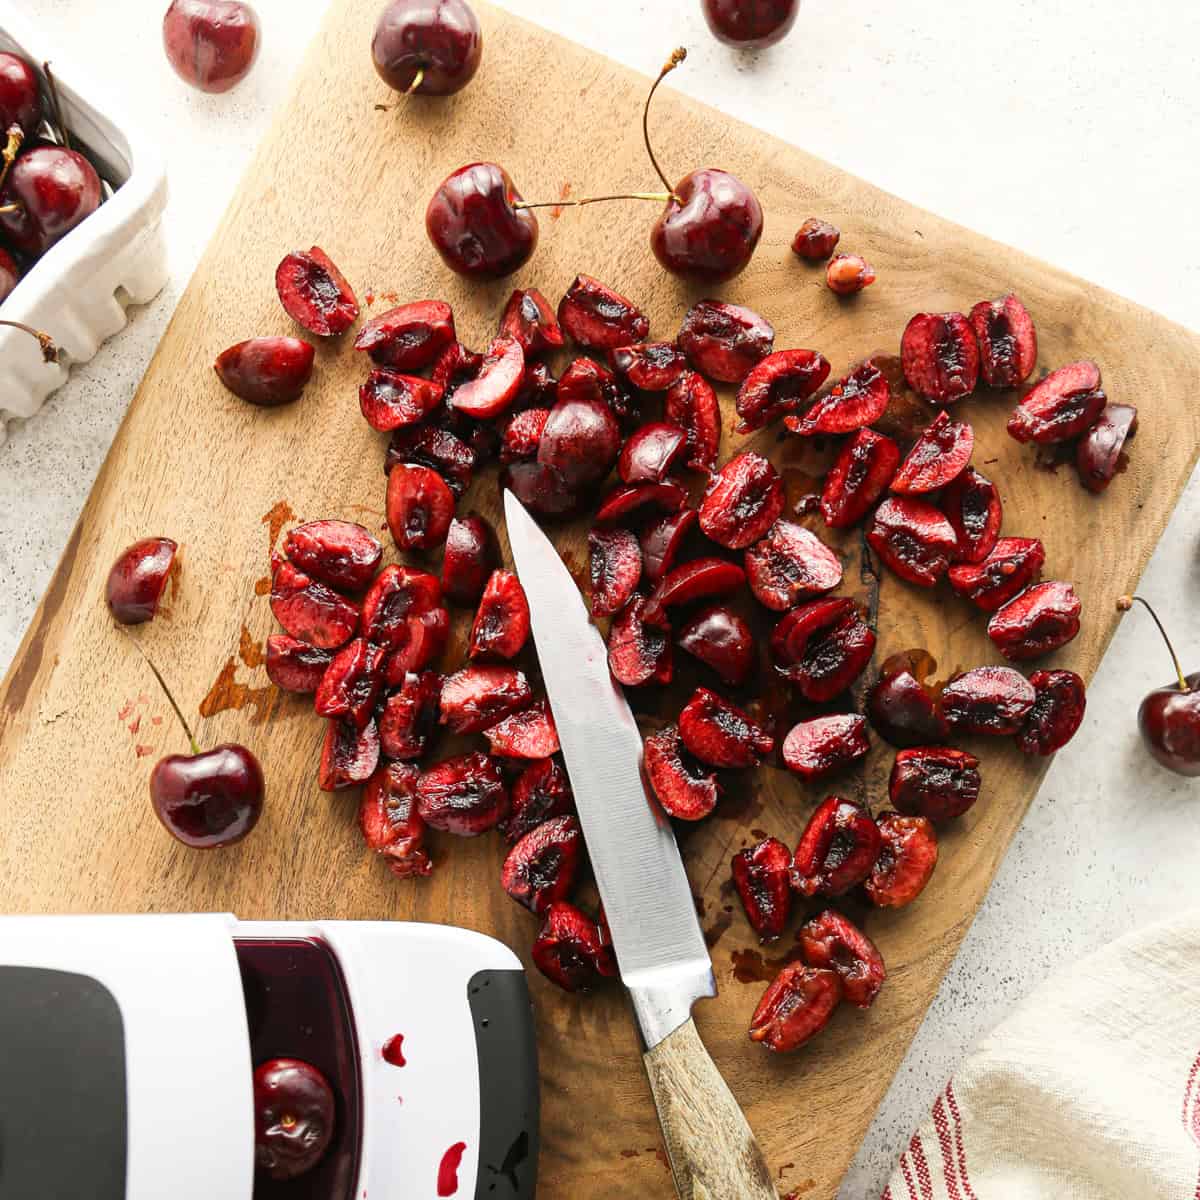
Then use a sharp knife to quarter the cherries. You want them in small, bite-sized pieces for the best scones. Make sure they are completely dry before moving on to the next step. I often pat them dry with a paper towel.
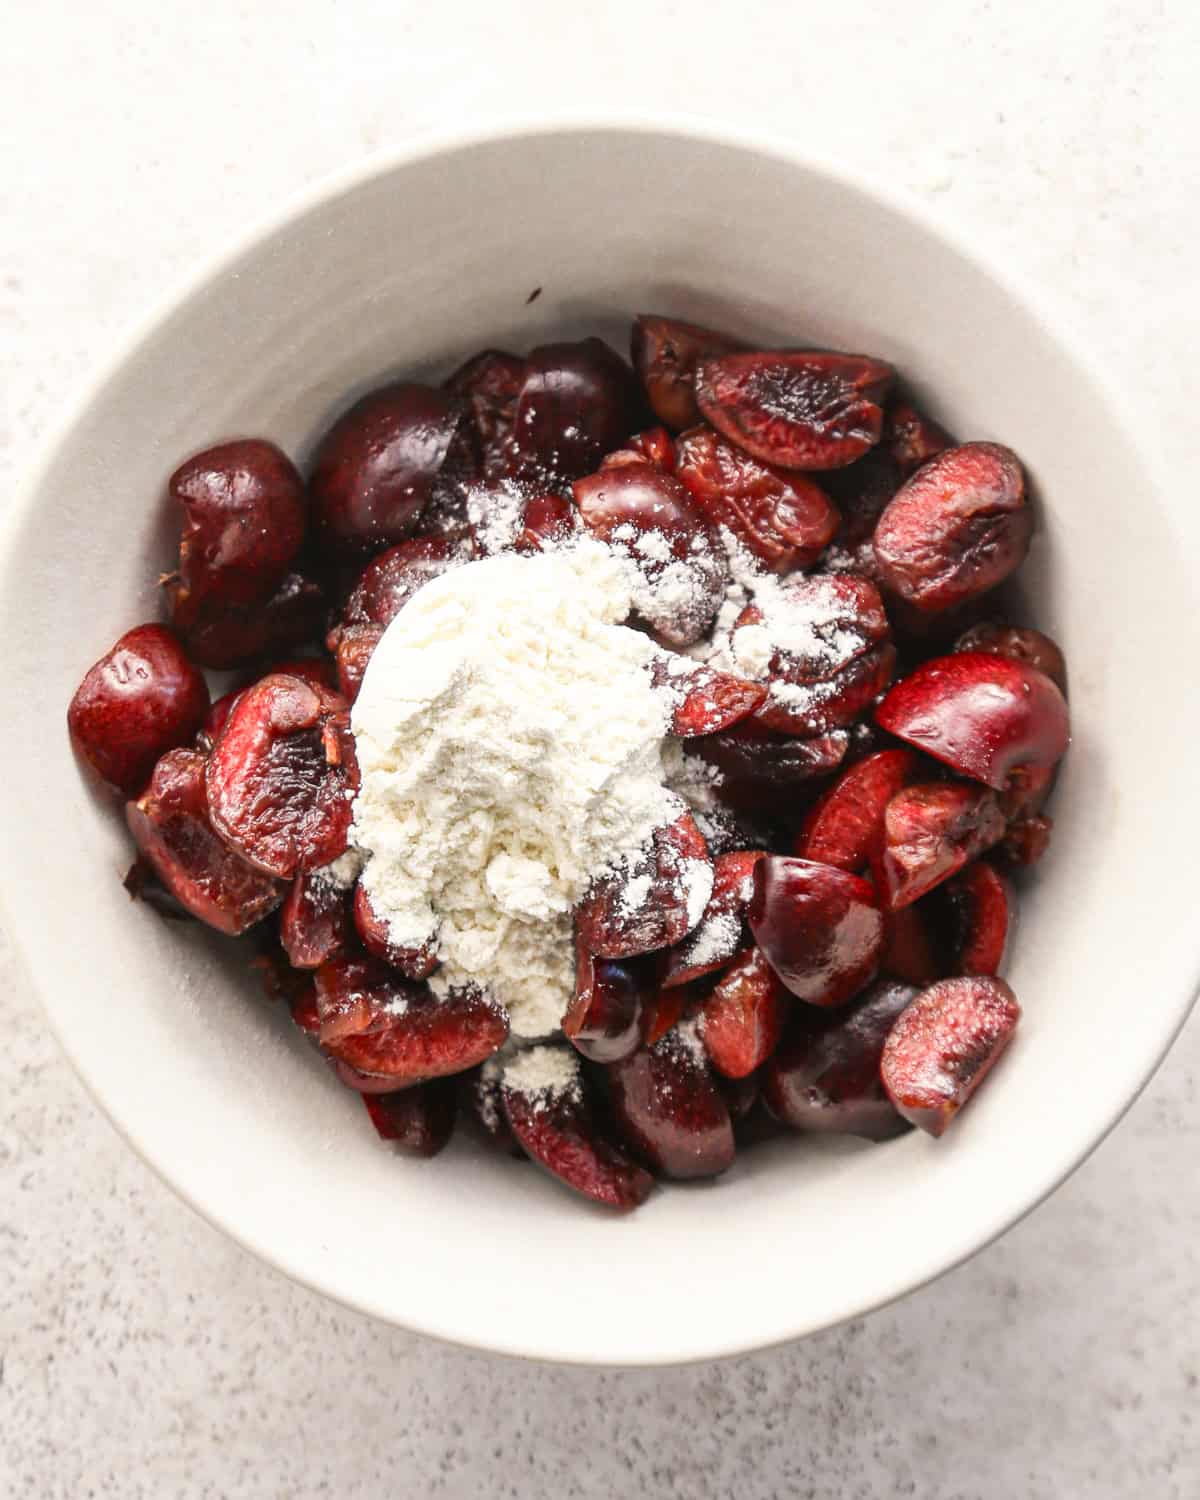
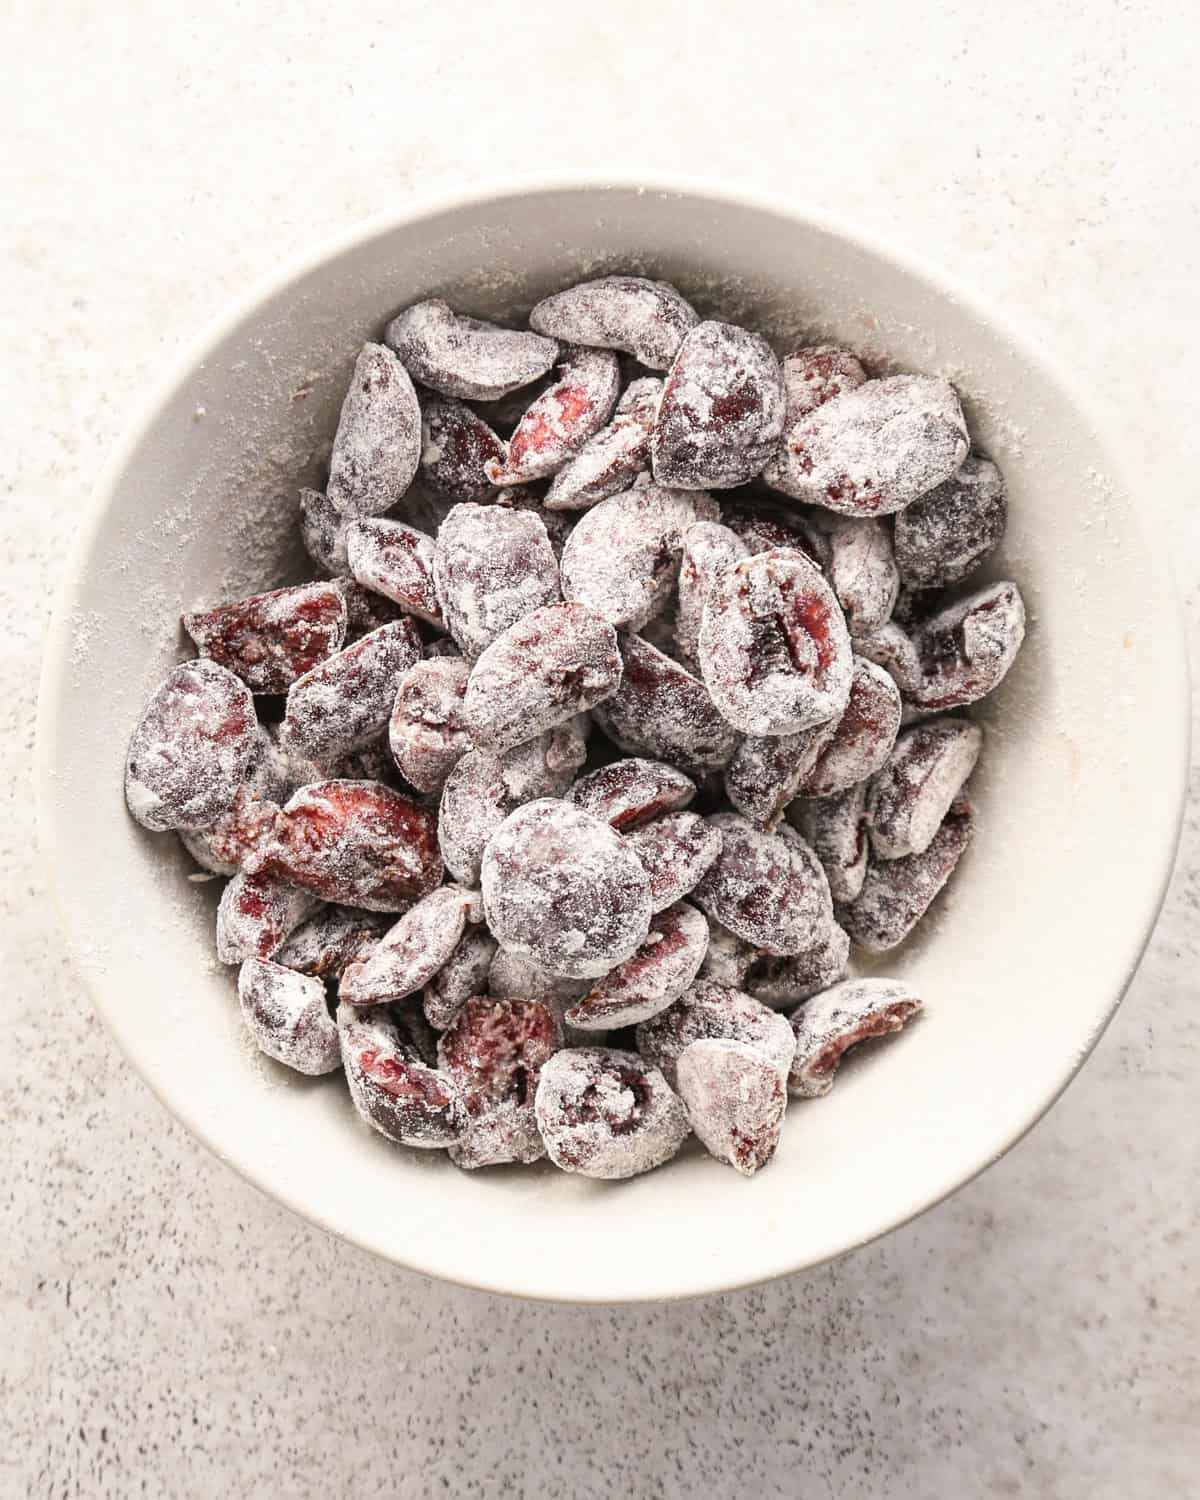
Next, toss the cherries in 1 Tablespoon flour. This serves two purposes: 1) It keeps them from bleeding into the dough. 2) it keeps them stabilized in the scones so they don’t all sink to the bottom while baking.
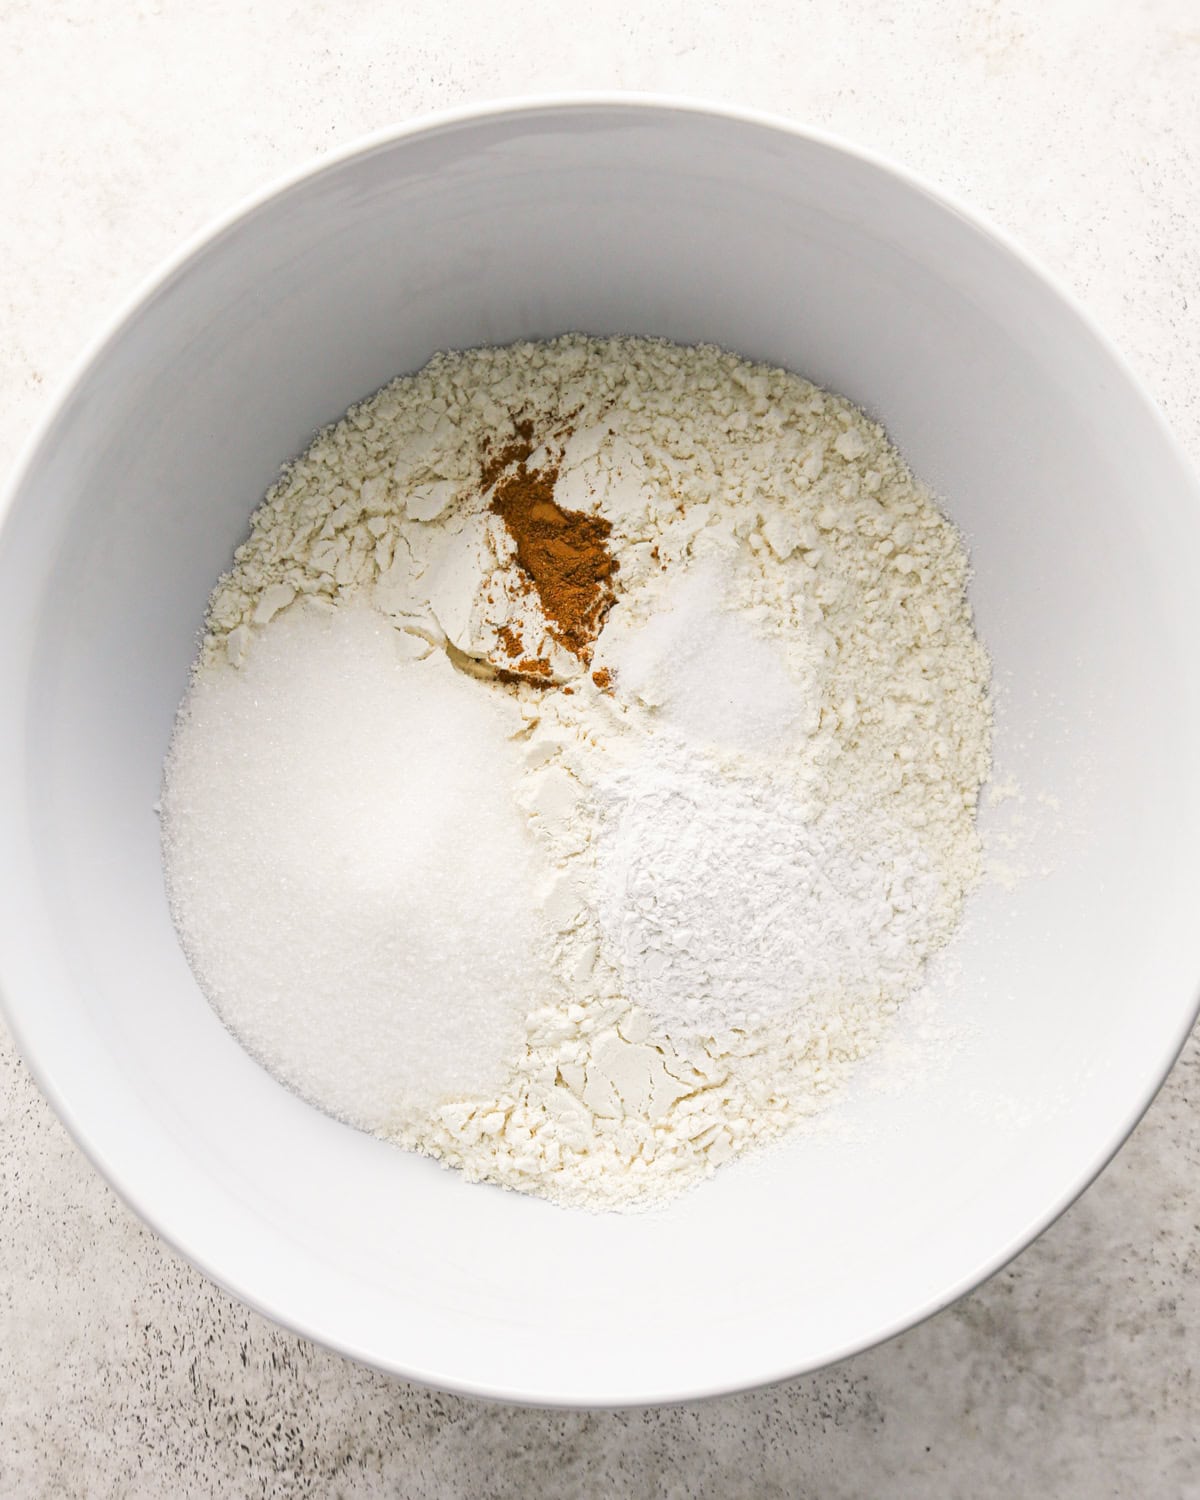
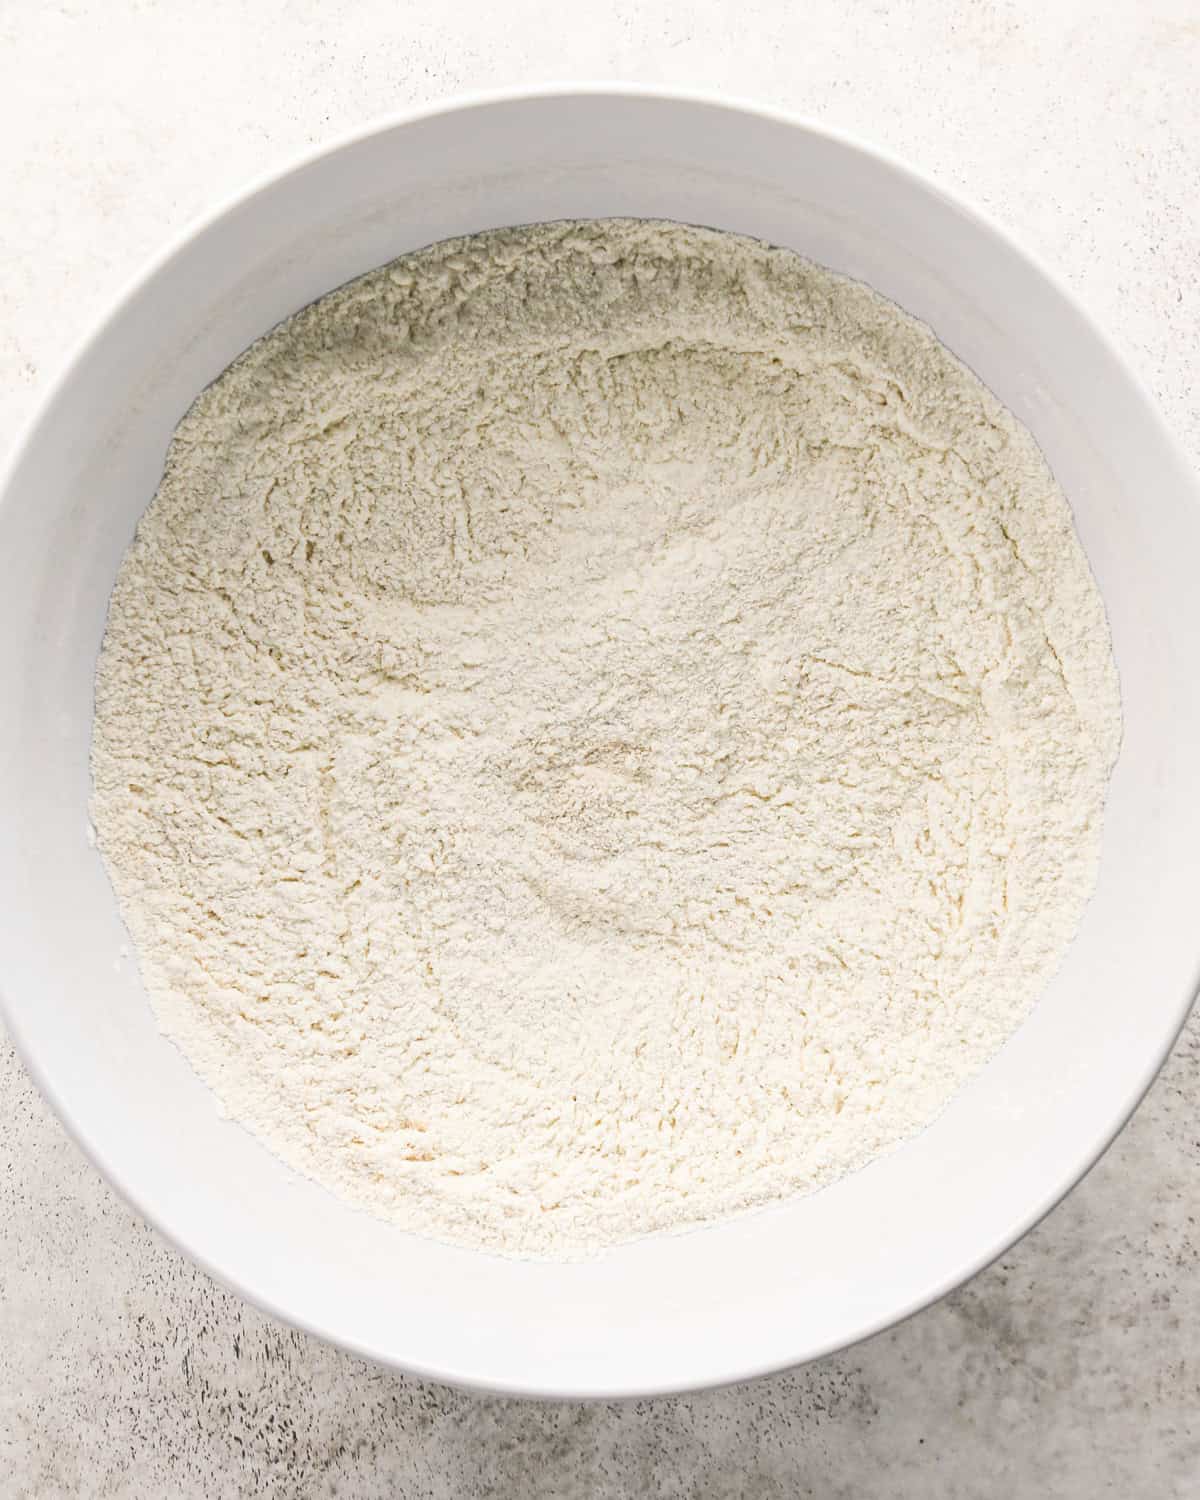
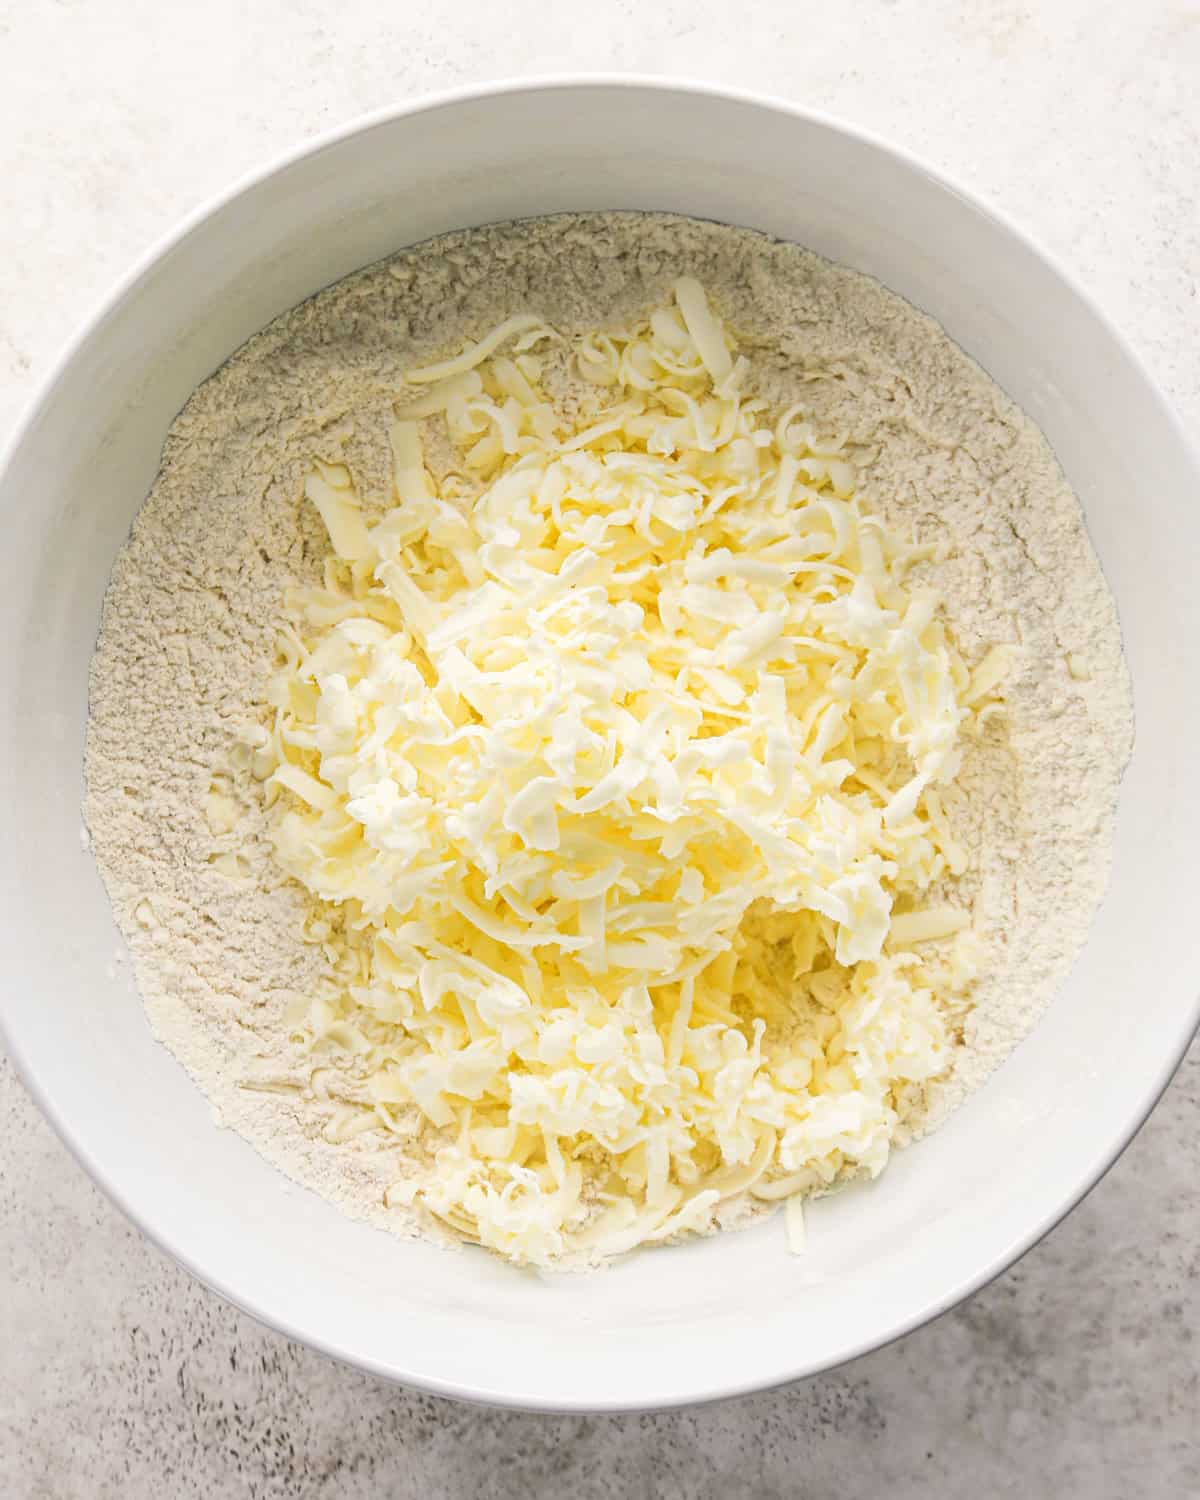
Once the cherries are ready, start making the scones by mixing the dry ingredients together in a large bowl.
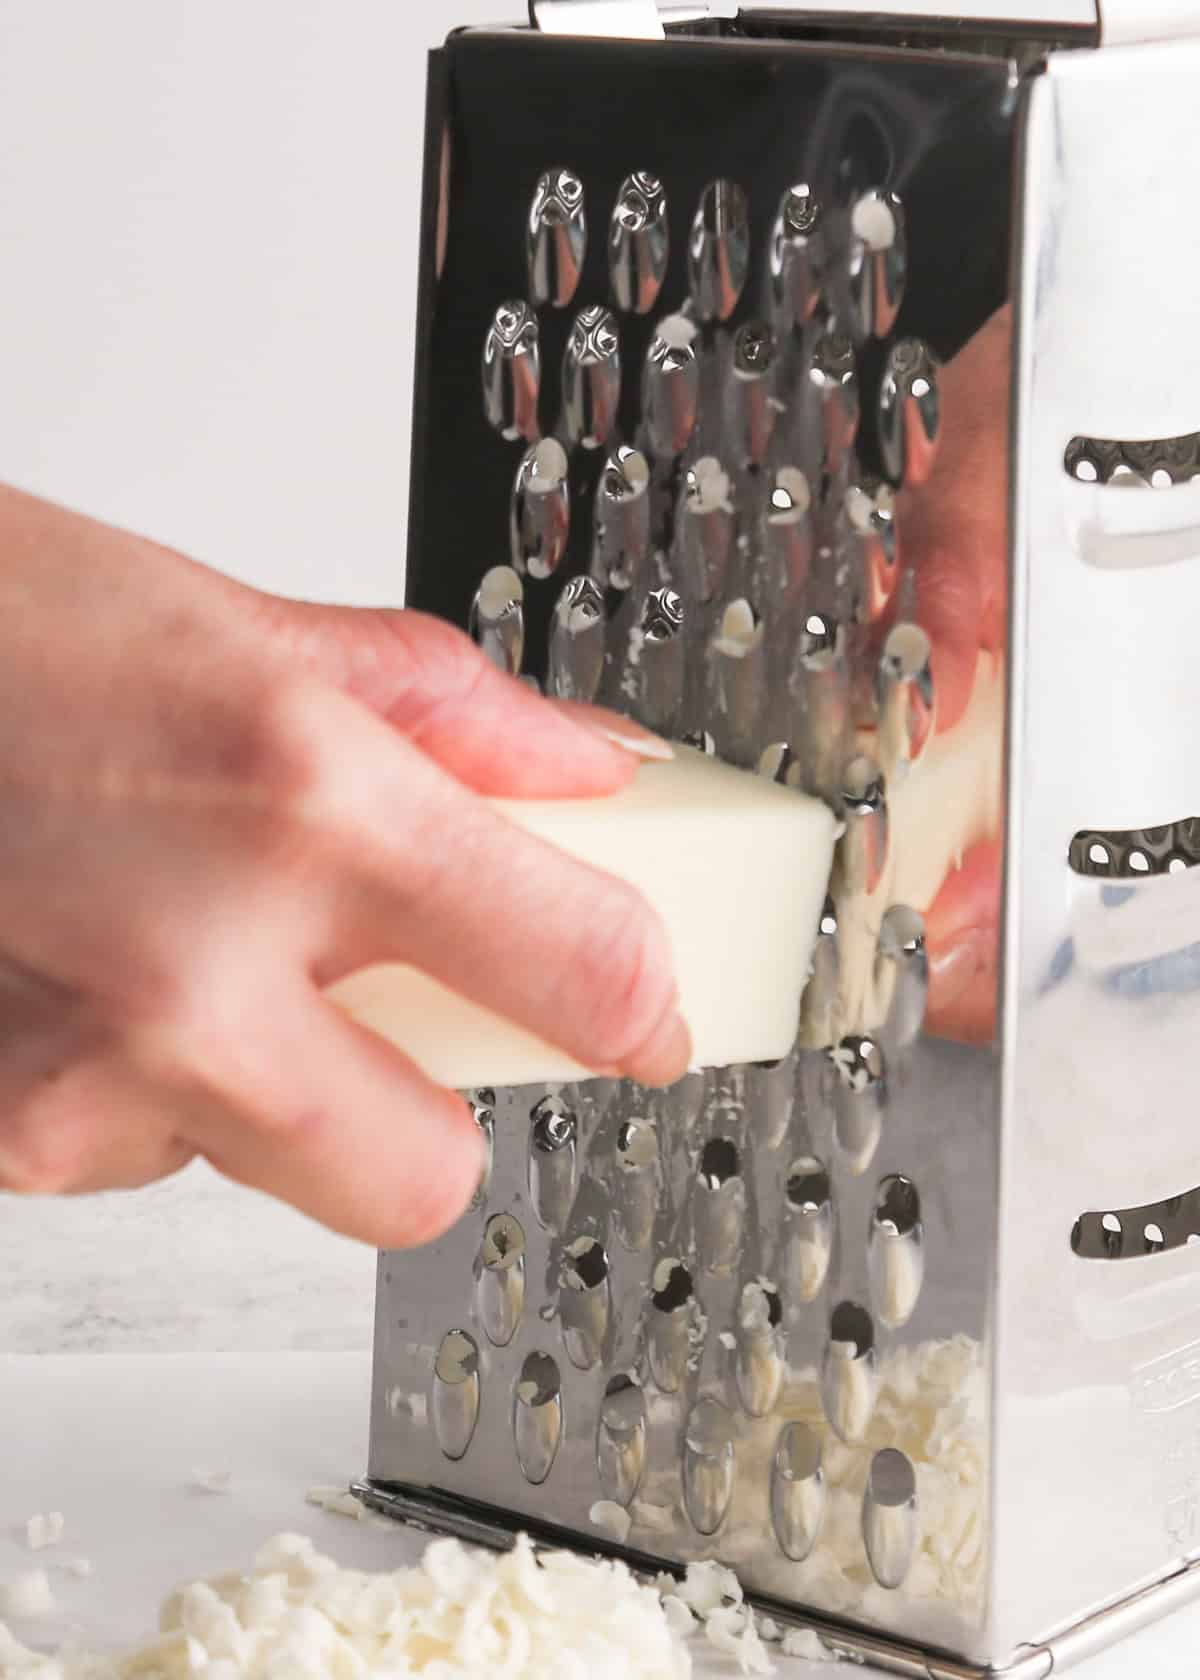
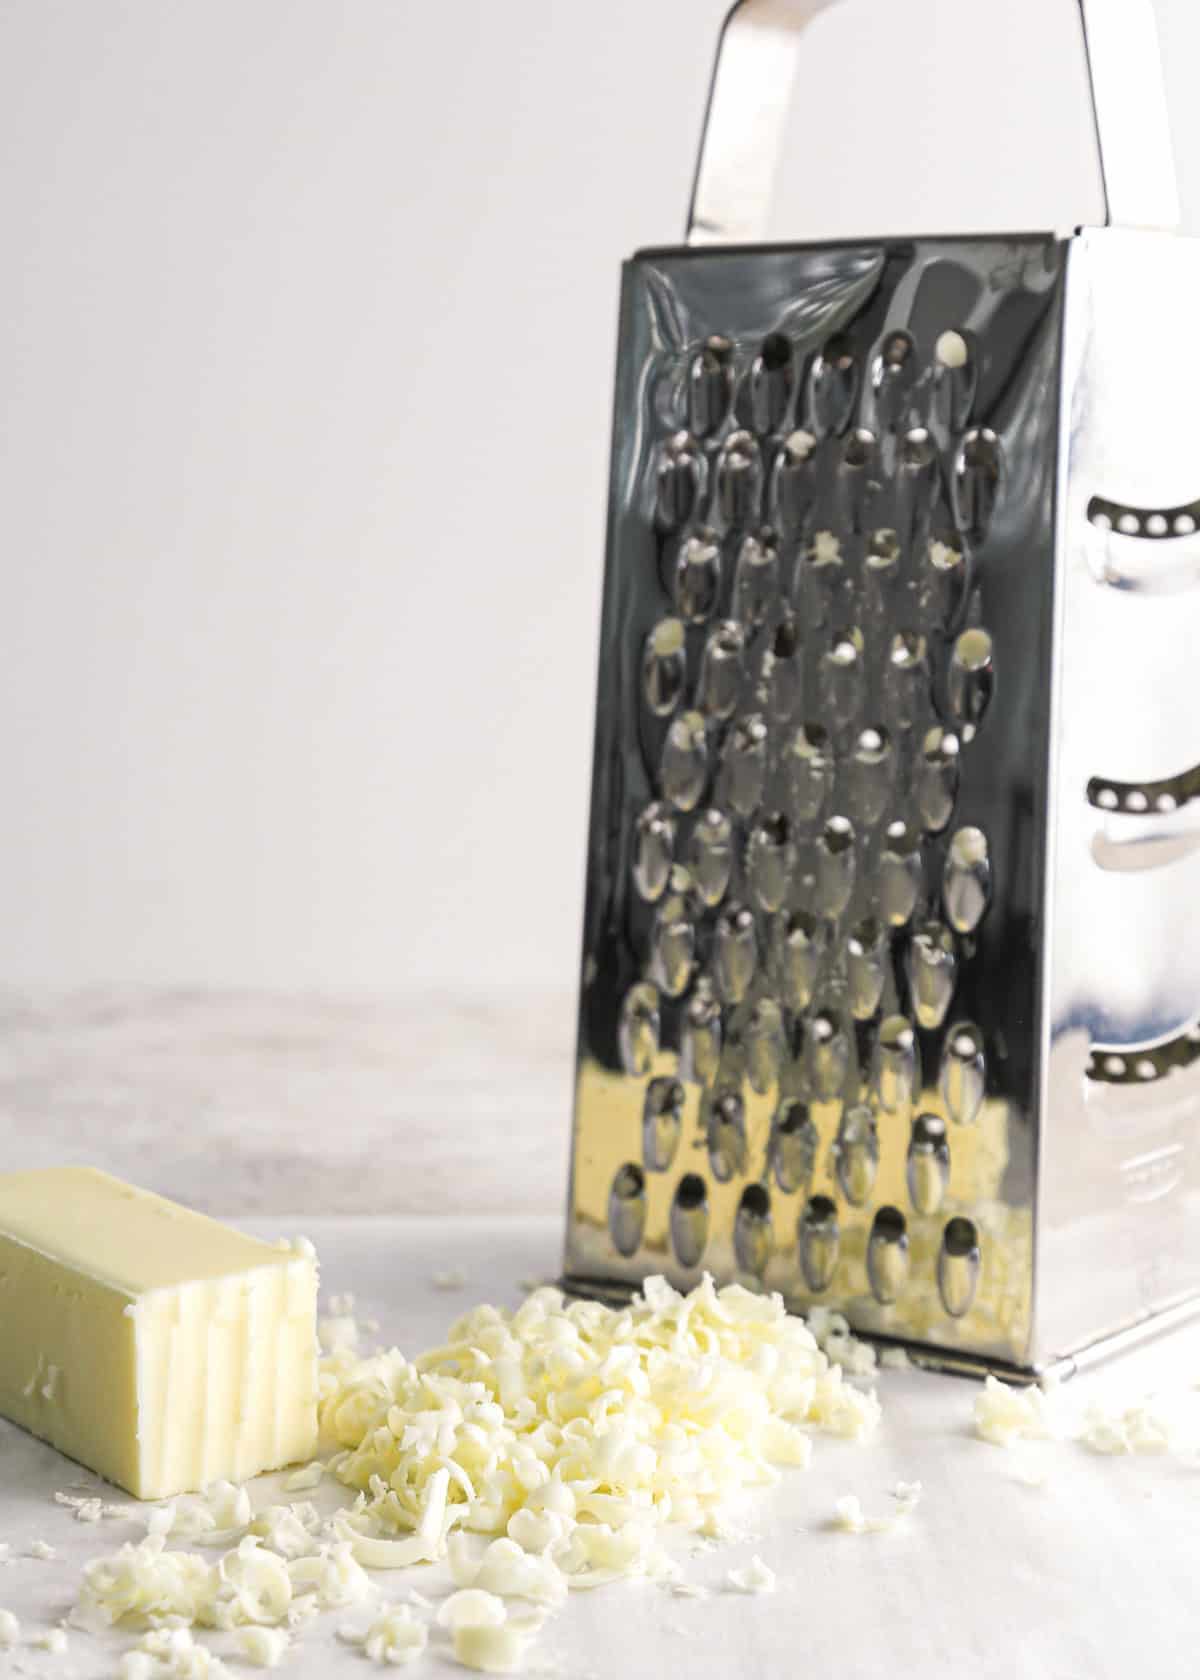
Then, grate the frozen butter. This is my favorite way to make scones because I believe it’s so much easier than cutting cold butter into the dry ingredients.
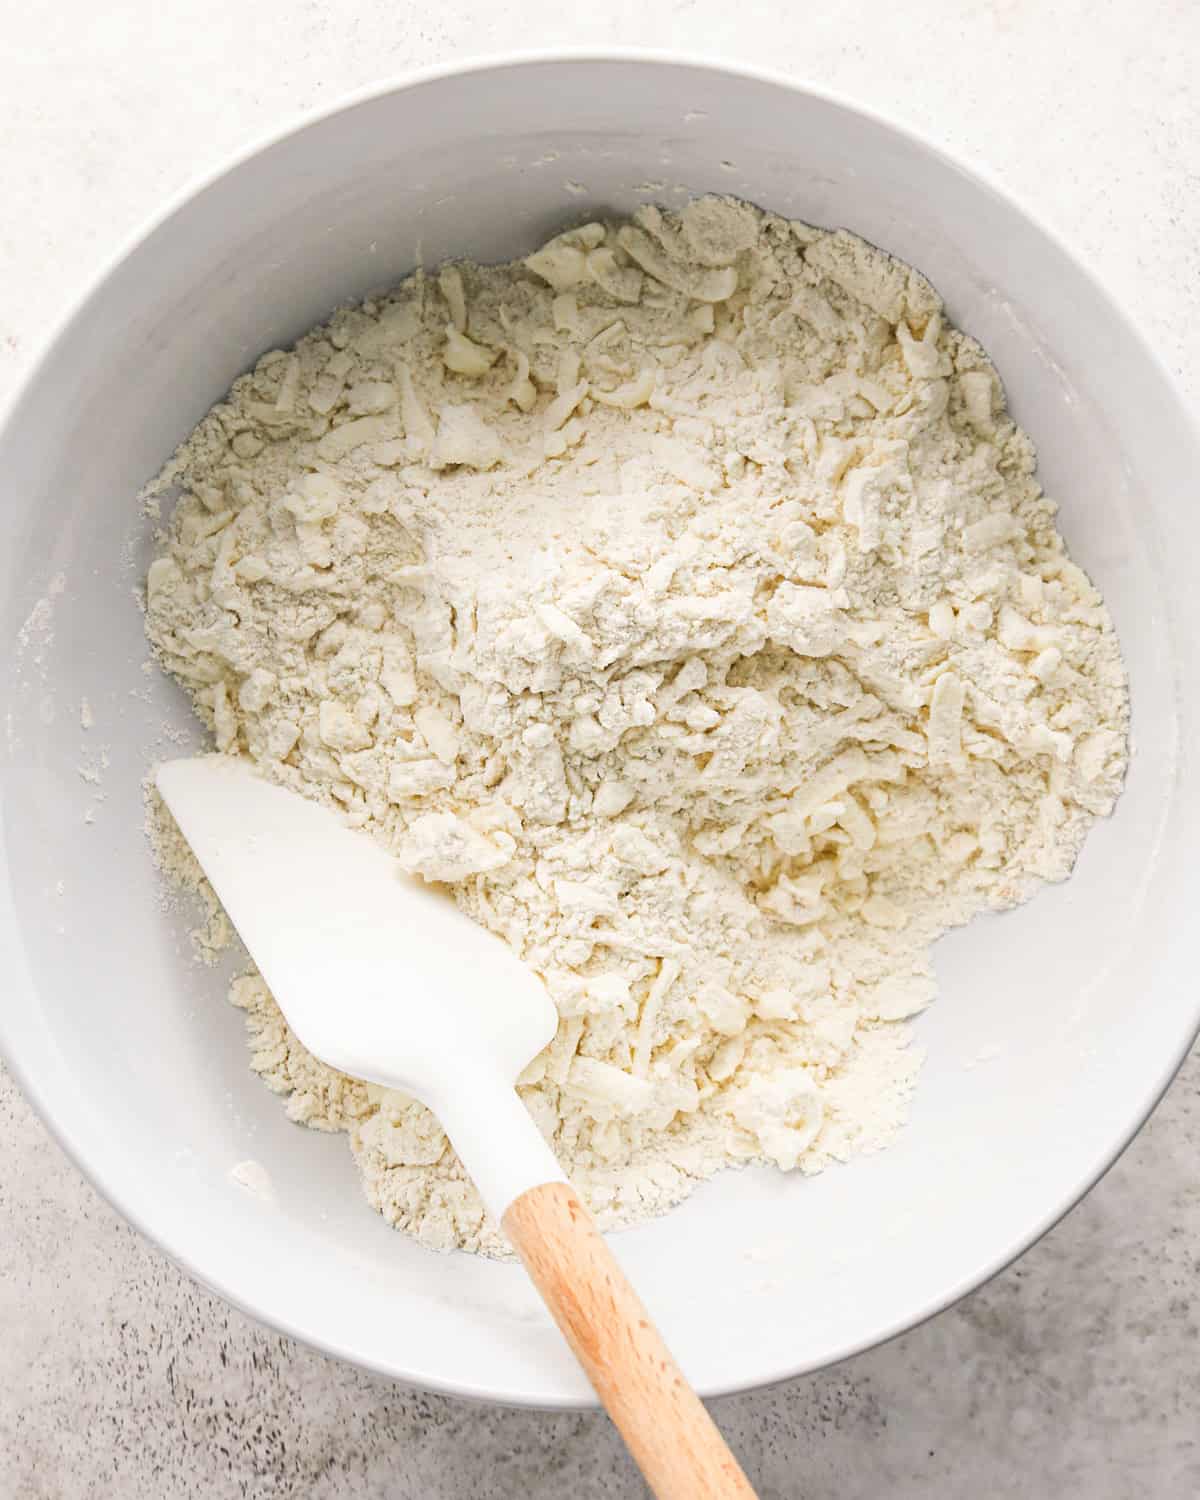
Once the butter is grated, mix it into the dry ingredients. Or, you can cut the butter in with a fork or pastry cutter.
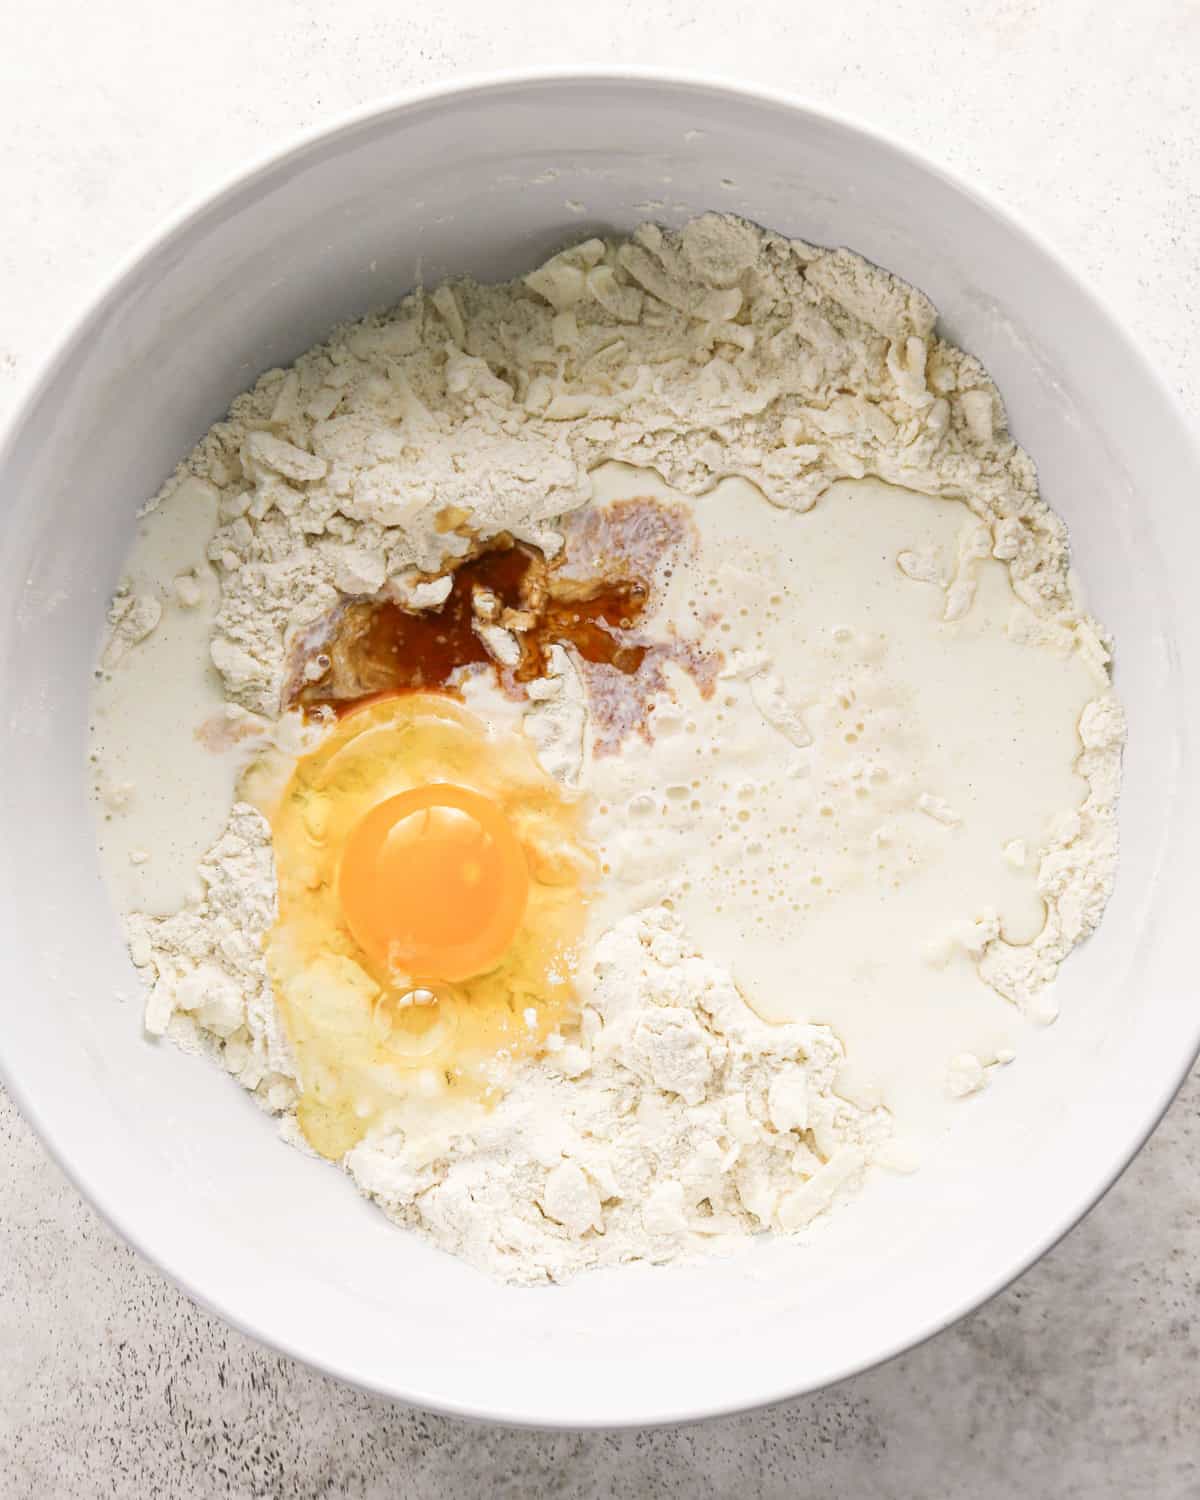
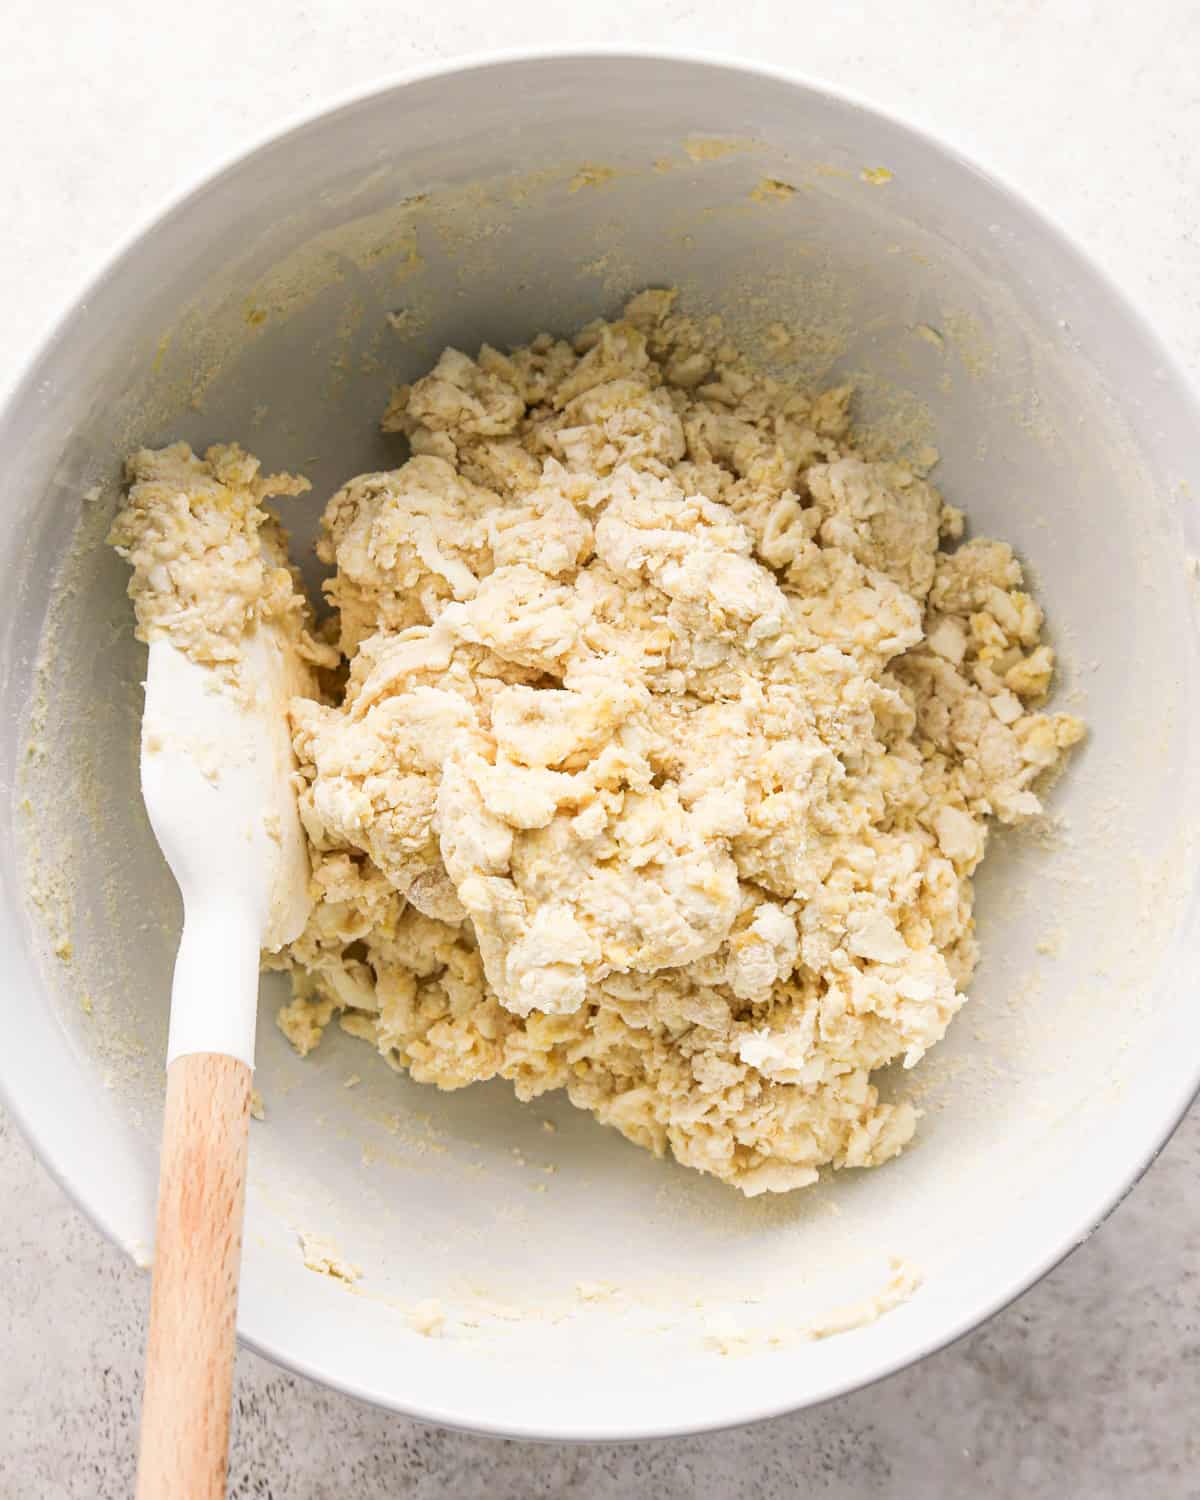
Next, mix in the rest of the wet ingredients – egg, half and half and vanilla until the dough starts to stick together.
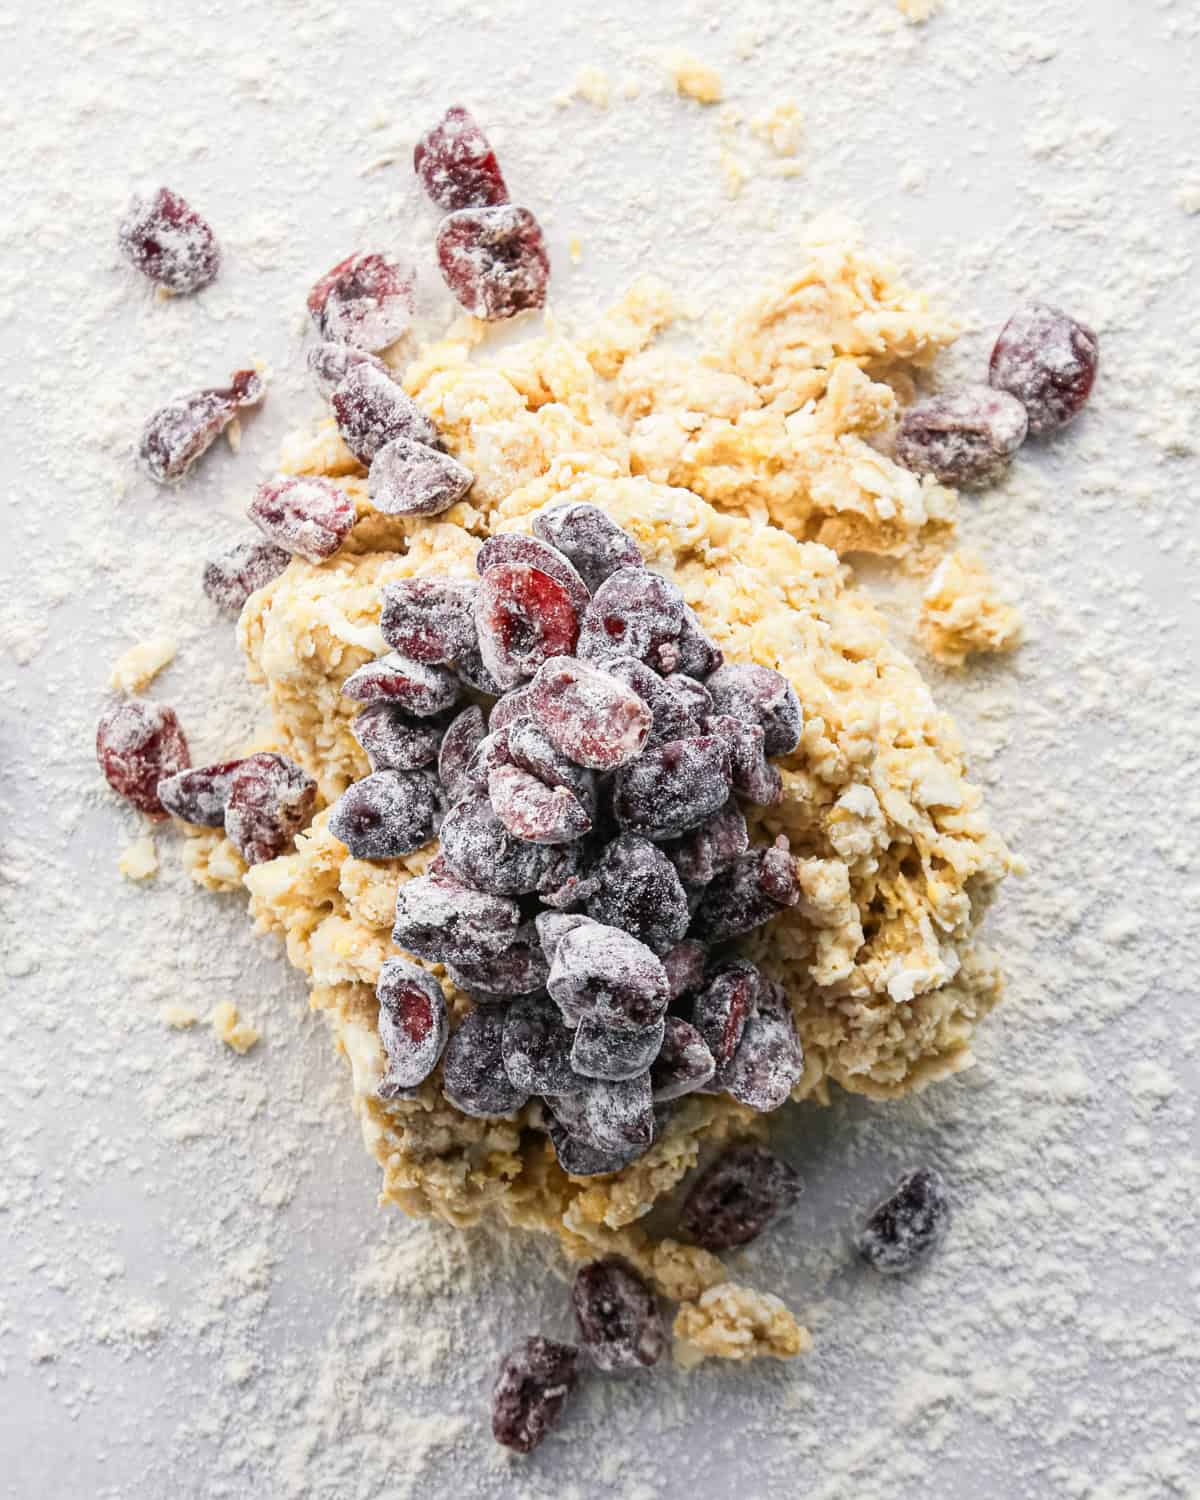
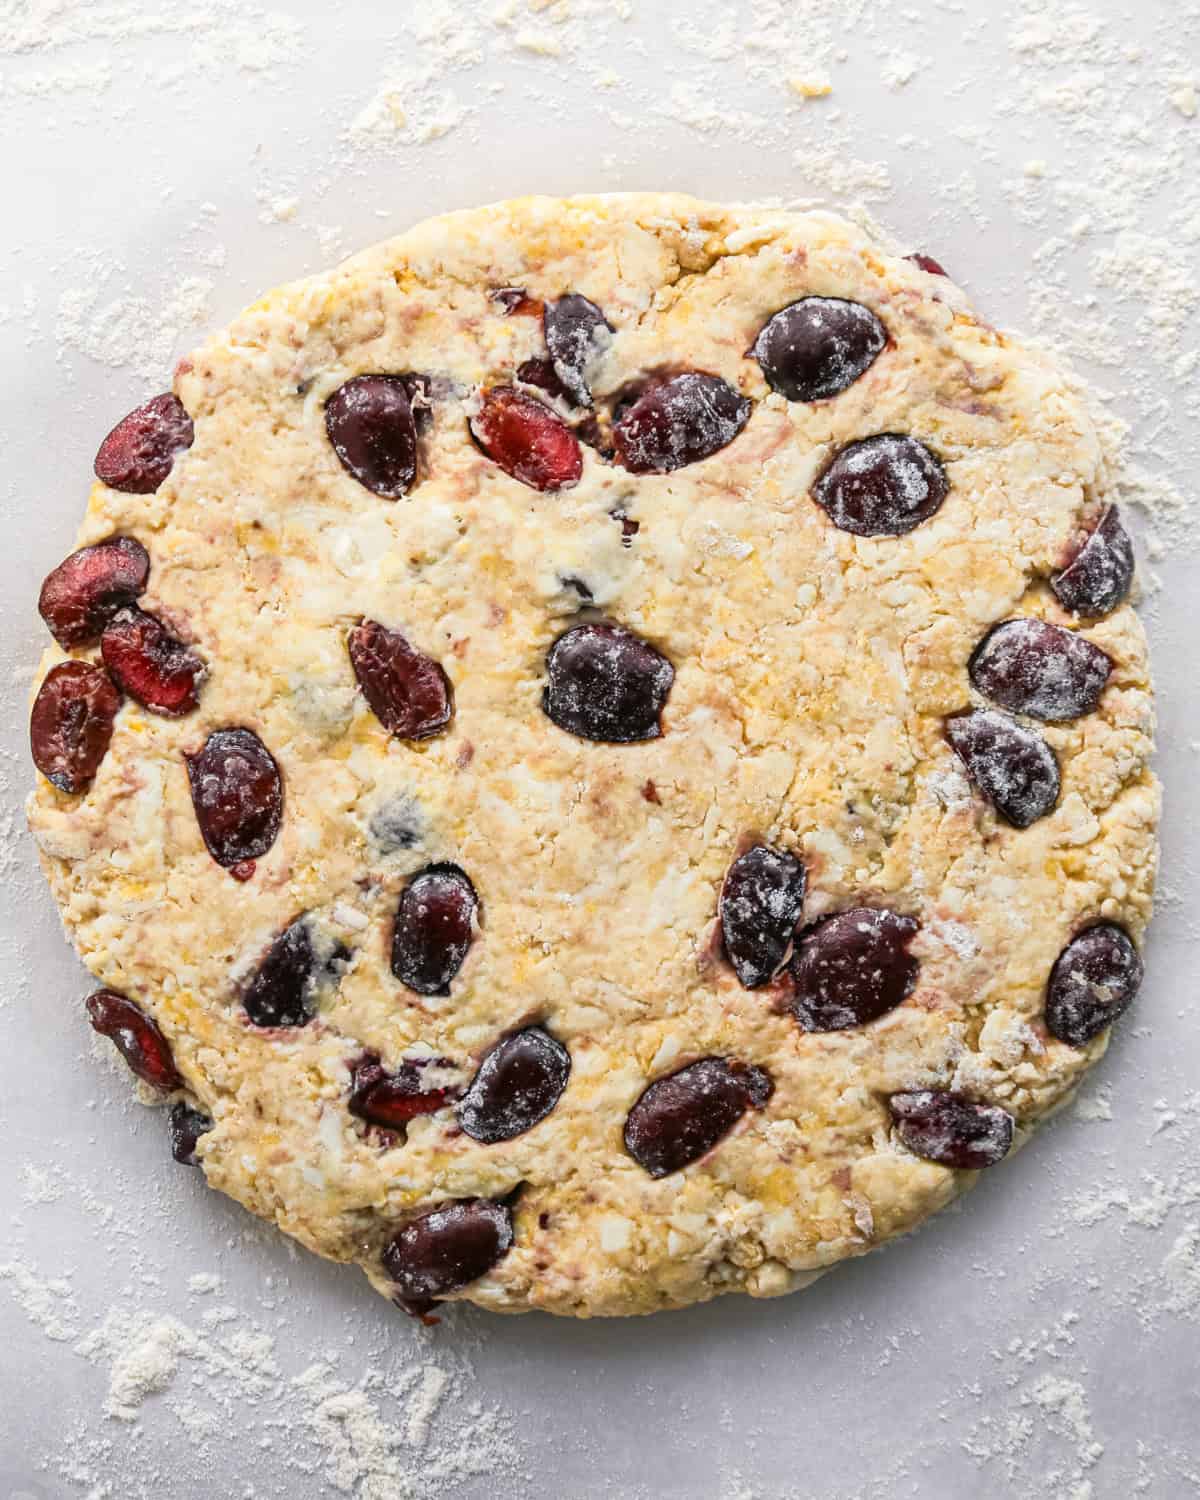
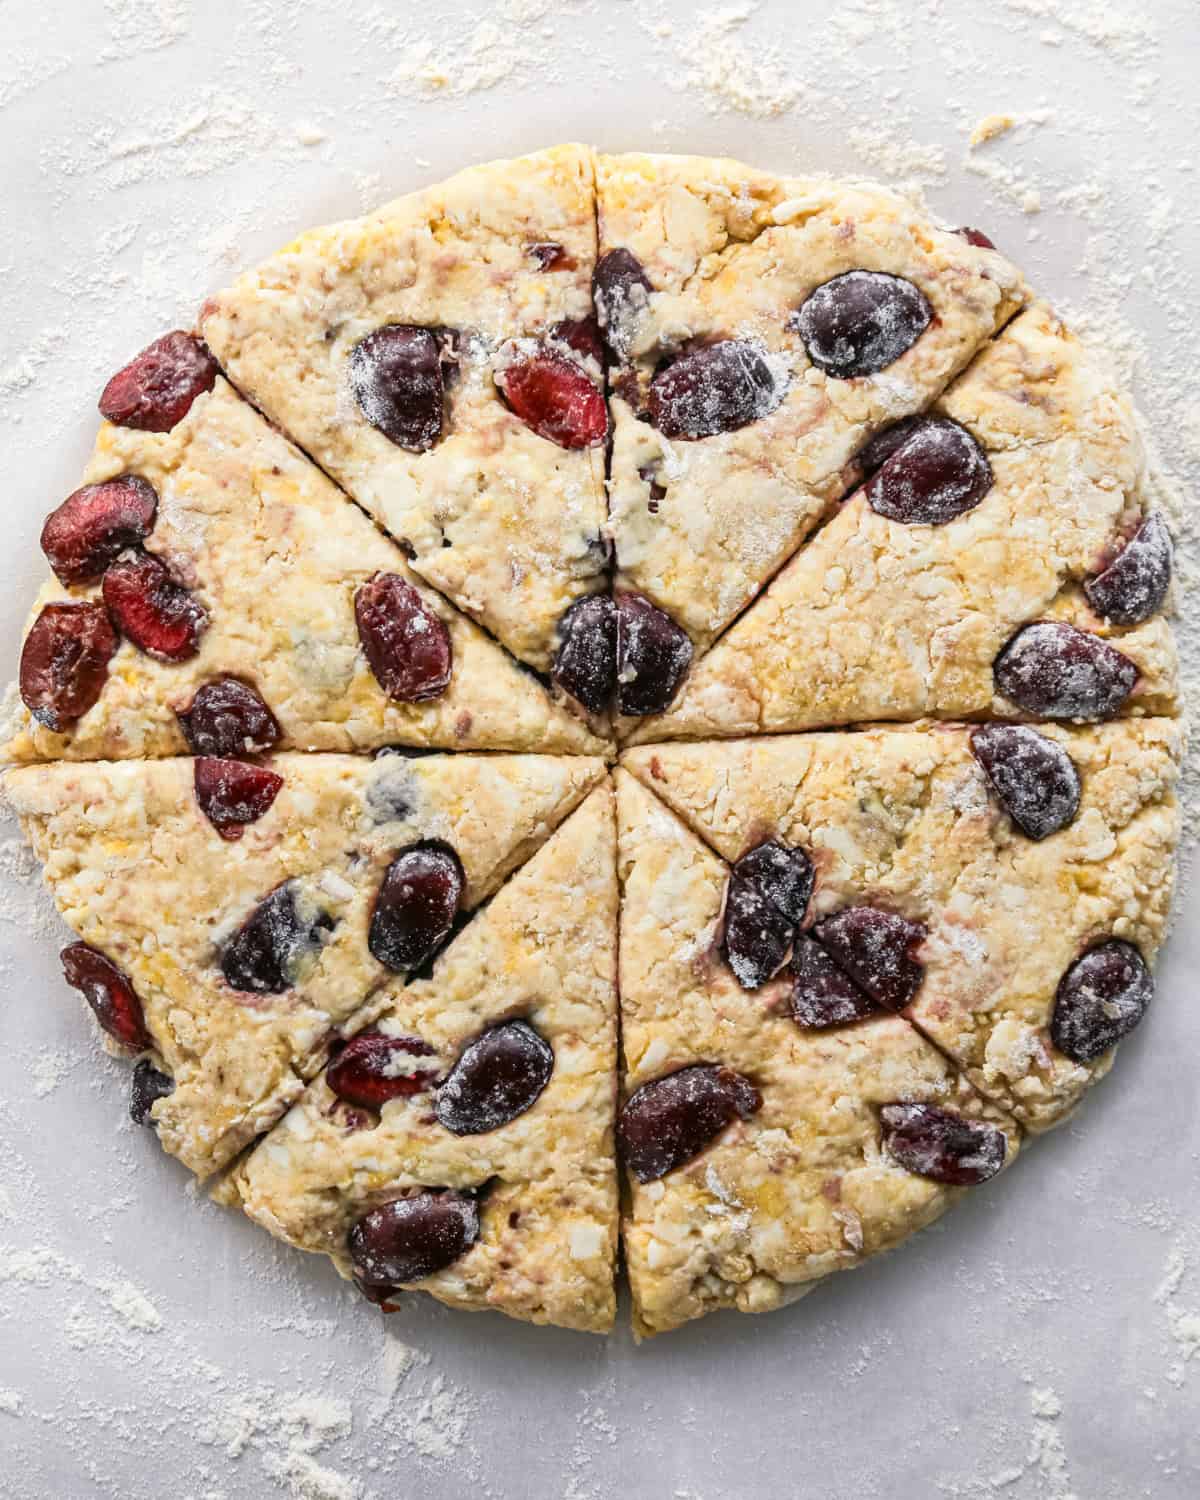
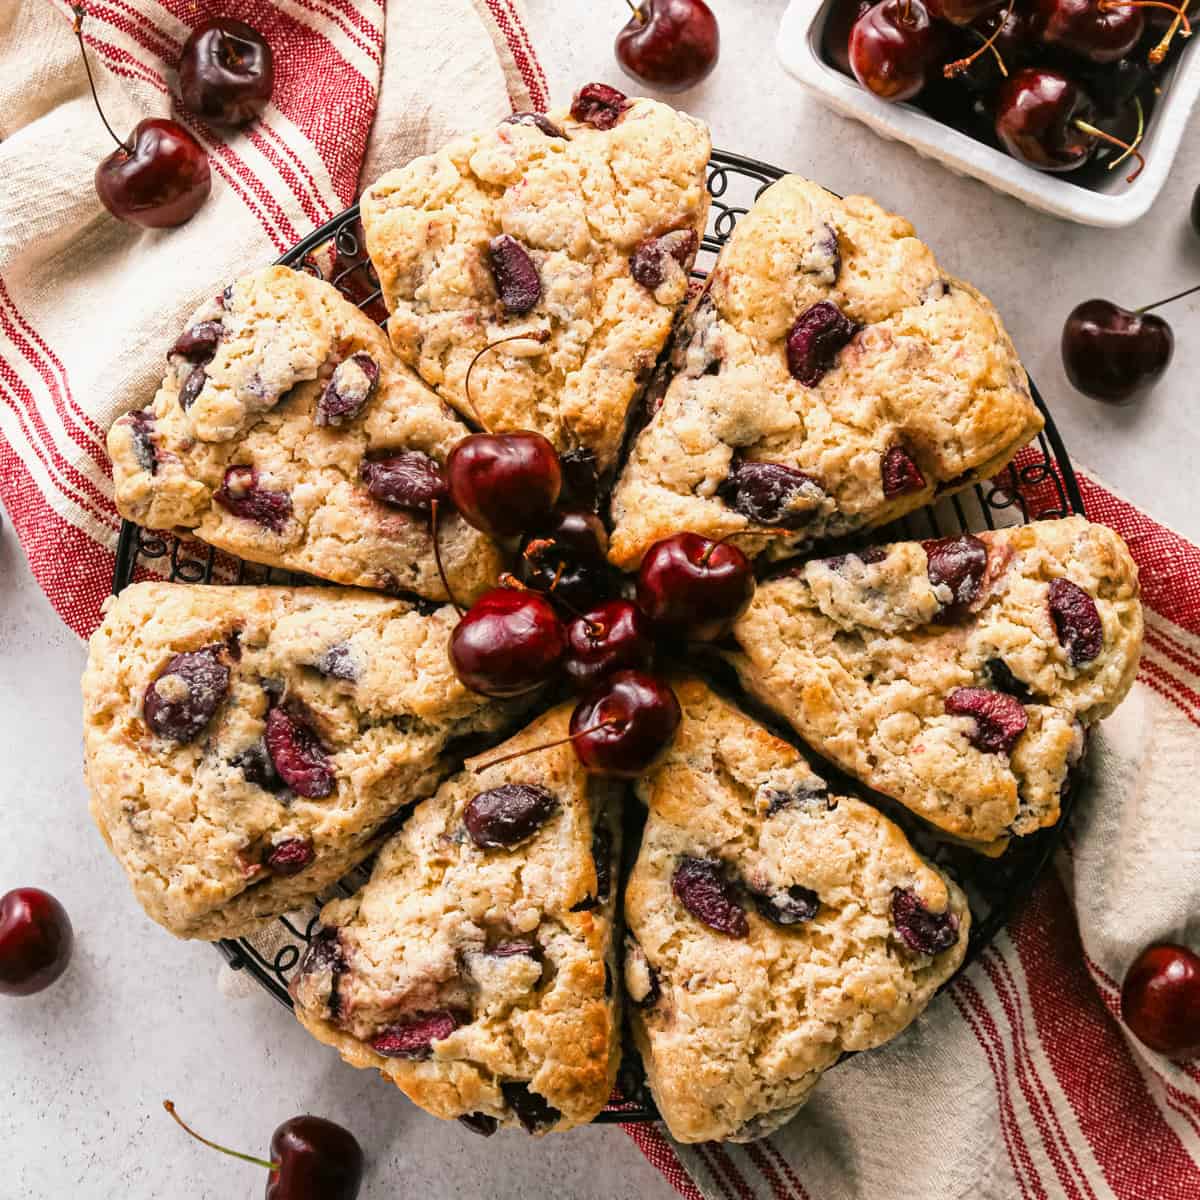
Then, very carefully add the cherries to the dough as you form it into a round disc that’s 8 to 9 inches in diameter (20-23 cm).
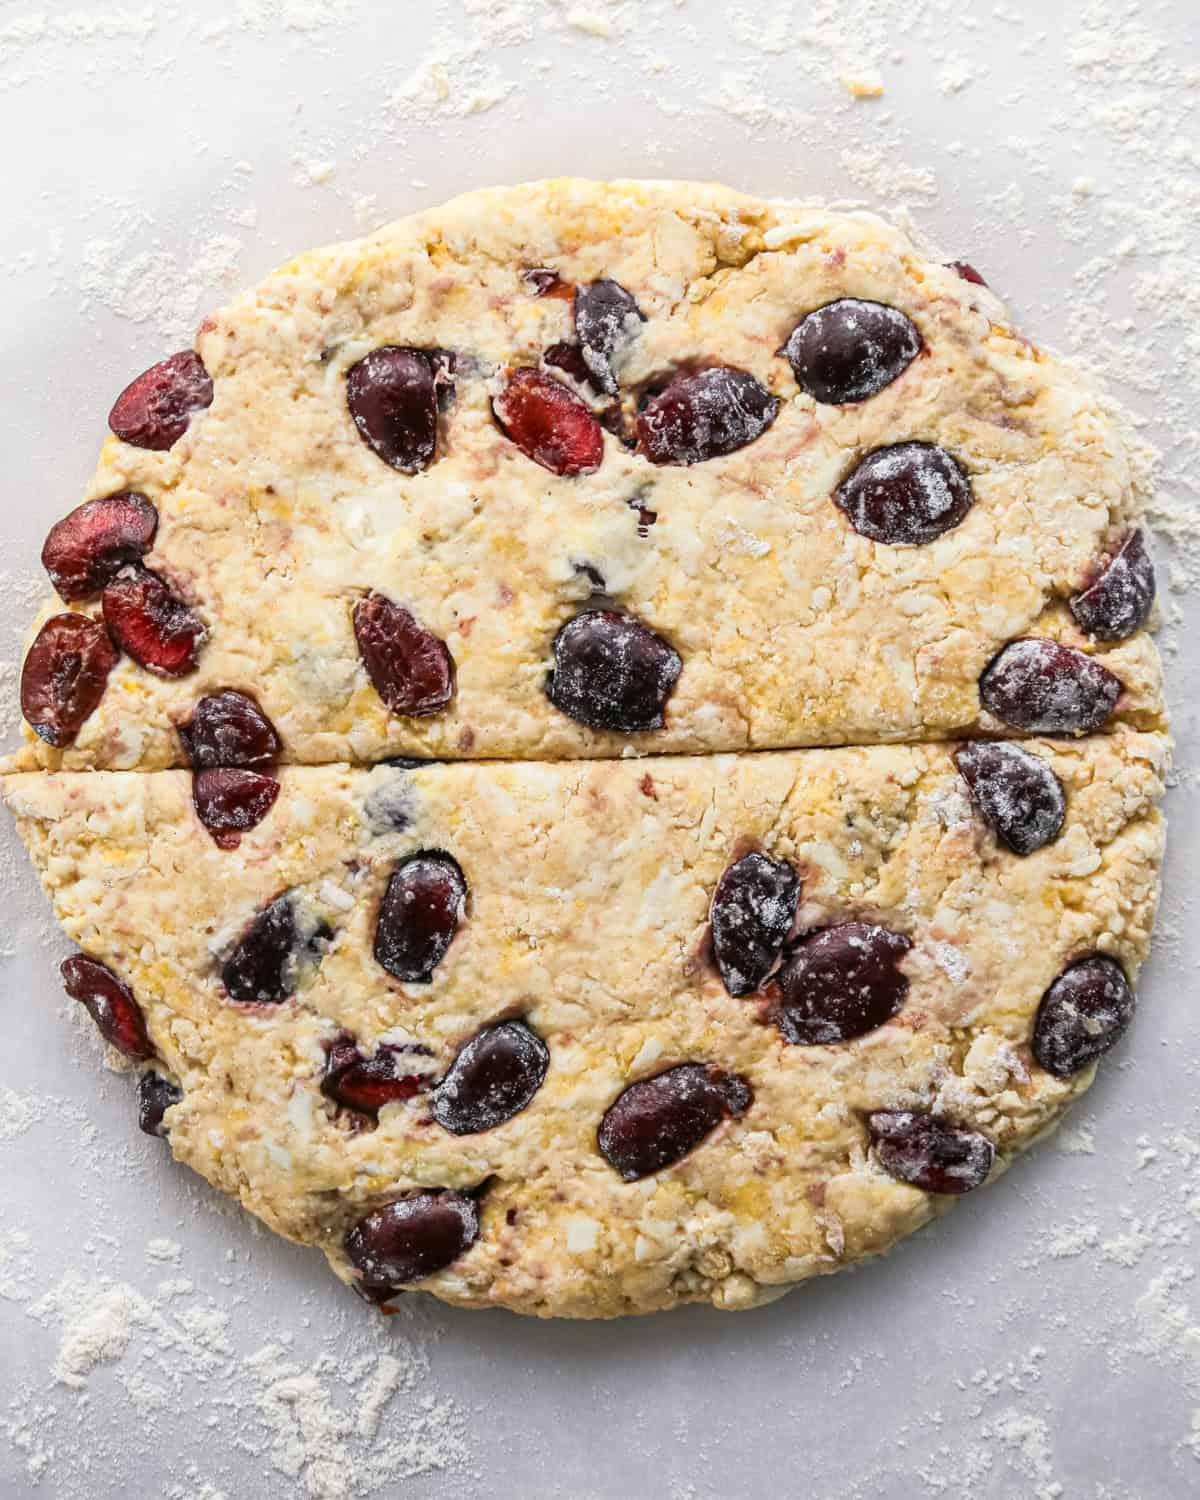
Then, cut the scones into 8 pieces. Begin by cutting the round disc in half horizontally, then vertically so that you’re left with quarters.
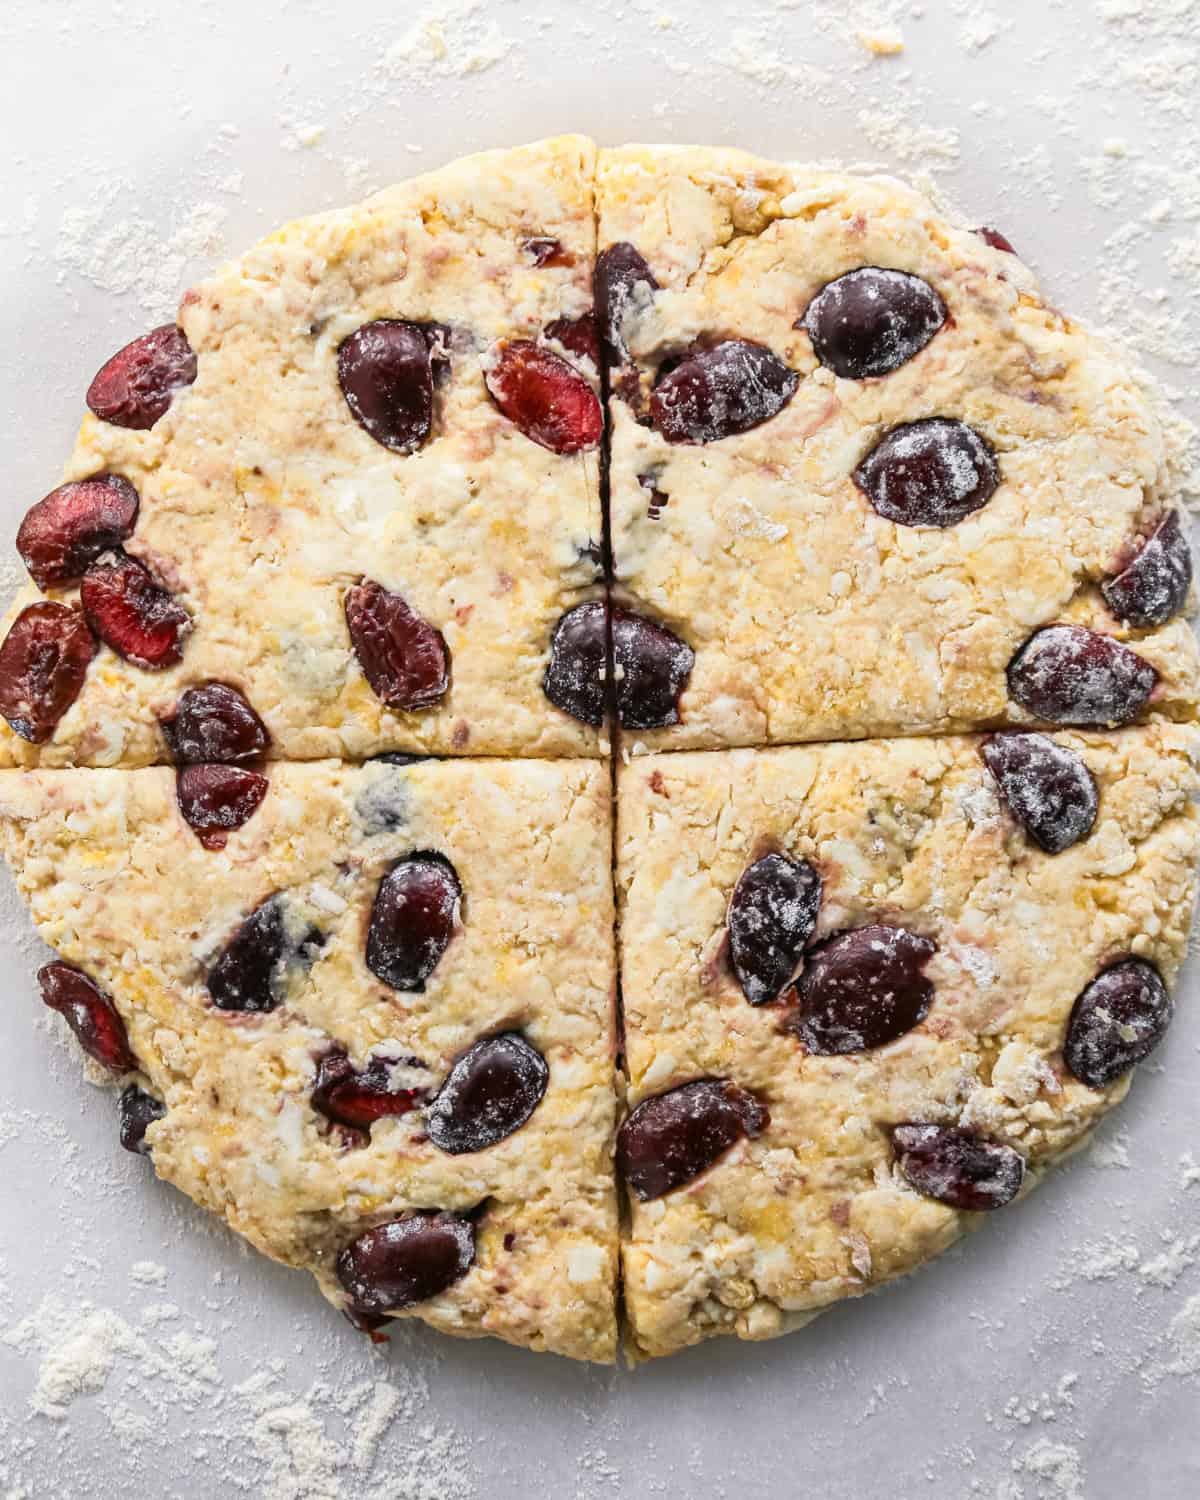
Then, diagonally cut each pair of quarters in half – this will give you 8 good-size scones. You can make mini scones and cut each scone in half to make 16.
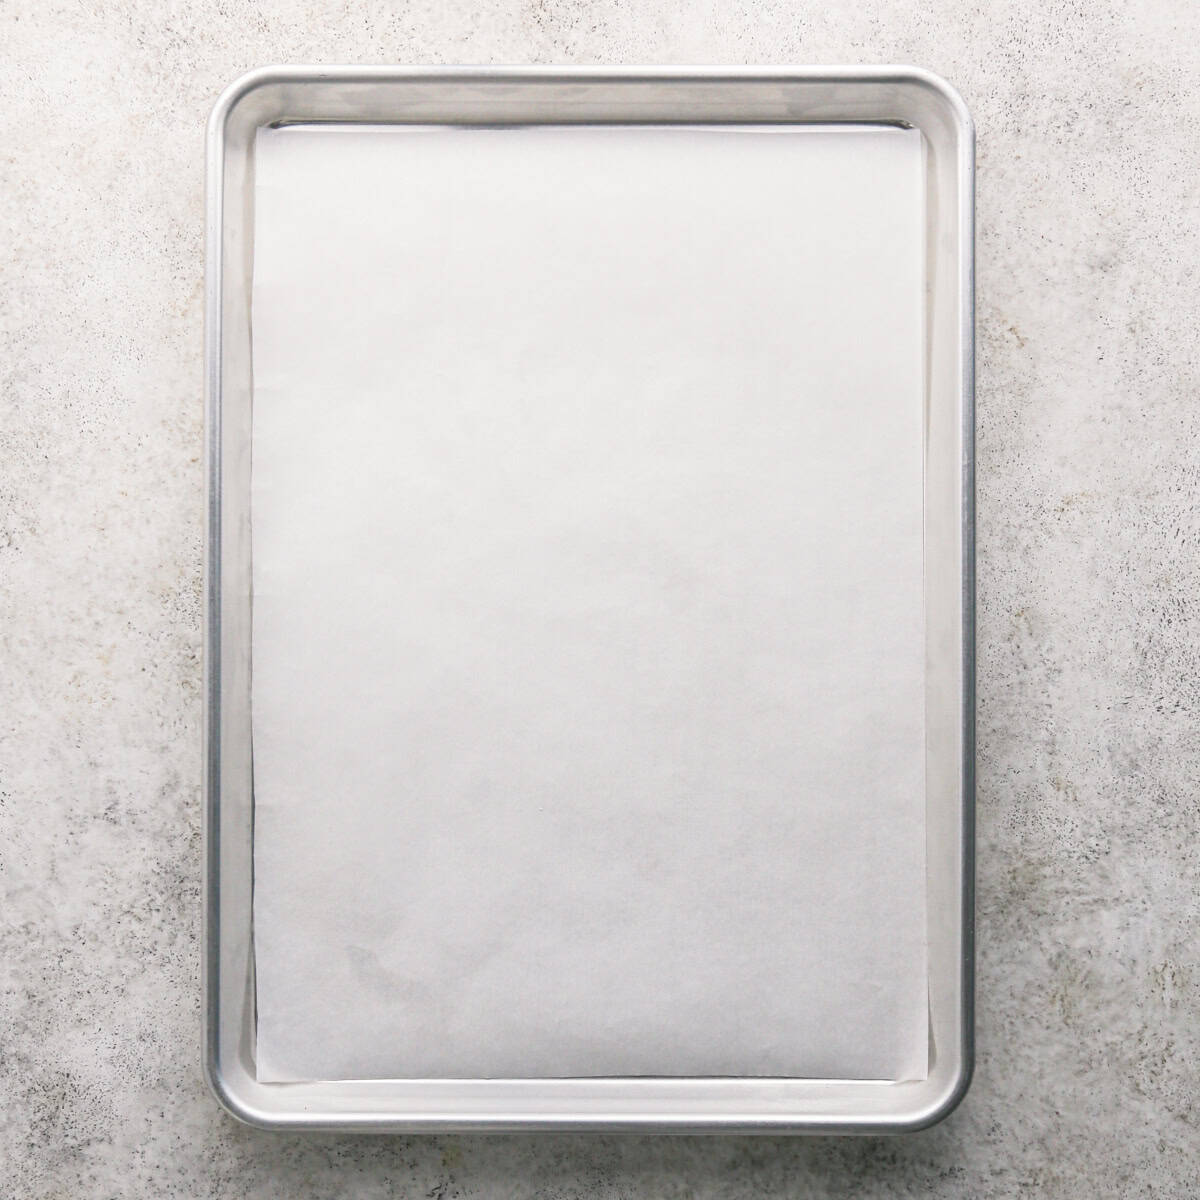
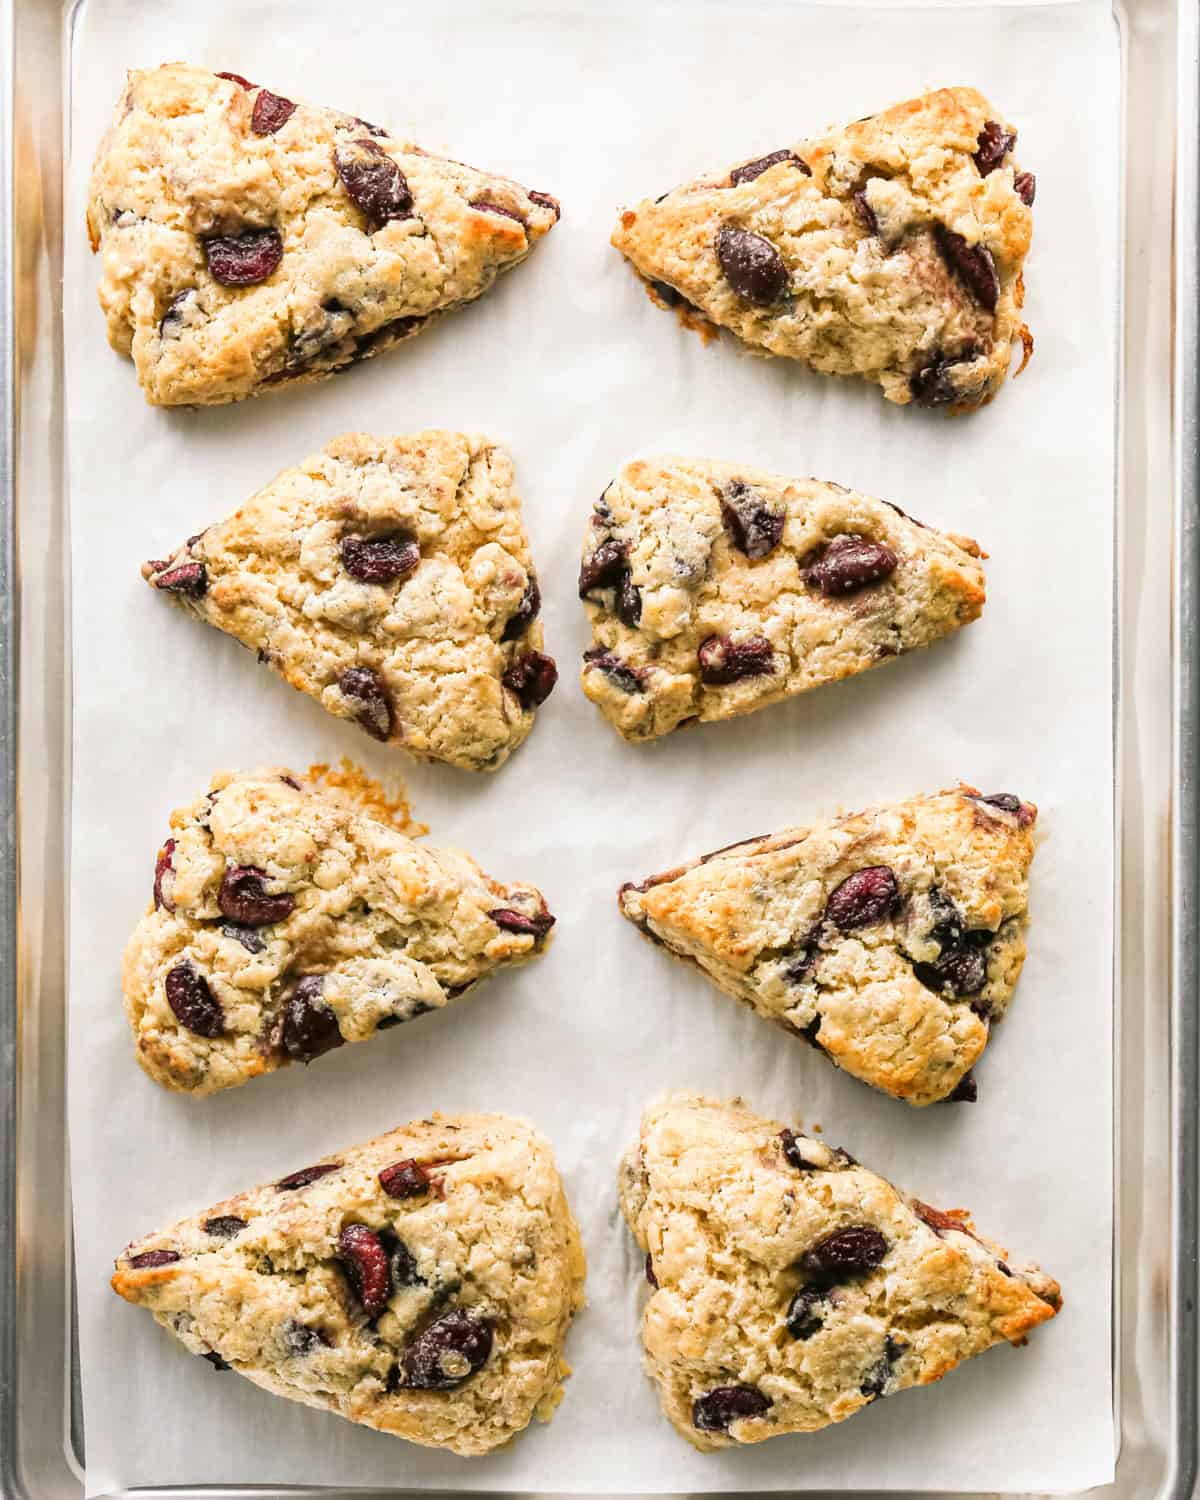
Line a large baking sheet with parchment paper.
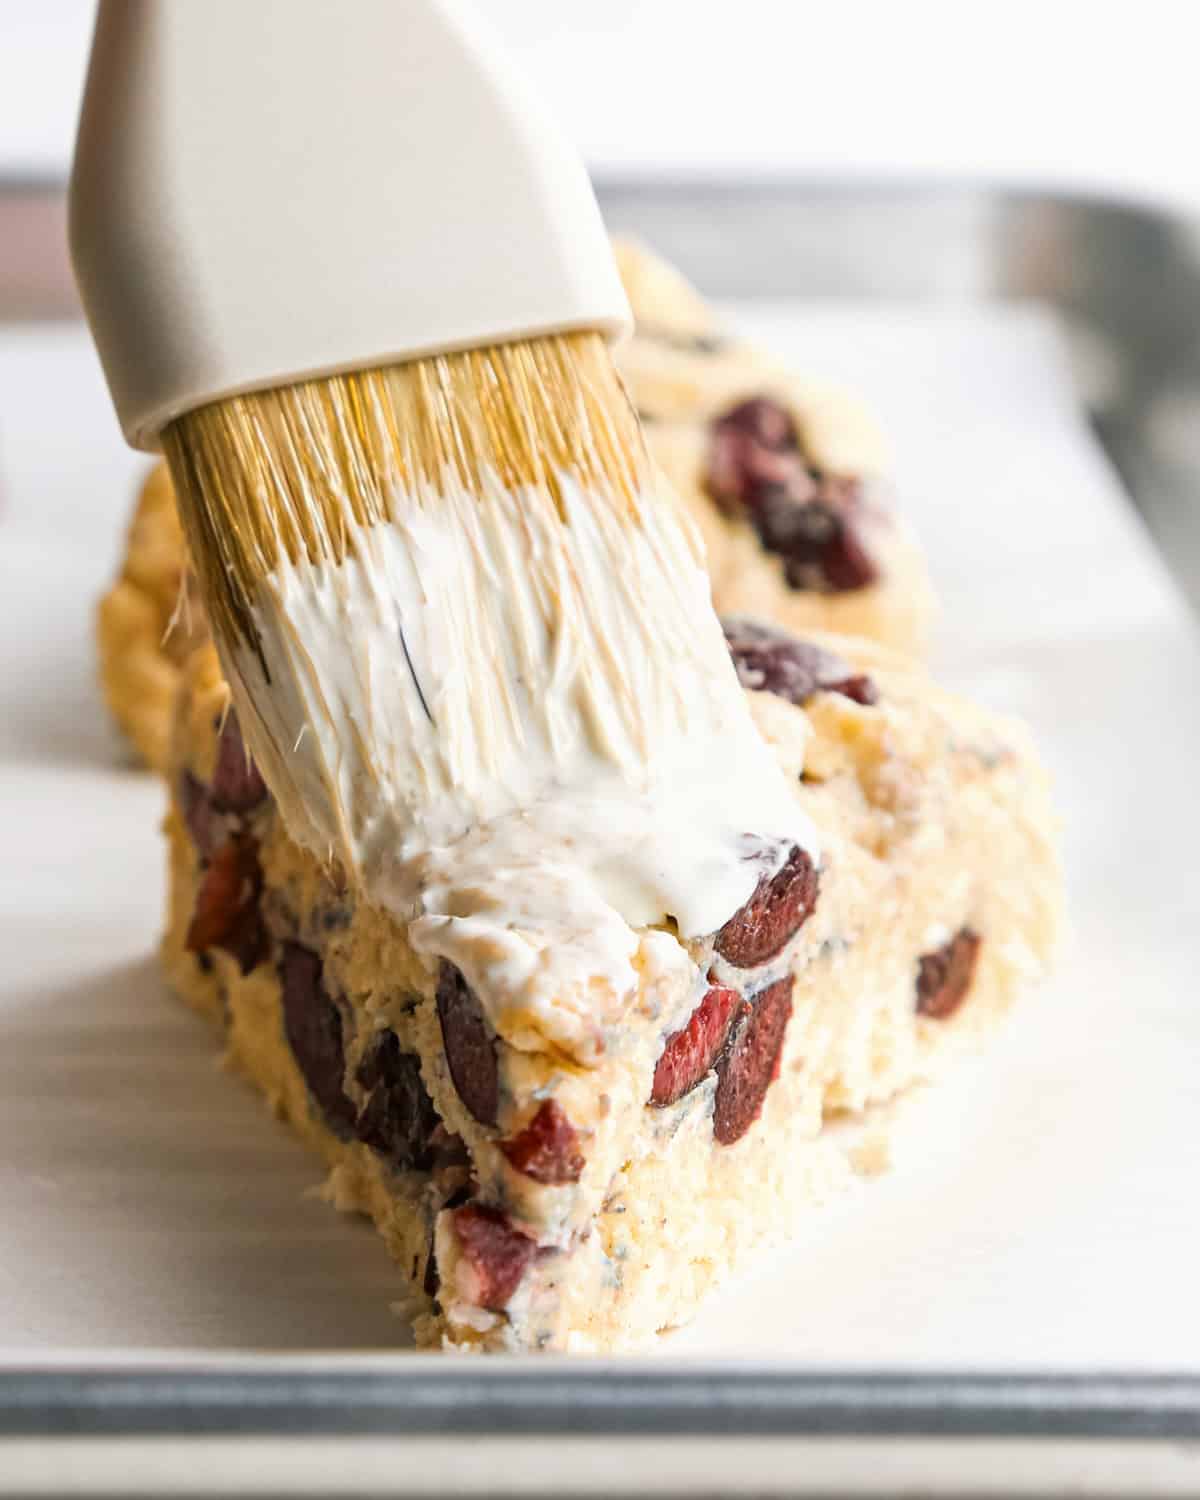
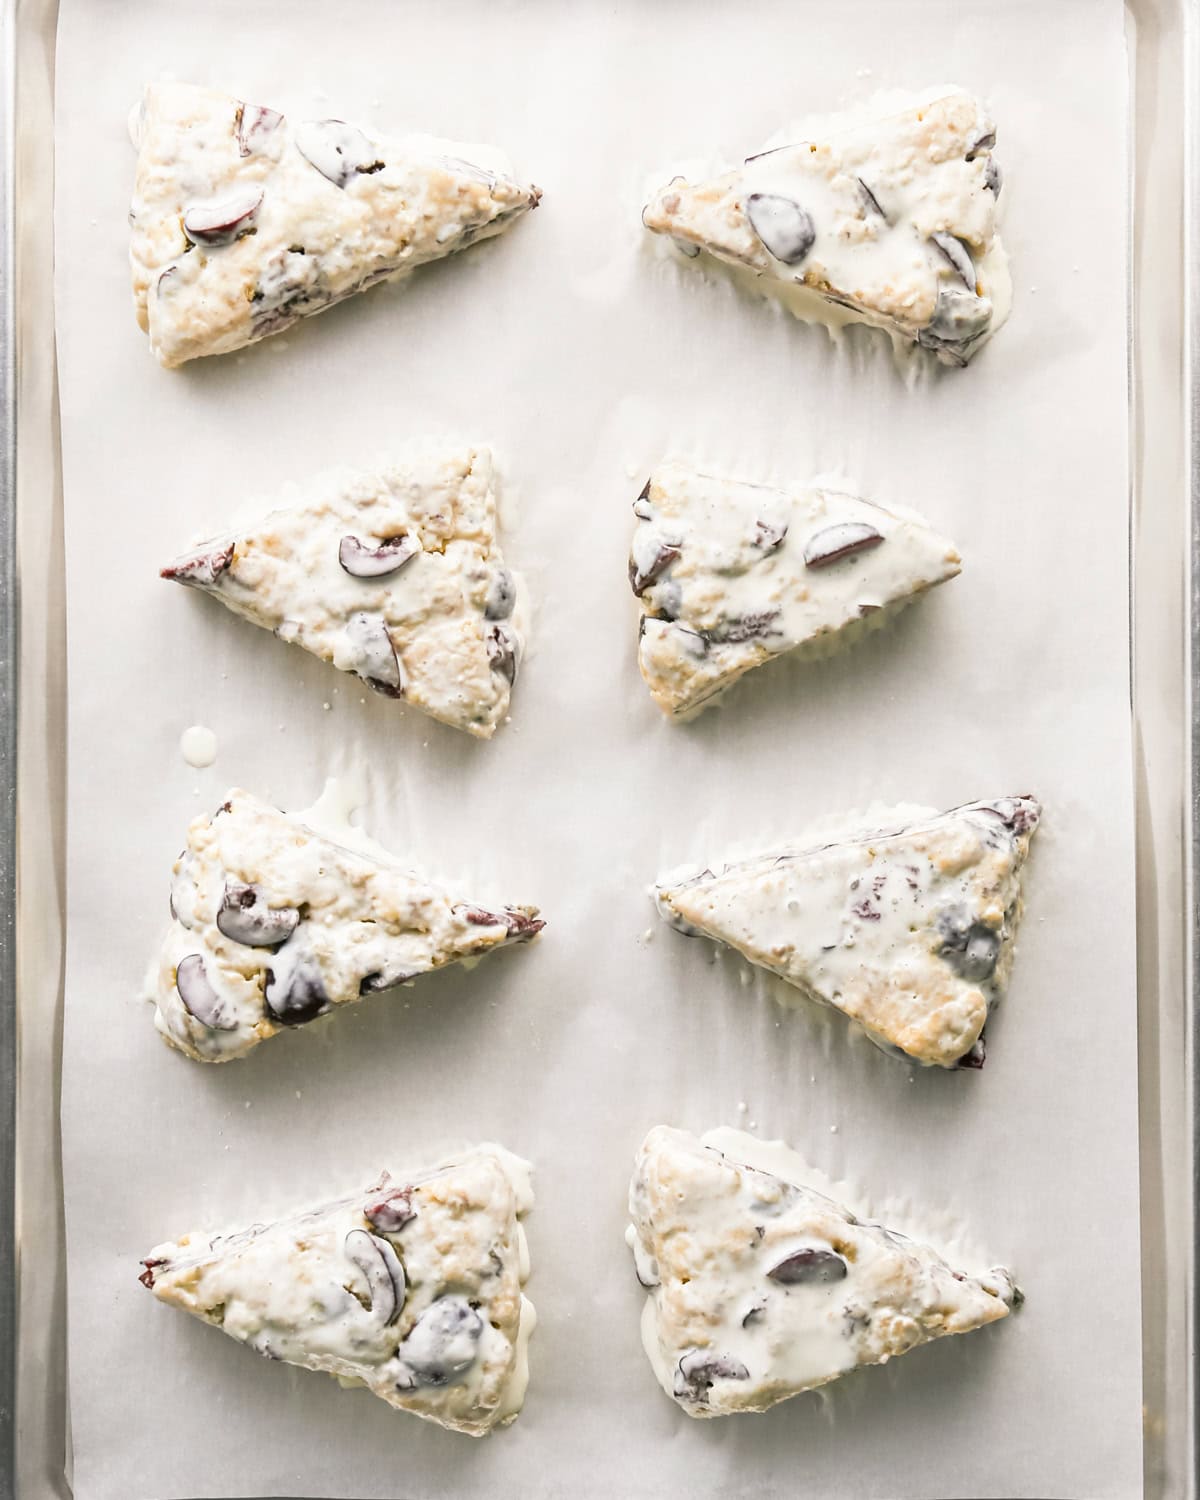
Then, evenly spread the scones out on the baking sheet and brush the tops with heavy cream.
Then, bake in your oven (preheated to 400 degrees Fahrenheit, 204 degrees Celsius). for about 15 minutes, or until the tops are just set and the bottoms/edges are slightly golden brown.
Transfer the baked scones to a wire cooling rack to cool for at least 15 minutes before serving.
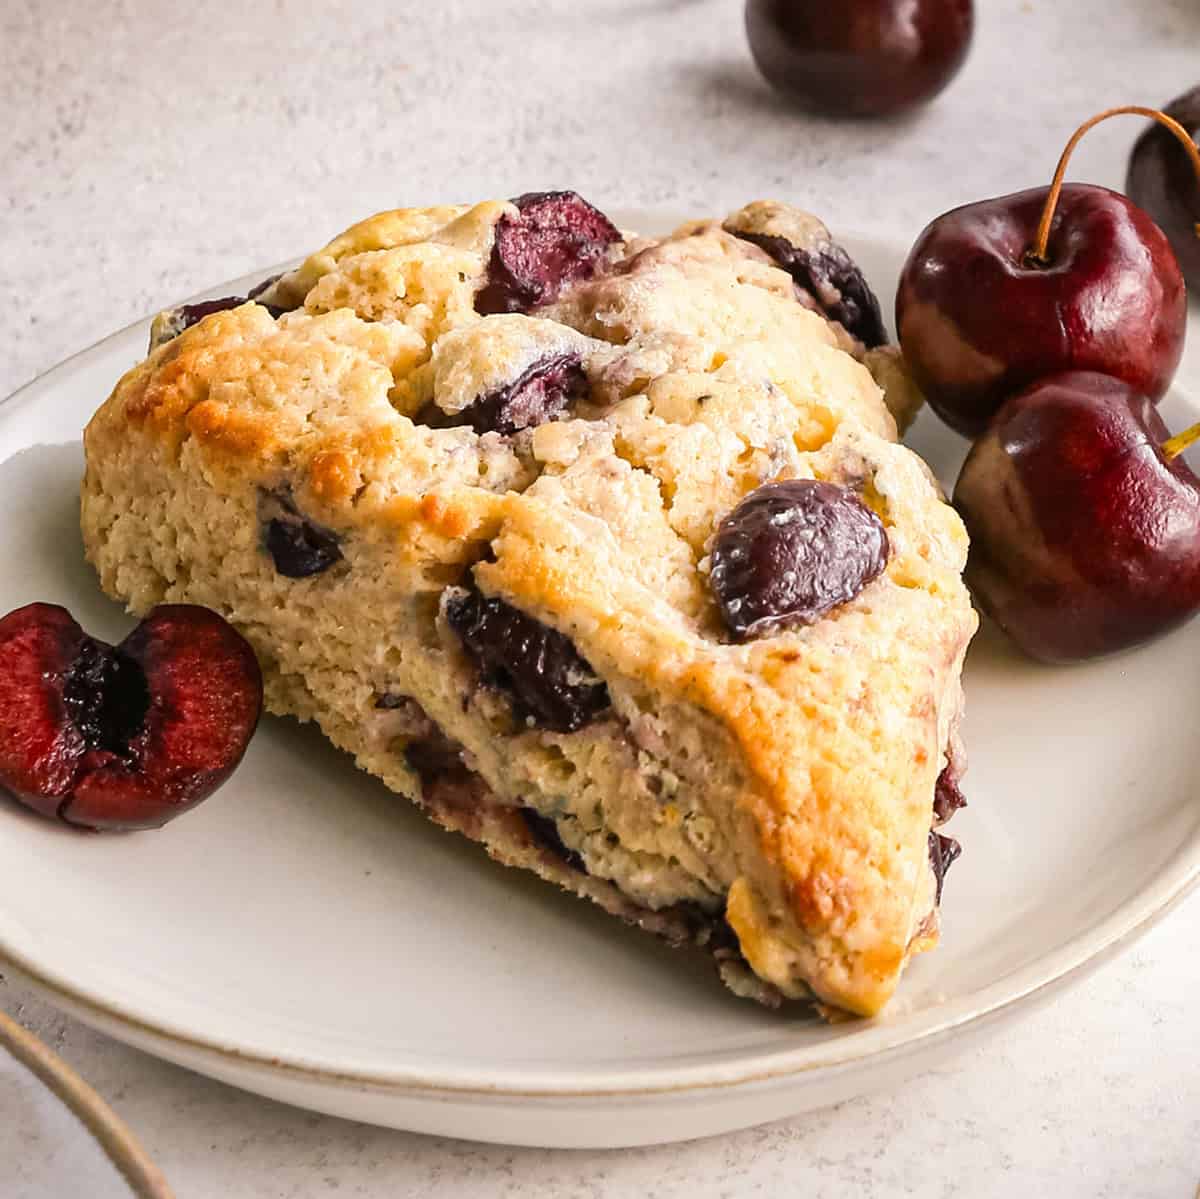
Serve
I suggest serving these cherry scones at room temperature or slightly warm (my preference). Serve them with a dollop of cinnamon butter, homemade apple butter, or nut butter for an extra special touch.
And, serve them with your favorite breakfast and brunch recipes like egg casserole, a delicious omelette or the most perfect cinnamon rolls.
Store/Freeze
Store leftover cherry scones in an airtight container at room temperature for up to 2 days or in the freezer for up to 2 months.
Cherry Scones Recipe FAQS
You can use frozen cherries, however you need to thaw them in a colander and let any excess juices run off. Then get them as dry as possible before tossing with flour and mixing them into the scones. They are more likely to bleed red/purple into the scones than fresh cherries.
Butter should frozen (if you will be grating it into the scones) or cold (if you will be cutting the butter into the dry ingredients with a fork or pastry cutter). Never warm. Cold/frozen butter makes them flaky and moist.
Yes, if you double the ingredients be sure to make two round discs of dough instead of one large one.
If you make and love my recipes, it would mean so much to me if you would leave a comment and rating! And don’t forget to follow along on Instagram, Pinterest, Facebook, TikTok and Youtube – be sure to tag @joyfoodsunshine and use the hashtag #joyfoodsunshine so I can see your creations!
Cherry Scones
Video
Equipment
Ingredients
- 2 cups all-purpose flour
- ¼ cup granulated sugar
- 1 Tablespoon baking powder
- ½ teaspoon fine sea salt
- ¼ teaspoon cinnamon
- ½ cup salted butter (frozen)
- ½ cup half and half (or heavy cream)
- 1 large egg
- ½ teaspoon pure vanilla extract
- 1 cup cherries (fresh, pitted and quartered. 6 ounces cherries)
- 1 Tablespoon flour
- 3 Tablespoons heavy cream (for brushing on the top)
Instructions
- TIP: we use frozen butter to make these cherry scones – so be sure to put a stick in the freezer well before you want to make this recipe.
- Preheat oven to 400 degrees Fahrenheit (204 degrees Celsius).
Prepare the Cherries
- Pit and quarter 6 ounces (170 grams, 1 cup) of cherries.
- Pat the cherries dry with a paper towel or tea towel.
- Toss 1 cup of cherries with 1 Tablespoon flour gently. Set aside.
Make the Cherry Scones
- Line a large baking sheet with parchment paper or a silicone baking mat, set aside.
- Combine flour, sugar, baking powder and sea salt in a large bowl.
- Grate the frozen butter into the dry mixture and stir to combine. (Or cut in cold butter with a pastry cutter or fork).
- Add half and half, egg and vanilla extract and stir until combined. The dough will look crumbly initially but will clump together when squeezed between your fingers and should easily form a circle.
- Turn dough out onto a well-floured surface (or pastry slab).
- Carefully add the cherries are you form the dough, trying not to crush them.
- Form the dough into a round circle about 8-9” in diameter. *see notes for instructions on making these the night before.
- Cut into 8 equal pieces. Start by cutting the circle in half from top to bottom. Then cut it in half from side to side. Then cut the remaining pieces in half diagonally. (see video)
- Carefully separate the cherry scones and spread them out evenly on the prepared baking sheet.
- Lightly brush the tops of each scone with heavy cream.
Bake, Cool and Serve
- Bake in the preheated oven for 14-17 minutes, or until the scones look set and are lightly golden brown
- Remove from the oven and transfer scones to a baking sheet to cool, or serve warm (which I highly recommend).
- Serve at room temperature.
Notes
- All-purpose flour. Use a 1:1 all-purpose gluten-free baking flour to make this recipe gluten-free.
- Granulated sugar. organic cane sugar and white granulated are the best choices.
- Salted Butter. unsalted butter works well.
- Half and Half. Heavy cream and whole milk are both good substitutes for half and half. Or, try making cherry buttermilk scones!
- Vanilla extract. For different flavors, substitute ½ tsp vanilla extract for different extracts (almond, lemon etc.)
- Cherries. I suggest using fresh cherries for the best results. Make sure they are rinsed and completely dry. If using frozen, thaw complete in a colander and pat dry.
- Heavy cream. brushing the tops with heavy cream is a must! It gives them a golden shine.
Nutrition
Nutrition information is automatically calculated, so should only be used as an approximation.


I have been making scones for 48 years and I am always trying to find “the” scone recipe. These scones are perfect, crumbly and moist. I used cherries I had pitted and frozen from cherry picking in June. I drained them and patted them dry. I have already shared the recipe and plan to use this as a base recipe.
I’m SO happy you love this recipe, Janet!!
Do you think I would be able to substitute the vanilla extract for Almond extract? Cherry “almond” scones sound delicious!
I wouldn’t substitute it, I would just add ¼ to ½ teaspoon of almond extract depending on how much almond flavor you want! But I agree that does sound delicious!