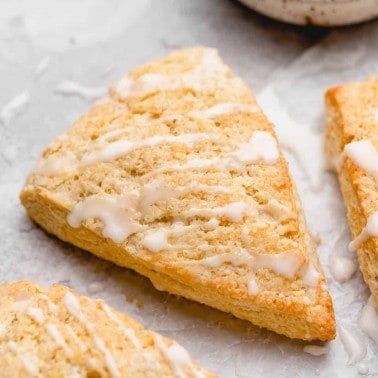
Mocha Chocolate Scones
Updated Dec 03, 2024
This post may contain affiliate links. Please read our disclosure policy.
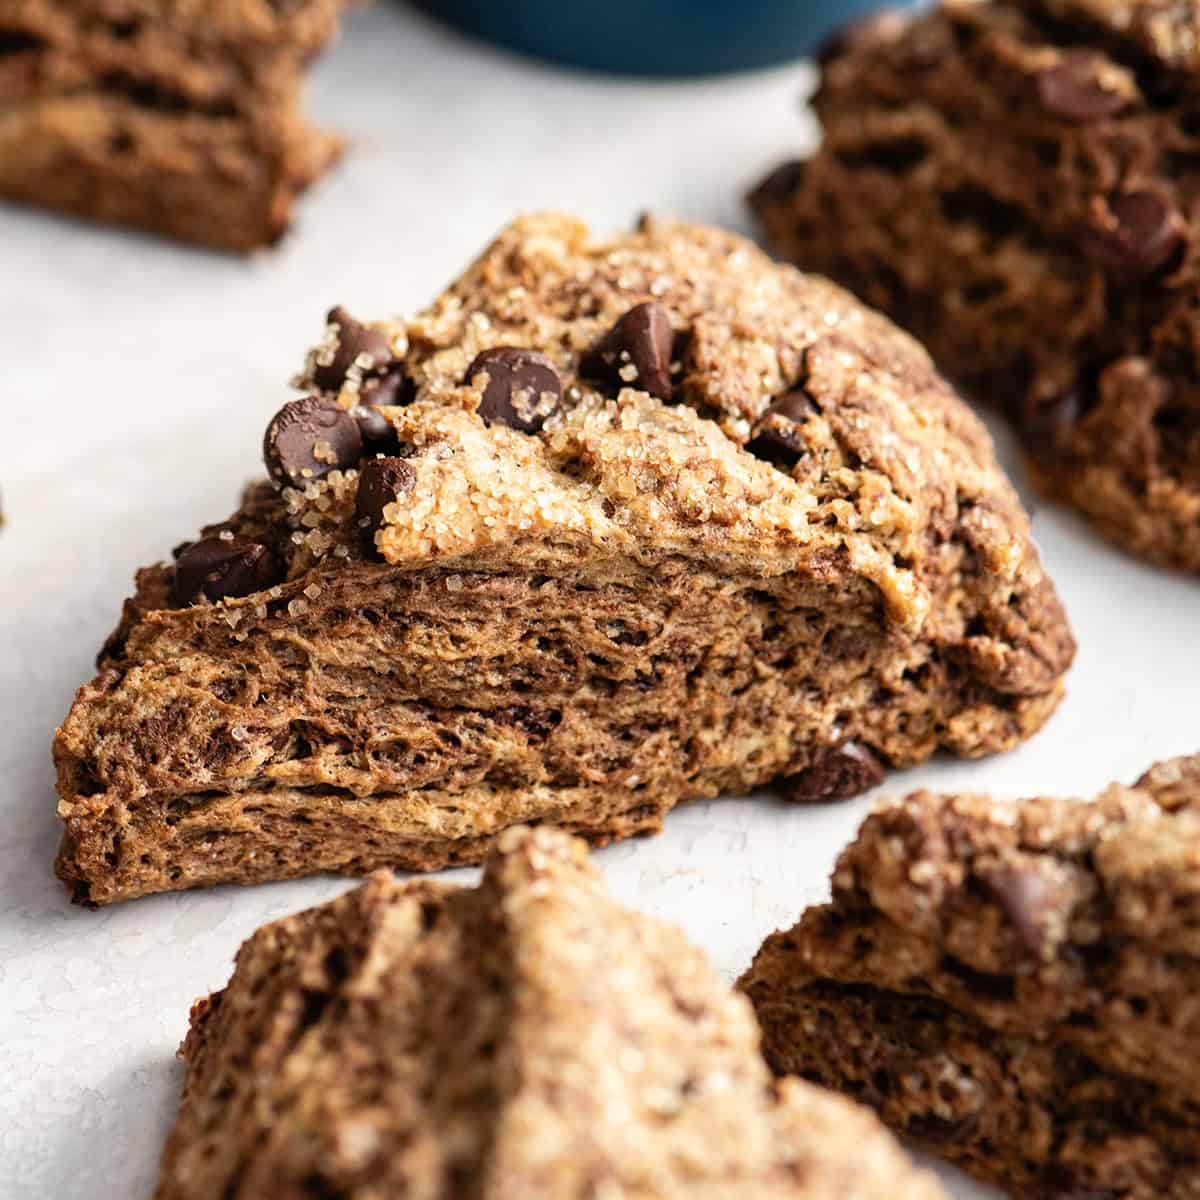
The best mocha chocolate scones – they are moist and buttery with a rich mocha flavor. They’re easy to make and can be prepared at night and baked in the morning!
I first had one of these mocha chocolate scones when a mom of a child I coached brought them to swim practice, still warm fresh from the oven. My life was forever changed.
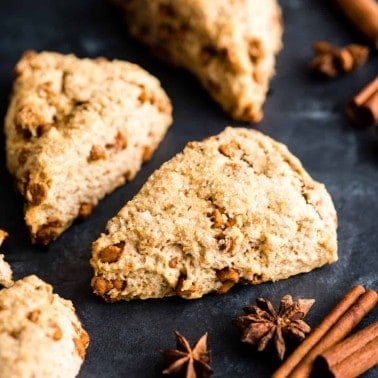
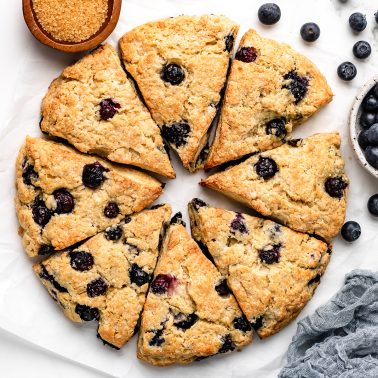
I became a scone super fan and still am to this day. (Read the whole scone story on this Cinnamon Chip Scones recipe post, and try these easy scones, chocolate chip scones, blueberry scones & pumpkin scones)!
These mocha chocolate scones are life-changing, delicious and the perfect companion to a warm cup of coffee (also try these coffee cookies). They are easy to make in less than 30 minutes. You can even make the dough the night before and bake them in the morning.
One of the many things I love about these scones is that they’re not overly sweet. The espresso powder and chocolate give them a dark, rich flavor.

Chocolate Scones Recipe: Ingredients & Substitutions
While there are a few possible substitutions in this recipe, these chocolate scones are the best when the recipe is followed exactly as written, and I do not recommend making changes!
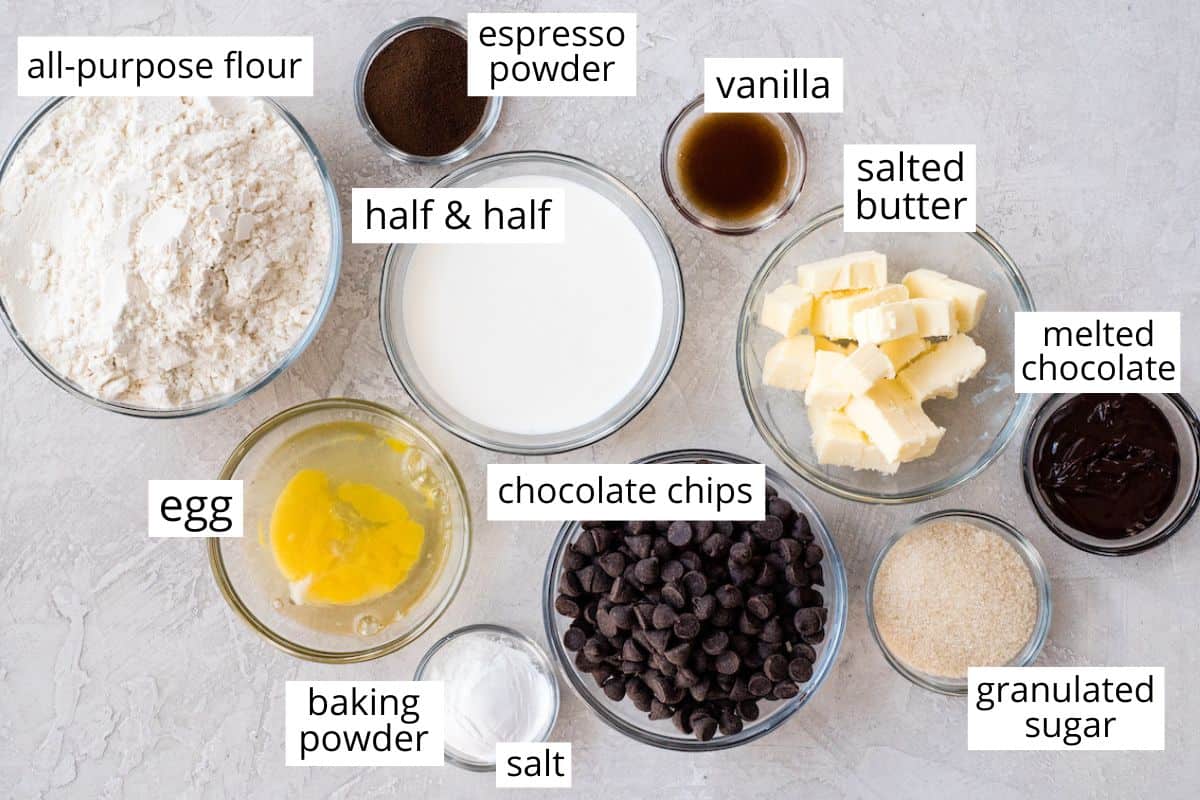
- All-purpose flour. to make them gluten-free, use an all-purpose gluten-free baking flour.
- Granulated sugar. white sugar or organic cane sugar are both great choices.
- Espresso Powder. For the richest mocha flavor use espresso powder! If you don’t have access to espresso powder, instant coffee works well too.
- Salted Butter. unsalted butter works well too.
- Half and Half. whole milk is a great substitute. So is heavy cream, but you will need to increase the amount by 1 to 2 Tablespoons.
- Chocolate Chips. Chocolate chips or chunks or chopped chocolate bars can be used in this sweet scones recipe with great success.
How to Make Chocolate Scones
As always, let’s discuss how to make chocolate scones step-by-step. Of course you can watch the video to see the entire process, but it’s explained in more detail below.
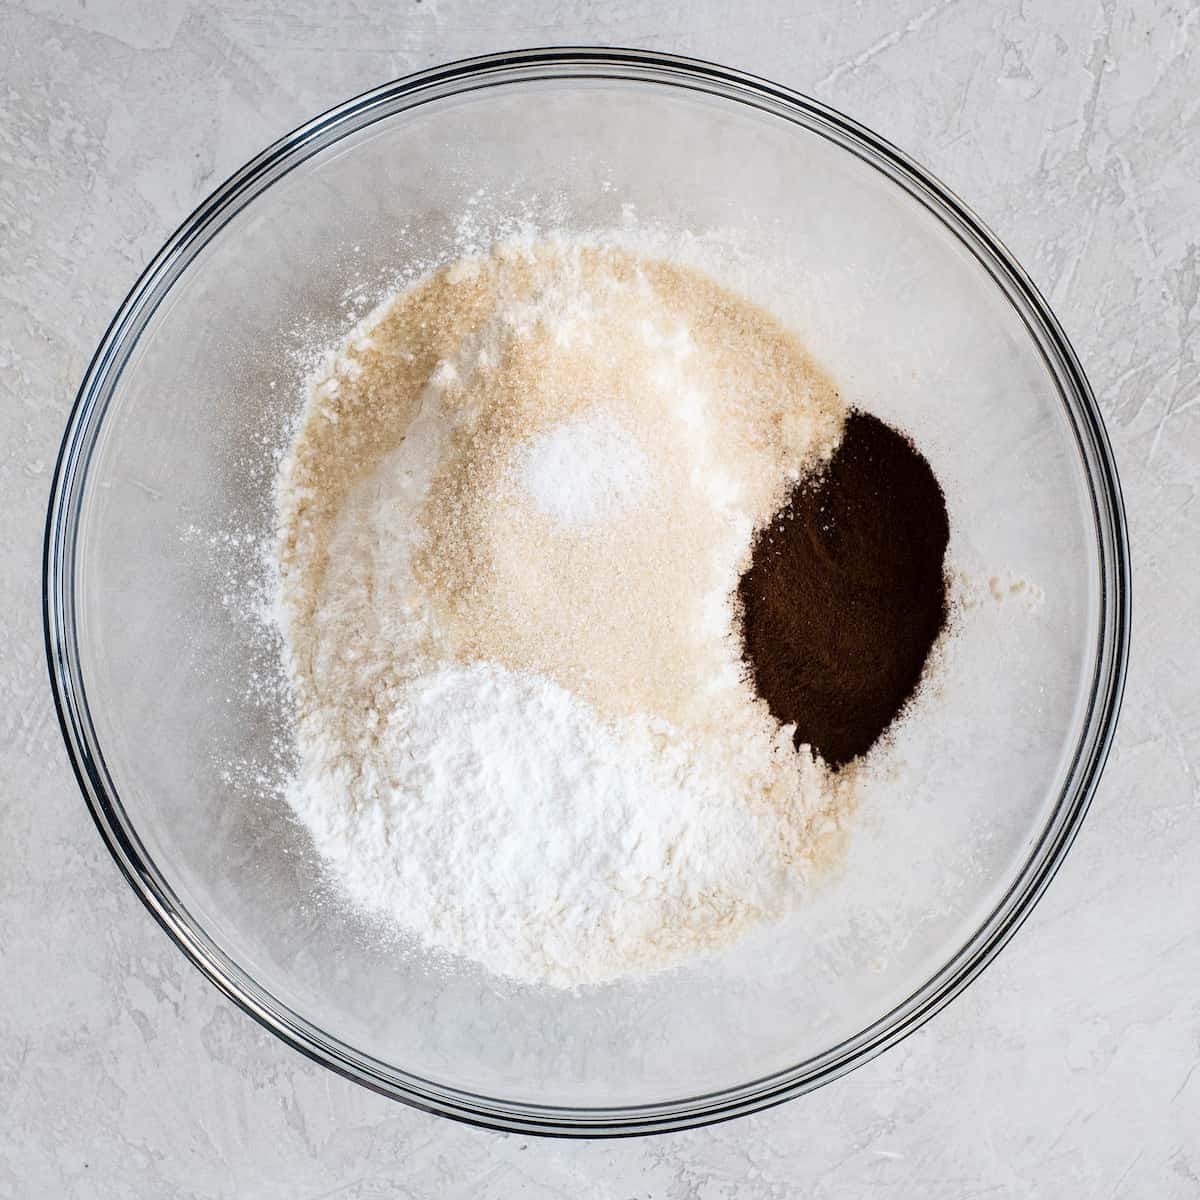
Begin by mixing the dry ingredients together in a large bowl until they are combined.
Then, cut in the cold butter with a fork, a pastry cutter, or your hands. Don’t over-mix the ingredients because you do not want the butter to get warm.

Next, add the rest of the wet ingredients and use a spatula or wooden spoon to mix the dough.
Be sure that the milk and eggs are cold and the chocolate is cooled, so the butter doesn’t melt when they are added.

At this point the dough will look a little crumbly and that is normal. To know if it’s the correct consistency, try to pinch a chunk with your fingers.
If you can pinch the dough together easily, it’s perfect. If it doesn’t hold together and remains powdery, add more half and half 1 Tablespoon at a time until the correct consistency is achieved.
Once the dough is uniform throughout and the correct consistency has been achieved (see below) , add the chocolate chips and mix until they are evenly distributed.

Shape the dough into a 10″ Circle
Next, turn the dough out onto a clean surface or pastry slab. Use your hands to shape the dough into a 10″ circle. It should hold together very well as it’s shaped, and be a solid circle when you’re finished.
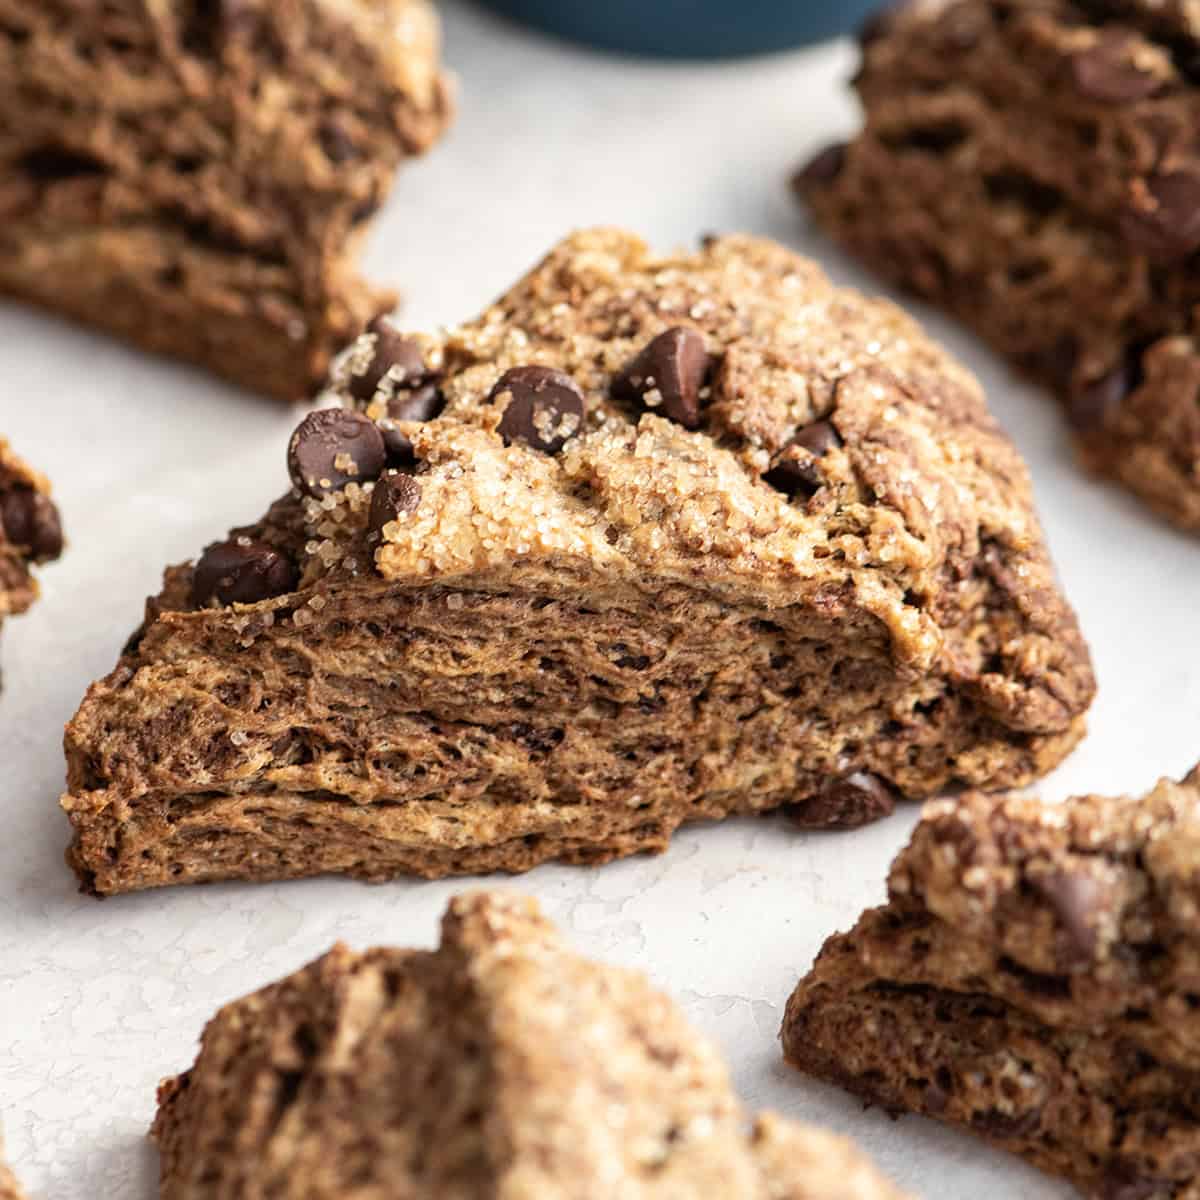
Notice the marbled buttery texture! Those beautiful buttery pockets are imperative to making the best scones recipe ever!
To Prepare in Advance
Make the dough and form it into a circle. Then cover it tightly with plastic wrap and put it in an airtight container. Store in the refrigerator overnight. In the morning, cut the scones, sprinkle them with sugar and bake according to the recipe.

Bake & Cool
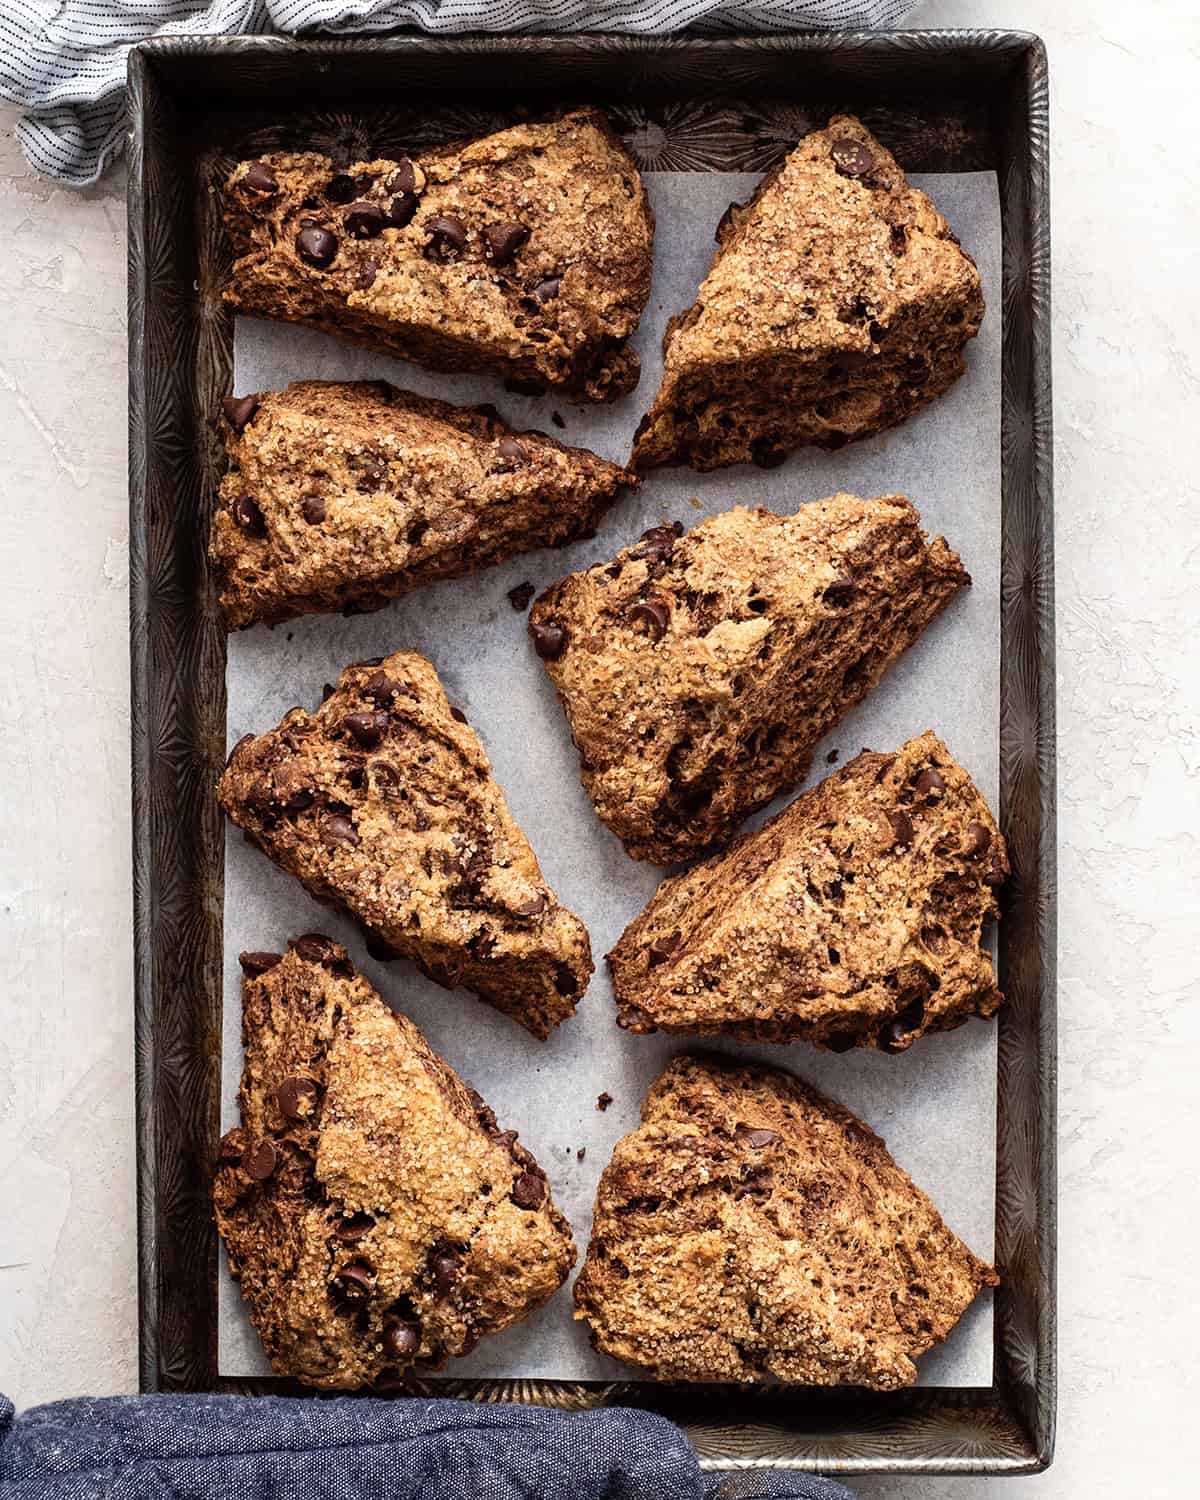
Next, cut the dough into 8 equal pieces and sprinkle it with raw sugar (if desired).
Start by cutting the circle in half from top to bottom. Next, cut it in half from side to side. Then cut the remaining two pieces in half diagonally.

Separate the chocolate scones and spread them evenly spaced on a baking sheet lined with parchment paper or a silicone baking mat.

Bake the chocolate scones for 16-20 minutes or until they look set. You will notice that the tops don’t really brown but the bottoms do.
Then, transfer them to a wire cooling rack to cool slightly, then serve warm.

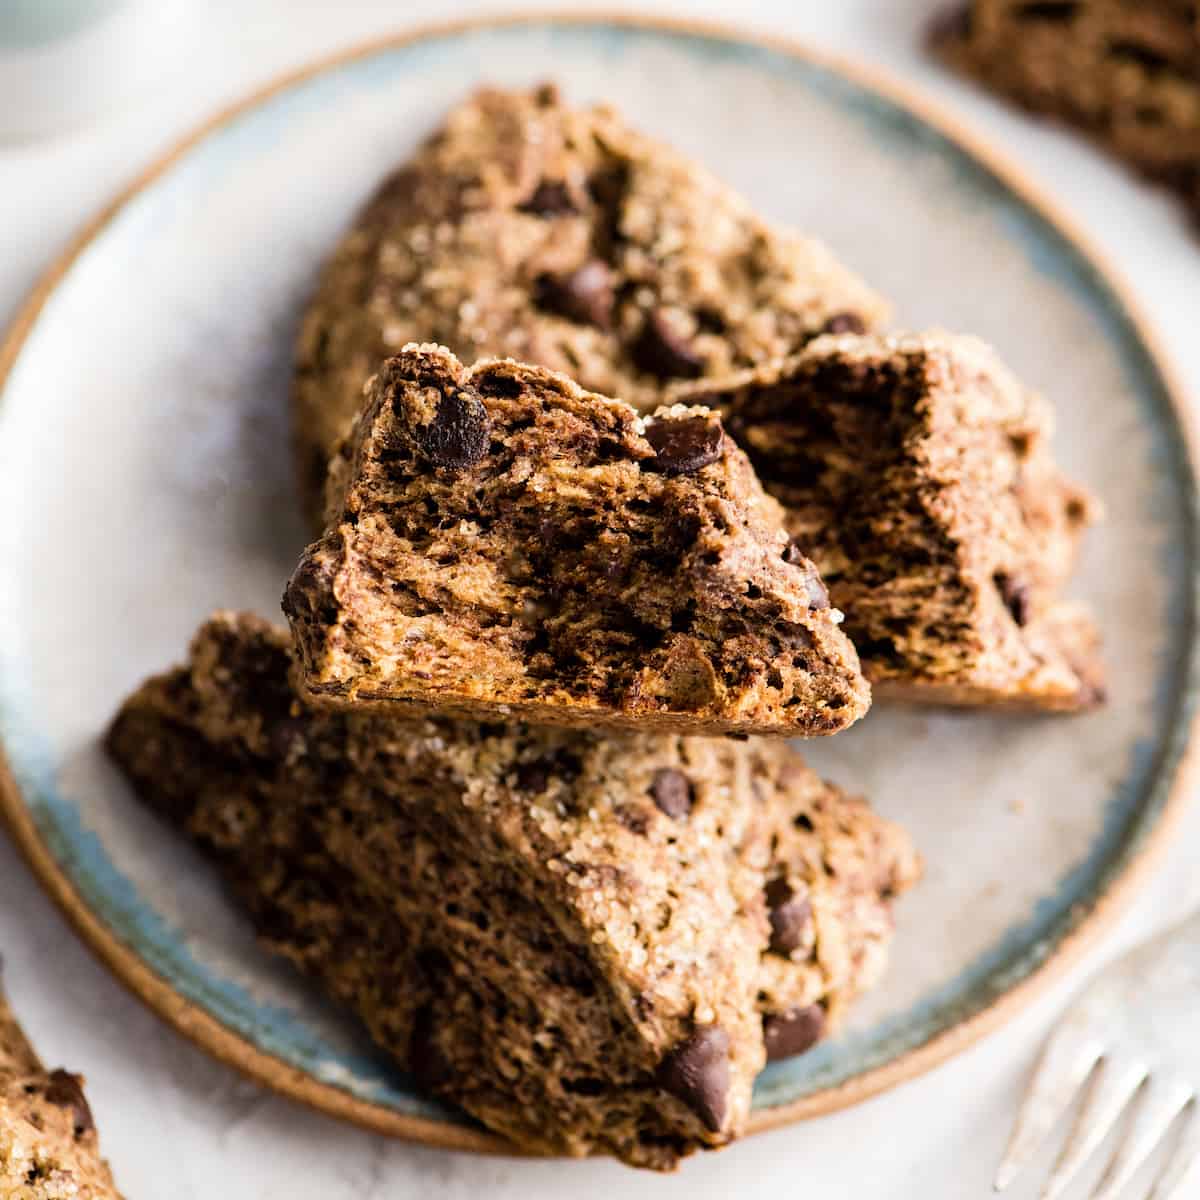
Serve
I highly recommend serving these chocolate scones warm with a cup of coffee (or mocha latte)! They are irresistible fresh from the oven. Serve with a dollop of cinnamon butter, nut butter or add a drizzle of glaze for an extra special touch.

Store
Store these chocolate scones in an airtight container wrapped in plastic wrap (to retain moisture) at room temperature for 2 days or in the refrigerator for 5 days.
Freeze
Wrap cooled scones tightly in plastic wrap and put them in an airtight container or freezer-safe bag. Freeze for up to 2 months.
Reheat in the oven set to warm or in the microwave.
Chocolate Scones Recipe FAQs
No. Scones are supposed to have layers and a biscuit-like texture, but they are not supposed to taste chalky or dry. They are made for dipping in coffee/tea or spreading with a moist topping like butter or jam.
Stored at room temperature, scones last 1-2 days without drying out. They can be frozen for up to two months.
There are two ways to reheat these cinnamon chip scones:
In the microwave. warm scones in the microwave for 15-30 seconds.
In the oven. Warm them in a covered dish in the oven set to 300 degrees F for 10 minutes.
It is important that the butter and the rest of the ingredients are cold in the chocolate scone dough because the result is little “chunks” of cold butter throughout the dough.
The cold butter chunks begin to melt when baking in the oven the oven, which creates flaky layers and pockets in the chocolate scones.

If you make and love my recipes, it would mean so much to me if you would leave a comment and rating! And don’t forget to follow along on Instagram, Pinterest, Facebook, TikTok and Youtube – be sure to tag @joyfoodsunshine and use the hashtag #joyfoodsunshine so I can see your creations!

Mocha Chocolate Scones Recipe
Video
Ingredients
- 2 cups all-purpose flour
- 3 Tablespoons granulated sugar
- 1 Tablespoon baking powder
- 1 Tablespoon espresso powder
- ¼ teaspoon fine sea salt
- 6 Tablespoons salted butter (cold)
- ½ cup half and half
- 2 Tablespoons chocolate (melted & cooled)
- 1 large egg
- 1 teaspoon pure vanilla extract
- 1 cup mini chocolate chips (or chocolate chunks)
- 1-2 Tablespoons raw turbinado sugar (optional)
Instructions
- Preheat oven to 375 degrees F.
- Line a large baking sheet with parchment paper, set aside.
- In a large bowl add flour, sugar, baking powder espresso powder and sea salt. Stir to combine.
- Add butter and using a fork, pastry cutter or your hands, cut the butter into the dry ingredients until there are coarse crumbs. (You want little chunks of butter)!
- Add half and half, melted chocolate, egg and vanilla extract and stir until combined. The dough will look crumbly, but should clump together when squeezed between your fingers.
- Add mini chocolate chips and stir until evenly distributed.
- Turn dough out onto a well-floured surface (or pastry slab) and form into a round circle about 10” in diameter.
- Transfer the circle of scone dough to the prepared baking sheet.
- Cut into eight equal pieces. Start by cutting the circle in half from top to bottom. Then cut it in half from side to side. Then cut the remaining two pieces in half diagonally. (see video)
- Sprinkle the top with raw sugar and gently press it into the top of the scones.
- Carefully separate the scones and spread them out evenly on the baking sheet.
- Bake in the preheated oven for 16-20 minutes, or until the scones look set.
- Remove from the oven and transfer scones to a baking sheet to cool, or serve warm (which I highly recommend).
Notes
- All-purpose flour. to make them gluten-free, use an all-purpose gluten-free baking flour.
- Granulated sugar. white sugar or organic cane sugar are both great choices.
- Espresso Powder. For the richest mocha flavor use espresso powder! If you don’t have access to espresso powder, instant coffee works well too.
- Salted Butter. unsalted butter works well too.
- Half and Half. whole milk is a great substitute. So is heavy cream, but you will need to increase the amount by 1 to 2 Tablespoons.
- Chocolate Chips. Chocolate chips or chunks or chopped chocolate bars can be used in this sweet scones recipe with great success.
Nutrition
Nutrition information is automatically calculated, so should only be used as an approximation.


I’ve made these twice now In the past week. The first time I forgot to mix the chips in so I just sprinkled them on top.
I made them again today and didn’t forget to mix In the chips!! A couple other tweaks. 1) I doubled the espresso powder as I felt they lacked coffee flavor. 2) I used hot fudge ice cream topping in place of the melted chocolate. The melted chocolate doesn’t stay melted when you mix it into the dough. The hot fudge was a definite improvement and I’d recommend it. Cheers!!!
I’m so happy you love them, Ken!