Rainbow Fruit Pizza Recipe
Updated May 31, 2024
This post may contain affiliate links. Please read our disclosure policy.
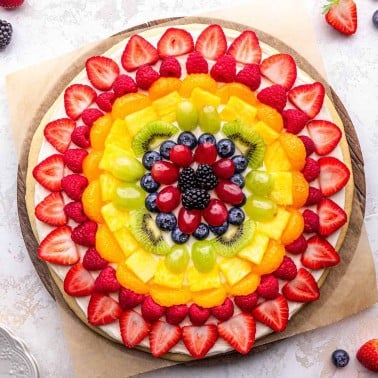
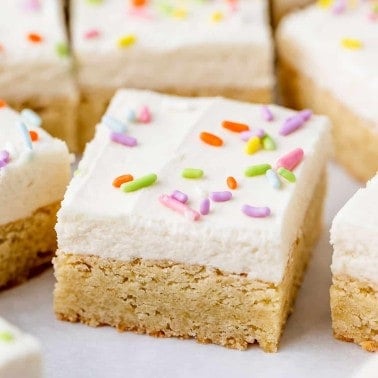
This rainbow fruit pizza is a beautiful dessert. In this recipe, the most delicious cream cheese frosting is spread over a chewy sugar cookie crust and piled high with fruits in every color of the rainbow.
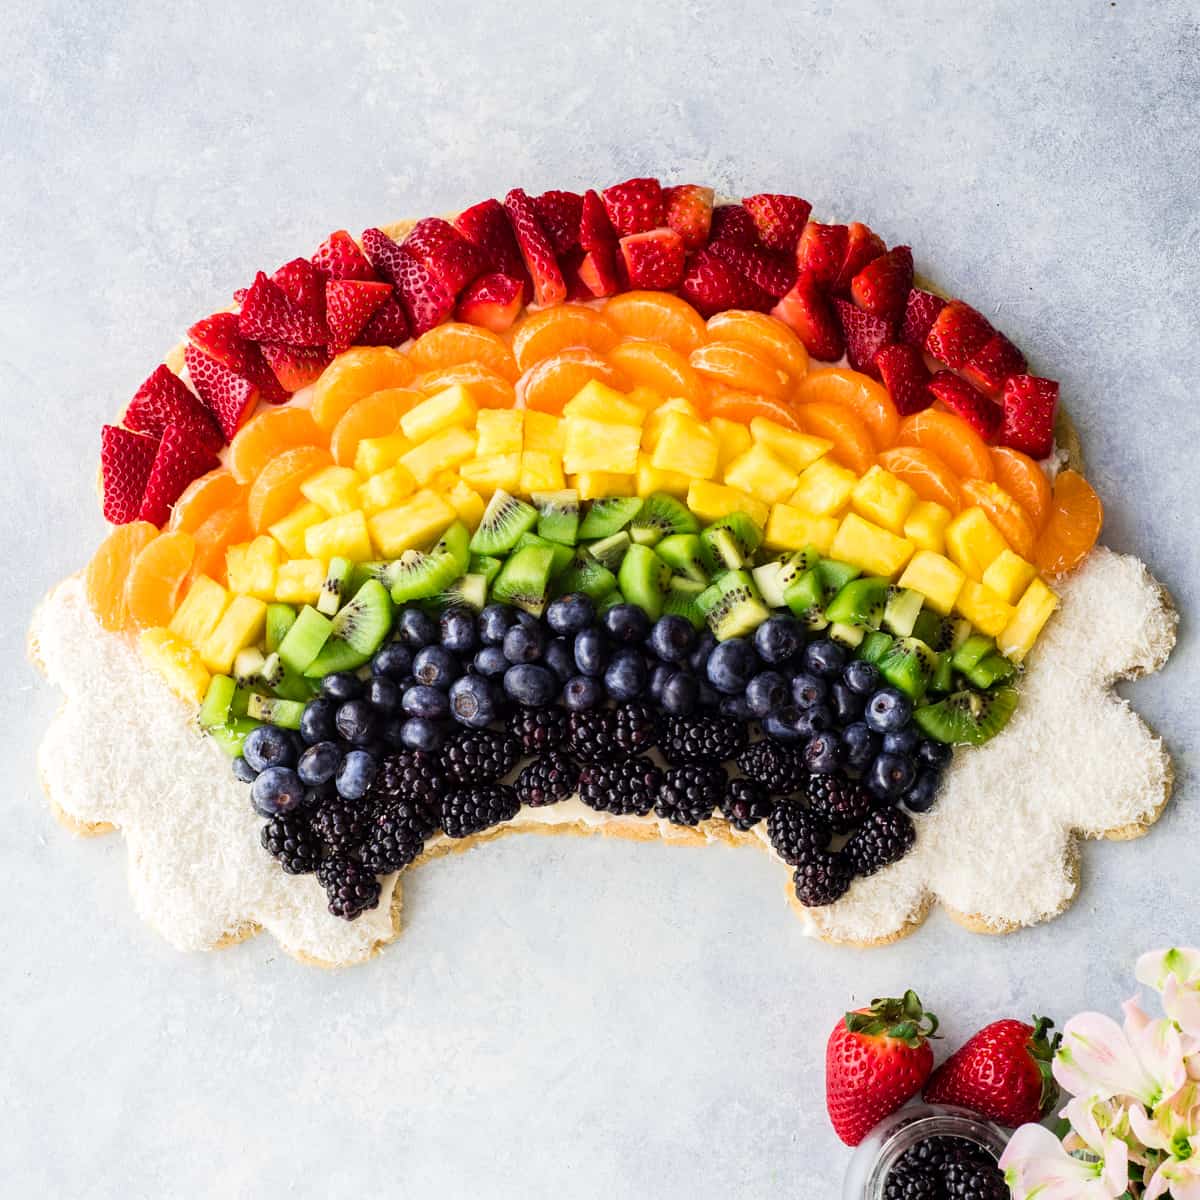
This rainbow fruit pizza is a fun and beautiful dessert modified from this classic fruit pizza recipe to make it into a rainbow shape for a stunning presentation.
The crust and frosting are made completely from scratch, then topped with your favorite fresh summer fruits.
What I love about this rainbow fruit pizza recipe is that the fruit really shines. The cookie and frosting aren’t overly sweet or thick, but instead they compliment the fruit in the best, most dreamy way possible.

Rainbow Fruit Pizza: Ingredient Substitutions
- All-purpose flour: Use 1:1 all purpose gluten-free flour to make the recipe gluten-free.
- Salted butter. unsalted butter is a good substitute. Also, vegan butter.
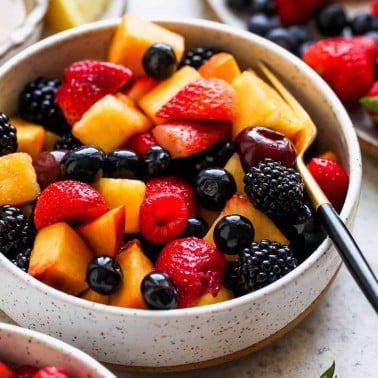
- Fruit: Ue your favorite fruit! I listed a few suggestions for each color in the recipe card.
- Cream cheese frosting. If you’d prefer, use vanilla buttercream frosting (made with only butter), or homemade vanilla frosting (made with shortening and butter).

How to Make Rainbow Fruit Pizza
Let’s walk through how to make a rainbow fruit pizza step-by-step. Don’t forget to watch the video.
Make the Sugar Cookie Crust Dough
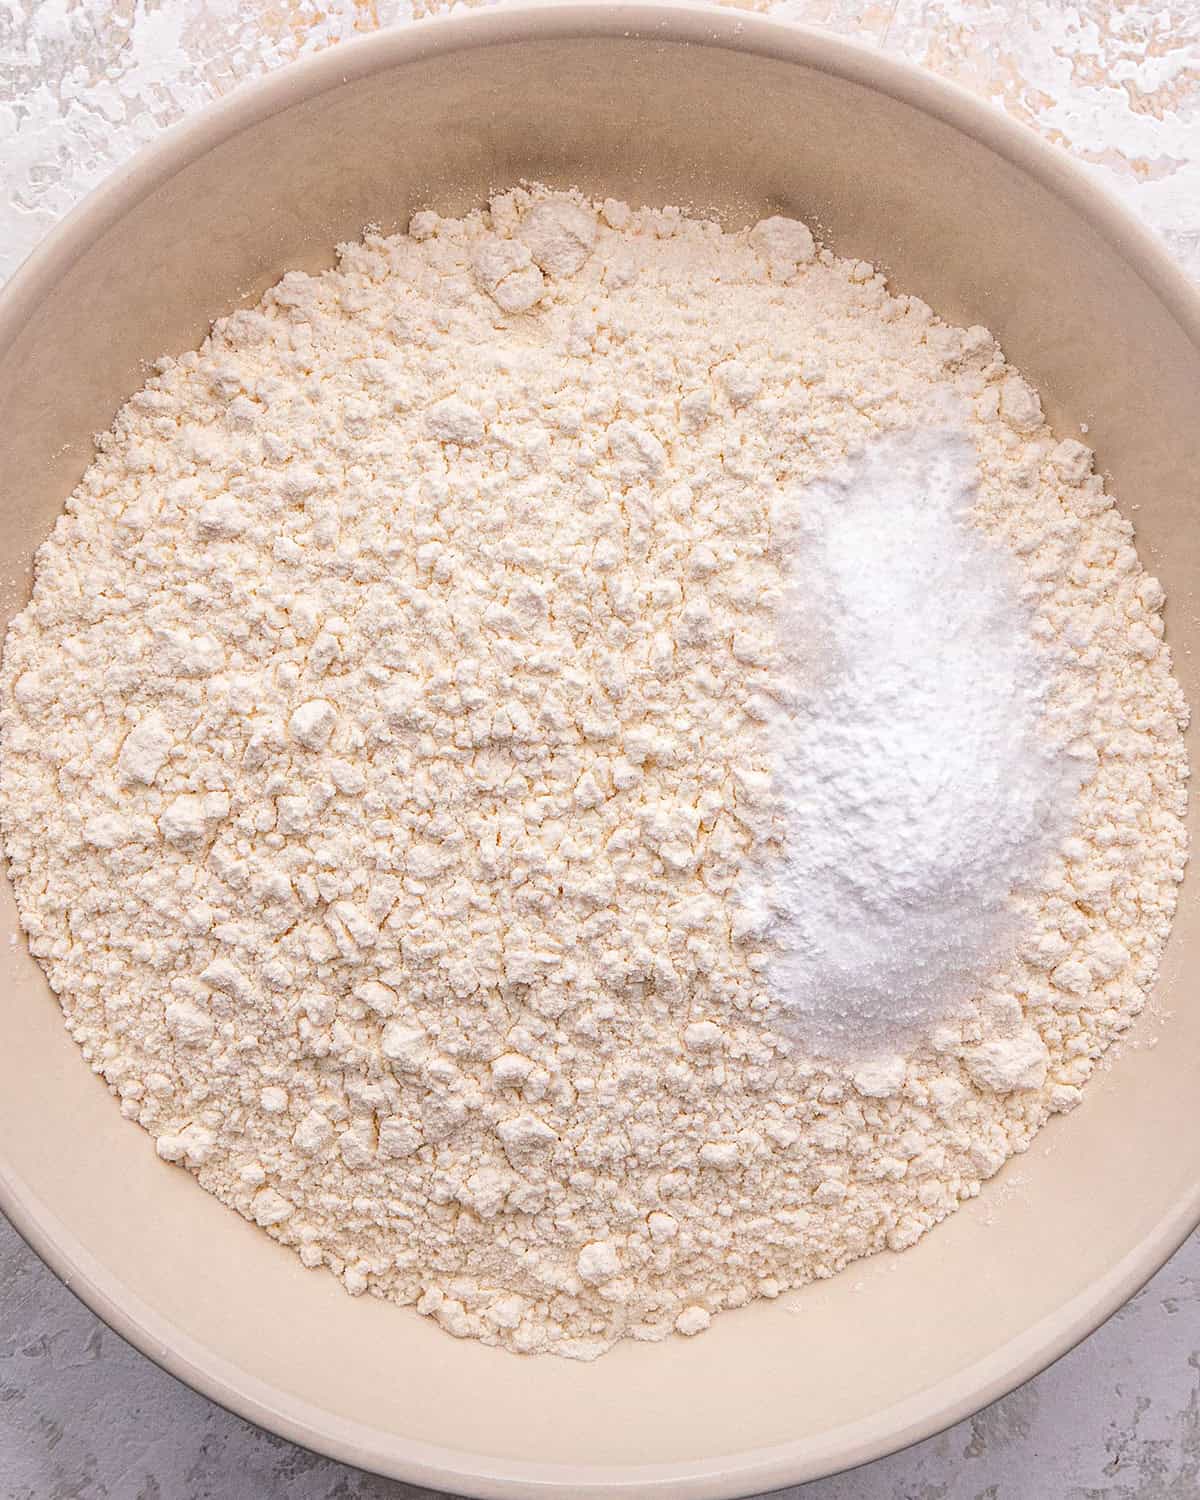
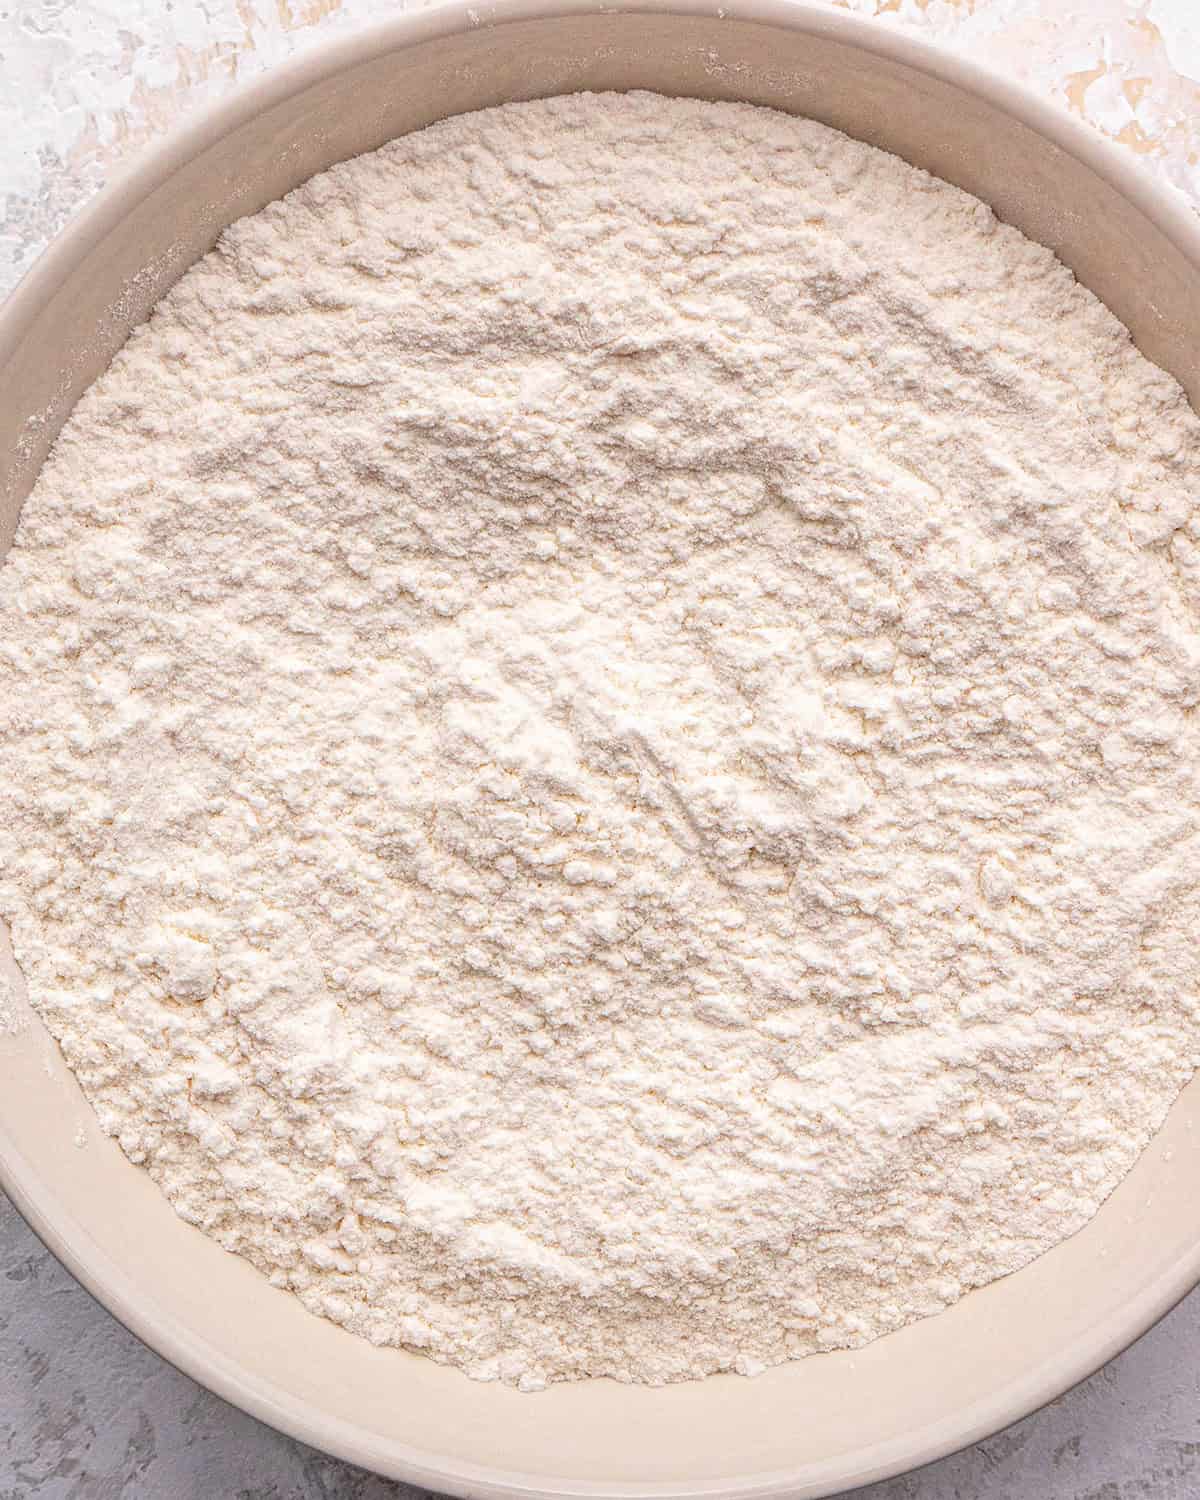
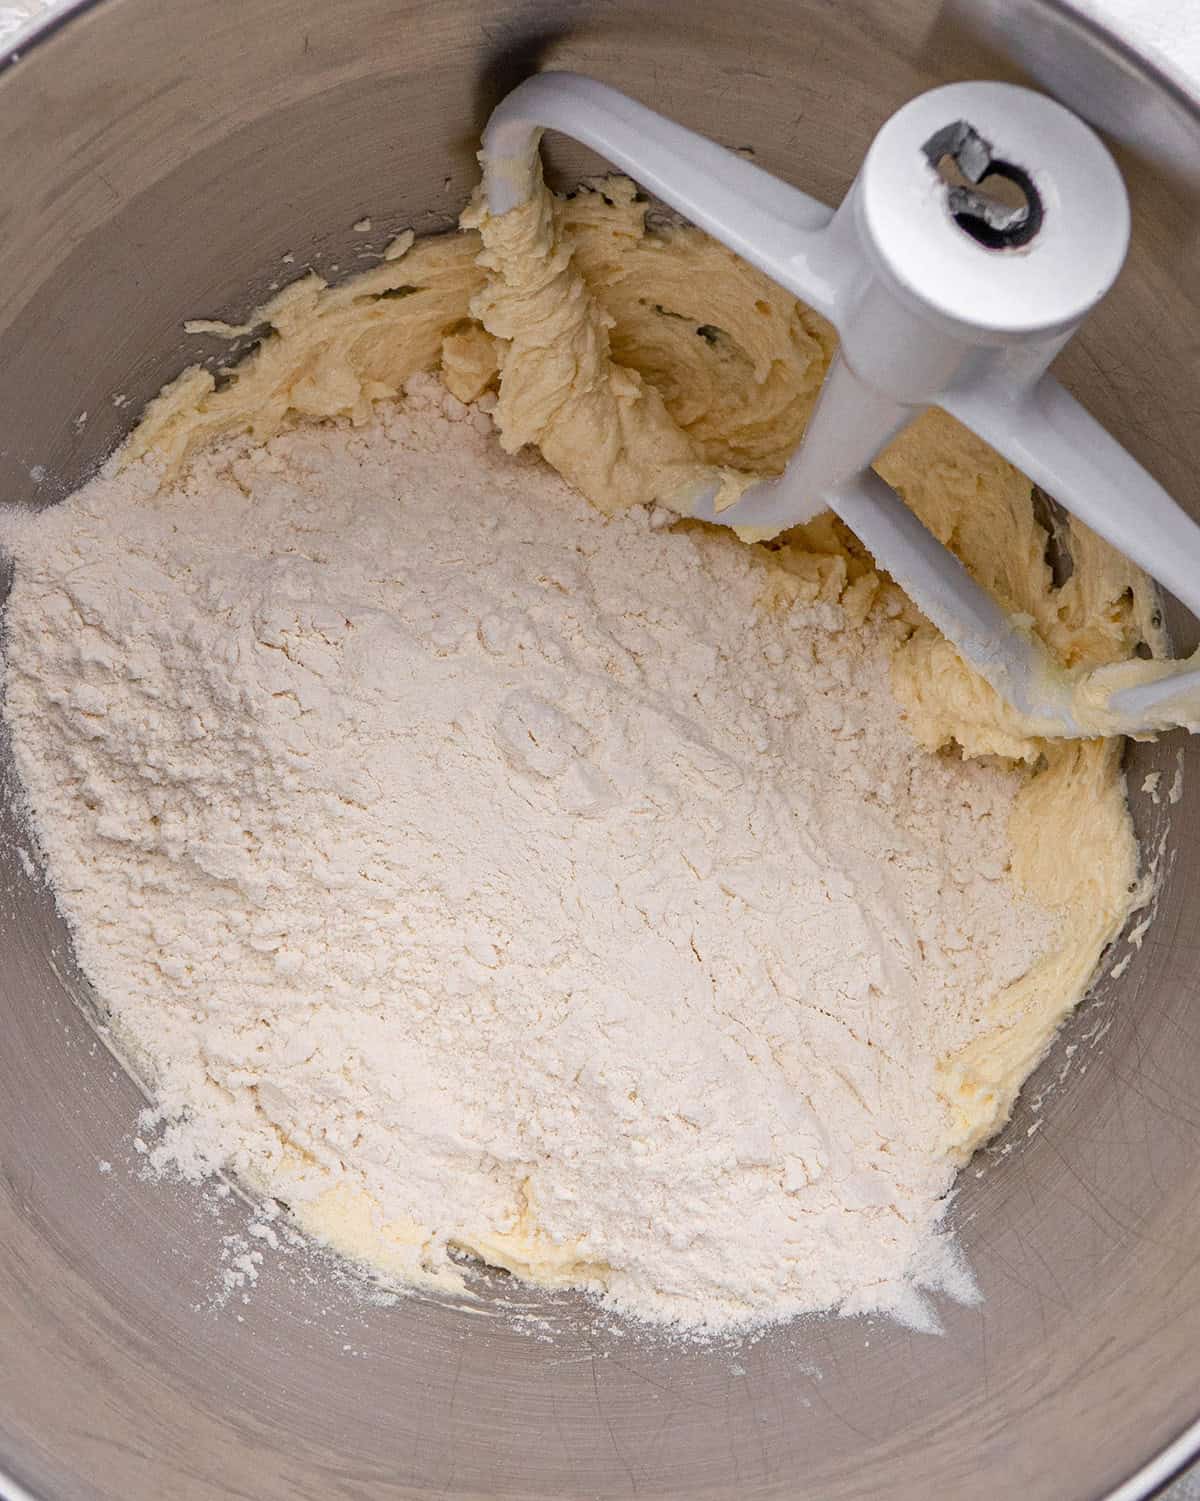
Since the crust has to chill, it has to be made first. Begin by mixing the dry ingredients together.
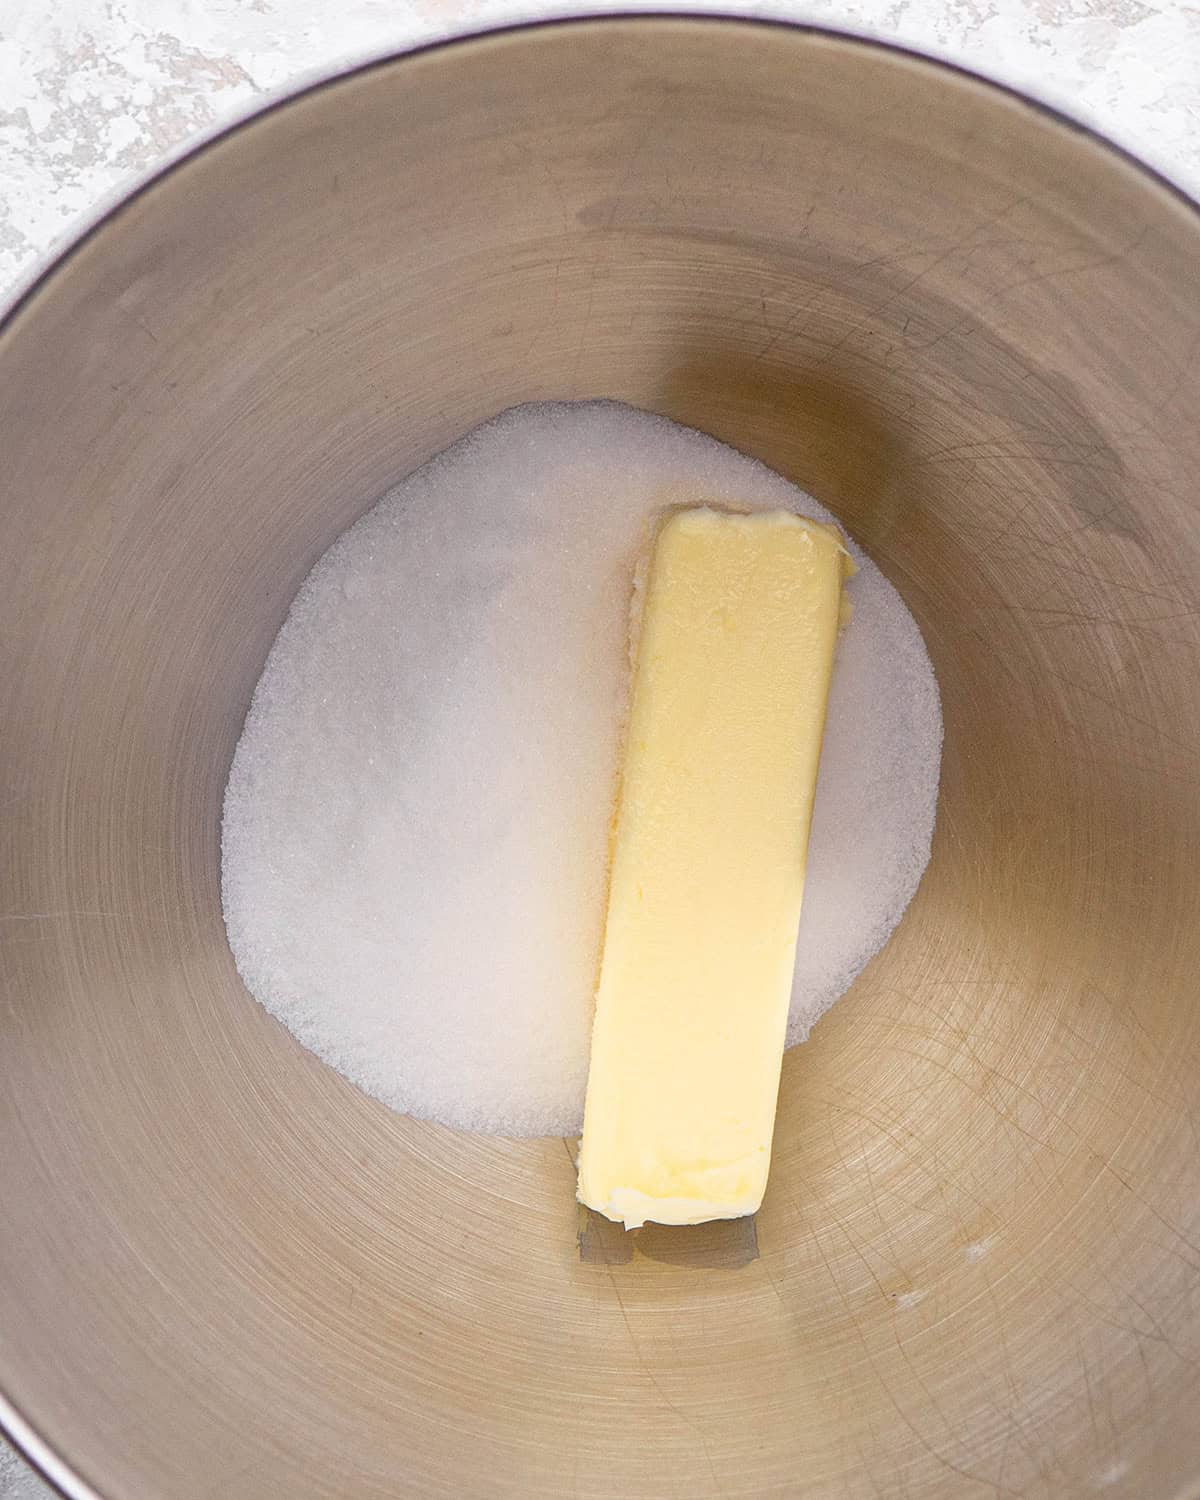
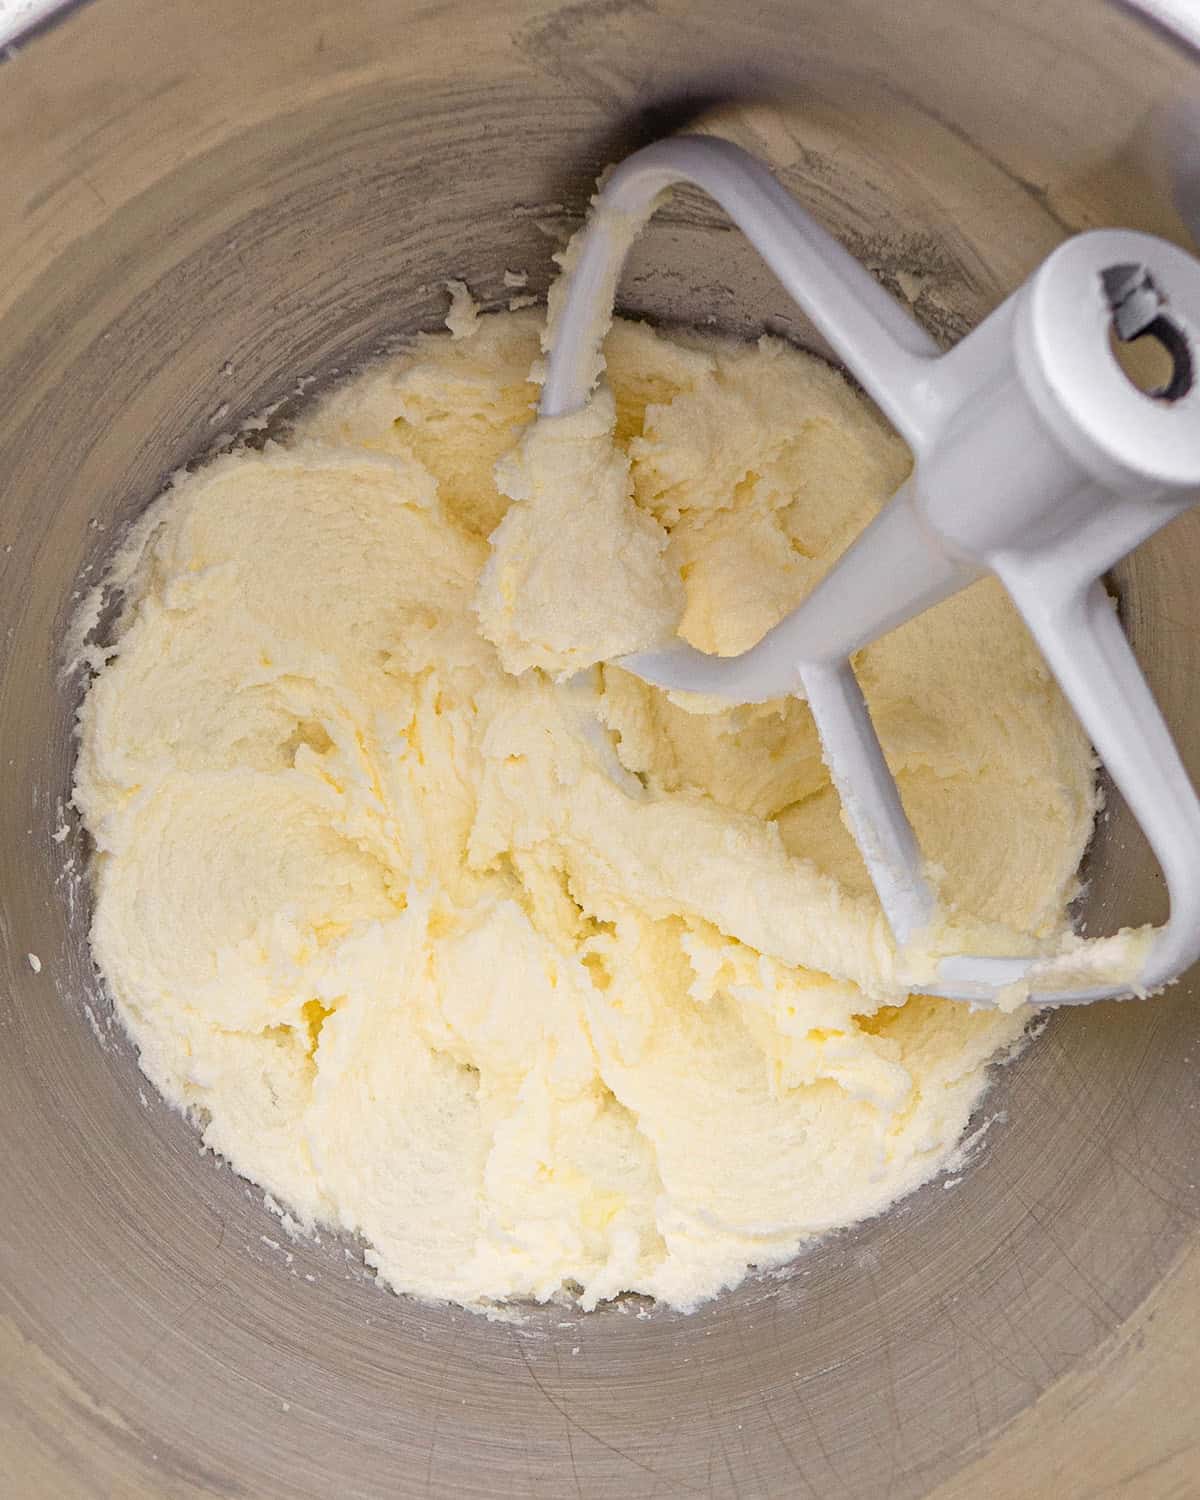
Then, beat the butter and sugar together in the bowl of a standing mixer or in a large bowl with a handheld mixer.
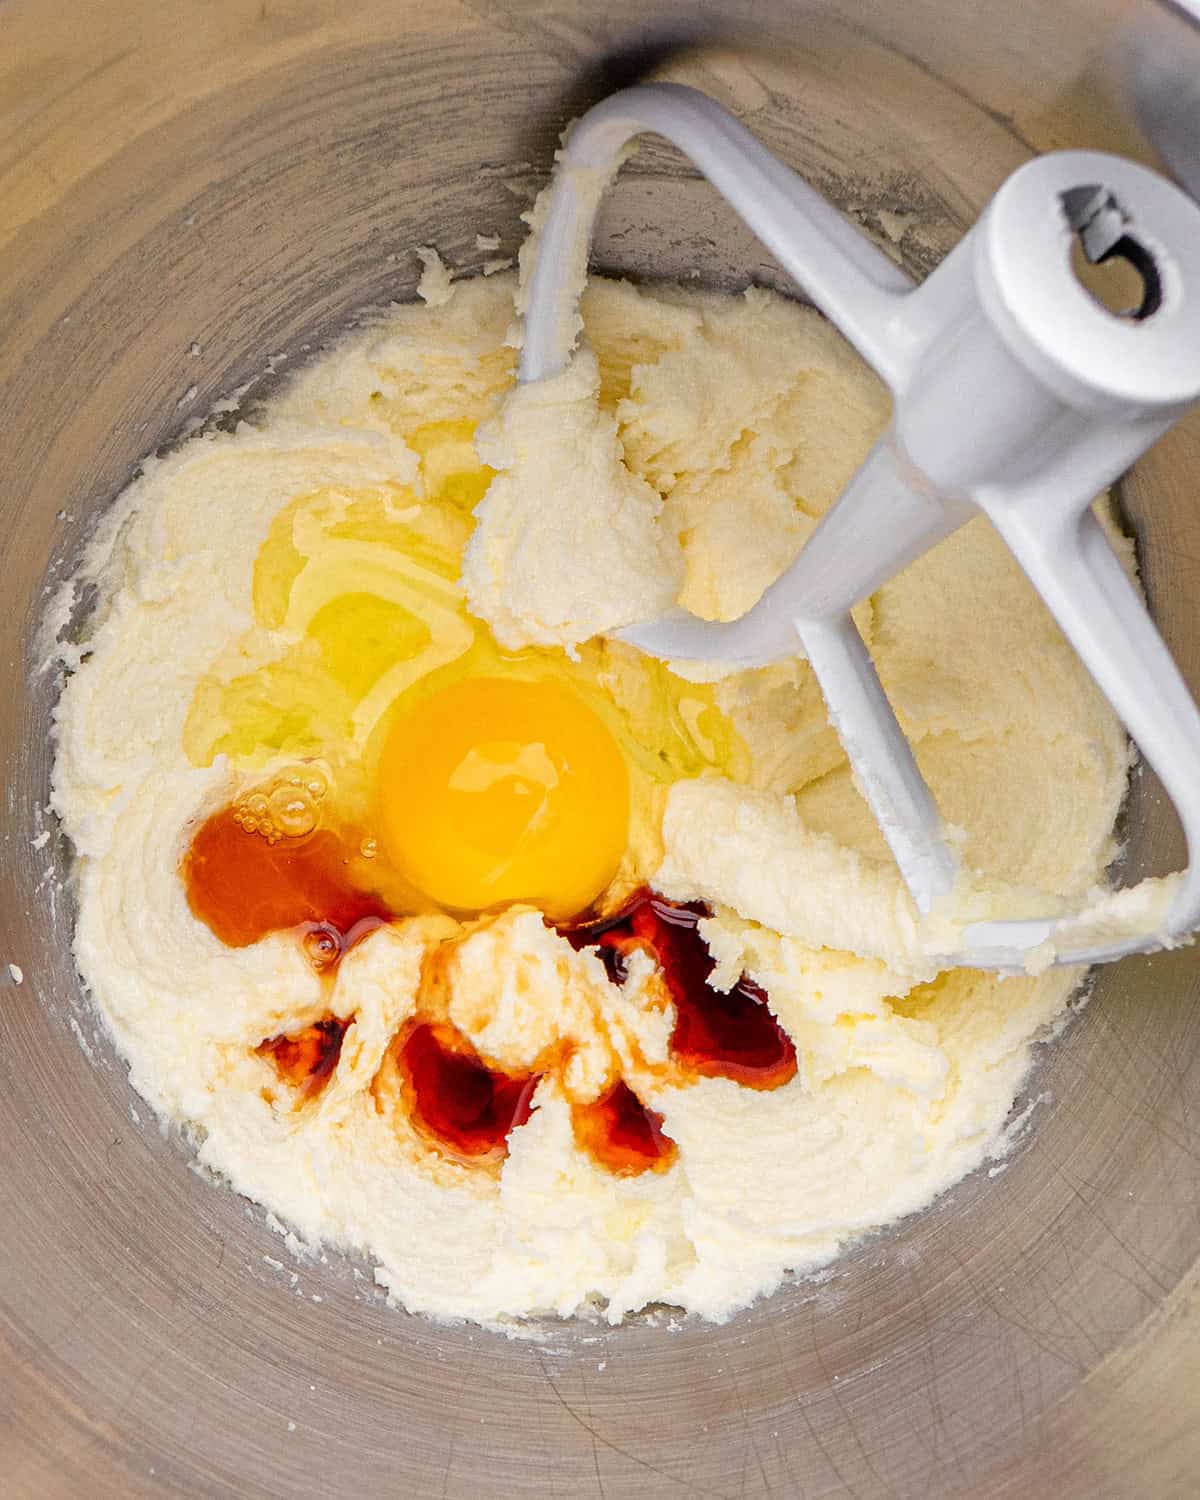
Next, add the egg and vanilla and beat for one minute.
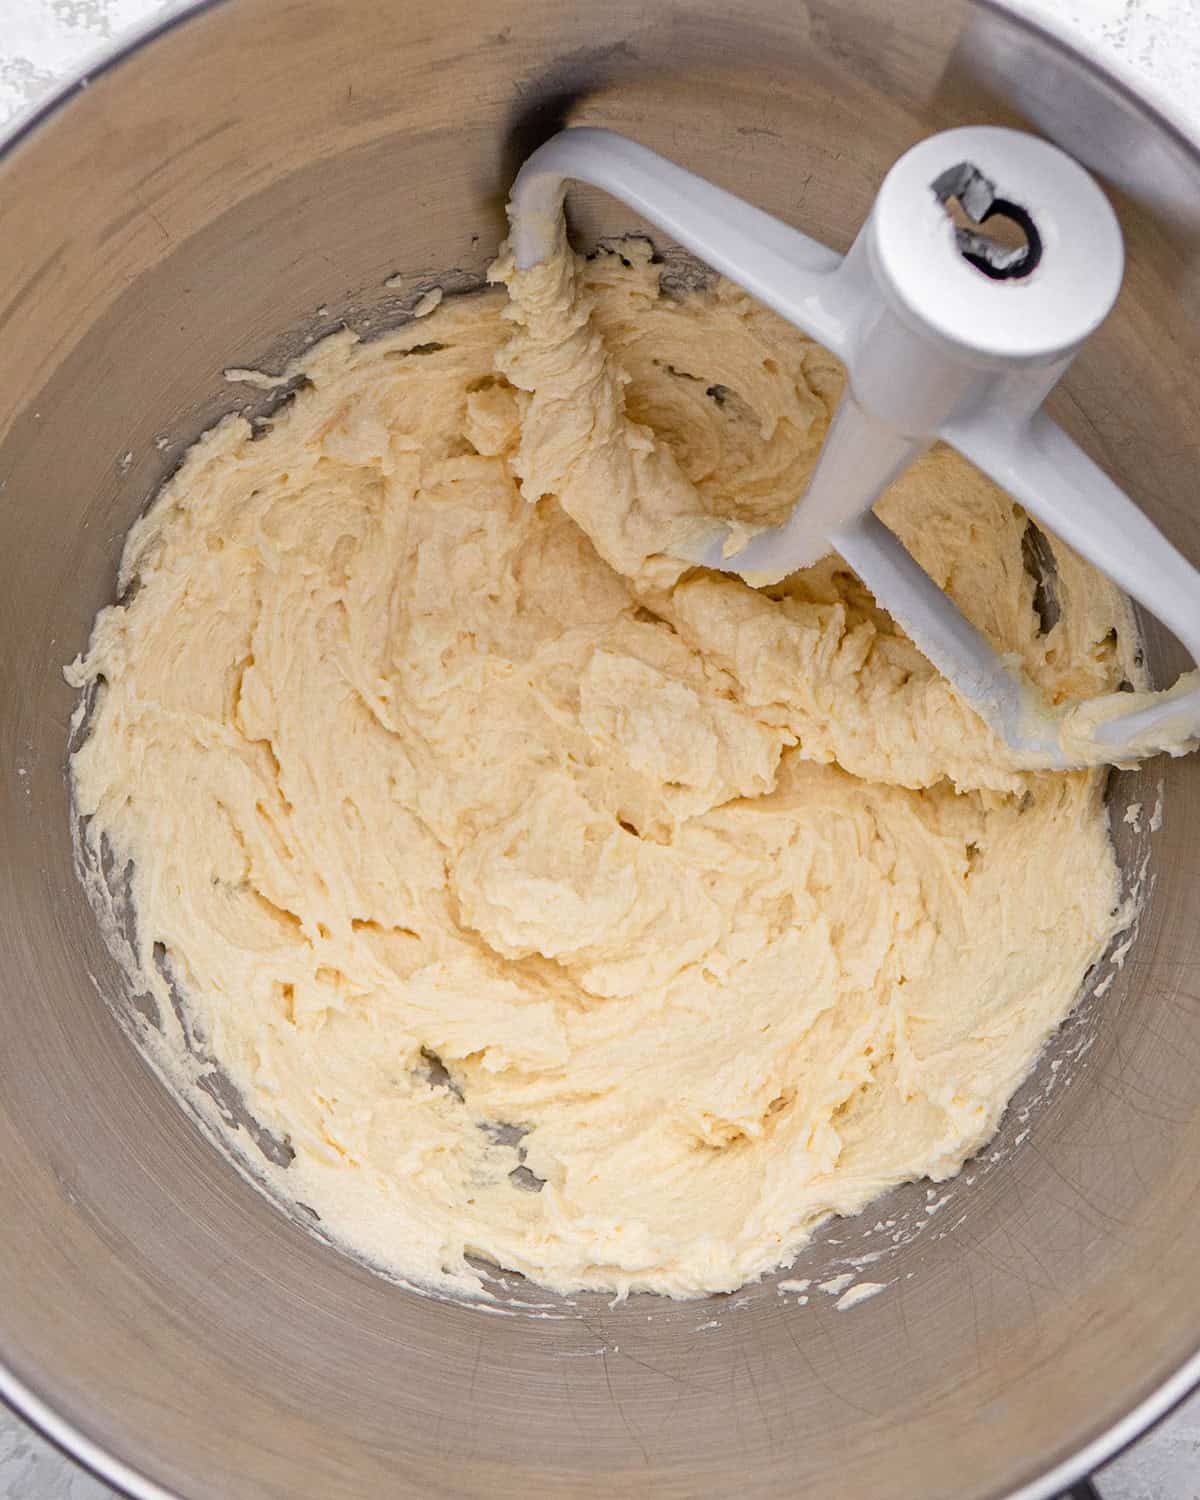
Then, beat in the dry ingredients.

Chill the Dough
Once the dough is finished, form it into a disc, wrap it in plastic wrap and chill for 2 hours.

Roll Out Rainbow
To make this fruit pizza recipe into a rainbow shape, form the dough into an arch and place it between two pieces of parchment paper {see below}. Then, roll along the arch to form the rainbow. Rolling it directly on parchment paper also makes it easier to transfer the crust to a baking sheet when it’s time.

Cut out Clouds
Remove the top layer of parchment paper and use an extra-sharp knife and cut the clouds out of both ends of the arch. You may need to use your hands to shape them a bit.
Bake
After you’ve formed a perfect rainbow, simply slide the parchment paper/cookie crust onto your baking sheet and bake.
Please note: you will need to watch the cookie carefully.
If you over-bake the cookie and it looses it’s shape in the oven, it can be fixed. Simply remove it and immediately re-shape the rainbow/clouds with a metal spoon while it’s still hot. It works very well.

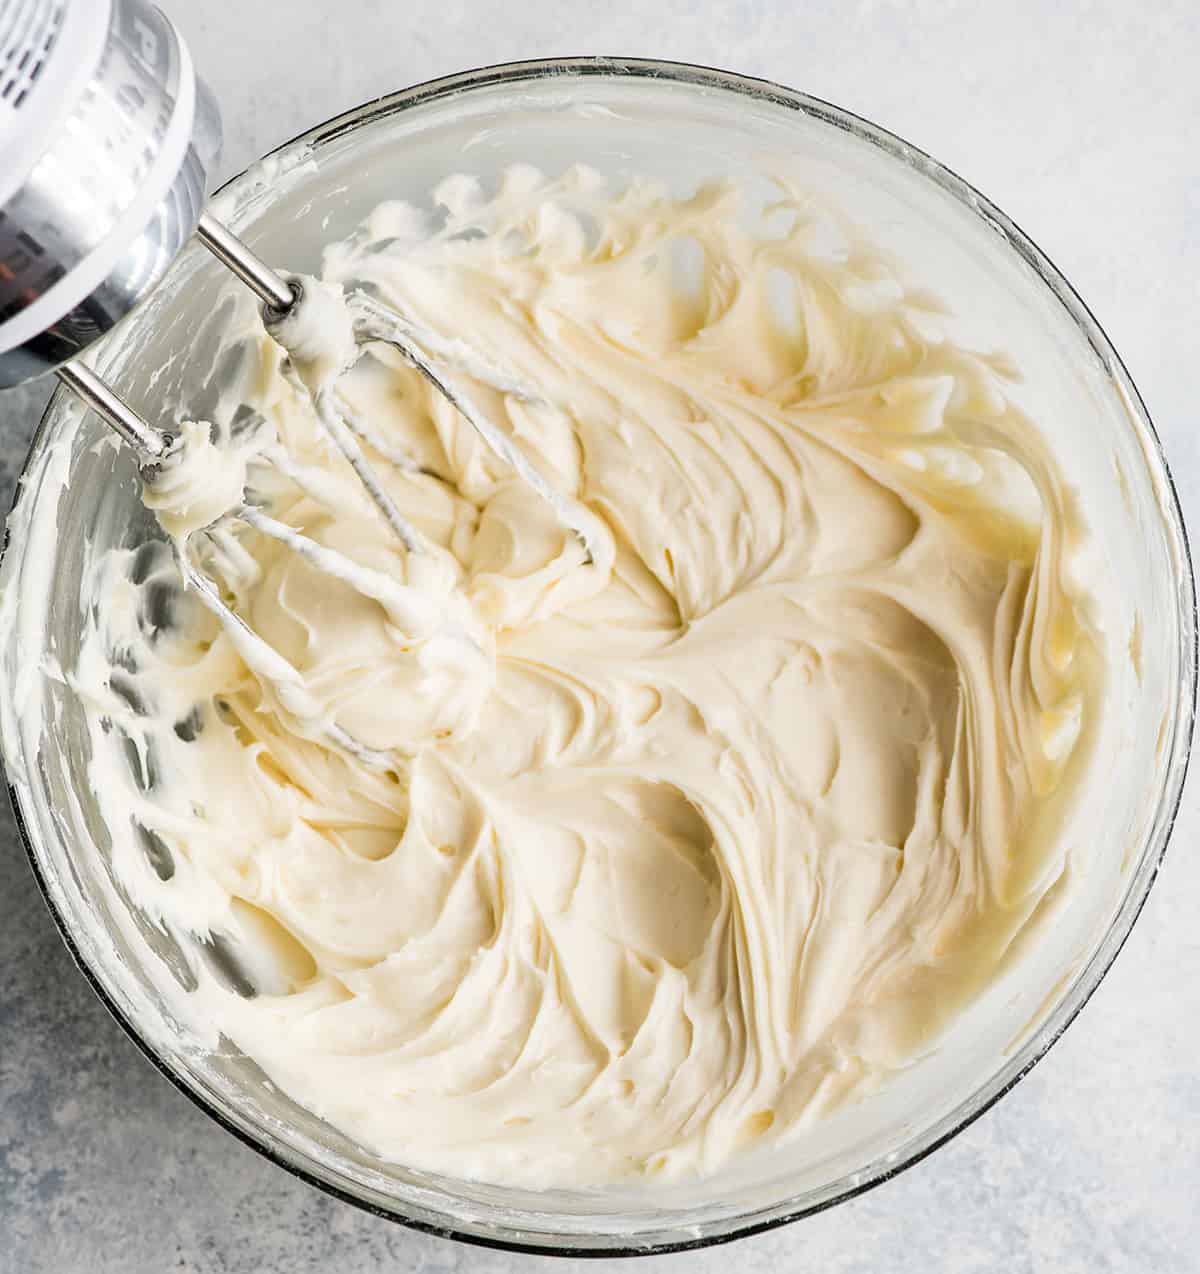
Make the Cream Cheese Frosting
Make the frosting while the sugar cookie crust is baking, and keep it at room temperature until the sugar cookie crust is completely cooled.
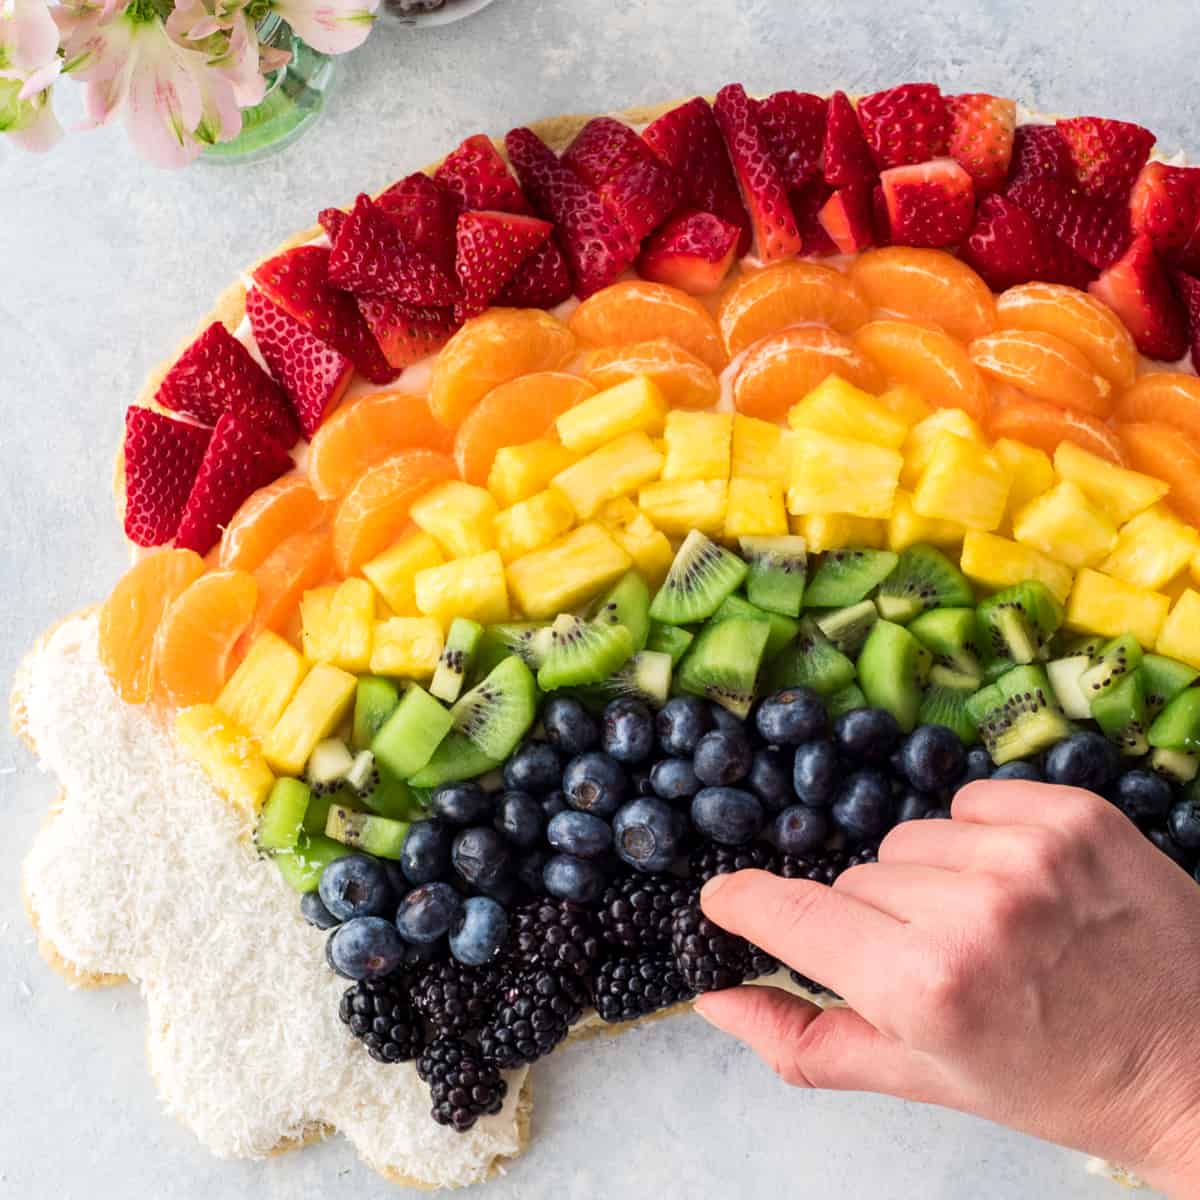
Assemble the Rainbow Fruit Pizza
Once the cookie is cooled, frost it with the cream cheese frosting.

Then, top with fruit of your choosing. I’ve included a few ideas for each color in the recipe! After you’re done decorating, put the completed rainbow fruit pizza in the refrigerator to chill for at least 2 hours!
Serve
To serve, slice the fruit pizza from the top to the bottom, so that each piece has a little bit of all the colors.
Store
Put the leftovers in an airtight container in the refrigerator for up to 3 days!

Rainbow Fruit Pizza Recipe FAQs
Yes! I have found that this fruit pizza recipe keeps very well overnight! Here are a few tips about overnight storage:
1) I recommend covering it loosely with plastic wrap if you plan on storing this fruit pizza recipe overnight to preserve freshness.
2) If you are going to use a fruit that browns, like bananas or apples, I recommend waiting to put those on until right before serving. Also, tossing fruit in lemon juice (or brushing it on more delicate fruits like bananas), is also a great way to prevent browning. However, I still do not recommend doing this overnight.
Use your favorites. Suggestions: berries, kiwi, bananas, apples, peaches, pears, etc.

If you make and love my recipes, it would mean so much to me if you would leave a comment and rating! And don’t forget to follow along on Instagram, Pinterest, Facebook, TikTok and Youtube – be sure to tag @joyfoodsunshine and use the hashtag #joyfoodsunshine so I can see your creations!

Rainbow Fruit Pizza Recipe
Video
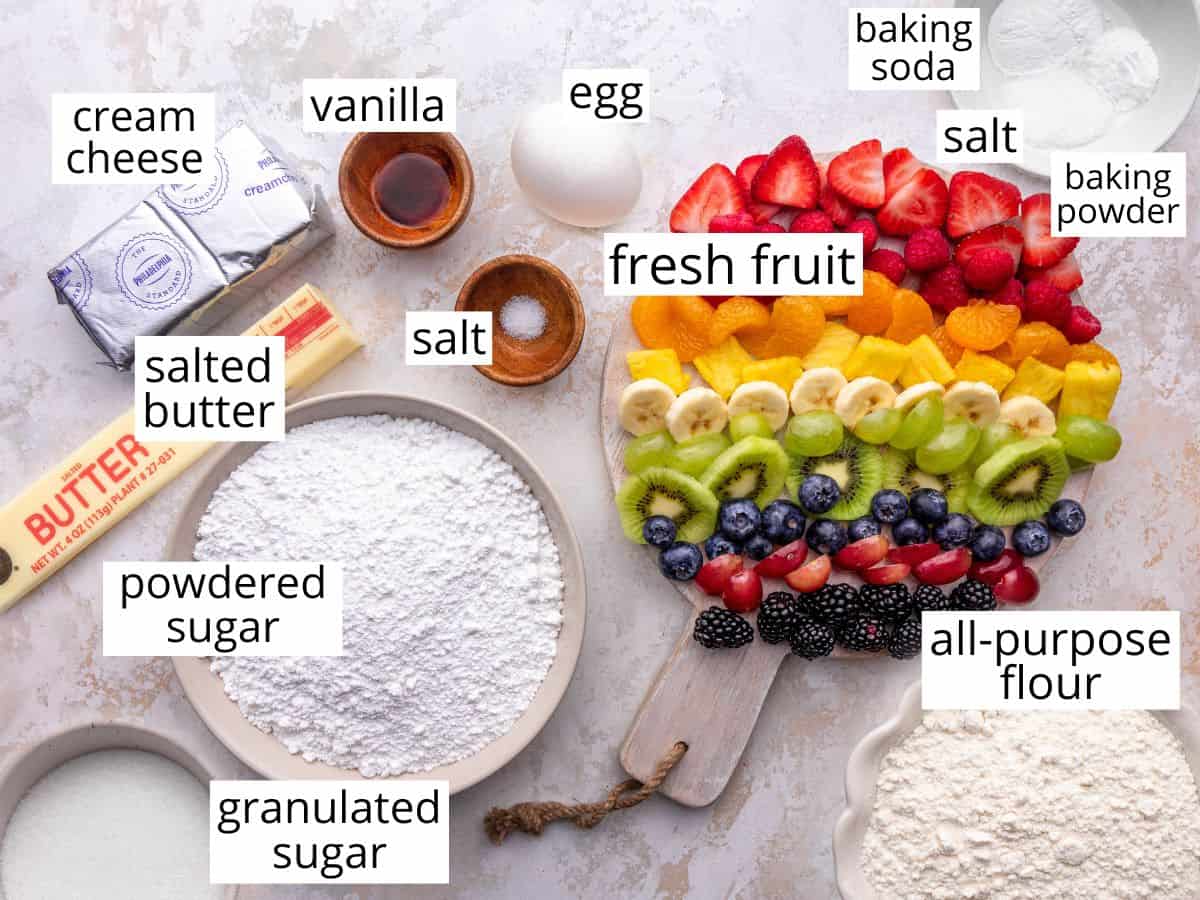
Ingredients
Crust:
- ½ cup salted butter softened
- ⅔ cup granulated sugar
- 1 egg
- 1 teaspoon pure vanilla extract
- 1 ¼ cup all-purpose flour
- 1 teaspoon baking powder
- ½ teaspoon baking soda
- ½ teaspoon fine sea salt
Cream Cheese Frosting
- 8 ounces cream cheese room temperature
- ¼ cup butter softened
- 2 cups powdered sugar
- ½ teaspoon pure vanilla extract
- ⅛ teaspoon sea salt
Fruit
- 1 cup each of your favorite rainbow colored fruits.
- Red: Strawberries raspberries, cherries, red grapes
- Orange: oranges/cuties mango, peaches, cantaloupe
- Yellow: pineapple banana
- Green: Kiwi green grapes, honeydew
- Blue/purple: Blackberries blueberries, purple grapes
- Unsweetened shredded coconut for the clouds
Instructions
Make the Sugar Cookie Dough
- Cream together butter and granulated sugar in the bowl of your standing mixer fitted with the paddle attachment until smooth (1 minute)
- Add egg & vanilla and beat until combined.
- In a small bowl combine flour, baking powder, baking soda & salt.
- Add dry ingredients to the wet ingredients in your standing mixer and beat until evenly combined.
- Remove dough from the bowl and shape it into a circle. Cover with plastic wrap and let chill for 1-2 hours, or overnight.
Roll & Bake the Crust
- After the dough has chilled, preheat oven to 350 degrees F and set out a large baking sheet.
- Roll out dough between two sheets paper or parchment paper into the shape of an arch.
- Remove the top sheet of parchment and cut cloud shapes out by hand.
- Transfer the rainbow-shaped cookie on the bottom sheet of parchment paper onto the baking sheet.
- Bake in preheated oven for 10 minutes, or until the edges are lightly browned and the cookie looks a little puffy.*
- Let the cookie cool on the baking pan until it has reached room temperature. To speed up this process you can put it in the freezer, refrigerator or outside on a cold day. Once the cookie is cooled, transfer it to a serving tray/dish before decorating.
Make the Cream Cheese Frosting
- While the cookie is baking, make the frosting.
- Add room-temperature cream cheese and butter to the bowl of your standing mixer and beat until combined (about 1-2 minutes).
- Add vanilla, salt and powdered sugar and beat until combined and smooth. Set aside but do not chill.
Assemble
- Spread the cream cheese frosting on top of the cooled cookie until it is evenly covered.
- Add the chopped fruit of your choosing in a rainbow design.
- Sprinkle coconut on the clouds for a white/textured look.
Chill & Serve
- Chill for at least 2 hours before serving.
- Cut in long pieces so that each piece has all of the rainbow-colored fruits on it!
Notes
- All-purpose flour: Use 1:1 all purpose gluten-free flour to make the recipe gluten-free.
- Salted butter. unsalted butter is a good substitute. Also, vegan butter.
- Fruit: Ue your favorite fruit!
- Cream cheese frosting. If you’d prefer, use vanilla buttercream frosting (made with only butter), or homemade vanilla frosting (made with shortening and butter).
Nutrition
Nutrition information is automatically calculated, so should only be used as an approximation.


This is perfect fo r pride month! Thank you! Me and my wife love it!
love it
This is so fun! What a great activity for kids at a summer party!
Thank you Chelsey!
I don’t think I’ve ever seen SUCH a pretty fruit pizza. The sugar cookie crust, the cream cheese frosting, and the bee-yoo-ti-ful display of fruit is just gorgeous, and it sounds really tasty.
This is so pretty!! I love all the bright colors! My son is obsessed with fruit these days and I think he would love this!
Soooo cute! Pinned to my “Fun Food Board”.
An absolutely perfect dessert for kids–I think I see my pot of gold!
This is SO pretty Laura! I feel like a kid again just looking at this beautiful treat. This is the perfect St. Patrick’s Day dessert!
Well, isn’t this just the cutest! What a fun idea, Laura! I bet kids (and adults!) go crazy for this. Perfect for St. Patricks Day fun!