Best Cheesecake Recipe
Updated May 18, 2026
This post may contain affiliate links. Please read our disclosure policy.
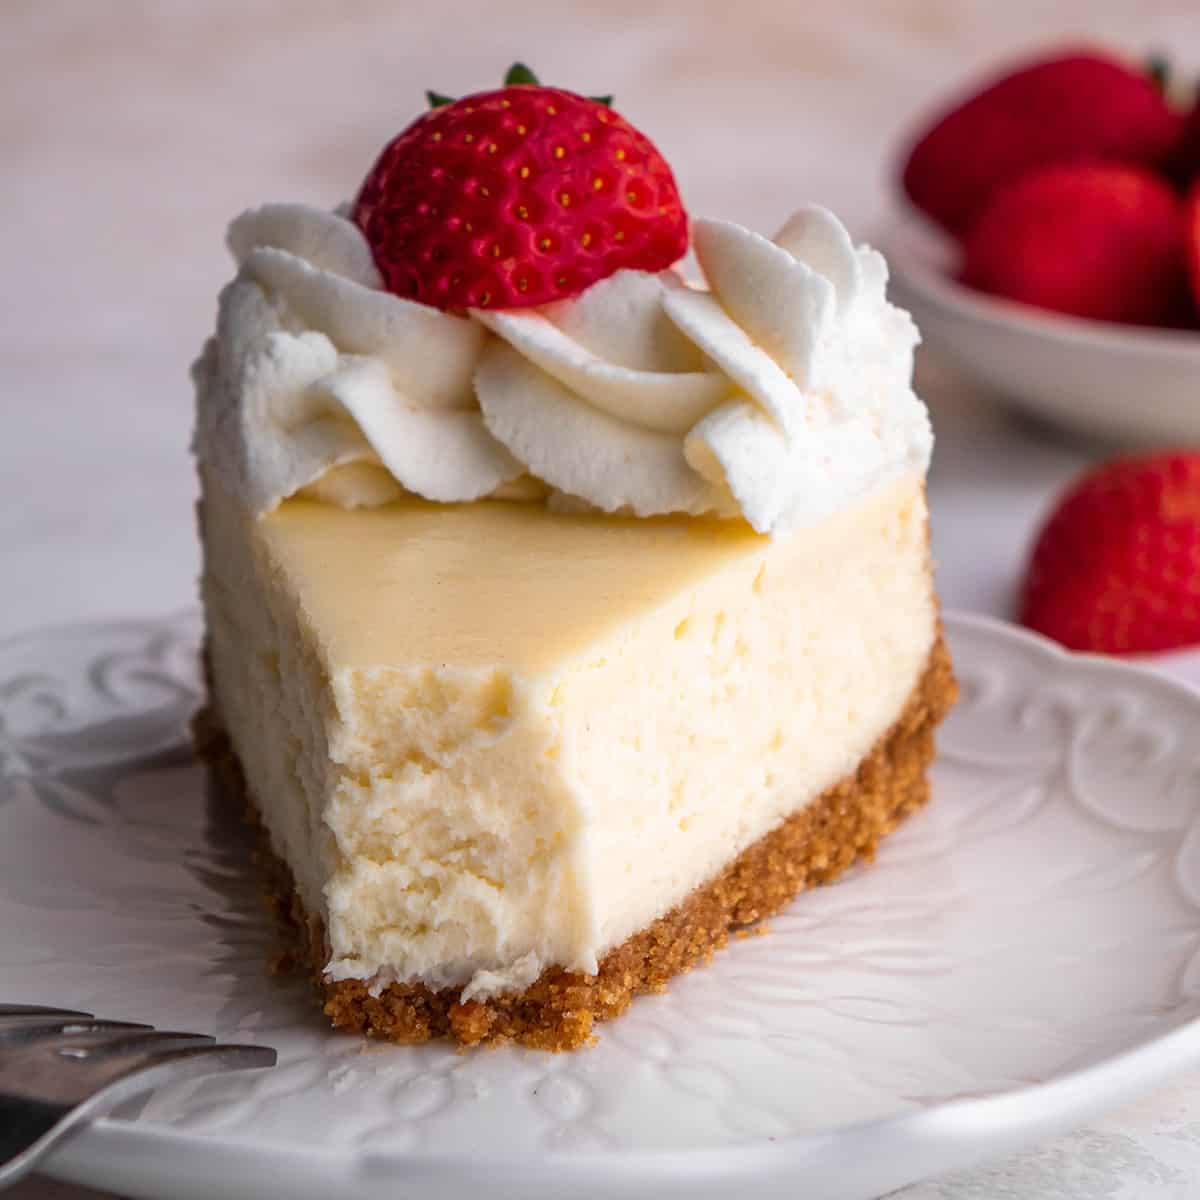
Your search for the best cheesecake recipe ends here! This classic cheesecake is rich and creamy with a buttery graham cracker crust. Learn how to make cheesecake perfectly every time with our step-by-step photos and video.
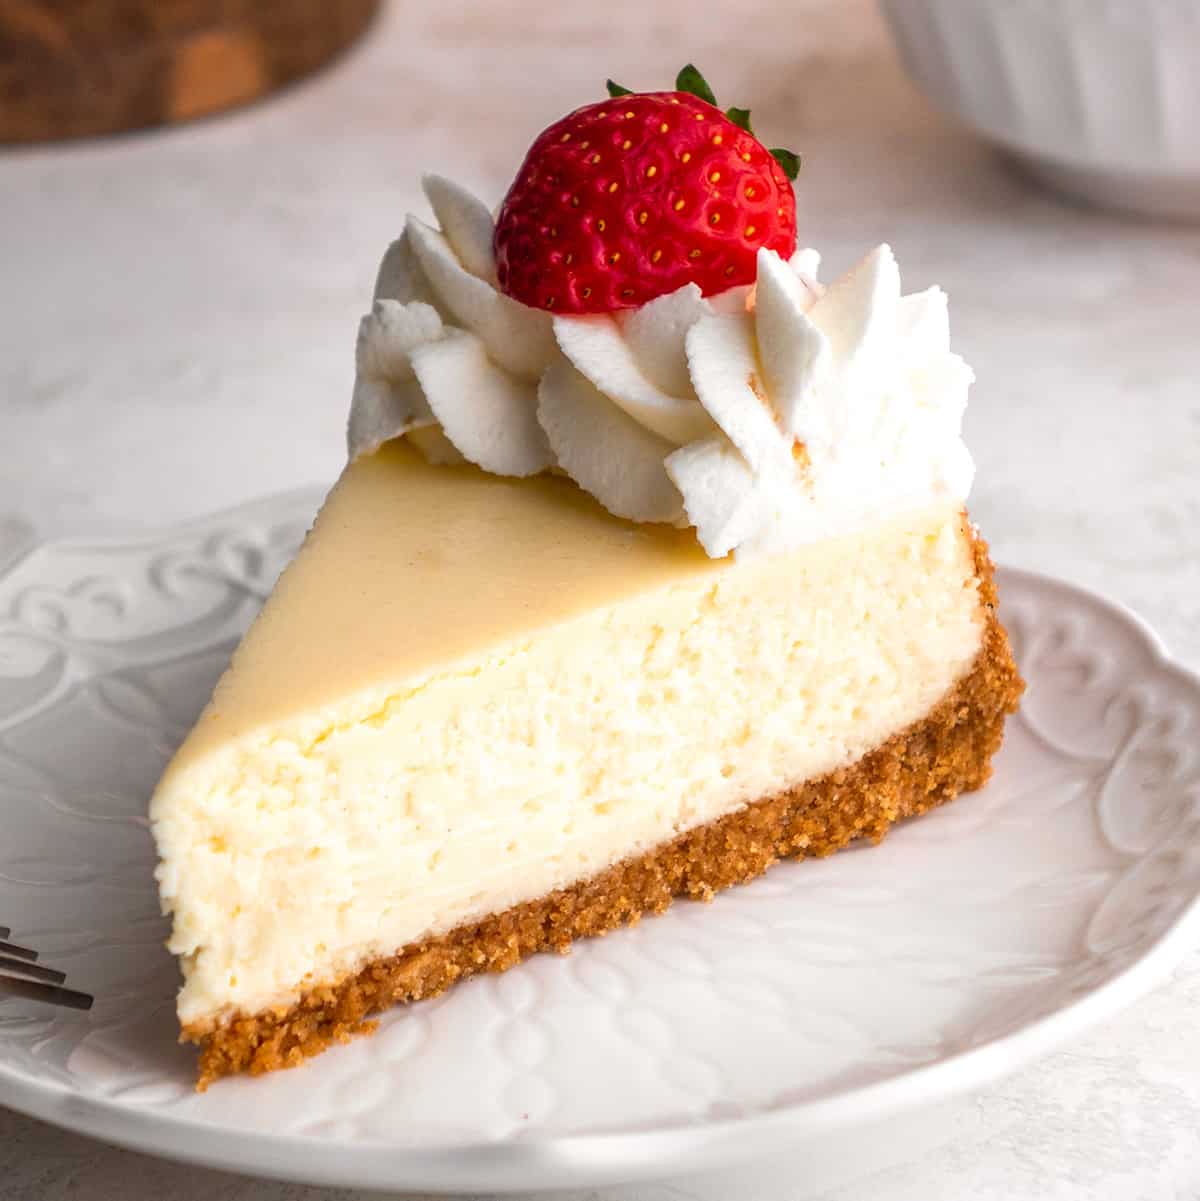
This is the best cheesecake recipe you will ever make. It’s rich and creamy, silky smooth and the epitome of decadence.
The buttery graham cracker crust (with a hint of cinnamon) perfectly compliments the sweet cheesecake filling in the best possible way.
You don’t need to go to a restaurant to enjoy the best cheesecake! In this post you will learn how to make cheesecake with my step-by-step photos and video in the comfort of your home!
Cheesecake Recipe: Ingredients & Substitutions

- Graham Cracker Crumbs. You can buy pre-made graham cracker crumbs, however I opt to make my own. Simply break apart 12 full-sheets of graham crackers and process them in a food processor fitted with the “S” blade, or blend in a blender, until they reach they texture of fine crumbs. Easily make this recipe gluten-free by using gluten-free graham crackers!
- Granulated sugar. Organic cane sugar is a great substitute for regular white sugar.
- Salted butter. Unsalted butter or coconut oil can be used in the crust instead of salted butter, if desired.
- Cream cheese. use full-fat cream cheese for the best flavor. I don’t recommend making substitutions.
- Sour Cream. I recommend full-fat sour cream for the best results, you can use heavy cream as a substitute.
- Vanilla extract. Vanilla bean paste or the seeds of one whole vanilla bean are a good substitute for vanilla in this cheesecake recipe.
- Eggs. Make sure the eggs are room temperature.
- All-purpose flour. bread flour, cake flour, or all-purpose gluten-free flour can be used in place of all-purpose flour.
How to Make Cheesecake
This classic cheesecake recipe has a few different steps and elements to it, but they are all relatively simple to make on their own. Note. that this recipe needs to chill overnight, so plan accordingly.
Prepare the Springform Pan
Begin this recipe by preparing the springform pan and pan for the water bath.
Preheat the oven to 350 degrees F (190 degrees C) and lightly grease a non-stick, 9” springform pan and use heavy duty aluminum foil to line the bottom so there are no cracks. Locate another pan that is larger than the springform pan and in which the springform pan sits flat. The cheesecake will be baked in the larger pan in a water bath. Set aside.
Make the Graham Cracker Crust:
I wrote an entire post on how to make a graham cracker crust! Check it out!
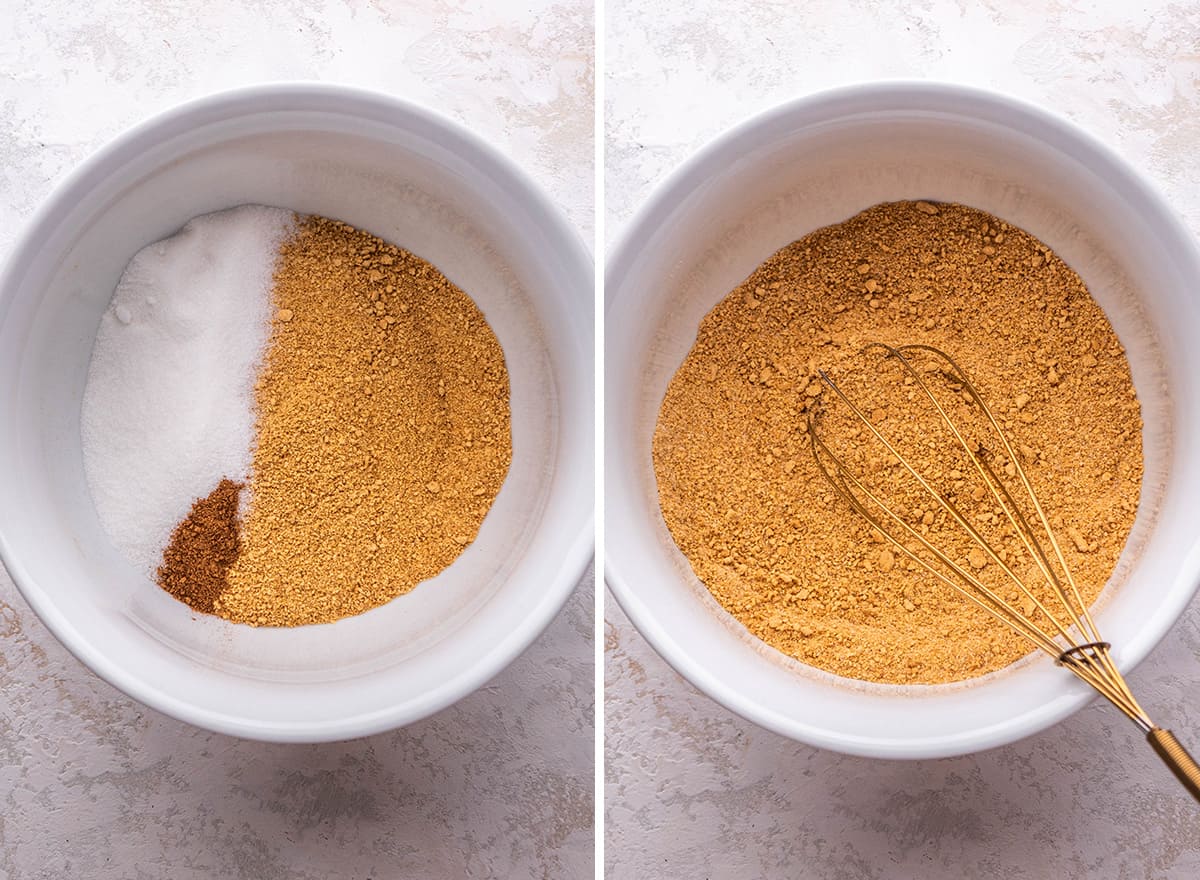
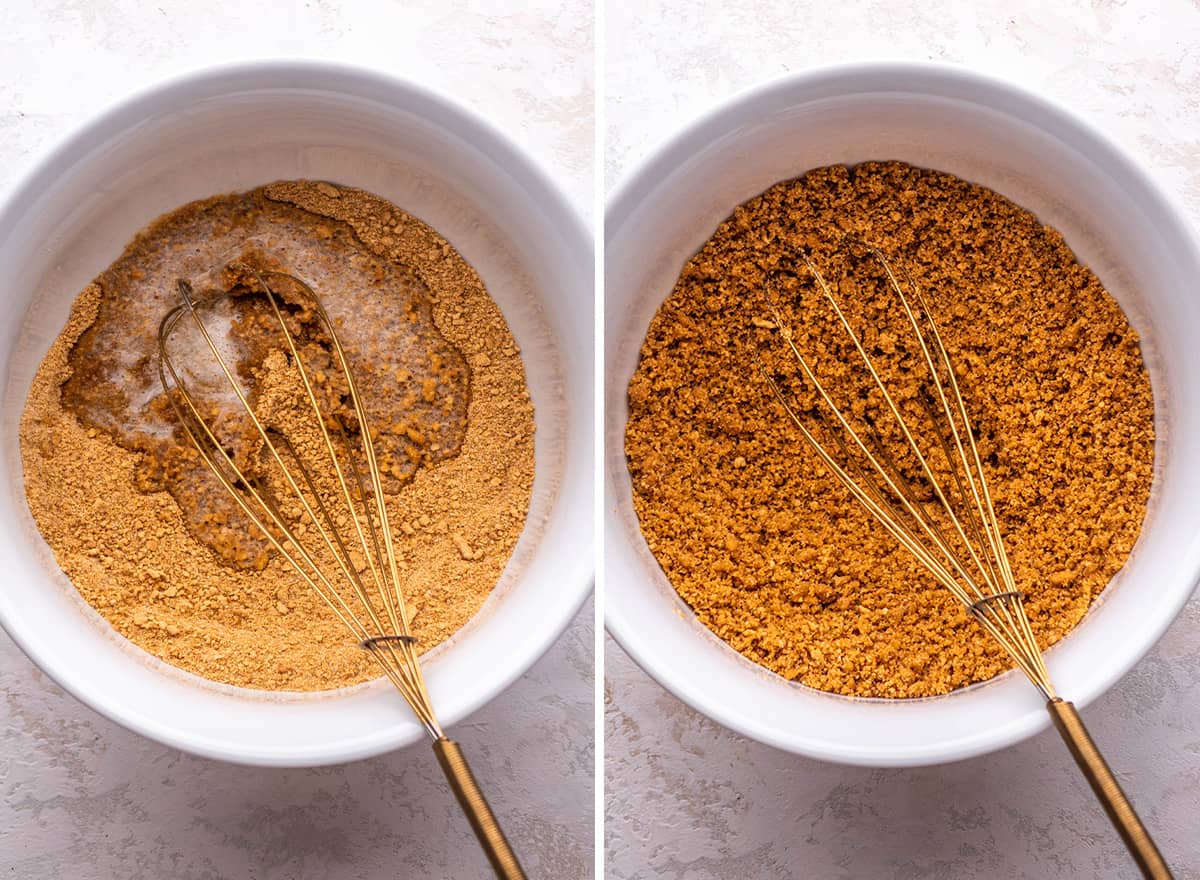
Next, make the graham cracker crust. Combine the dry ingredients in a large bowl.
Then, stir in the melted butter.
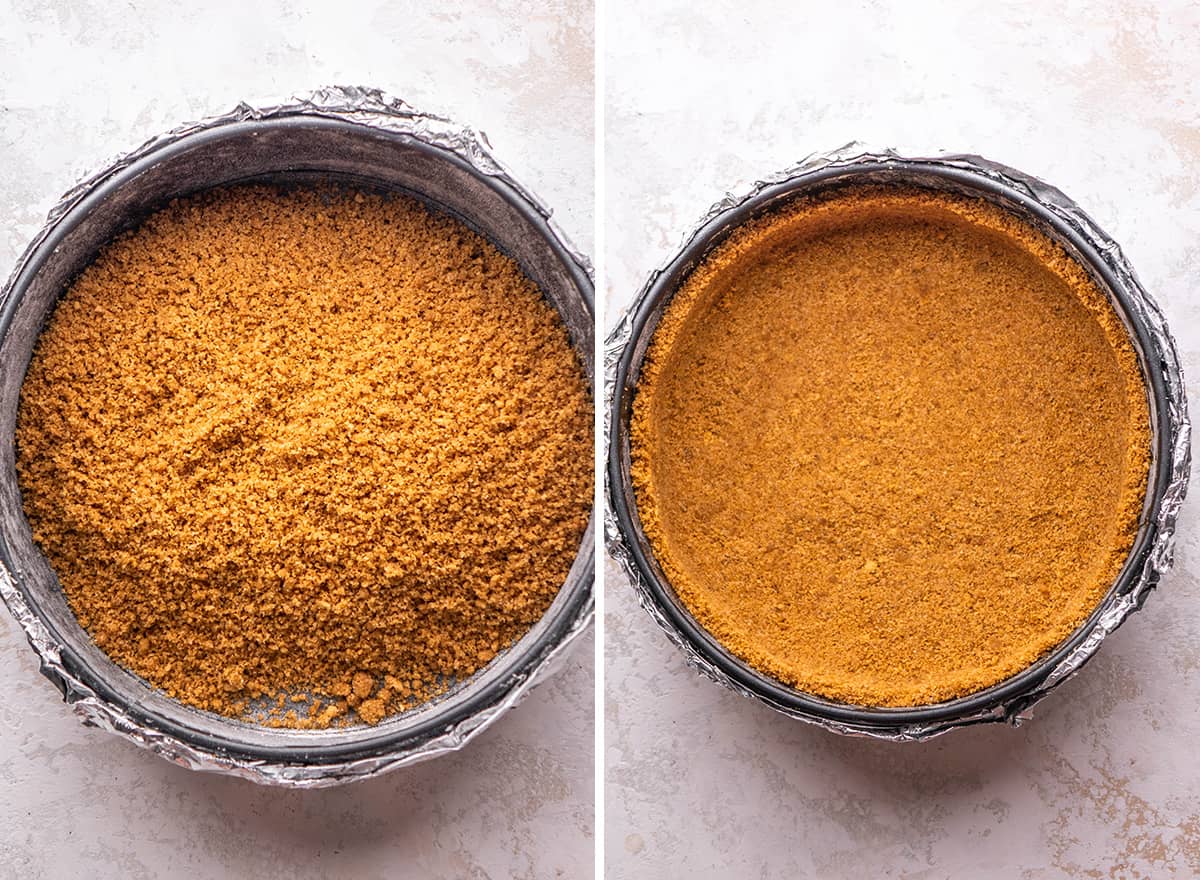
Next, pour the crust mixture into the prepared springform pan, pressing it down into the bottom of the dish and halfway up the sides.
Then, bake the crust in the preheated oven for 5 minutes, then remove the crust from the oven and set aside to slightly cool.
Make the Filling
While the crust is baking make the filling.
In a standing mixer fitted with the paddle attachment or in a large bowl with a handheld mixer, beat together the cream cheese and sugar until light and fluffy and there are no lumps.

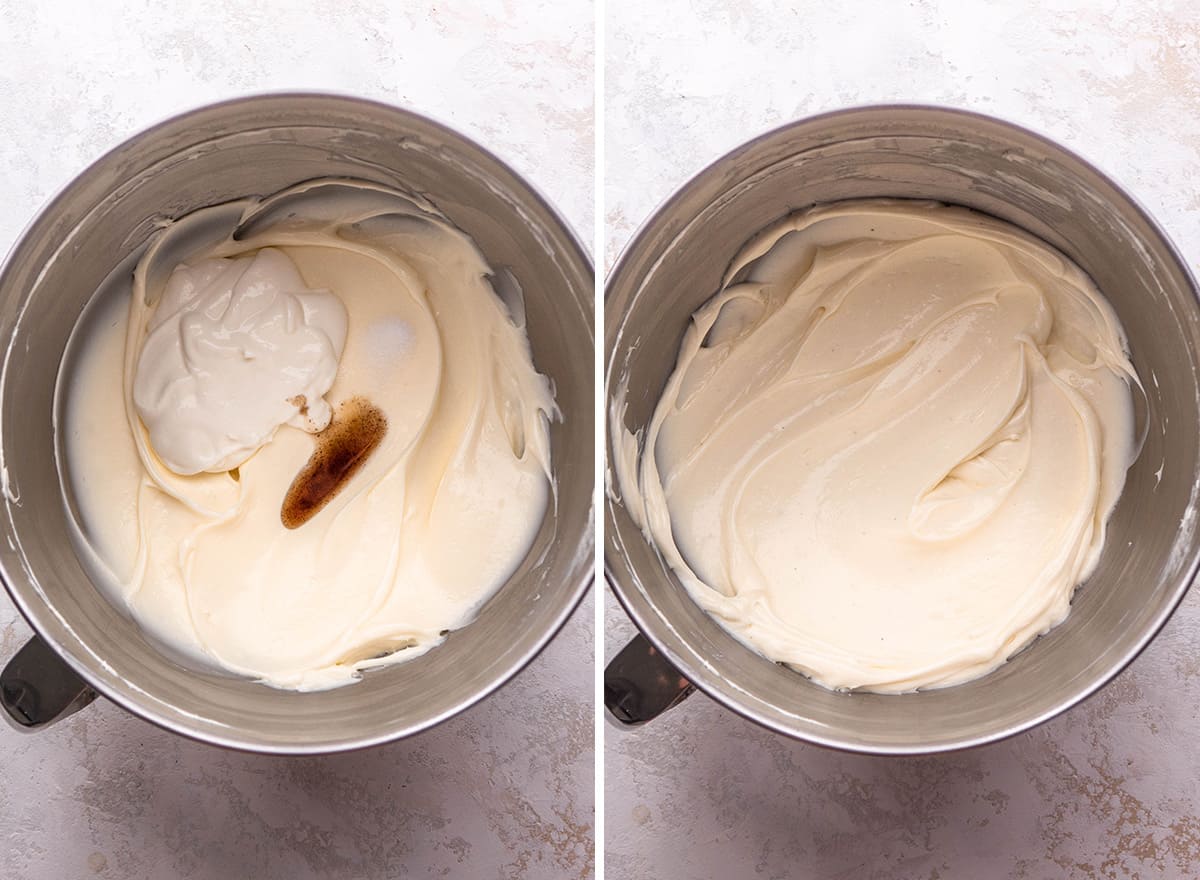
Next, add the vanilla, sea salt and sour cream and beat until just combined.
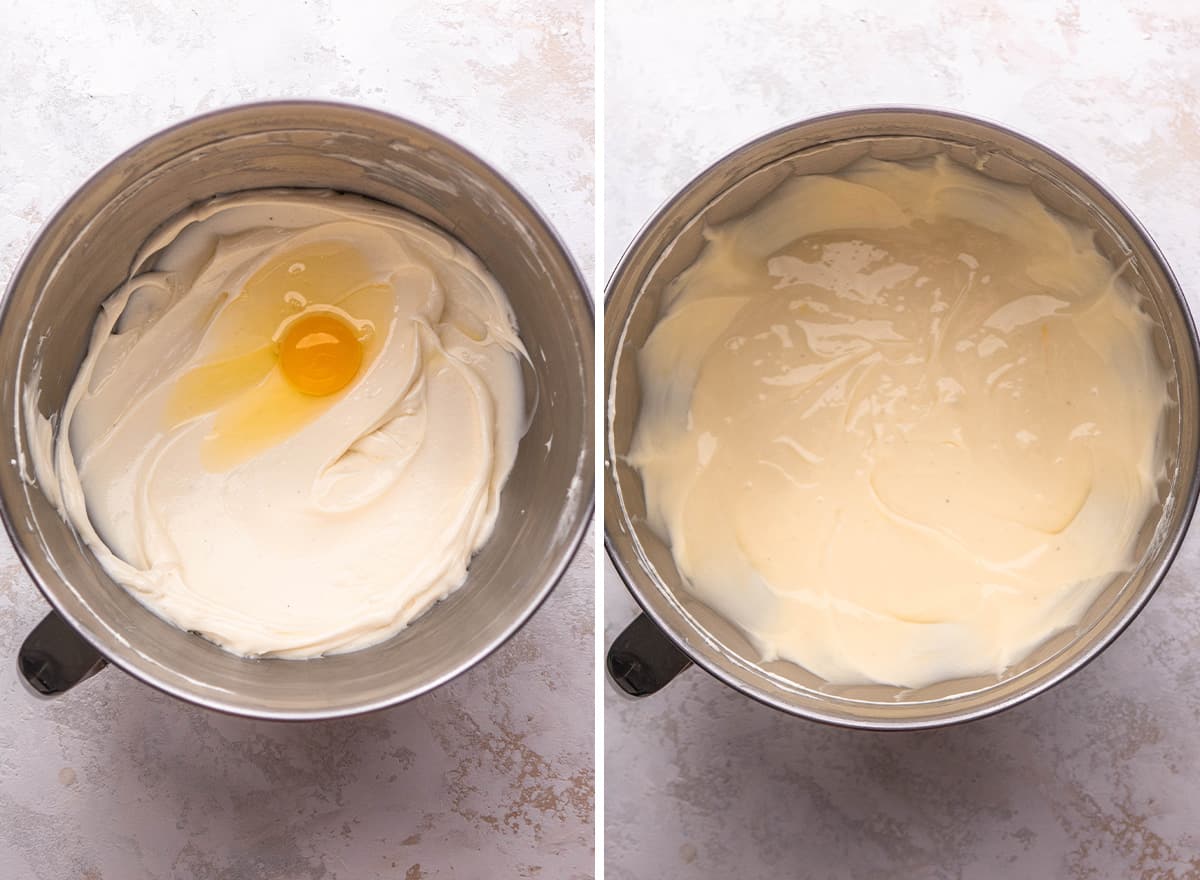
Then, add the eggs, one at a time and beat after each addition.
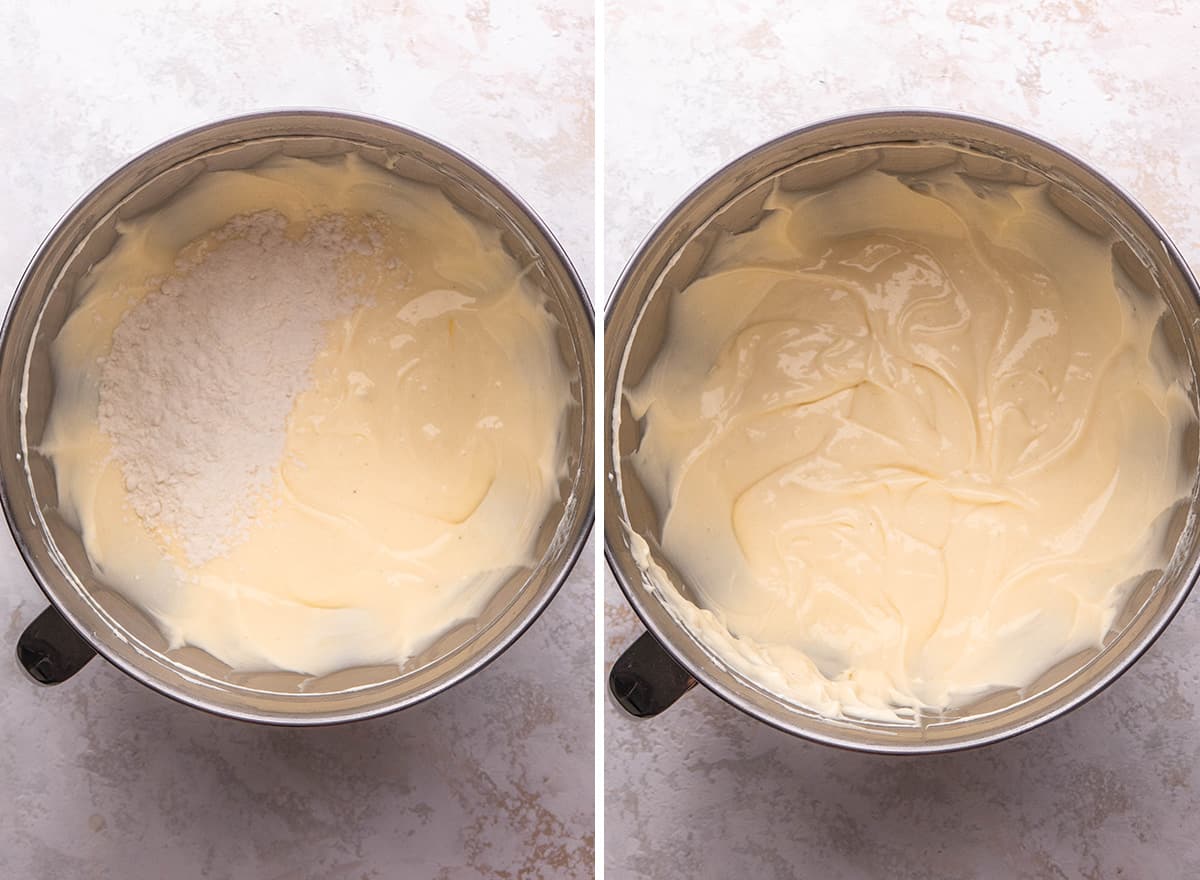
Finally, gently stir in the flour and pour the filling over the baked and slightly cooled crust.
Prepare a Water Bath
Bring about a quart of water to a boil. Put the cheesecake into the larger pan, then place them in the oven. Very carefully pour the boiling water into the lower pan making sure not to get any water into the cheesecake, until it reaches halfway up the sides of the springform pan.
Please note that I recommend pouring the water into the pan while the pans are already in the oven. Transferring two pans, one filled with boiling hot water, from the counter to the oven is not necessarily an easy task.
Note on Springform Pan
If you don’t own a springform pan you can make this recipe, however it is not easy to get a cheesecake out of a cake pan. I have done it with this recipe though, here’s how:
- Butter and flour the sides of a 9” cake pan.
- Cut and fit a piece of parchment paper to fit the inside with handles (=o=).
- Follow the recipe.
- As soon as the cheesecake is cooled to room temperature, use a sharp knife to cut around the sides of the cheesecake.
- After the cheesecake has chilled overnight, use a long, skinny metal spatula and run it under the “handles” of parchment paper to try to release the cake.
- Flip the cake over and tap the bottom hard.
Bake & Chill
Place the springform pan in a large pan in the preheated oven. Slowly fill the large pan with boiling water until it is halfway up the sides of the cheesecake pan.
Bake in the water bath for 45-55 minutes or until the top and edges are set but not browned and the cake is only very slightly jiggly. You can test it by inserting a knife in the center of the cake and if it comes out clean you know the cake is done, however this can cause the cheesecake to crack so I don’t really recommend it (but it’s better than a soupy cheesecake if you’re unsure).
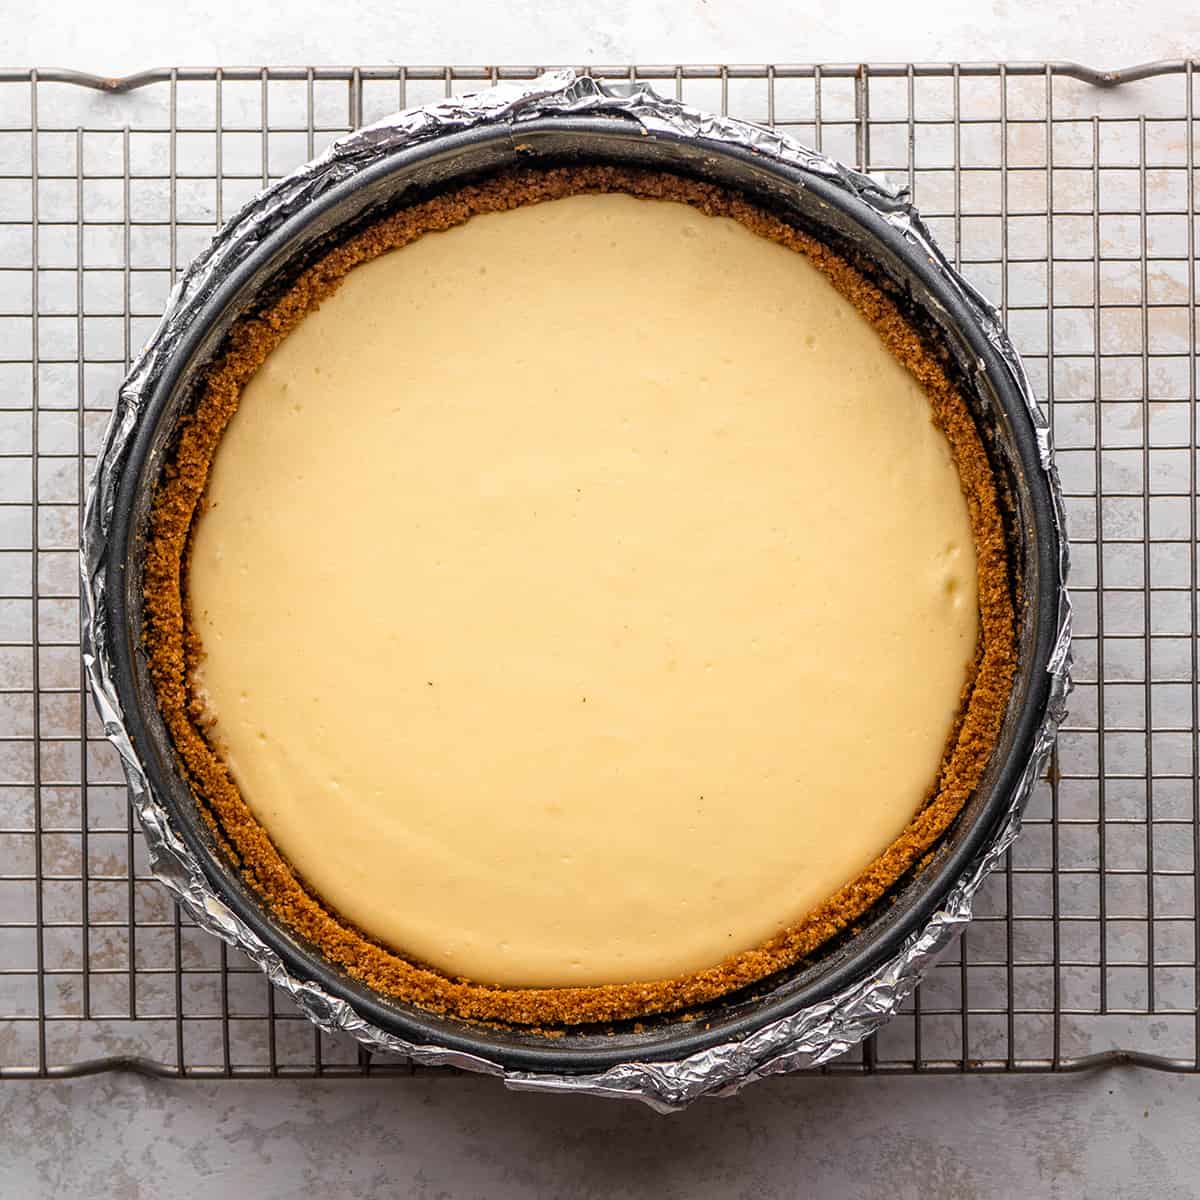
Remove the cheesecake from the water bath, remove the foil and set on a wire cooling rack to cool to room temperature. Once at room temperature, transfer the cheesecake to the refrigerator to chill overnight.
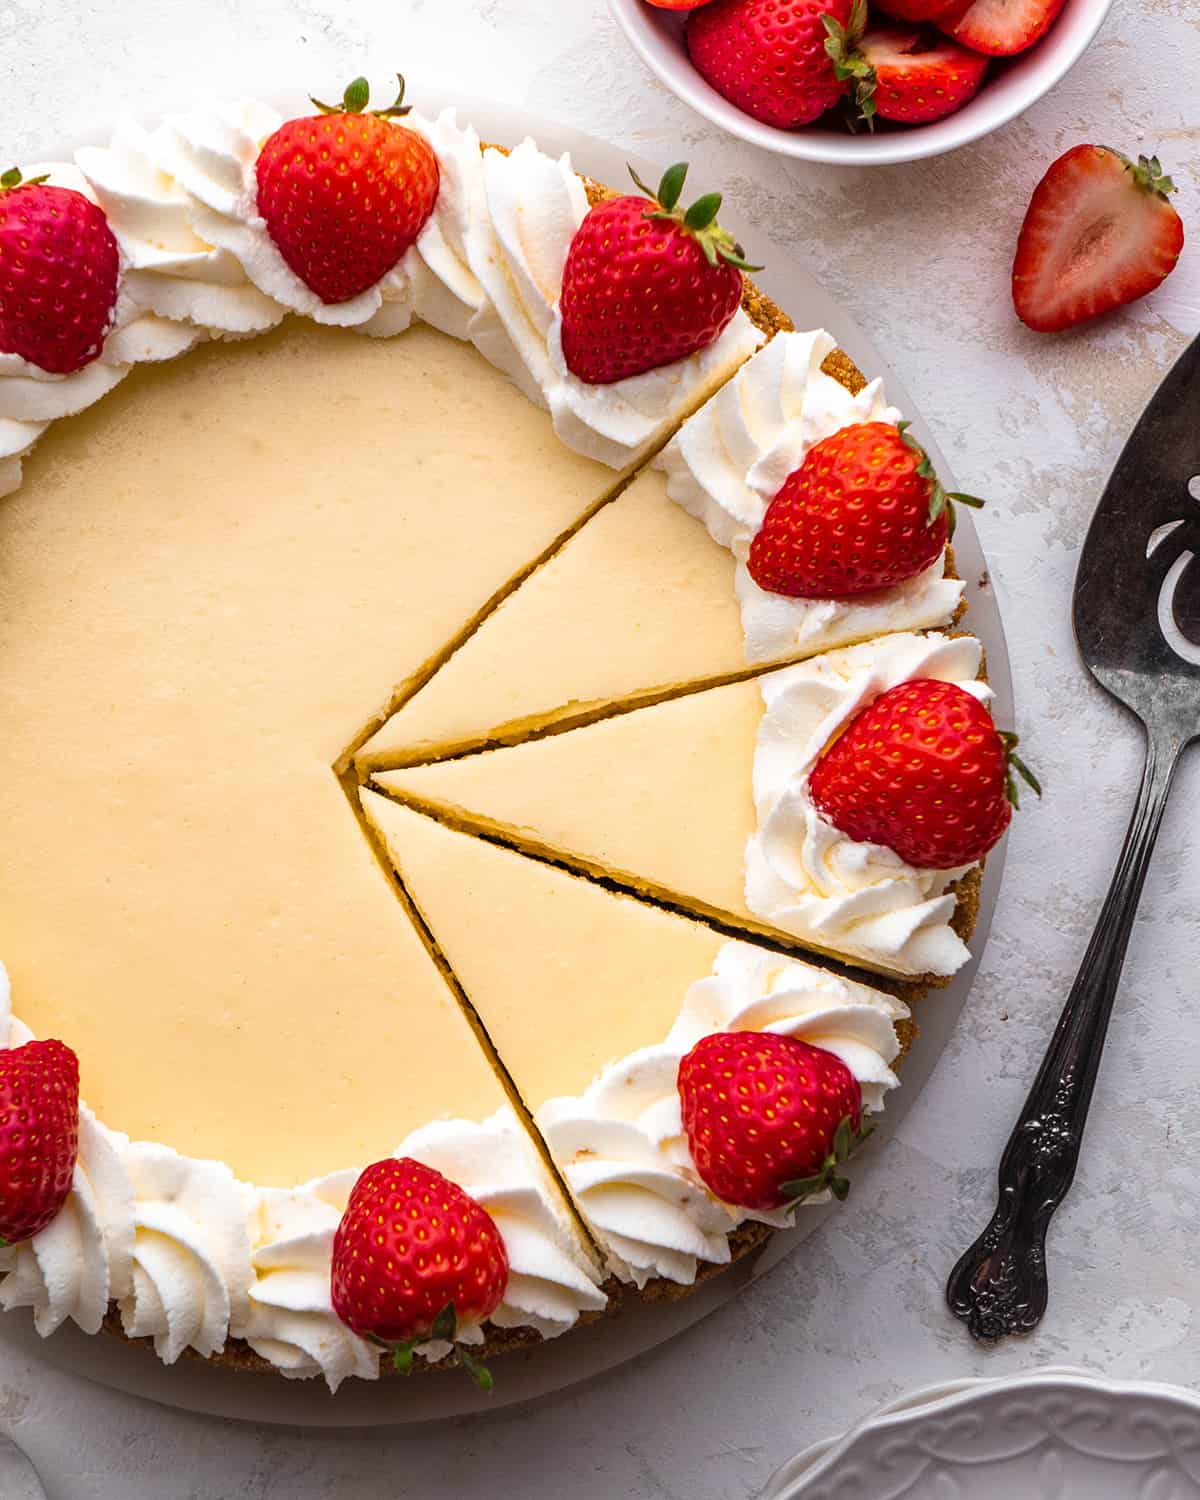
Serve
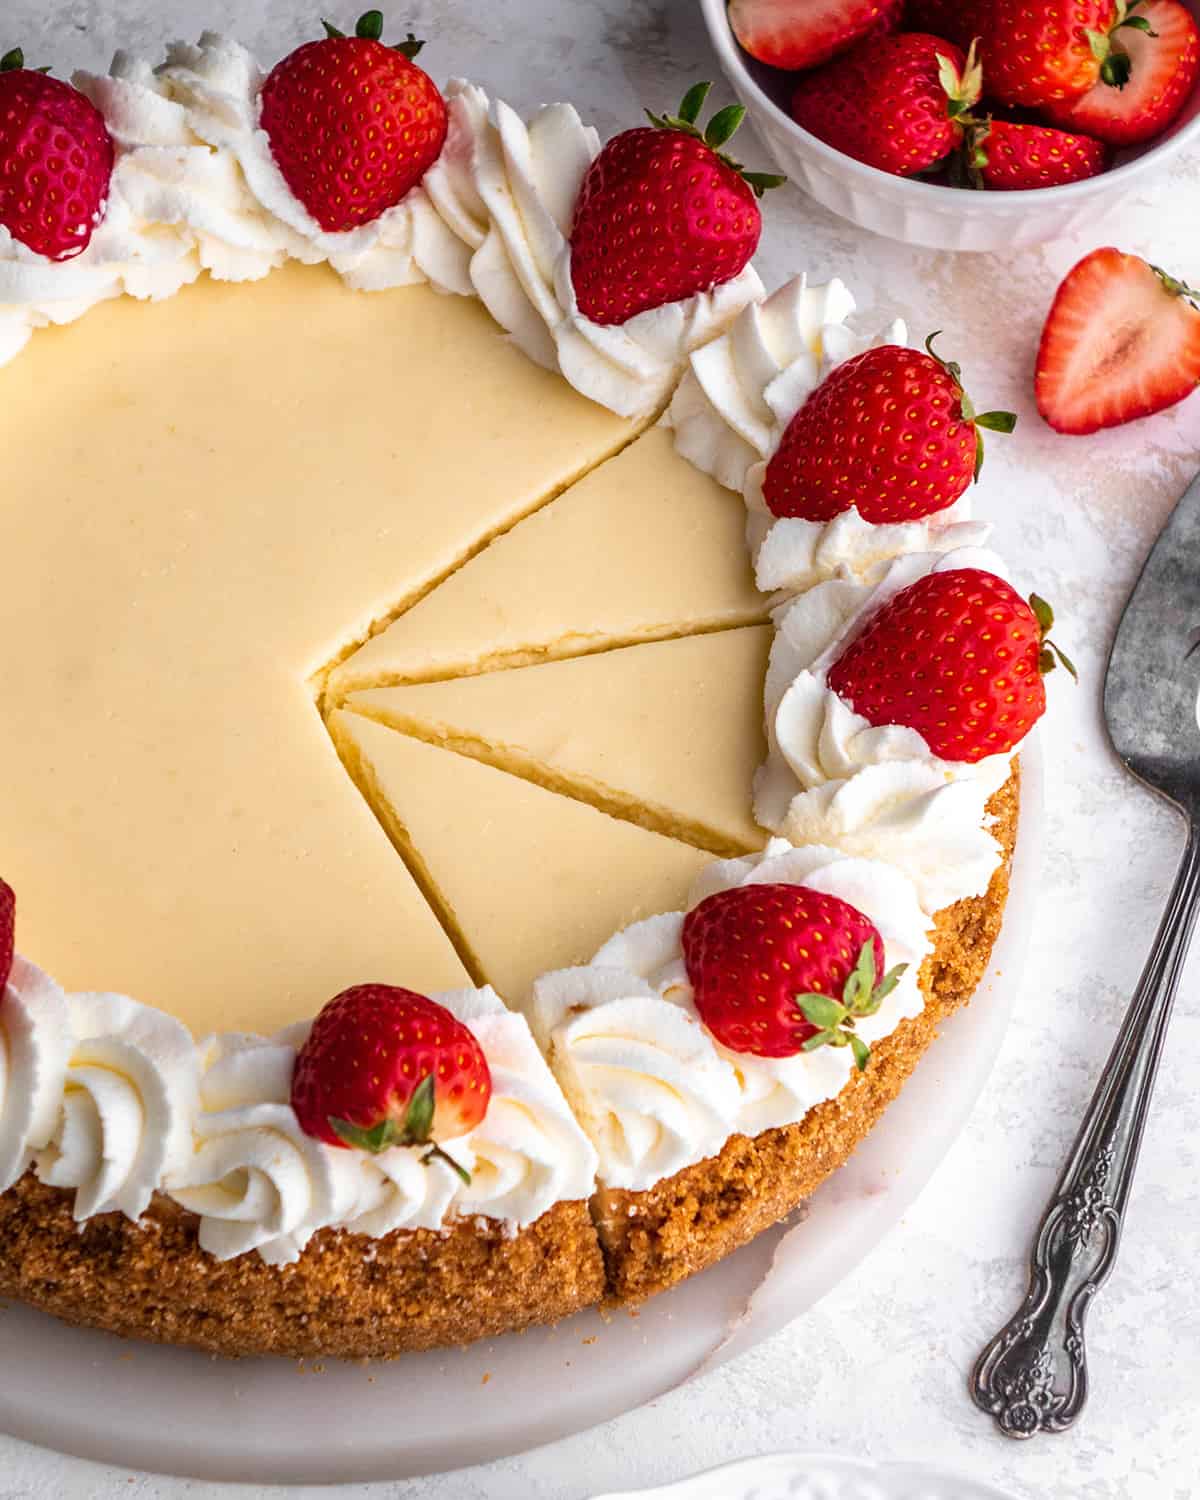
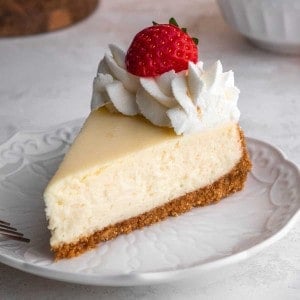
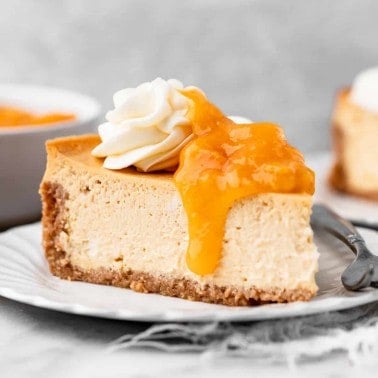
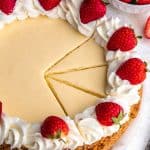
Serve with homemade whipped cream and some of this homemade strawberry sauce. This classic cheesecake is rich, so a small slices goes a long way. I’d say that this recipe easily feeds 16 people.

Store
Store leftovers of the best cheesecake in the refrigerator in an airtight container or on the serving plate covered in plastic wrap for up to 5 days.
Freeze
This cheesecake recipe freezes well in one of two ways:
1. Freeze the entire cheesecake. Make and chill the cheesecake, then put it in the freezer to harden for 1-2 hours. Once it is hardened, wrap it tightly with plastic wrap and foil and freeze for up to 2 months. Thaw in the refrigerator overnight before cutting and serving.
2. Freeze individual slices. If you have a few leftover slices you want to freeze, place them on a baking sheet and put them in the freezer to flash-freeze them. Then, once they’re frozen, wrap them in plastic wrap and store in an airtight container for up to 2 months. Thaw in the refrigerator for about 6 hours.
Cheesecake Recipe FAQs
I prefer an organic, full-fat cream cheese for the best flavor, texture and quality.
A water bath is a pan of water that you place a cheesecake (or flourless chocolate cake) in to bake. Boiling water is poured into the larger pan halfway up the sides of the springform pan, making sure not to get any water into the batter of the cheesecake.
A water bath helps maintain an even baking temperature. It also adds moisture to the oven which prevents the top from cracking and keeps the texture soft and creamy.
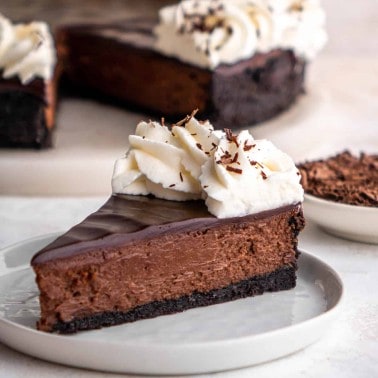
Technically you can bake this chocolate cheesecake without a water bath, however I don’t recommend it. Cheesecakes baked without a water bath often crack on the top and are more dry.
I use my large 12-14″ non-stick fry pans to make a water bath since I don’t have a baking pan large enough. In a pinch you can also put a pan of boiling water in the rack underneath the chocolate cheesecake so you still create a moist oven environment.
It adds moisture and creates a smooth texture.
If you make and love my recipes, it would mean so much to me if you would leave a comment and rating! And don’t forget to follow along on Instagram, Pinterest, Facebook, TikTok and Youtube – be sure to tag @joyfoodsunshine and use the hashtag #joyfoodsunshine so I can see your creations!
Best Cheesecake Recipe
Video
Ingredients
Graham Cracker Crust:
- 1 ½ cups graham cracker crumbs (12 full sheets of grahams processed in the food processor until fine)
- ¼ cup granulated sugar
- ½ teaspoon ground cinnamon
- 6 Tablespoons salted butter melted
Filling
- 24 ounces cream cheese room temperature
- ¾ cup granulated sugar
- 1 teaspoon pure vanilla extract
- ¼ teaspoon fine sea salt
- ½ cup sour cream room temperature
- 3 large eggs room temperature
- 3 Tablespoons all-purpose flour
Topping
Instructions
- Butter and flour the sides of a 9” spring form pan. Line the bottom of the pan completely with heavy-duty foil so no water can leak into the pan from the water bath. Set aside.
- Preheat oven to 350 degrees F.
Make the Graham Cracker Crust
- In a large bowl, combine graham cracker crumbs, sugar and cinnamon. Add melted butter and stir until combined.
- Pour the crust mixture into the prepared springform pan, pressing it down into the bottom of the pan and halfway up the sides.
- Bake in preheated oven for 5 minutes, then remove the crust from the oven and set aside to slightly cool.
Make the Cheesecake Filling
- While the crust is baking make the filling.
- In a standing mixer fitted with the paddle attachment or in a large bowl with a handheld mixer, beat together the cream cheese and sugar until light and fluffy and there are no lumps.
- Add vanilla, sea salt and sour cream and beat until just combined.
- Add eggs, one at a time and beat after each addition.
- Gently stir in flour.
Prepare a Water Bath
- Use a large pan that will fit your cake pan and put it in the preheated oven. Bring 2 quarts of water to a boil.
Bake
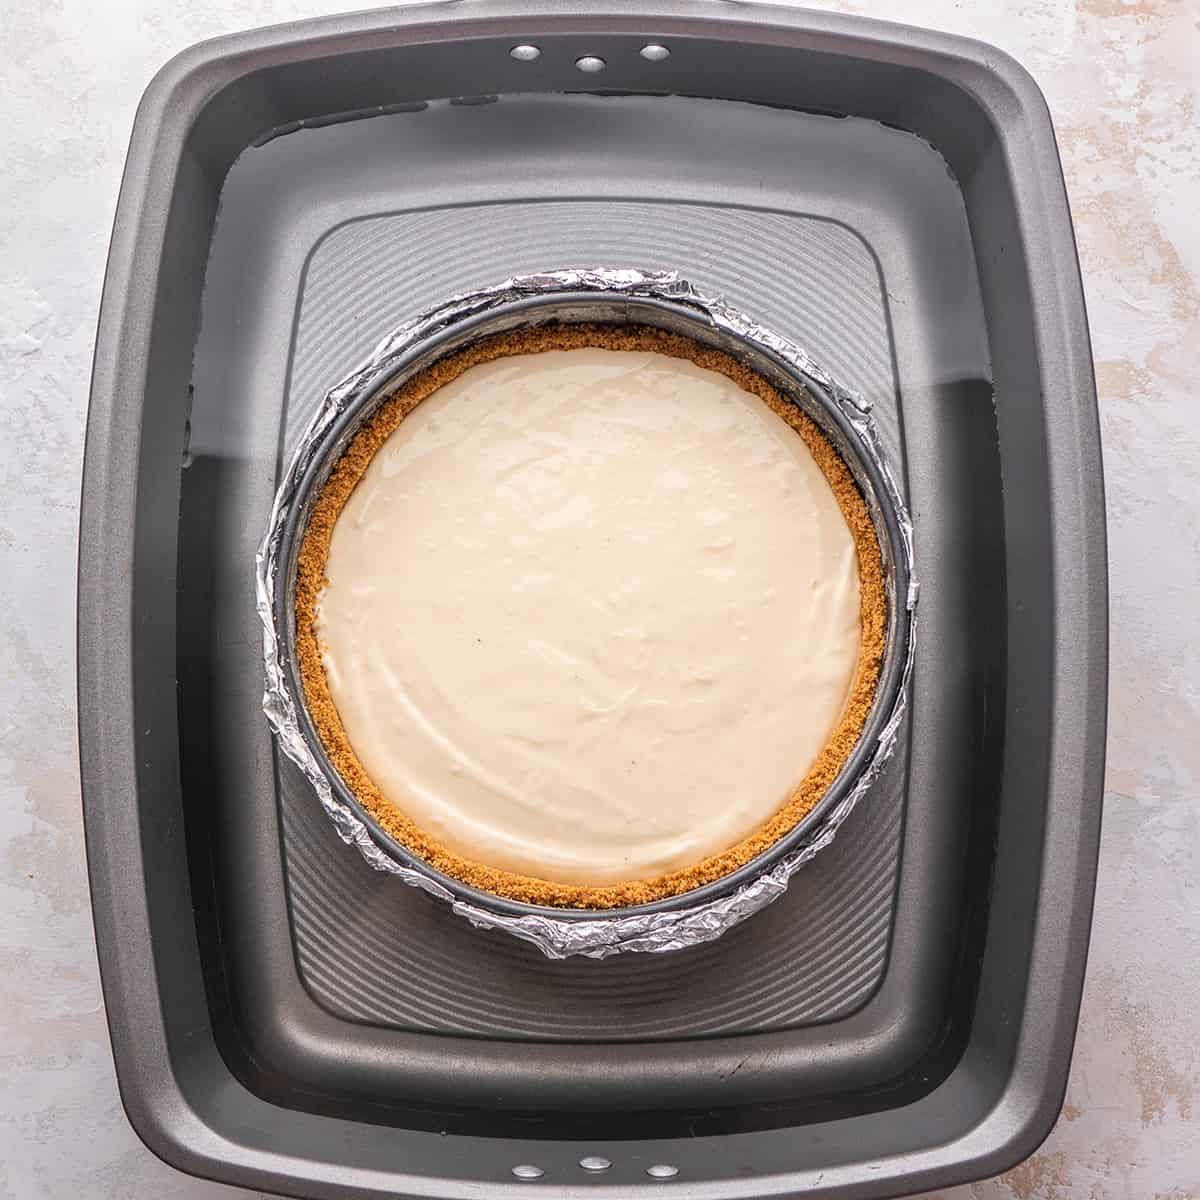
- Pour the filling over the baked and slightly cooled crust.
- Place the cake pan in a large pan in the preheated oven. Slowly fill the large pan with boiling water until it is halfway up the sides of the cheesecake pan.
- Bake in the water bath for 45-55 minutes or until the top and edges are set but not browned and the cake is only very slightly jiggly. You can test it by inserting a knife in the center of the cake and if it comes out clean you know the cake is done, however this can cause the cheesecake to crack so I don’t really recommend it (but it’s better than a soupy cheesecake if you’re unsure).
- Remove the cheesecake from the water bath and set on a wire cooling rack to cool to room temperature. Once at room temperature, transfer the cheesecake to the refrigerator to chill overnight.
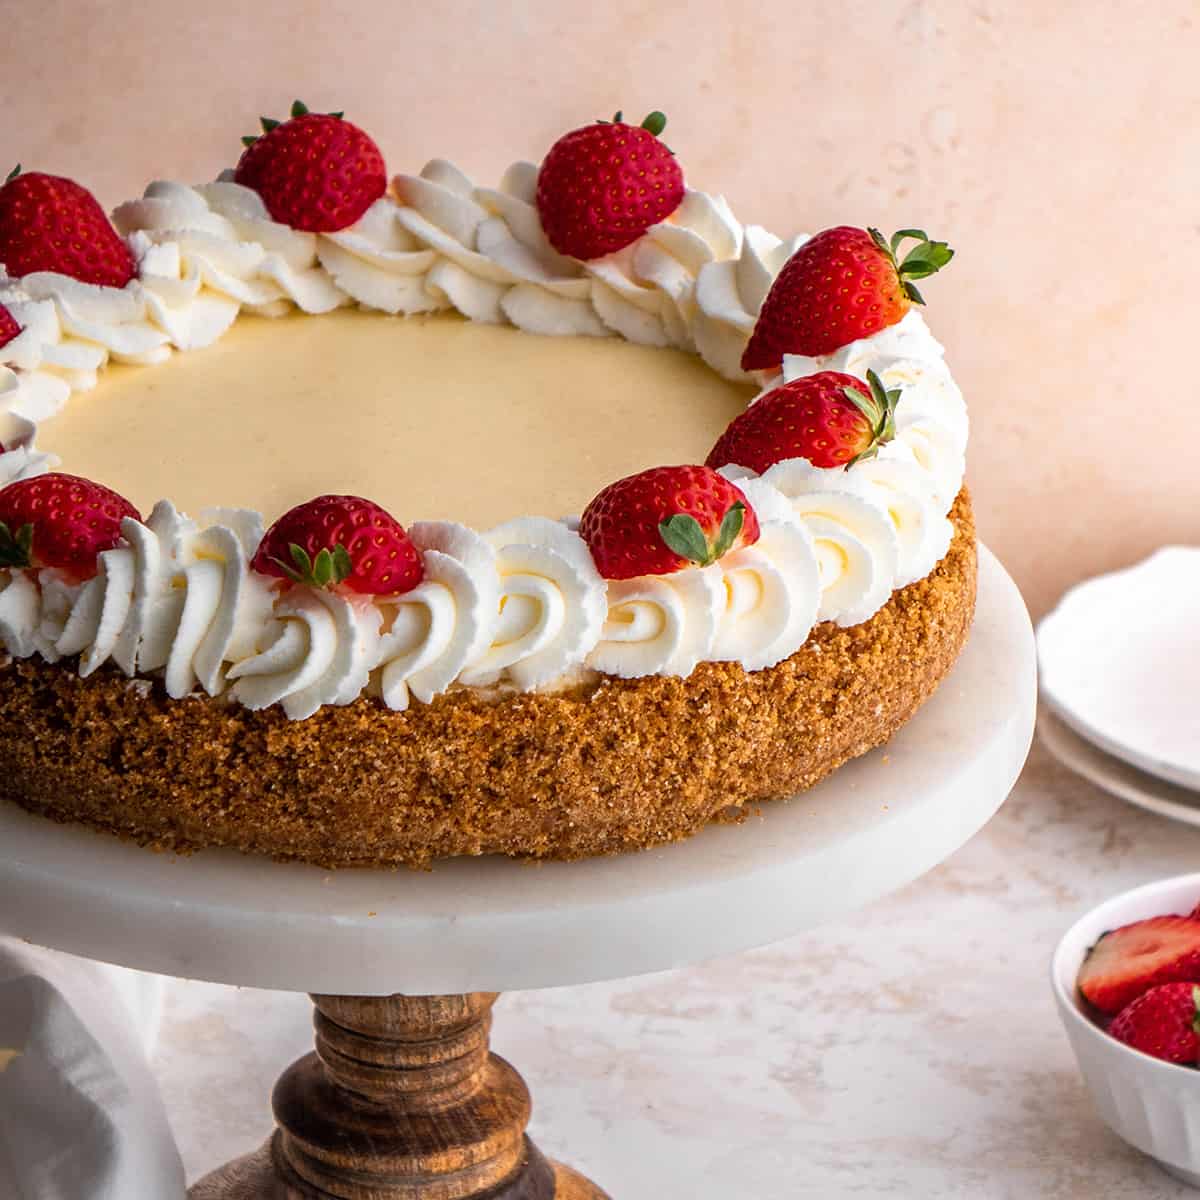
Make the Whipped Cream
- Once the cheesecake is sufficiently chilled, make the whipped cream and decorate the top. Save some for serving.
Notes
- Graham Cracker Crumbs. You can buy pre-made graham cracker crumbs, however I opt to make my own. Simply break apart 12 full-sheets of graham crackers and process them in a food processor fitted with the “S” blade, or blend in a blender, until they reach they texture of fine crumbs. Easily make this recipe gluten-free by using gluten-free graham crackers!
- Granulated sugar. Organic cane sugar is a great substitute for regular white sugar.
- Salted butter. Unsalted butter or coconut oil can be used in the crust instead of salted butter, if desired.
- Cream cheese. use full-fat cream cheese for the best flavor. I don’t recommend making substitutions.
- Sour Cream. I recommend full-fat sour cream for the best results, you can use heavy cream as a substitute.
- Vanilla extract. Vanilla bean paste or the seeds of one whole vanilla bean are a good substitute for vanilla in this cheesecake recipe.
- Eggs. Make sure the eggs are room temperature.
- All-purpose flour. bread flour, cake flour, or all-purpose gluten-free flour can be used in place of all-purpose flour.
- Freeze the entire cheesecake. Make and chill the cheesecake, then put it in the freezer to harden for 1-2 hours. Once it is hardened, wrap it tightly with plastic wrap and foil and freeze for up to 2 months. Thaw in the refrigerator overnight before cutting and serving.
- Freeze individual slices. If you have a few leftover slices you want to freeze, place them on a baking sheet and put them in the freezer to flash-freeze them. Then, once they’re frozen, wrap them in plastic wrap and store in an airtight container for up to 2 months. Thaw in the refrigerator for about 6 hours.
Nutrition
Nutrition information is automatically calculated, so should only be used as an approximation.

Can you tell me how long I would bake this cheesecake in a 6 inch springform? Thank you
This recipe will overflow a 6″ springform pan. So you’d need to use cut the recipe in half to use that size pan.
this is an excellent recipe. I’m making it for my 3rd time for a tea party. I put a little fresh lemon juice in it once. It was good. But, it was better just plain.
Thank you so much Vickie! I’m so glad you love it!
When you say line bottom of spring form pan with foil, I’m assuming you mean the outside. The picture shows the foil going up the side, as well.
Please clarify that part of directions.
Thank you!
Going to try soon!
Yes, the outside to prevent water from leaking into the pan.
Hi Laura
I see on your video the bottom of the springform pan was not used, am I seeing correctly? Isnt the mixture too heavy for just foil?
No, the bottom of the springform pan is most definitely used. It’s lined with a round circle of parchment paper.