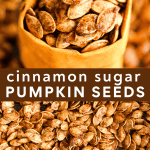
Roasted Cinnamon Sugar Pumpkin Seeds
Updated Oct 04, 2025
This post may contain affiliate links. Please read our disclosure policy.
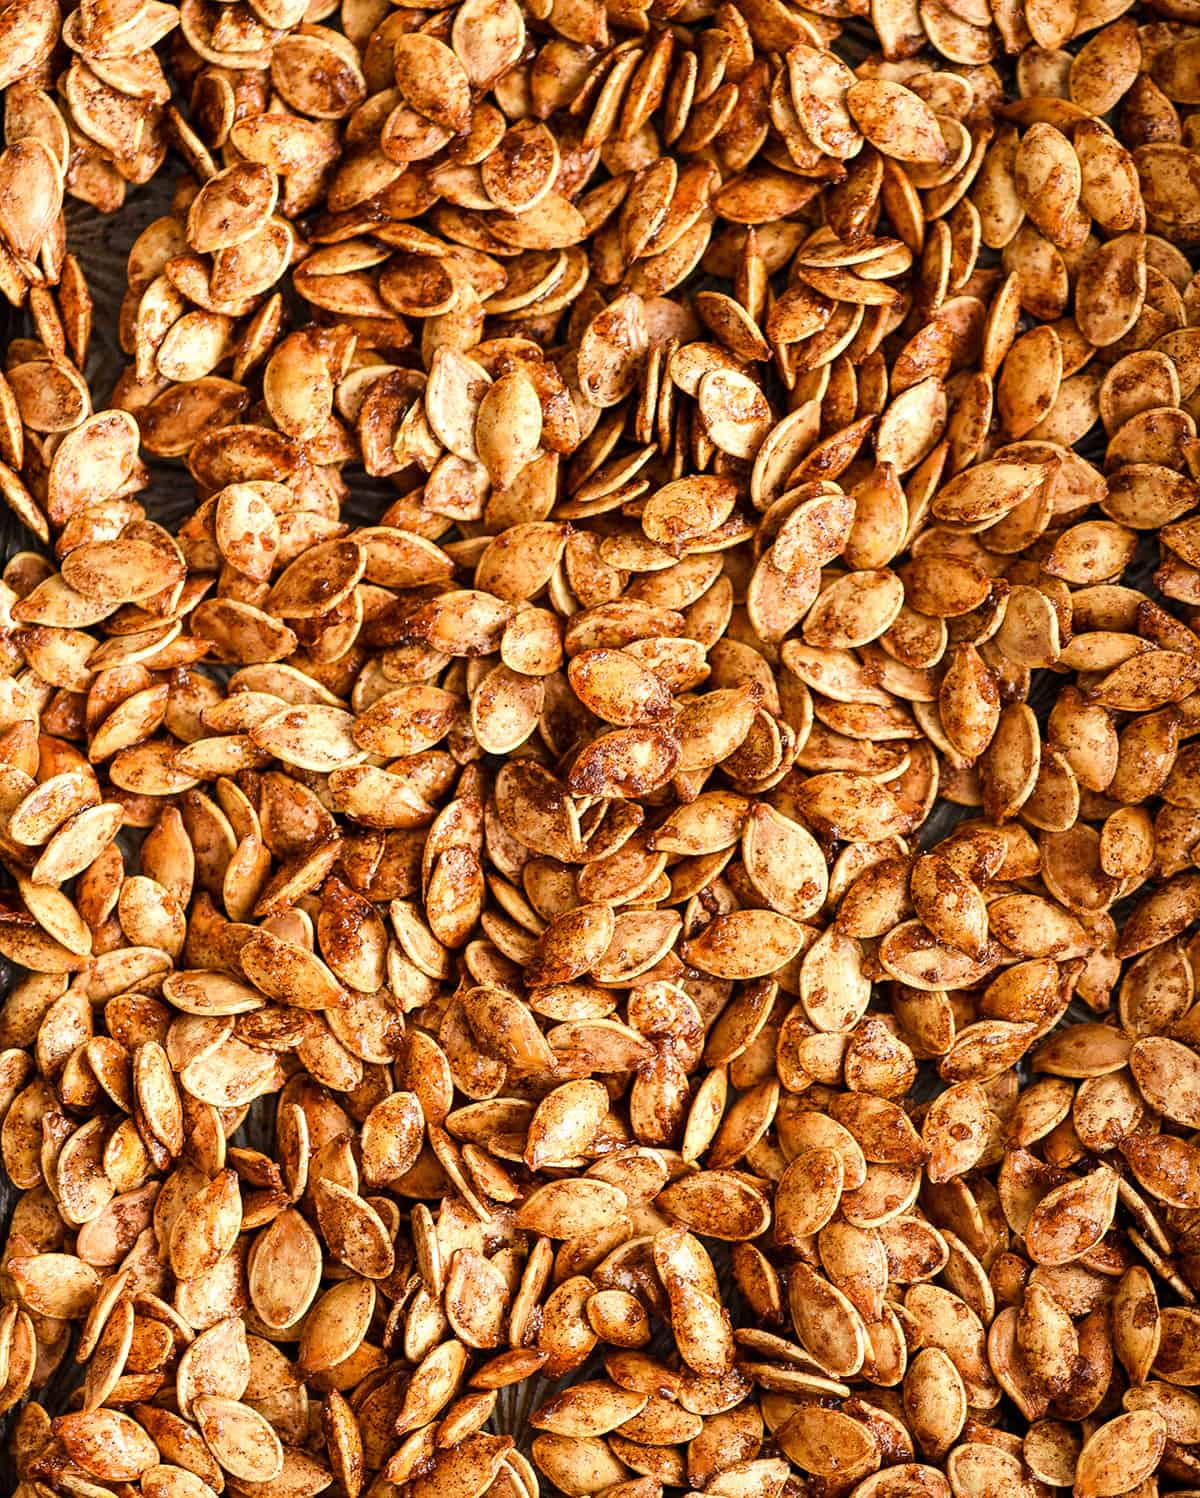
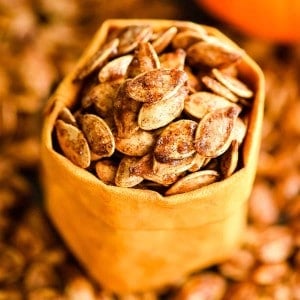
Save your pumpkin seeds to make these roasted cinnamon sugar pumpkin seeds. They are irresistibly delicious – the perfect sweet and salty fall snack!

Do you love carving pumpkins in the fall? We definitely do, and we have 6 kids so that always means lots of pumpkin seeds. They love helping me separate the seeds from the pulp, just so we can make these cinnamon sugar pumpkin seeds.
I know it’s a lot of work, but trust me when I tell you that taking the time to save the seeds to make roasted pumpkin seeds is so worth it.
Especially if you decide to make this roasted cinnamon sugar pumpkin seeds recipe. It’s easy to make with only has 6 ingredients, is super easy to make, and results is the perfect sweet and salty fall snack!

Cinnamon Sugar Pumpkin Seeds: Substitutions
This recipe is delicious as-is! But If you are looking to make some substitutions here are a few that have passed the test:
- Salted butter: unsalted butter and ghee both work well. For a dairy-free option, use coconut oil.
- Granulated sugar: I use raw, organic sugar in this recipe. But you can choose your favorite granulated sugar and use it with great results! You can also use coconut sugar for a paleo version.
That’s it! There are only 6 ingredients in this recipe for Homemade Cinnamon Sugar Pumpkin Seeds and I don’t recommend substituting any other ingredients!

How to Make Cinnamon Sugar Pumpkin Seeds
Let’s walk through this recipe step by step.
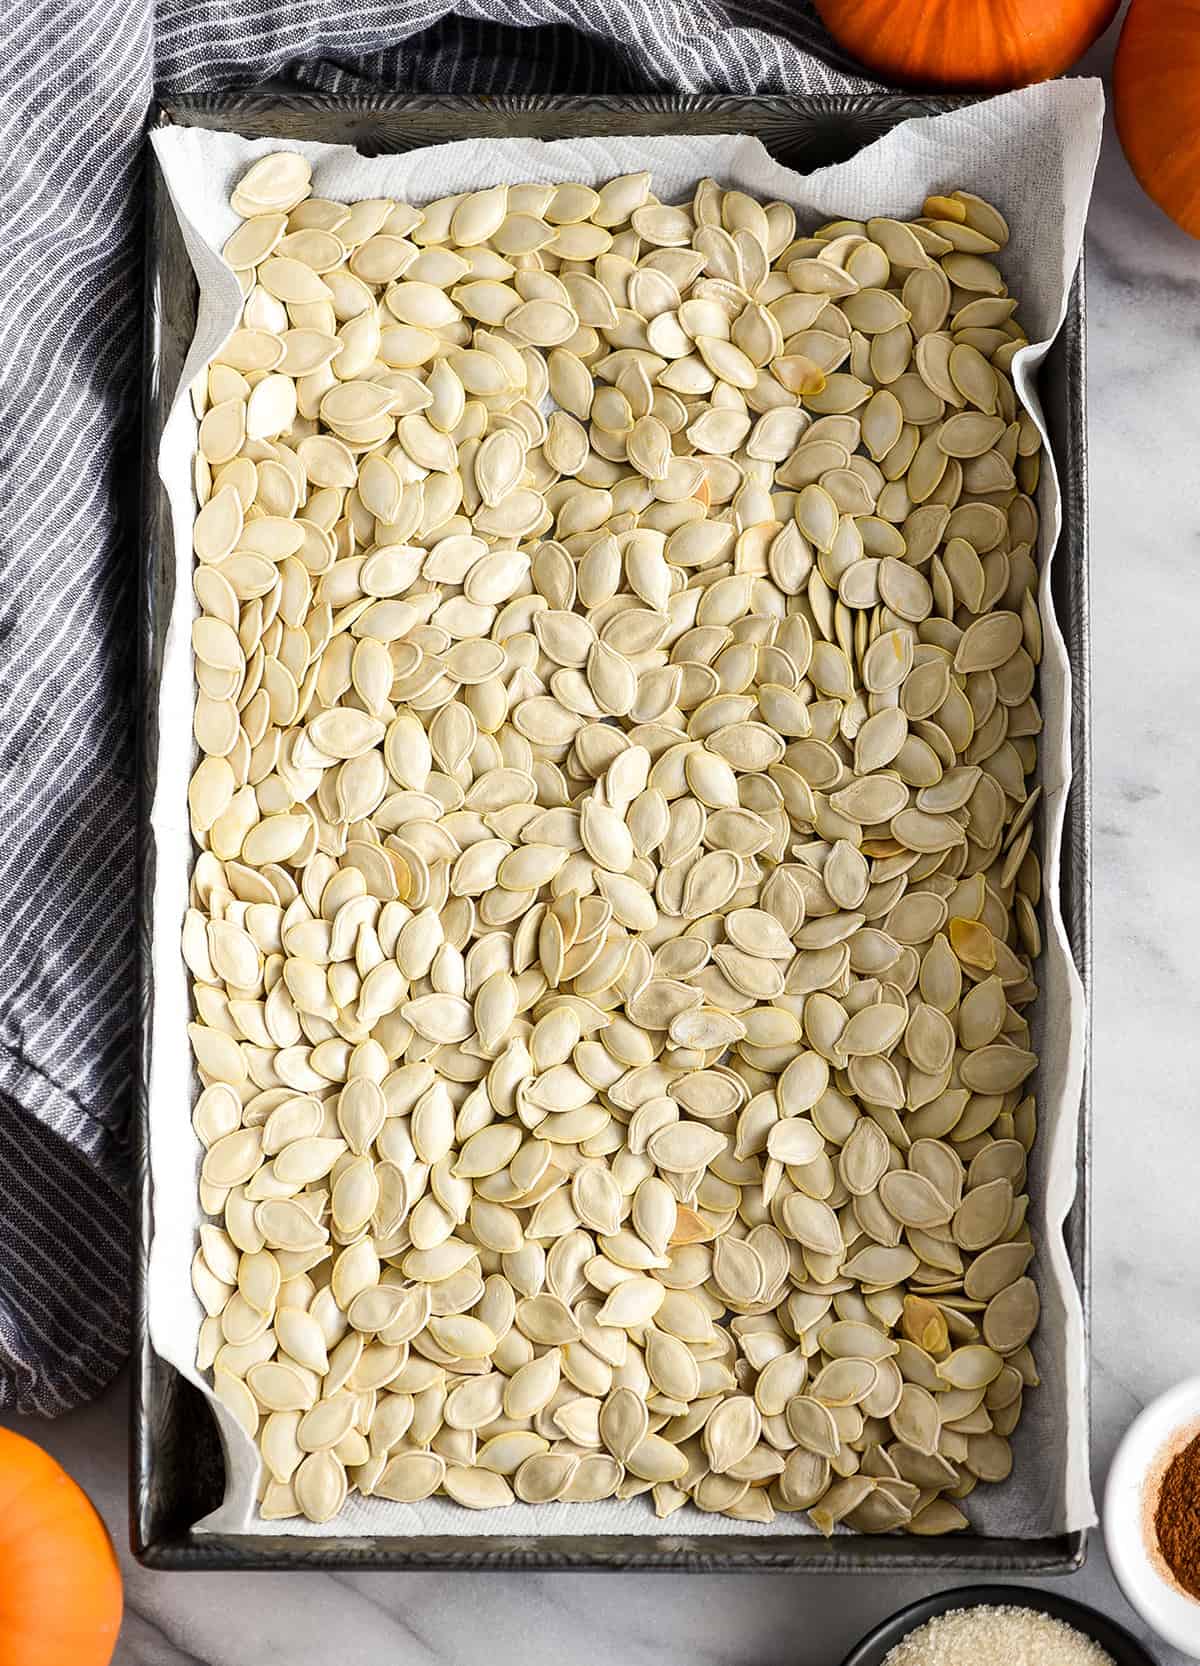
Dry the Seeds
The key to making excellent Homemade Cinnamon Sugar Pumpkin Seeds is letting them completely dry before roasting! To do this, remove the seeds from the pumpkins and rinse thoroughly. Make sure there are no stringy orange guts left!
Let the seeds drain, and line a large baking sheet with paper towels. Spread the seeds on the baking sheet in one, even layer and let sit for 24 hours. At the 12 hour mark, change the damp paper towels for dry ones and stir every now and then.
Make the Cinnamon Pumpkin Seeds
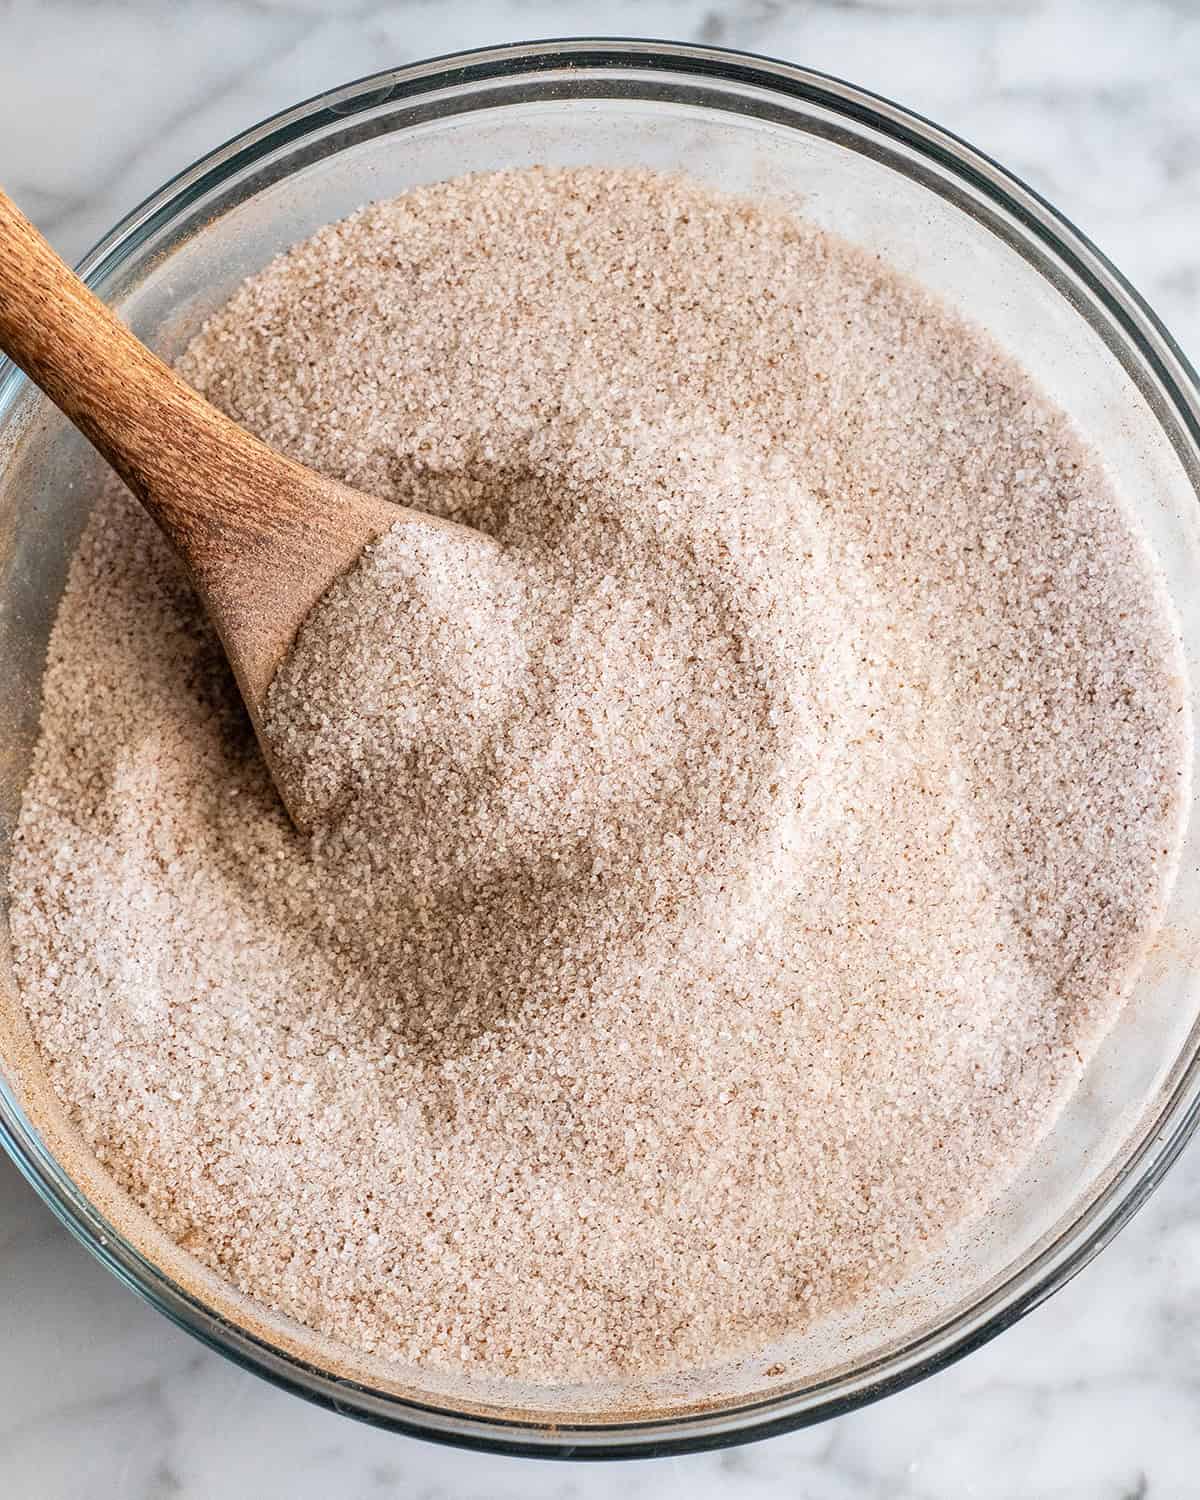
Begin by combining the dry ingredients in a small bowl.

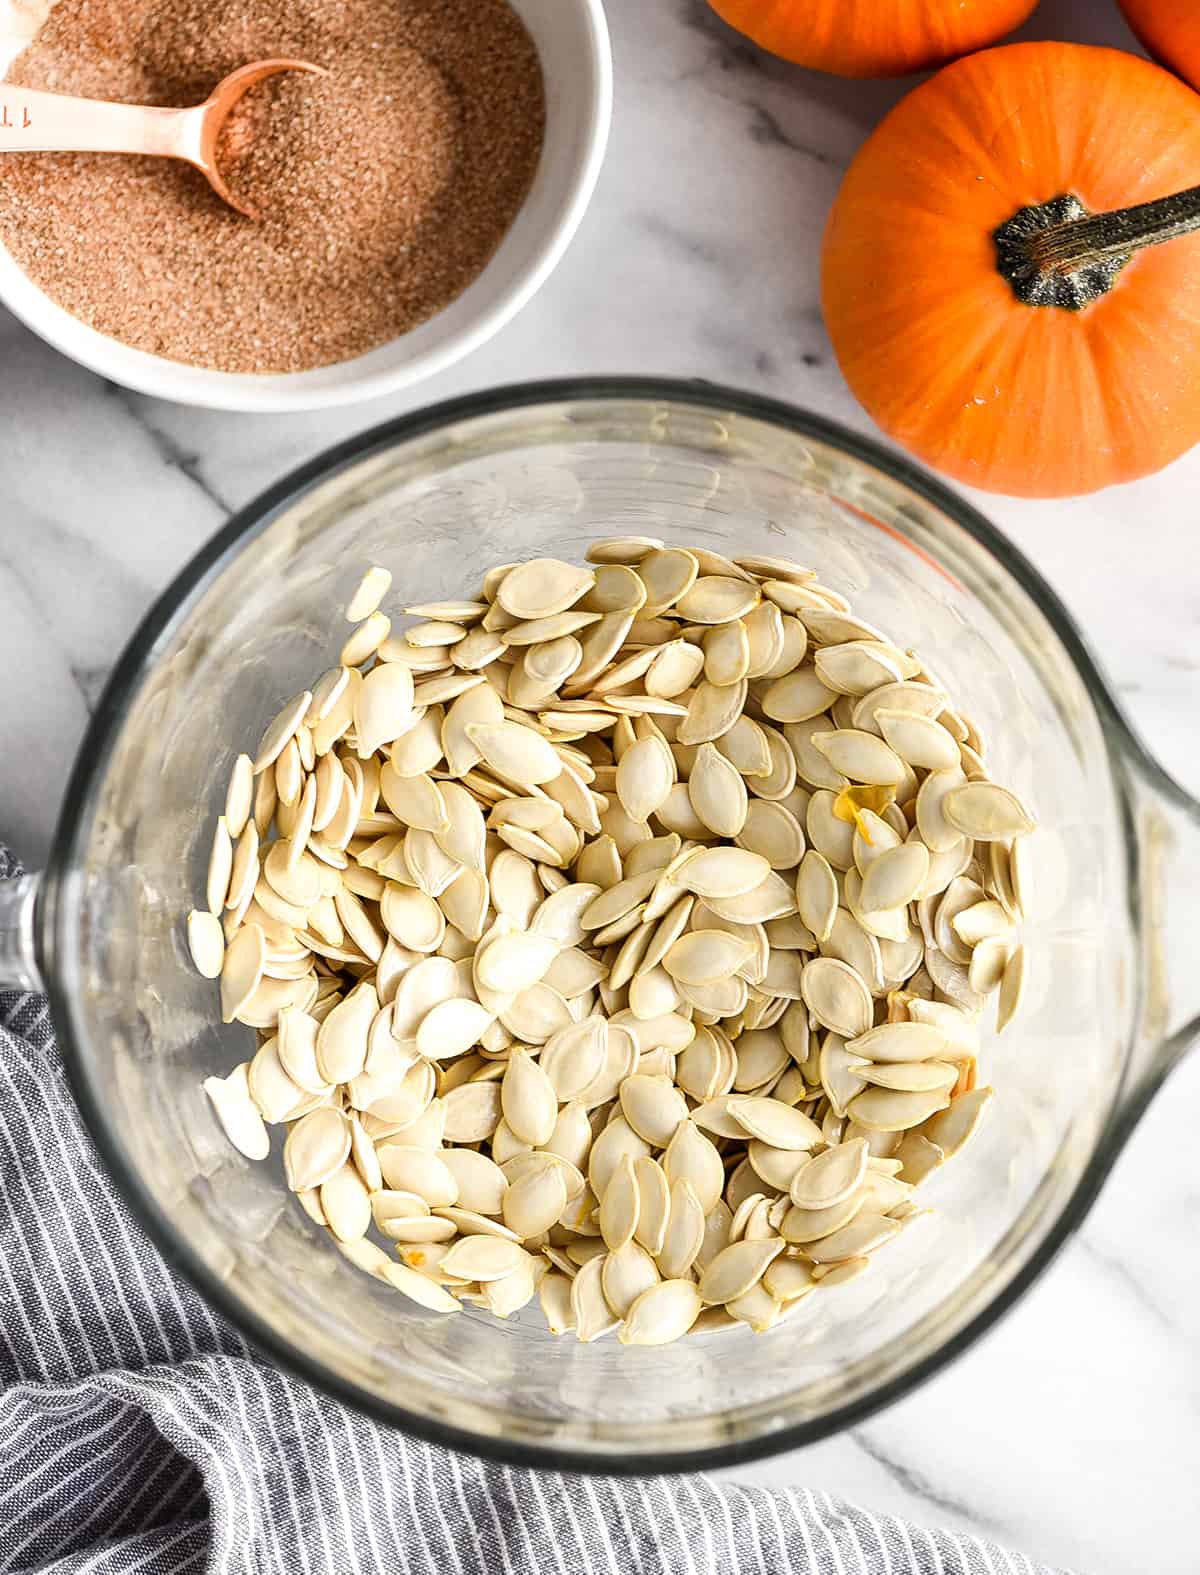
Once the seeds are completely dry, you are ready to make these roasted pumpkin seeds! Simply melt the butter in a microwave safe dish. Mix in vanilla and stir the mixture into the pumpkin seeds, making sure the seeds are evenly coated with the mixture.
Then, add the dry mixture to the coated pumpkin seeds and stir to coat.
Next, spread the cinnamon sugar pumpkin seeds out on a large baking sheet in a single layer and bake.
A little helpful tip, be very careful not to over-bake these cinnamon sugar pumpkin seeds! When they start to brown ever-so-slightly they are done.

Test for Doneness
by taking out 3 or 4 seeds and letting them come to room temperature. If the roasted pumpkin seeds become nice and crispy then your seeds are done baking! If they remain soft, toss them back on the pan and bake a touch longer!
How to re-crisp roasted pumpkin seeds
If your seeds become soft after a day or two…simply reheat them at 250 in the oven for 5-10 minutes! When you remove them and they cool completely they will perfectly crisp up like they were freshly made that day!

Store
Store these pumpkin seeds in an airtight container for up to 1 week at room temperature. I don’t recommend refrigerating them because it could cause them to become soft again.
To Re-Crisp
If your pumpkin seeds become soggy, you can re-crisp them in the oven set ot 350 degrees for 3-5 minutes.

Cinnamon Sugar Roasted Pumpkin Seeds FAQs
No. Quite the opposite, this recipe calls for drying out the pumpkin seeds for 12-24 hours before roasting.
Yes to both! You can easily scale this recipe as needed.
Tossing the dried pumpkin seeds in melted butter and vanilla makes the cinnamon sugar stick to the seeds. Also, stirring during bakings helps reincorporate any cinnamon sugar that may have fallen off during baking.
Yes, drying the pumpkin seeds is crucial for crispy roasted pumpkin seeds that do not get soggy.
We roast the seeds low and slow here, 325 degrees Fahrenheit (163 degrees Celsius) for 25-35 minutes.
The best way to tell if they are done is to remove one from the baking sheet and let it cool. Once cooled it should be dry to the touch (not sticky) and have a crunchy texture.
They stay fresh for up to 1 week stored at room temperature in an airtight container.
If you make and love my recipes, it would mean so much to me if you would leave a comment and rating! And don’t forget to follow along on Instagram, Pinterest, Facebook, TikTok and Youtube – be sure to tag @joyfoodsunshine and use the hashtag #joyfoodsunshine so I can see your creations!
Roasted Cinnamon Sugar Pumpkin Seeds
Video
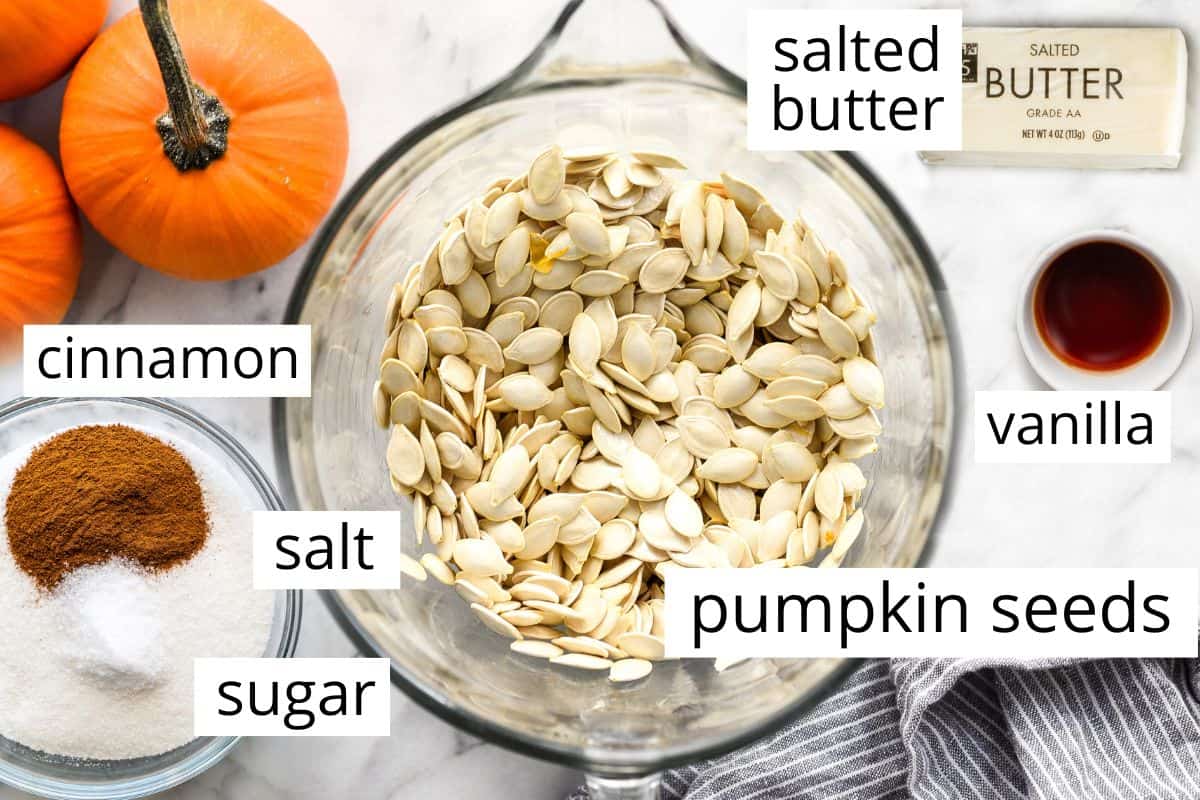
Ingredients
- 3 cups pumpkin seeds (dried for at least 24 hours)
- 3 Tablespoons salted butter (or coconut oil)
- ½ teaspoon pure vanilla extract
- 4 Tablespoons granulated sugar*
- 2 teaspoons ground cinnamon
- 1 teaspoon sea salt
Instructions
Dry Pumpkin Seeds
- Remove from pumpkins and rinse thoroughly. Spread out in a single layer on a baking sheet lined with paper towels. Let sit at room temperature for 24 hours, changing the damp paper towels out for dry ones after about 12 hours and stirring occasionally.
Make Cinnamon Sugar Pumpkin Seeds
- Preheat oven to 325°Fahrenheit (163 degrees Celsius). Very lightly grease a large baking pan, set aside.
- In a small bowl, mix together sugar, cinnamon, and salt. Set aside.
- Melt the butter – either in the microwave in a large bowl or on the stovetop in a saucepan over low heat.
- Once the butter is melted, stir in the vanilla.
- Then, add the pumpkin seeds until they are evenly coated in the butter/vanilla mixture.
- Add the dry ingredients to the pumpkin seeds and stir until all they are evenly coated.
- Spread pumpkin seeds on the prepared baking pan in single layer.
- Bake for 25-35 minutes, stirring every 10 minutes, until seeds begin to brown.
- To test for doneness: remove a few seeds from the pan and let sit on the counter to cool. If they harden up the seeds are done. If they remain soft, return to the oven, checking them after 5 minutes. Continue baking in 5 minute intervals until done.
- Once seeds are done, transfer them from the warm pan to another pan lined with parchment paper to let cool.
Notes
- Salted butter. Unsalted butter, coconut oil and vegan butter (like Earth Balance) are good substitutes.
- Granulated sugar: use white sugar, organic cane sugar, or coconut sugar.
Nutrition
Nutrition information is automatically calculated, so should only be used as an approximation.
These are really good!
The only problem i had was not stirring them well enough and it stuck to the bottom of the pan.
Otherwise, I would eat them every day!
I’m so glad you love them! Try using a silicone baking mat next time!
These turned out great! I subbed 2.5 TBS honey for the sugar and followed what another commenter suggested to cut back on time. I boiled the pumpkin seeds for 10 minutes, quickly dried them on a clean dish towel and then carried on with the rest of the recipe. They were perfectly crunchy.
Thank you Mackee!
So delicious!! Will definitely make them again.
I’m so happy you love them, Nicole!
My daughter loves everything pumpkin and talked me into this recipe.
I used Monk Fruit sugar instead of the regular granulated sugar. I did 2 batches like this, but on the 2nd batch I added 1/4 teaspoon Cayenne pepper. I did a blind taste test and the Cayenne pepper won out. It’s not spicy and just adds extra flavor.
Good morning,
I wanted to let you know and to thank you in advance as I am using your recipe and a few of your photos to promote farm fresh month at my elementary school. We are going to make your roasted pumpkin seeds and do a taste testing with our students about the health benefits and various ways to use this winter locally grown squash. I was not sure how to give you credit so I hope this note will be enough.
Wow, first time ever roasting my own pumpkin seeds. So glad I kept scrolling until I found your recipe. So delicious. I can’t wait to use them in my oatmeal tomorrow morning. But I hope I still have some left by them 😋😀
Now to find more pumpkins!
These were great! made about a cup of them from my Halloween pumpkin and ate them all within a few hours. Will definitely be making again next time I have pumpkins!
I should have stopped at 20 minutes and I sprinkled some sugar at the end.
Wow, these were fabulous! I cannot stop eating them. Best pumpkin seed recipe ever, hands down. I will enjoy every year with my family!