Easy Dutch Oven No Knead Bread
Posted Feb 23, 2020, Updated Jul 23, 2024
This post may contain affiliate links. Please read our disclosure policy.
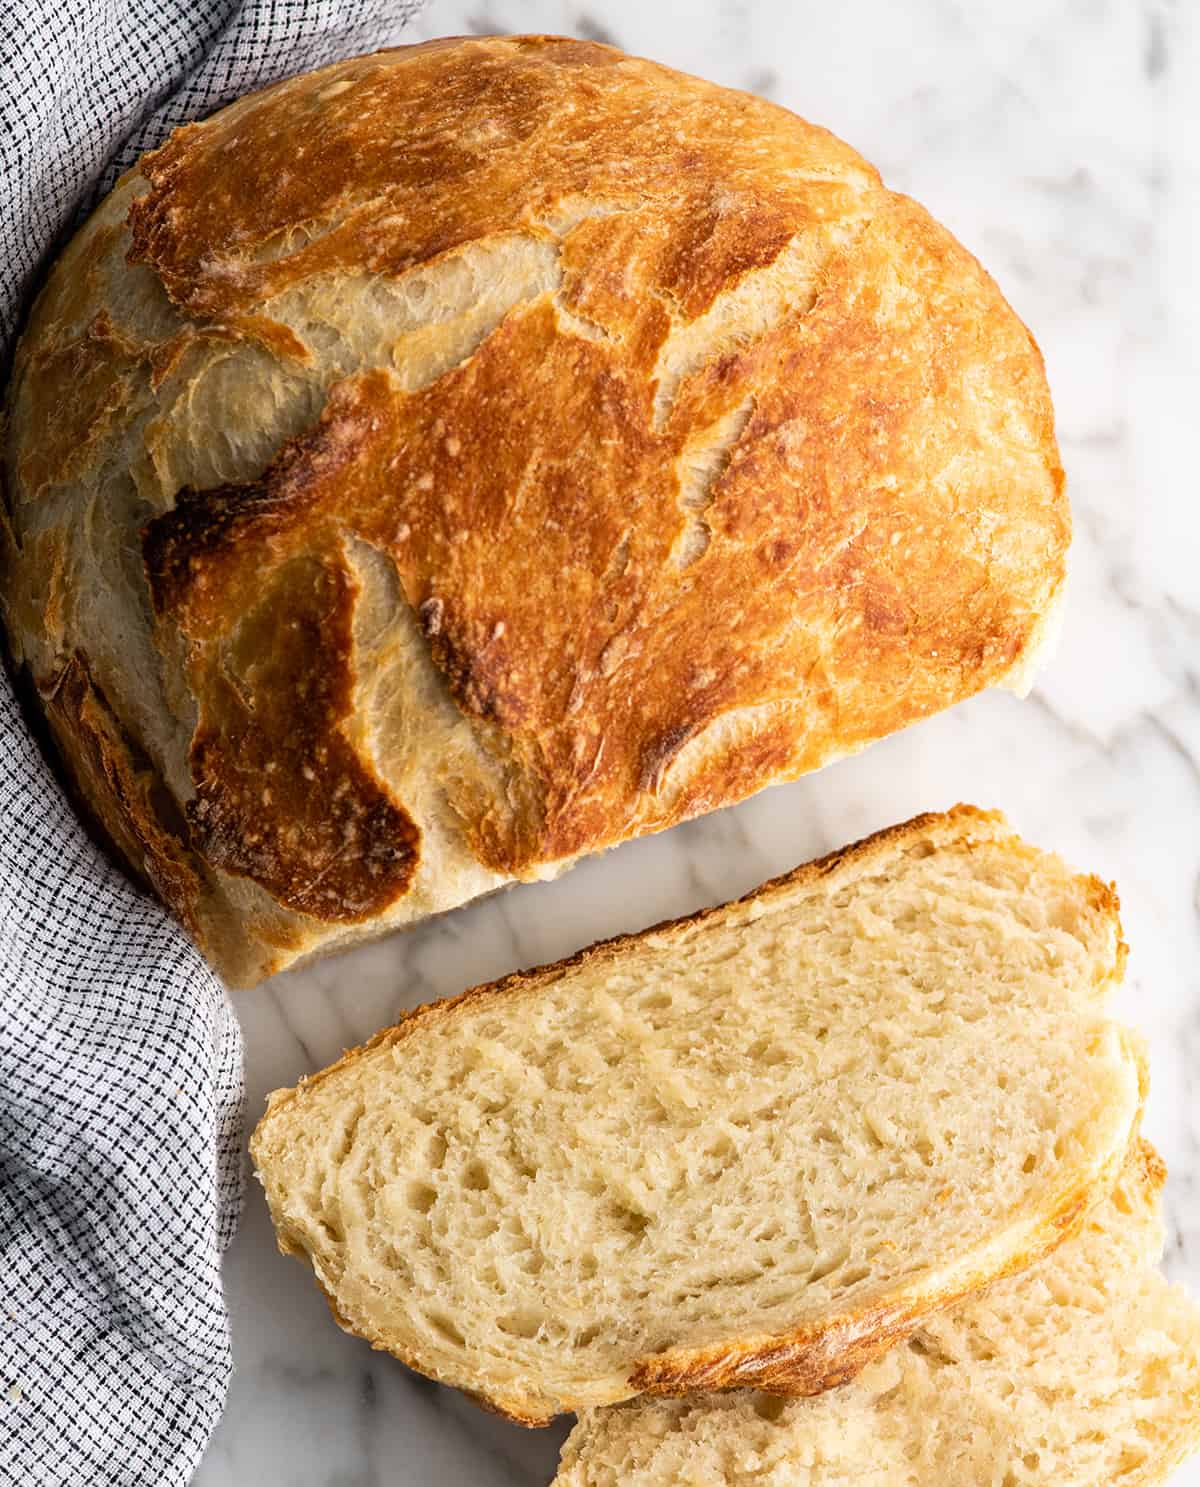
Easy Dutch Oven No Knead Bread recipe is made with only 4 ingredients and takes 5 minutes of prep time! If you want to make delicious homemade bread that looks & tastes like it came from a fancy bakery but actually takes very little effort, this dutch oven bread recipe is for you!
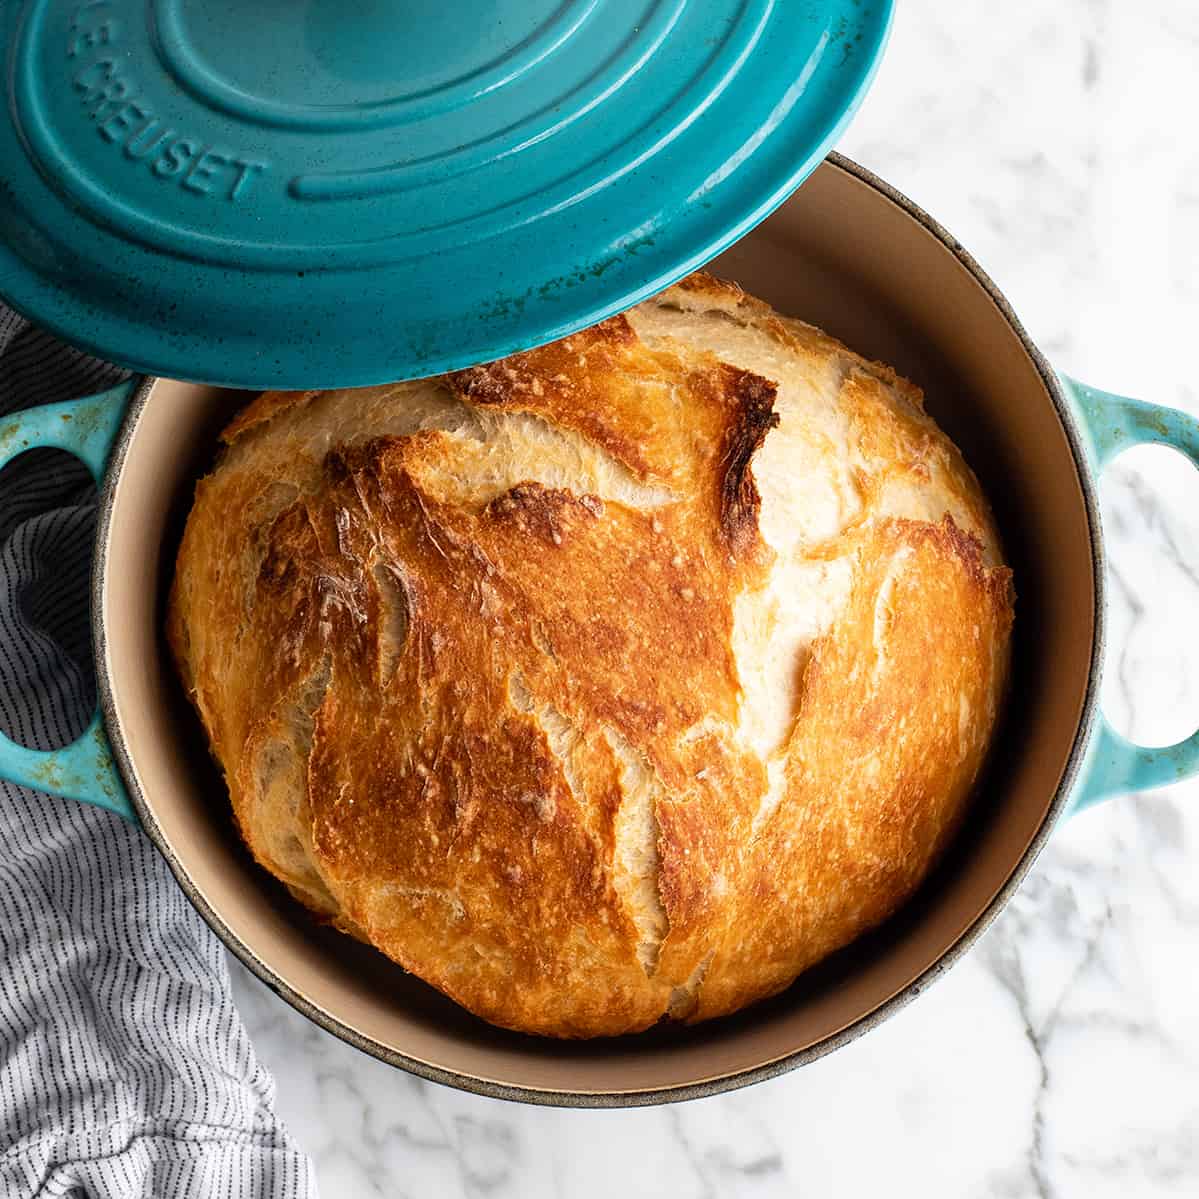
I cannot think of a time when I would turn down a slice (or two) of warm homemade bread fresh from the oven (like this homemade french bread). However, I know that some people are intimidated by the idea of making bread from scratch.
Well, you’re in luck because this Easy No Knead Bread is the perfect recipe if you want to bake homemade bread but are working on your confidence in the kitchen! It’s a no knead dutch oven bread that tastes like you worked for hours – when you really only spent 5 minutes preparing it!
This dutch oven bread is incredibly moist and tastes like a less sour, sourdough bread! It is both dense and fluffy at the same time, and is the perfect companion to any meal (like this tortellini soup, vegetable soup, chicken noodle soup, etc.)! I make it all the time, because I love that it’s prepped the day before and just popped in the oven right before company comes over.
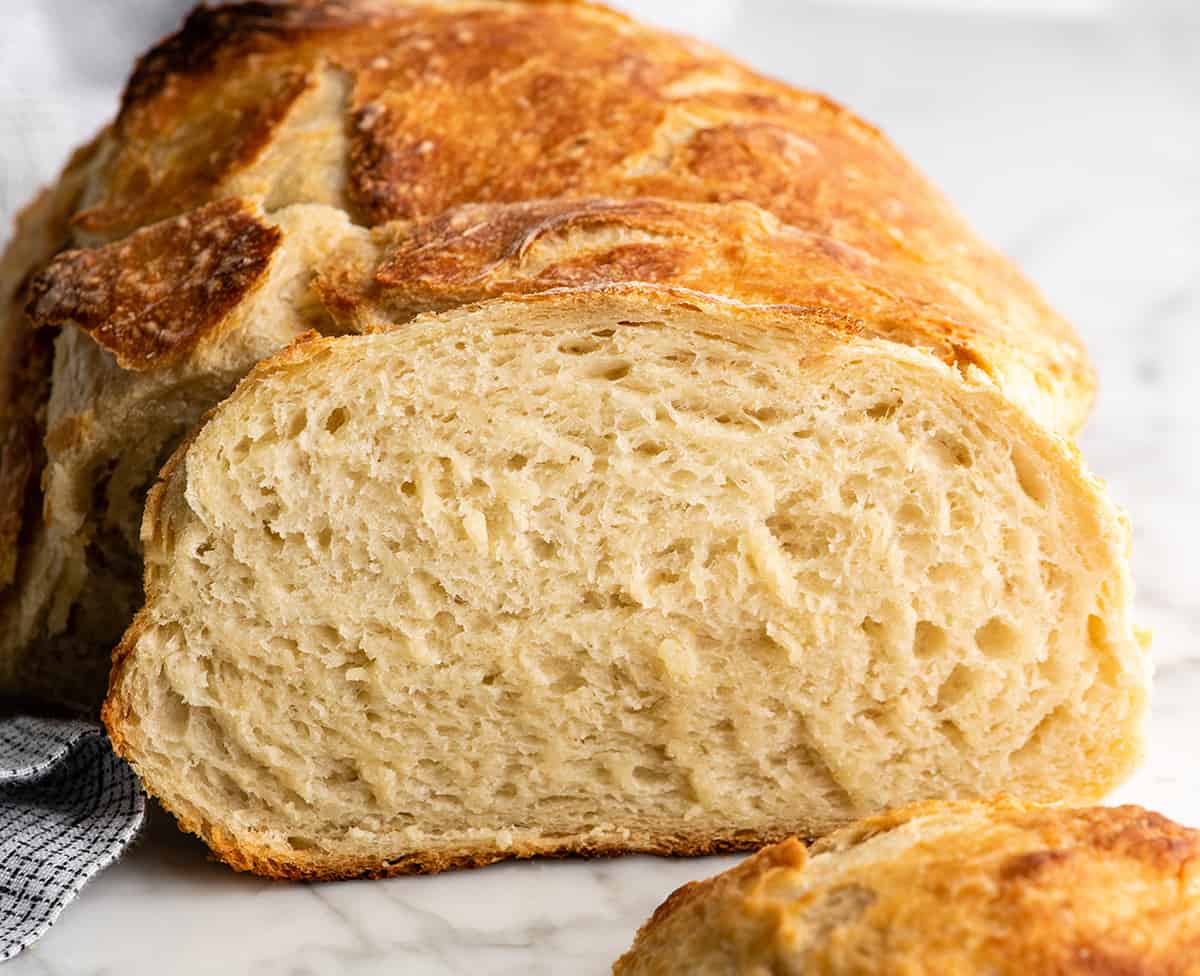
No Knead Bread: Ingredients & Substituions
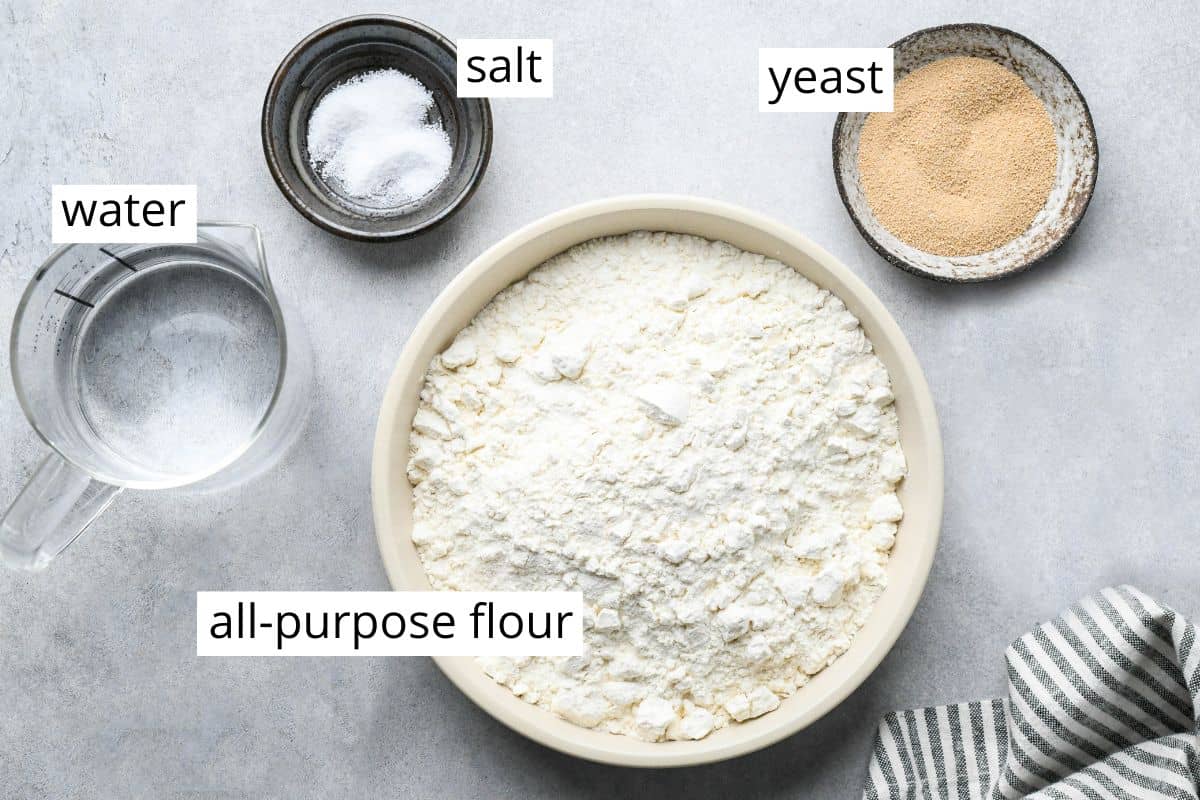
- All-purpose flour. You can replace up to 1 cup of the flour with white whole wheat flour, but I don’t recommend making any other changes. This dutch oven bread is best when made with all-purpose flour.
- Sea salt. I recommend pure, fine sea salt for the best outcome!
- Yeast. Active dry yeast is the best choice for this no knead bread recipe, however you can use rapid rise yeast but you will still need to let it rise overnight.
- Water. Make sure to use warm water (105 degrees). It should feel warm to the touch but not hot.
- Optional mix-ins. If you’d like to create fun varieties, try mixing in parmesan cheese, fresh herbs, roasted garlic, etc.
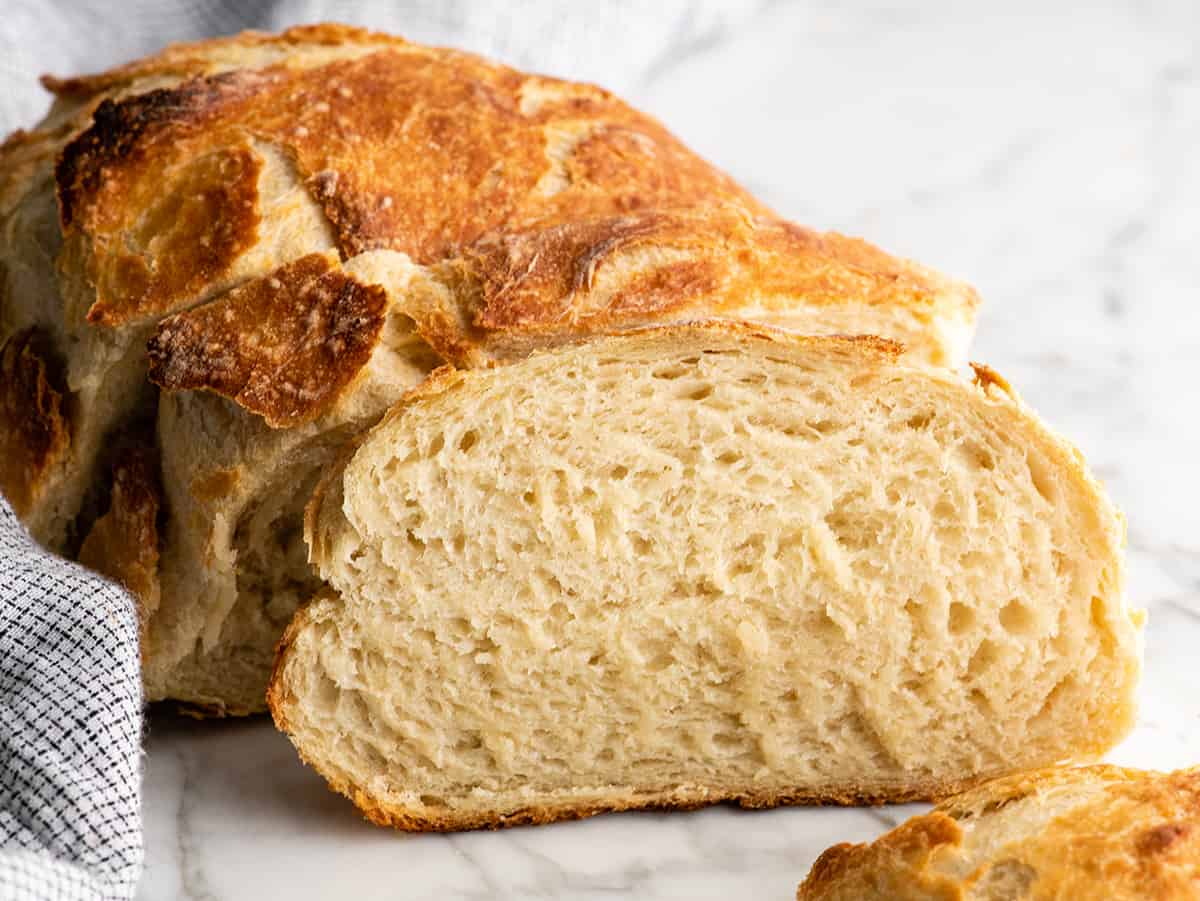
How to Make No Knead Bread
Like I said above, if you want to make bread from scratch, this is your recipe! It looks & tastes like a beautiful loaf of artisan bread from a high-end bakery, but takes minimal time, effort and ingredients.
Seriously, this No Knead Dutch Oven Bread couldn’t be any simpler. It’s made with 4 ingredients and takes only 5 minutes of active prep time! There is no kneading, no waiting for the perfect rise (twice), and no exhaustive list of instructions to follow.
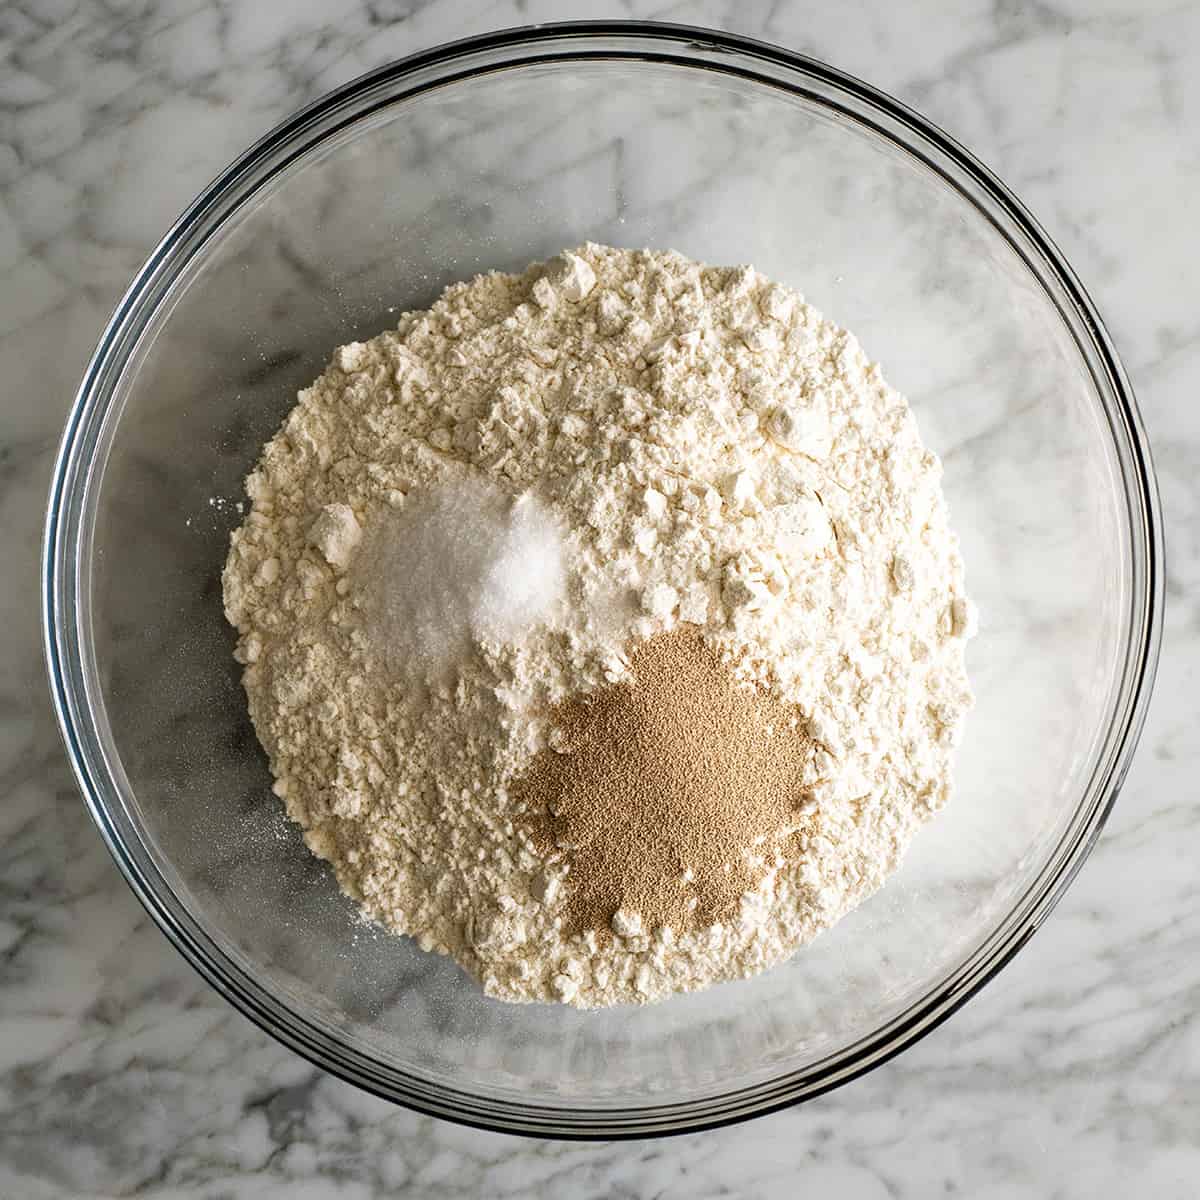
Step 1. Mix together dry ingredients
The first step in making this no knead bread is to mix together the dry ingredients, flour, sea salt and yeast.
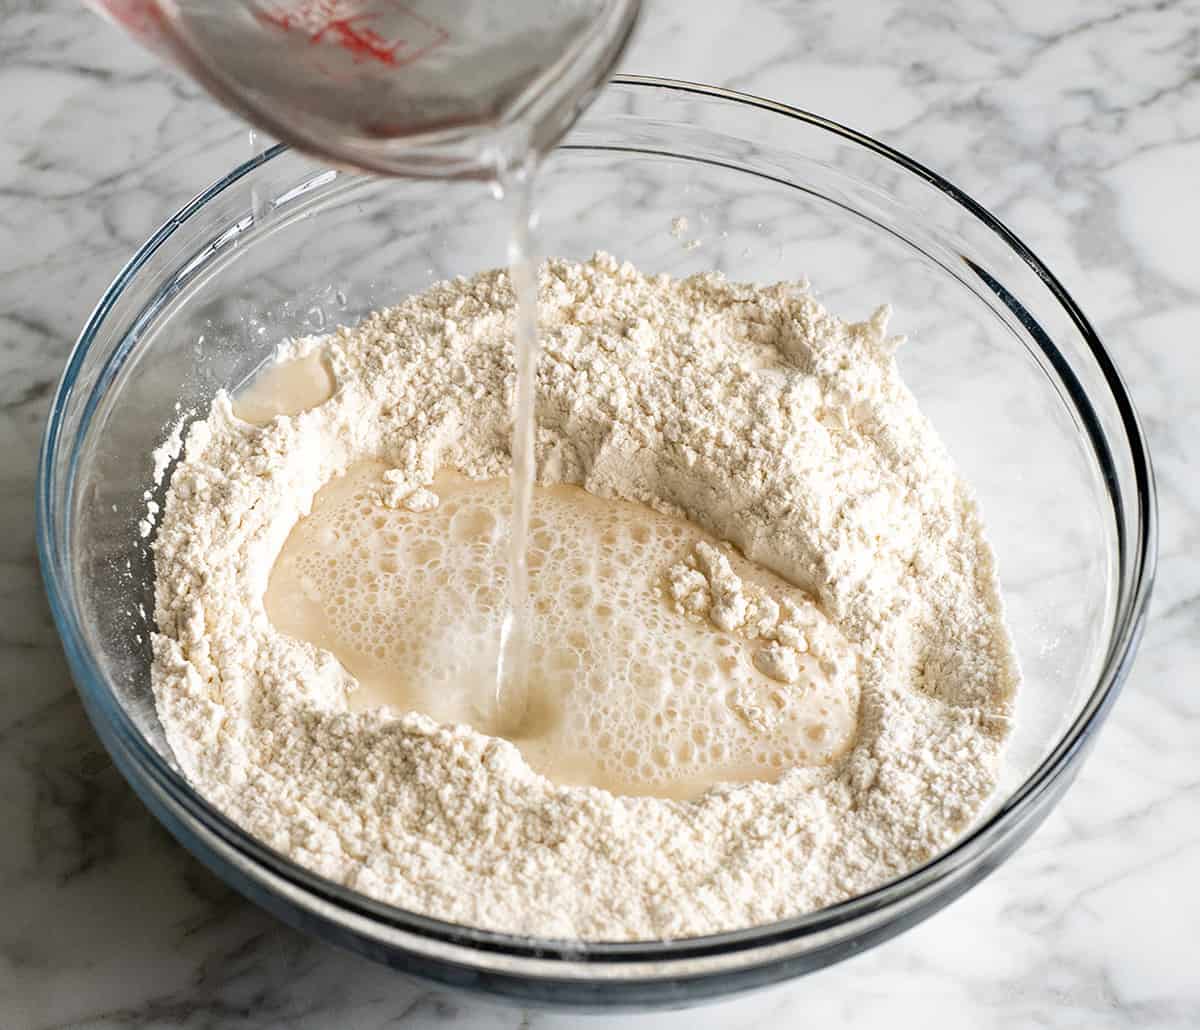
Step 2. Add Warm Water
Next, add warm water and stir. Be sure the water is around 105 degrees F, anything warmer could kill the yeast and prevent the dutch oven bread from rising.
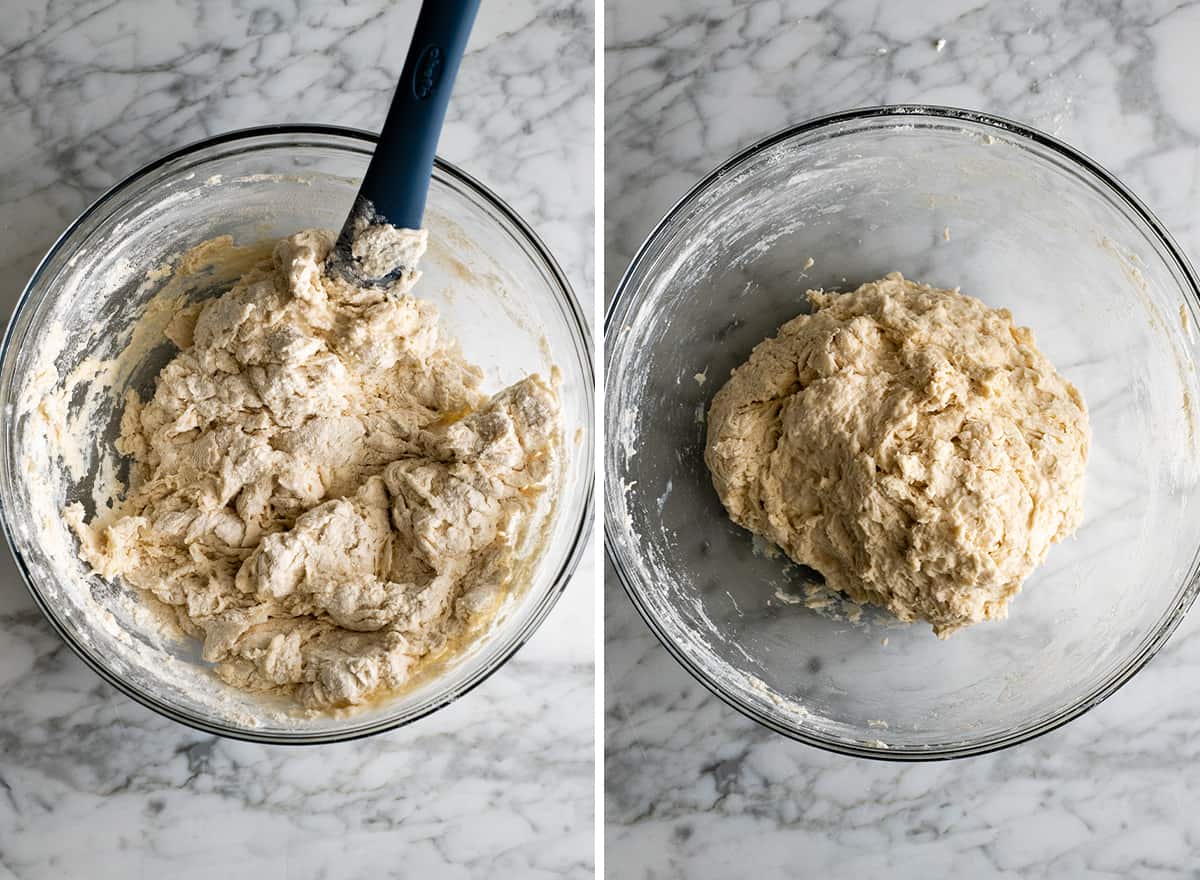
Step 3. Stir
Stir the dough until a sticky ball forms. As you can see in the photo on the right, the dough should hold a ball shape but it will be stick to the touch, and not very smooth.
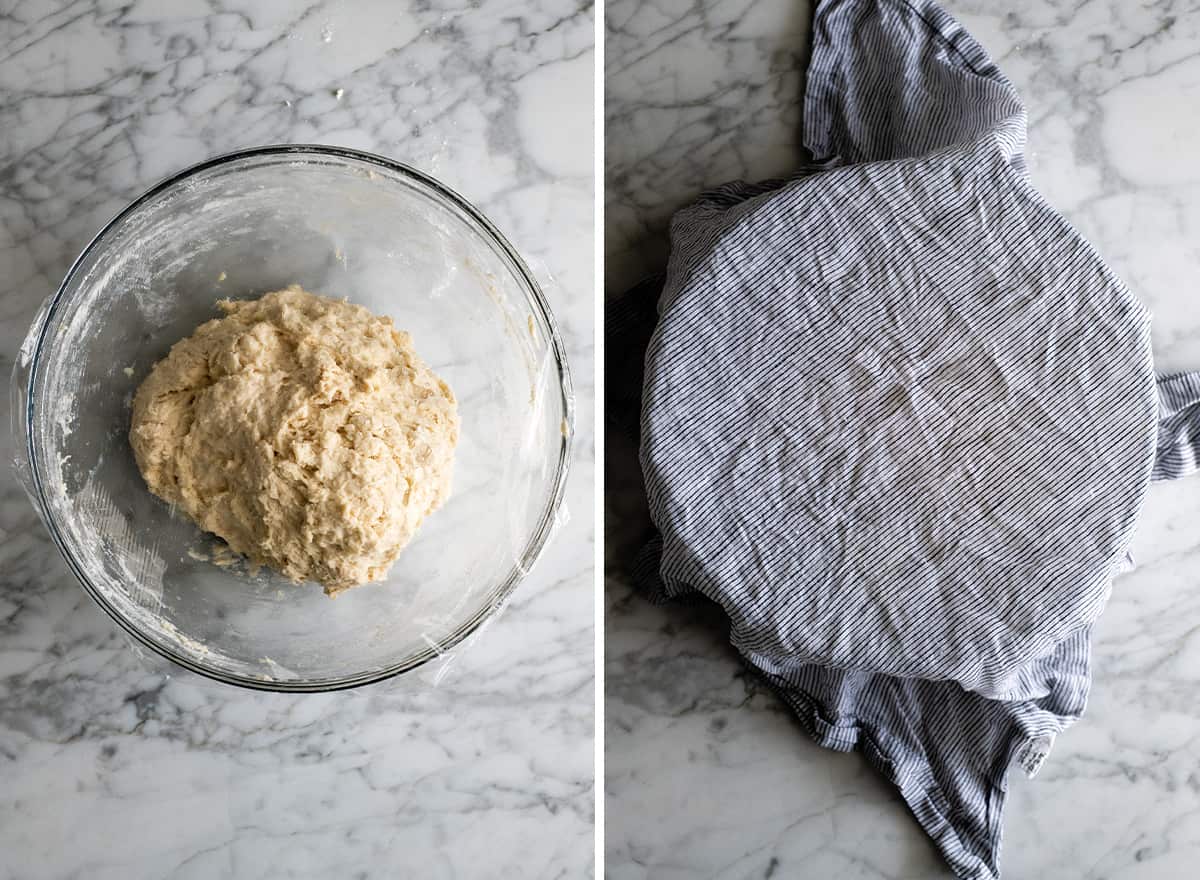
Step 4. Cover & Let Set overnight
First cover the bowl with greased plastic wrap and wrap the bowl tightly. Then place a damp tea towel over the plastic wrap. Set it in a secure, warm place in your kitchen to rest for at least 18 hours, preferably 24.
Form Dough Ball
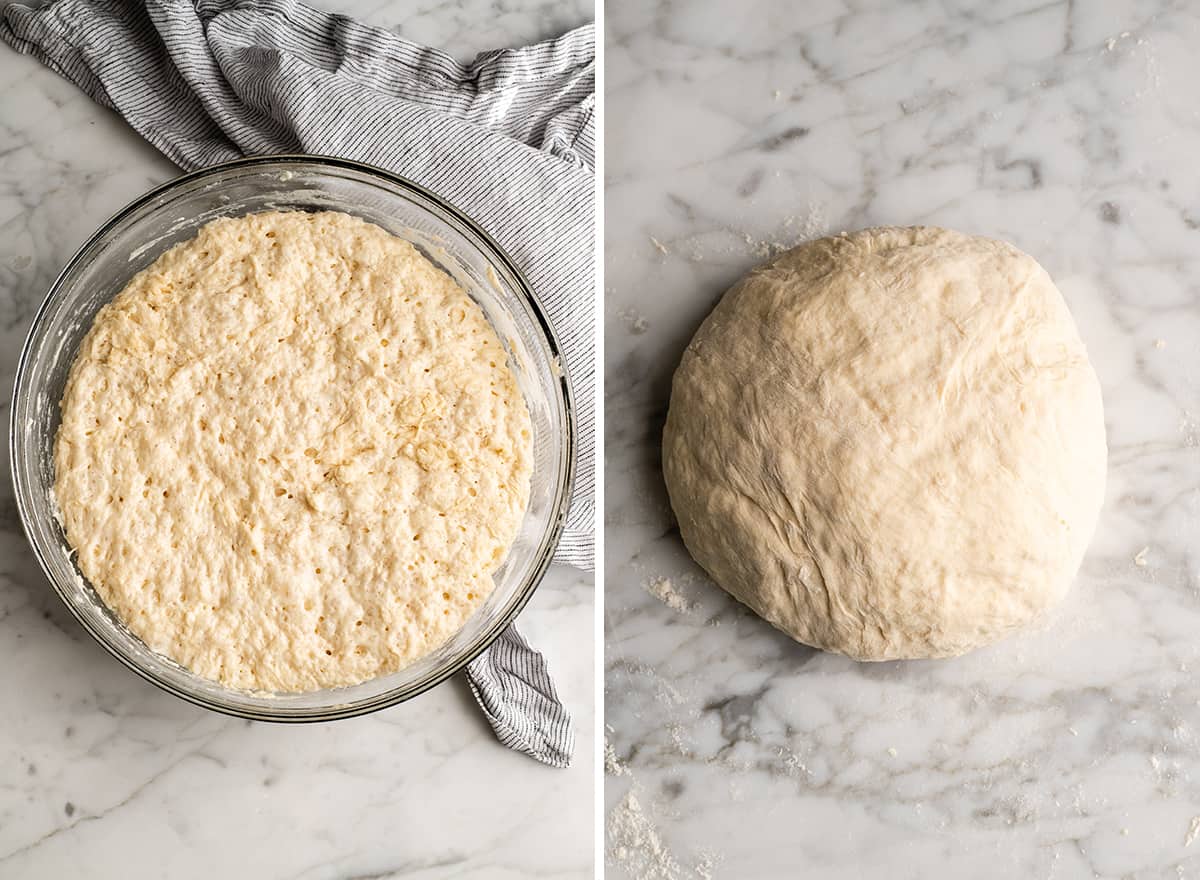
After 24 hours, the no knead bread should look like the left photo below. The dough will rise in the bowl and have holes in it. Flour your hands and press the dough down. Then use a little extra flour to make the dough into a ball, and cover it to let it rest.
Important note: The dough ball will be loose and “floppy.” It will be a little difficult to transfer to the baking pan. That is how it should be as this is a very moist bread which is what makes it so irresistible. So you will not have a firm ball, it will look a little flat (as pictured below).
Preheat Dutch Oven & Bake
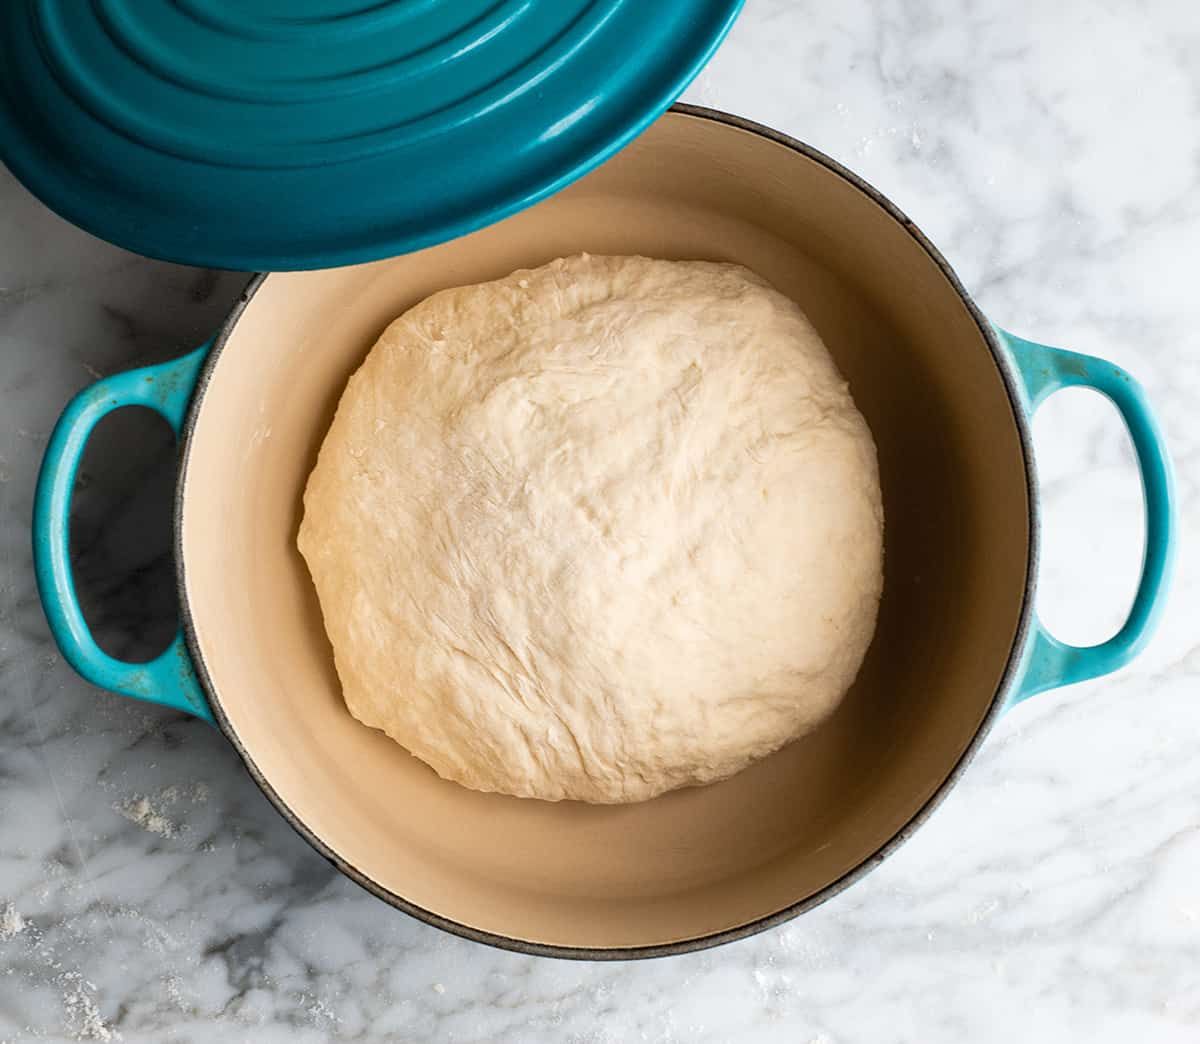
Right before you pull the dough out of the bowl, place the dutch oven into the oven and preheat it to 450 degrees F. Placing the artisan bread dough into the warm dutch oven results in a golden-brown crispy crust. When the oven is preheated, carefully remove the heated dutch oven from the oven, spray with cooking spray and put the dough inside.
Use a Dish With a Lid (a Dutch Oven).
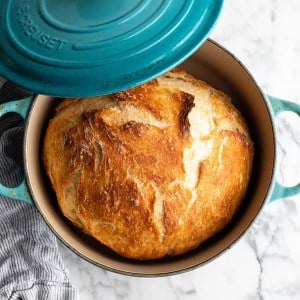
This Easy No Knead Bread needs to be baked for 30 minutes covered and 15 minutes uncovered, so a lidded baking dish is critical. I use this Le Creuset 2.75 qt. dutch oven to bake mine, but most round baking dishes with a lid will work.
Cool & Serve
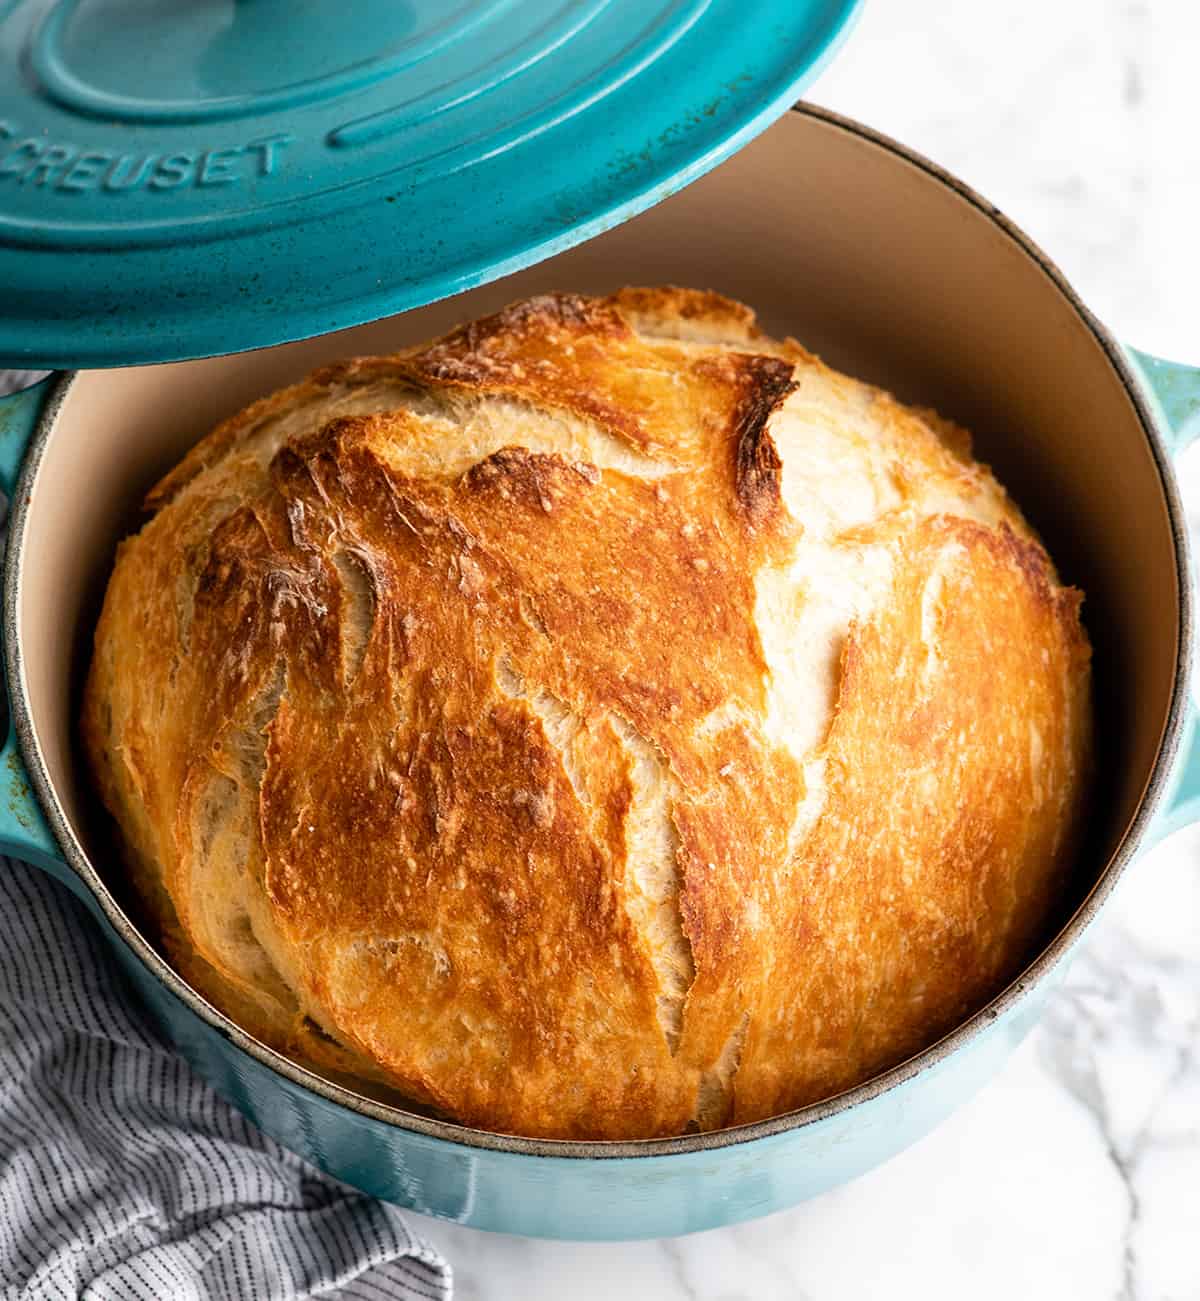
Once the no knead bread is done baking, remove it from the dutch oven and place it on a wire rack to cool slightly before serving.
Everyone who tastes this easy no knead dutch oven bread recipe loves it! My favorite ways to eat it is with a warm bowl of soup, dipped into this baked goat cheese dip, or in a swirl of balsamic vinegar and olive oil!
Store/Freeze
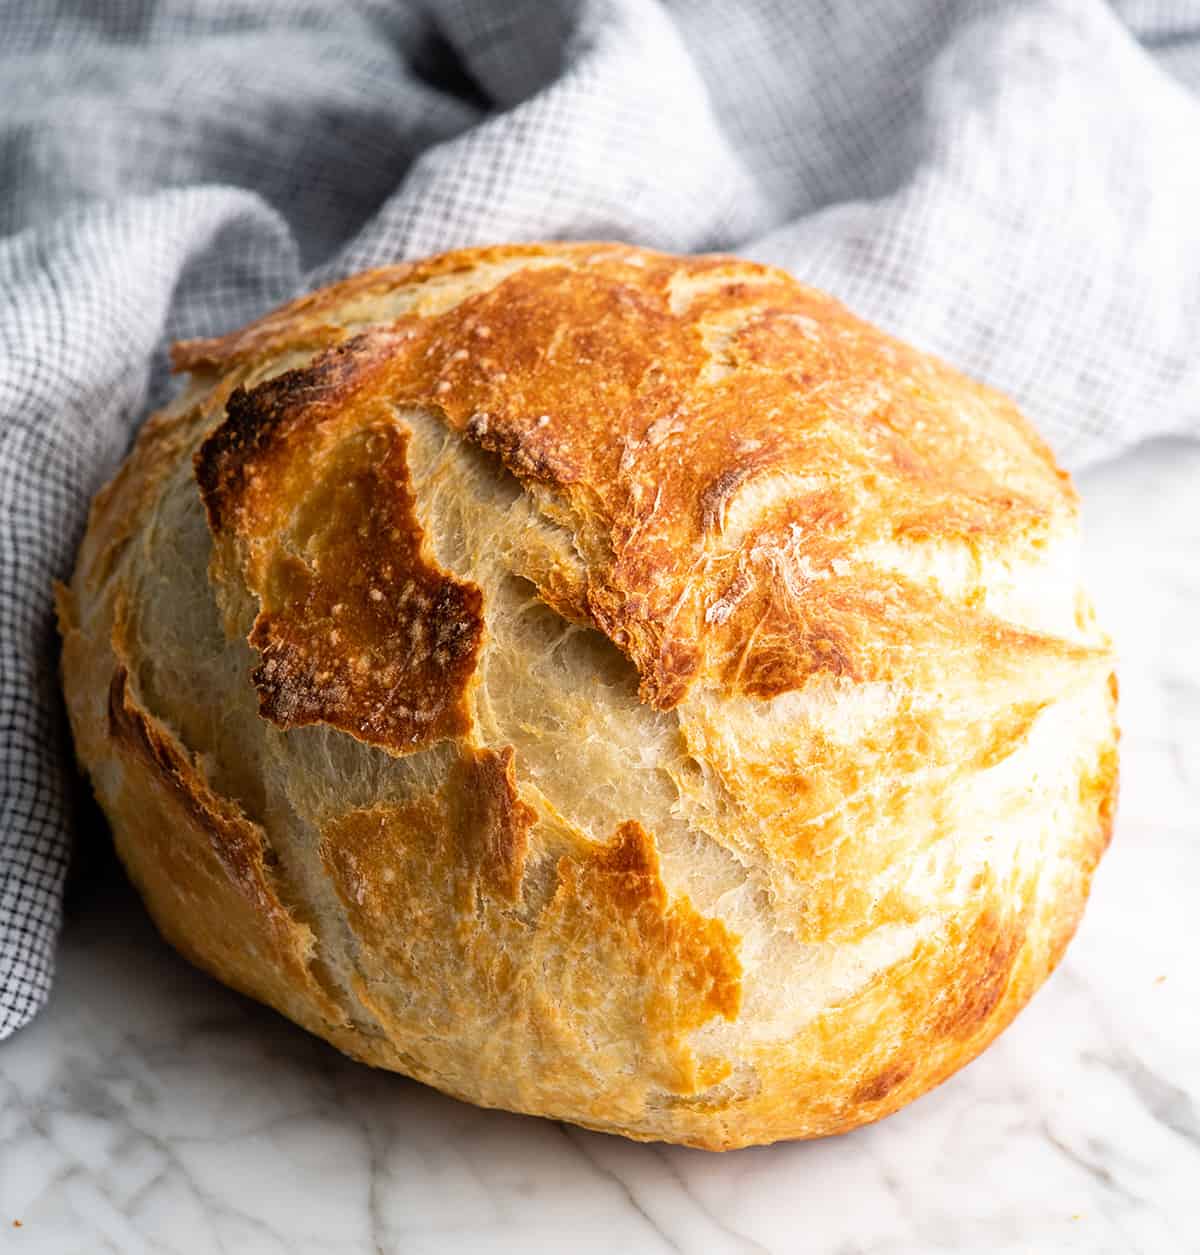
Store leftover bread in an airtight container (silicone or plastic bag) for up to 3 days at room temperature or 1 week in the refrigerator. Or, freeze it in an airtight container for up to 2 months.
Dutch Oven Bread Recipe FAQs
Here are some frequently asked questions about making this no knead bread recipe!
I recommend using a 2 3/4 quart (2.4L) dutch oven to make this bread!
Let it rise for up to 24 hours overnight at room temperature, or up to 3 days in the refrigerator.
Yes, many readers (including myself) have had success baking this recipe in a larger dutch oven.
Yes, you can double the ingredients and bake it in a 5-6 quart dutch oven according to the recipe.
If you make and love my recipes, it would mean so much to me if you would leave a comment and rating! And don’t forget to follow along on Instagram, Pinterest, Facebook, and Youtube – be sure to tag @joyfoodsunshine and use the hashtag #joyfoodsunshine so we can see your creations!
Easy No Knead Bread (Dutch Oven Bread)
Equipment
- Dutch Oven (2 ¾ Quart)
Ingredients
- 3 cups all-purpose flour
- 2 teaspoons active dry yeast
- 1 ½ teaspoons sea salt
- 1 ½ cups warm water 105 degrees F
Instructions
- Combine the flour, yeast, and salt in a large bowl and stir to combine.
- Add the water and mix until the dough forms a ball.
- Cover the bowl with plastic wrap (sprayed with cooking spray) and a damp tea towel.
- Let dough sit covered at room temperature for 18-24 hours.
- After 24 hours (or at least 1 hour before you want to serve) preheat the oven to 450 degrees F.
- Place a 2 3/4 quart dutch oven (or a 2.4L baking dish) with a lid in the oven while it is preheating. (Note: Readers have used a 5 qt. dutch oven with success).
- While oven is preheating, transfer the dough from the bowl onto a floured surface.
- Form the dough into a ball, adding a few TBS more flour if needed. The dough should still be slightly loose. Then cover it with a floured towel while the oven is preheating. (Important note: The dough ball will be loose and "floppy." That is how it should be as this is a very moist bread which is what makes it so irresistible. You will not have a firm ball, it will look a little flat).
- Carefully remove the hot baking dish from the oven. Remove the lid and spray the dish with cooking spray or line it with parchment paper.
- Gently put the dough ball into the baking dish so it’s evenly distributed.
- Cover and bake for 30 minutes.
- Remove the lid and bake for an additional 15 minutes, or until the loaf is golden brown.
- Remove the loaf from the baking dish and let it cool on a rack before slicing. To keep it warm, cover with a tea towel.
Video
Notes
- All-purpose flour. You can replace up to 1 cup of the flour with white whole wheat flour, but I don’t recommend making any other changes. This dutch oven bread is best when made with all-purpose flour.
- Sea salt. I recommend pure, fine sea salt for the best outcome!
- Yeast. Active dry yeast is the best choice for this no knead bread recipe, however you can use rapid rise yeast but you will still need to let it rise overnight.
- Water. Make sure to use warm water (105 degrees). It should feel warm to the touch but not hot.
- Optional mix-ins. If you’d like to create fun varieties, try mixing in parmesan cheese, fresh herbs, roasted garlic, etc.
Nutrition
Nutrition information is automatically calculated, so should only be used as an approximation.




This recipe does not work well with rapid rise yeast. The rapid rise yeast proofs and is spent after about 4 hours. It goes flat if left overnight. I’ve made this recipe many times. It only works with fresh regular rising yeast and fresh flour. Don’t use old flour that’s been sitting around in your pantry for months. You’ll be disappointed. Good recipe if done right.
I have a one to one gluten-free flour by Bob Mills. Do you think that would work?
No, I tried!
Is bread flour the same as self-rising flour? Can self-rising flour be used?
No, do not use self-rising flour.
What about using cornmeal in bottom of Dutch oven instead of nonstick “Pam” spray??
You could definitely try that. Or use spray olive oil.
Made this several times already and love it. Have added some spices (basil or rosemary) when mixing to give it some extra flavor.
My daughter and I made this bread after failing with a traditional recipe requiring kneading. We were so excited to have success! Easy and so delicious!! Now we make it every day. My husband says it reminds him of the homemade bread from his childhood. Thank you for sharing this recipe! We feel so empowered to literally put bread on the table each day now! 💜
I have my bread covered in a bowl right now. I will bake it in 8 hours. I followed the recipe as it is written. Would bread flour be used instead of all- purpose flour?
Yes, you can use bread flour.
I sprayed my Dutch oven with cooking spray, but it immediately turned brown. Should I still put my dough in and bake?
Yes, this happens when it’s hot!
Hi Laura
I have doubled my recipe. Does the cooking time change also?
Thank you
Can I use bread flour for this vs all purpose ? Is that the same thing ?
They are slightly different, but yes you definitely can use bread flour!
Followed the recipe and it delivered. Next, I’m going to try the slow rise, refrigerator method. Amazing that so little effort yields a superior loaf of bread!
I’m so glad you love it Nancy! I truly believe that food doesn’t have to be complicated to be delicious!
At which point would you add additional ingredients (cheese, herbs, etc)?