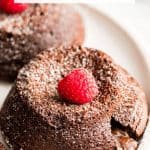
Molten Chocolate Lava Cake
Updated Mar 13, 2026
This post may contain affiliate links. Please read our disclosure policy.
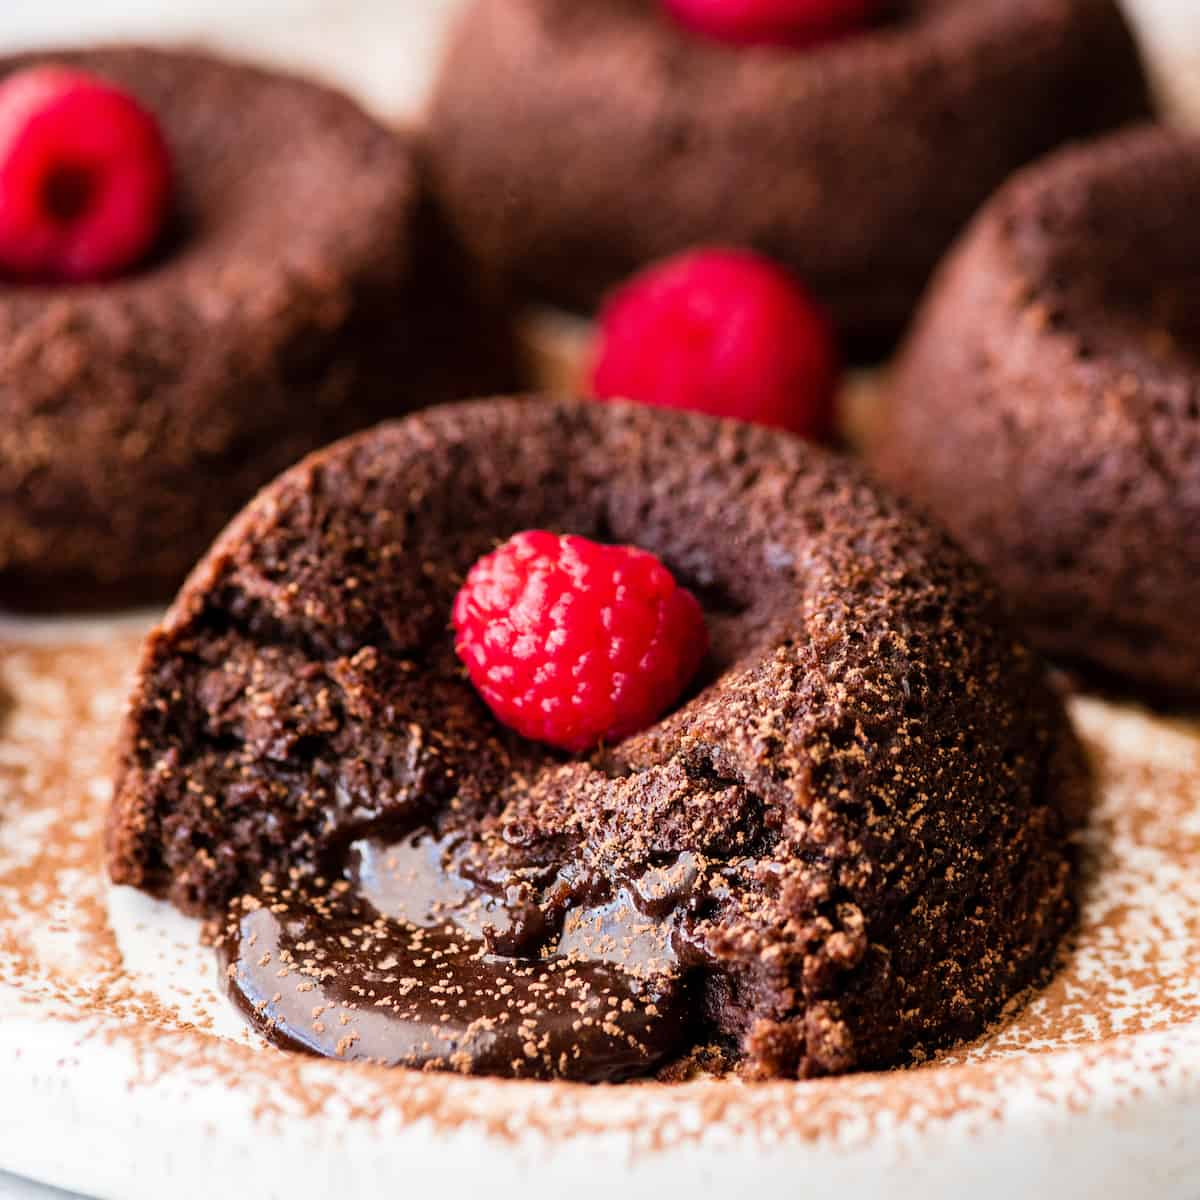
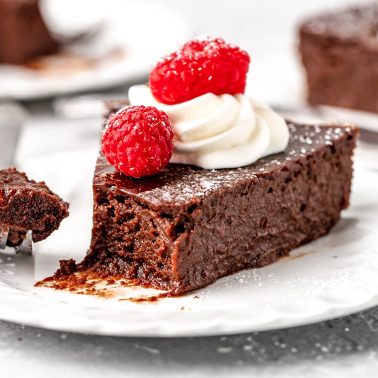
This molten chocolate lava cake recipe is easy to make with 6 ingredients in 20 minutes. These lava cakes are a decadent gourmet dessert that’s perfect for special occasions.

Molten Chocolate Lava Cakes are a decadent, gourmet dessert that are surprisingly easy and uncomplicated to make! They come together from start to finish in under 20 minutes, and will wow your dinner guests!
Once you make lava cakes at home, you will never need to go out to a fancy restaurant to satisfy your molten chocolate cake craving again! (gooey chocolate cake in my sweatpants, yes please)! Serve them with fresh homemade whipped cream or vanilla ice cream for total dessert nirvana.
Not only are these molten chocolate cakes simple and special, but they are easily made gluten-free to comply with your (or your guests’) dietary needs.
Chocolate Lava Cake: Ingredients & Substitutions

- Salted Butter. unsalted butter works well too.
- Semisweet Chocolate. You can use chocolate chips or a chopped chocolate bar, just be sure to use 6 ounces (or ¾ cup).
- Granulated Sugar. white sugar and organic cane sugar are great choices.
- Flour. There are many options that I have tried and have worked well for the flour in this recipe. Since it only calls for 1 Tablespoon, it’s easy to make substitutions that comply with your dietary needs. I have successfully used the following flours when making this chocolate lava cake recipe:
- all-purpose flour
- almond flour
- all-purpose gluten-free flour
- oat flour
- tapioca flour
How to Make Chocolate Lava Cakes
These chocolate lava cakes are easy to make. However, as always, I want to walk through the steps with you to ensure your success! You can also watch the video in this post to see exactly how they are made.
Begin by melting the butter and chocolate together either on the stovetop over low heat, or in the microwave.
One the butter/chocolate mixture is silky smooth and fully melted, set it aside to use later in the recipe.

Using either a standing mixer fitted with the wire whisk attachement, or hand mixer, beat the eggs until they are light and pale (for about 60 seconds). This is an important step for the overall texture and heartiness of this chocolate lava cake recipe, so please don’t skip it!

Once the eggs are light and pale, add sugar and salt and beat until the sugar is completely dissolved.
I used a hand mixer for the sake of making a video, but I usually use a standing mixer fitted with the wire whisk attachment.

By this point the melted chocolate should have cooled slightly, and is ready to be added to the molten lava cake batter (along with the vanilla).
Beat until the mixture is homogenous (uniform throughout) and smooth.

Once the mixture is smooth, add the flour and mix the batter on low speed until it’s just combined.
The final batter will be thick with a rich chocolate color (pictured below).

Bake
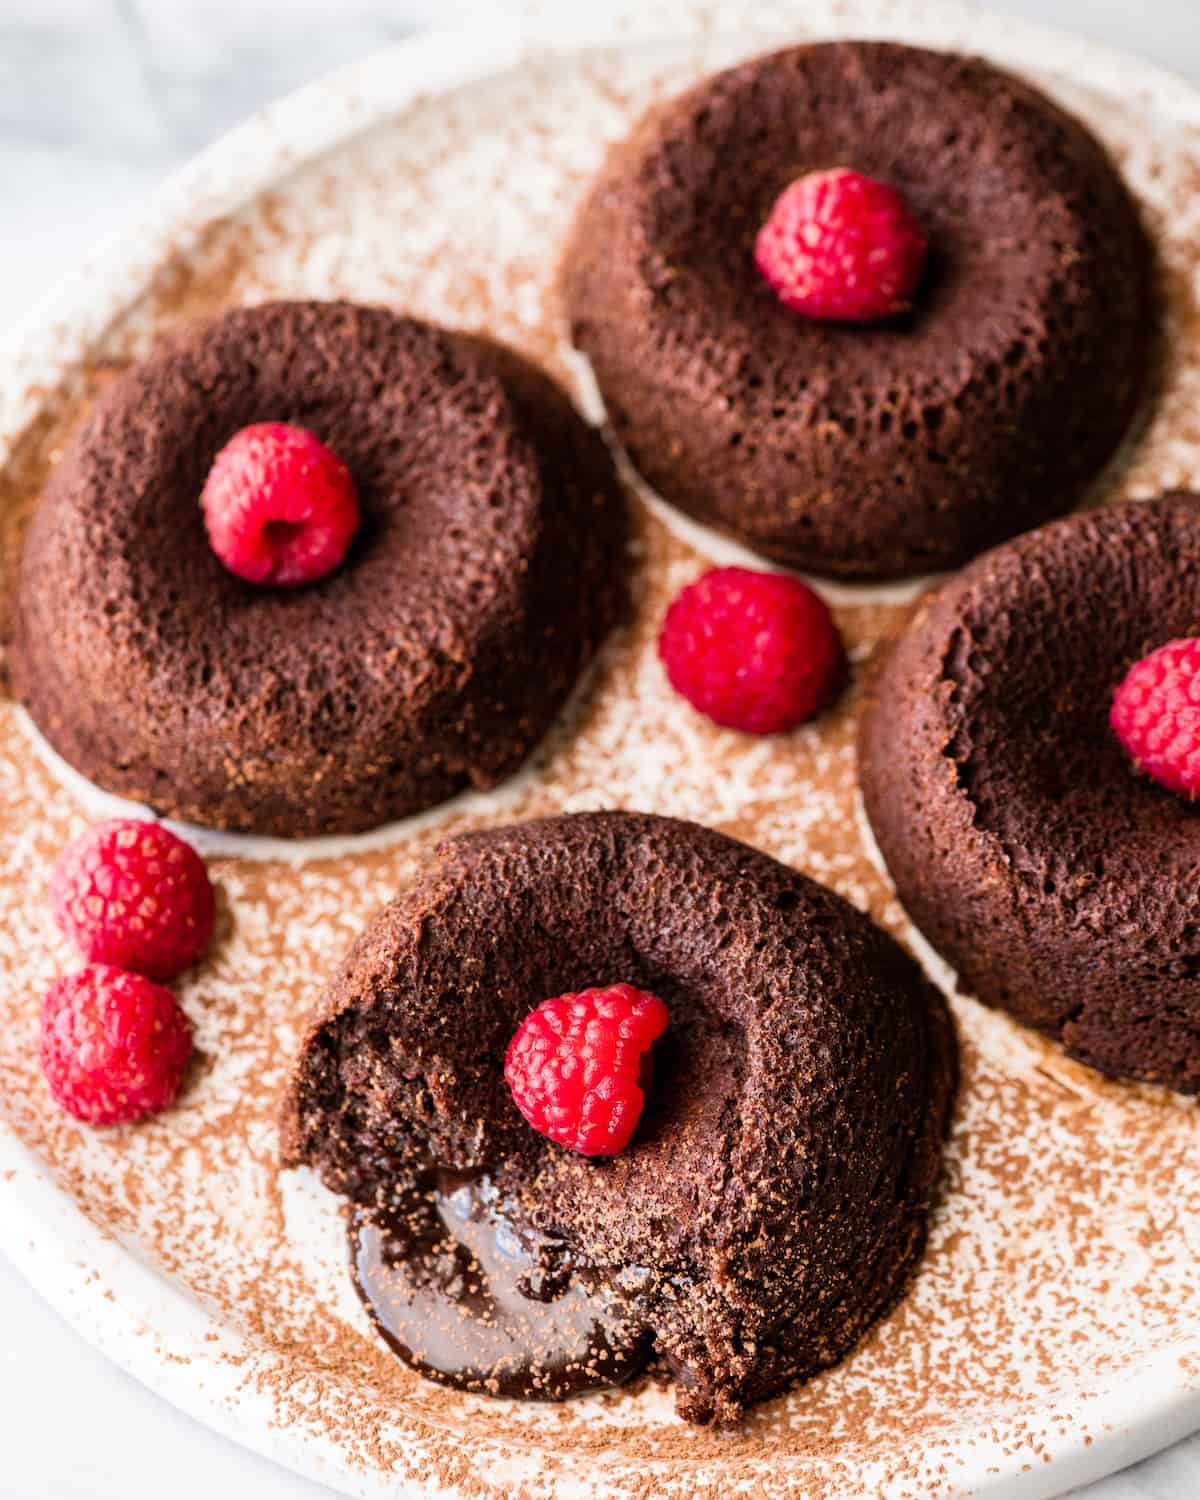
Place the silicone baking cups or silicone muffin pan on a flat baking sheet. Use a ½ cup measuring cup to scoop the batter evenly into the baking cups or the wells of a muffin tin. These are large baking cups (3 ½”), so the recipe yields four chocolate lava cakes which take roughly 10-12 minutes to bake.
If using a smaller baking vessel, be sure to adjust the baking time accordingly. I have made smaller molten lava cakes & this recipe has yielded 6, however if you do that baking time will be between 8-9 minutes.
Use large Silicone Muffin Cups
The one “special” item I recommend buying if you are a chocolate lava cake fan and plan on making this recipe over and over again, are these Silicone Mini Cake Pans/Large Muffin Cups or this Large Silicone Muffin Pan!

Cool Slightly & Serve
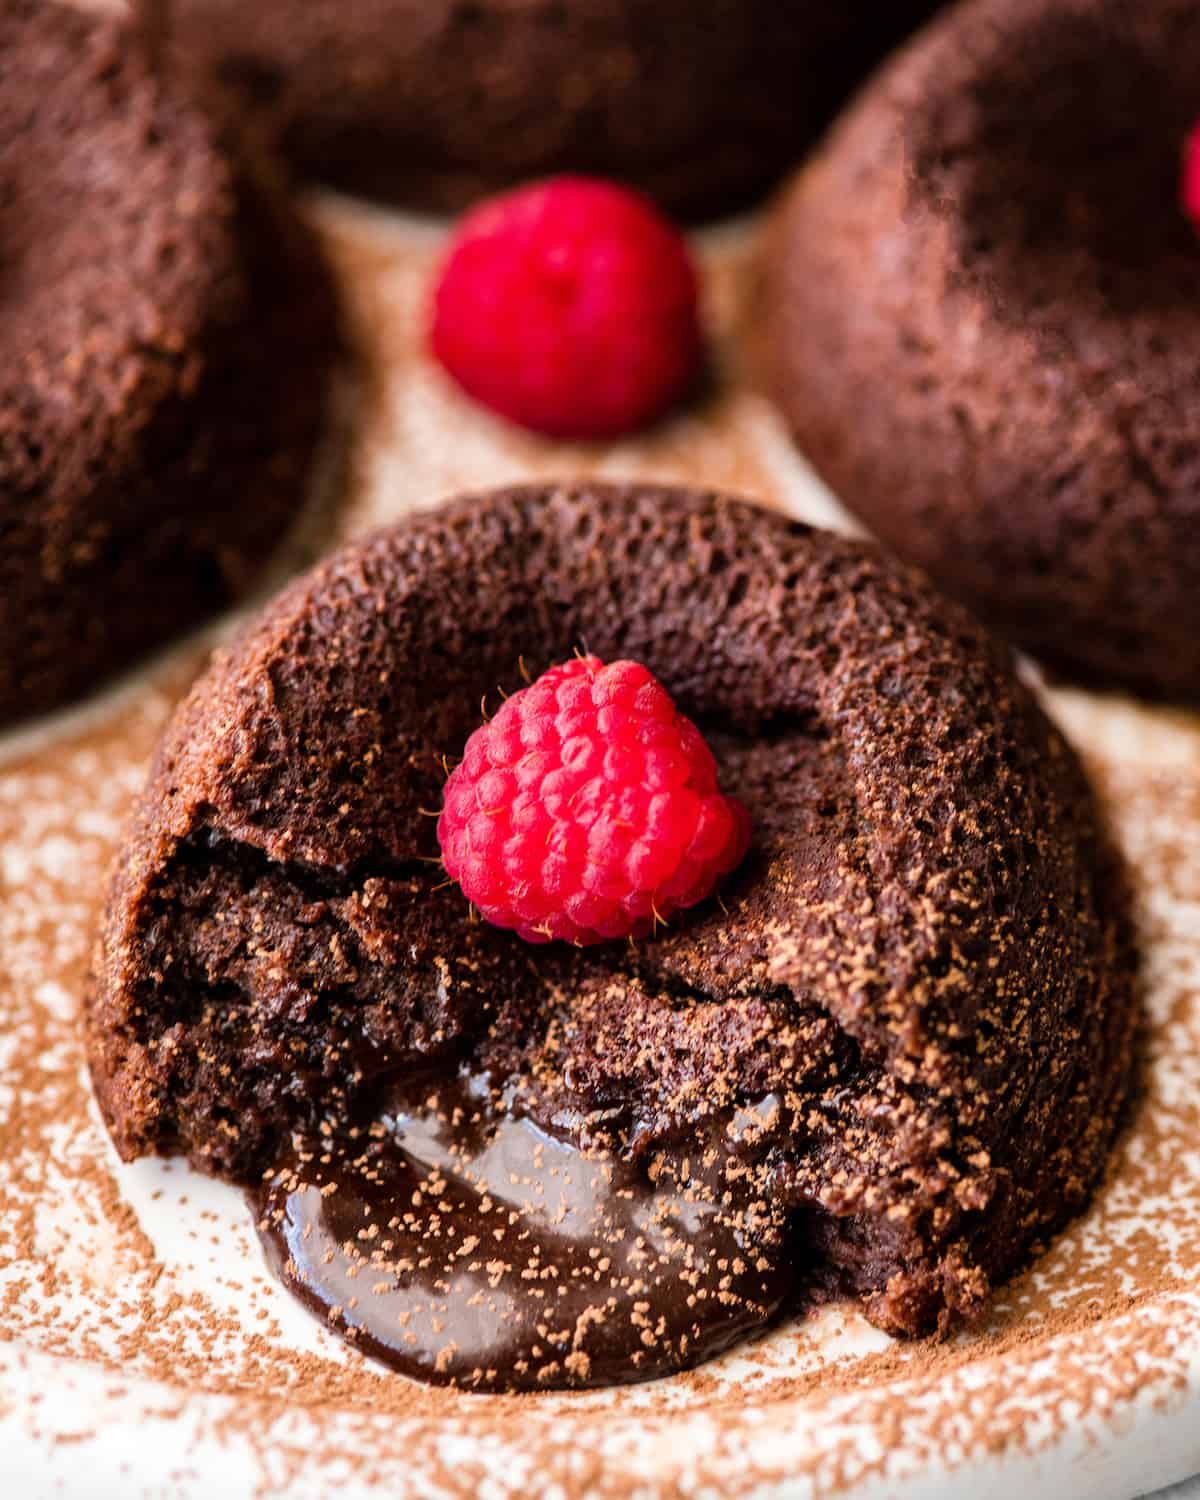
Let the molten lava cake cool for 2-3 minutes in the baking cups before removing. This will ensure that the cakes hold up when transferred. The tops will sink a little bit as they cool, which is normal.
Carefully turn each chocolate lava cake out onto a serving plate, and gently remove the silicone cup from over the top of it.
I recommend putting the molten lava cake directly onto the plate that it will be eaten from. They are not easy to move once they have been plated, and you run the risk of them falling apart in the process if you transfer them twice.

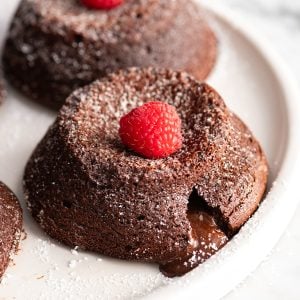
The sky is the limit with how you can serve this chocolate lava cake recipe. Here are a few of my suggestions:
- Dusting of cocoa powder or powdered sugar
- Homemade whipped cream (or strawberry whipped cream)
- Fresh berries
- Ice cream (try this homemade vanilla ice cream or this homemade chocolate ice cream)
- Peanut butter (make your own homemade peanut butter).

Store
Store leftover lava cakes in the refrigerator for up to 5 days. Reheat in the microwave or in the oven set to warm.

To Prepare in Advance
The batter can be made up to one day ahead of time and stored in the refrigerator. Just return it to room temperature an hour before baking and then bake as the recipe directs.
I often prepare these before dinner guests arrive, and then pop them in the oven when we’re halfway through the meal so that I can serve them fresh and warm.
I recommend storing the batter in the refrigerator if you plan on waiting more than one hour after it has been made to bake!

Chocolate Lava Cake Recipe FAQs
The only thing inside a chocolate lava cake is the batter! Baking molten chocolate cakes at a very high temperature (450 degrees F), causes the outside to bake faster than the inside. This leaves you with a perfectly cooked shell loaded with gooey, to-die-for, chocolate lava filling!
Yes! Warm the chocolate lava cake in the microwave for 20 to 30 seconds.
Yes, if you want them molten they should be served no more than 5 minutes after being removed from the oven (and I recommend closer to 3 minutes).
You will know the molten chocolate lava cake is done when the top is puffed but doesn’t look totally set. It will still be jiggly which is a good thing.
If you make and love my recipes, it would mean so much to me if you would leave a comment and rating! And don’t forget to follow along on Instagram, Pinterest, Facebook, TikTok and Youtube – be sure to tag @joyfoodsunshine and use the hashtag #joyfoodsunshine so I can see your creations!
Molten Chocolate Lava Cakes
Video
Ingredients
- ½ cup salted butter
- 6 ounces semisweet chocolate (¾ cup, chips or chopped)
- 3 large eggs
- ¼ cup granulated sugar
- ⅛ teaspoon sea salt
- ½ teaspoon pure vanilla extract
- 1 Tablespoon all-purpose flour*
Instructions
- Preheat oven to 450 degrees F.
- Grease four silicone baking cups and place them on a baking sheet. Set aside.
- In the microwave or on the stovetop over low heat, melt butter and chocolate and stir until smooth. Set Aside.
- Beat eggs in the bowl of a standing mixer fitted with the wire whisk attachment for 1 minute, or until pale yellow.
- Add sugar and sea salt to the beaten eggs and beat until sugar dissolves (about 1 minute).
- Add chocolate mixture and vanilla extract and beat until smooth.
- Beat in flour until just combined.
- Pour batter evenly into 4 silicone baking cups.**
- Bake for 10-12 minutes until the batter puffs and the center is just barely set (it will not seem done but it is).
- Remove from oven and let the cakes sit on the baking tray in the silicone cups for 2-5 minutes.
- Turn the cakes out onto the plates you plan to serve them on.
- Serve warm with fresh whipped cream, a sprinkle of powdered sugar, fresh berries, etc.
Notes
- Salted Butter. unsalted butter works well too.
- Semisweet Chocolate. You can use chocolate chips or a chopped chocolate bar, just be sure to use 6 ounces (or ¾ cup).
- Granulated Sugar. white sugar and organic cane sugar are great choices.
- Flour. There are many options that I have tried and have worked well for the flour in this recipe. Since it only calls for 1 Tablespoon, it’s easy to make substitutions that comply with your dietary needs. I have successfully used the following flours when making this chocolate lava cake recipe:
-
- almond flour
-
- all-purpose gluten-free flour
-
- oat flour
-
- tapioca flour
Nutrition
Nutrition information is automatically calculated, so should only be used as an approximation.
We tried these last night for the first time when two daughters and all their kids were visiting. We all loved them. Doubling the recipe and baking them in a silicone muffin tray made 12 and it was perfect for our group. Having homemade vanilla ice cream along with them made them an over-the-top amazing dessert. Definitely making these many more times.
I’m so happy you love them LeAnn!!