Easy Thumbprint Cookies

Updated Nov 01, 2026
This post may contain affiliate links. Please read our disclosure policy.
These buttery thumbprint cookies are easy to make with 5 ingredients and no chilling required! A buttery, melt-in-your-mouth shortbread cookie is filled with your favorite jam for a delicious treat perfect for the holidays!

There’s something so nostalgic about thumbprint cookies – and this recipe is the best. Its’ easy to make with 5 ingredients and you don’t even have to chill the dough.
These thumbprint cookies hold their shape beautifully and you can fill them with your favorite flavor of jam (also try chocolate thumbprint cookies).
I love making these raspberry thumbprint cookies for Christmas cookie trays because they’re just as pretty as they are delicious!
These are the best cookies. Buttery and just the right amount of sweetness with the jam!
– Deborah

Thumbprint Cookies: Ingredients & Substitutions

- Salted butter. Unsalted butter works well, just increase the sea salt from ¼ to ½ teaspoon.
- Granulated sugar. Organic cane sugar can be used in place of regular white sugar.
- Pure vanilla extract. The rich flavor imparted by the vanilla extract is essential to making the best thumbprint cookies, you can use almond extract or use half vanilla half almond extracts for a yummy combination. Try these almond cookies for a nutty shortbread cookie!
- All-purpose flour. I don’t recommend making substitutions, as I have not tried using a different flour.
Best Jam for Thumbprint Cookies
You can use just about any flavor of jam to make these thumbprint cookies! My favorite is seedless raspberry jam because the red color makes them perfect for Christams. Here are some other delicious options:
- Strawberry jam – also red.
- Apricot jam is amazing (serve leftover jam on a holiday charcuterie board).
- Cherry jam: Delicious and pretty for the holidays.
- Blackberry jam: A slightly tart filling that pairs well with the sweet cookies.

How to Make Thumbprint Cookies
This thumbprint cookie recipe is easy to make, as always we’ll walk through the process together – and don’t forget to watch the video!
To begin, preheat your oven to 375℉ (177 ℃) and line two cookie sheets with parchment paper or silicone baking mats and set aside.
Then, in the bowl of a standing mixer, or in a large bowl with a hand-held mixer, cream together the butter and sugar until light and fluffy. You may need to pause, scrape down the sides and continue beating.
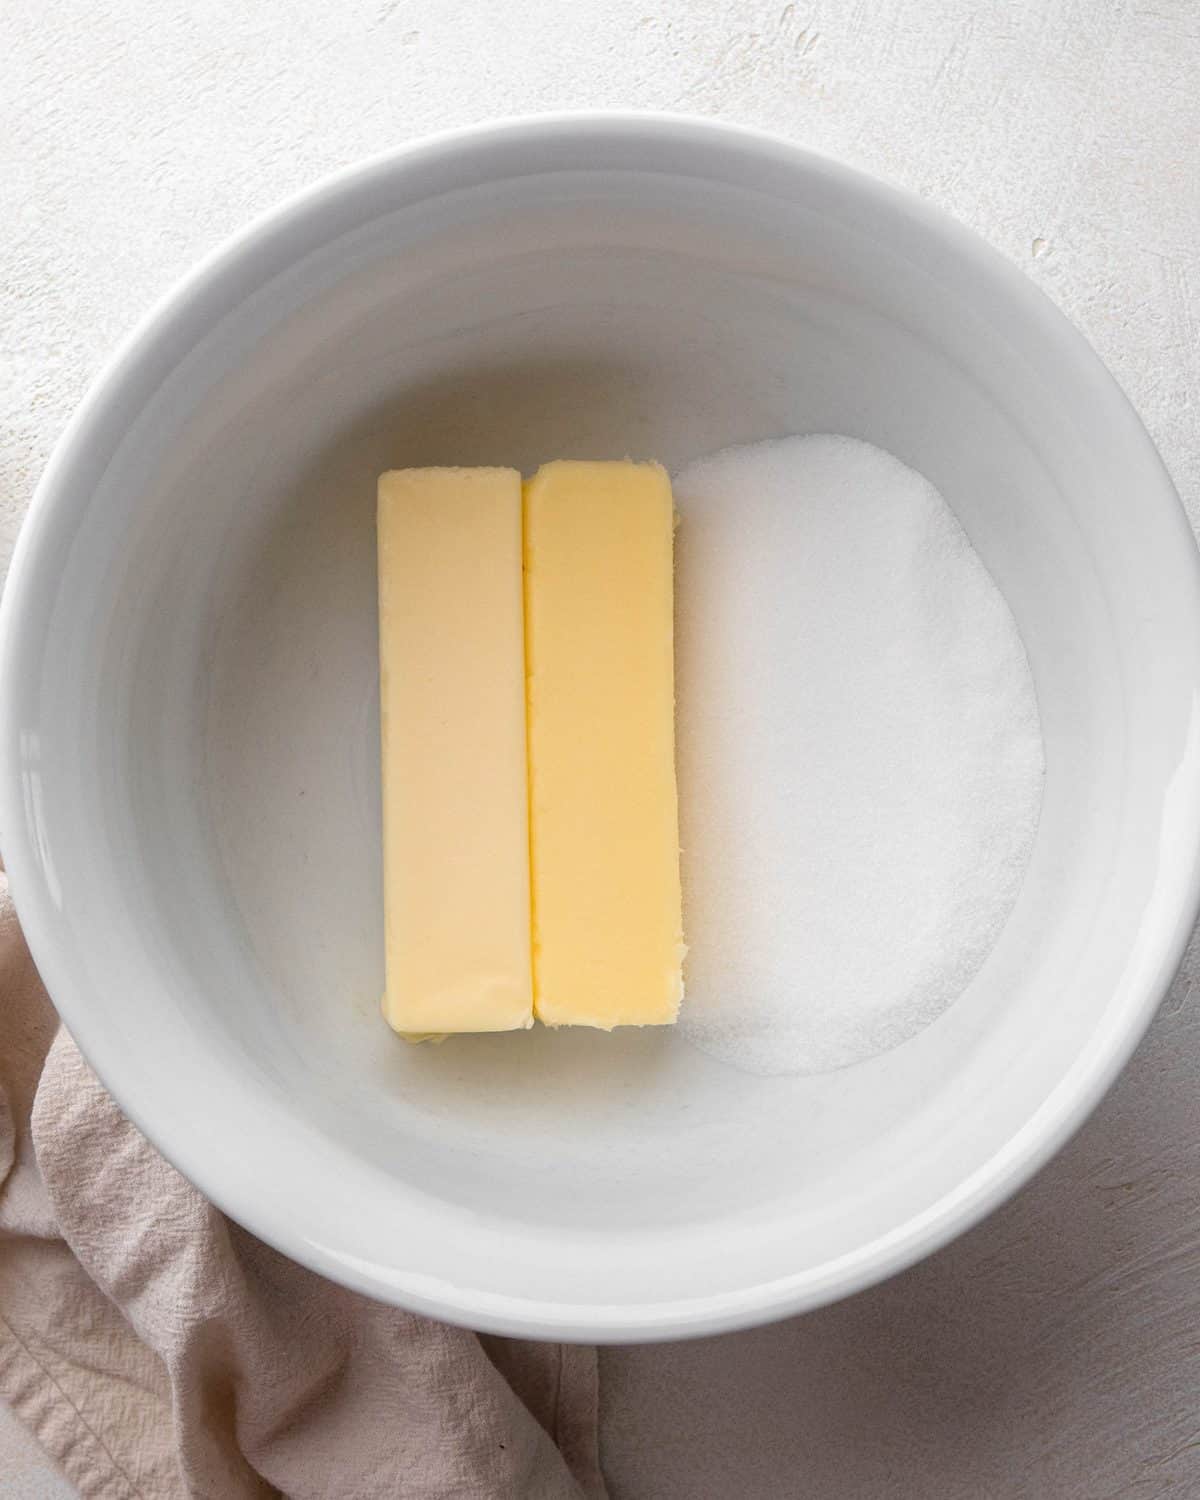
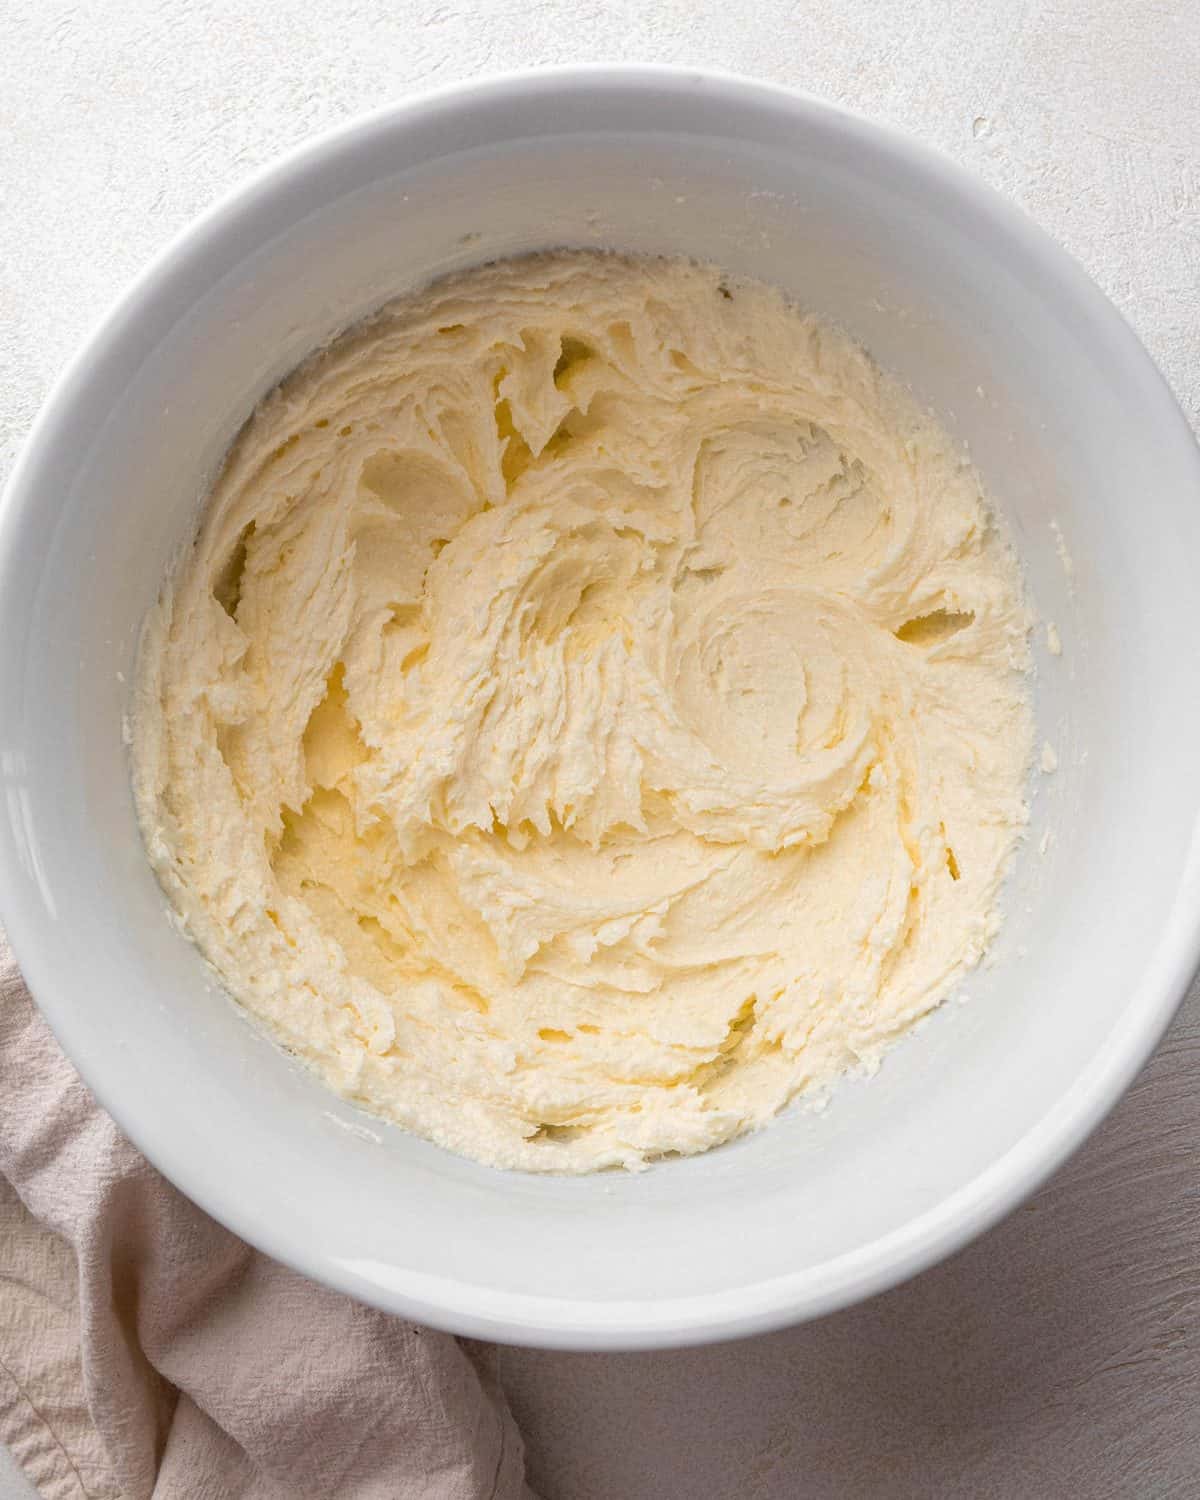
Next, add the vanilla and beat until combined.
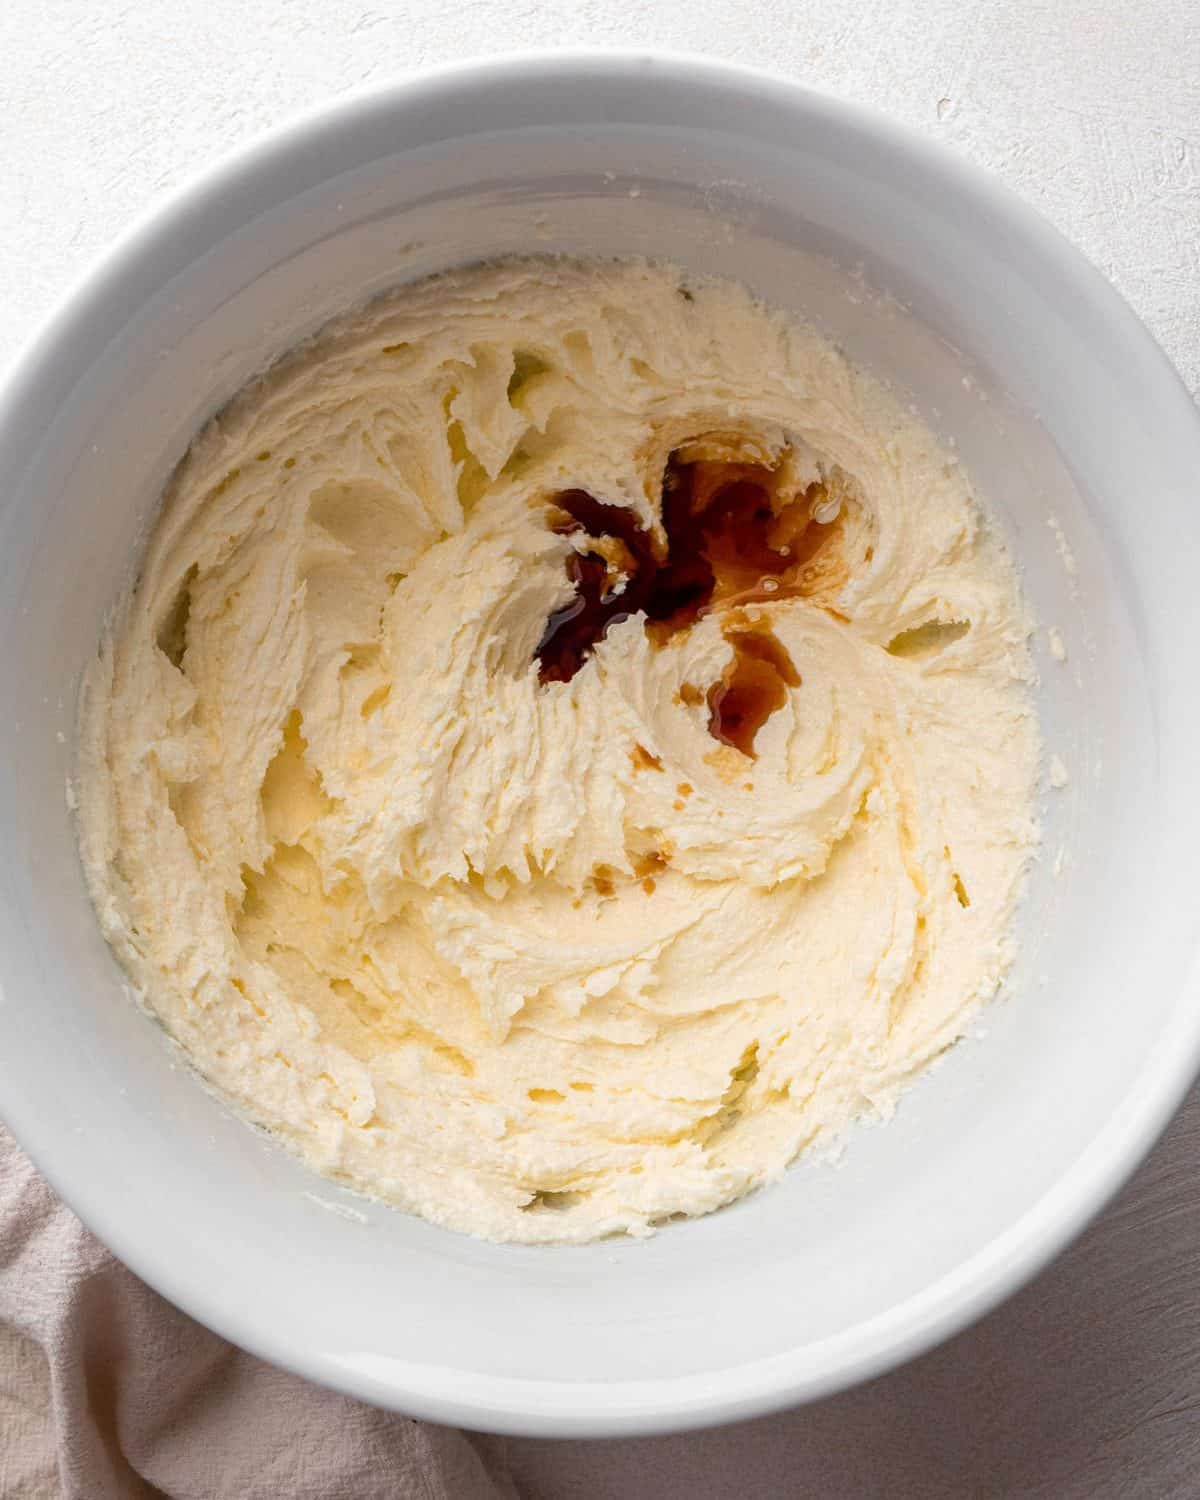
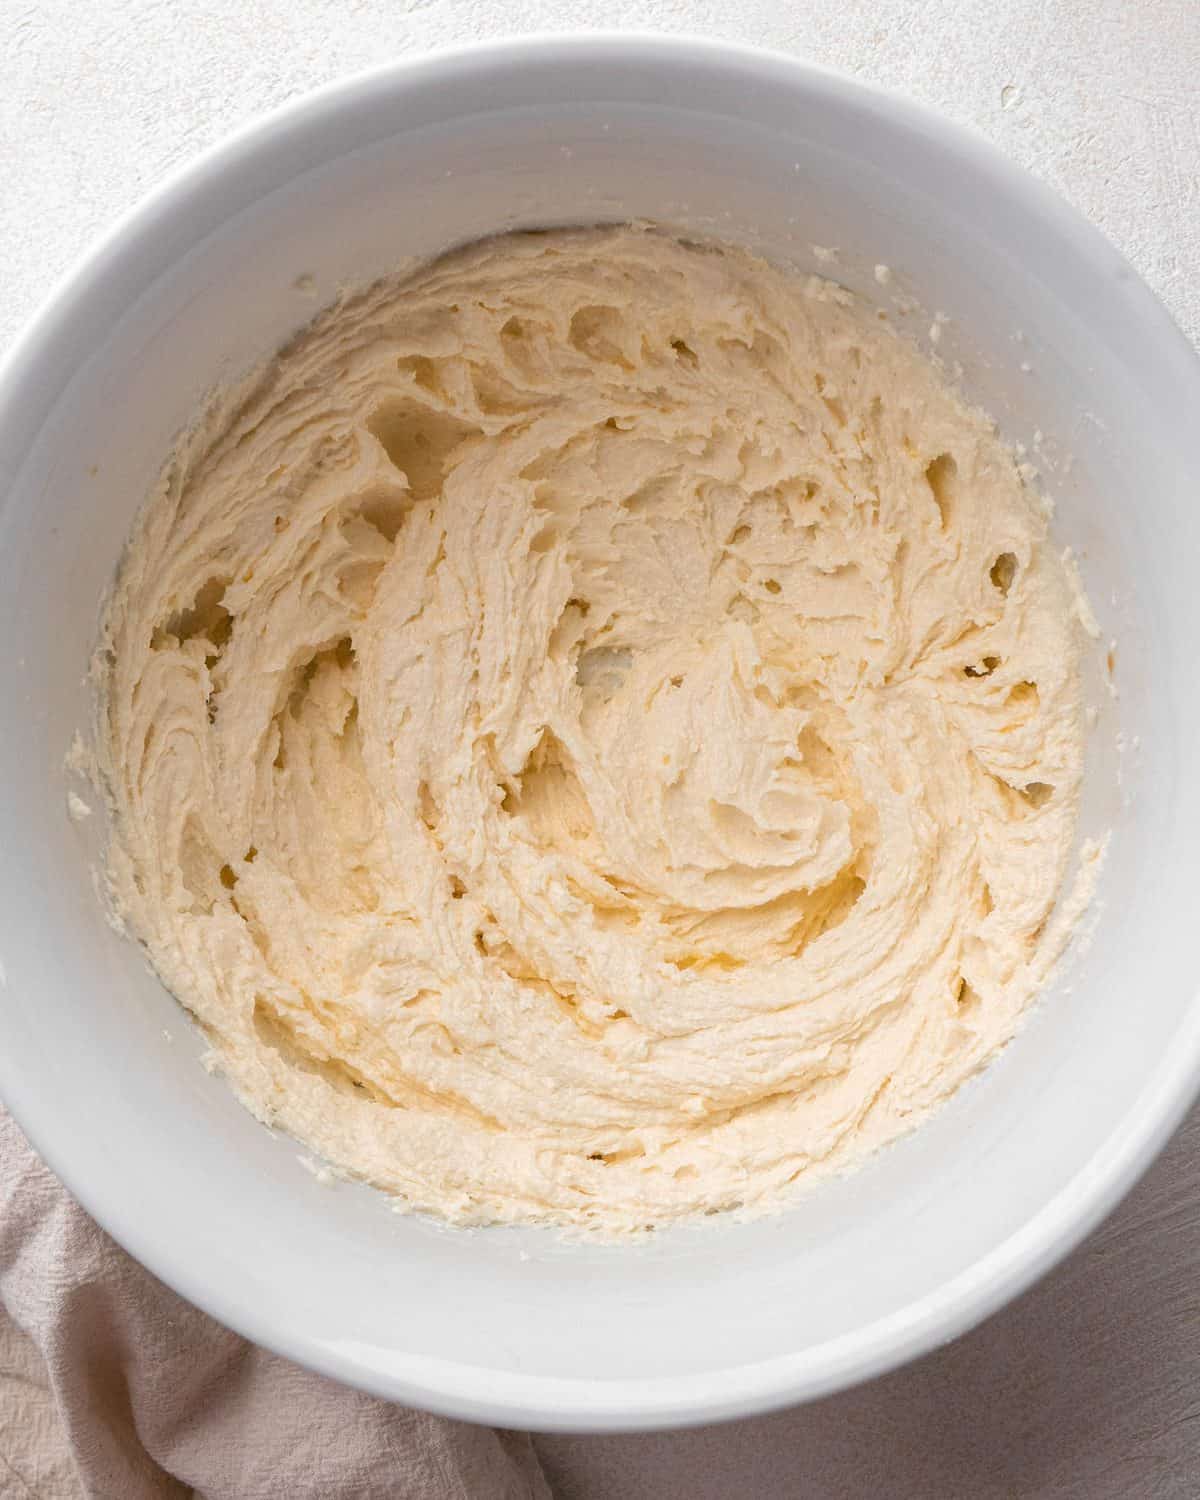
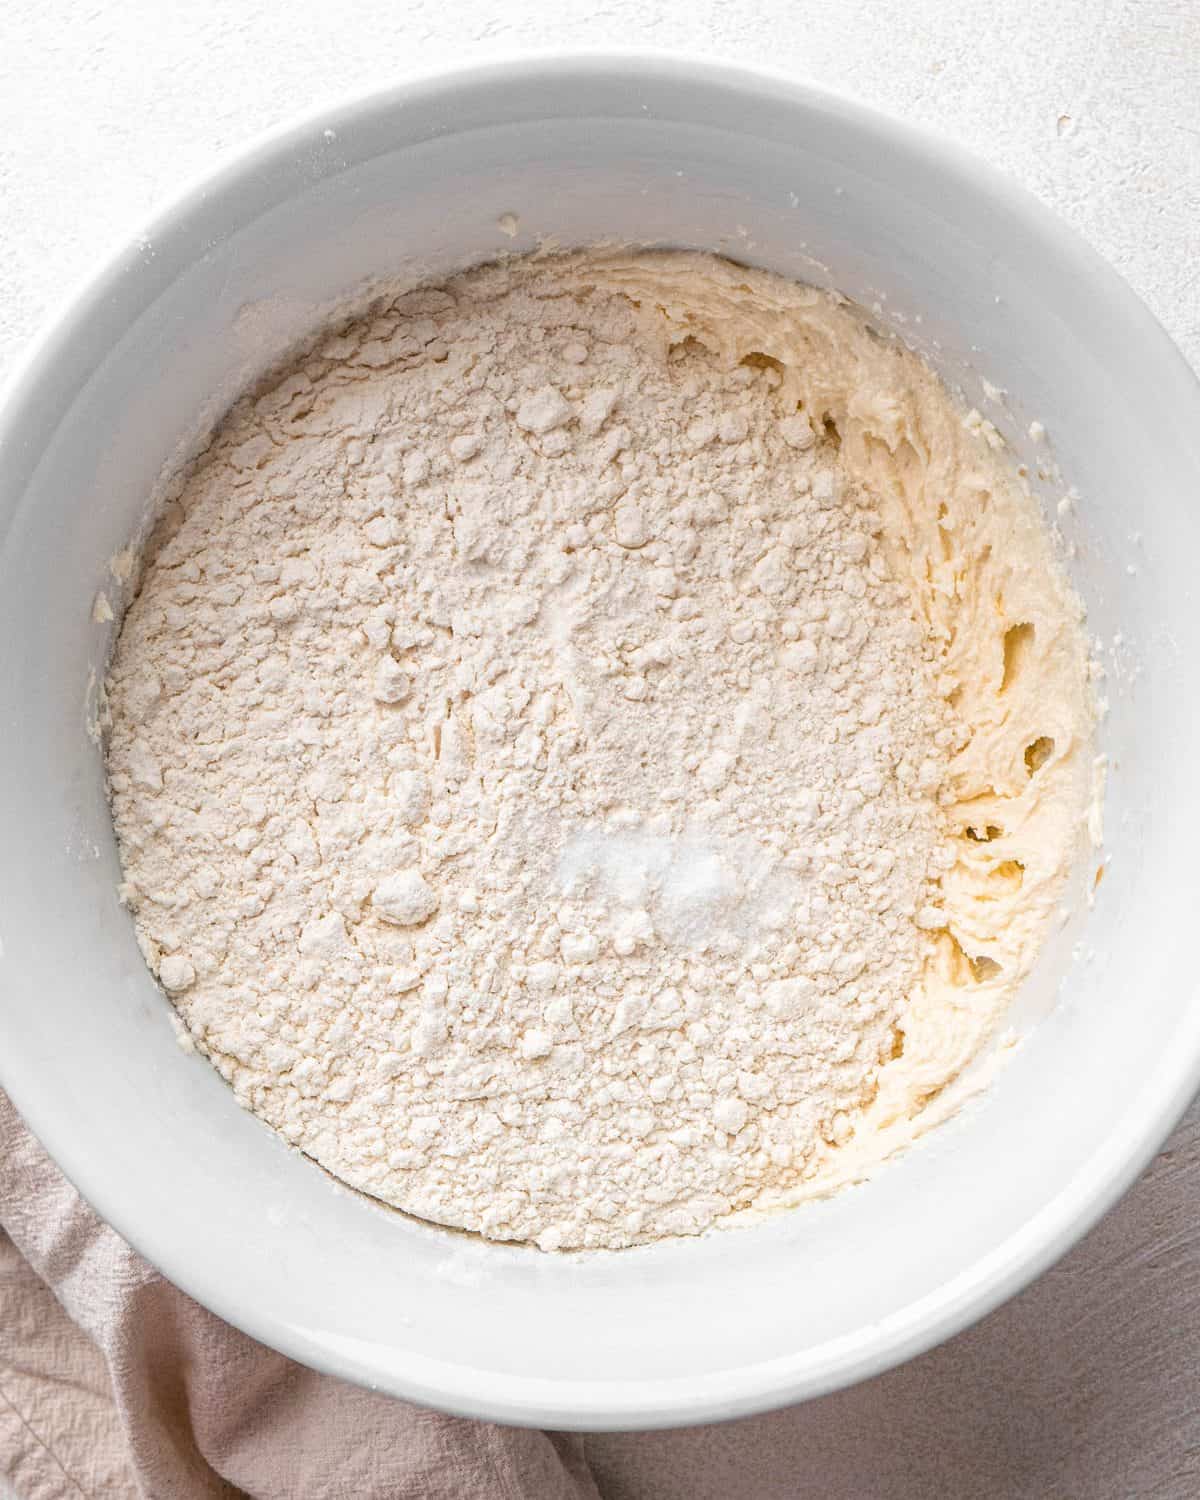
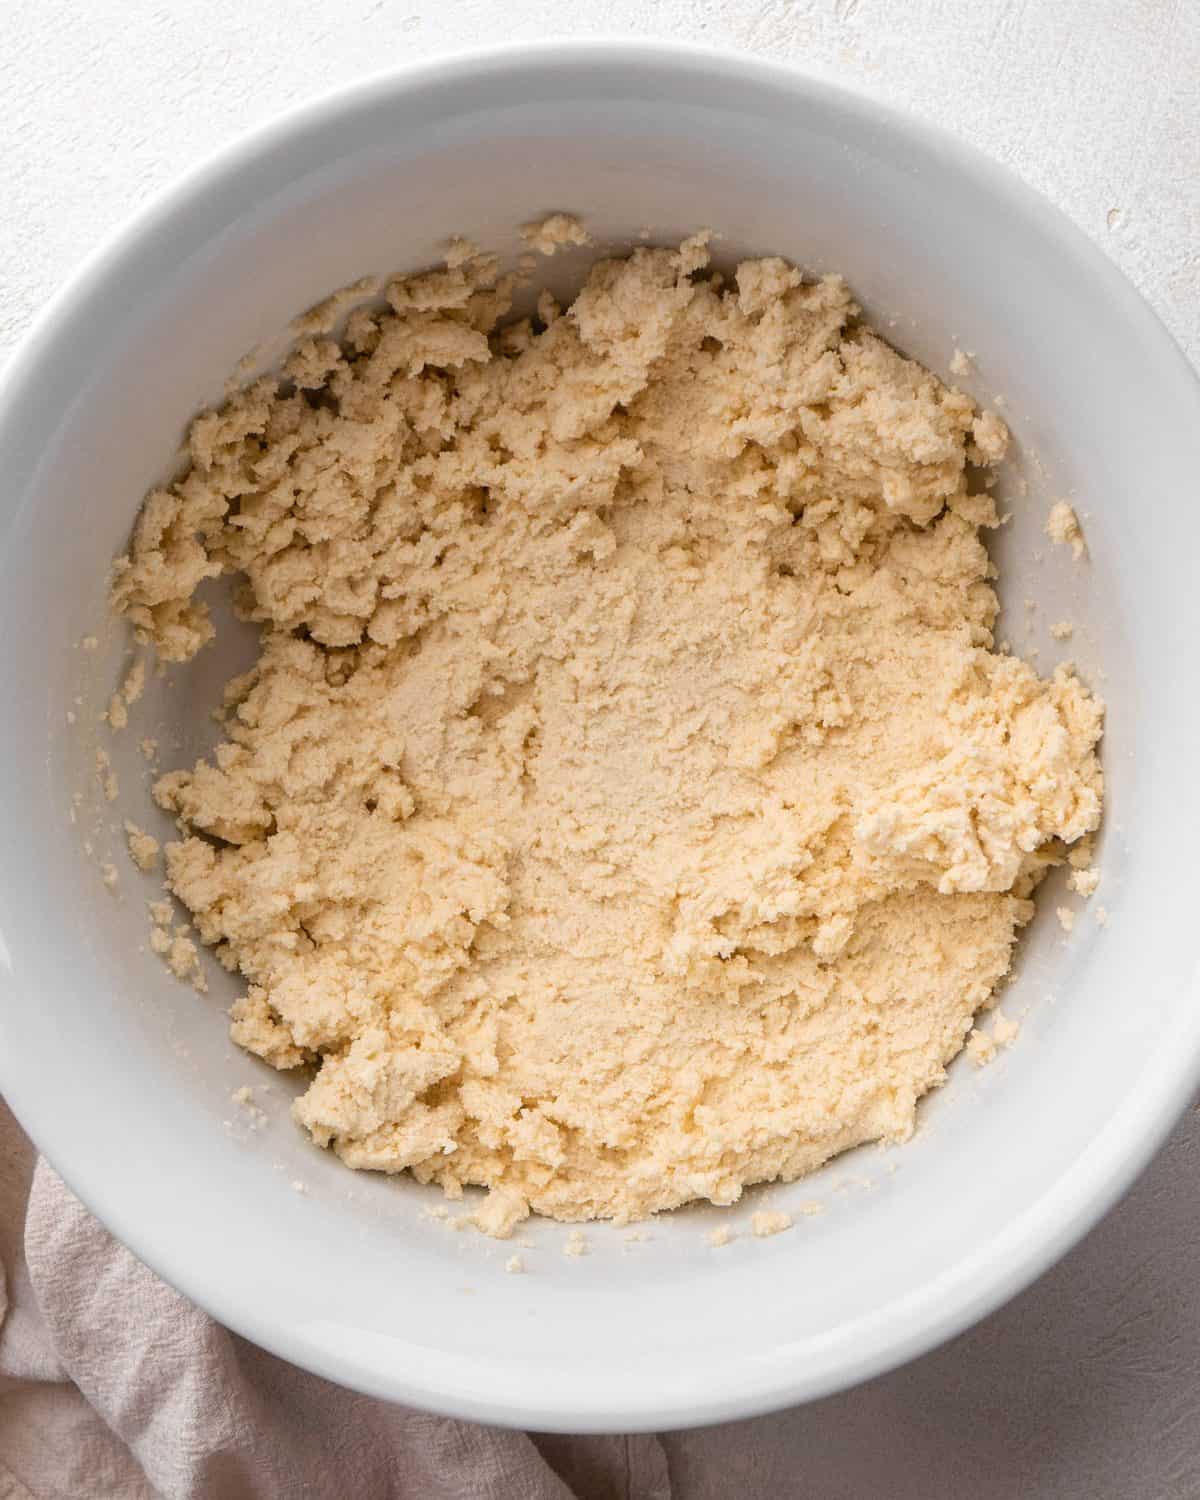
Then, add the sifted flour and sea salt and beat on medium-high speed until the dough forms large “crumbs” and pinches together easily.
Measure & Shape the Dough
Once the dough is finished, measure out 1 Tablespoon portions and roll them into smooth balls.
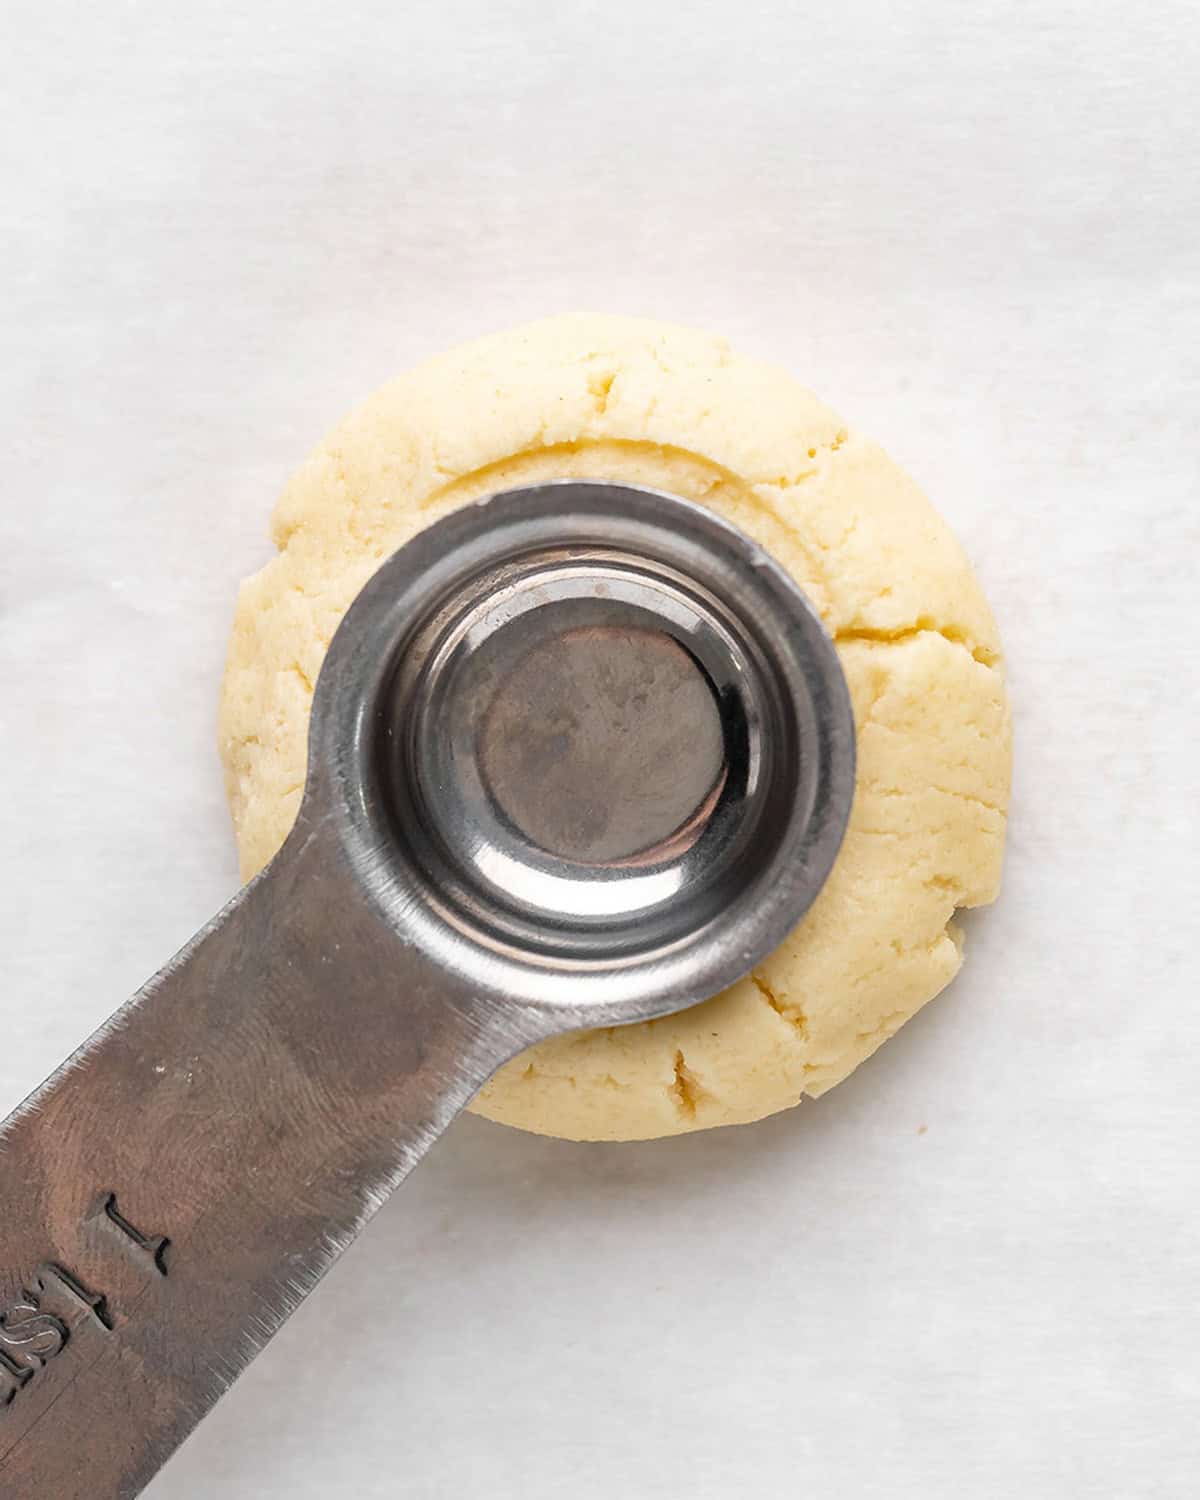
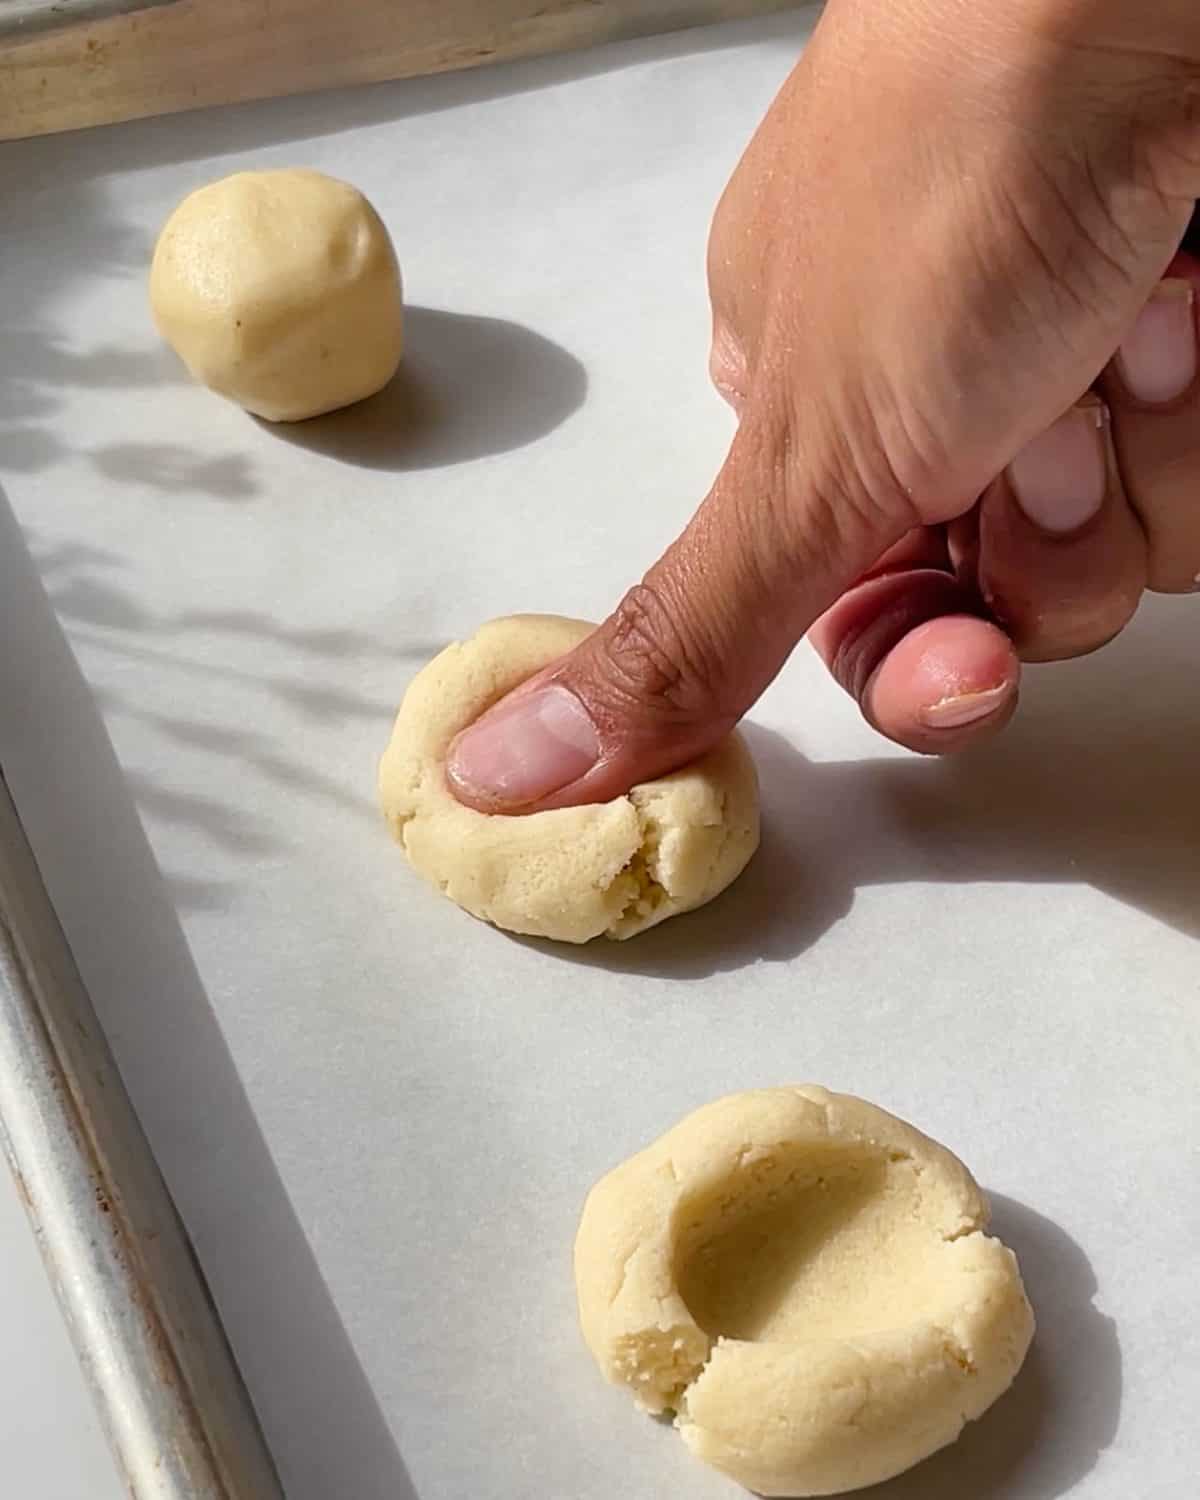
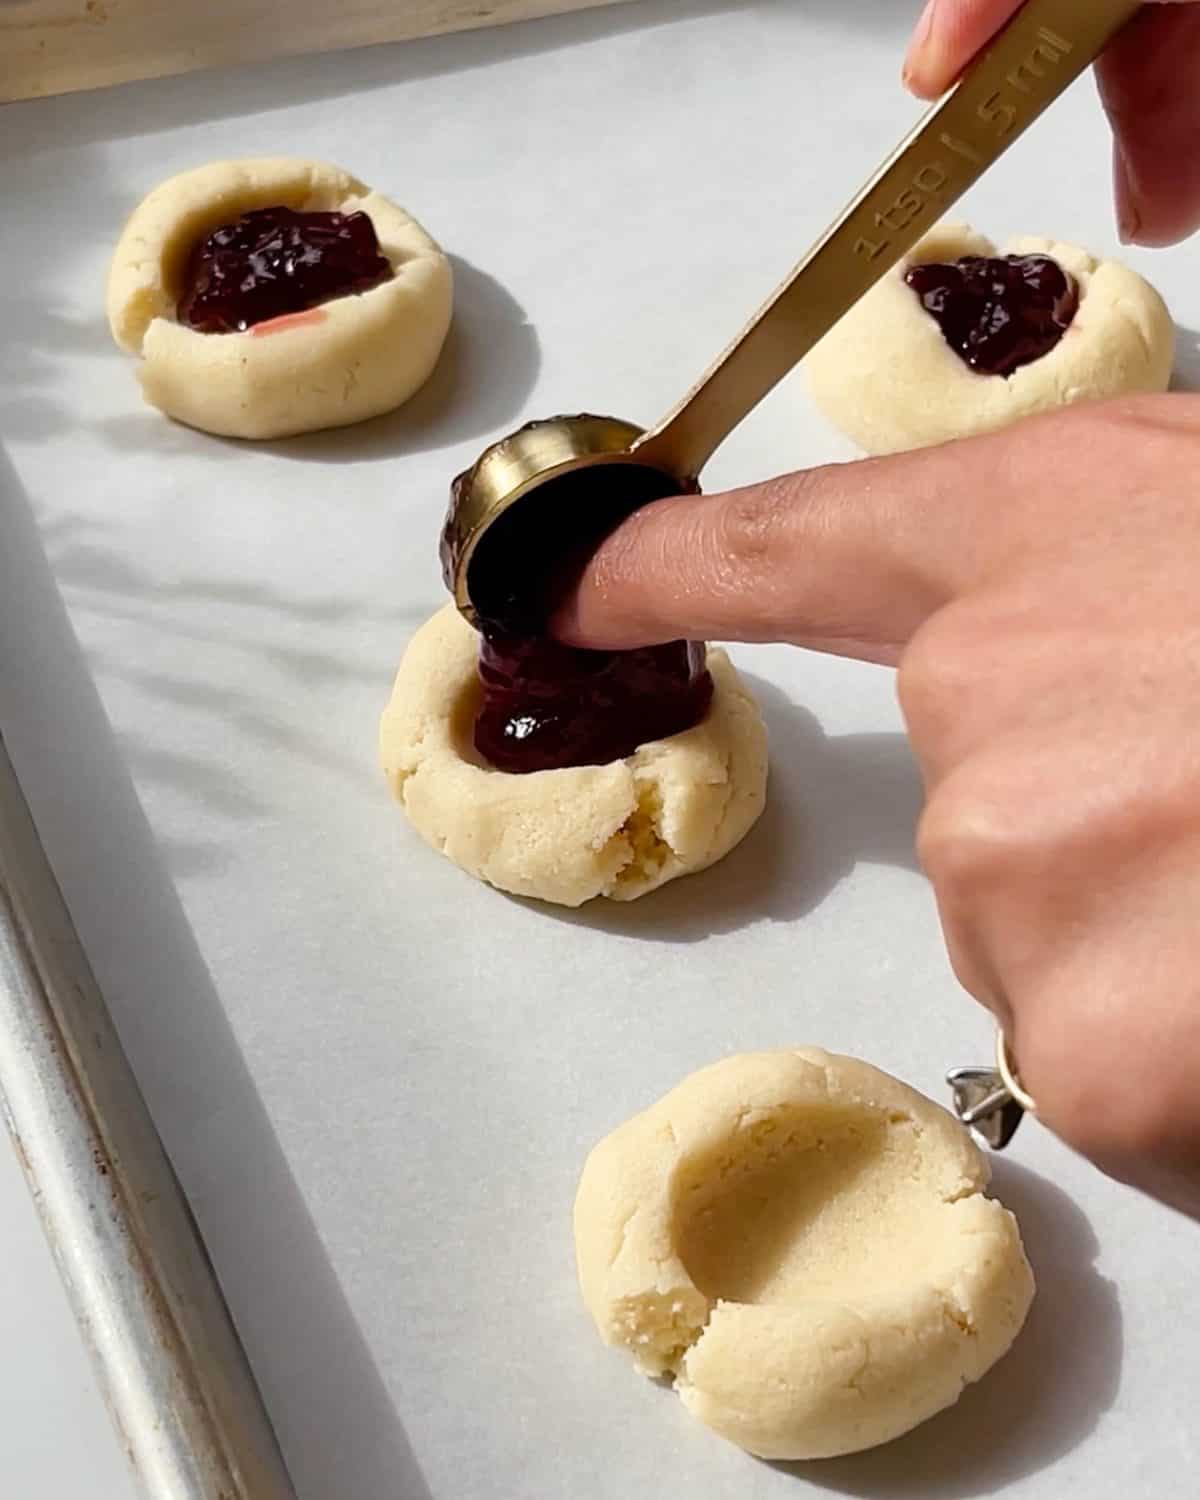
Then place the dough balls on the prepared cookie sheet and press your thumb into the center of each dough ball to form a well and slightly flatten the cookies. You can also use a 1 teaspoon measuring spoon to make the wells.
Add the Jam
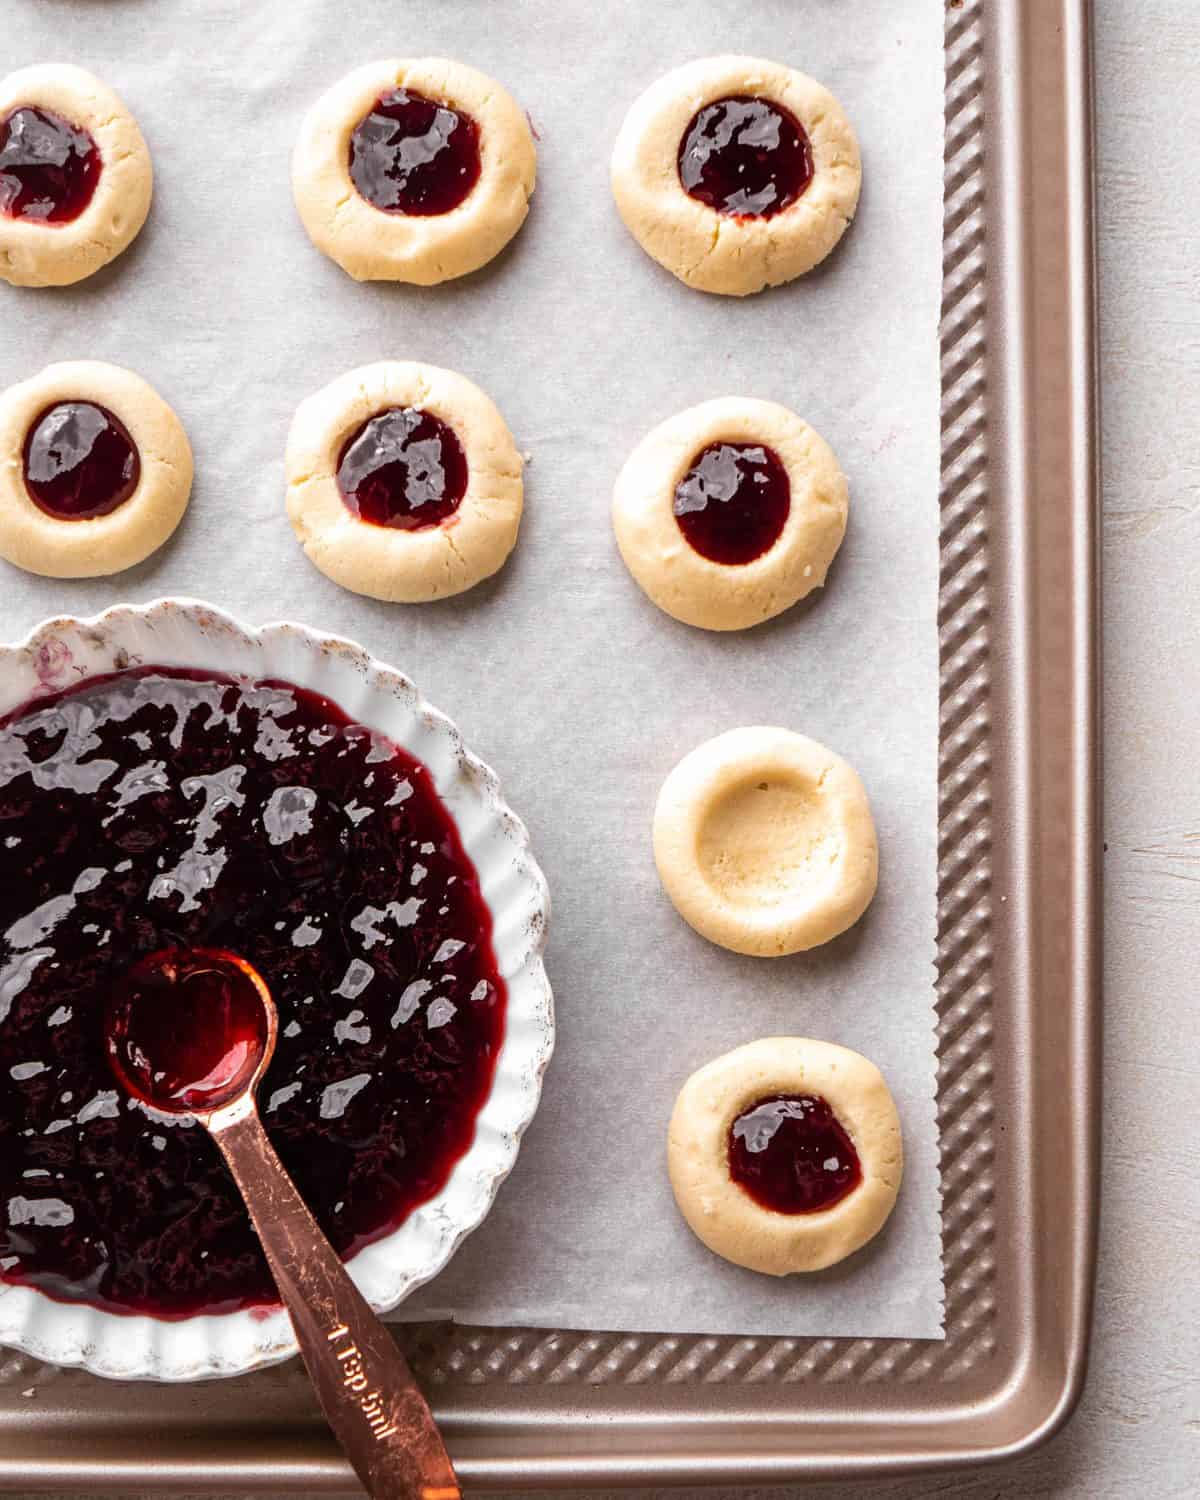
Next, carefully fill each well of the cookies with about 1 tsp of jam – don’t let it overflow the well. We like making raspberry thumbprint cookies but you can choose your favorite jam.
Bake & Cool
Once the wells are filled with jam, bake the jam thumbprint cookies for 10 to 13 minutes or until the cookies just begin to turn golden brown at the edges.
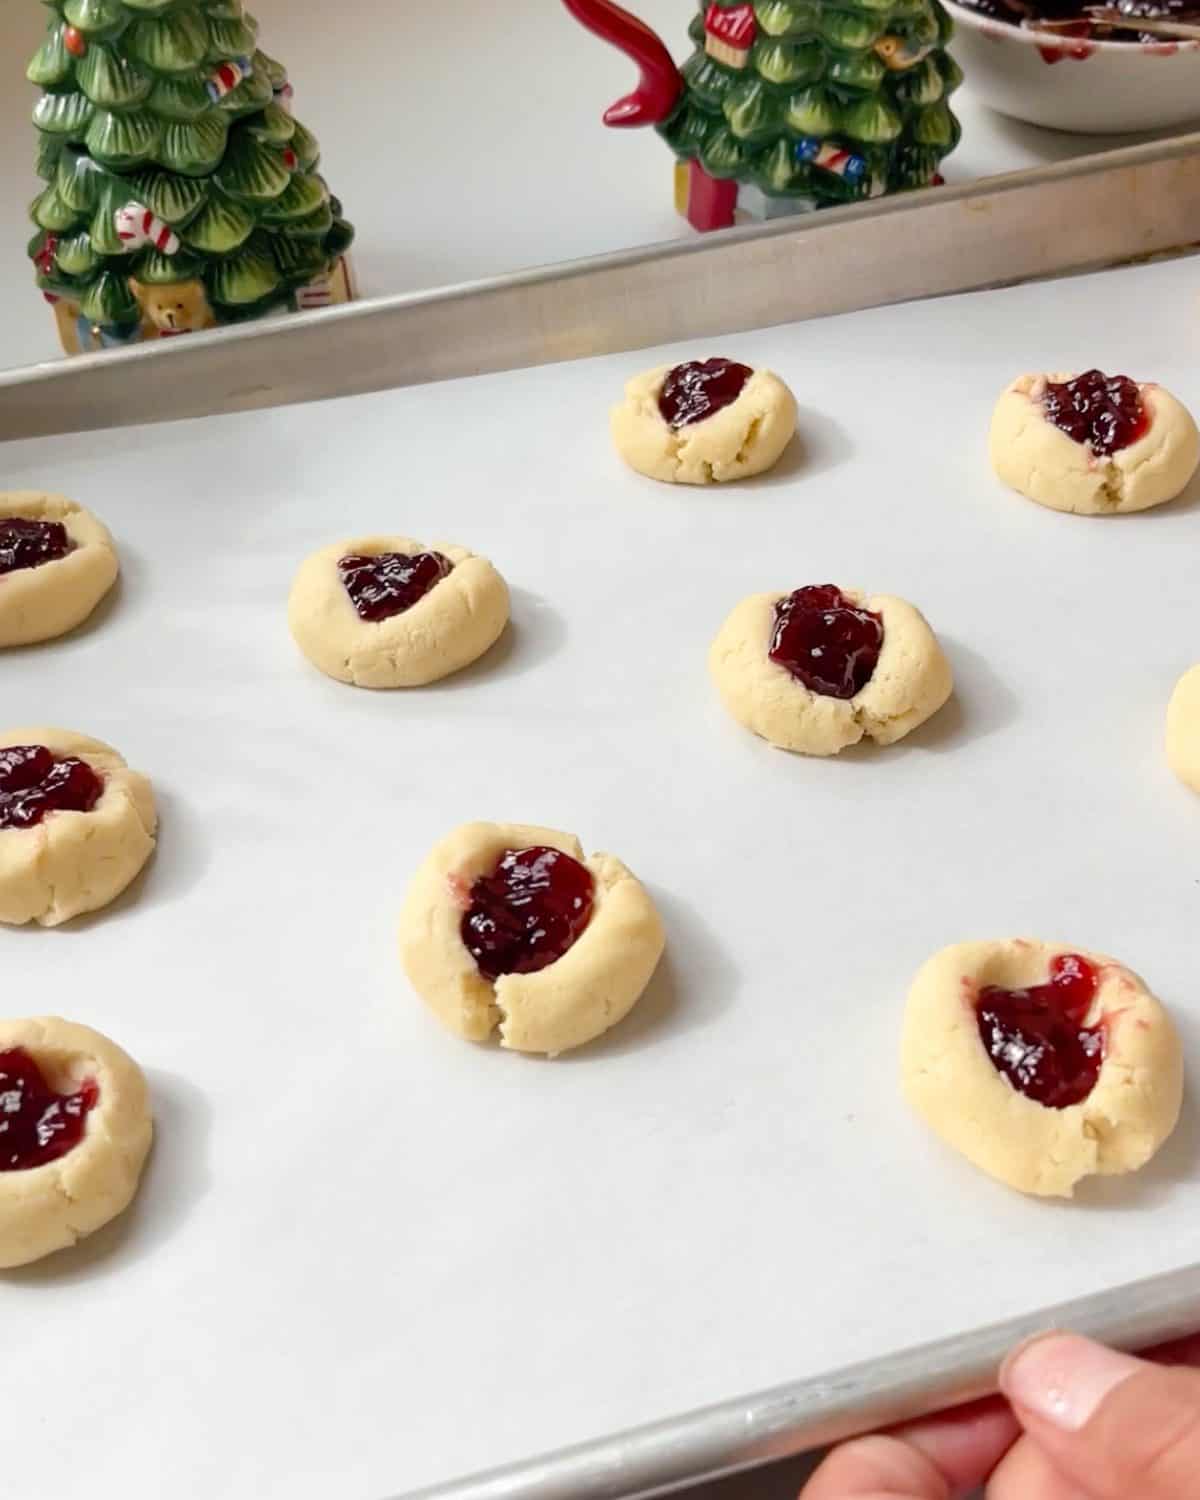

Then, let them cool on the pan for 10 minutes before removing to a wire rack to cool completely (or enjoy slightly warm – they are so good).
Tips for the Best Thumbprint Cookies
Here are a few tips to make sure your thumbprint cookies turn out perfectly every time!
- Correct butter temperature. Make sure it’s softened but not melty.
- Measure the flour correctly. Too much flour can make the dough dry and crumbly, causing the cookies to crack. Weigh the flour in grams for the best results.
- Just keep mixing. You might feel like the dough won’t come together, just keep beating on medium-high speed and I promise it will.
- Roll the dough into smooth balls. Before making the indentation, roll each portion of dough until the surface is smooth. If you crack the dough when you make a well, pinch it back together.
- Don’t overfill the cookies. Or the jam will overflow and make a mess.
- Don’t overbake. Remove the cookies from the oven when the edges are just beginning to turn golden brown. They will continue to set as they cool on the baking sheet.

How to Store Thumbprint Cookies
To store, let the raspberry thumbprint cookies cool completely. Then, store them in a single layer or in layers with waxed paper in between, in an airtight container at room temperature for up to 3 days, in the refrigerator for up to 1 week or in the freezer for up to 2 months.
Freeze
When it comes to cookies I always prefer to freeze the dough instead of baked cookies so I can bake them fresh when the craving strikes (because fresh cookies straight from the oven are the best). To do this:
- Portion out the dough and roll it into balls and press in the wells. Then freeze in a single layer in an airtight container until ready to bake.
- To bake: remove the dough from the freezer and let it thaw in the refrigerator overnight or at room temperature for 2 hours. Once thawed, fill with jam and then bake according to the recipe instructions.

Thumbprint Cookies Recipe FAQs
Fill the jam thumbprint cookies before baking to ensure the jam sticks to the cookies.
I do not suggest filling thumbprint cookies after baking, because the jam will not set and stick to the cookies the same way.
This recipe does not spread much at all, so follow the recipe exactly. Also, do not grease the baking sheets – be sure to use parchment paper or a silicone baking mat to prevent sticking. Also, make sure your ingredients do not get warmer than room temperature.
If the dough gets dry it is more likely to crack. Make sure to form the cookies, fill and bake promptly to prevent this. Also make sure to measure the flour correctly (scoop and level) so you do not use too much flour.
Yes, freeze the cookies in an airtight container for up to 2 months. You can also freeze the dough (see recipe card for instructions).
They stay fresh for 3 days at room temperature, 1 week in the refrigerator and 2 months in the freezer.
Make sure to let the cookies cool completely before packaging them as gifts. You can package them in layers with waxed paper in between or in a single layer.
They don’t have to be refrigerated, however storing jam thumbprint cookies in the refrigerator keeps them fresh longer.
This shortbread dough will look crumbly when you first add the flour, but it should come together as you continue mixing. Beat the dough for 60 to 90 seconds after adding the flour, until it holds together when pinched. If the dough is still too dry, you may have added too much flour.

If you make and love my recipes, it would mean so much to me if you would leave a comment and rating! And don’t forget to follow along on Instagram, Pinterest, Facebook, TikTok and Youtube – be sure to tag @joyfoodsunshine and use the hashtag #joyfoodsunshine so I can see your creations!


Thumbprint Cookies
Video
Equipment
Ingredients
- 1 cup salted butter
- ⅔ cup granulated sugar
- 1 teaspoon vanilla extract
- 2 cups all-purpose flour sifted
- ¼ teaspoon fine sea salt
- ¾ cup jam any flavor (we prefer seedless raspberry jam)
Instructions
- Preheat your oven to 375℉ (177 ℃). Line two cookie sheets with parchment paper or silicone baking mats and set aside.
- In the bowl of a standing mixer, or in a large bowl with a hand-held mixer, cream butter and sugar until light and fluffy. You may need to pause, scrape down the sides and continue beating.
- Add vanilla & beat until combined.
- Add sifted flour and sea salt and beat on medium-high speed until the dough forms large “crumbs” and pinches together easily.
- Measure out 1 Tablespoon portions of dough and roll into balls.
- Place the dough balls on the prepared cookie sheet and press your thumb into the center of each dough ball to form a well and slightly flatten the cookies.
- Fill each well of the cookies with about 1 teaspoon of jam – don’t let it overflow the well.
- Bake for 10 to 13 minutes or until the cookies just being to turn golden brown at the edges.
- Let them cool on the pan for 10 minutes before removing to a wire rack to cool completely (or enjoy slightly warm – they are so good).
Notes
- Salted butter. Unsalted butter works well, just increase the sea salt from ¼ to ½ teaspoon.
- Granulated sugar. organic cane sugar can be used in place of regular white sugar.
- Pure vanilla extract. the rich flavor imparted by the vanilla extract is essential to making the best thumbprint cookies, you can use almond extract or use half vanilla half almond extracts for a yummy combination.
- All-purpose flour. I don’t recommend making substitutions, as I have not tried using a different flour.
- Jam. We prefer to make raspberry thumbprint cookies because it’s our favorite jam and the color is festive for the holidays. You can use any flavor you prefer such as apricot, strawberry, cherry, etc.
- Portion out the dough and roll it into balls and press in the wells. Then place prepared dough on a baking sheet and flash-freeze them until hardened. Once hardened, transfer the dough balls to an airtight container and freeze until you’re ready to bake.
- To bake: remove the dough from the freezer and let it thaw in the refrigerator overnight or at room temperature for 2 hours. Once thawed, fill with jam and then baked according to the recipe instructions.
Nutrition
Nutrition information is automatically calculated, so should only be used as an approximation.







These are my favorite ! How do you get the dough not to crack? I feel like this batch they cracked more and would let me make the indent wider. Maybe my butter was not softened enough
I love the taste of these cookies, just amazing! The first time I did it though, the dough was dry and did not pich together. Was my flour wrong, or did I add too much?
Did you make them a second time and the dough was fine? If so, what did you change? You really have to beat the dough for 60-90 seconds for it to come together! But if it is dry then yes, my guess is you added too much flour. You can always click the metric button and weigh the flour in grams to ensure you have the correct amount.
Yes, I made it a second time, and it worked. I beat it for 2 minutes, and now it does pinch together,so I probably did not beat it long enough the first time. Thank you for the advice 🙂
Thank you so much Pauline! I’m so glad the tip helped!!
This was my first time making thumbprint cookies! The recipe is super easy to follow. I had a little trouble getting the shape and size right, so they aren’t as pretty as your pictures.
I used a homemade Spiced Christmas Jam, and they taste fantastic.
I’d love to help – what do you think kept you from getting the shape/size correct?
Made these last year and they turned out so good! They did burn easy so I had to cook for 9-10 mins but this year I’ll double check the temperature! Cant wait to make with my family!
These are my husband’s favorite cookie! I’ll be making them soon too!
Delicious cookie. I made my own jam and it bled a bit. Flavors were fantastic. Will do again adjusting my jam. FYI I made a cranberry jam.
Love the idea of making your own jam – I’m sure it’s so much more delicious than store bought!
How many does this recipe make?
Could you add icing to the cookies after baking instead of using jam?
If you want to do that – I suggest these shortbread cookies.
These are the best cookies. Buttery and just the right amount of sweetness with the jam. I use all different flavors of preserves in my cookies.