Best Homemade Chocolate Ice Cream
Updated May 18, 2026
This post may contain affiliate links. Please read our disclosure policy.
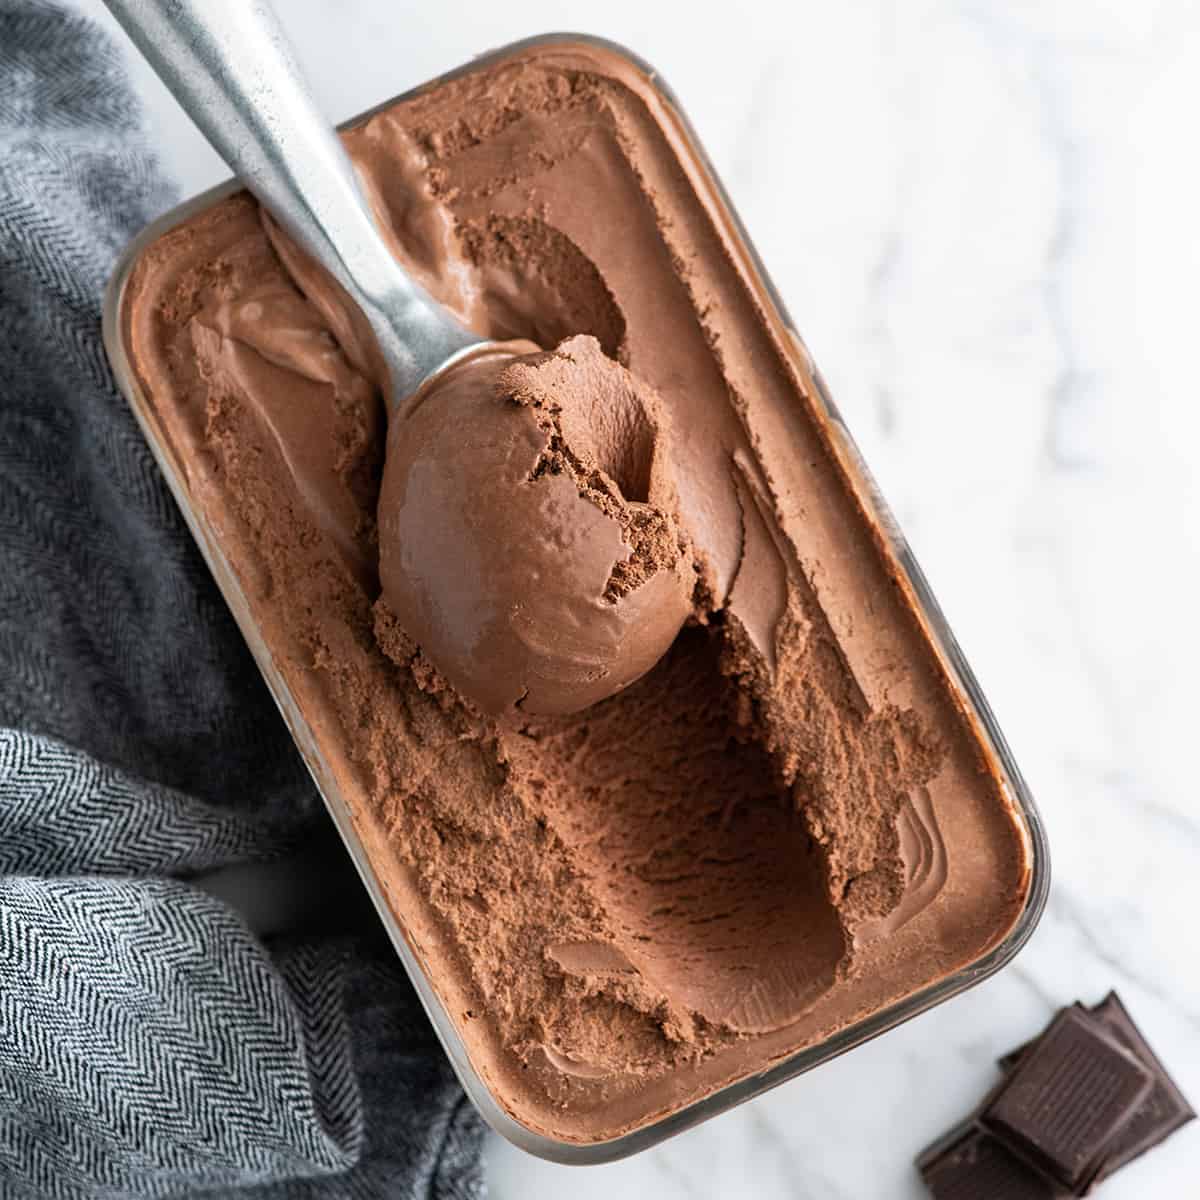
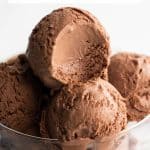
Rich, ultra-creamy, and chocolatey — this is the best homemade chocolate ice cream recipe ever! It’s easy to make with only 7 ingredients (including two forms of chocolate), has a rich chocolate flavor and is just as good as any ice cream shop!
, has a rich chocolate flavor, and is just as good as any ice cream shop!")
We love making ice cream! It’s a fun and delicious process — and nothing beats homemade! Which is why I am sharing my recipe for the best homemade chocolate ice cream ever!
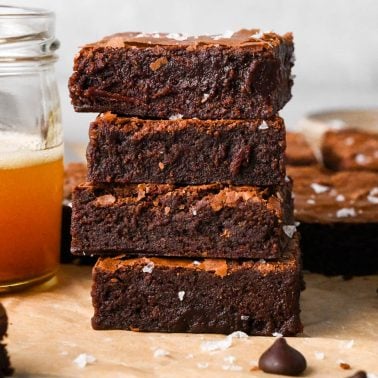
This chocolate ice cream is irresistibly creamy and made with two forms of chocolate for a deep rich flavor. It’s not overly sweet, and is just as delicious (maybe even more-so) than your favorite ice cream shop! Serve it alongside a slice of favorite chocolate cake, a piece of this giant cookie cake or eat it all by itself!
, has a rich chocolate flavor, and is just as good as any ice cream shop!")
Chocolate Ice Cream: Ingredient & Substitutions
, has a rich chocolate flavor, and is just as good as any ice cream shop!")
- Heavy cream. There really isn’t an adequate substitution for heavy cream. It gives the ice cream it’s ultra-creamy texture.
- Cocoa powder. If you’re into very dark chocolate ice cream, try using dark cocoa powder.
- Semisweet chocolate. I use 60% dark chocolate chips to make this recipe. Use whatever percentage you prefer—just know that milk chocolate will result in a sweeter ice cream and the darker the chocolate the more intense the chocolate flavor will be.
- Whole milk. Half and half is an acceptable substitute for whole milk!
- Granulated sugar. There’s really no substitute here! I use organic cane sugar or regular white sugar.
- Egg yolks. Another critical ingredient that contributes to the creaminess, don’t leave them out!
- Vanilla extract. Vanilla beans (seeded) or vanilla bean paste can be used in place of extract.
Equipment
Here is the gear you will need to make this chocolate ice cream recipe!
- Ice Cream Maker (I have this Cuisinart ice cream maker. If I was going to buy a new one, I’d get this ice cream maker).
- Saucepan
- Fine mesh metal strainer
- wire whisk
- Batter bowl with lid
- Freezer-friendly ice cream container
How to Make Chocolate Ice Cream
Making this homemade chocolate ice cream recipe involves a few steps—plus some chilling and freezing—but it’s well worth the time it takes to make the best chocolate ice cream ever! We’ll walk through the process together step-by-step, but don’t forget to watch the video!
The first step in making this recipe is to make the chocolate base. Begin by whisking together the cream and cocoa powder. Bring the mixture to a boil. Reduce heat and boil/simmer for 30 seconds, whisking constantly.
, has a rich chocolate flavor, and is just as good as any ice cream shop!")
Then, remove the chocolate/cream mixture from the heat and add chopped chocolate. Whisk until smooth. Add remaining cream and whisk to combine.
, has a rich chocolate flavor, and is just as good as any ice cream shop!")
Transfer mixture to a large bowl and position a fine mesh strainer over it. This strainer will be used to strain the custard part of the chocolate ice cream recipe. It’s absolutely critical.
What if I don’t have a fine Metal strainer?
A nut milk bag or tea towel would work fine, but a fine mesh metal strainer is a kitchen must-have for sure, I use it almost every day.
, has a rich chocolate flavor, and is just as good as any ice cream shop!")
Make the Custard
Next we will make the custard component of this chocolate ice cream recipe. To do this, we need to temper the eggs so they don’t cook when they’re added to the warm milk mixture. Begin by whisking the egg yolks together in a medium bowl.
Then, in a saucepan over medium heat, whisk together milk, sugar and sea salt. Once the milk mixture is slightly warm, add ½ cup of warm (not hot) milk to the beaten egg yolks and whisk to combine. Add the milk/egg mixture back into the saucepan, whisking as it’s being added.
, has a rich chocolate flavor, and is just as good as any ice cream shop!")
Continue to cook the custard over medium heat, and stir the mixture constantly with a spatula until the it thickens and coats the spatula (it does this when it reaches about170 degrees F).
Assemble
Pour the thickened custard through the metal strainer into the other ingredients in the bowl. Stir until combined. Discard any custard residue left on the strainer.
, has a rich chocolate flavor, and is just as good as any ice cream shop!")
Chill
Add the vanilla and stir to combine. Place a lid on top and let the mixture chill in the refrigerator for at least 6 hours, or overnight.
, has a rich chocolate flavor, and is just as good as any ice cream shop!")
Churn
Once the ice cream mixture is cooled to just below room temperature, churn it in an ice cream maker until thick and frozen (30-40 minutes).
, has a rich chocolate flavor, and is just as good as any ice cream shop!")
Freeze
Transfer the chocolate ice cream to an airtight container and freeze for at least 6 hours.
Favorite Ice Cream Containers:
Here are some of my favorite storage containers for ice cream:
More Delicious Frozen Treats
Cool down with these homemade frozen desserts.
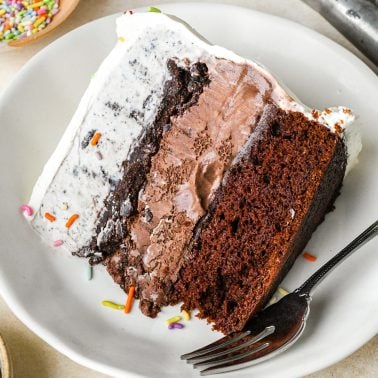
- This ice cream cake is more delicious than DQ.
- Just like these chocolate chip cookie ice cream sandwiches better than DQ chipped sammies.
- Homemade popsicles are way better than store-bought!
- Frozen chocolate dipped bananas are so refreshing and nostalgic – or try them with peanut butter.
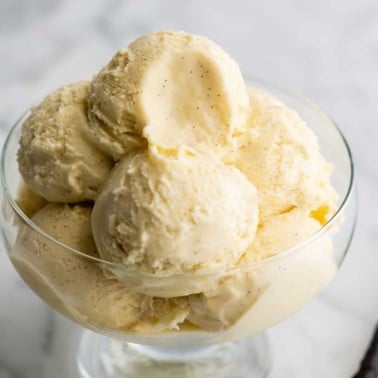
- Or make a milkshake in one of three flavors – chocolate milkshake, strawberry milkshake or vanilla milkshake.
, has a rich chocolate flavor, and is just as good as any ice cream shop!")
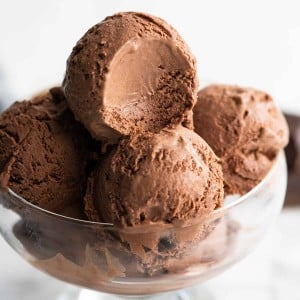
Serve
Serve this chocolate ice cream on cones, in a dish, drizzled with chocolate sauce or caramel sauce with a dollop of fresh homemade whipped cream, etc.!
Or, use it to stuff between two cookies to make the best homemade chocolate chip cookie ice cream sandwiches (like a chipwhich only so much better).
We also love using it as one of the layers in this homemade ice cream cake or to make this chocolate milkshake recipe.
, has a rich chocolate flavor, and is just as good as any ice cream shop!")
Chocolate Ice Cream Recipe FAQs
Here are some commonly asked questions about making homemade chocolate ice cream:
If you do not have an ice cream maker, you can churn this chocolate ice cream recipe by hand. It’s just a lot more work! Here’s how:
Once the ice cream base is made, put it in a freezer-friendly container and put it in the freezer.
After 1 hour, check the ice cream. If is has started to freeze, use a hand-held mixer (or a whisk or spatula) to beat it vigorously.
Continue to mix the mixture with a mixer or by hand every 30 minutes until it is frozen. This should take about 3-6 hours.
This ice cream stays fresh in the freezer in an airtight container for up to 2 months.
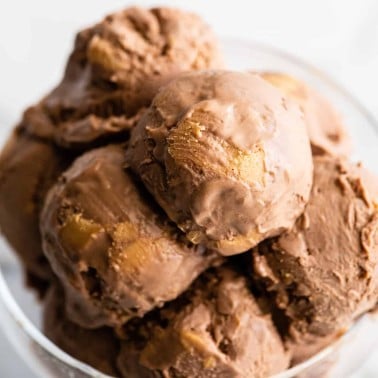
Yes, absolutely. Towards the end of the churning process add your preferred mix-ins. I suggest edible cookie dough – yum.
, has a rich chocolate flavor, and is just as good as any ice cream shop!")
If you make and love my recipes, it would mean so much to me if you would leave a comment and rating! And don’t forget to follow along on Instagram, Pinterest, Facebook, TikTok and Youtube – be sure to tag @joyfoodsunshine and use the hashtag #joyfoodsunshine so I can see your creations!
Best Homemade Chocolate Ice Cream Recipe
Video
Equipment
Ingredients
- 2 cups heavy cream divided
- ¼ cup unsweetened cocoa powder
- 6 ounces semisweet chocolate chopped (or chocolate chips)
- 1 ½ cups whole milk
- ¾ cup granulated sugar
- ⅛ tsp sea salt
- 3 large egg yolks beaten
- ½ tsp pure vanilla extract
Instructions
- Whisk together 1 cup cream and cocoa powder. Bring to a boil. Reduce heat and boil/simmer for 30 seconds whisking constantly.
- Remove from heat and add chopped chocolate and whisk until smooth. Add remaining 1 cup of cream and whisk to combine.
- Transfer mixture to a large bowl and position a fine mesh strainer over it. Set aside.
- In a small bowl, whisk together egg yolks.
- In a saucepan over medium heat, whisk together milk, sugar and sea salt.
- Once the milk mixture is slightly warm, add ½ cup of warm milk to the beaten egg yolks and whisk to combine. Add the milk/egg mixture back into the saucepan, whisking during the addition.
- Continue to cook the custard over medium heat, and stir the mixture constantly with a spatula until the it thickens and lightly coats the spatula (it does this when it reaches about 170 degrees F).
- Pour the thickened custard through the metal strainer into the other ingredients in the bowl. Stir until combined. Discard any custard residue left on the strainer.
- Add the vanilla and stir to combine.
- Place a lid on top and let the mixture cool in the refrigerator for at least 6 hours, or overnight. To speed up the cooling process, you can place the container of the chocolate ice cream liquid base into an ice bath and stir it often.
- Once the ice cream mixture is chilled, churn it in an ice cream maker until thick and frozen (30-40 minutes).
- Transfer to an airtight container and freeze for at least 6 hours.
- Serve!
Notes
- Heavy cream. There really isn’t a substitution for heavy cream, it gives the chocolate ice cream it’s ultra-creamy texture.
- Cocoa powder. If you’re into very dark chocolate ice cream, try using dark cocoa powder.
- Semisweet chocolate. I use 60% dark chocolate chips to make this chocolate ice cream. Use whatever percentage you prefer, just know that milk chocolate will result in a sweeter ice cream, and the darker the chocolate used the more intense the chocolate flavor will be.
- Whole milk. Half and half is an acceptable substitute for whole milk!
- Granulated sugar. There’s really no substitute here! I use organic cane sugar or regular white sugar.
- Egg yolks. Another critical ingredient that contributes to the creaminess, don’t leave them out!
- Vanilla extract. Vanilla beans (seeded) or vanilla bean paste can be used in place of extract.
- Once the ice cream base is made, put it in a freezer-friendly container and put it in the freezer.
- After 1 hour, check the ice cream. If is has started to freeze, use a hand-held mixer (or a whisk or spatula) to beat it vigorously.
- Continue to mix the mixture with a mixer or by hand every 30 minutes until it is frozen. This should take 3-6 hours.
Nutrition
Nutrition information is automatically calculated, so should only be used as an approximation.
How many quarts does this recipe make?
It makes about 1.5 quarts.
this recipe is PERFECT!! I love it
Excellent recipe, super creamy ice cream. I sped up the chilling process by using an ice water bath for about 40 minutes, then put the cooled ice cream mix straight into the ice cream machine. Came out perfect, this one’s a keeper.
Legit Chocolate ice cream. My only substitute was Stevia for sugar. Best chocolate ice cream I have ever tasted and the only one I have d egg vet made from scratch. Nice recipe
I’ve been making other flavors of icecream & finally attempted this. (Vanilla, banana, strawberry, homegrown peach with almond extract & nutmeg). I’ve also found to keep it scoop-able is to add a couple of tablespoons of alcohol. Or extract. I usually make a huge batch by the time I get everything in it. I added either extra extracts or a shot of Rum or vodka. It was by accident that I figuredcthis out. My single 1.2 qt. machine ends up with 4 batches as I tend to use up fruit I put up last year…. This chocolate recipe is A-MAZ-ING ! Thanks & I like the sound of p-nut butter cups from another cook!
This was the first ice cream recipe I made when I got my first ice cream maker for Christmas. It’s just perfection! Thanks for listing out each step so thoroughly so a newbie like me could understand and follow along easily.
Super rich, double chocolate flavor! This was my second try at making keto ice cream. Perfect and delicious. The first one I made was vanilla and was excellent, also.
Good basic chocolate ice cream recipe. As long as you get the essentials done right, you can modify to make it your own. It’s similar to a vanilla recipe I use. Last time I had 4 egg yolks leftover from a cake I made and all 4 worked well. I also use lactaid for milk. I recommend giving yourself 2 days to make before you want to serve it. I make the base in the afternoon/evening and let the base chill overnight. Early the next morning I’ll add the rest of the cream and churn right away so it has 8+ hours to firm up. Firms better, faster, in a flat container than a tall deep container.
Thank you Jalee!
I had to do the custard twice, and it was very runny and didn’t thicken much, but still turned out perfectly! After cooling in the fridge everything thickened up nicely, and this made the creamiest, chocolatey-est ice-cream, ever! So amazing! We added our favorite chocolate chocolate chip cookie dough to it, too.
Amazing recipe.Made half the quantity as I have a small ice-cream churner. Everyone loved it. Thanks!
It is spectacular. My husband, the original Chocoholic says it is the best Chocolate Ice Cream he has ever had and will I please chop up peanut butter cups to go in the next batch. Always guilding the lily my guy!
Awesome!! This was my first attempt at homemade ice cream, and I am in love! I bought a Cuisinart Ice-100 and it took less than 40 minutes to churn. In the recipe I used Hershey’s Special Dark for the cocoa, and 2/3rd’s Lindt 55%, and 1/3rd Lindt Milk chocolate. Plus a pinch of espresso powder, and 1/4 teaspoon of unflavored gelatin. It tasted like a high-end frozen custard. Absolutely delicious! Next time I will use a high fat cocoa and darker chocolate for the chocolate bars.