Best Flourless Chocolate Cake
Posted Aug 19, 2023, Updated Feb 12, 2024
This post may contain affiliate links. Please read our disclosure policy.
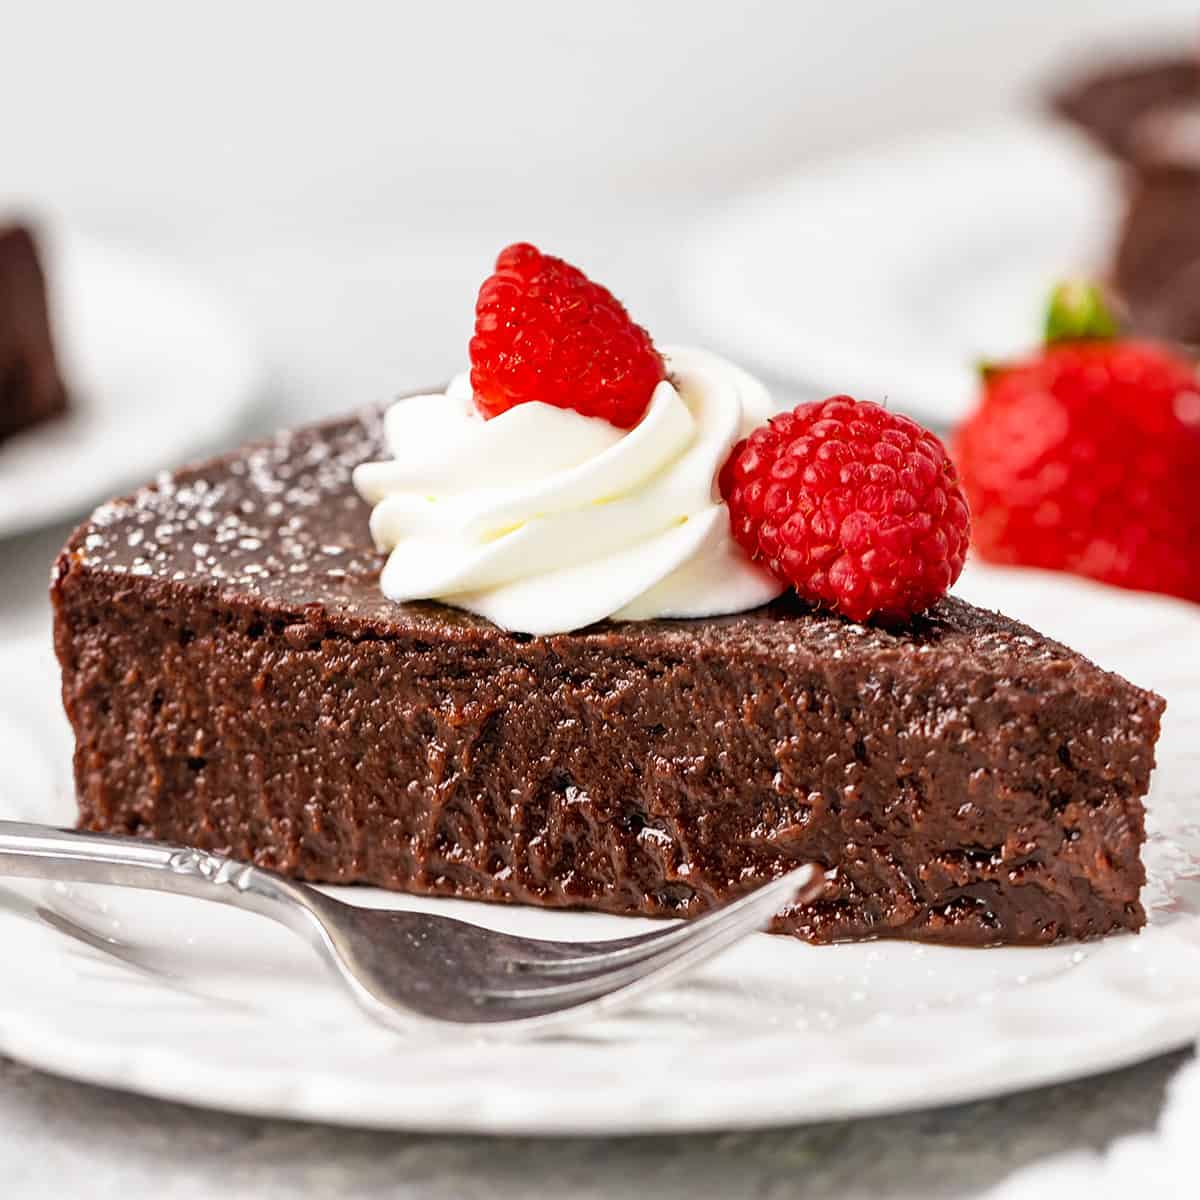
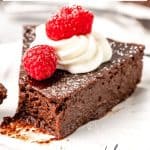
This is the best flourless chocolate cake recipe ever. It is a rich, intensely chocolatey, gluten-free dessert made with only 7 ingredients! It’s a delicious & elegant make-ahead treat for any special occasion.
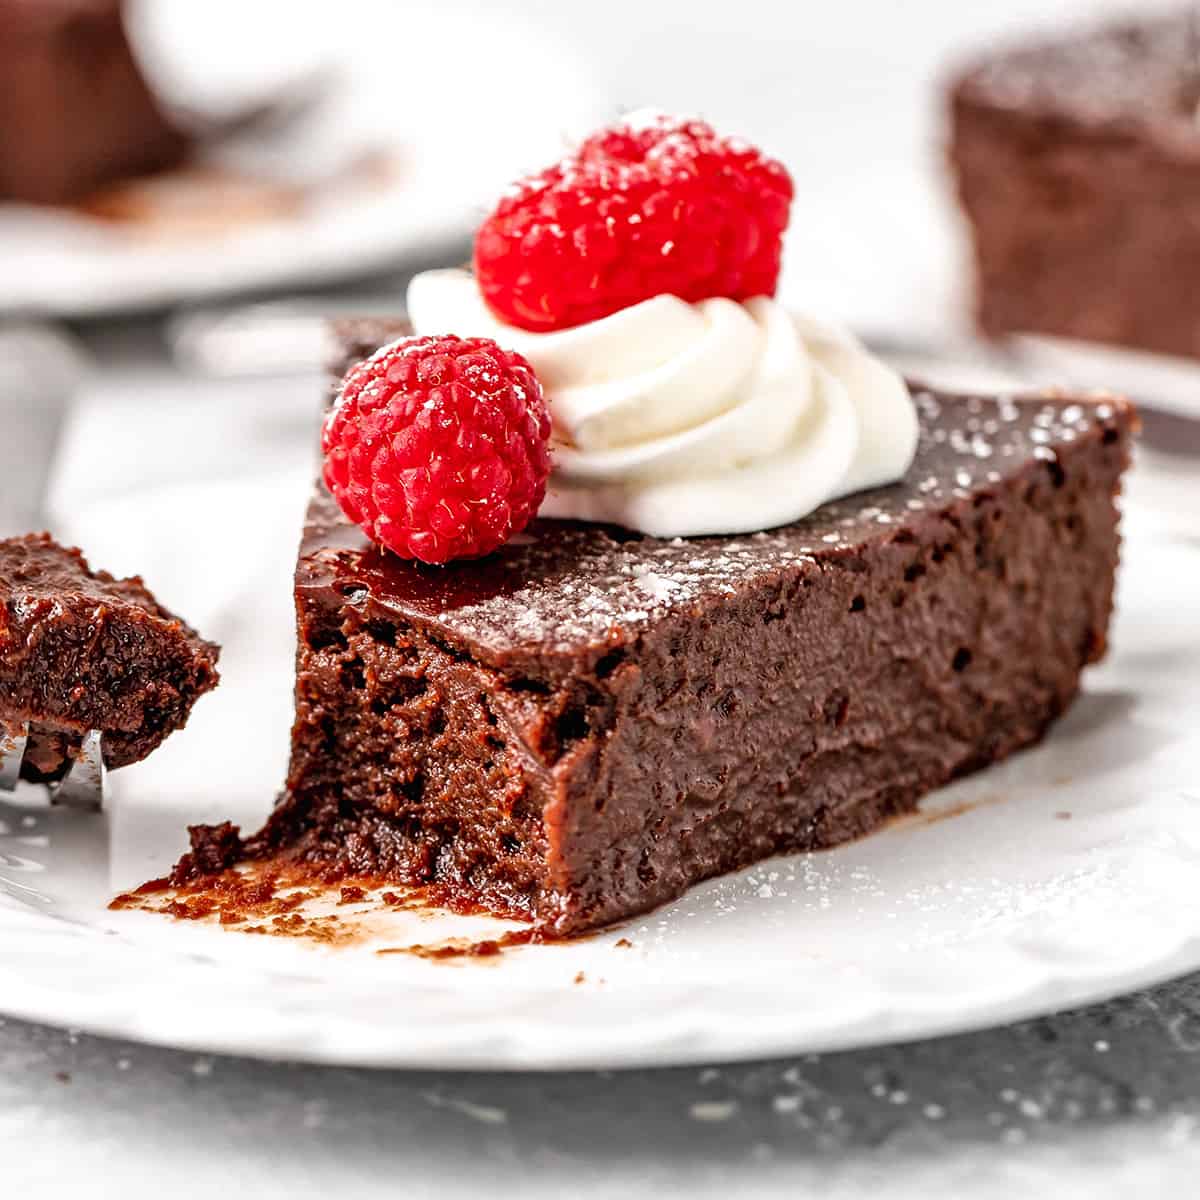
When people say that a dessert is “too fudgy” or “too chocolatey” I never, ever understand what they mean. Because, to me, there is no such thing as “too much chocolate” – and this flourless chocolate cake recipe is testimony to that.
This flourless chocolate cake is truly a show-stopper. It has been one of my most requested recipes for years. This cake is pure chocolatey & fudgy goodness, and is a gluten-free dessert for serious chocolate lovers, (just like these flourless brownies).
This recipe recipe requires seven simple ingredients, which come together beautifully to make a truly special dessert. It’s the perfect make-ahead dessert for any occasion. Serve it with homemade whipped cream for an extra special touch!
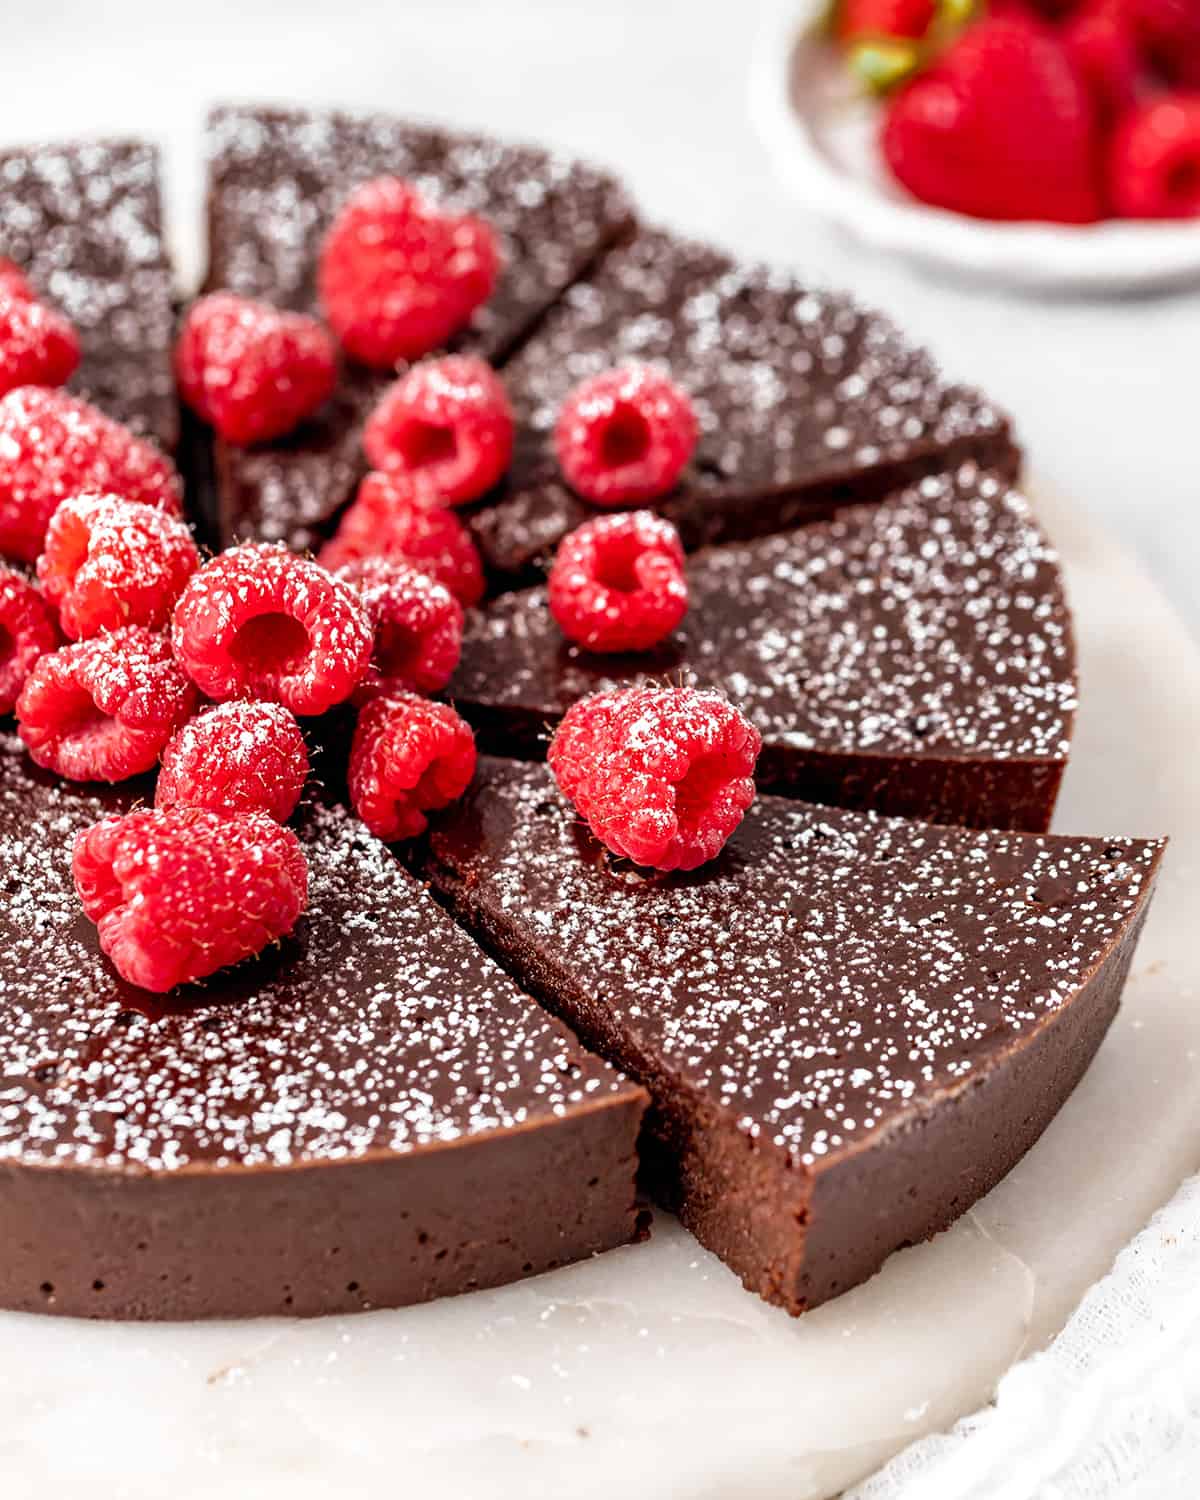
Flourless Chocolate Cake: Ingredients & Substitutions
I do not recommend making any substitutions in this flourless chocolate cake recipe. It is absolute perfection as-is. But if you must, here are a few possible options.
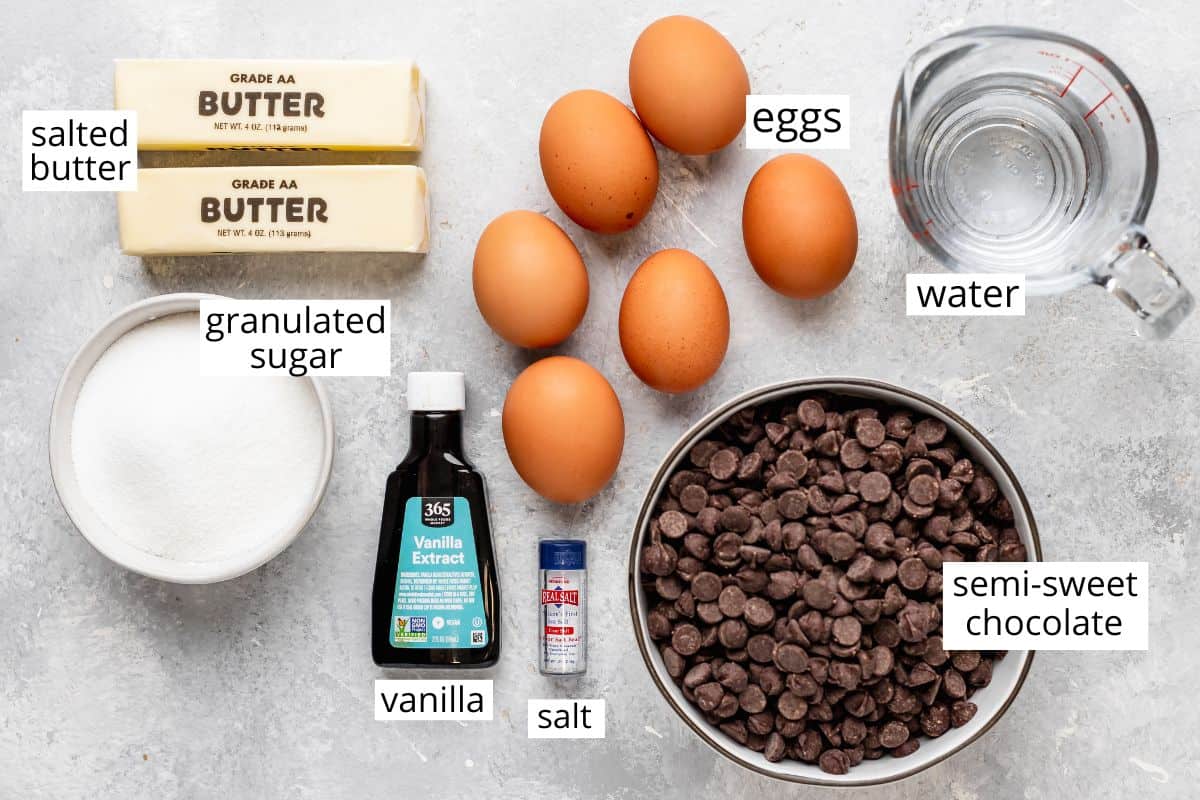
- Chocolate. Use high-quality chocolate for the best results. I suggest Ghirardelli 60% dark chocolate or another high-quality variety. Adjust the sweetness/darkness by using different chocolate varieties such as milk, semisweet, or dark.
- Butter. I always use salted butter in baking, but you can use unsalted as well with great results! To make this cake dairy-free, a vegan butter substitute, like Earth’s Balance, works well.
- Granulated sugar. Regular granulated sugar or organic cane sugar both work really well in this recipe.
- Sea salt. I recommend using pure, fine sea salt. If you use table salt (iodized salt), you may need to use less.
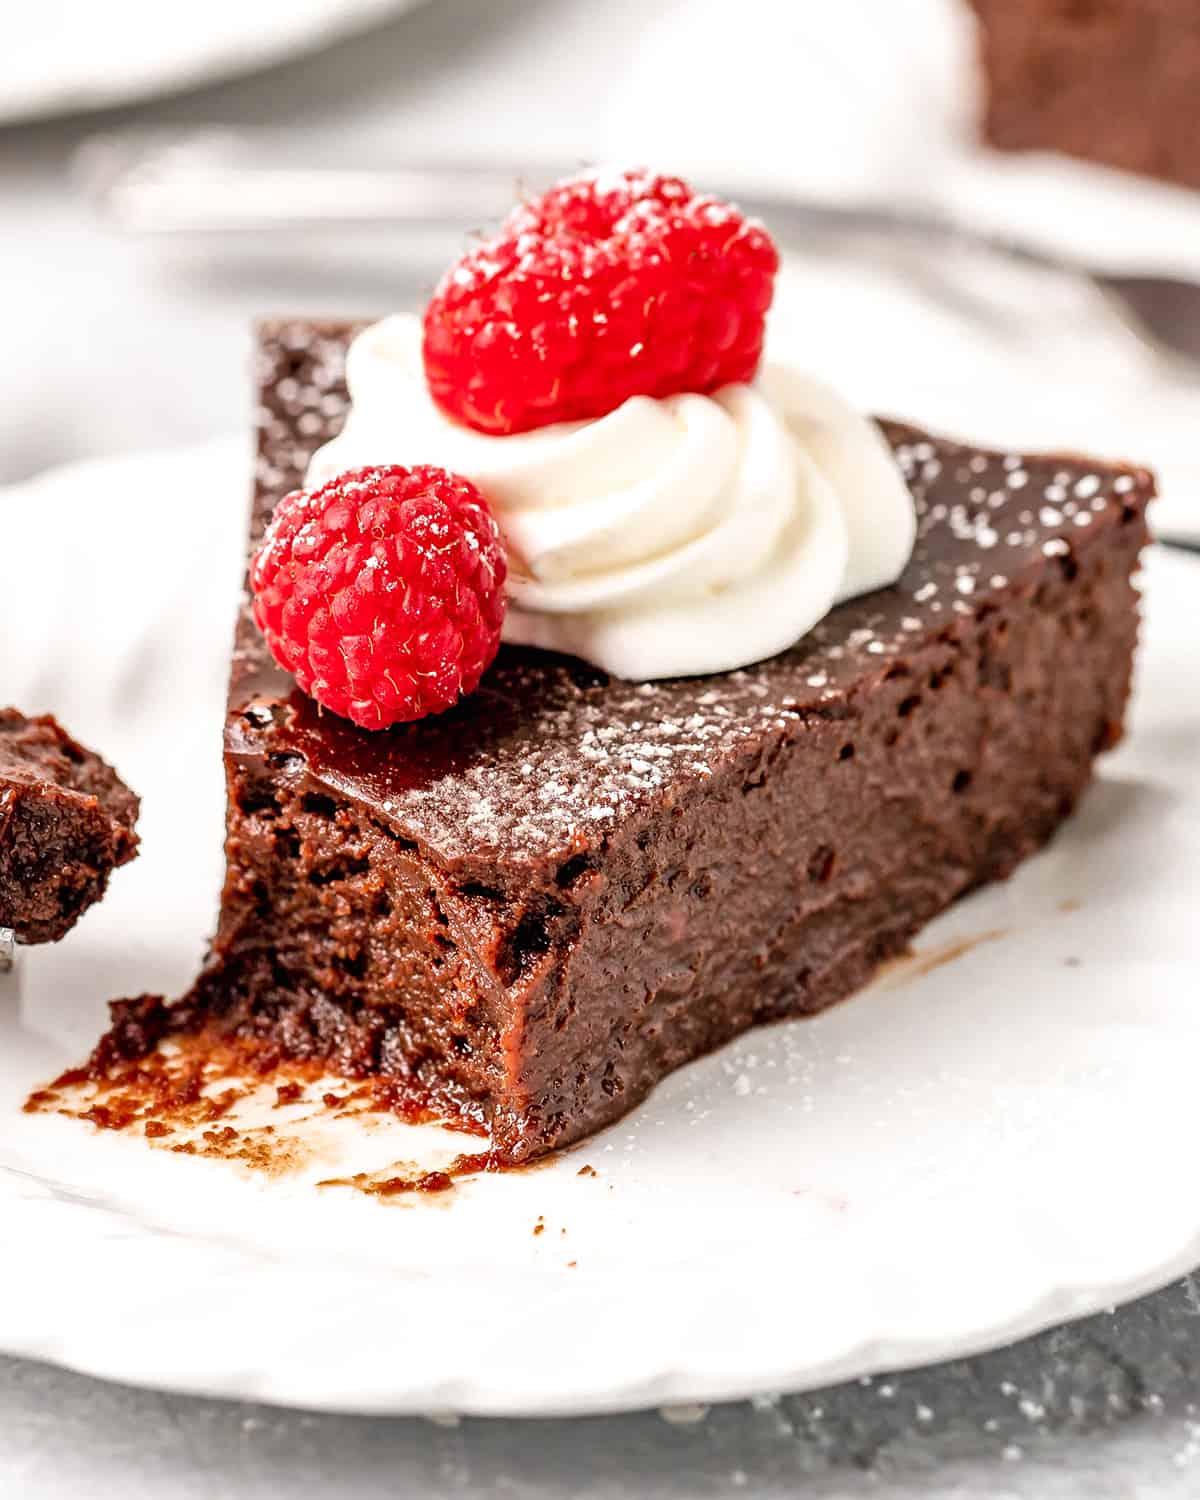
How to make Flourless Chocolate Cake
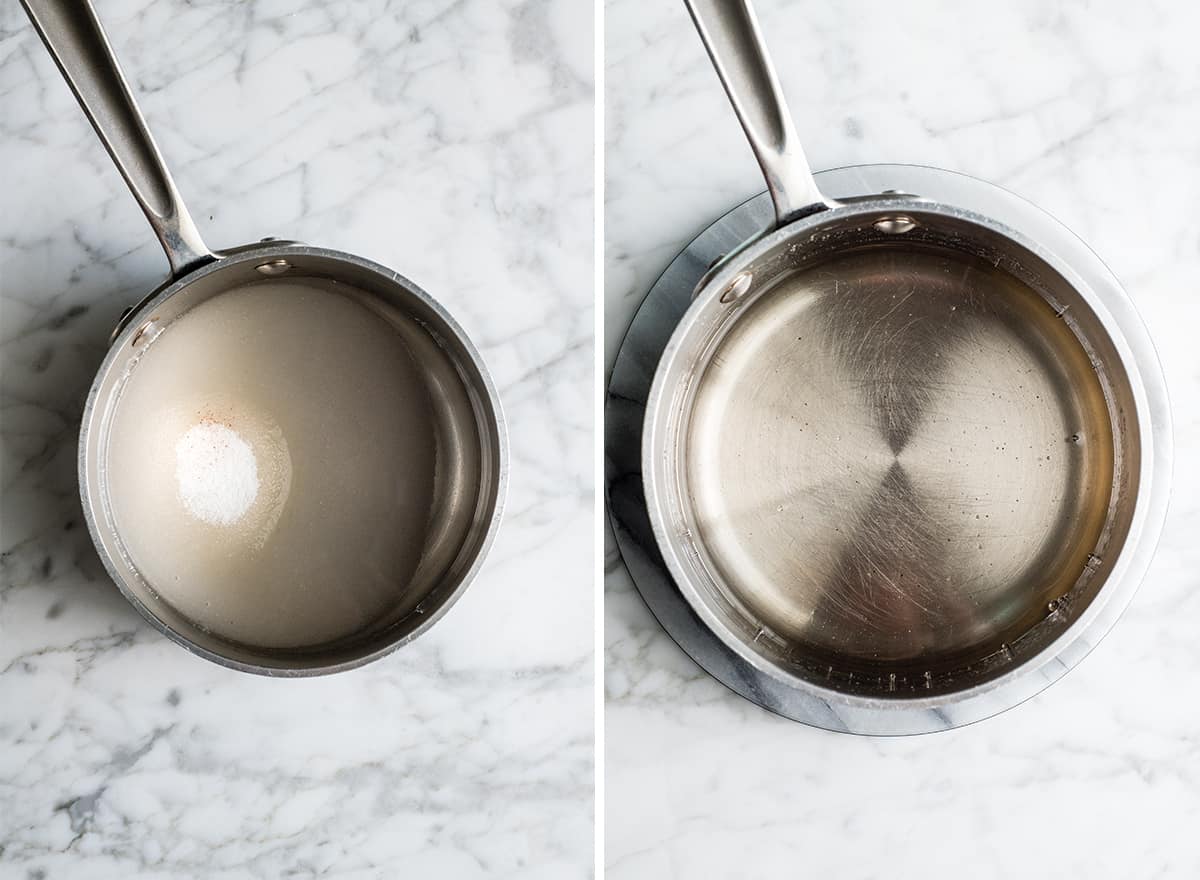
The first step in this flourless chocolate cake recipe is combining the water, sugar and salt and heating it until the sugar and salt are dissolved.
Do not let the water boil, and whisk every 30 to 60 seconds. After the mixture is clear, remove it from the heat and let it cool as you make the rest of the recipe.
Prepare the cake pan
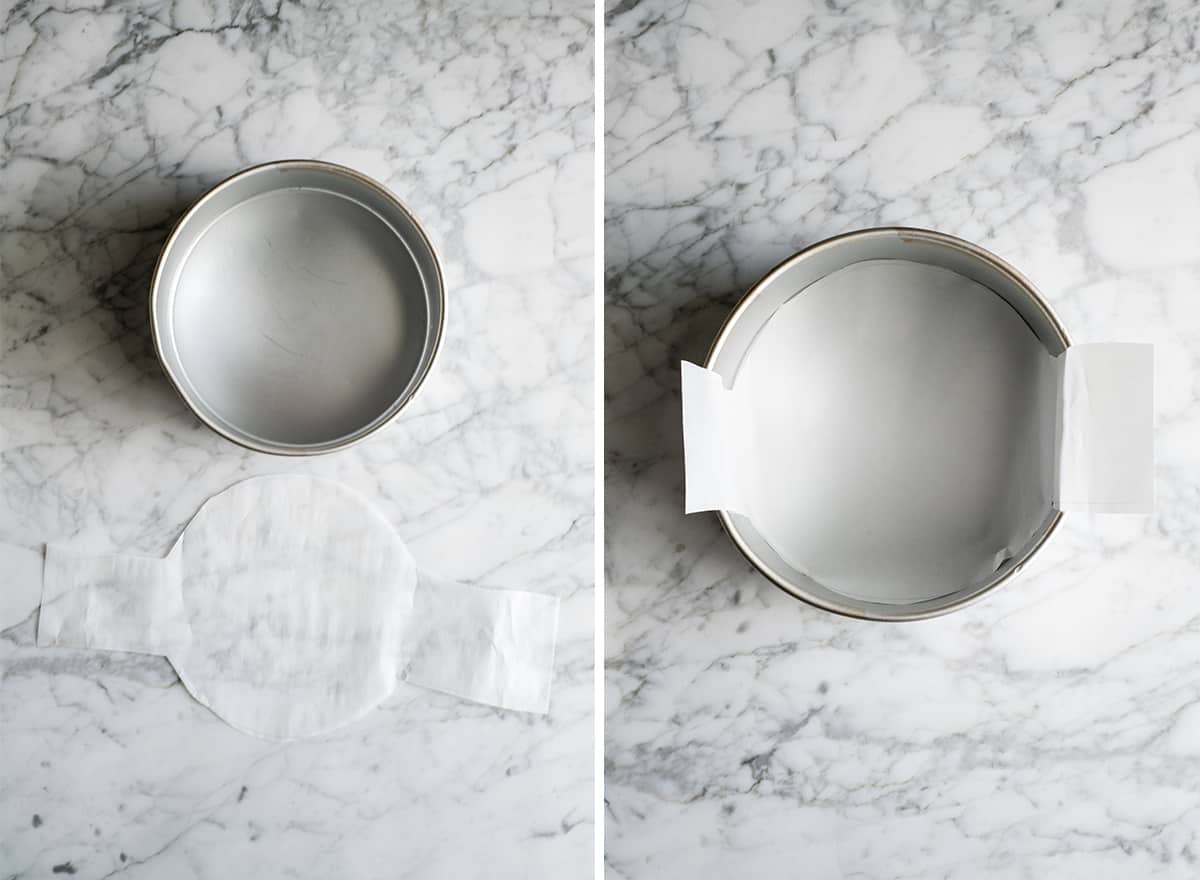
Line your cake pan with parchment paper for easy removal. I trace the bottom of the cake pan on a piece of parchment paper, and add “handles” (see photo below) for a perfect fit.
Then grease the pan with a non-stick spray, butter, shortening, etc.
Use a seamless pan
Since this recipe is baked in a water bath, I recommend using a pan that has no seems (e.g. I don’t recommend using a springform pan). This ensures that no water leaks into the cake.
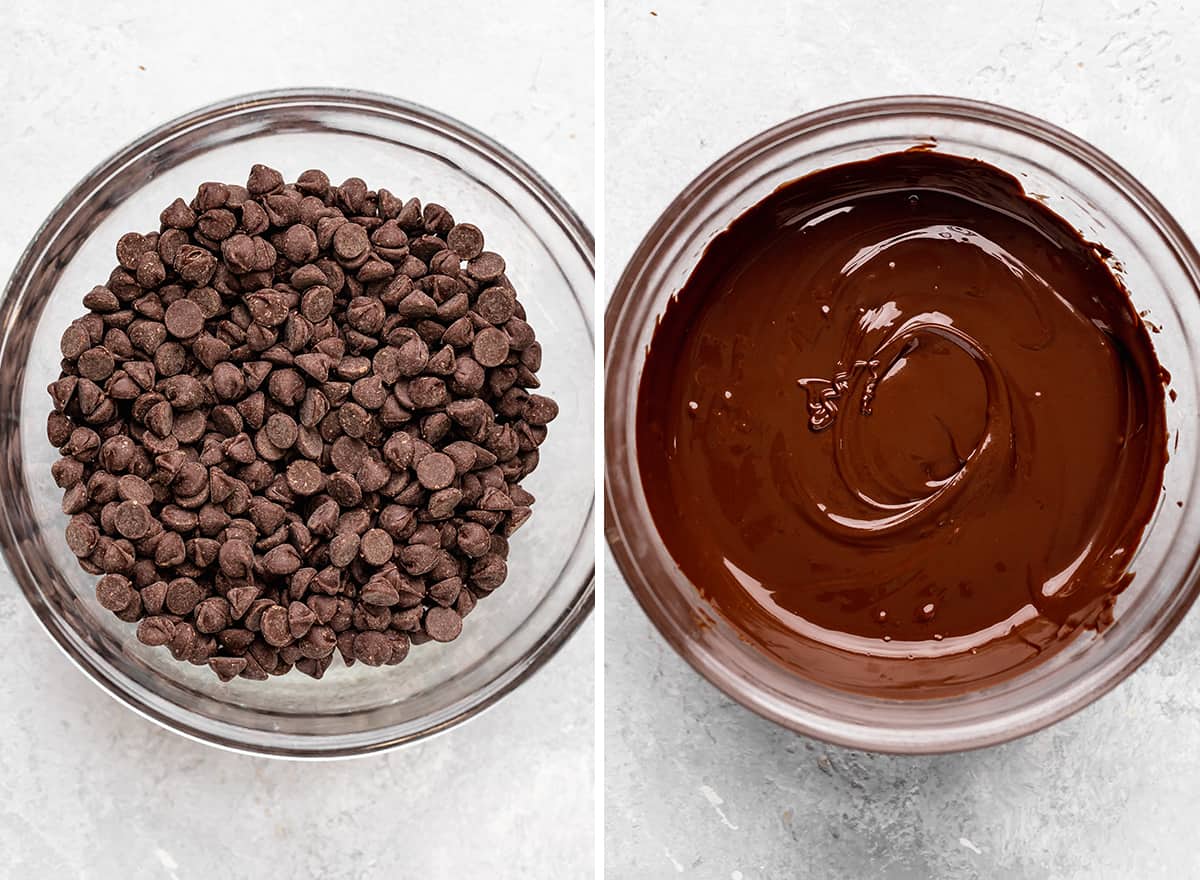
Then, met the chocolate in the microwave or in a double boiler until it’s smooth and glossy. Transfer it to the bowl of a standing mixer. You can also use a hand-held mixer to beat the ingredients together.
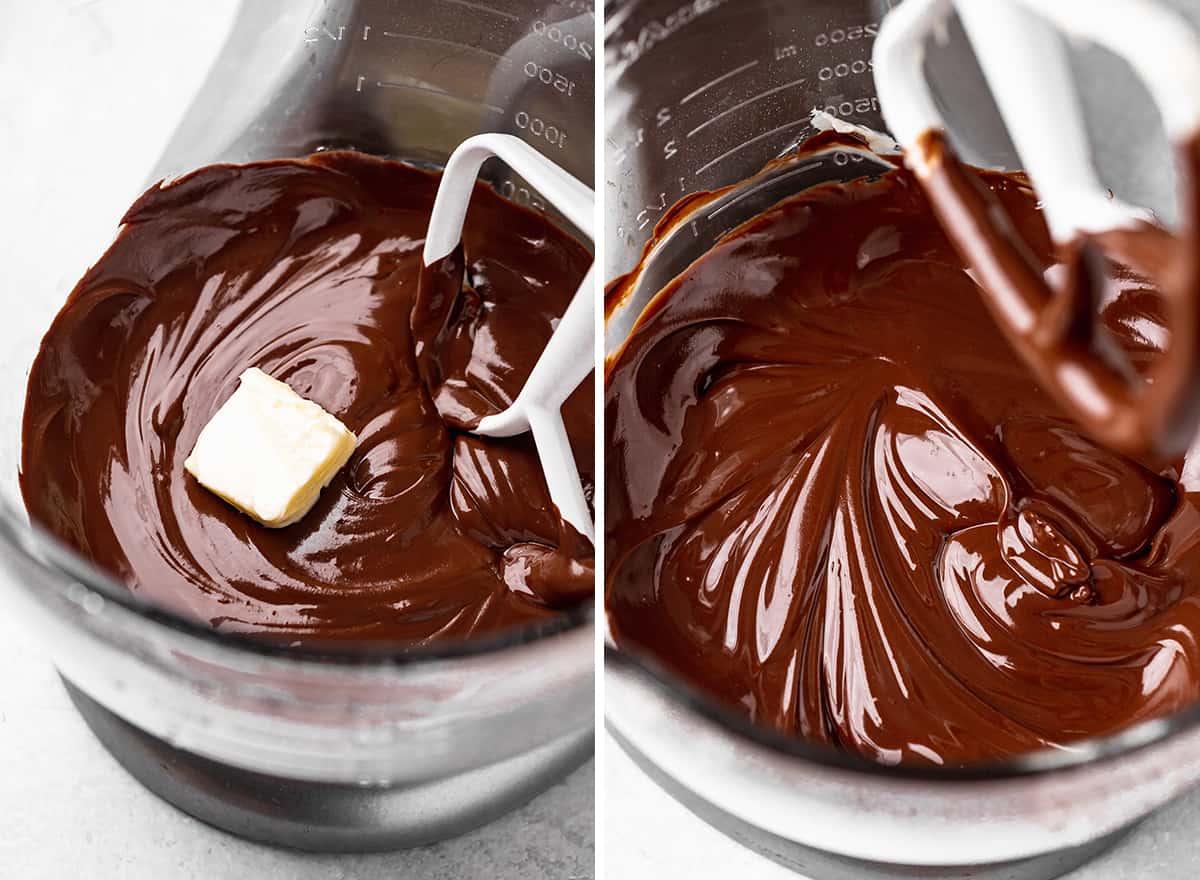
Next, add the butter 1 tablespoon at a time to the warm chocolate mixture, beating after each addition. It’s ok if it doesn’t fully melt, because the addition of the warm sugar water will ensure that it does.
Then, add the slightly cooled (but still warm) sugar water to the mixture and beat on low/medium speed until the mixture is smooth.
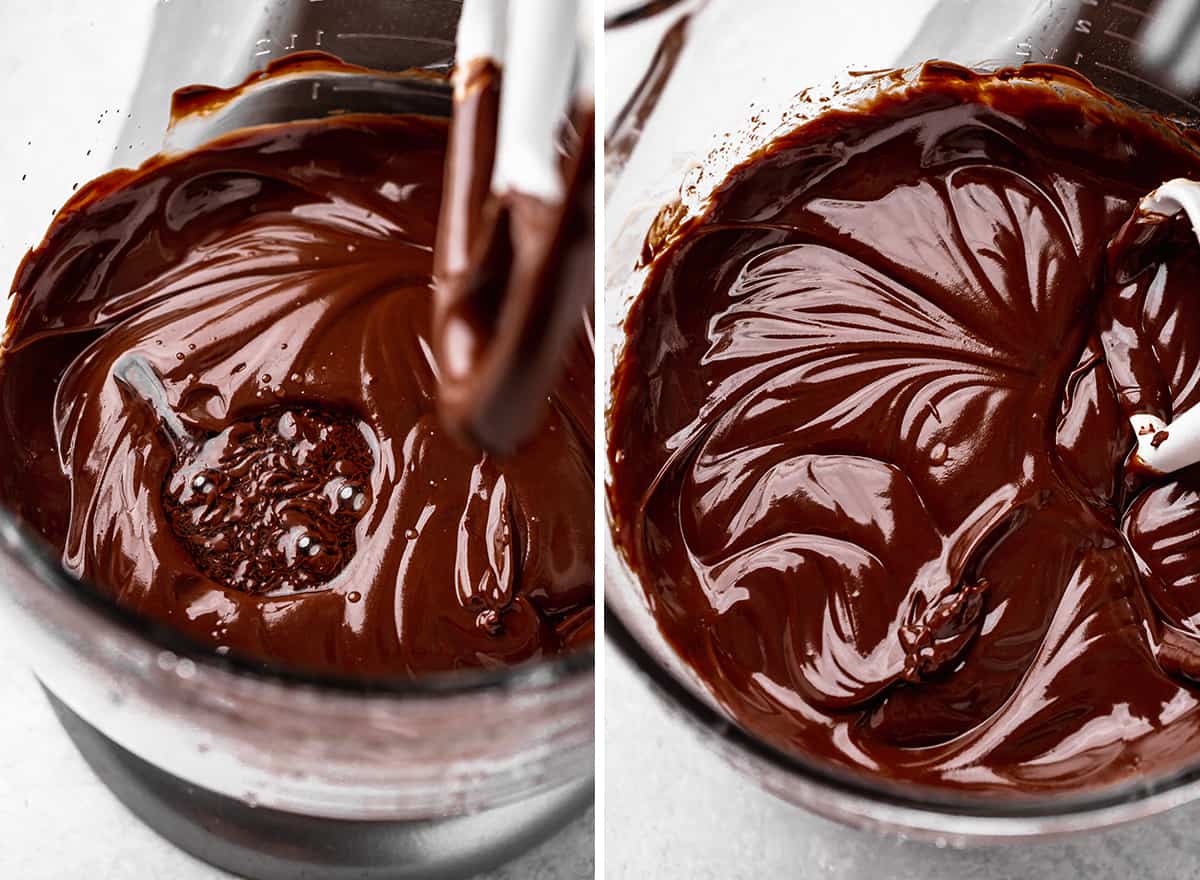
Next, add eggs one at a time, beating after each addition.

Then add vanilla and beat until just combined.
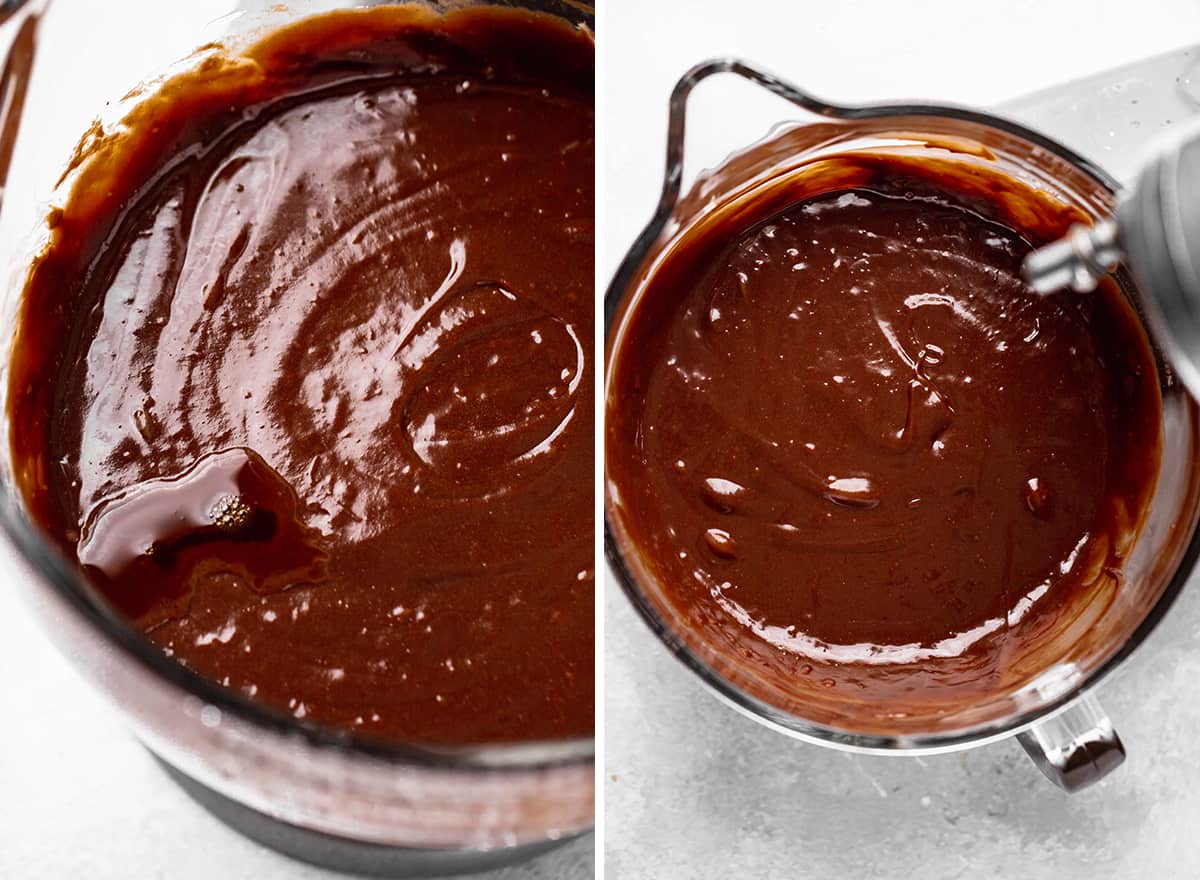
Bake the Flourless Chocolate Cake in a Water Bath
Once the batter is ready, pour it into the prepared cake pan. Then put the cake pan in the preheated oven.
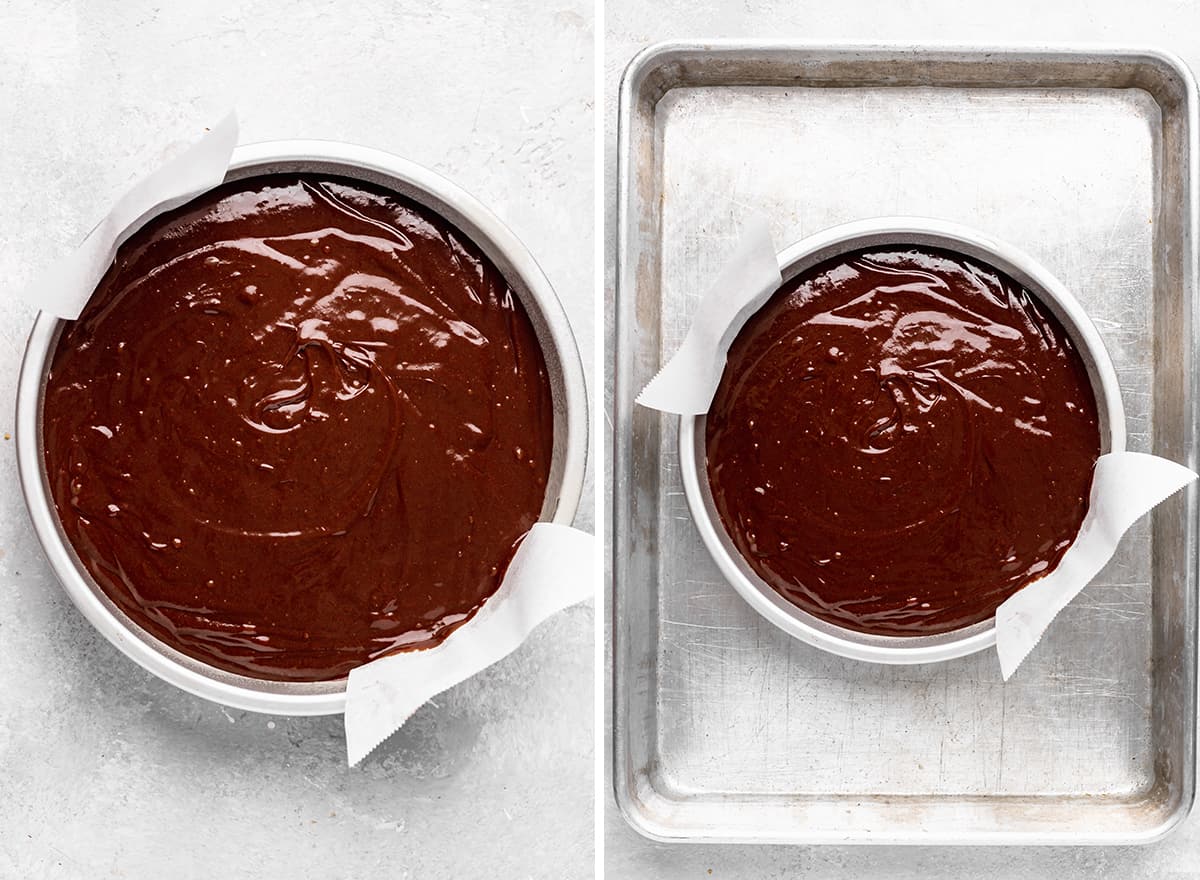
Pour boiling water into the bottom pan until it reaches halfway up the sides of the cake pan. Be extremely careful not to get any water into the cake pan.
I recommend pouring the water into the bottom pan while it is in the oven so you do not have to transfer the pan filled with water into the oven.
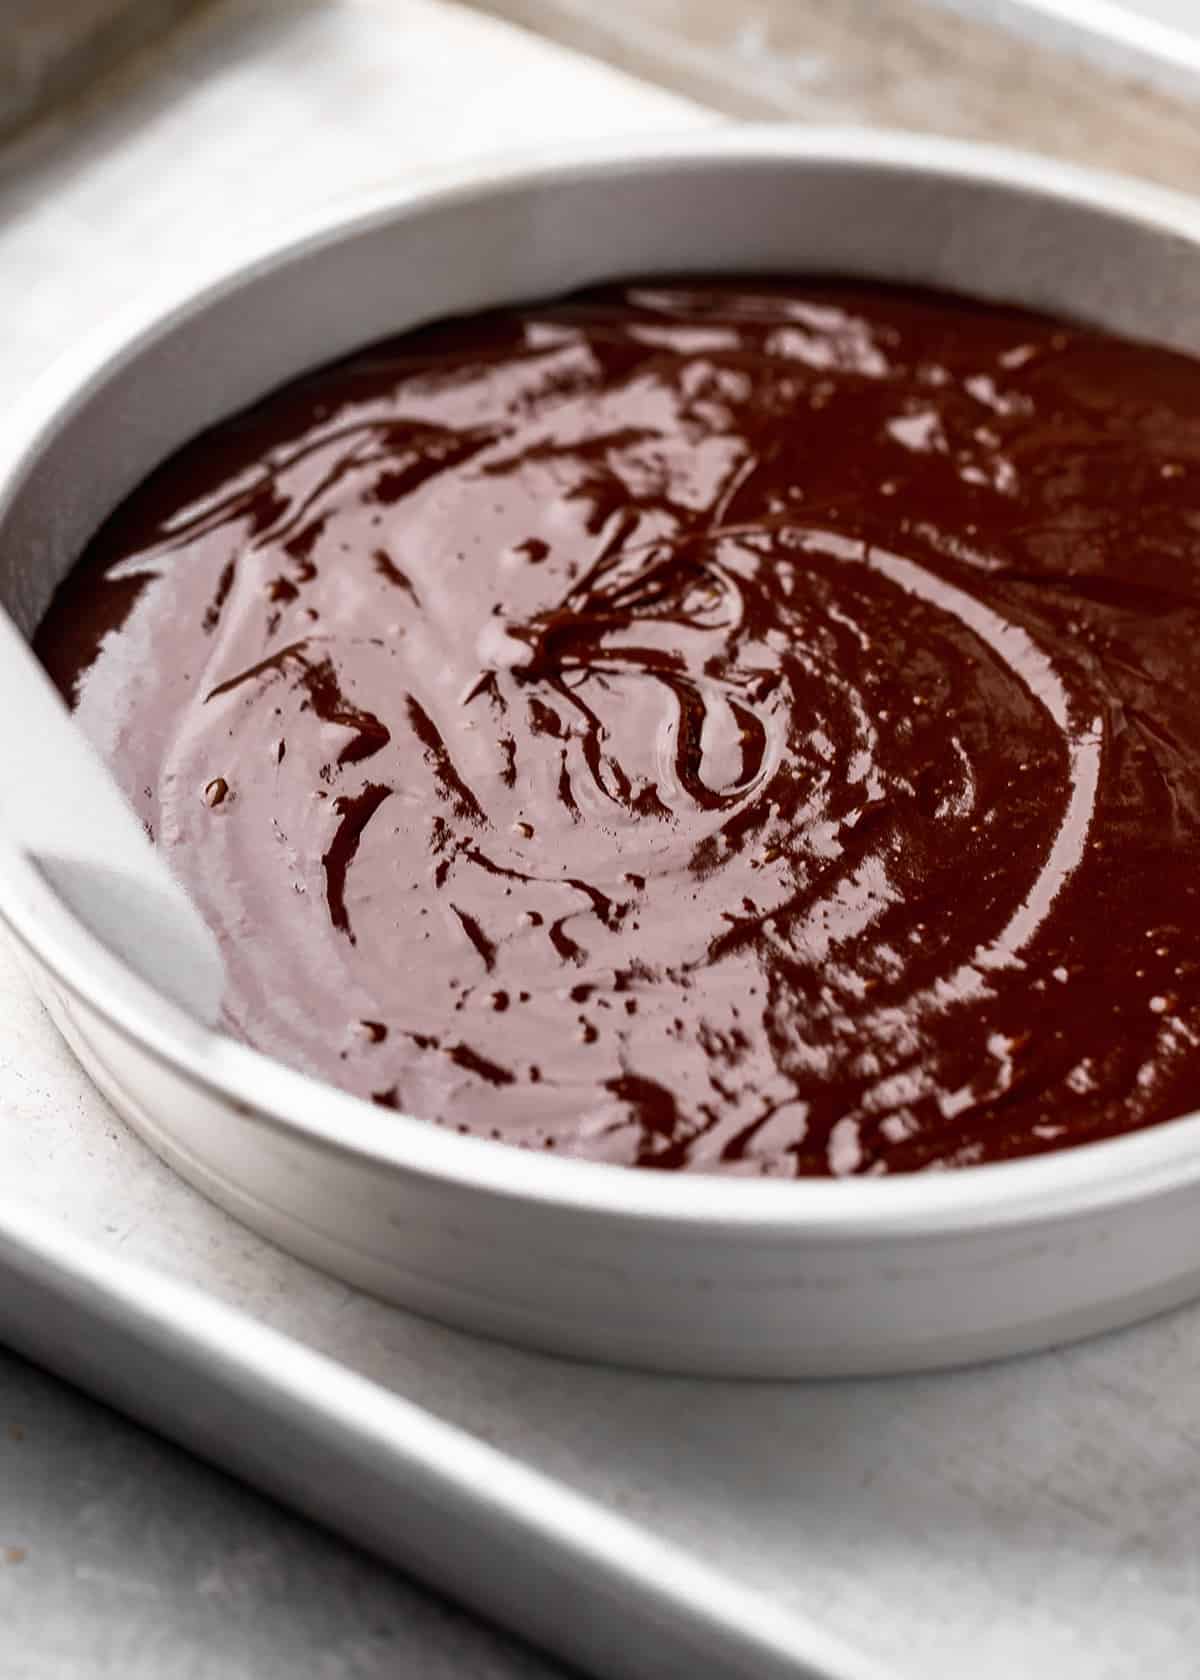
Bake the flourless chocolate cake for 45 minutes. This baking time is pretty exact as long as you use a 9″ round cake pan. If you use an 8″ round pan I suggest baking for 50-55 minutes.
The cake is done when the top and edges look set and it is only slightly jiggly.
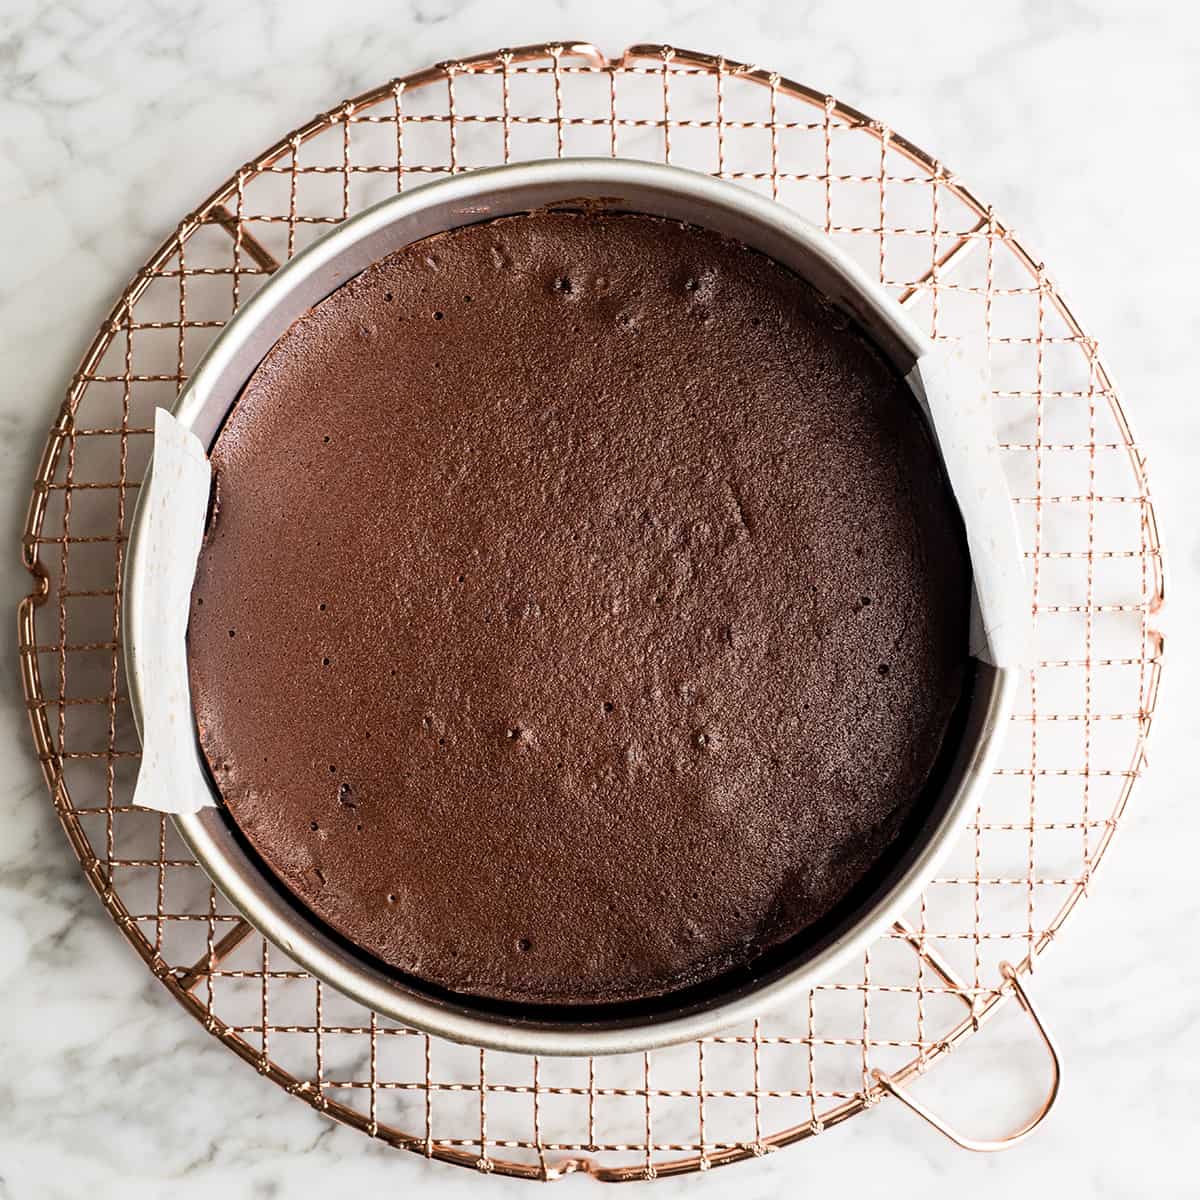
Chill the Flourless Chocolate Cake
This recipe needs to chill for a while, preferably overnight. I usually make it the day before and let it chill in the refrigerator overnight. The minimum amount of chilling time is 6 hours.
I actually love the fact that this fluorides chocolate cake recipe is best when served the next day. This means you can make it ahead and free yourself up to be able to focus on cooking other dishes the day of a special celebration or get together.
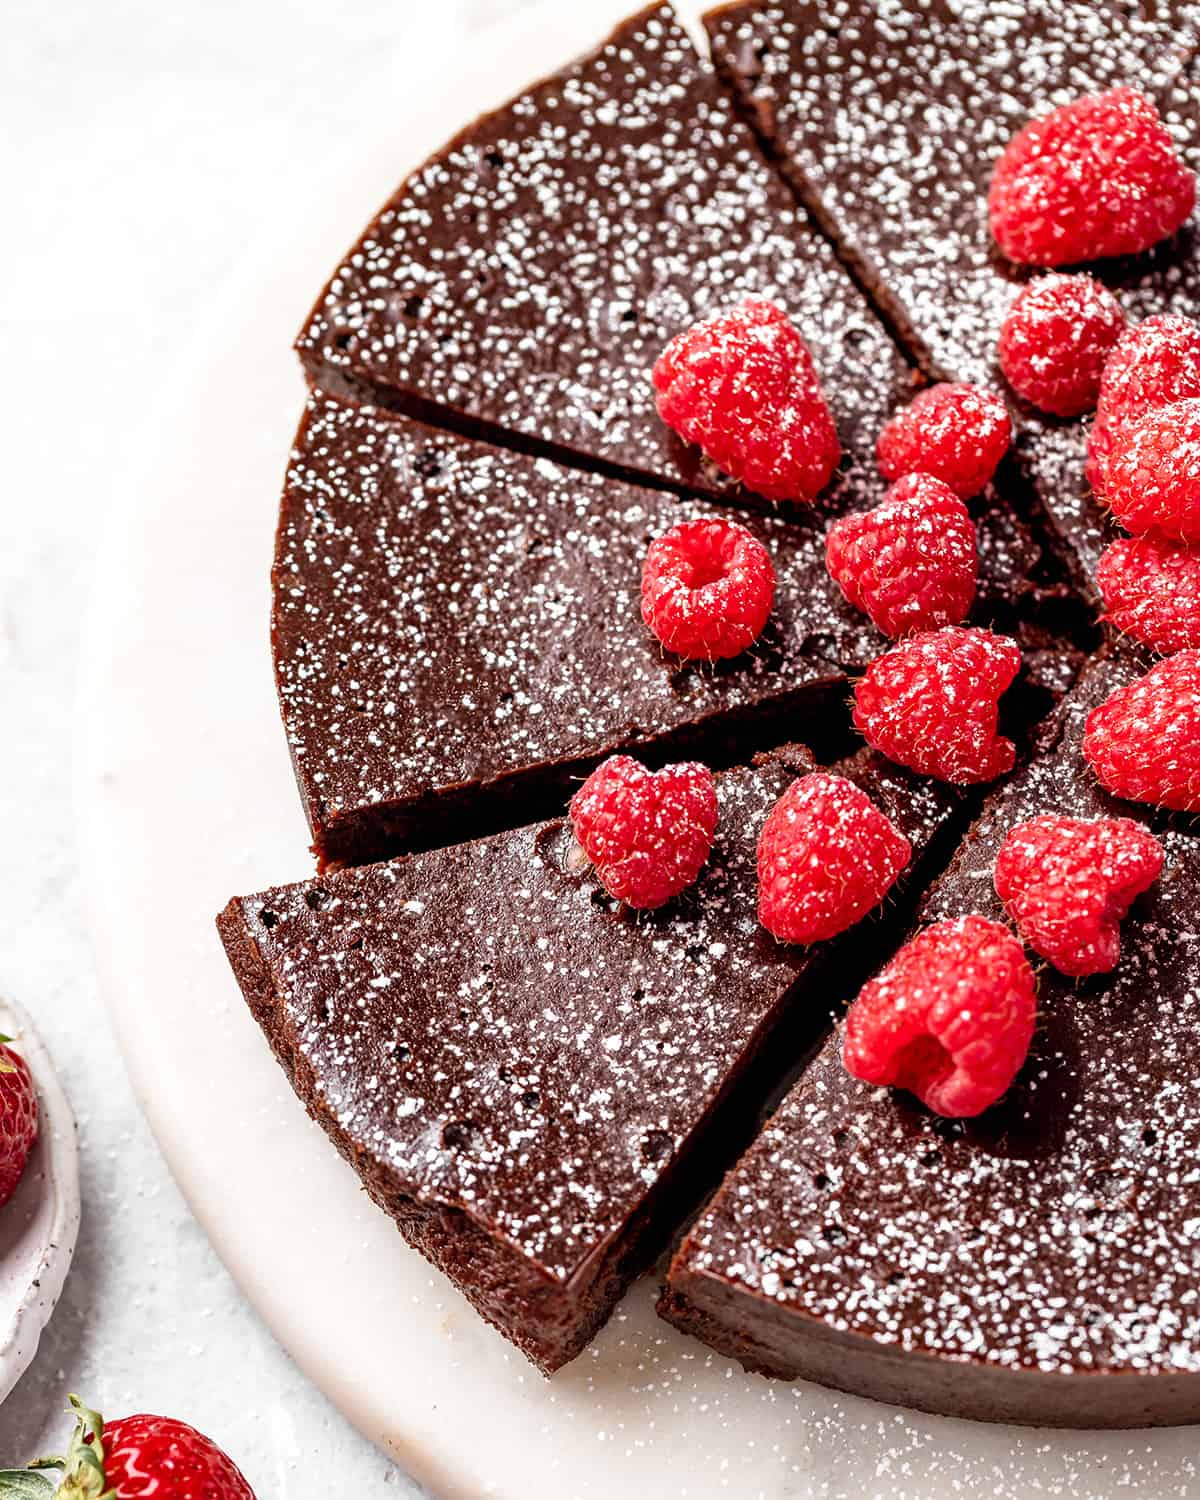
Serve
After the cake has chilled completely, carefully remove it from the pan, cut it into pieces and serve. I recommend removing it from the refrigerator at least 15 minutes before serving to soften up a little. Here are some serving suggestions:
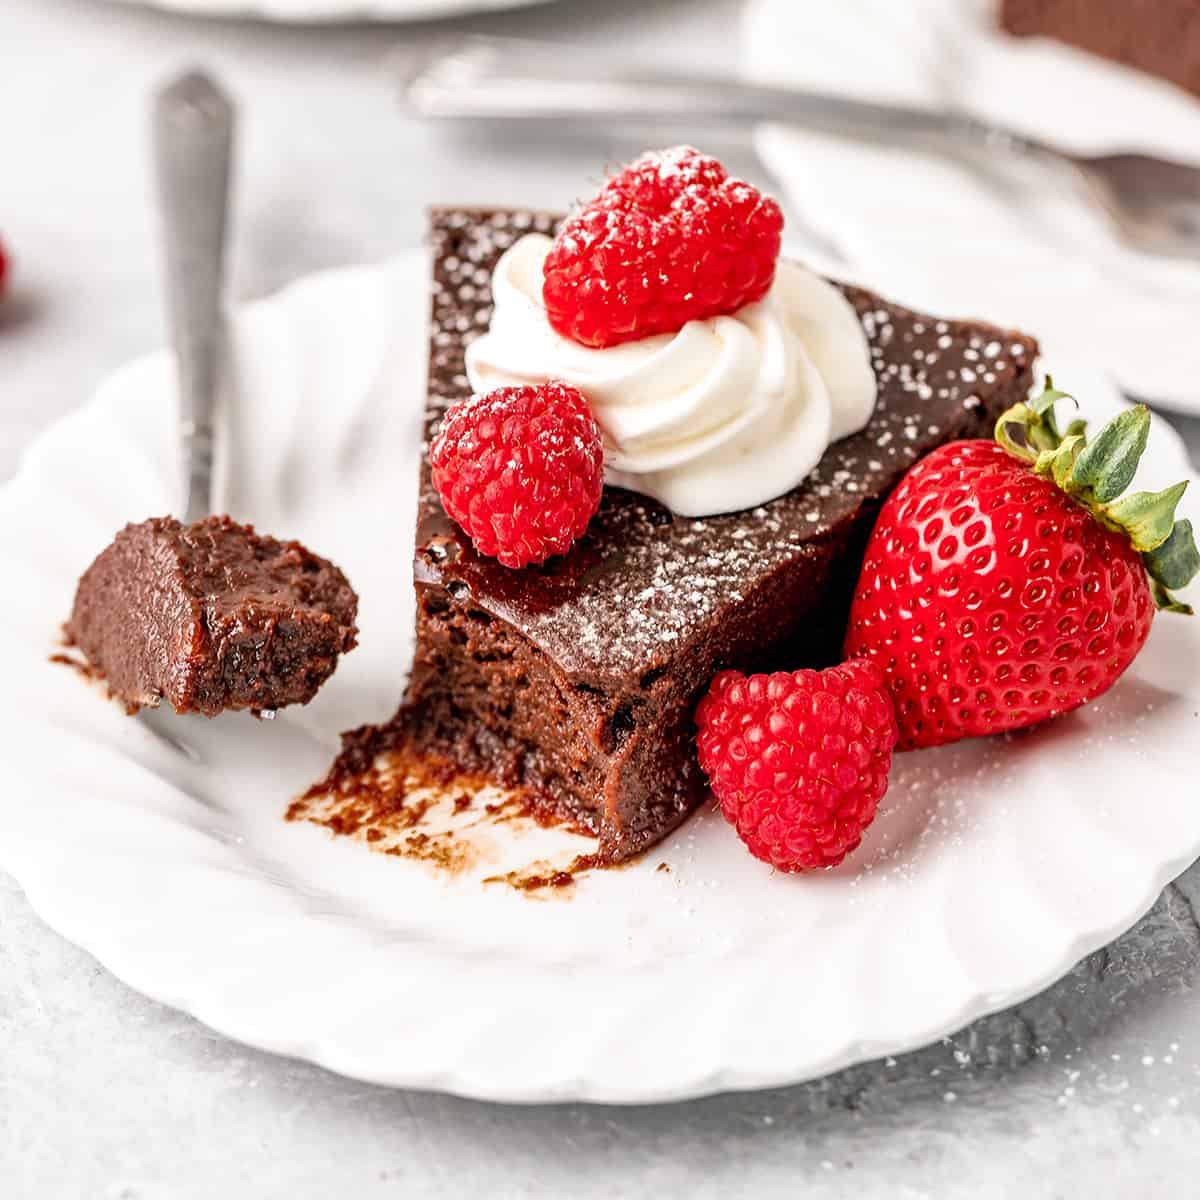
- Add a dollop of homemade whipped cream or strawberry whipped cream on top!
- Put fresh berries on the side
- Serve with homemade vanilla ice cream on the side.
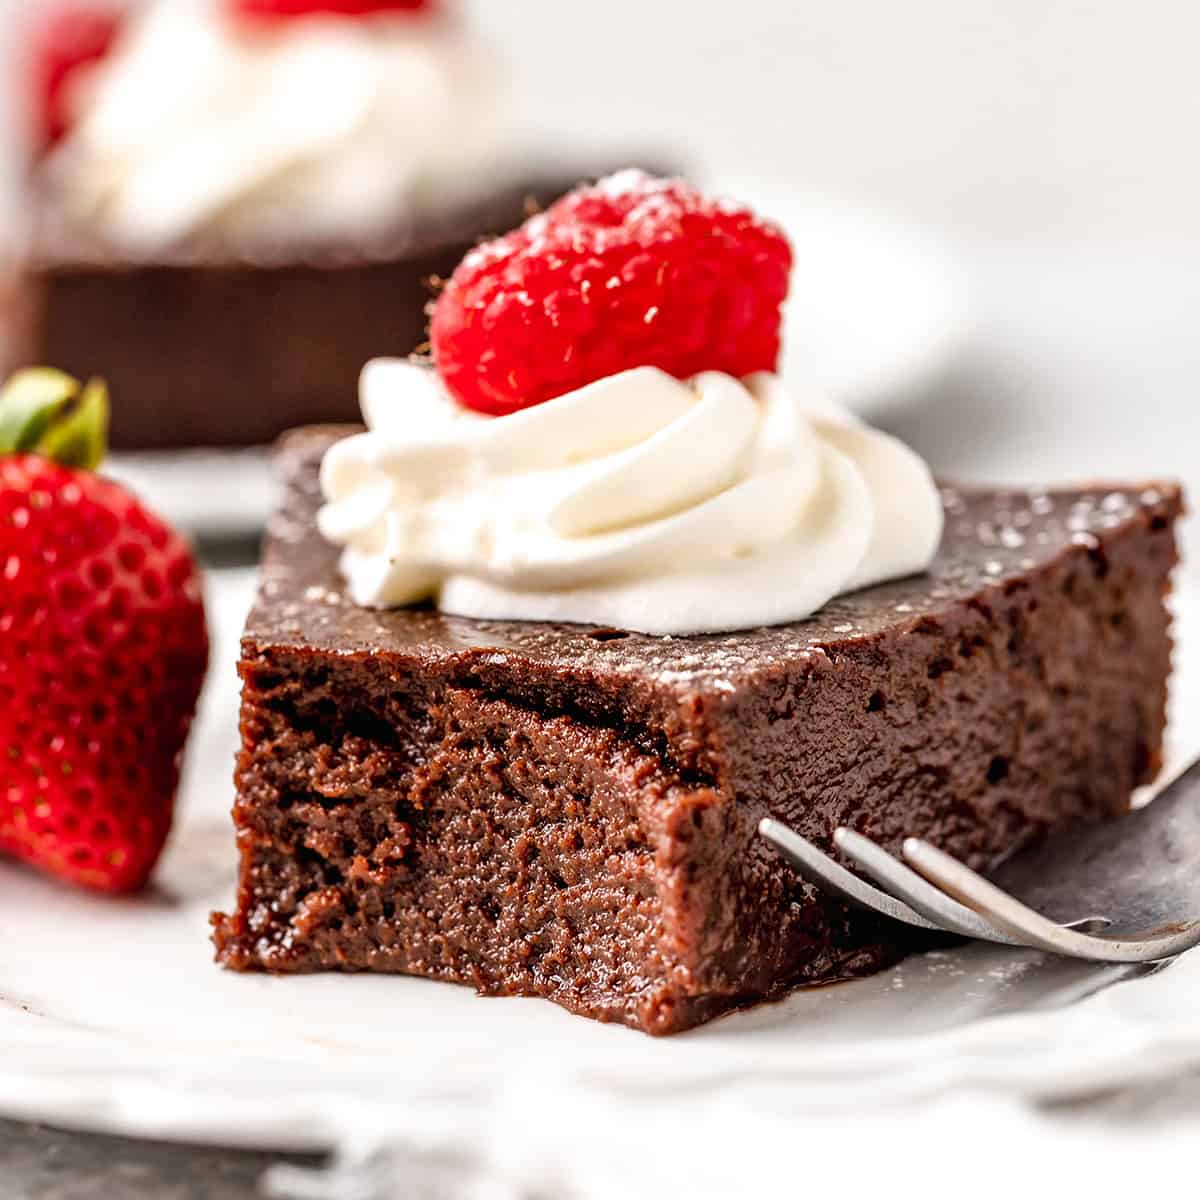
Store
Store leftovers in an airtight container in the refrigerator for up to 5 days.
Freeze
You can freeze either the whole cake or individual slices. To do this, place the cake or slices on a flat surface (baking sheet) and put them in the freezer to freeze until hardened. Then, wrap them with plastic wrap and put in an airtight container. Freeze for up to 2 months. Thaw gradually in the refrigerator.
Recipe FAQs
This flourless chocolate cake is done when the top and edges look set and it is only slightly jiggly. The 45 minute baking time is pretty exact as long as you use a 9″ round cake pan. If you use an 8″ round pan I suggest baking for 50-55 minutes.
Yes, you need to store this cake in the refrigerator so it doesn’t overheat and melt.
This cake lasts for up to 5 days in the refrigerator or 2 months in the freezer.
1. A water bath helps maintain a constant temperature.
Water has a high “heat capacity,” which is the amount of heat needed to increase the temperature of an object by 1 degree Celsius.
The heat capacity of an object depends on the chemical makeup and mass of the substance. If an object has a higher heat capacity, it takes longer for its temperature to change. For example, aluminum has a heat capacity of 0.90 J/goC, while water has a heat capacity of 4.18J/goC. This means that aluminum’s temperature will fluctuate with its surroundings over 4x faster than water.
So, if you bake something in a water bath it helps maintain a constant temperature.
Once the water reaches a warm temperature, if anything causes your oven to shift in temperature at all (e.g. you open the door to check the cake), the water bath will hold that temperature without changing.
2. Indirect source of heat = even baking
A water bath also delivers a more indirect source of heat to the flourless chocolate cake! This results in the cake being evenly baked.
3. A water bath adds moisture.
A water bath also adds moisture to the oven, keeping the flourless chocolate cake from drying out or cracking.
If you make and love my recipes, it would mean so much to me if you would leave a comment and rating! And don’t forget to follow along on Instagram, Pinterest, Facebook, and Youtube – be sure to tag @joyfoodsunshine and use the hashtag #joyfoodsunshine so we can see your creations!
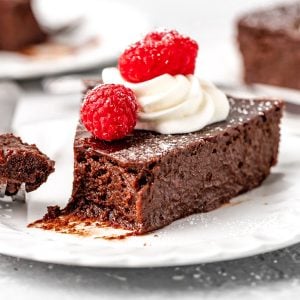
Best Flourless Chocolate Cake Recipe
Equipment
Ingredients
- ½ cup water
- ¼ teaspoon fine sea salt
- ¾ cup granulated sugar
- 18 oz (2 ¼ cups) bittersweet chocolate chips (or chopped chocolate)*
- 1 cup salted butter (room temperature)
- 6 eggs (room temperature)
- 1 teaspoon pure vanilla extract
Instructions
- Preheat oven to 300 degrees F. Grease one 9” round cake pan (or glass pie plate) and set aside. (Note: I always cut a piece of parchment paper into a circle with “handles” and place it on the bottom of the pan. Then I grease the pan with the parchment paper in it).
- In a small saucepan over medium heat combine the water, salt and sugar. Whisk every 60 seconds until completely dissolved and set aside.
- Melt the chocolate chips (in the microwave or in a double boiler) and pour into the bowl of a standing mixer.
- Cut the butter into 1 Tablespoon pieces and beat it into the chocolate, 1 piece at a time.
- Mix in the warm sugar/water mixture until combined.
- Slowly beat in the eggs, one at a time until completely smooth.
- Add vanilla and mix until just combined.
- Pour the batter into the prepared pan.
Prepare the water bath
- Put the 9" cake pan in a larger pan then put the pans in the preheated oven.
- Once in the oven, pour boiling water into the larger, bottom cake pan until it reaches halfway up the sides of the 9" cake pan that contains the flourless chocolate cake.
Bake
- Bake the flourless chocolate cake in the water bath at 300 degrees F for 45 minutes. The center will still look a little wet, but the edge will look set and the cake should only jiggle slightly.
- Remove the cake from the water bath and let it cool on a wire rack.
Chill overnight
- Chill cake overnight (or for at least 6 hours) in the pan.
Serve
- Carefully lift the parchment paper out of the pan and the cake with it. Put it on a serving plate and sprinkle with powdered sugar! Serve with fresh berries, ice cream, etc!
Video
Notes
Note about pan size:
The size of the pan used will effect baking times:- 9″ cake pan – bake for 45 minutes.
- 8″ cake pan (must be 3″ deep) – bake for 50 minutes
- Individual ramekins – bake 25 minutes
Ingredient Substitutions
- Chocolate. This cake will be as good as the quality of chocolate used. My top choices in this recipe are Ghirardelli 60% dark chocolate or any other high-quality variety. The darker chocolate used, the richer the cake will taste.
- Butter. I always use salted butter in baking, but you can use unsalted as well with great results! To make this cake dairy-free, a vegan butter substitute, like Earth’s Balance, can be used.
- Granulated sugar. Regular granulated sugar or organic cane sugar both work really well in this flourless chocolate cake recipe.
- Sea salt. I recommend using pure, fine sea salt. If you use table salt (iodized salt), you may need to use less.
Store
Store leftovers in an airtight container in the refrigerator for up to 5 days.Freeze
You can freeze either the whole cake or individual slices. To do this, place the cake or slices on a flat surface (baking sheet) and put them in the freezer to freeze until hardened. Then, wrap them with plastic wrap and put in an airtight container. Freeze for up to 2 months. Thaw gradually in the refrigerator.Nutrition
Nutrition information is automatically calculated, so should only be used as an approximation.


Is there a way to add espresso powder to it?
Hi Laura,
1–Is it possible to use a 9″glass pie dish? 2–Is it possible to use use chocolate powder?
I know, it requires the proper tools for a good outcome, doesn’t it?
Thank you,
Rebecca
Does this freeze well?
Thank you so much for this wonderful recipe. Mine looked exactly like the photo and everyone thoroughly enjoyed it.
I’m planning on making The flourless chocolate cake. It looks amazing! When reading the ingredients it says 18 oz (2 1/4 cups) chocolate chips. I have a 12 oz bag and a 6 oz bag of semi sweet chips which makes 18 oz but it’s 3 cups of chips. Should I use 18 oz(3 cups) or 2 1/4 cups? I just don’t want to mess this up. Thank you!
Use 2 1/4 cups!
I am about to make this for my husband’s birthday which is on Thanksgiving this year.
Do you cover the top of the pan when you put it in the refrigerator?
Not putting a photo because it has all been eaten and I am getting ready to bake another one. My husband is gluten-free & a chocoholic! I have many, many cakes for him but he said this one IS the best! It was moist & stayed that way! I guess I will always be making this one. I put a dark chocolate ganache on the last one!
Hi! I’m making this cake for my moms birthday on Tuesday, but we only have a convection oven. What temperature and time adjustments should I use?
Thank you!!
Can I use muffin tins for individual servings?
Well, I tried it for the first time this afternoon. The cake ended up very thin, less than an inch thick. It tasted good, but I was disappointed with the look of it. I am not sure what I missed.
Hey Olivier, what size pan did you use? It should be thicker than that!