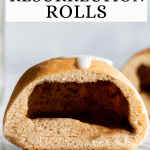
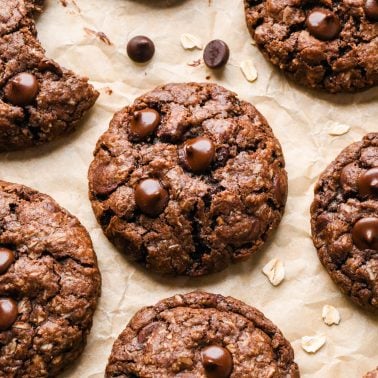
Homemade Resurrection Rolls (Empty Tomb Rolls)
Updated Apr 24, 2026
This post may contain affiliate links. Please read our disclosure policy.
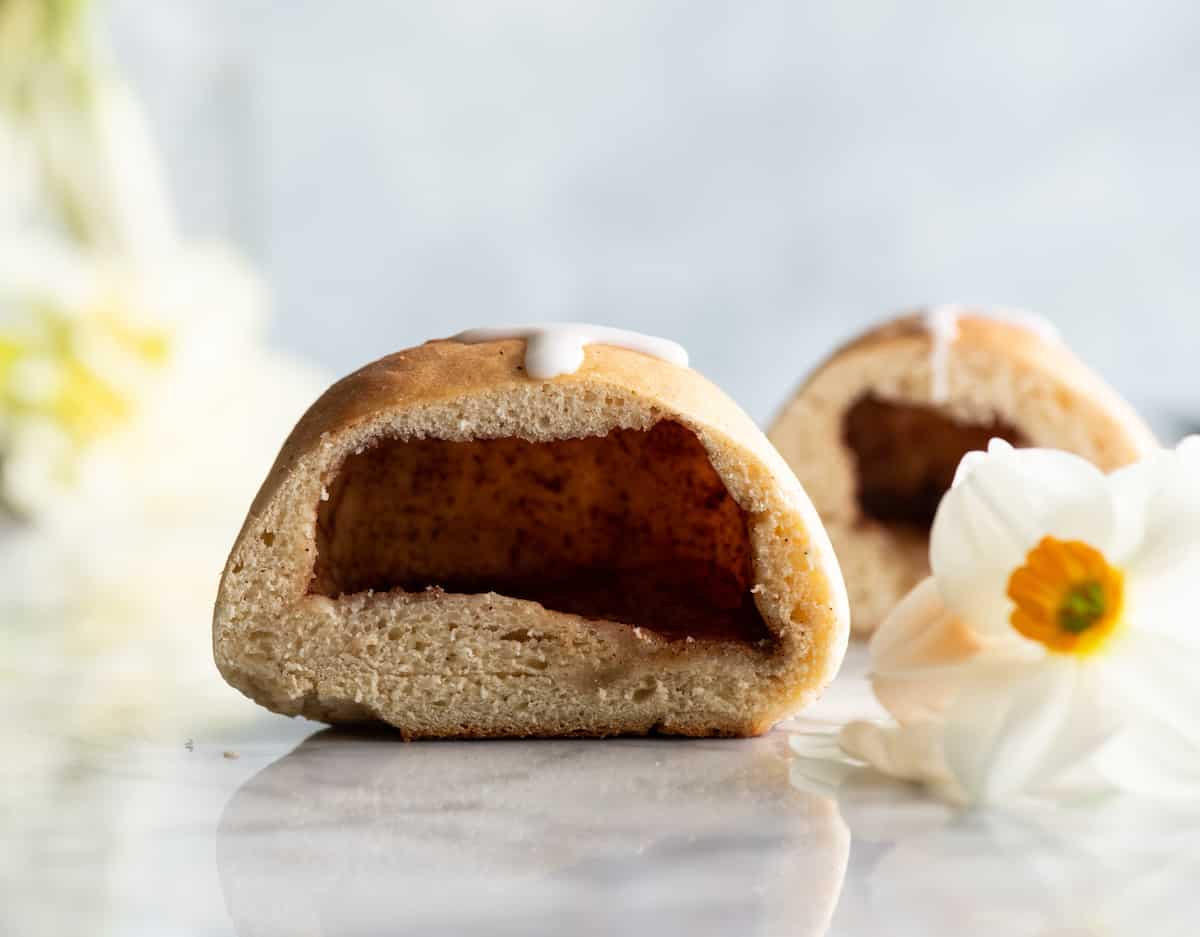
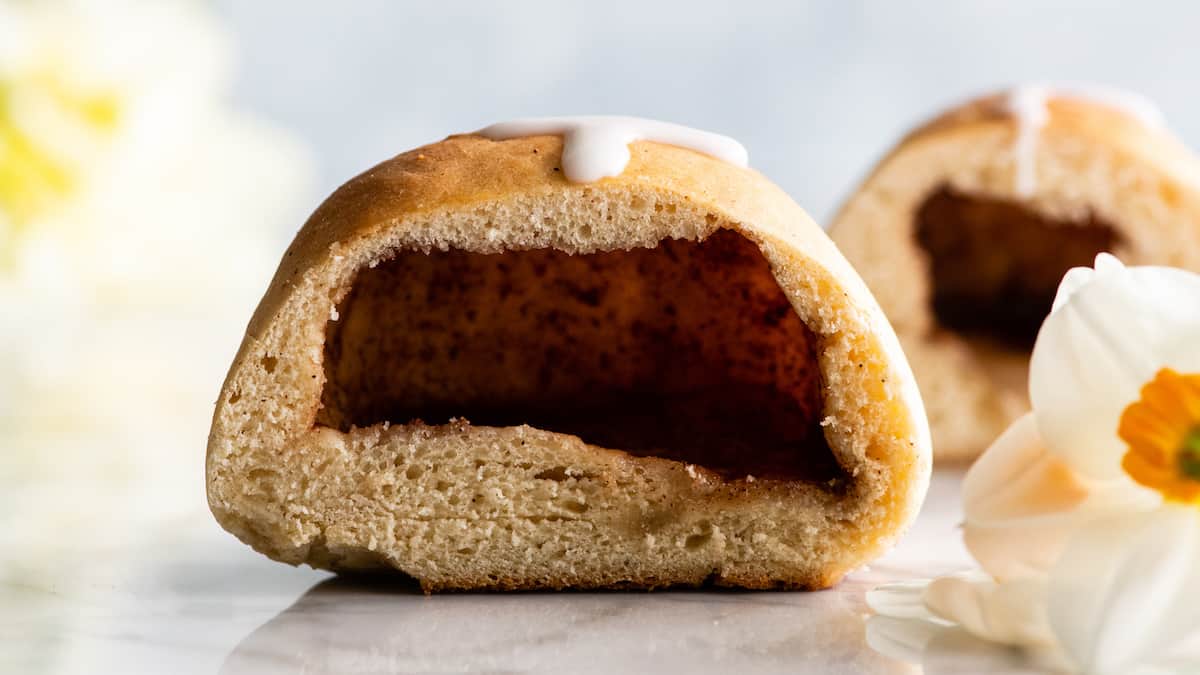
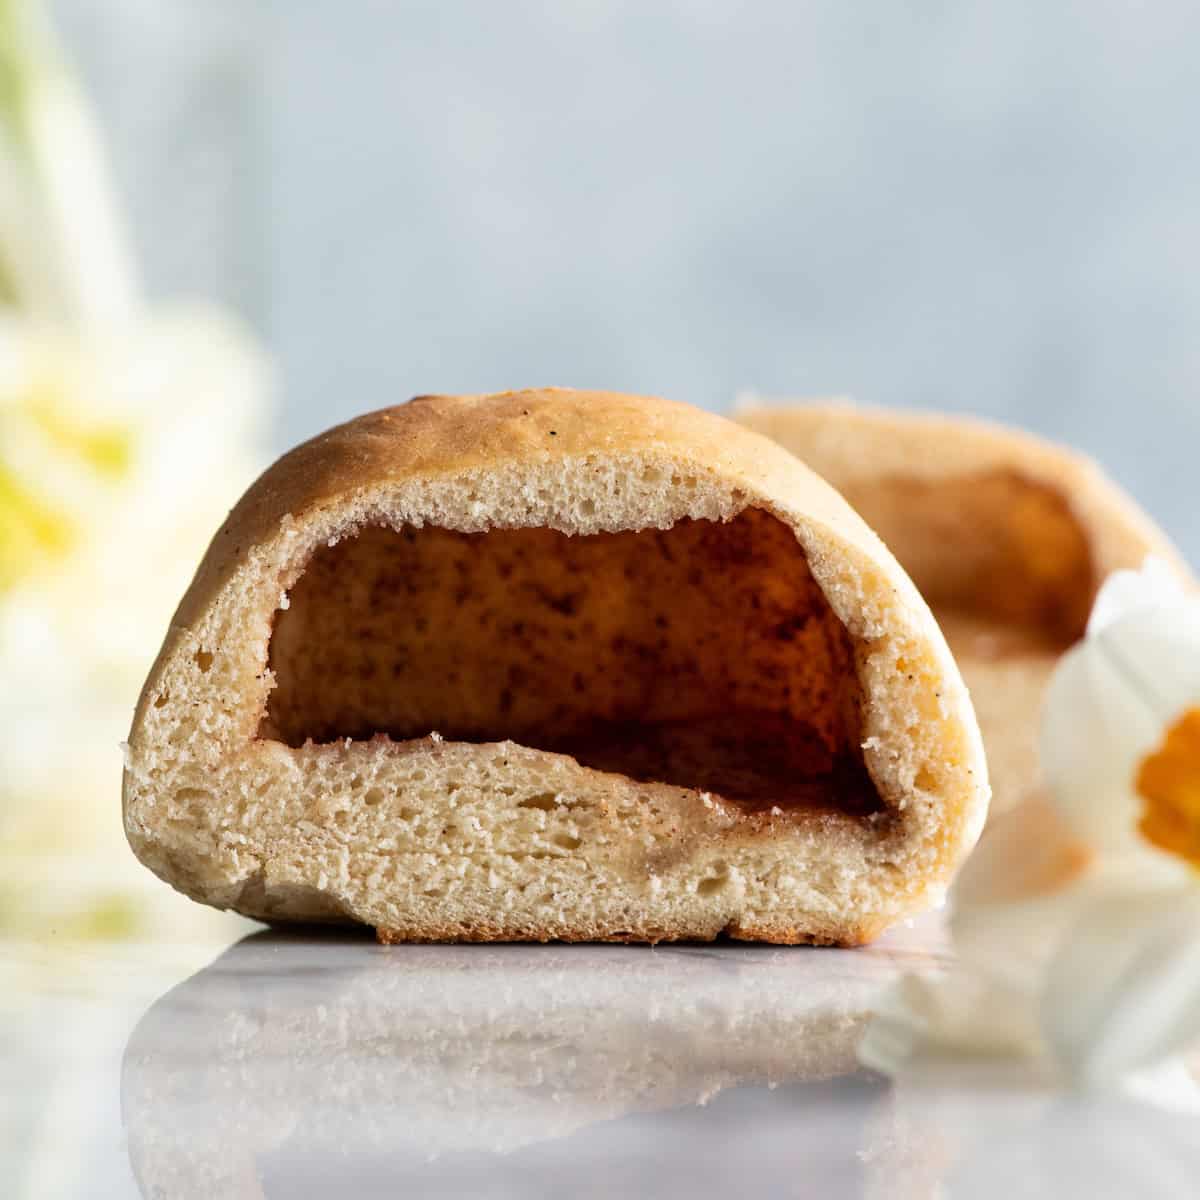
Celebrate Easter with these from-scratch, homemade resurrection rolls (empty tomb rolls)! They really look like empty tombs and taste amazing.

Easter is my favorite holiday. I love everything about it. Getting dressed up, going to church, and celebrating the death and resurrection of Jesus!
One of the ways we celebrate Easter is by making homemade resurrection rolls (or “empty tomb rolls)”. Sometimes I take the easy route and make this “recipe,” but when we have time I love making them from scratch.
I think they look so much more like actual tombs, and they don’t have any artificial ingredients. Plus, they taste like cinnamon rolls with marshmallows stuffed inside (yum)!
In this post I’m going to walk you through the process of how to make resurrection rolls with our kids, and the way we use each step as a teaching moment about the true meaning of Easter!
Homemade Resurrection Rolls: Substitutions
- All-purpose flour. You can substitute up to half of the all-purpose flour with whole wheat flour. Bread flour can also be used.
- Large marshmallows. Use large or jumbo marshmallows. Or, make your own homemade marshmallows.
- Whole Milk. 2% milk or coconut milk are good substitutes.
How to Make Resurrection Rolls
I’ll walk you through the process of how to make resurrection rolls.
Make the Dough
Begin this recipe by making the dough – it needs to rise so it’s important to start here!
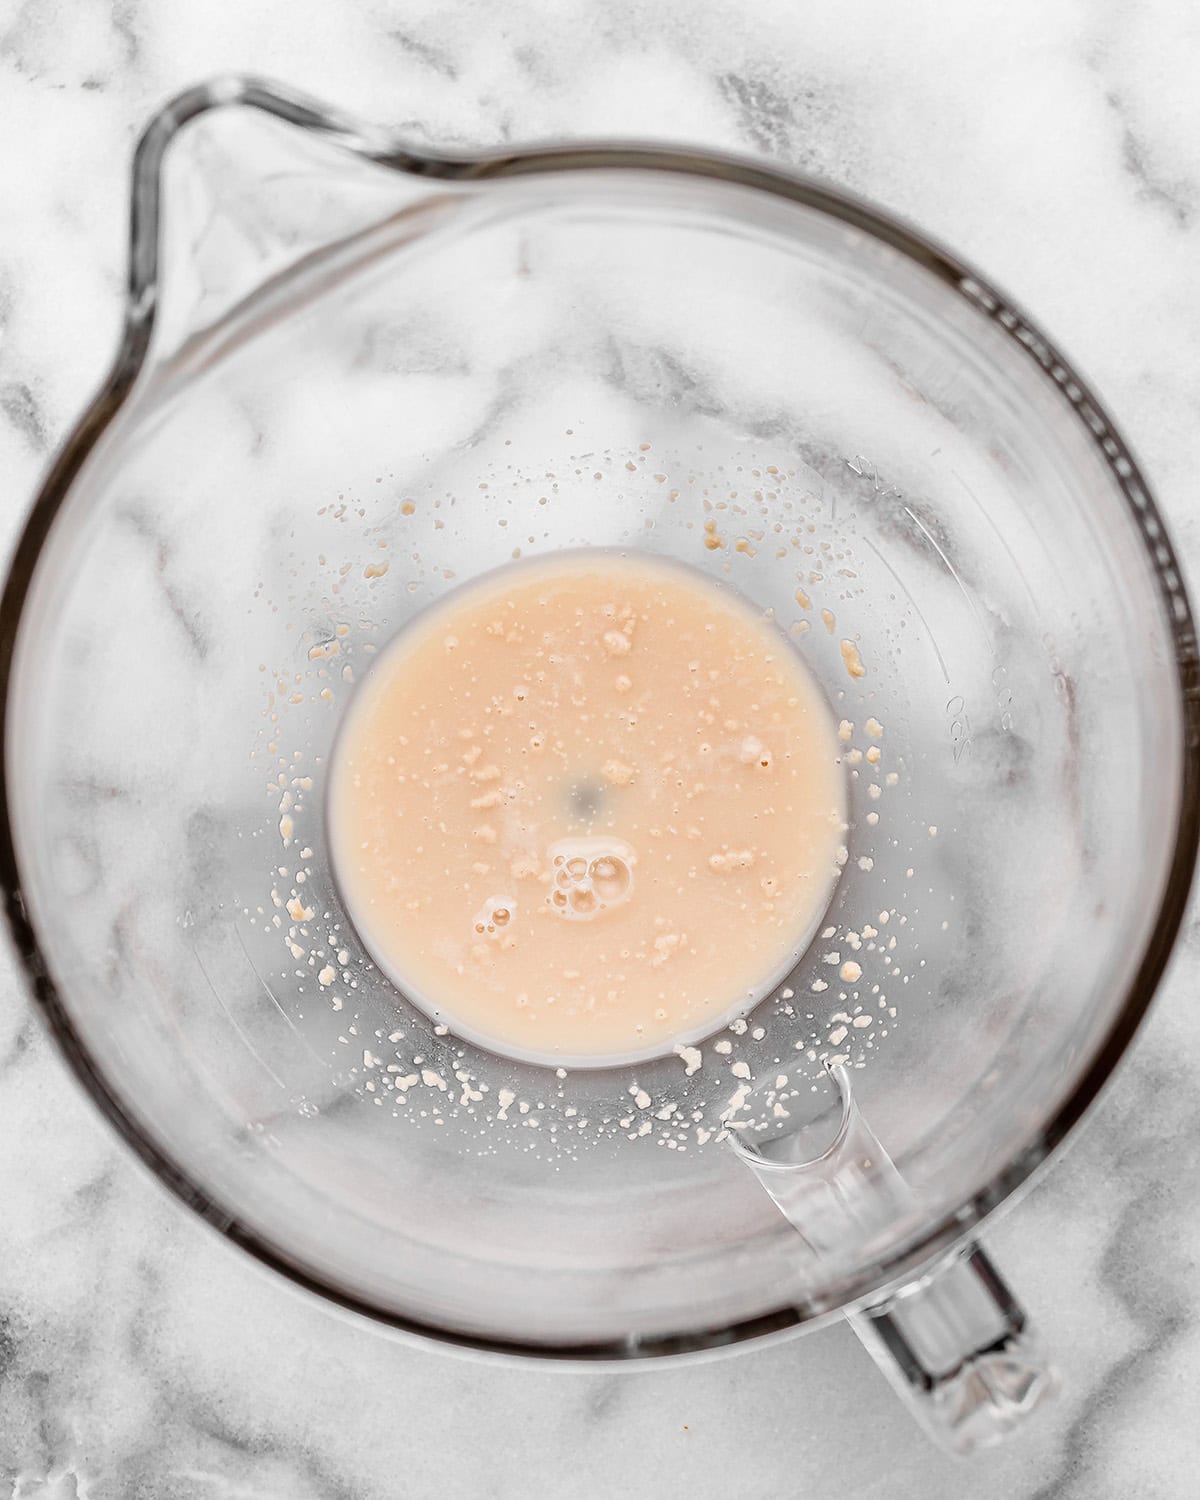
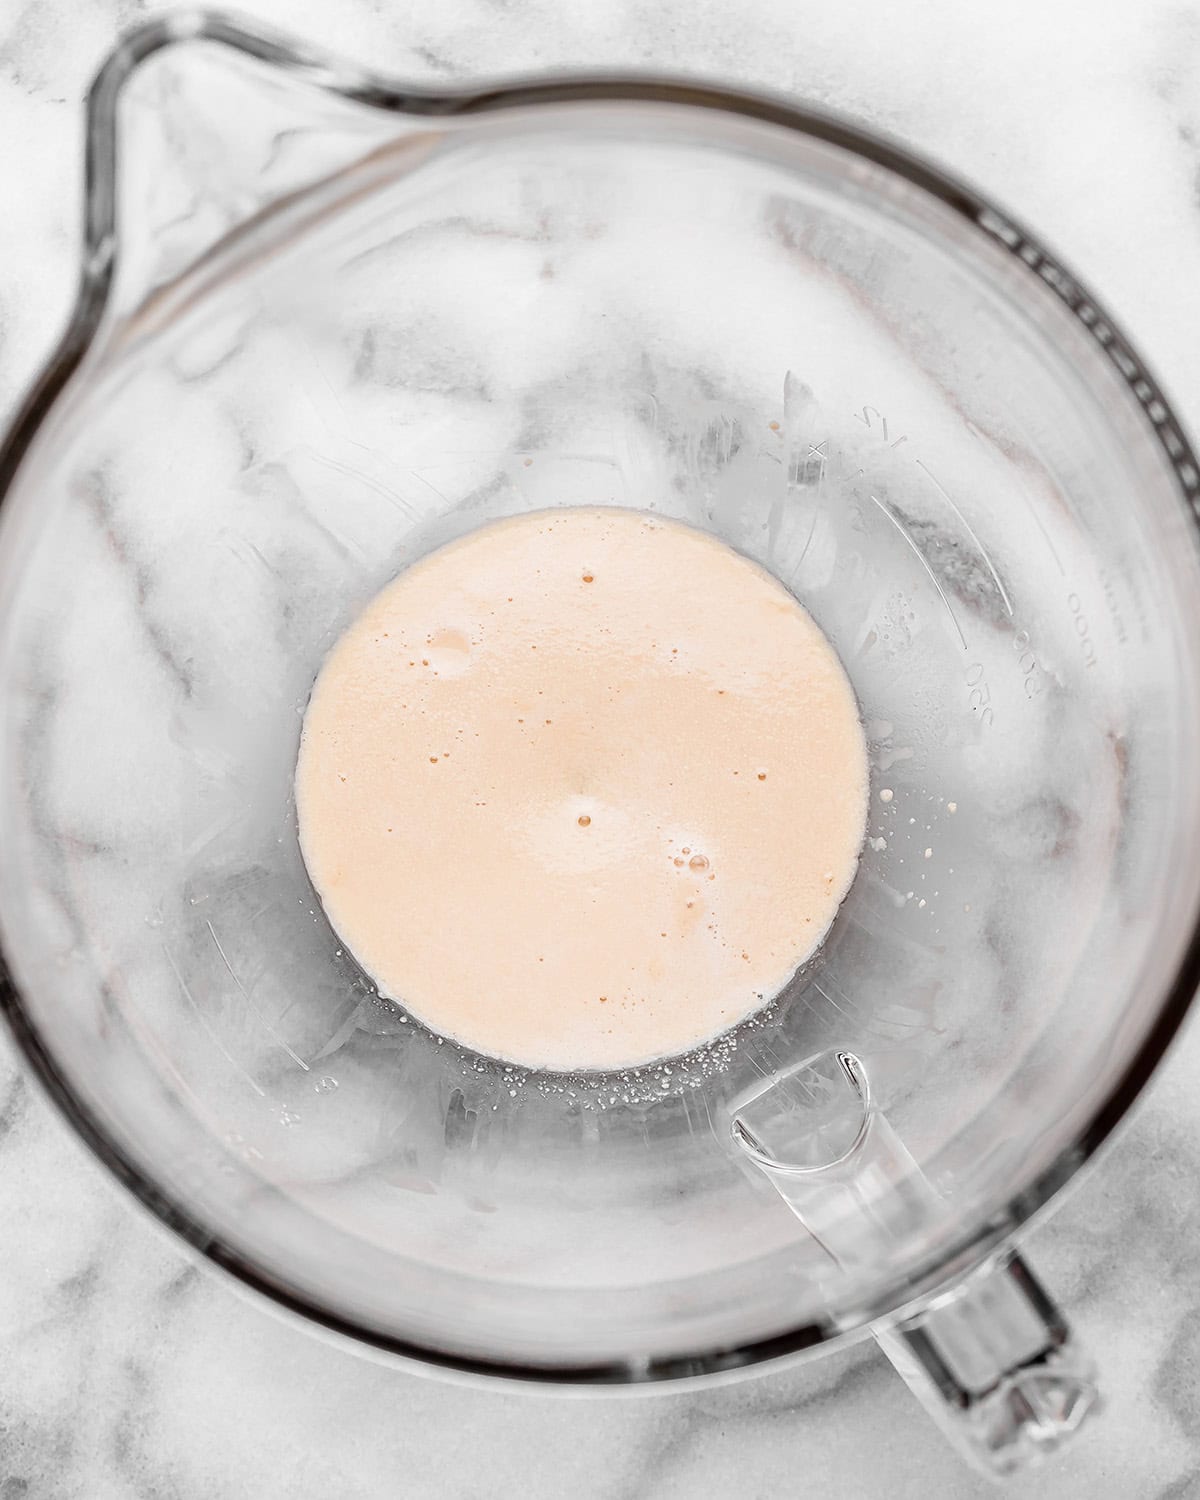
Combine the milk, sugar and yeast in the bowl of a standing mixer fitted with the dough hook and stir to combine. Let the mixture sit for 5-10 minutes or until frothy/foamy.
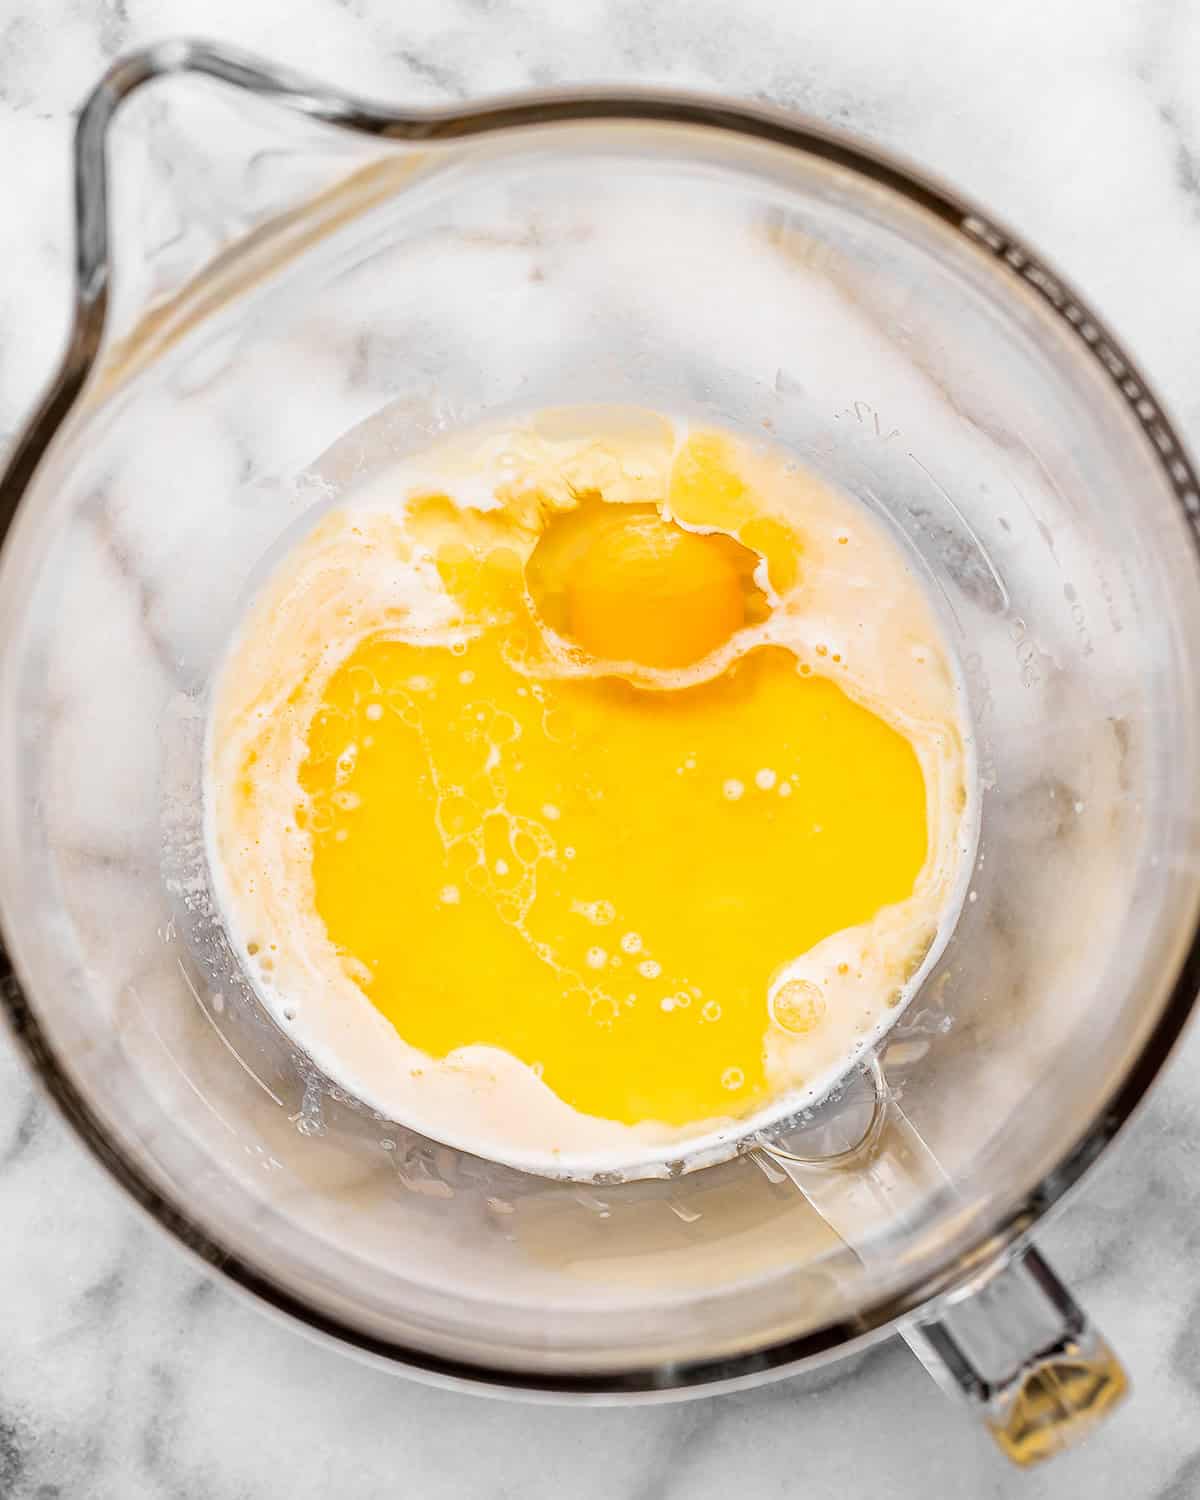
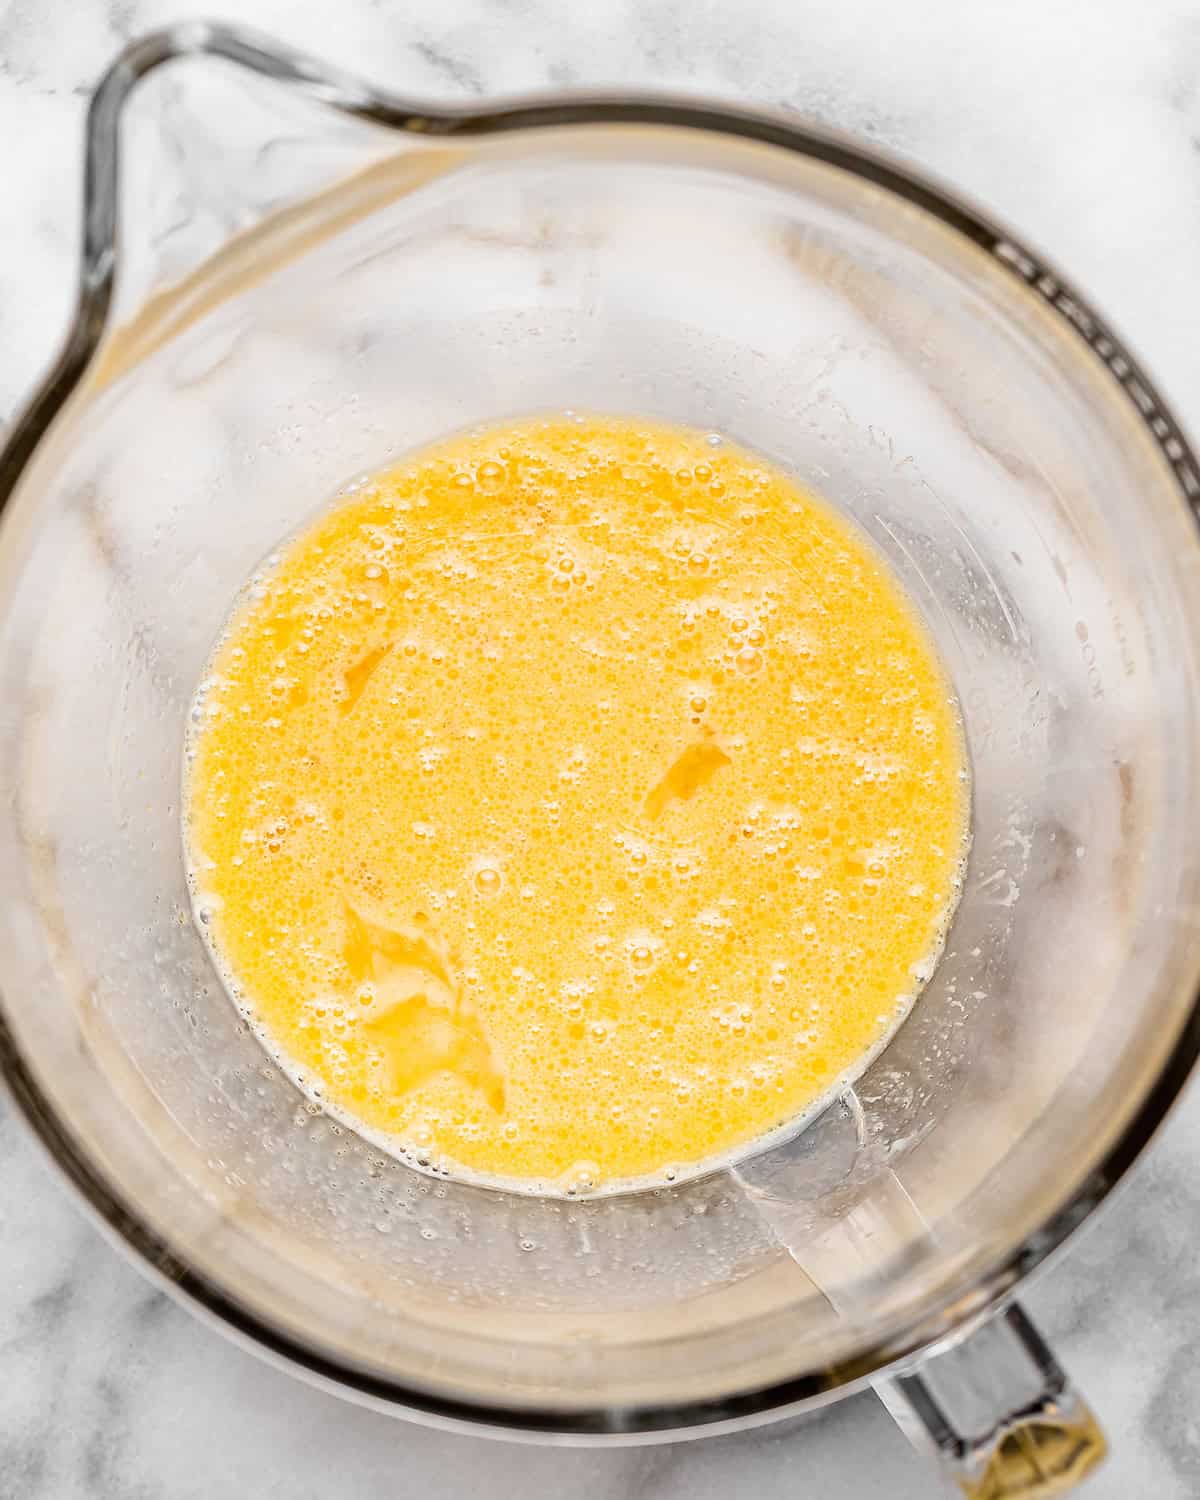
Then, add the melted butter, sugar, egg, and vanilla and mix on low speed to combine.
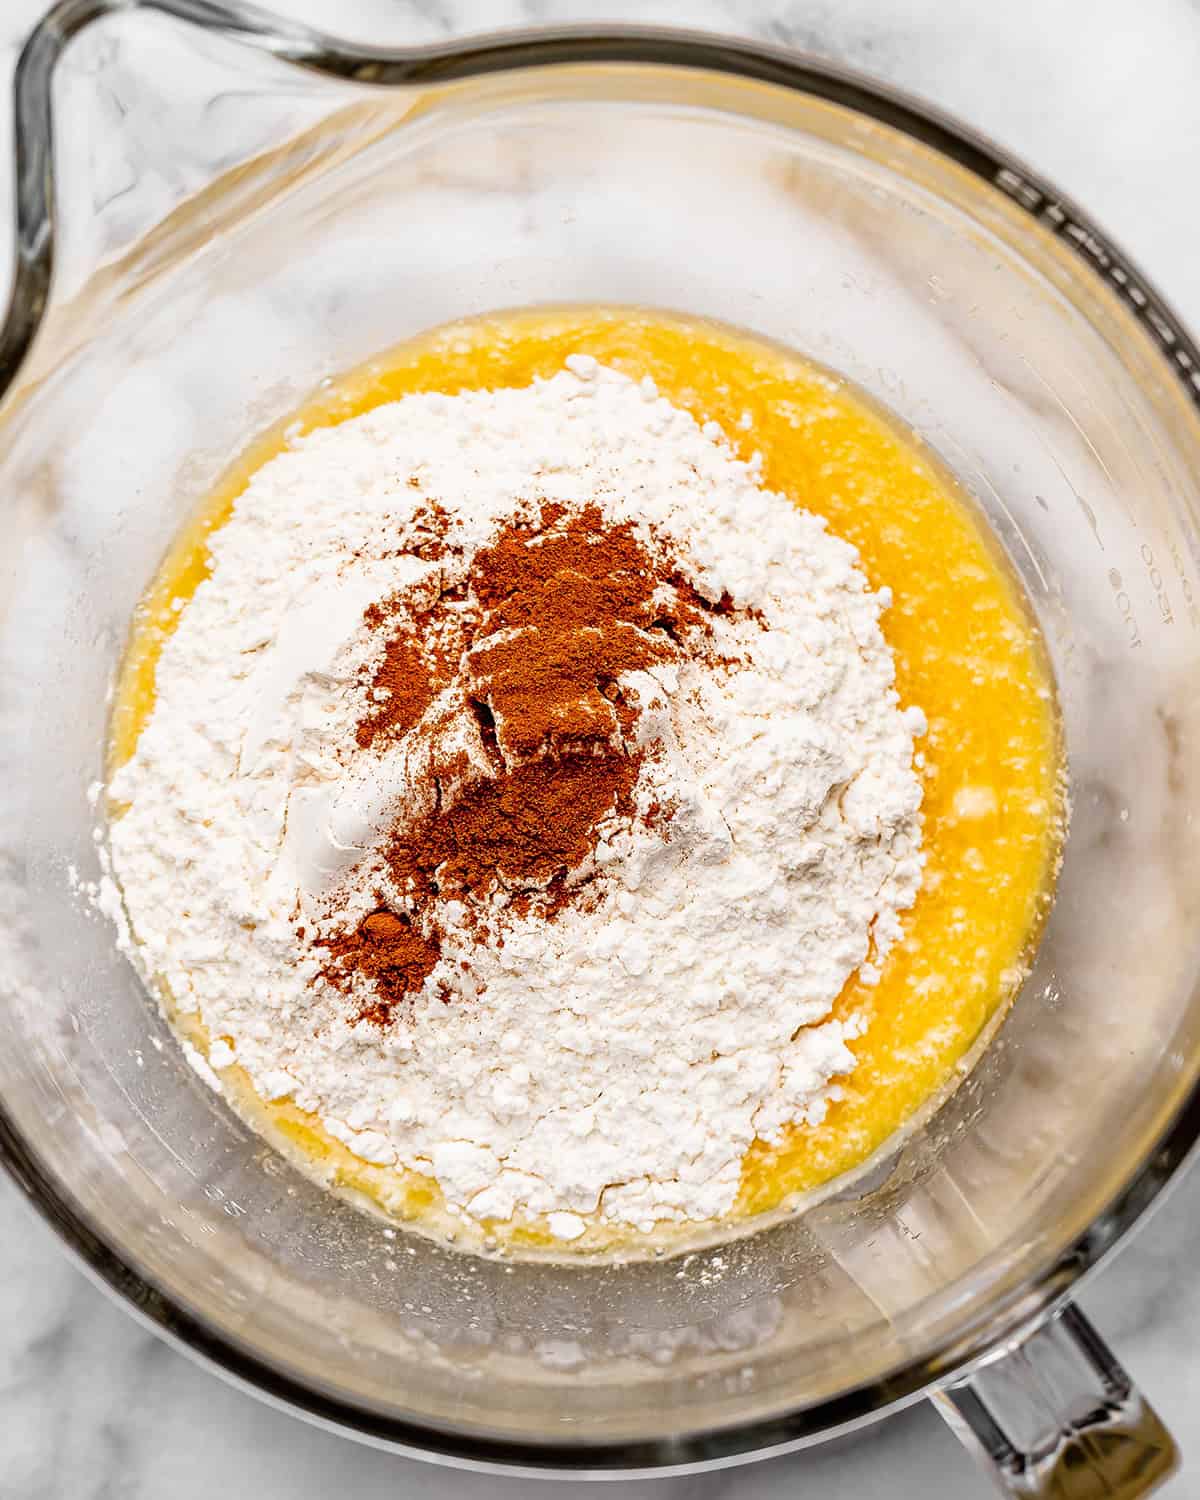
Then, add the dry ingredients and mix on medium-high speed until a slightly tacky but firm ball forms.
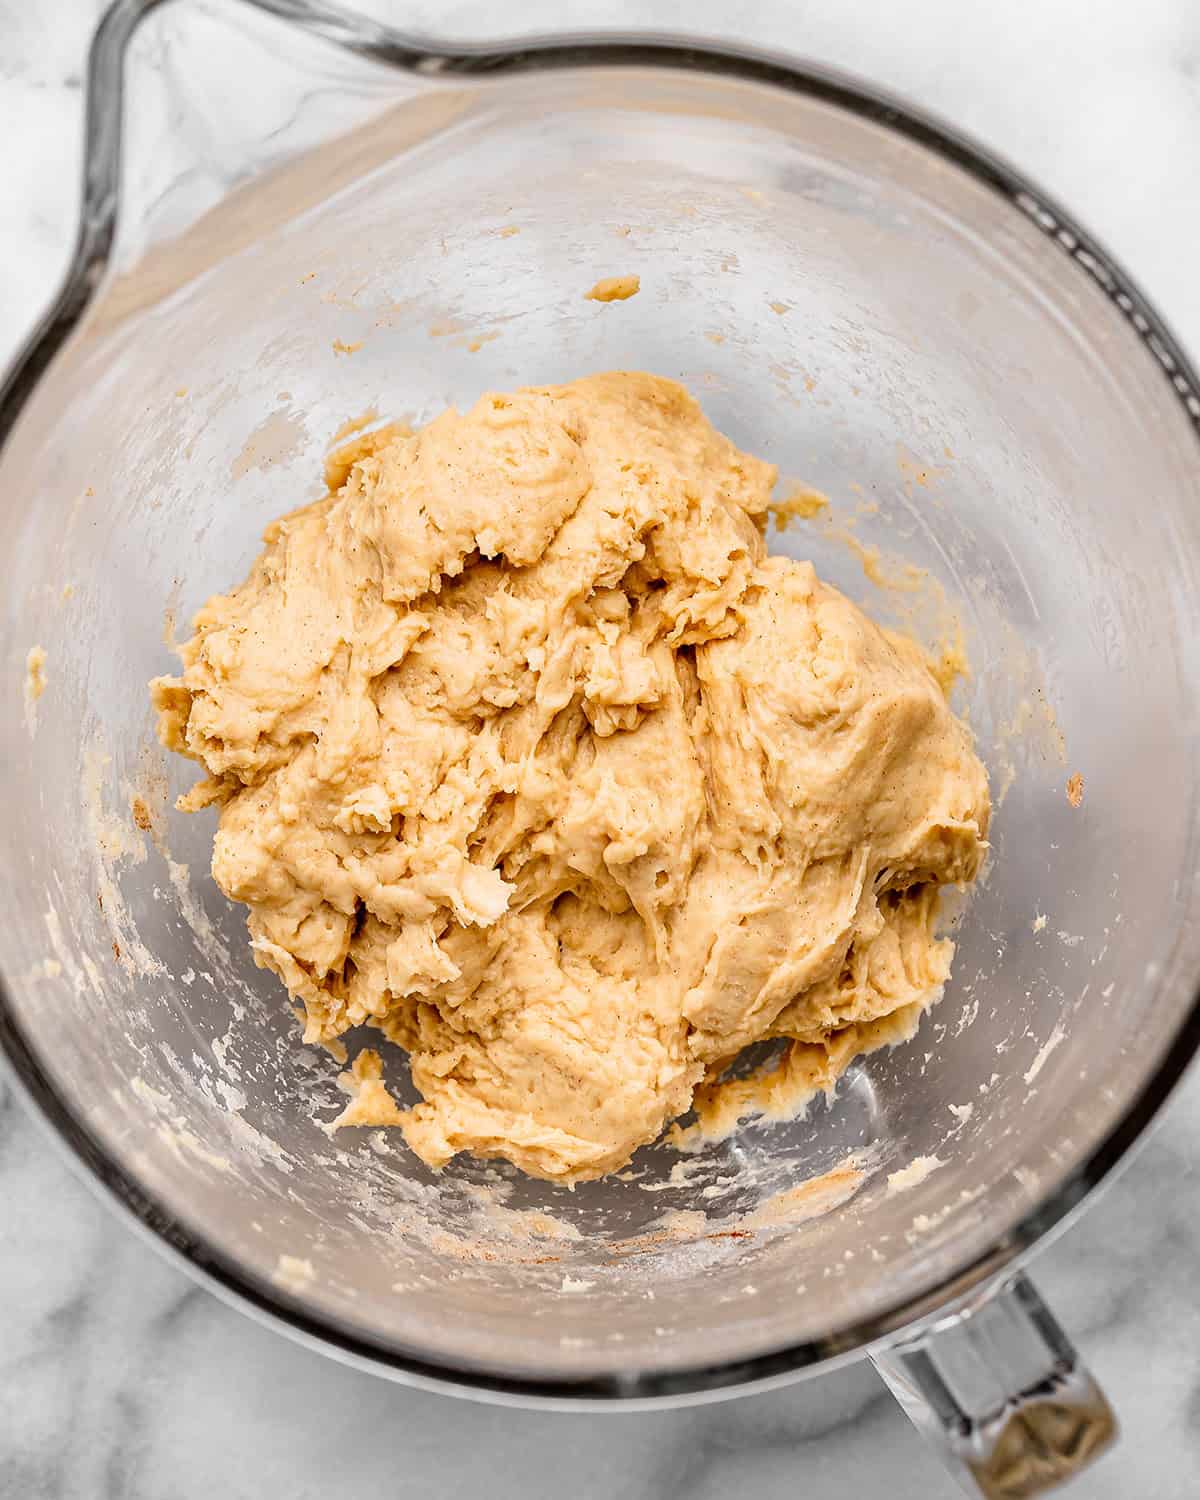
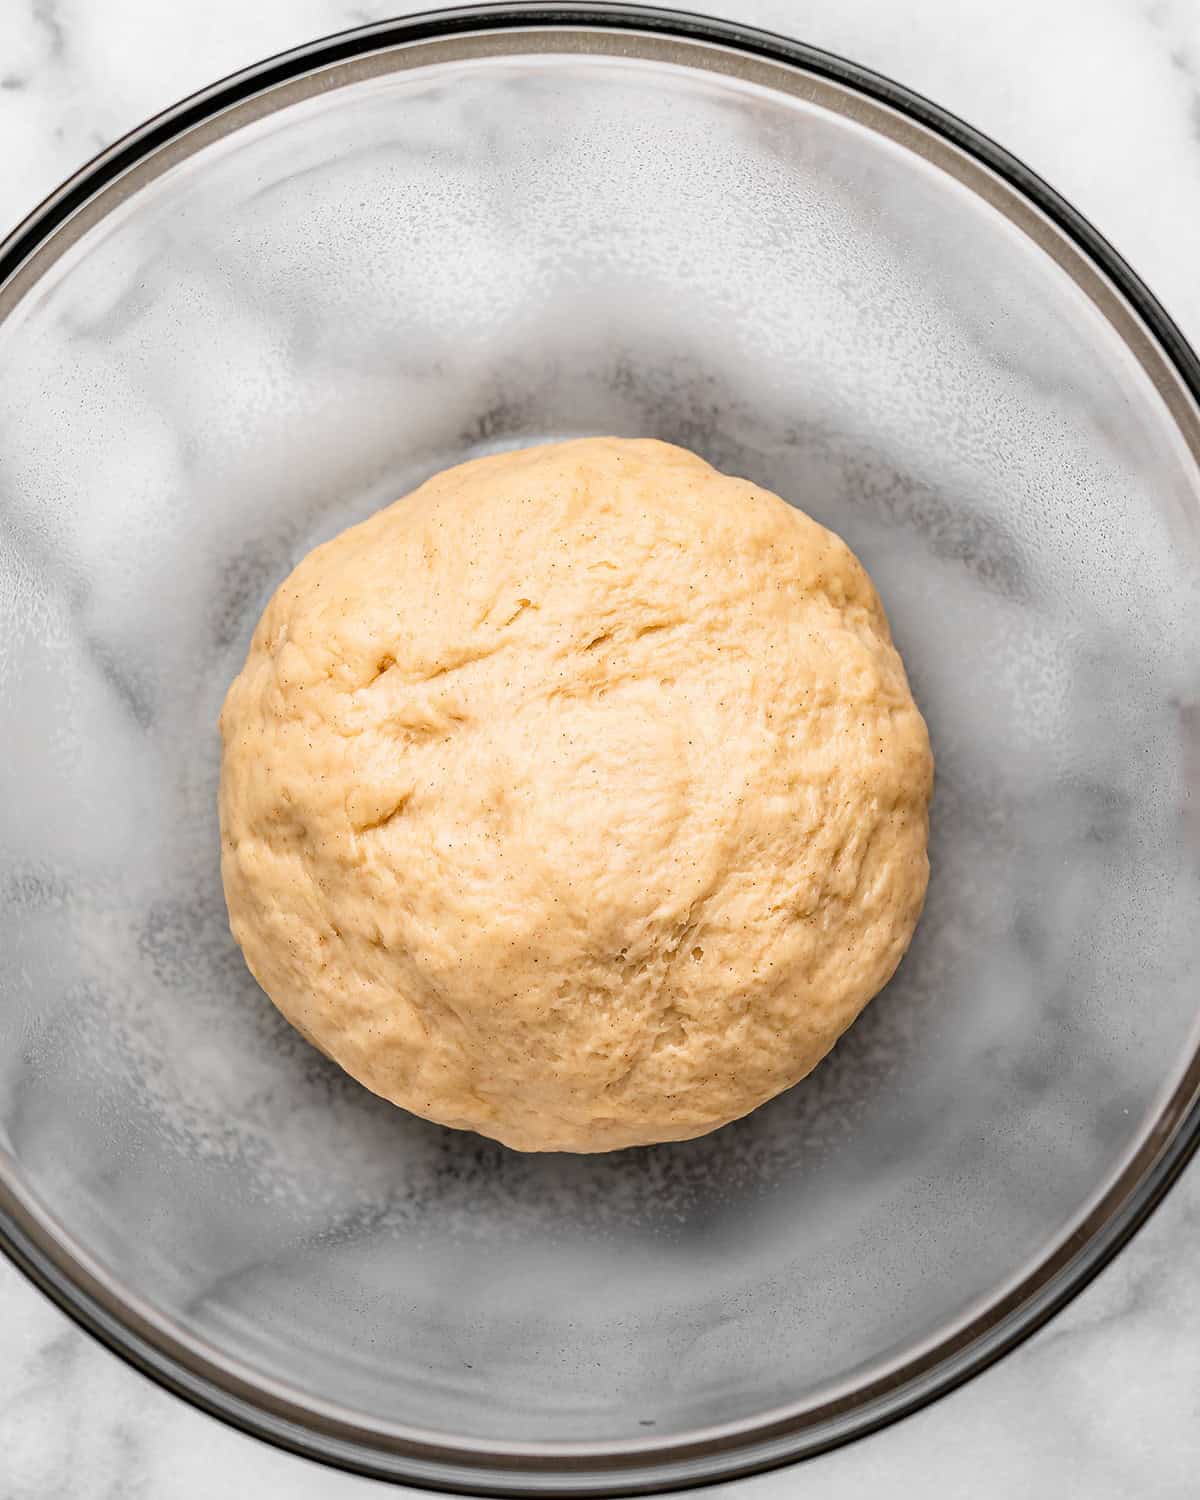
Remove the dough from the mixer and knead with your hands until smooth. Then, place it in a lightly greased bowl and cover with a damp tea towel.
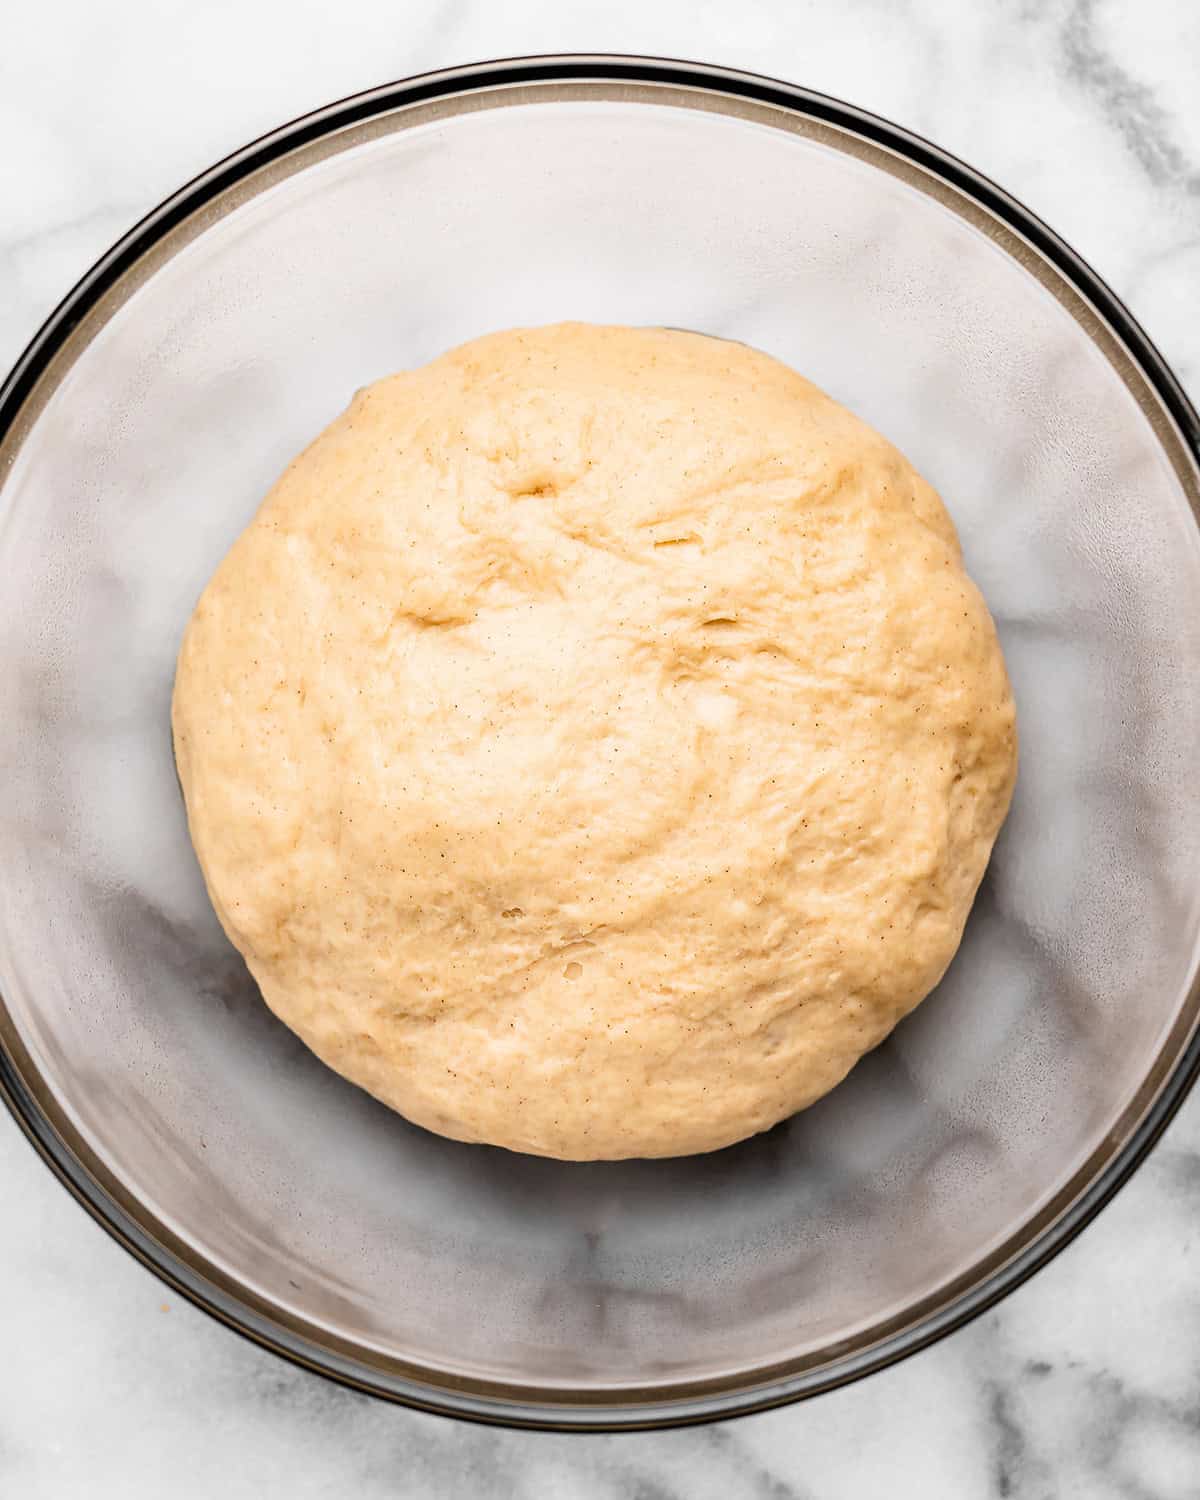
Let it rise in a warm place for about 1 hour or until dough has doubled in size.
Form the Resurrection Rolls
After the dough has risen, roll it out and cut it into eight triangles. Then, combine the remaining sugar and cinnamon in a small bowl and melt the butter.

To Prepare in Advance
The way I make this resurrection rolls recipe ahead of time is as follows:
- Make the dough.
- Place dough in a lightly greased bowl and cover with plastic wrap and a damp tea towel.
- Put dough in the refrigerator to rise overnight.
- In the morning, remove the dough from the refrigerator and roll out into 8 triangles.
- Proceed with recipe as written.

Dip the Marshmallow
The marshmallow represents Jesus’s body. We discuss how Jesus died (Matthew 27:45-57) and why (John 3:16-17).
Next, we explain that Jesus’ body was prepared for burial according to Jewish customs. The butter and cinnamon sugar mixture represent the oils and spices used.
The kids dip their marshmallows in butter and then roll them in cinnamon sugar. (John 19:38-42).

Then we discuss why Jesus died and share the Gospel. We explain that we’re all sinners (Romans 3:23) and that the wages of sin is death (Romans 6:23). In order for our sins to be forgiven a perfect sacrifice had to be made, and that was only possible in the death of Jesus. (2 Corinthians 5:21).

Seal the Rolls
Next we explain that the rolls (dough) represent the tomb. The kids put the marshmallow on the dough and then roll it up very tight. NOTE: You want to make sure there are no cracks or holes in your rolls, otherwise the marshmallow will ooze out.
We use this opportunity to teach them that the tomb was heavily guarded and secure (Matthew 27:62-66). The Romans put a large rock in front of the entrance to the tomb and assigned armed guards to keep watch outside. We emphasize how it would be impossible for a man to get in or out of the tomb on his own.

Bake the Resurrection Rolls
We put the Homemade Resurrection Rolls in the oven and explain that Jesus was in the tomb for 3 days (Matthew 12:40). I turn on the lights in the oven and let the kids watch them bake.
While the resurrection rolls are baking we explain that God loved us so much that He sent His one and only son, Jesus, to come to earth and enter into our messy sinful lives. But He didn’t sin, He lived perfectly (John 3:16). We tell them that Jesus trades places with us. He was innocent and didn’t deserve any punishment, but He took our punishment of death. We explain that we are guilty and should be the ones who are “in the oven,” but Jesus took our place.
It’s fun to use a real life example with the kids here. If Bethany took a toy from Naomi and was supposed to get a time out, but Gabe said he would go to time out instead of her. Gabe took Bethany’s punishment, even though he did nothing wrong…in the same way that Jesus didn’t do anything wrong but took our punishment.

He is Risen!
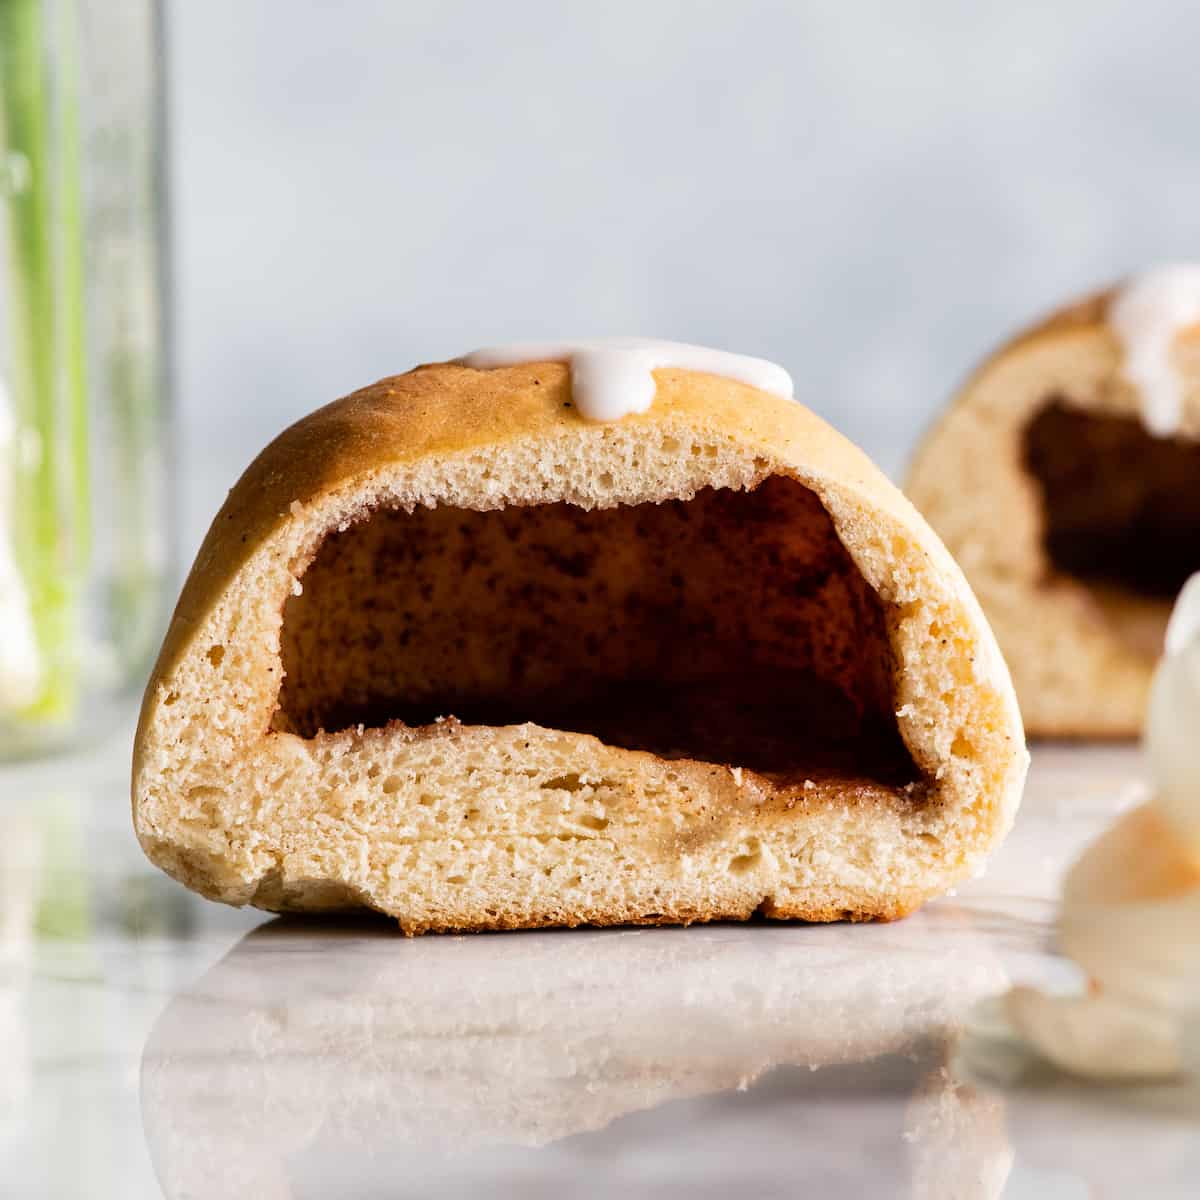
When we remove the empty tomb rolls from the oven we discuss the resurrection! (Matthew 28:1-20)! The kids open the Homemade Resurrection Rolls to see that the marshmallow is gone, just like Jesus’s body was no longer in the tomb. We discuss the importance of the resurrection in our lives and that salvation comes by grace alone through faith alone (Ephesians 2:8-9).
Then we explain that this whole story is called The Gospel, or “good news” and ask them to explain to us how Jesus’s death and resurrection is good news for them!
Serve
Serve with your favorite easter breakfast recipes, like a delicious quiche or fruit salad.
Store
You can store leftovers in an airtight container at room temperature for up to 3 days. Reheat them before serving.
Empty Tomb Rolls Recipe FAQs
No, you can use store-bought crescent dough instead. I buy an organic version from Trader Joes.
Yes, I suggest using this homemade marshmallows recipe.
When the resurrection rolls are baked, the marshmallow melts towards the end of baking time. This results in a hole where the marshmallow was but no trace of it in the rolls.

If you make and love my recipes, it would mean so much to me if you would leave a comment and rating! And don’t forget to follow along on Instagram, Pinterest, Facebook, TikTok and Youtube – be sure to tag @joyfoodsunshine and use the hashtag #joyfoodsunshine so I can see your creations!

Homemade Resurrection Rolls
Video
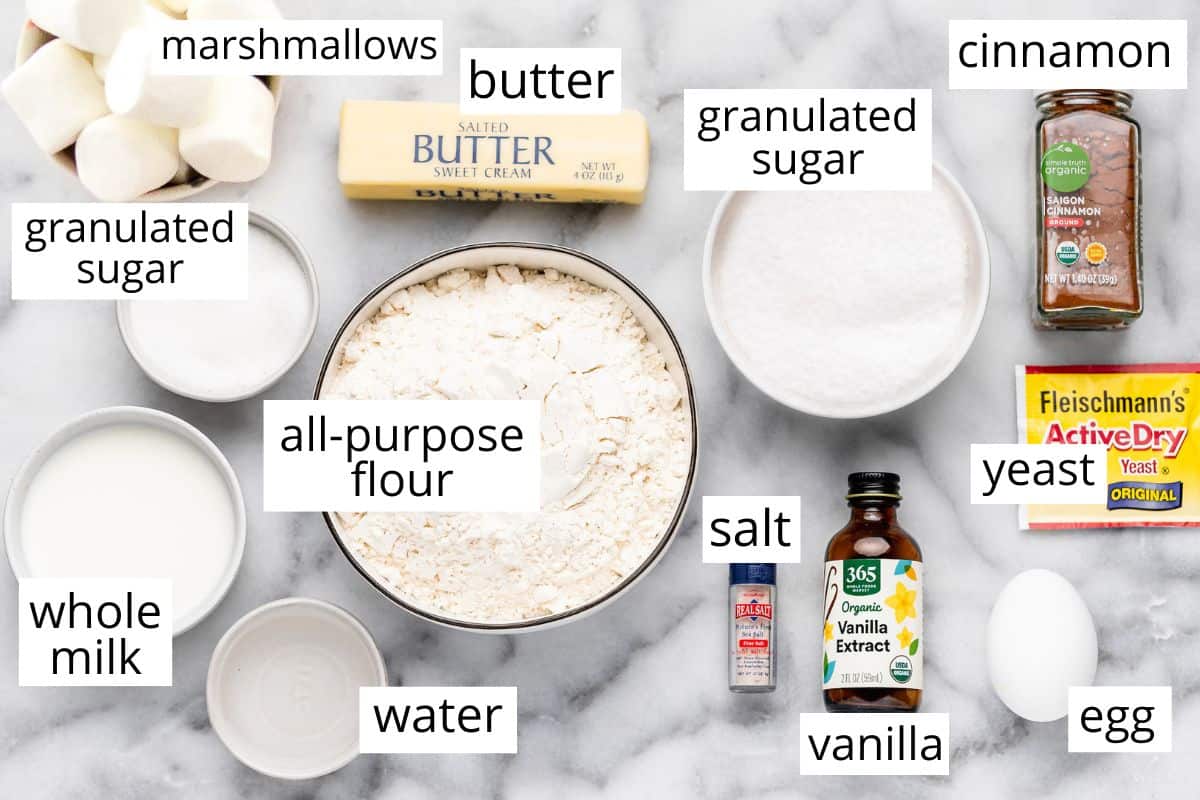
Ingredients
For the dough:
- ½ cup whole milk (warm, 105 degrees F)
- 1 Tablespoon granulated sugar
- 2 teaspoons active dry yeast
- 3 Tablespoons salted butter (melted)
- 3 Tablespoons granulated sugar
- 1 egg
- ½ teaspoon pure vanilla extract
- ½ teaspoon sea salt
- ½ teaspoon ground cinnamon
- 2 cups all-purpose flour
Other Ingredients:
- 8 large marshmallows
- 3 Tablespoons granulated sugar
- 1 teaspoon ground cinnamon
- 2 Tablespoons salted butter (melted)
Instructions
- Add milk, 1 Tablespoon sugar and yeast to the bowl of a standing mixer fitted with the dough hook and stir to combine. Let the mixture sit for 5-10 minutes or until frothy/foamy. (Alternately, you can mix the dough by hand in a large bowl with a wooden spoon).
- Add butter, 3 Tablespoons sugar, egg, and vanilla and mix on low speed.
- Add salt, cinnamon and flour and mix on medium-high speed until a slightly tacky but firm ball forms.
- Remove dough from the mixer and knead with your hands until smooth.
- Place dough in a lightly greased bowl and cover with a damp tea towel.
- Let rise in a warm place for about 1 hour or until dough has doubled in size.
- While dough is rising, combine sugar and cinnamon in a small bowl and stir to combine.
- Once the dough has doubled in size, roll dough out into a 14” round circle about ¼” thick.
- Cut the dough into 8 equal-sized triangles.
- Take one marshmallow and dip it into the melted butter until all sides are completely coated.
- Remove from the butter and place the marshmallow into the cinnamon/sugar mixture. Roll the marshmallow until completely coated in cinnamon sugar.
- Place the coated marshmallow in the center of one of the dough triangles.
- Fold the dough around the marshmallow and roll it in your hands until it is completely sealed. You do not want to leave any cracks at all or the marshmallow will ooze out.
- Once completely sealed, place on a baking sheet lined with parchment paper.
- Repeat with the remaining 7 marshmallows and dough triangles.
- Cover rolls with a tea towel and preheat your oven to 350 degrees F.
- Once oven is preheated, bake the rolls for 18-20 minutes or until the rolls are golden brown.
- Let cool on a wire rack and then peek inside!
Notes
- All-purpose flour. You can substitute up to half of the all-purpose flour with whole wheat flour. Bread flour can also be used.
- Large marshmallows. Use large or jumbo marshmallows. Or, make your own homemade marshmallows.
- Whole Milk. 2% milk or coconut milk are good substitutes.
- Make the dough.
- Place dough in a lightly greased bowl and cover with plastic wrap and a damp tea towel.
- Put dough in the refrigerator to rise overnight.
- In the morning, remove the dough from the refrigerator and roll out into 8 triangles.
- Proceed with recipe as written.
Nutrition
Nutrition information is automatically calculated, so should only be used as an approximation.
One of my favorite tools to teach the kids are these Resurrection Eggs. For whatever reason they adore them and ask me to tell the Easter story using the eggs multiple times every day!

Great recipe !!! I make it every Easter
I’m so happy to know that someone else loves this tradition, Theresa!
First, I want to say thank you for sharing this recipe. I was looking for a homemade version as the first batch I tried with a different recipe was a total disaster (totally me not the recipe), but the dough is flavorful with your recipe, the gooey center is great, but I’m having issues with sealing them. i looked up multiple different tips but the sealing for me is what I’m having issues with. I plan to make these for church Sunday morning and was wondering if you happened to have any tips!
Thank you so much for any tips you share! Thank you for your recipe!
I just pinch the edges and then roll them *a lot* in my hands.