Homemade Marshmallows
Updated Sep 28, 2024
This post may contain affiliate links. Please read our disclosure policy.
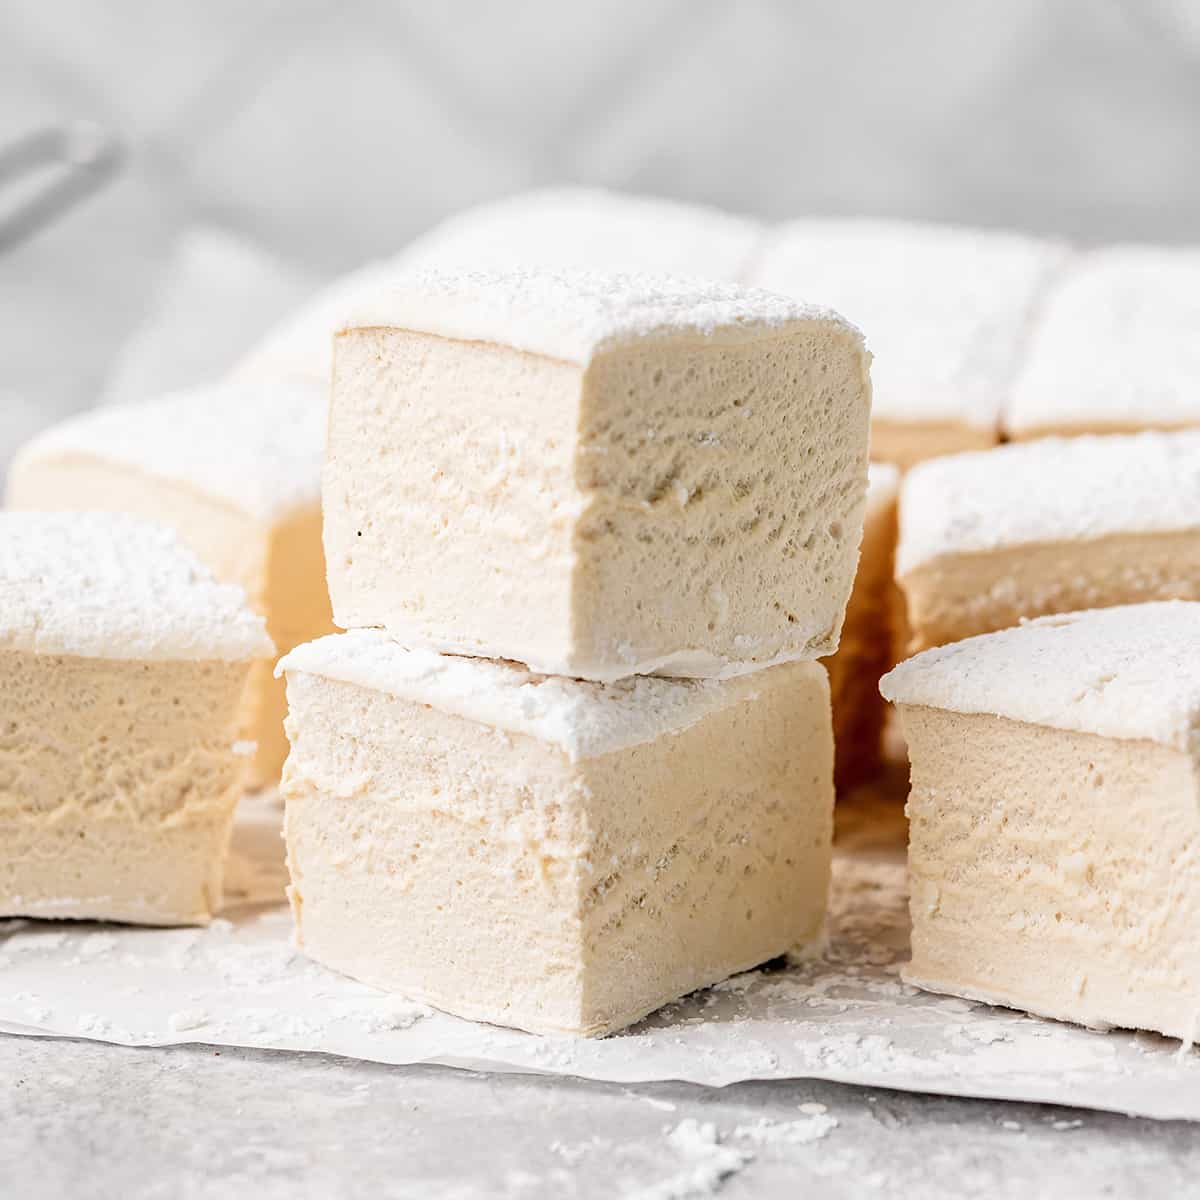
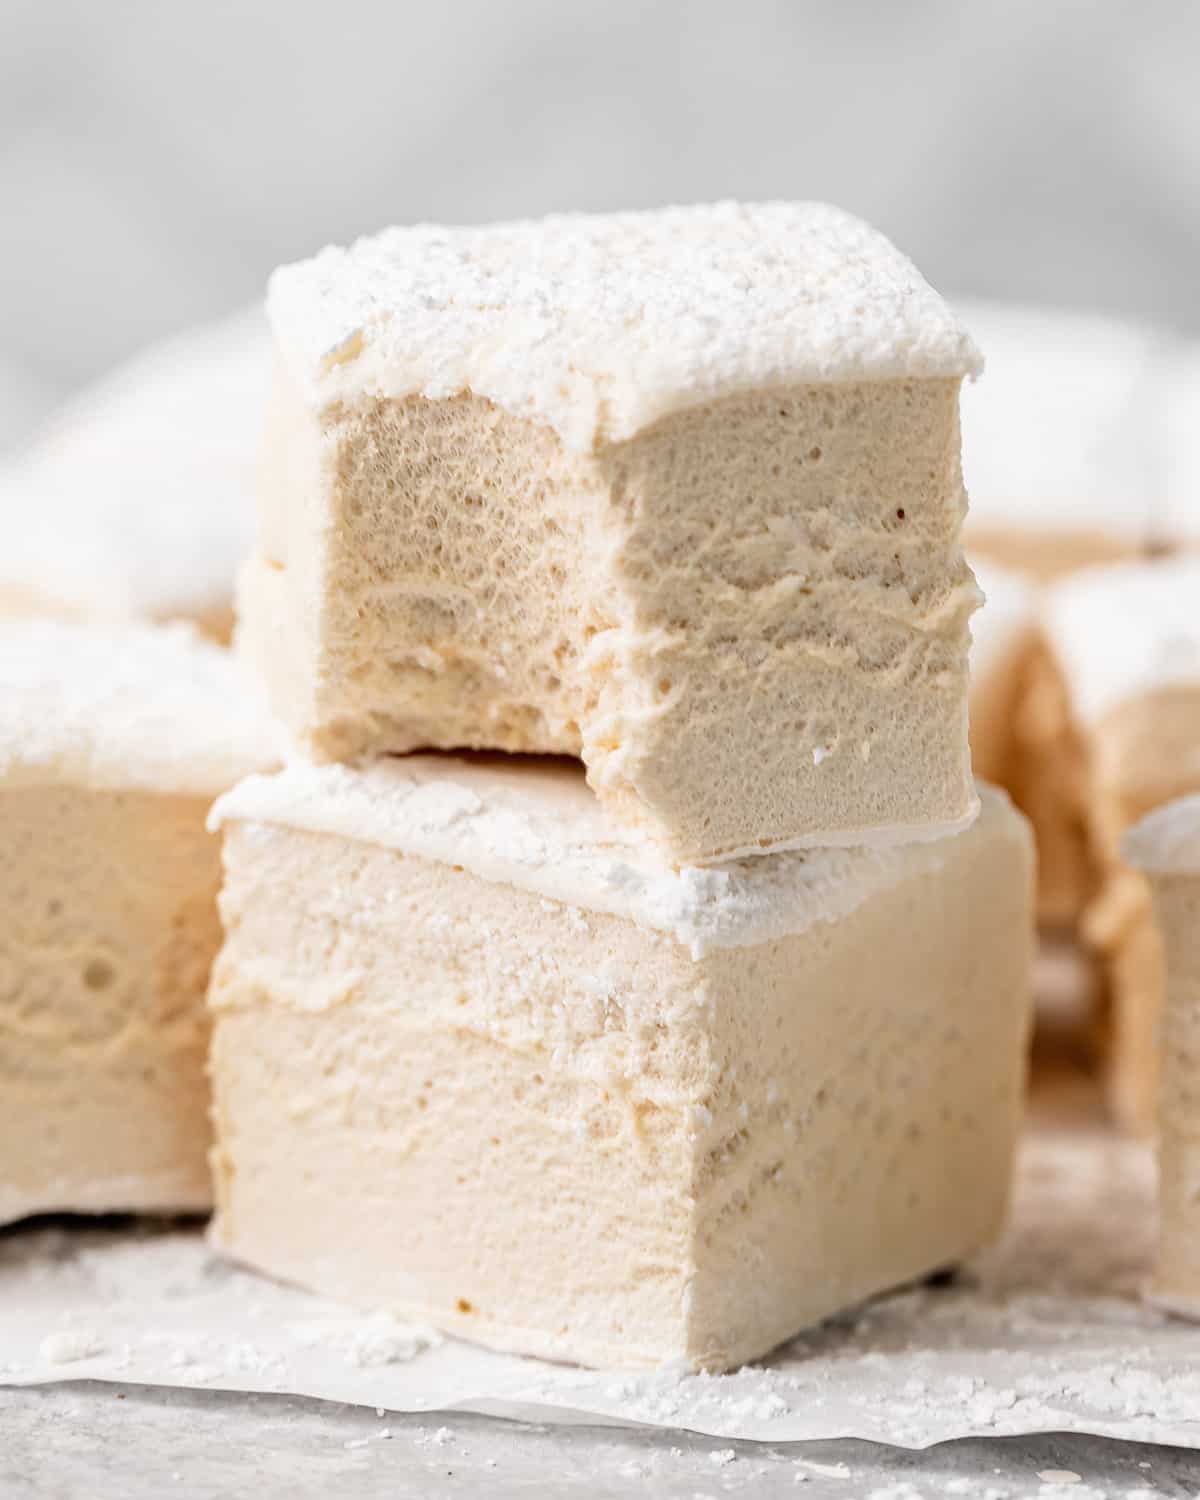
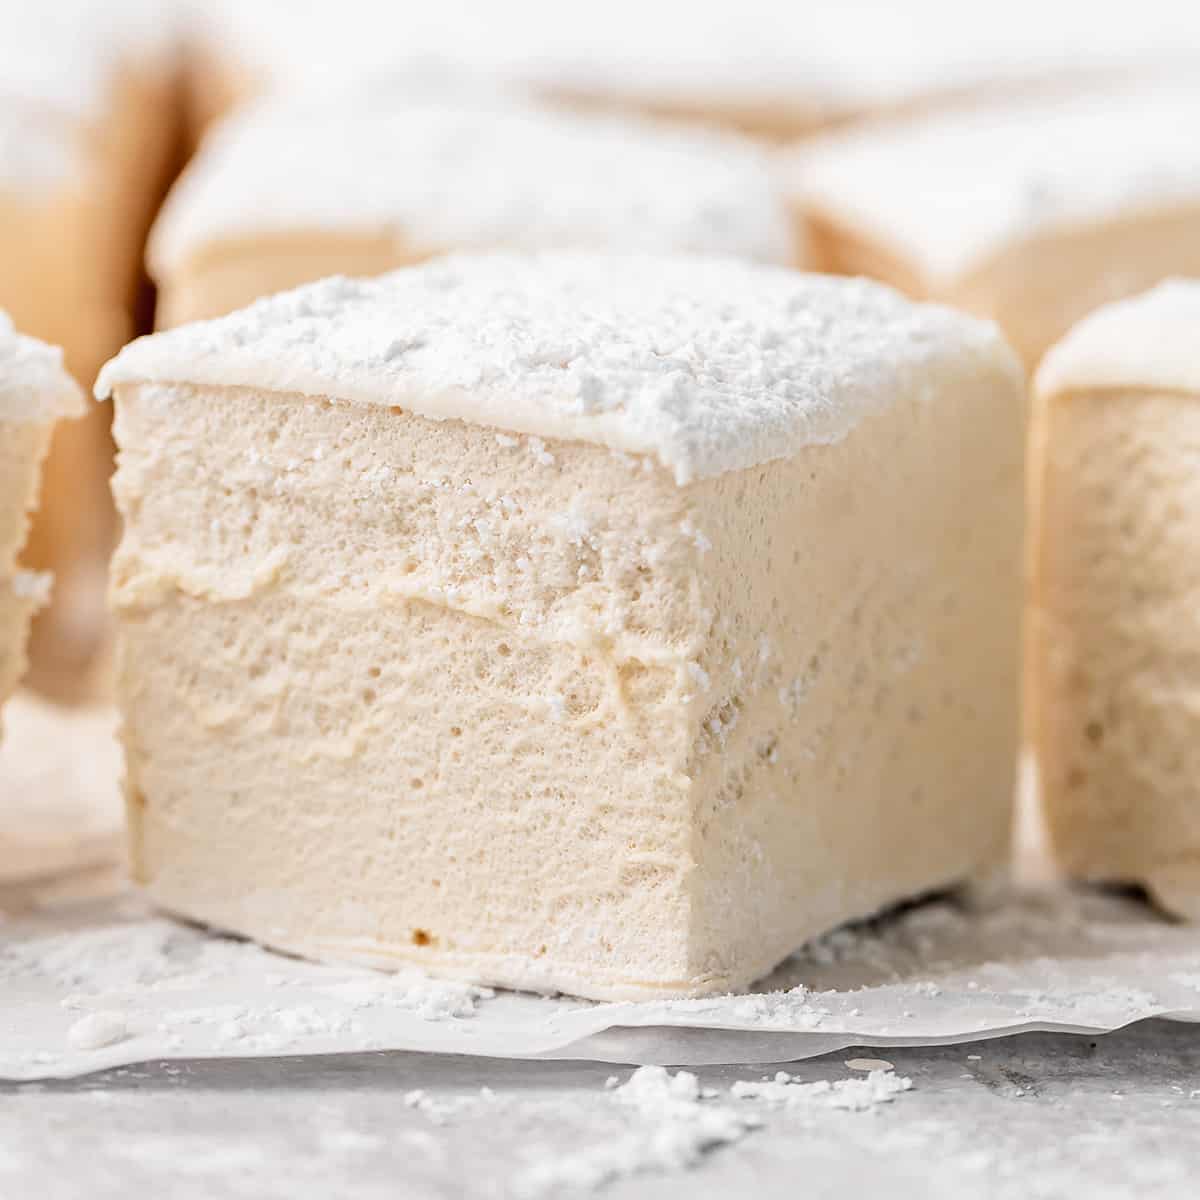
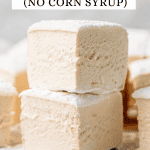
These homemade marshmallows are easy to make from scratch with no corn syrup! They’re soft, and fluffy with a rich vanilla flavor and are infinitely more delicious than store-bought marshmallows!
During the winter months our ski days often includes a treat break where we all enjoy hot chocolate and s’mores. Well, our favorite ski resort makes their s’mores with homemade marshmallows, and they were so delicious I had to create a recipe of my own.
This homemade marshmallow recipe is so much more delicious than store-bought mallows I cannot even put it into words. Plus, these marshmallows contain no corn syrup – and are sweetened with a combination of honey and maple syrup.
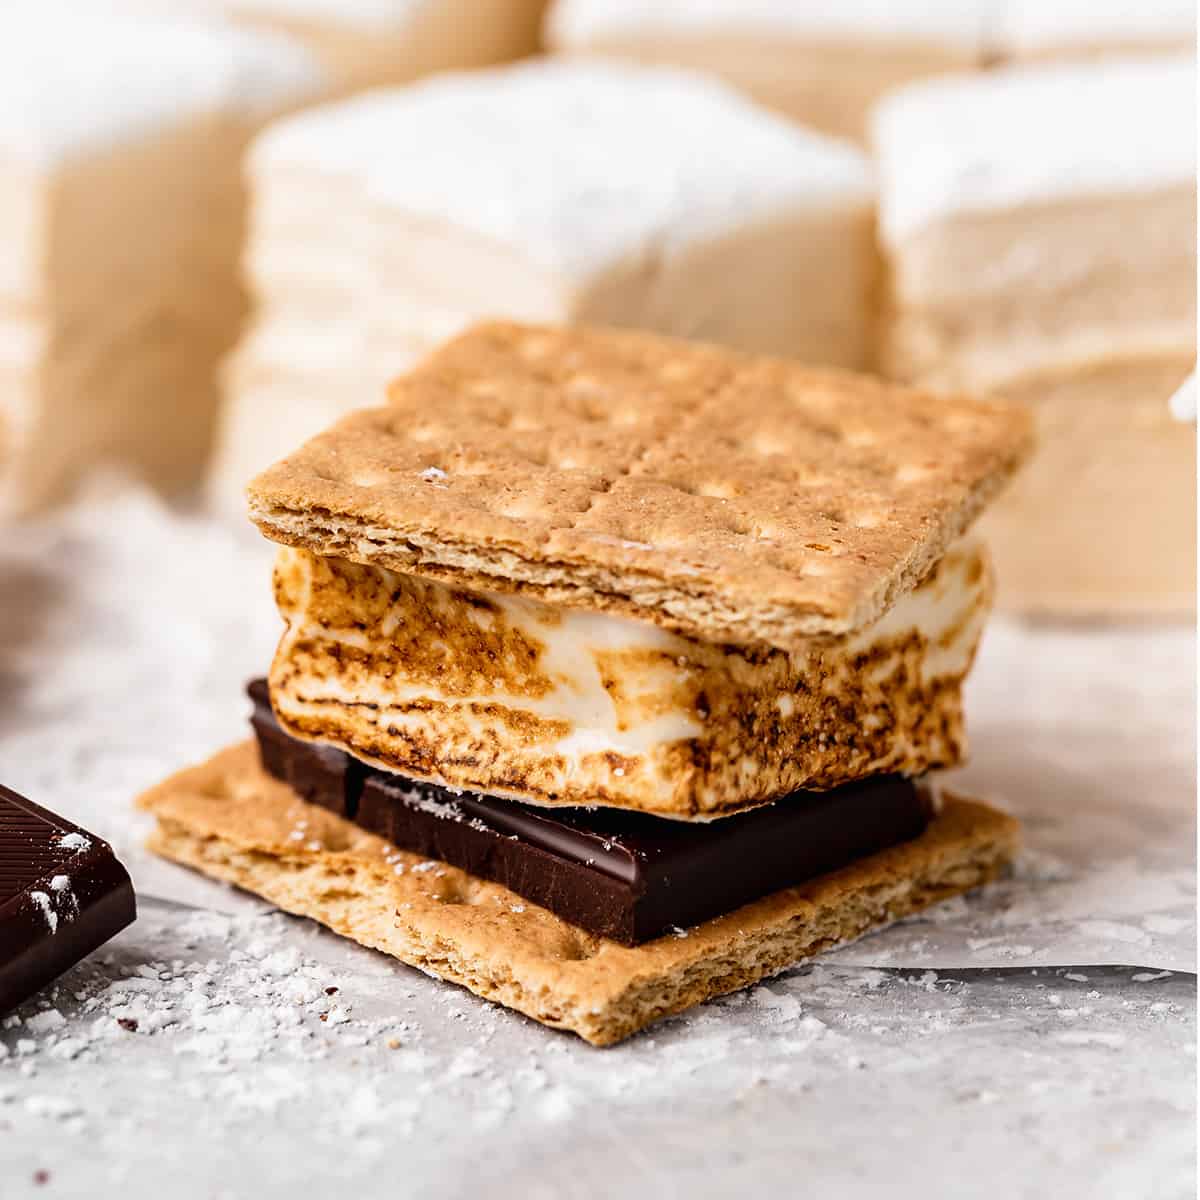
They are light and fluffy with a rich vanilla flavor, and are perfect for roasting, enjoying a cup of hot cocoa, or in the middle of a delicious s’more. Or, use them to make s’mores cookies.
Ingredients & Substitutions
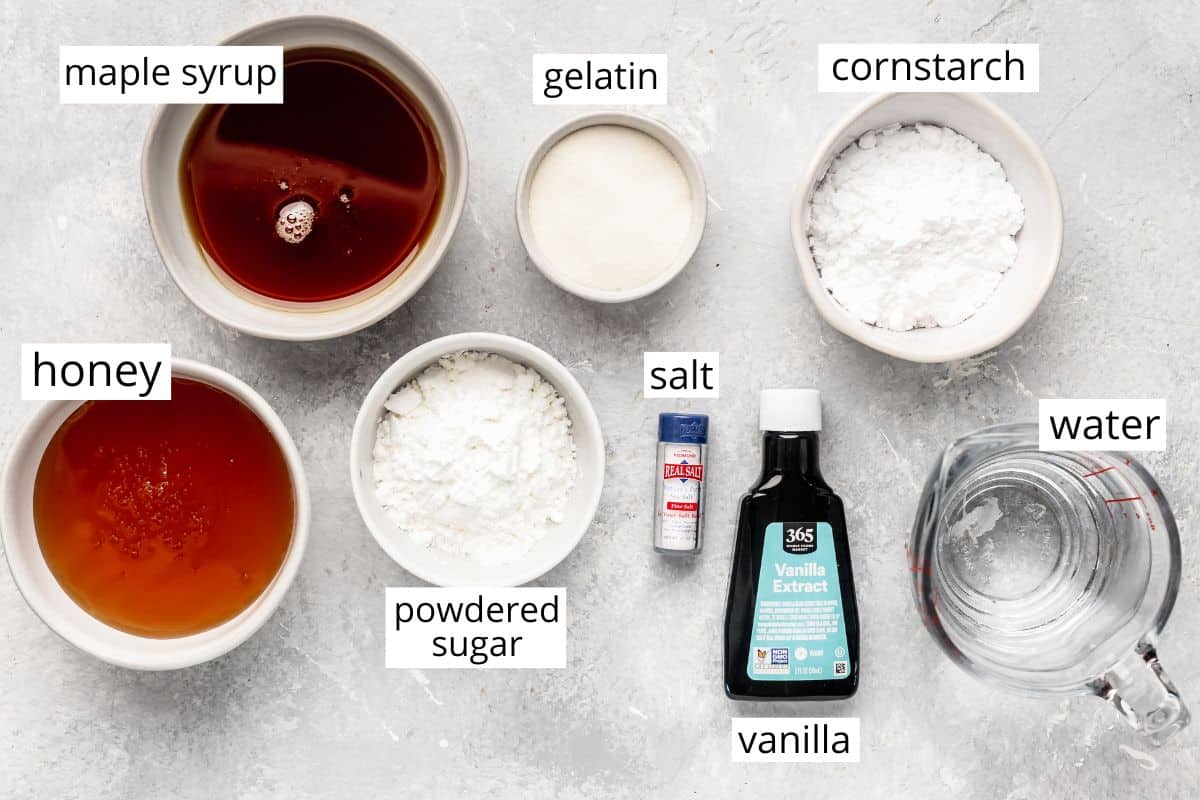
- Gelatin. I suggest a high-quality gelatin like this brand or this one.
- Honey/Maple Syrup: A total of 1 cup of sweetener needs to be used. If you’d prefer to use all honey or all maple syrup or different ratios they will taste great as long as you use a total of 1 cup of liquid sweetener.
- Vanilla extract. Using vanilla bean paste or the seeds of vanilla beans is also a great choice in this recipe! Change up the flavor by using different extracts such as almond, peppermint (and use in peppermint hot chocolate), etc.
- Cornstarch. tapioca flour/starch is a good substitute.

How to Make Marshmallows
We’ll walk through this recipe step-by-step, and as always you can watch the video for further help and guidance.
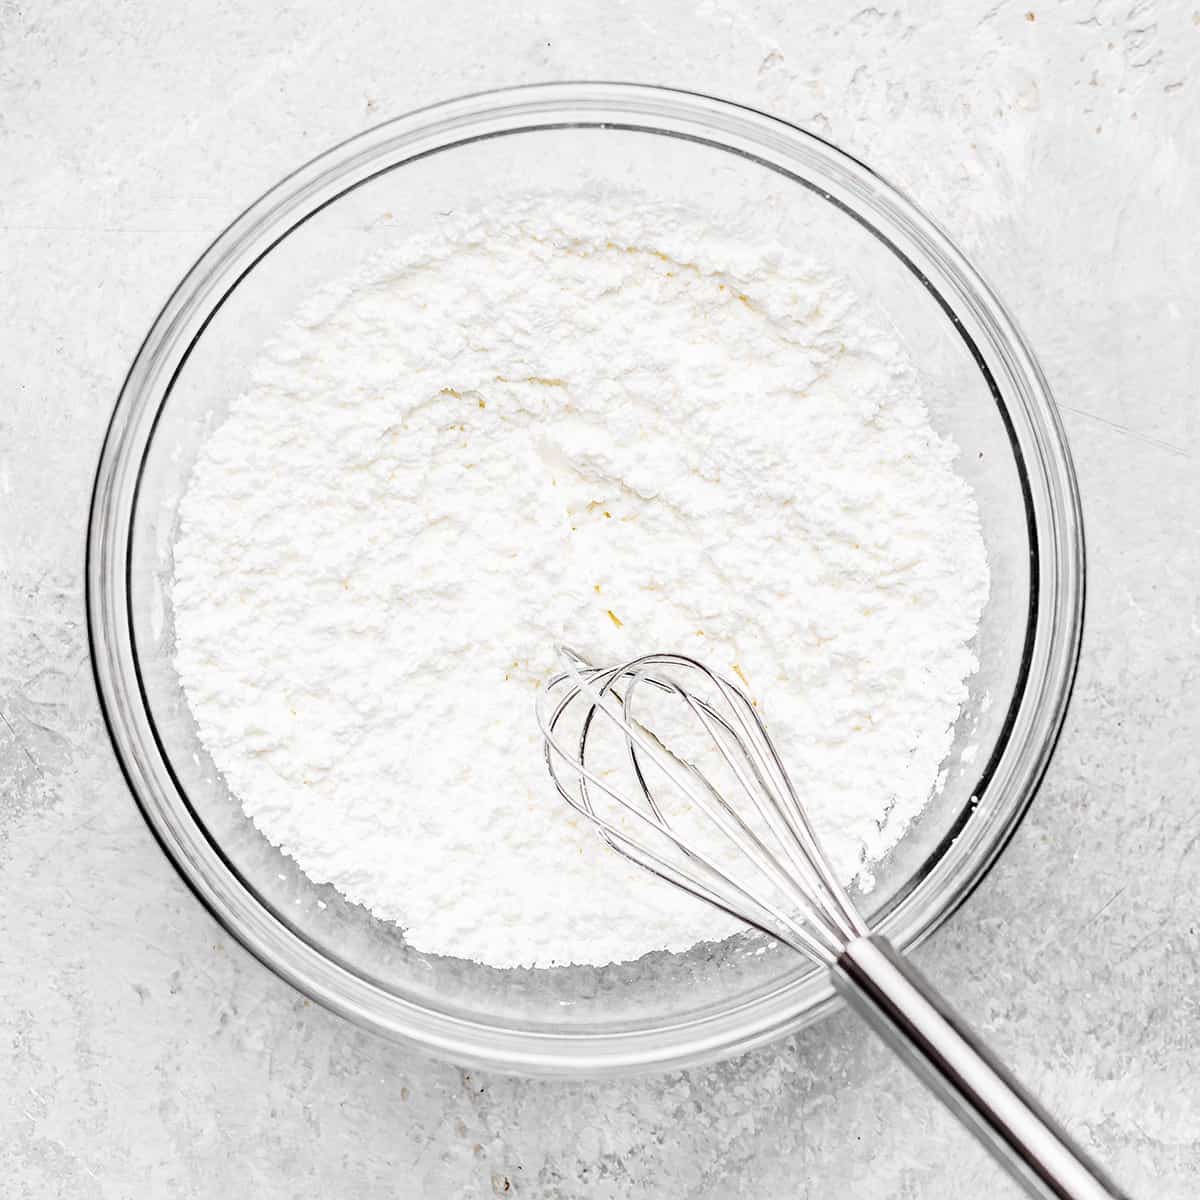
Begin by combining the powdered sugar & cornstarch in a small bowl, then set the mixture aside. It’s used in a couple different ways in this recipe.
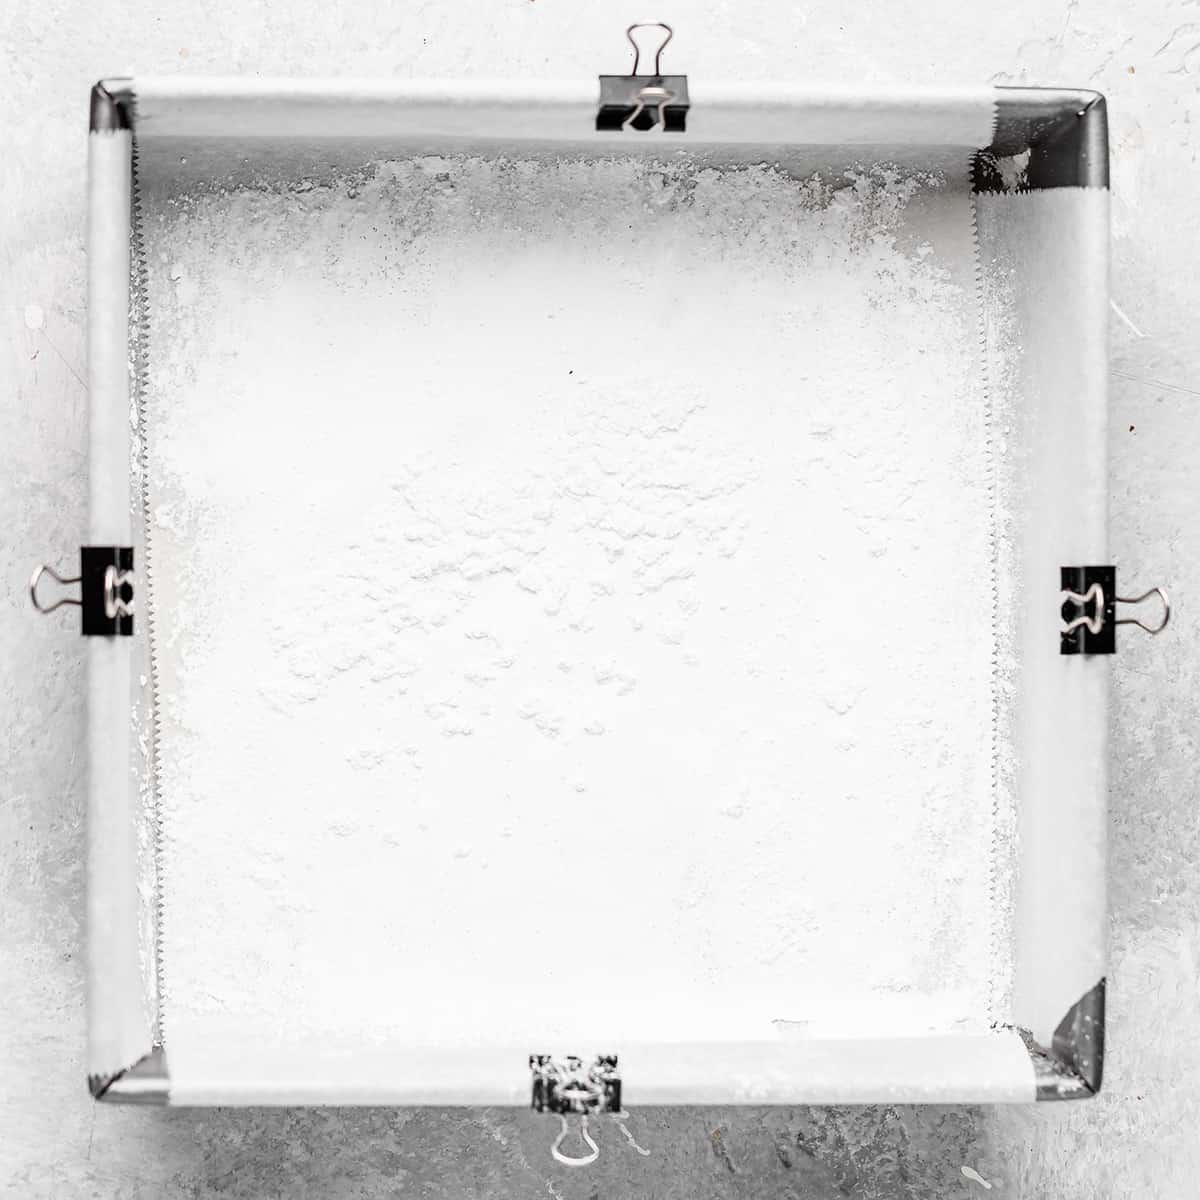
Next, line an 8×8”baking pan with parchment paper. Lightly grease with spray or butter. (you can use a 9×9” pan for thinner marshmallows).
Then dust the pan with 1-2 Tablespoons of the powdered sugar mixture, evenly coating the bottom and sides. Set aside the pan aside.
Preparation is key
It’s important to prepare the pan in advance, because one the marshmallows begin cooking this recipe is time-sensitive.
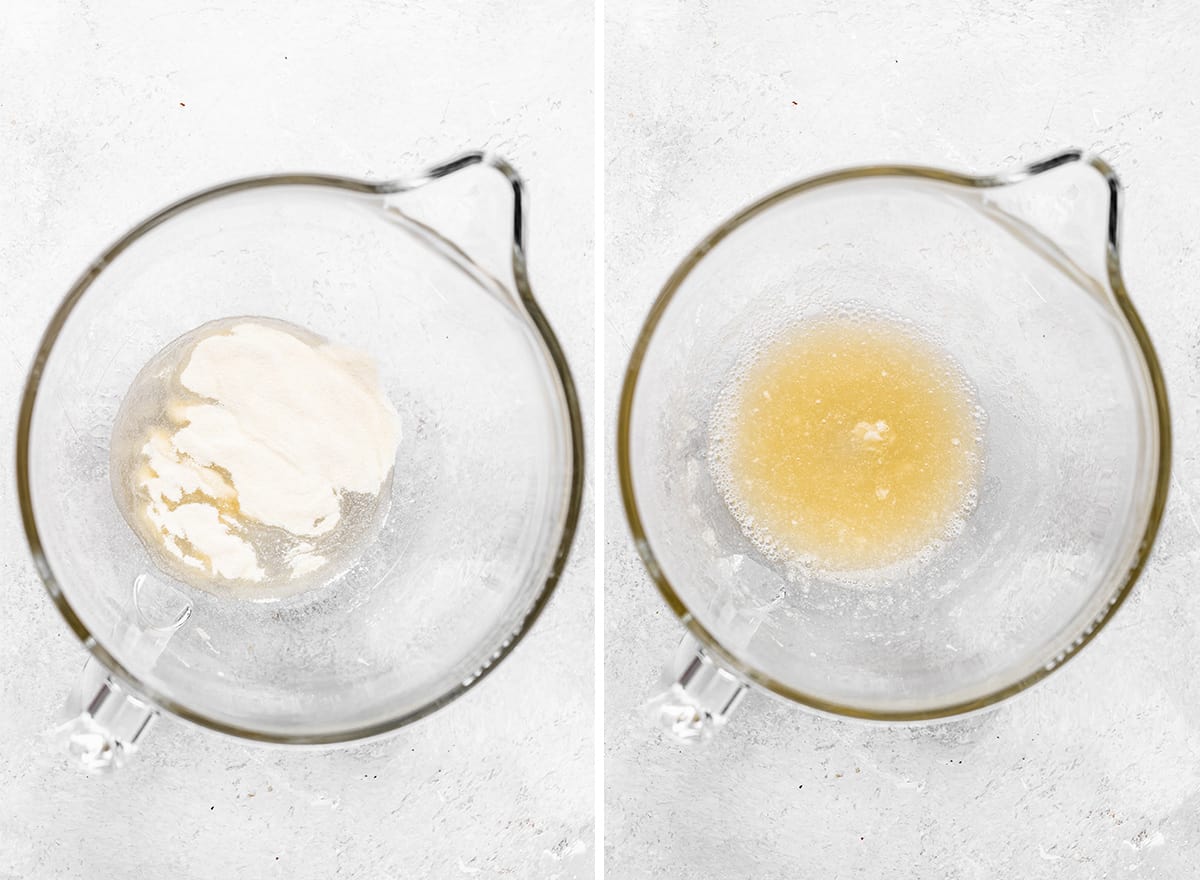
Next, combine ½ cup water and 3 Tablespoons gelatin in the bowl of a standing mixer fitted with the wire whisk attachment. Let sit for 10 minutes until the mixture becomes gelatinous.
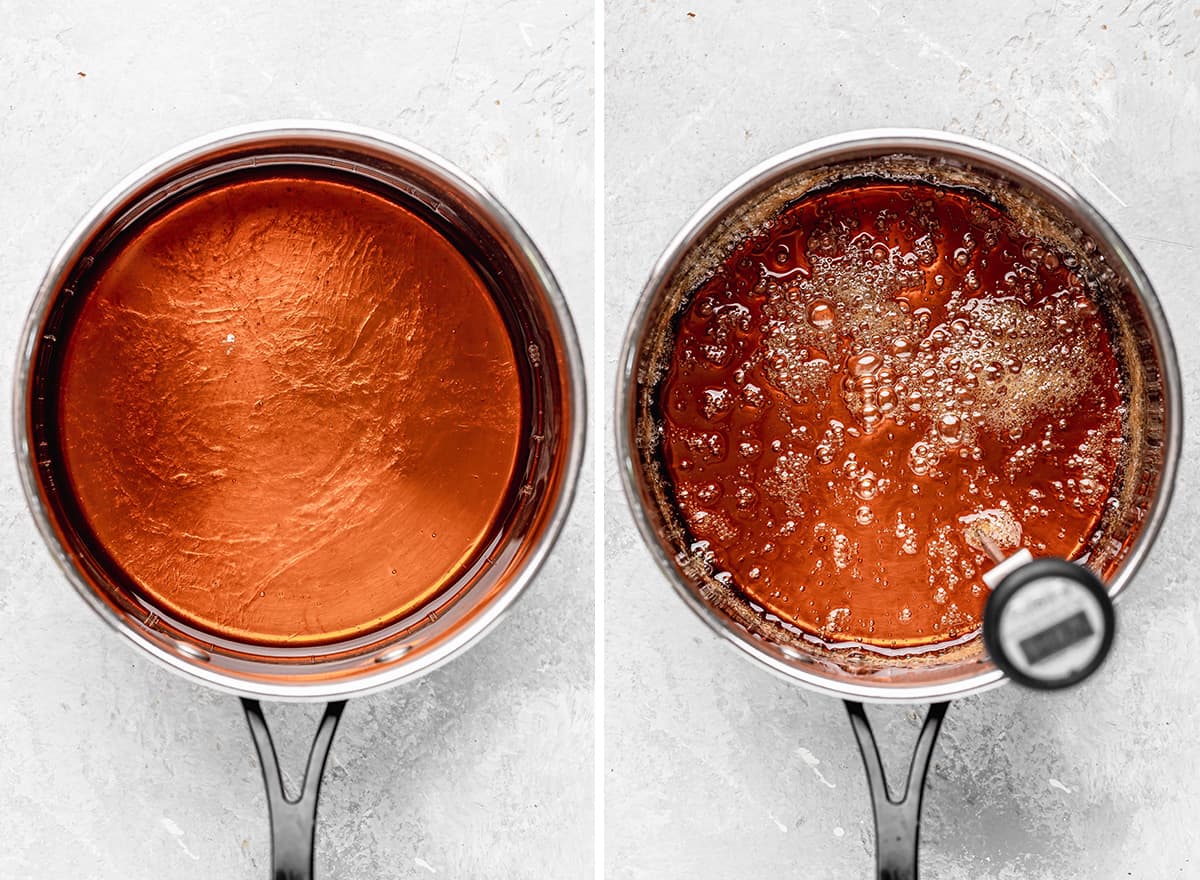
While the gelatin is blooming, add ½ cup water, honey, maple syrup and salt to a medium saucepan.

Heat the mixture over medium-high heat and stir constantly during the first minute of cooking.
After 1 minute, continue cooking over medium-high heat without stirring for about 10 minutes, or until the temperature reaches 240 degrees F.
Once the mixture has reached 240 degrees F, remove it from the heat and carefully pour it into the container of your standing mixture over the thickened gelatin mixture.
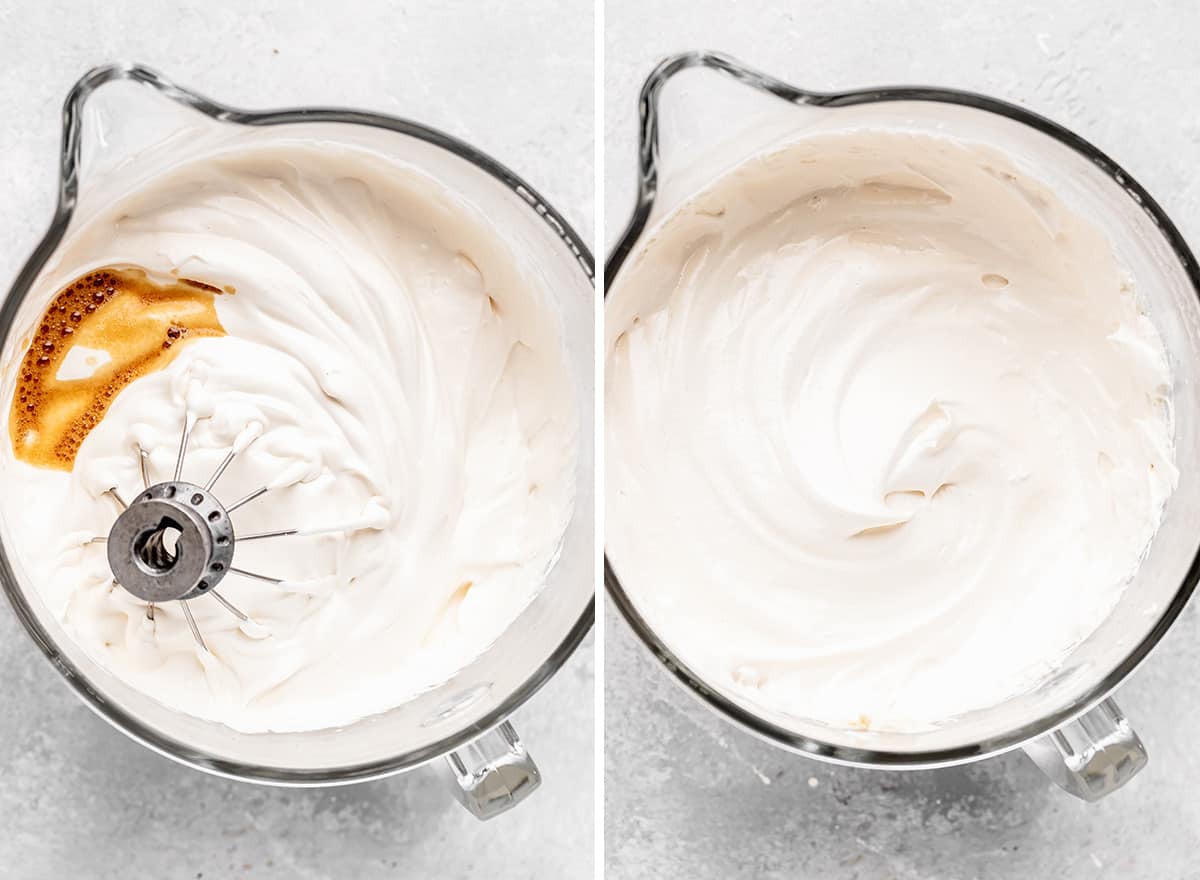
Then, beat the mixture on high-speed for 4-5 minutes or until it achieves the consistency of marshmallow fluff.

Then, add the vanilla and beat for 1-2 more minutes or until the mixture forms stiff peaks but is still smooth and glossy. (do not over-beat).
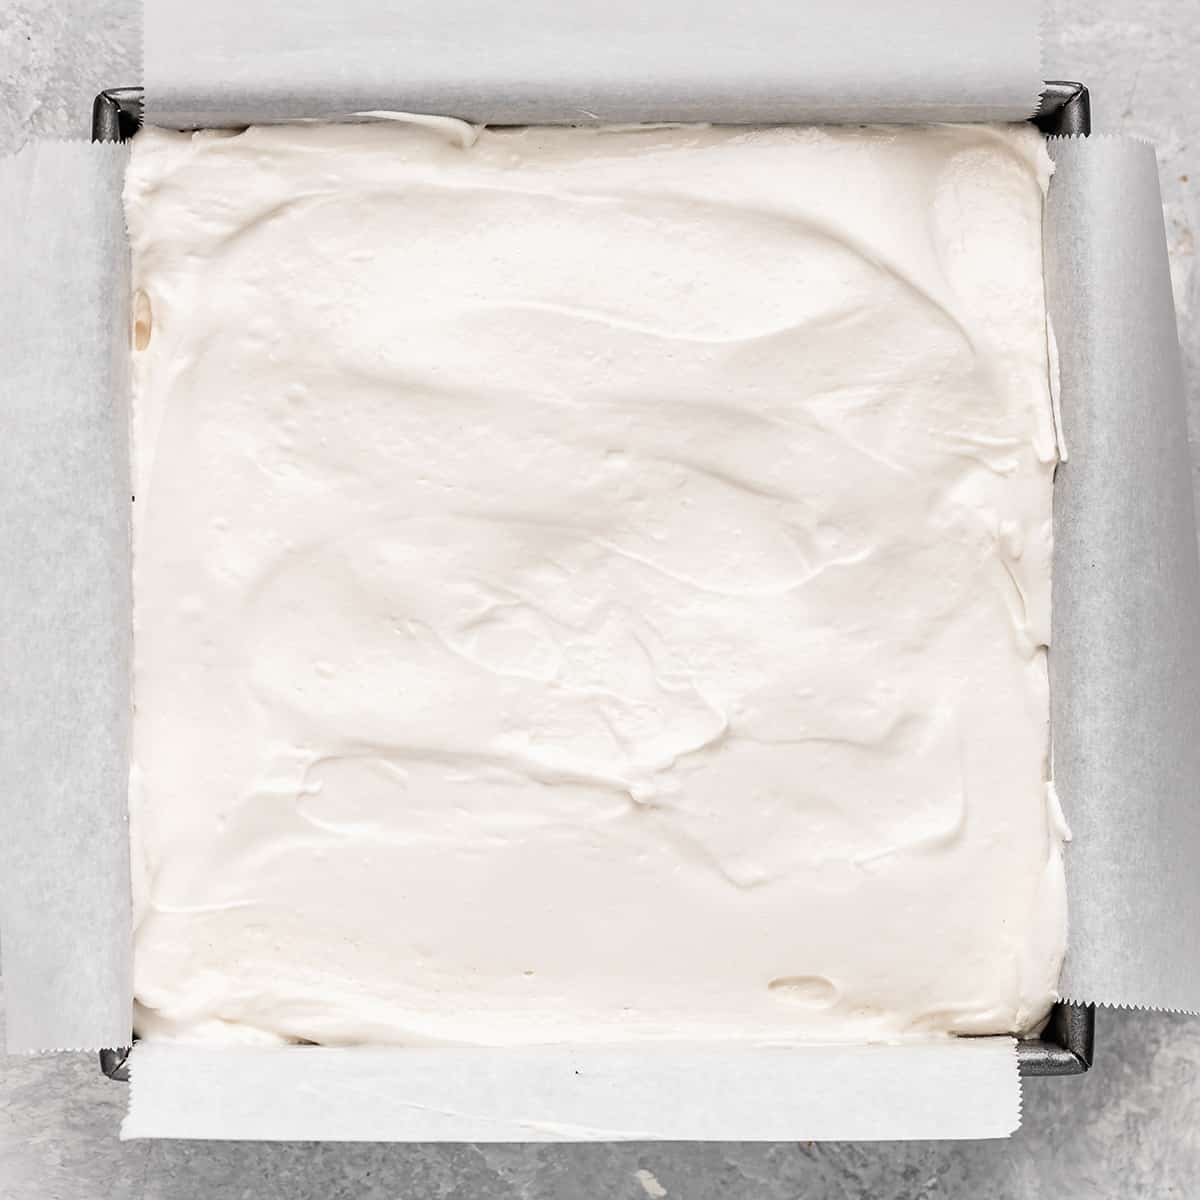
Working quickly, spread the mixture evenly into the prepared pan. Then, put the marshmallows in a cool, dry place to set for 12 hours or overnight.
Once the marshmallows have set, dust the top with corn starch/powdered sugar mixture and turn it out onto a cutting board.
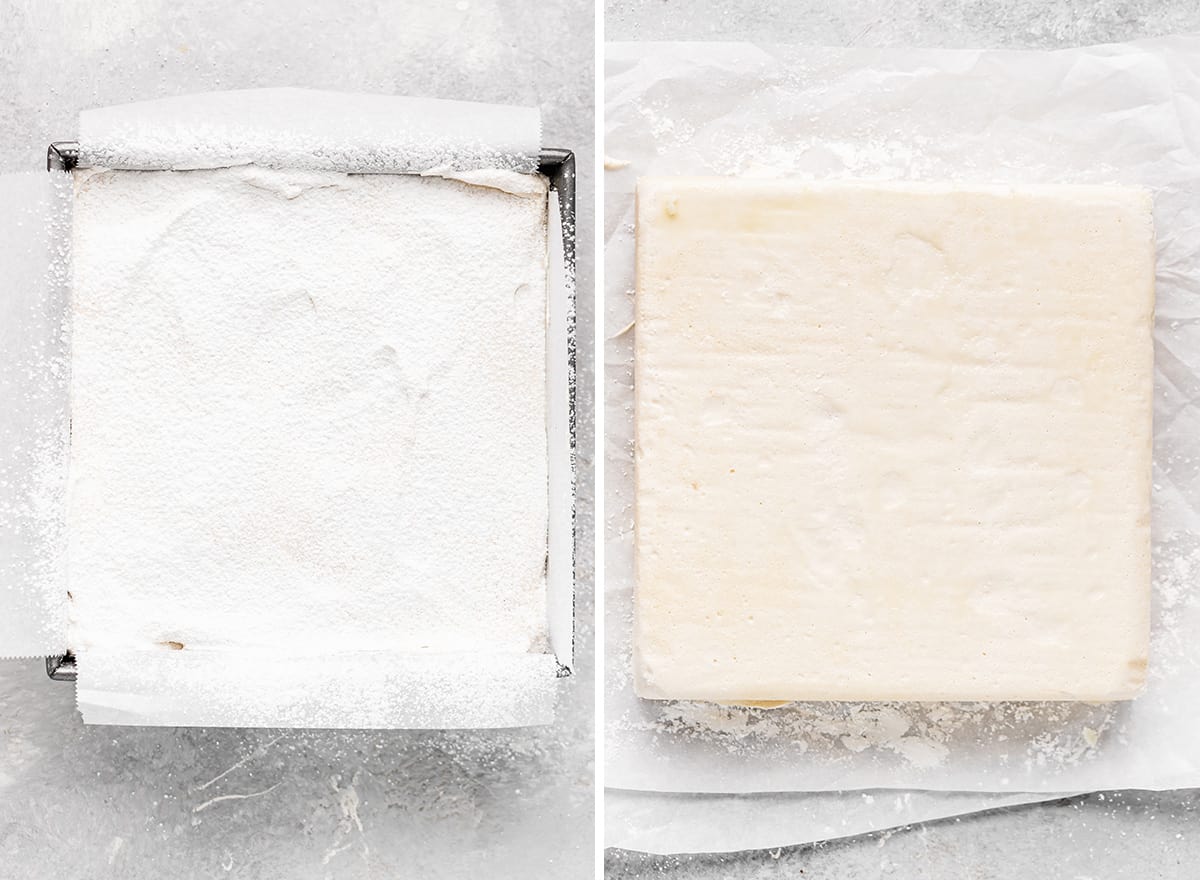
Dust the other side with the mixture.
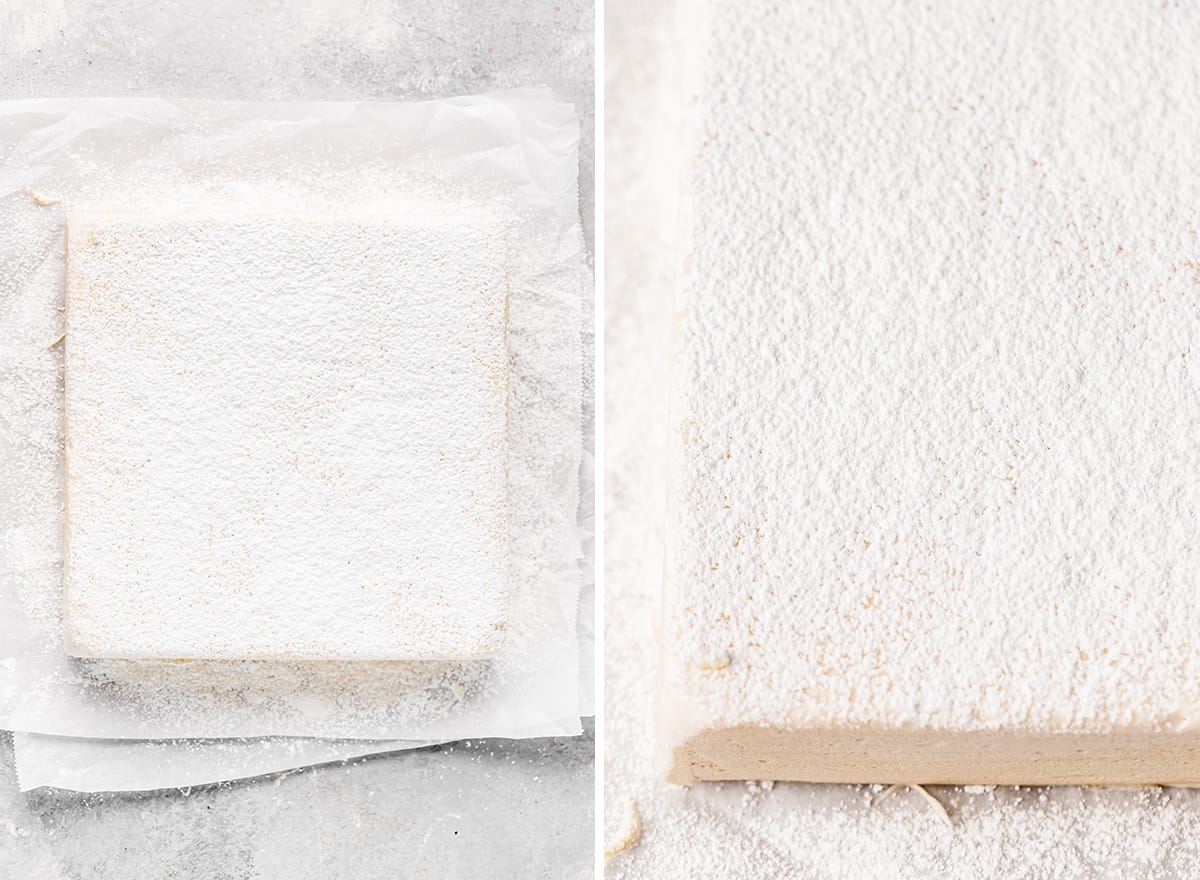
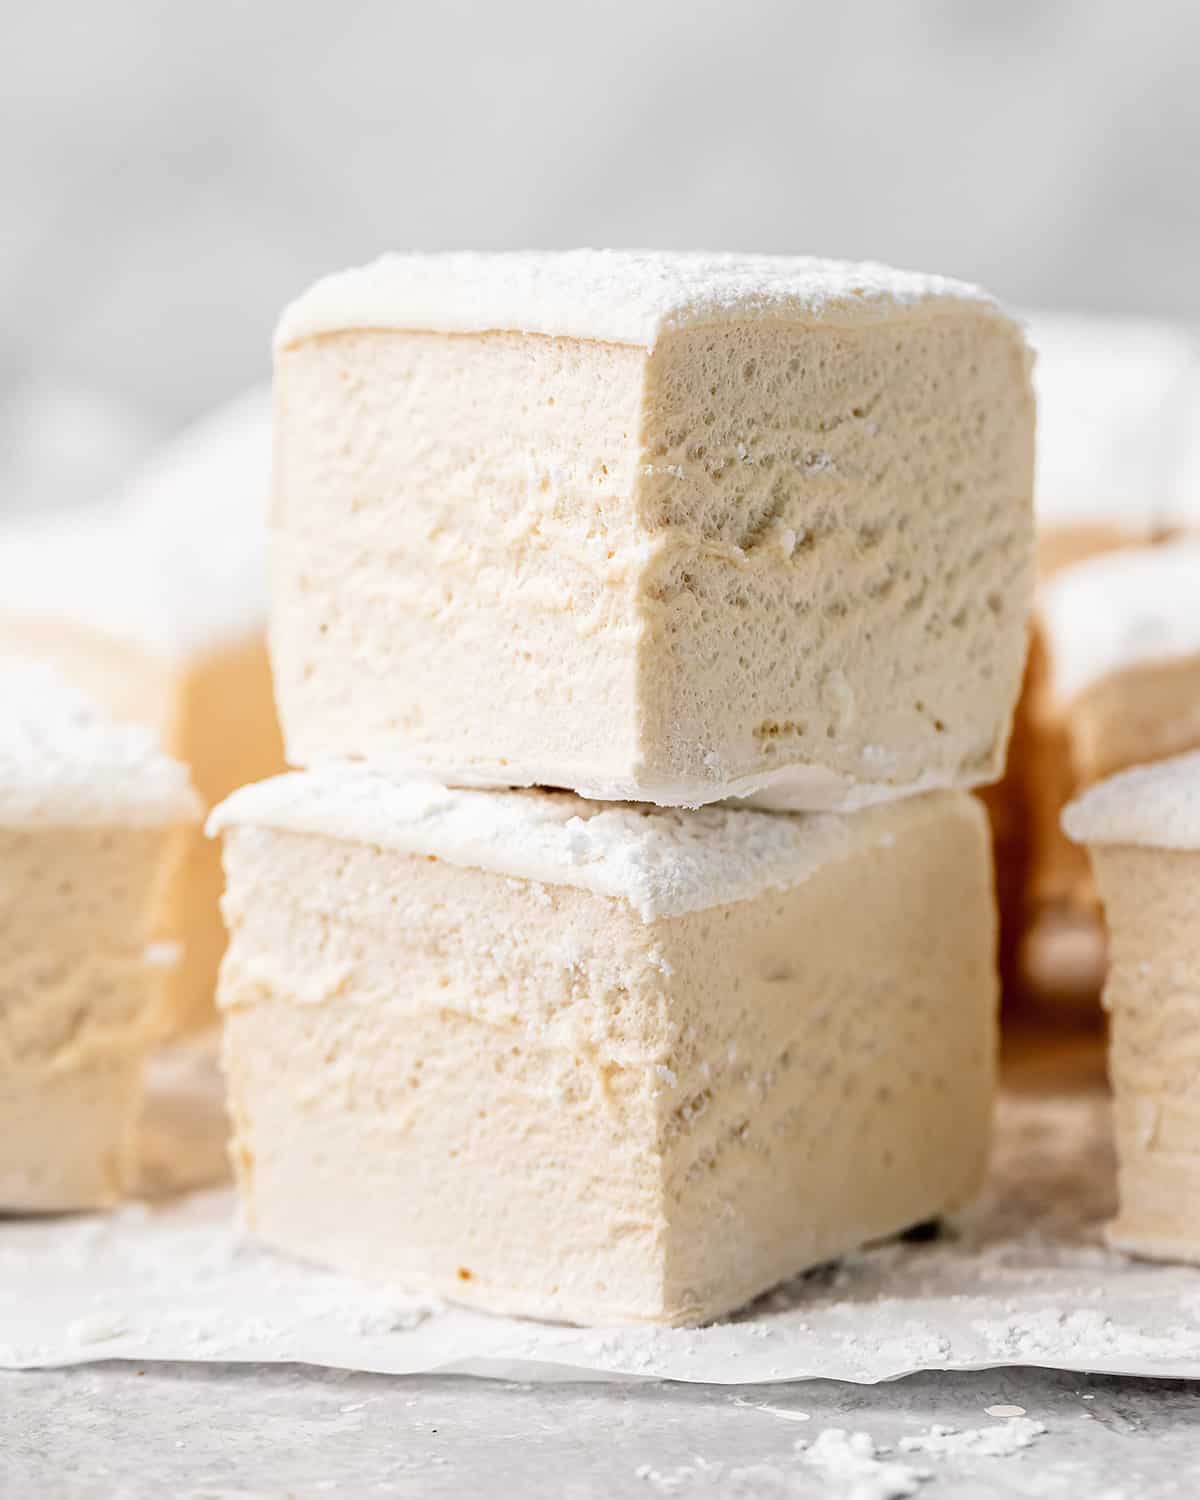
Then, cut the marshmallows with a clean, sharp knife. You could also use cookie cutters to make cute shapes.

Serve
There are so many ways to enjoy this homemade marshmallow recipe. Here are a few suggestions:
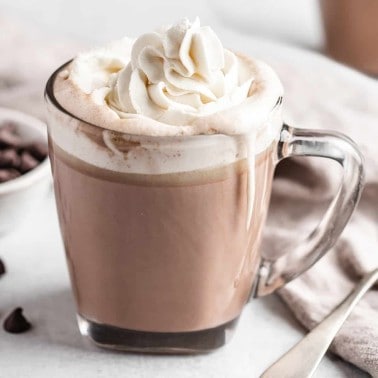
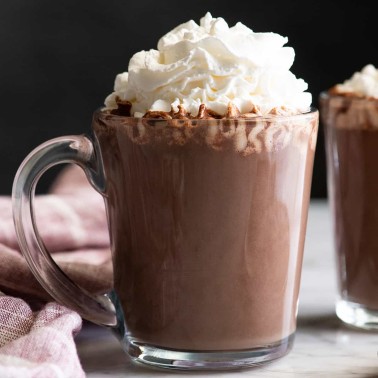
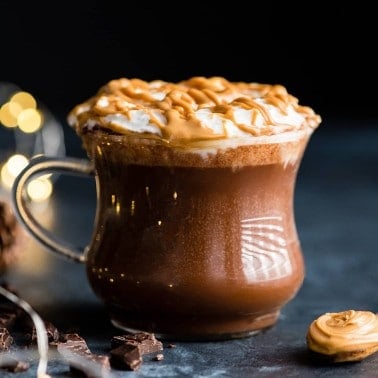
- Hot chocolate. cut them nice and small and serve them in your favorite hot chocolate like crockpot hot chocolate, peppermint hot chocolate, peanut butter hot chocolate or rich homemade hot chocolate.
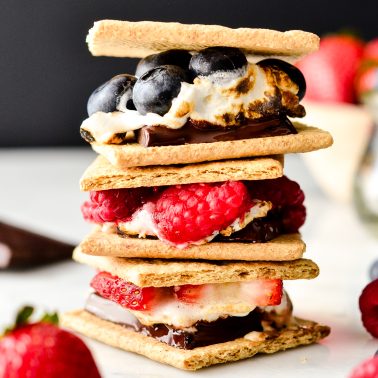
- Use them to make s’mores – like berry s’mores or cookie dough s’mores.
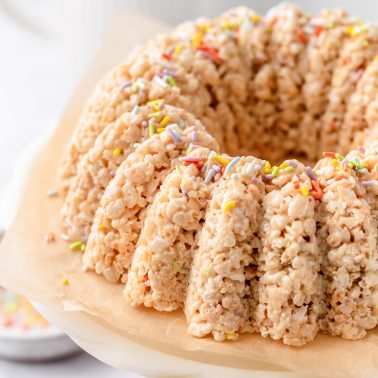
- Use them in place of store bought marshmallows in this recipe for the best rice crispy treats or s’mores cookies.
- Dip them in chocolate for a delicious candy!
Store/Freeze
Store homemade marshmallows in an airtight container in the refrigerator for up to two weeks, or in the freezer for up to 2 months. If storing them in multiple layers, I suggest separating the layers with wax paper.
Homemade Marshmallow Recipe FAQS
Store-bought marshmallows are loaded with artificial ingredients, preservatives, corn syrup, etc. But these homemade marshmallows are made with water, gelatin, honey, maple syrup and vanilla extract.
They will last for up to 2 weeks stored in the refrigerator. Or two months in the freezer.
If you make and love my recipes, it would mean so much to me if you would leave a comment and rating! And don’t forget to follow along on Instagram, Pinterest, Facebook, TikTok and Youtube – be sure to tag @joyfoodsunshine and use the hashtag #joyfoodsunshine so I can see your creations!

Homemade Marshmallows Recipe
Video
Ingredients
- 1 cup water divided
- 3 Tablespoons gelatin
- ½ cup honey
- ½ cup pure maple syrup
- ¼ teaspoon salt
- ½ teaspoon vanilla extract
- ¼ cup powdered sugar
- ¼ cup cornstarch
Instructions
- Combine powdered sugar & cornstarch in a small bowl, set aside.
- Line an 8×8”baking pan with parchment paper. Lightly grease with spray or butter. (you can use a 9×9” pan for thinner marshmallows).
- Then dust the pan with 1-2 TBS of the powdered sugar mixture, evenly coating the bottom and sides. Set aside.
- Combine ½ cup water and 3 TBS gelatin in the bowl of your standing mixer fitted with the wire whisk attachment. Let sit for 10 minutes until the mixture becomes gelatinous.
- Meanwhile, add ½ cup water, honey, maple syrup and salt to a medium saucepan.
- Heat over medium-high heat and stir constantly during the first minute of cooking.
- After 1 minute, continue cooking over medium-high heat without stirring for about 10 minutes, or until the temperature reaches 240 degrees F.
- Once the mixture has reached 240 degrees F, remove it from the heat and carefully pour it into the container of your standing mixture over the thickened gelatin mixture.
- Mix on high-speed for 4-5 minutes or until the mixture achieves the consistency of marshmallow fluff.
- Add vanilla and beat for 1-2 more minutes or until the mixture forms stiff peaks but is still smooth and glossy. (do not over-beat).
- Working quickly, spread the mixture evenly into the prepared pan. Put the marshmallows in a cool, dry place for 12 hours or overnight.
- Once the marshmallows have set, dust the top with corn starch/powdered sugar mixture and turn it out onto a cutting board.
- Dust the other side with the mixture and cut with a clean, sharp knife.
- Serve in your favorite hot chocolate, s’mores or eat plain.
- Store in an airtight container in the refrigerator for up to two weeks.
Notes
- Gelatin. I suggest a high-quality gelatin like this brand or this one.
- Honey/Maple Syrup: A total of 1 cup of sweetener needs to be used. If you’d prefer to use all honey or all maple syrup or different ratios they will taste great as long as you use a total of 1 cup of liquid sweetener.
- Vanilla extract. Using vanilla bean paste or the seeds of vanilla beans is also a great choice in this recipe! Change up the flavor by using different extracts such as almond, peppermint (and use in peppermint hot chocolate), etc.
- Cornstarch. tapioca flour/starch is a good substitute.
Nutrition
Nutrition information is automatically calculated, so should only be used as an approximation.
Loved these!!! I never thought I could do marshmallows! This was so easy, I doubled the recipe to bring with us on a camping trip. Is it possible to use agave in place of the honey?
Thank you Amanda!
Never thought I could tackle marshmallows!
Your recipe & video were spot on! I made no substitutions. We loved them. I did make a bit of a sticky mess. Will be more organized & confident next time.
Thank you !
Thank you so much Deb! I’m so happy you loved this recipe and had success making marshmallows!
I have a question. If I wanted to make rice krispie treats from this, would I just add it to the cereal? Or add melted butter to the bowl after whipping then up and then adding cereal? Or is it easier to fully make the marshmallows, then go through the actual great making process?
If it were me, I’d fully make the recipe then use the correct amount in your rice crispy treat recipe! Which, I recommend this one: https://joyfoodsunshine.com/rice-crispy-treats-recipe/
Amazing!!! My family loved them! We ate them right after putting them in pan. We can’t wait to try them in smores. Made exactly as recipe suggested. Next time might try some cinnamon… mmm!
Thank you Amber!