Homemade Cherry Pie
Updated Oct 20, 2025
This post may contain affiliate links. Please read our disclosure policy.
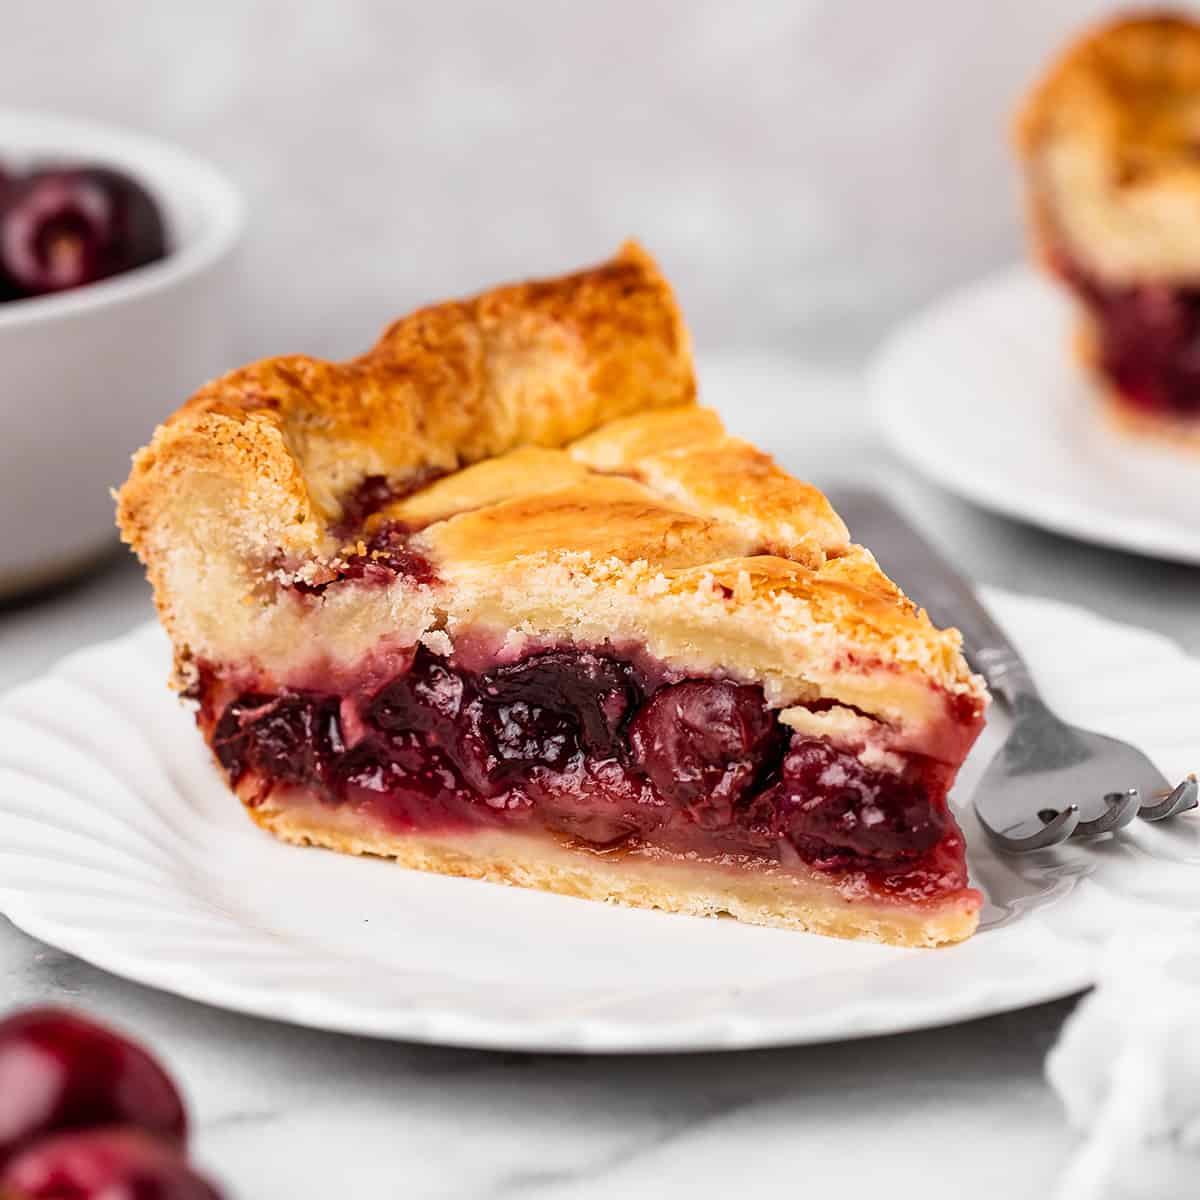
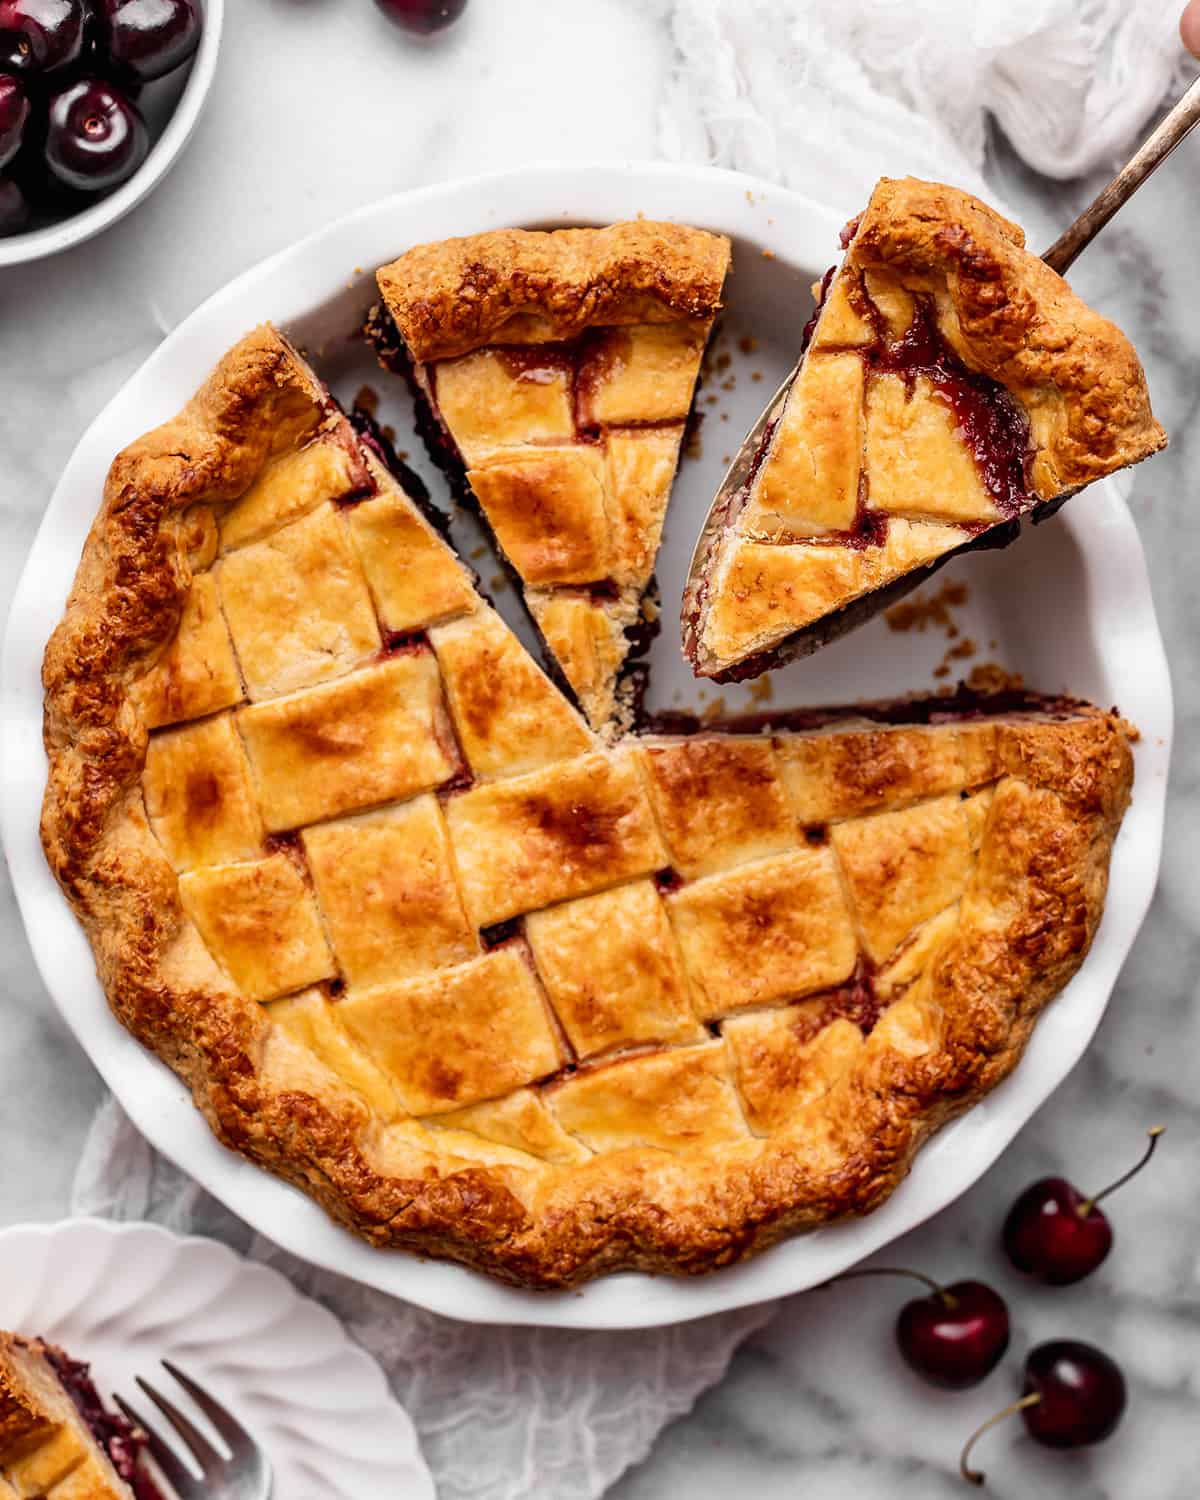
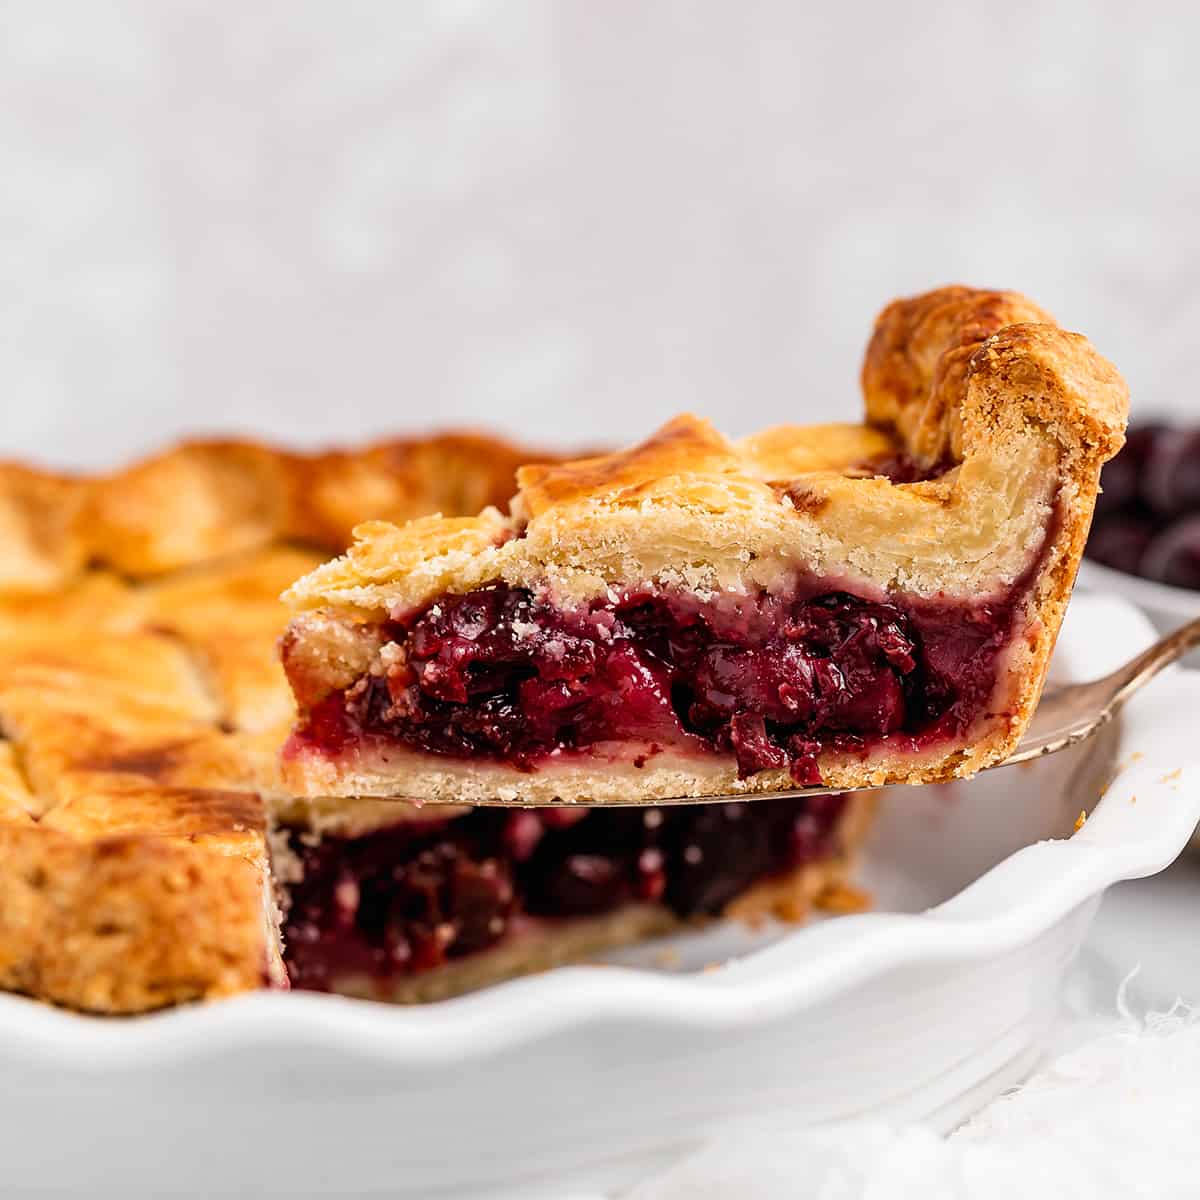
This easy cherry pie recipe is made from scratch with 8 ingredients! A fresh cherry pie filling is baked between two layers of homemade pie crust for a delicious dessert, best served, a la mode of course.
My favorite time of year is farmer’s market season – during which we always buy cherries from local farmers to both eat fresh and use to bake this cherry pie recipe – also cherry bars and chocolate chip cherry muffins too!
This cherry pie is homemade from scratch with 8 simple ingredients. You can use fresh or frozen sweet cherries to make the cherry pie filling, and follow our flaky butter pie crust recipe to make the best homemade crust, or use store bought.
This cherry pie is best served a la mode (of course), and we suggest making this homemade vanilla ice cream! Or, serve it with a dollop of homemade whipped cream. A delicious Thanksgiving or Christmas pie, too.
Cherry Pie Recipe: Ingredients & Substitutions
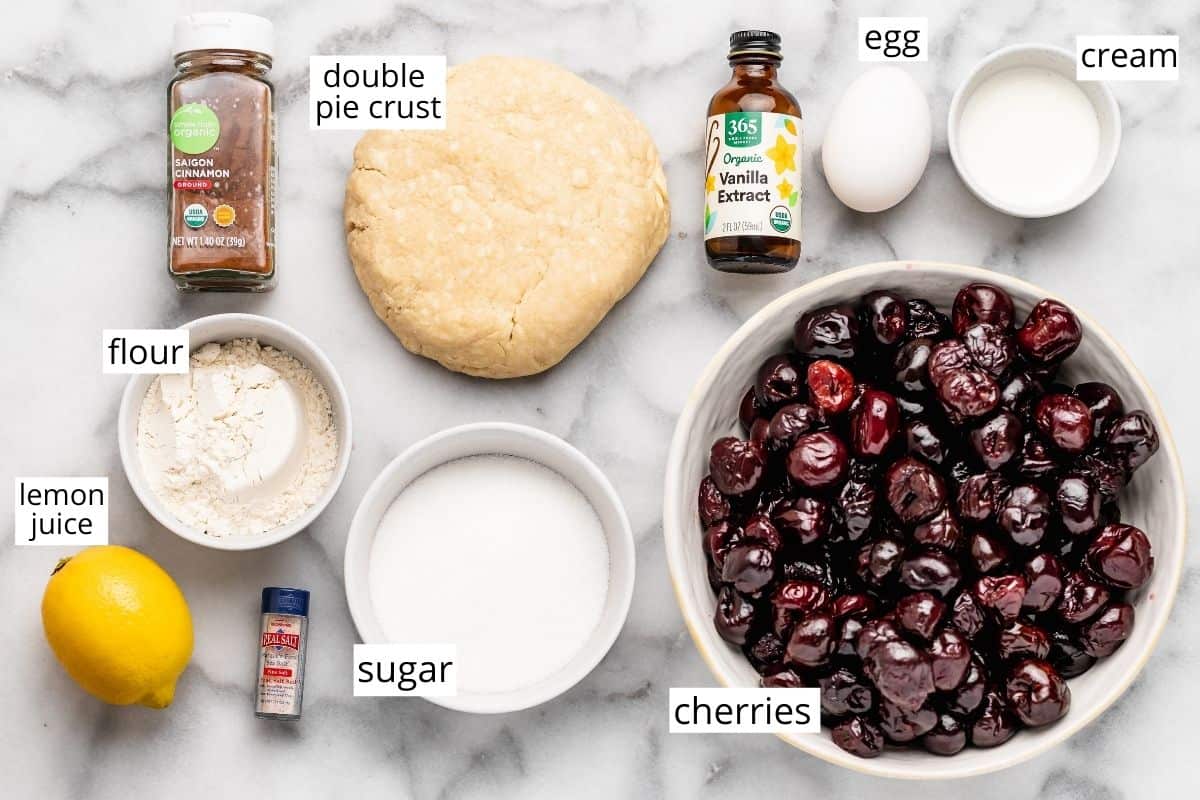
- Pie crust. I give instructions on how to make a double all butter pie crust in this post as well as in the recipe card. You can use store bought, if preferred.
- Sweet Cherries: I recommend using fresh, sweet cherries in this recipe. Use this cherry pitter to make using fresh cherries easier (my kids love helping with this). If you only have frozen cherries, thaw them first. 1 pound of fresh cherries equals about 1 ½ cups pitted, so you will need about 4 pounds of fresh cherries. 16 oz frozen cherries equals about 3 cups, so you will need 2 pounds frozen cherries. Or, try these recipes: strawberry pie, raspberry pie, blueberry pie, pear pie and peach pie.
- All-purpose flour: you can use an all-purpose gluten-free flour in the filling, as well as cornstarch or tapioca flour.
- Granulated sugar: I prefer organic cane sugar, but regular white sugar or any other granulated sugar works well.
- Lemon Juice. The acidity of the lemon juice really makes this cherry pie pop. I don’t recommend omitting it.
- Vanilla extract. use pure vanilla extract for best results.
- Egg wash. This is optional, but recommended for a golden-brown crust. You can simply brush heavy cream on the crust instead to help the sugar stick.
How to make Cherry Pie
Let’s walk through this recipe step-by-step, and don’t forget to watch the video.
Make the Pie Crust
When I make pie filled with fresh fruit (like peach pie, strawberry pie, blueberry pie, apple pie, etc.), I always opt for an all-butter pie crust. The rich, slightly sweet, salty, buttery flavor of the crust compliments the fruit so well.
Whether you use a food processor or a pastry cutter, making this all-butter pie crust literally takes 5 minutes. It is easy and tastes so much better than the store-bought crusts.
I wrote a post and made a video on making the best all butter pie crust! Check it out for all the tips and tricks. Just remember it needs an hour (at least) to chill in the refrigerator before using, so plan accordingly.
Make the Cherry Pie Filling
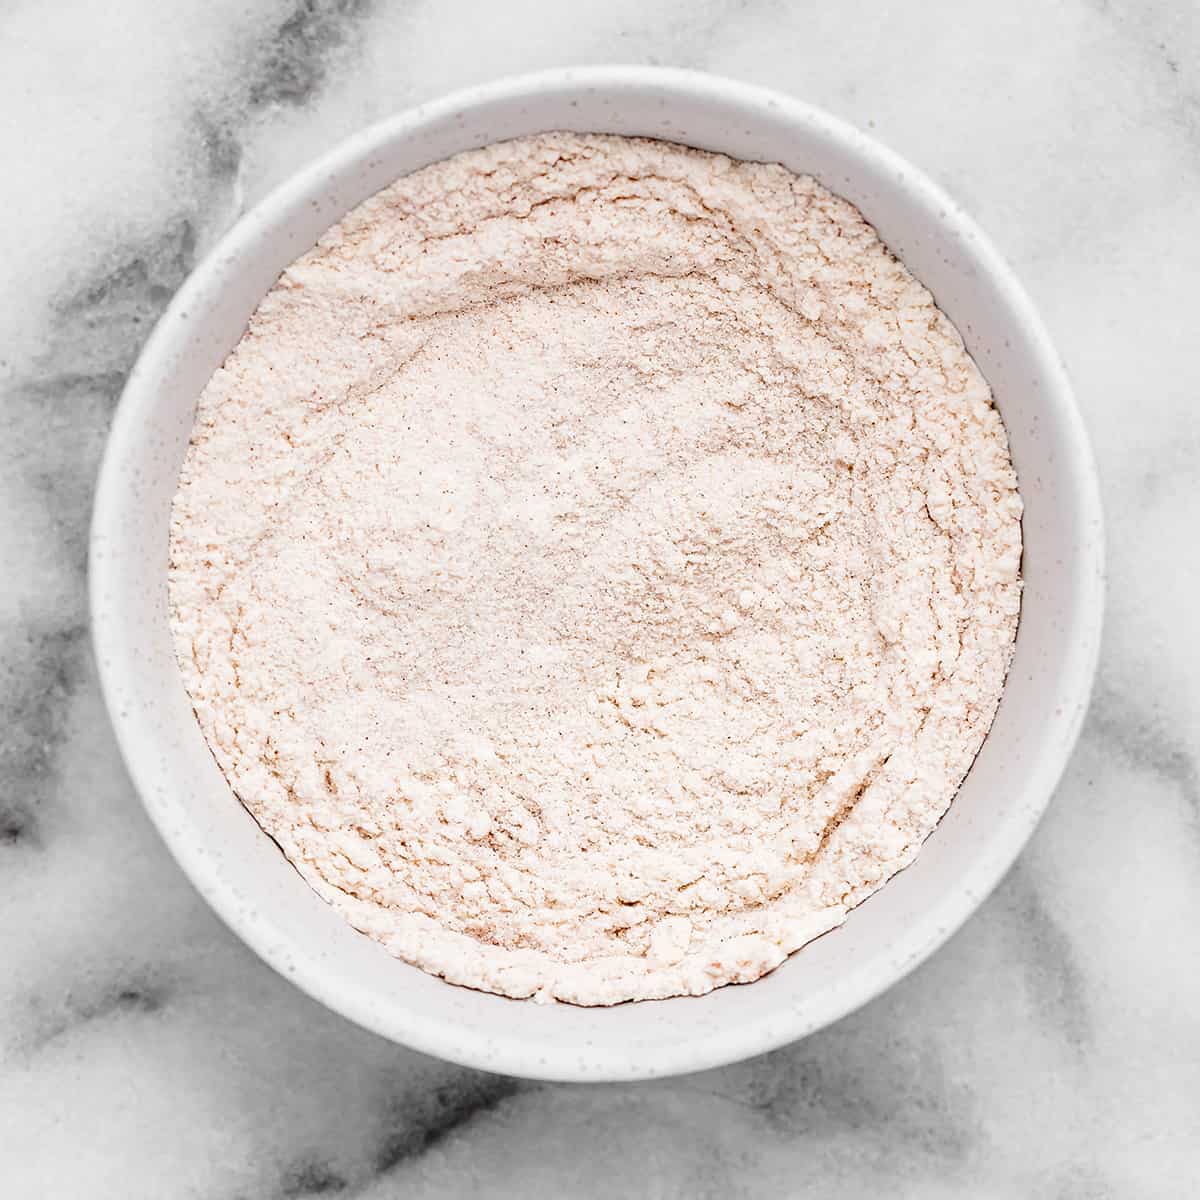
In a small bowl mix together granulated sugar, flour, cinnamon, and sea salt set aside.
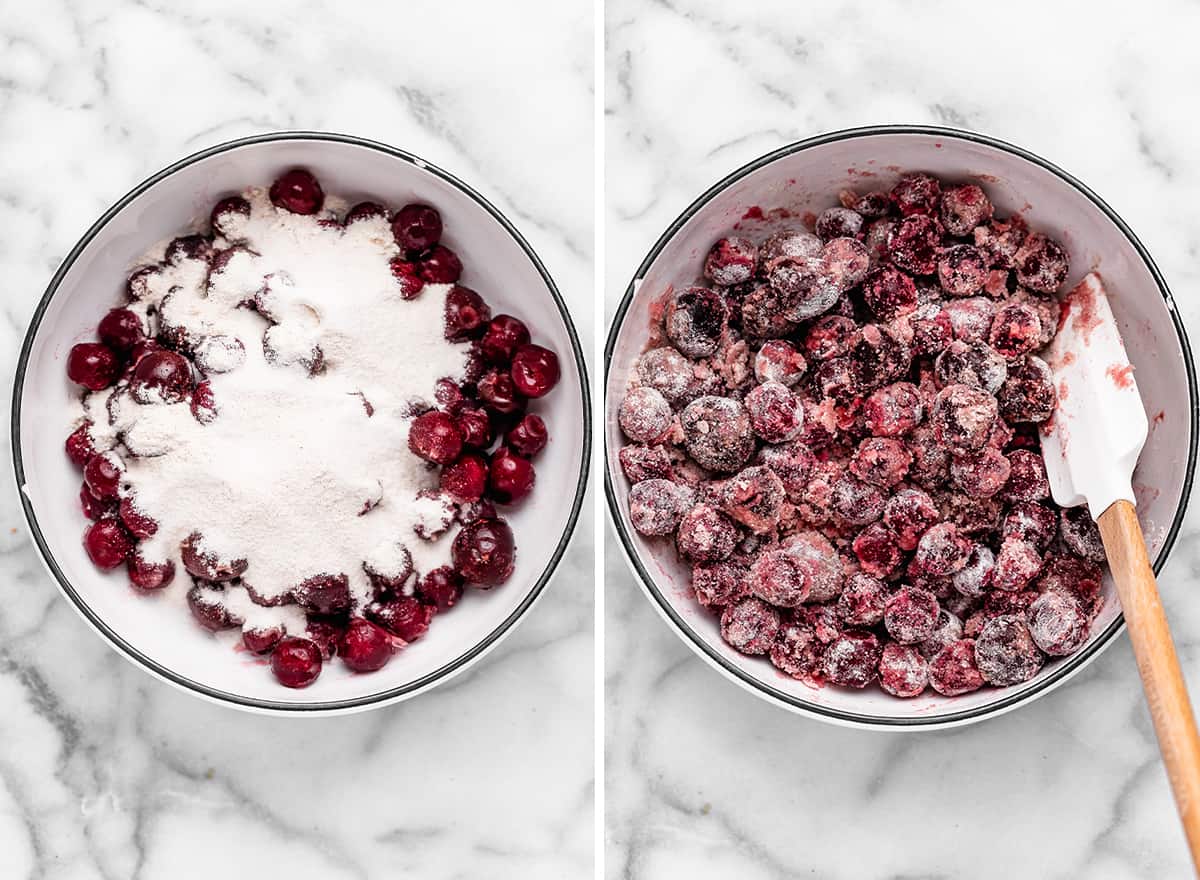
In a large bowl mix together cherries, lemon juice and vanilla. Add the dry mixture to the cherries and gently stir to combine.
Assemble the Cherry Pie
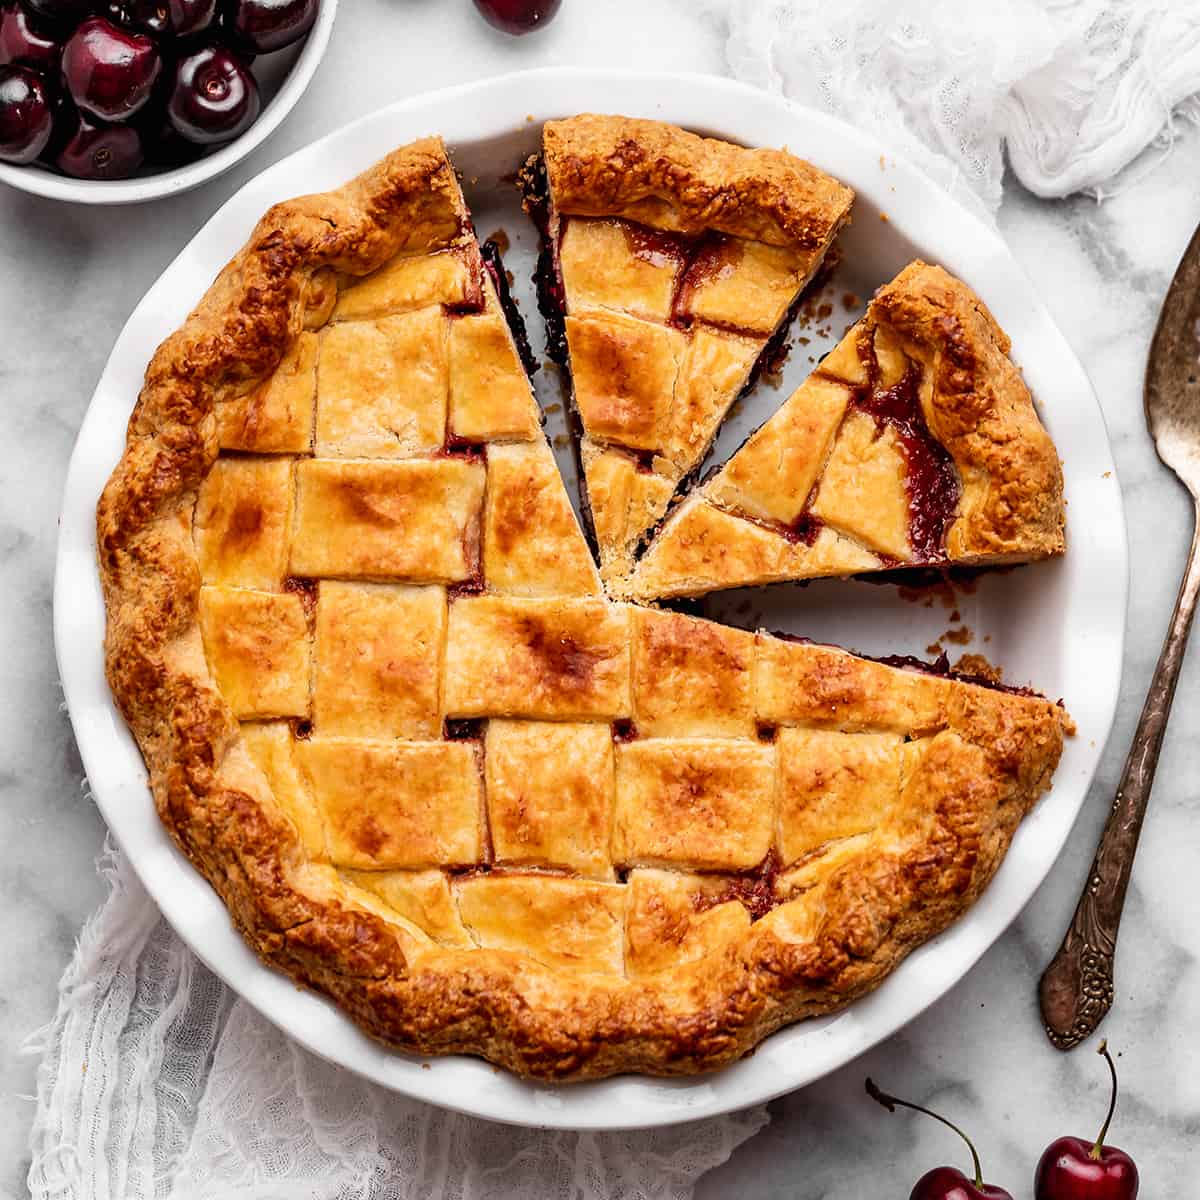
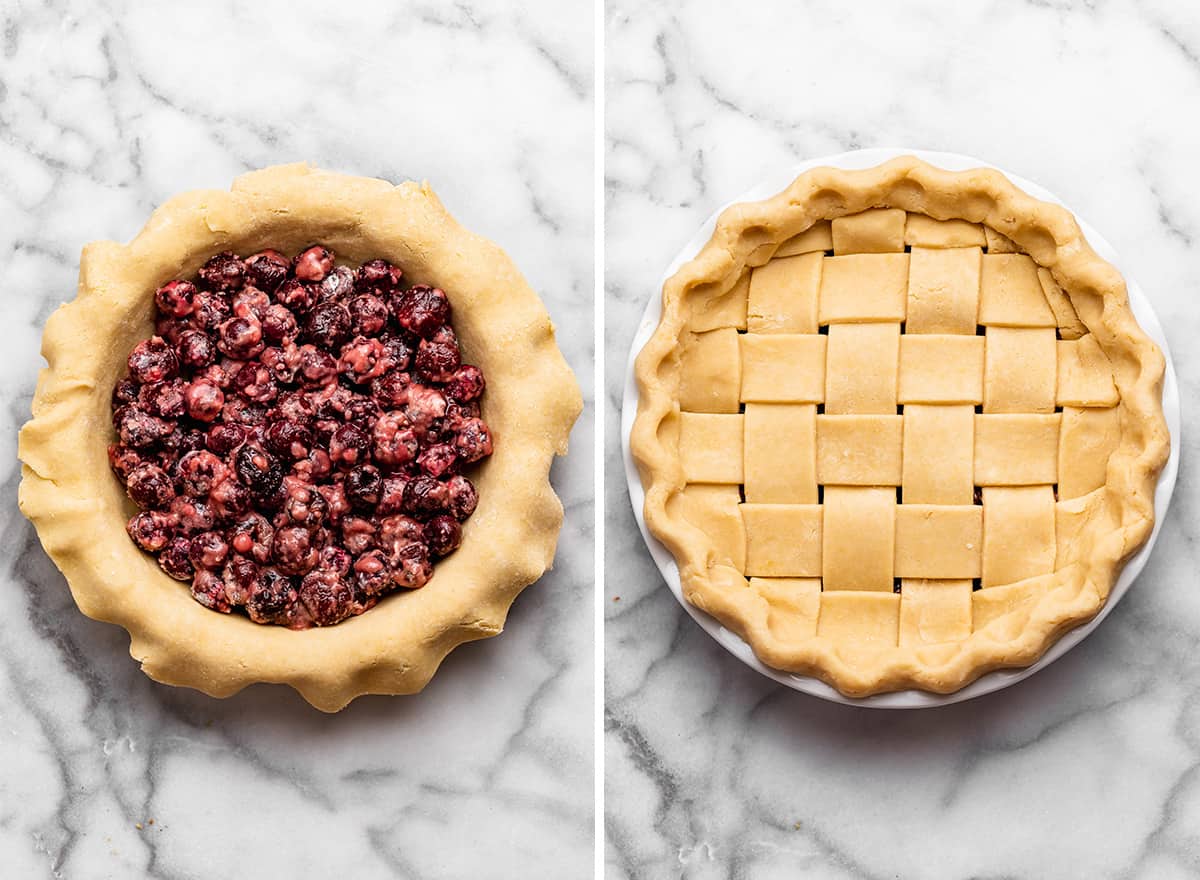
Pour the cherry mixture into the prepared pie crust. Then place the prepared top crust and on the top of the cherry filling. If you’d like to make a lattice design, see my post on how to make a lattice pie crust. And if you have leftover pie crust, use it to make these pie crust cookies!
In a small bowl, whisk together the egg yolk and cream.
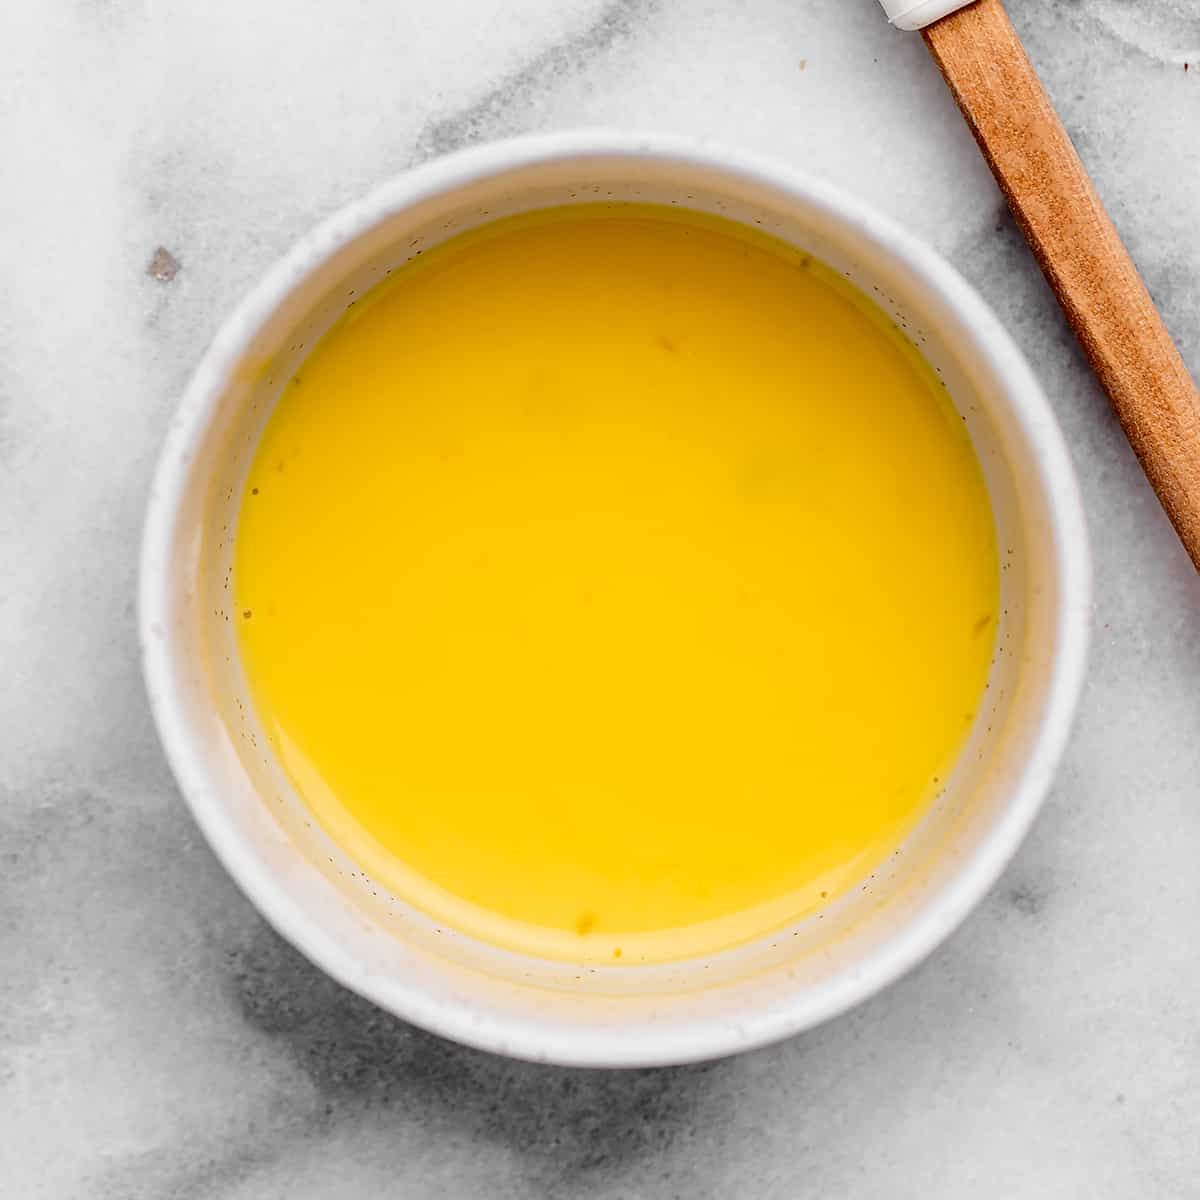
Then, lightly brush the entire pie crust with the egg wash.
Place a pie crust shield or aluminum foil over the outer crust of your pie to protect it from burning.
Bake the cherry pie in the preheated oven for 45-50 minutes, or until the filling begins to bubble and the crust/top is lightly browned. Remove shield in the last 10 minutes of baking if it doesn’t begin to brown under the shield)
Place the baked pie on a wire rack to cool for at least 3 hours.
Serve
Serve this fresh cherry pie room temperature with a scoop of homemade vanilla ice cream or a dollop of homemade whipped cream.
Store
Store any leftover cherry pie in an airtight container in the refrigerator for 5-7 days.
To Freeze
This cherry pie freezes very well. There are 2 ways to freeze this recipe:
- Freeze the entire pie. Simply bake and chill the pie, then wrap it tightly with plastic wrap and foil and freeze for up to 2 months. Thaw in the refrigerator overnight before cutting and serving.
- Freeze individual slices. If you have a few leftover slices you want to freeze, place them on a baking sheet and put them in the freezer to flash-freeze them. Then, once they’re frozen, wrap them in plastic wrap and store in an airtight container for up to 2 months. Thaw in the refrigerator for about 6 hours.
Cherry Pie Recipe FAQs
This recipe calls for sweet cherries, such as bing Rainier, lambert, Chelan and Tulane. 1 pound fresh cherries equals about 1 ½ cups pitted, so you will need about 4 pounds of fresh cherries. 16 oz frozen cherries equals about 3 cups, so you will need 2 pounds frozen cherries.
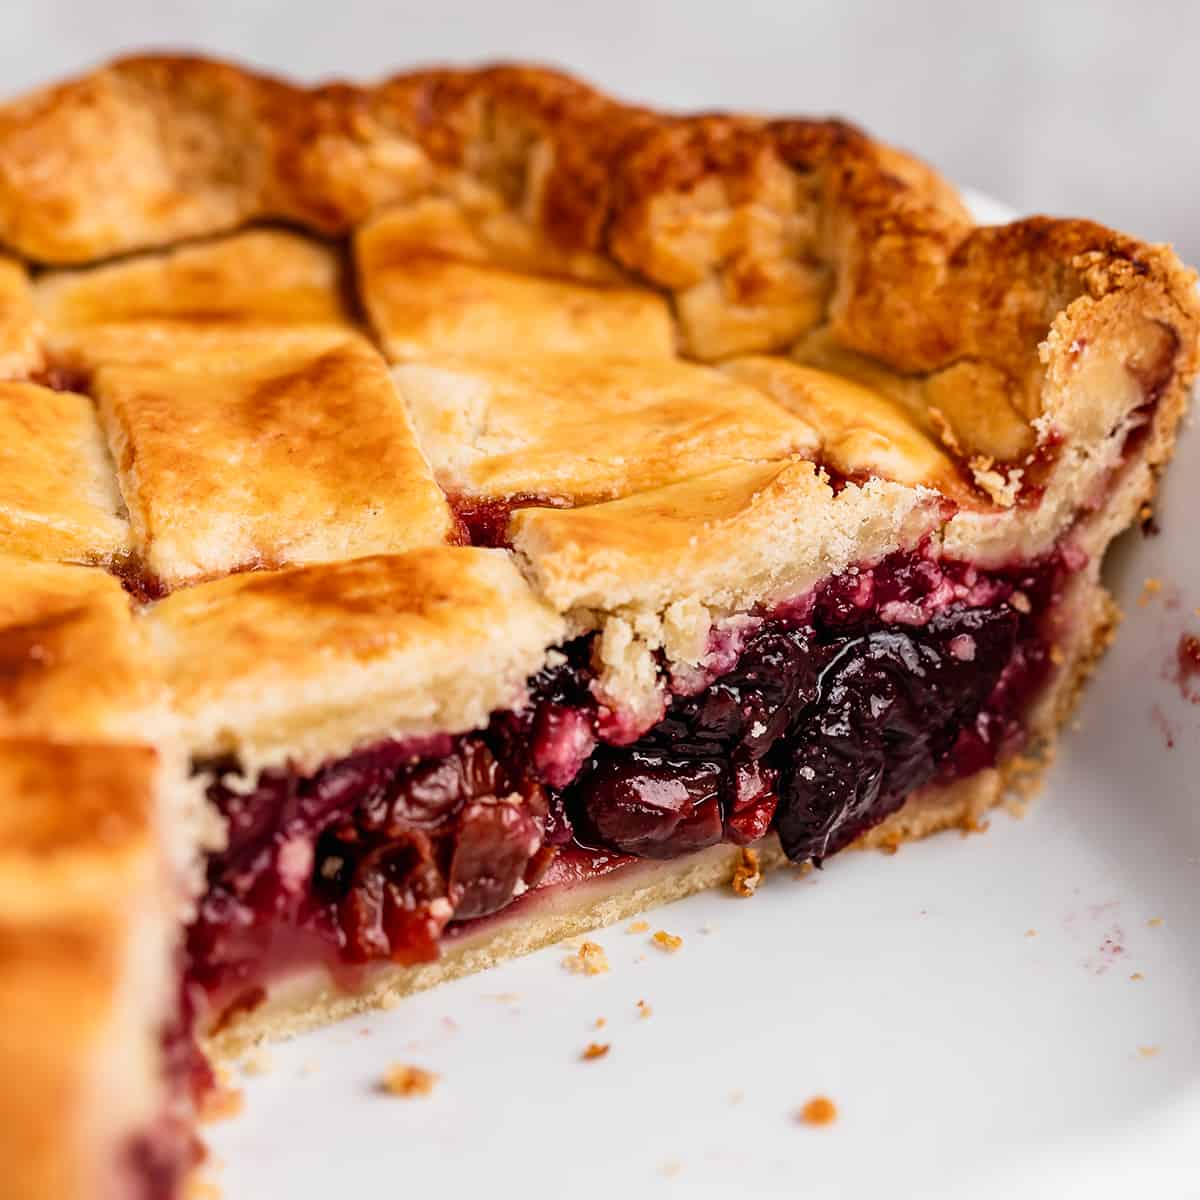
Flour is the thickener in this pie. You can use corn starch if preferred. Make sure to bake it until the filling is bubbling to ensure it thickens well. The cherry pie filling also thickens as the pie cools.
Homemade cherry pie filling is so much better than store bought varieties, which contain preservatives, food dyes, etc. In this recipe the filling is made of cherries, sugar, flour, cinnamon, lemon juice, sea salt and vanilla.
I use this cherry pitter to make pitting cherries so much easier. My kids actually love to use the pitter to help with this task!

If you make and love my recipes, it would mean so much to me if you would leave a comment and rating! And don’t forget to follow along on Instagram, Pinterest, Facebook, TikTok and Youtube – be sure to tag @joyfoodsunshine and use the hashtag #joyfoodsunshine so I can see your creations!

Cherry Pie Recipe
Video
Equipment
Ingredients
Double Pie Crust
- 2 ½ cups all-purpose flour
- 1 teaspoon fine sea salt
- 2 Tablespoons granulated sugar
- 1 cup salted butter chilled, and cut into 1” pieces
- ½ cup ice water
Cherry Pie Filling:
- 6 cups fresh sweet cherries* coarsely chopped and pitted
- ½ cup granulated sugar
- ¼ cup all-purpose flour
- ¼ teaspoon cinnamon
- Pinch sea salt
- ½ Tablespoon lemon juice
- 1 teaspoon vanilla
Egg Wash:
- 1 large egg yolk
- 1 Tablespoon cream or milk
Instructions
Make the Pie Crust
- Put the dry crust ingredients in the container of a food processor fitted with the “S” blade and pulse to combine.
- Add butter and ice-cold water and pulse until the dough just holds together when pinched.
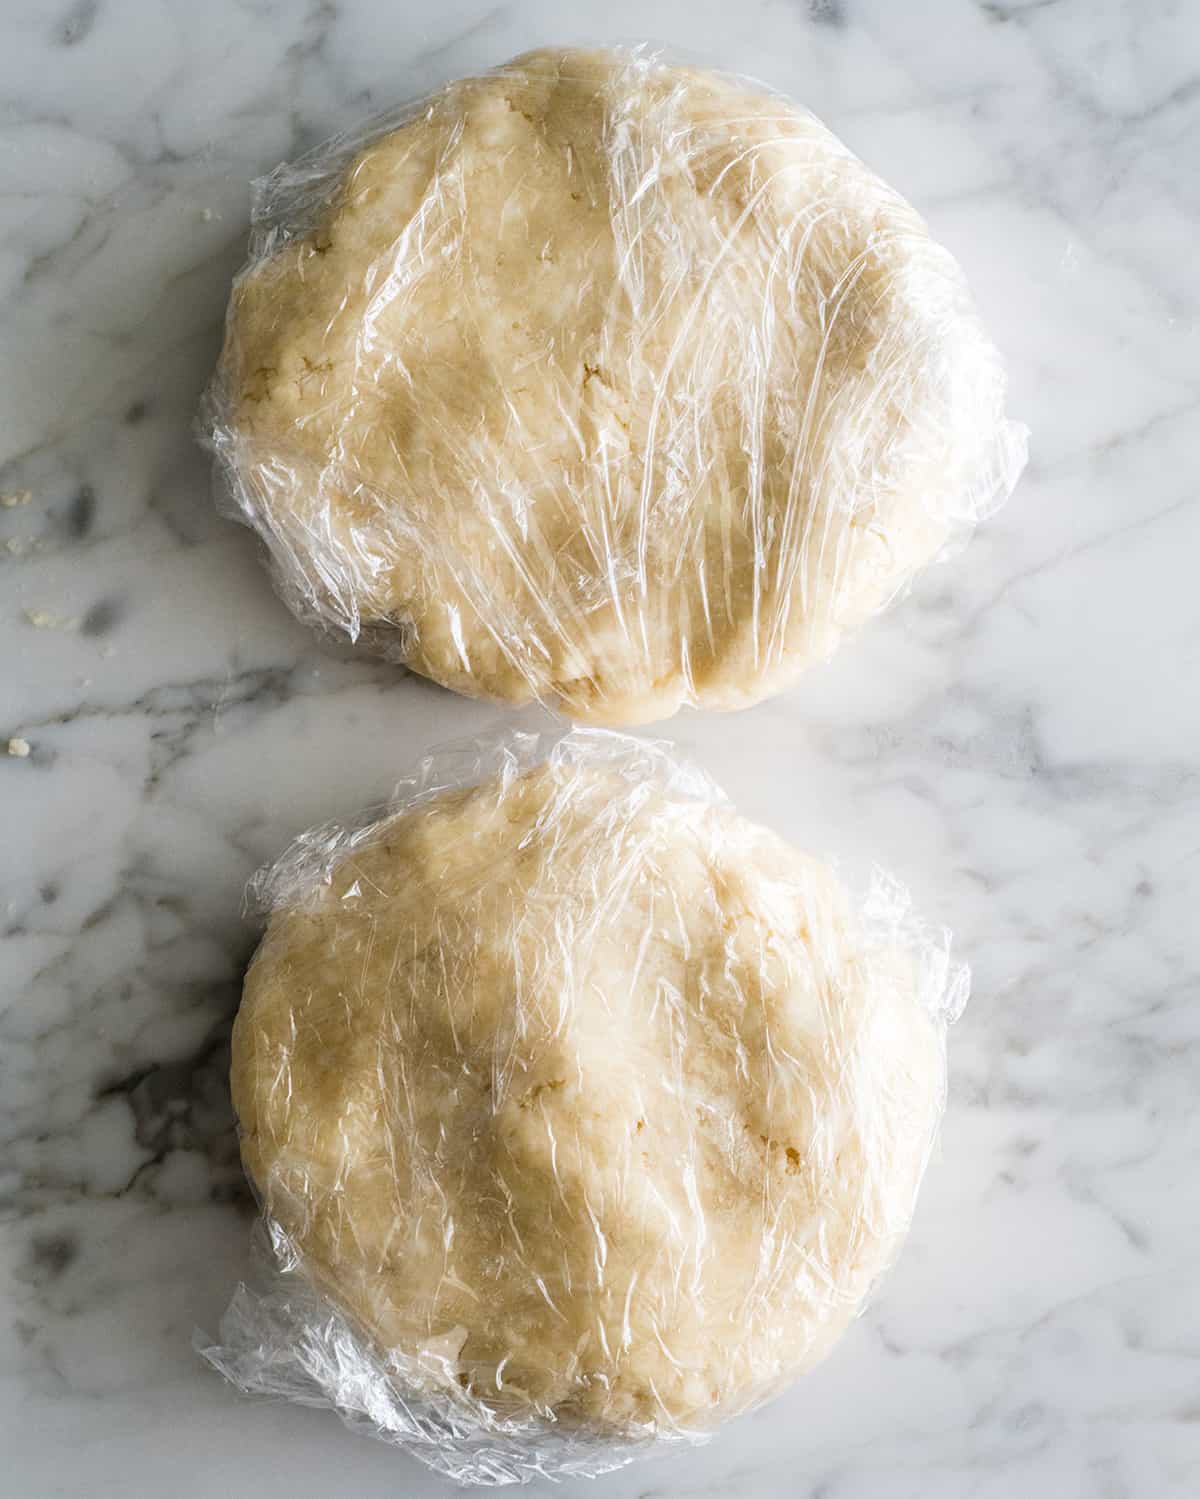
- Turn the dough onto a lightly floured work surface and gather into a ball. Divide the dough in half, flattening each half into a disk, cover with plastic wrap, and refrigerate for at least one hour, and up to one day, before using.
- Place ½ of the dough on floured surface and roll into a 12” circle (you may need to let it rest for a few minutes to soften enough to roll it).
- Transfer to 9” round pie plate and store covered in fridge until ready to use. Repeat with the rest of the dough and form into your desired top shape (lattice, cookie cutter shapes, etc.). Put all of the dough in the refrigerator as you move on to making the filling.
Make the Cherry Pie Filling
- In a small bowl mix together granulated sugar, flour, cinnamon, and sea salt set aside.
- In a large bowl mix together cherries, lemon juice and vanilla. Add the dry mixture to the cherries and gently stir to combine.
Assemble & Bake the Cherry Pie
- Preheat oven to 350 degrees Fahrenheit (177 degrees Celsius).
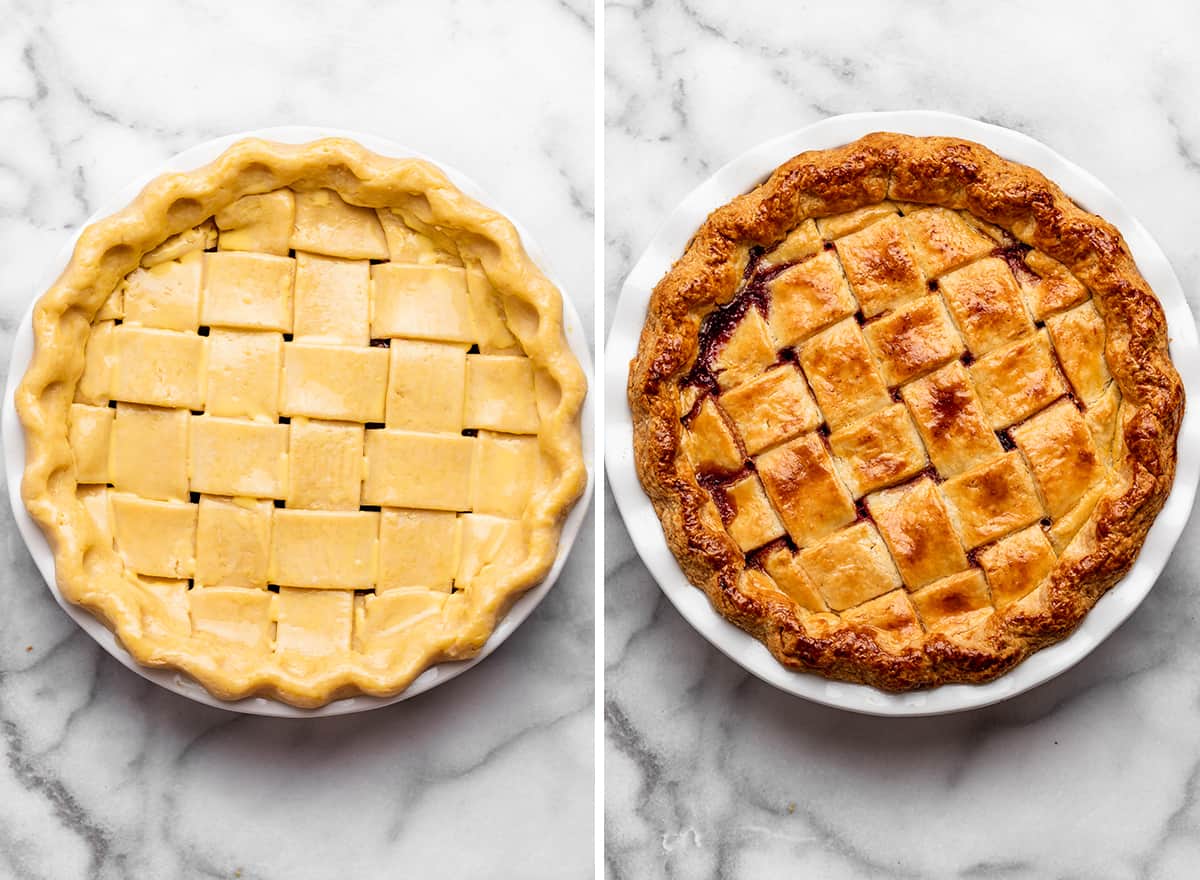
- Pour the cherry mixture into the prepared pie crust. Then place your prepared top crust and on the top of the cherry filling.
- In a small bowl, whisk together the egg yolk and cream and lightly brush the entire pie crust with the egg wash.
- Place a pie crust shield or aluminum foil over the outer crust of your pie to protect it from burning.
- Bake the cherry pie in the preheated oven for 45-50minutes, or until the filling begins to bubble and the crust/top is lightly browned. Remove shield in the last 10 minutes of baking if it doesn’t begin to brown under the shield)
- Place the baked pie on a wire rack to cool for at least 3 hours. Serve at room temperature.
Notes
- Pie crust. I give instructions on how to make a double all butter pie crust in this post as well as in the recipe card. You can use store bought, if preferred.
- Sweet Cherries: I recommend using fresh, sweet cherries in this recipe. Use this cherry pitter to make using fresh cherries easier (my kids love helping with this). 1 pound of fresh cherries equals about 1 ½ cups pitted, so you will need about 4 pounds of fresh cherries. 16 oz frozen cherries equals about 3 cups, so you will need 2 pounds frozen cherries.
- All-purpose flour: you can use an all-purpose gluten-free flour in the filling, as well as cornstarch or tapioca flour.
- Granulated sugar: I prefer organic cane sugar, but regular white sugar or any other granulated sugar works well.
- Lemon Juice. The acidity of the lemon juice really makes this cherry pie pop. I don’t recommend omitting it.
- Vanilla extract. use pure vanilla extract for best results.
- Egg wash. This is optional, but recommended for a golden-brown crust. You can simply brush heavy cream on the crust instead to help the sugar stick.
- Freeze the entire pie. bake and chill the pie, then wrap it tightly with plastic wrap and foil and freeze for up to 2 months. Thaw in the refrigerator overnight before cutting and serving.
- Freeze individual slices. If you have a few leftover slices you want to freeze, place them on a baking sheet and put them in the freezer to flash-freeze them. Then, once they’re frozen, wrap them in plastic wrap and store in an airtight container for up to 2 months. Thaw in the refrigerator for about 6 hours.
Nutrition
Nutrition information is automatically calculated, so should only be used as an approximation.


Seriously delicious recipe. Here are a few things I’ve learned by trial and error. Maybe they will help someone else. I discovered that if I don’t have enough butter on hand, leaf lard can either be substituted completely or make up the difference of the butter amount that is lacking. I also learned from my grandmother, the best pie maker ever, to use a pastry cloth and rolling pin cover that have been seasoned with flour to roll out the crust on. Having tried various other surfaces for rolling crust out on, just to experiment, it truly does makes a marked improvement to the crust’s texture. Grandma does know best. Also, if I know guests prefer a bit of tartness in their cherry pie, I will mix sweet and tart cherries adjusting sugar according to the ratio of sweet vs. tart cherries used. This is especially good when serving with a scoop of vanilla ice cream over a still warm piece of pie. Thank you for sharing such delicious, yet solid, recipes for cooking from scratch! What a gift this site is!
This recipe never disappoints!! I have to use a gluten free pie crust mix for the crust for my Celiac husband, but the filling is absolutely to die for!! I added some lemon zest tonight, just for kicks, and it was delicious!
My whole family raves about it.
Thank you so much Amanda!
How many cherries do you use?