All Butter Pie Crust
Updated Oct 20, 2025
This post may contain affiliate links. Please read our disclosure policy.
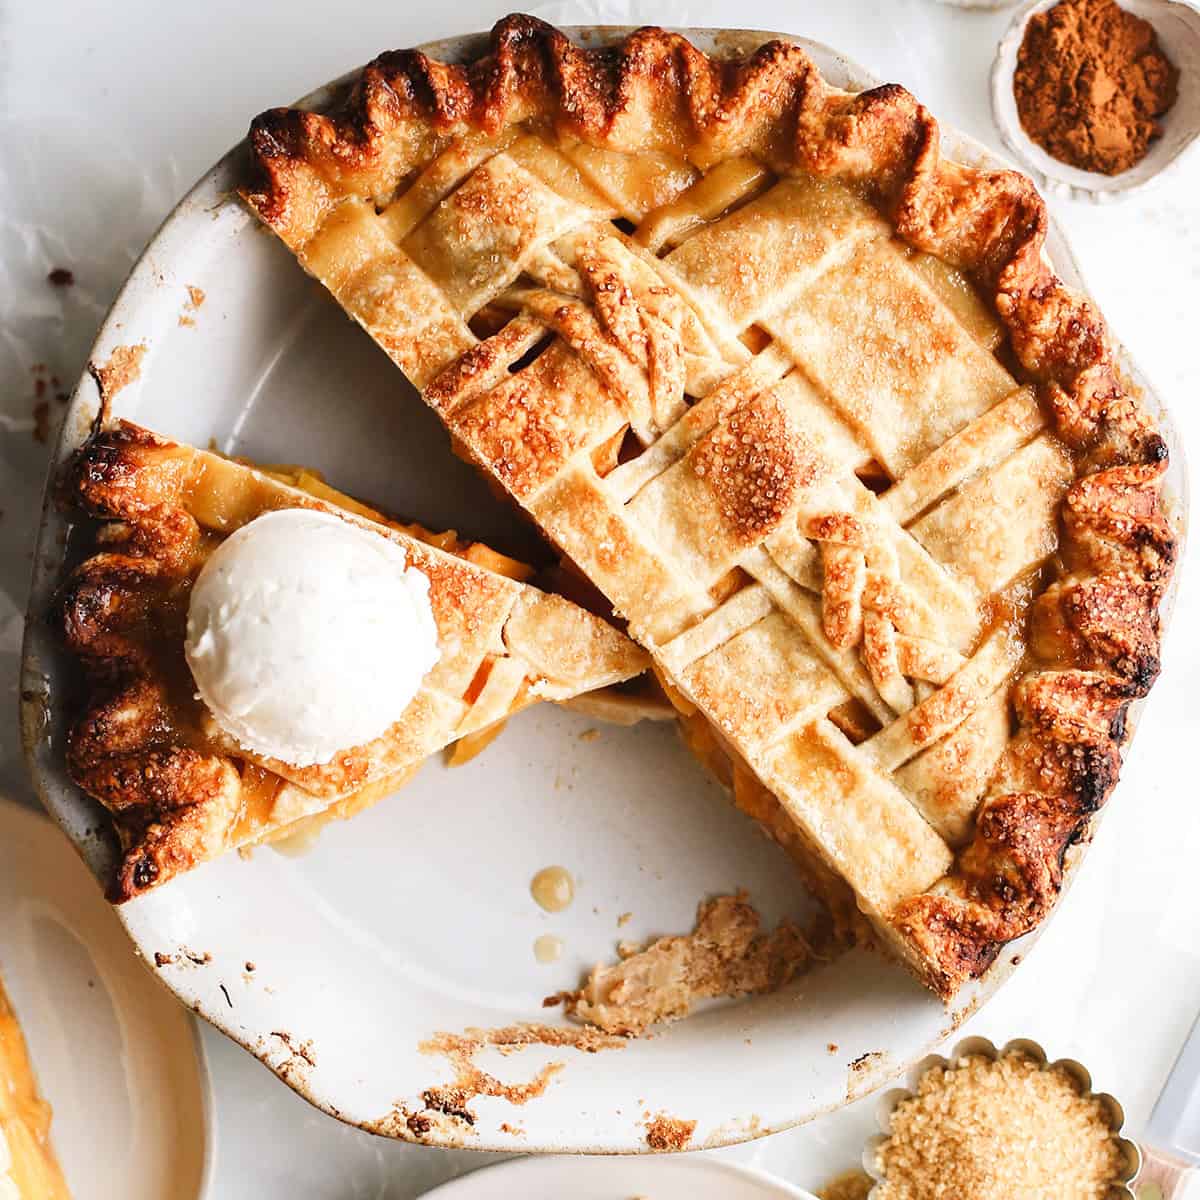
This homemade all butter pie crust recipe is easy to make with 5 ingredients in 5 minutes in a food processor or by hand. It’s the most delicious, flaky pie crust ever!
Homemade butter pie crust is so easy to make, and significantly more delicious than store-bought crusts.
It only takes 5 ingredient and 5 minutes to make the best butter pie crust you’ve ever eaten – flaky, buttery, slightly sweet and a little salty and 100% delicious!
Plus, when you make homemade pie crust, you skip all the undesirable ingredients (preservatives, etc.) in store-bought crusts and instead, make it with real, whole ingredients.
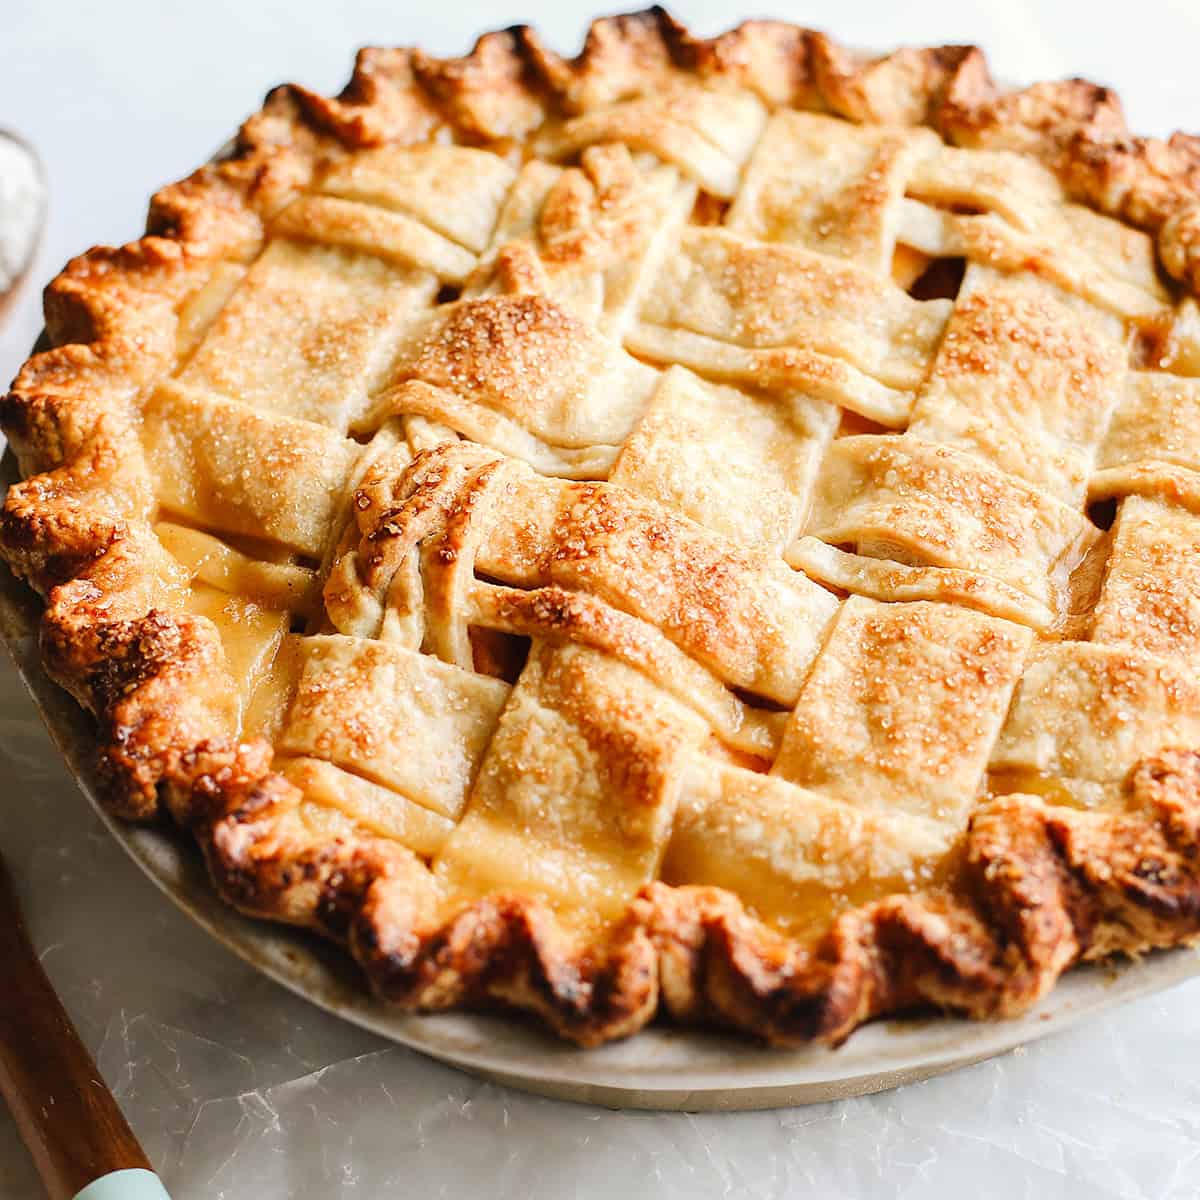
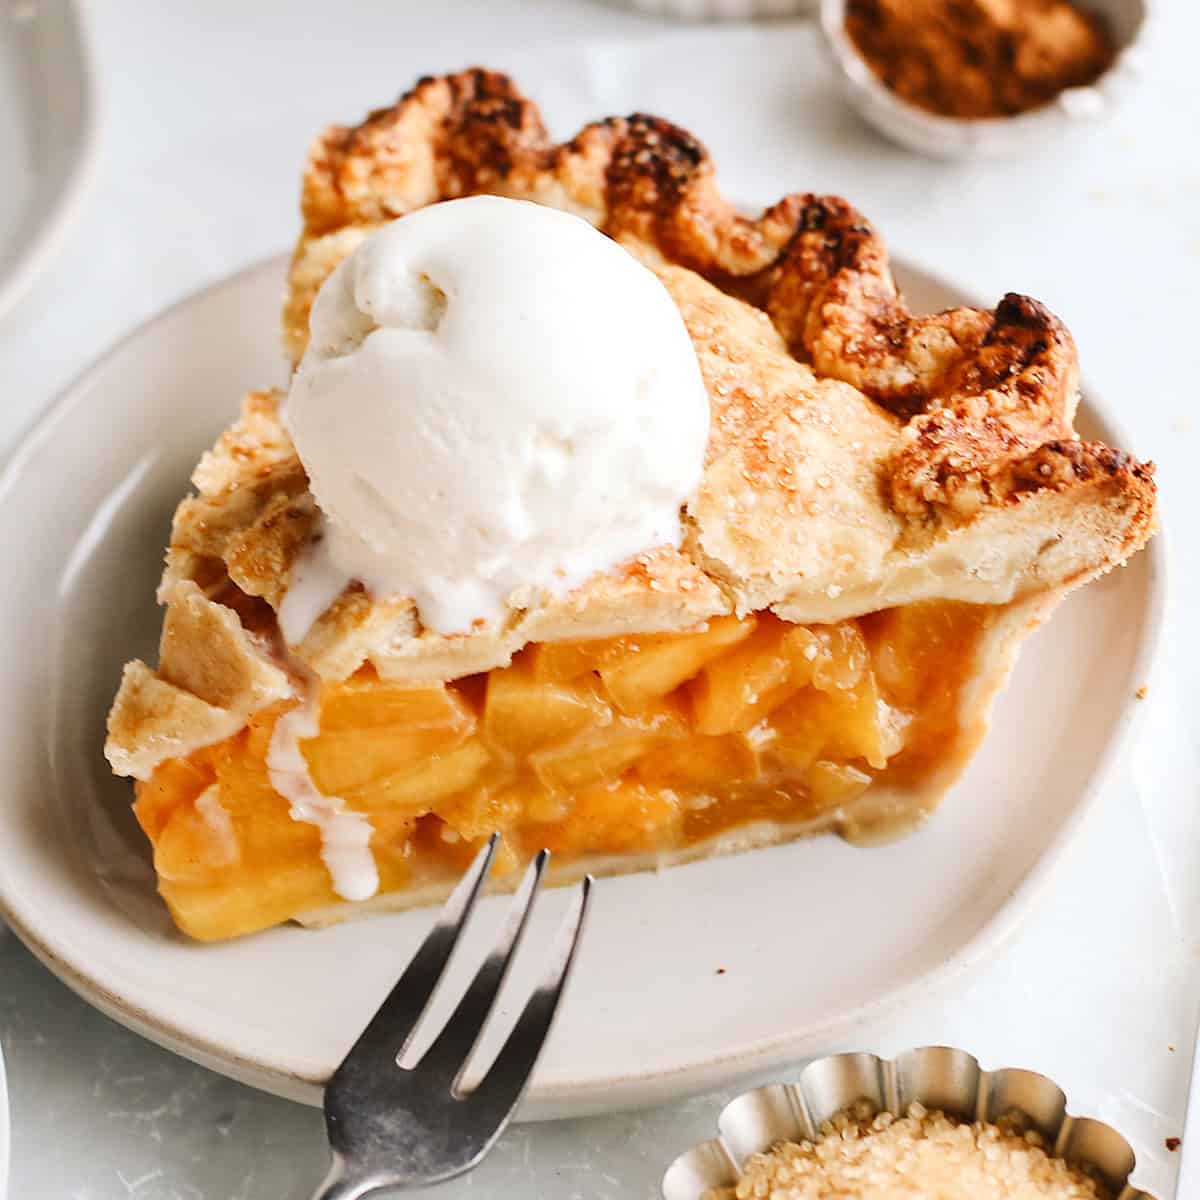
We will discuss in great detail how to make a butter pie crust that’s perfect for fruit pies (like this fresh peach pie, blueberry pie, etc.) and even pumpkin pie – and you will become a pie-crust-making expert.
Butter Pie Crust: Ingredients and Substitutions
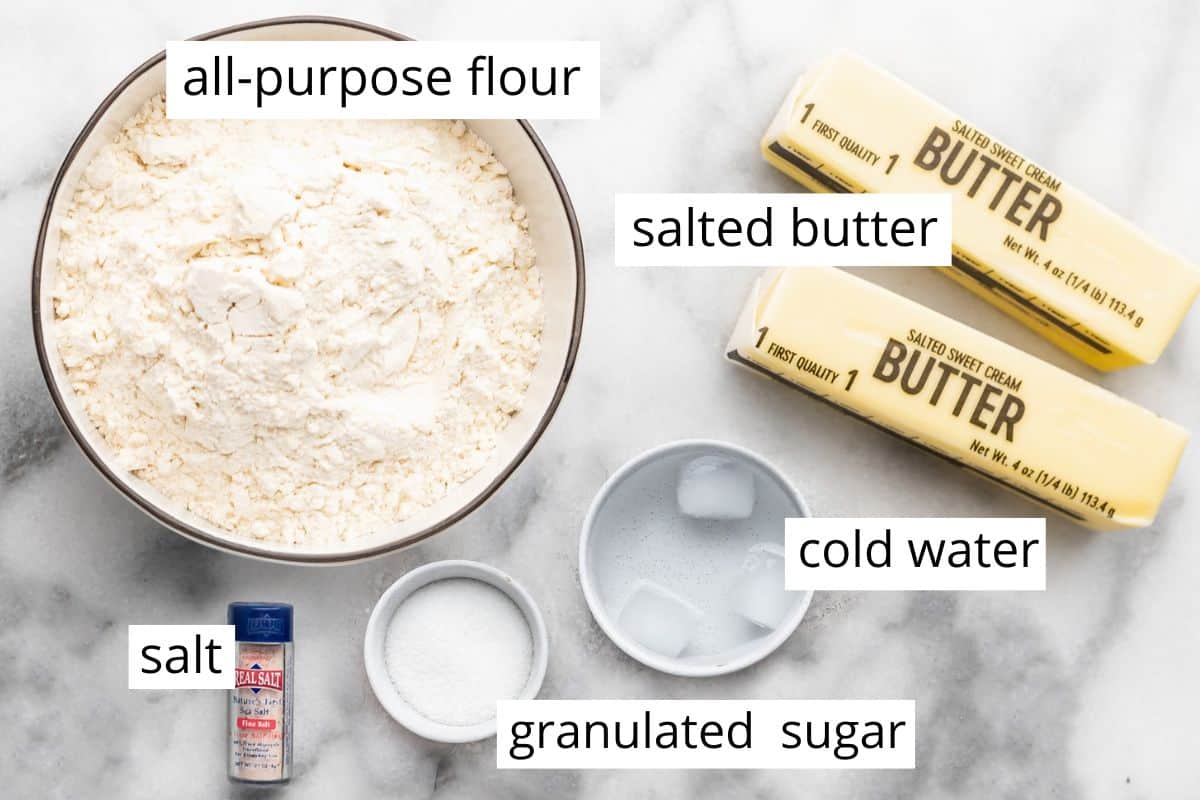
- All-purpose flour. Pastry flour works well in place of all-purpose flour in this pie crust recipe. Use a 1:1 all-purpose gluten-free flour to make this recipe gluten-free.
- Salted butter: Unsalted butter can be used in place of salted butter. For a dairy-free, vegan pie crust you can substitute vegan butter (like Earth balance) (which is what was used to make this dairy-free pumpkin pie)!
- Granulated Sugar. white or organic cane sugar are great substitutes. If making a savory pie like chicken pot pie, you can omit if desired.
- Sea Salt. I always recommend baking with pure sea salt. If you have iodized table salt, you may need to decrease the amount of salt.
- Egg Wash. this is optional. Heavy cream can also be used in place of eggs, or a 1:1 mixture of the two.
Use cold ingredients
Cut the butter into chunks and put them in the freezer for 20-60 minutes before making the crust. Measure out one cup of cold water and put ice cubes in it, then use ½ cup in the recipe.
Cold ingredients results in pockets of cold butter in the dough, which makes the crust flaky.
How to Make Butter Pie Crust
I will show you how to make a pie crust, step-by-step, and don’t forget to watch the video.
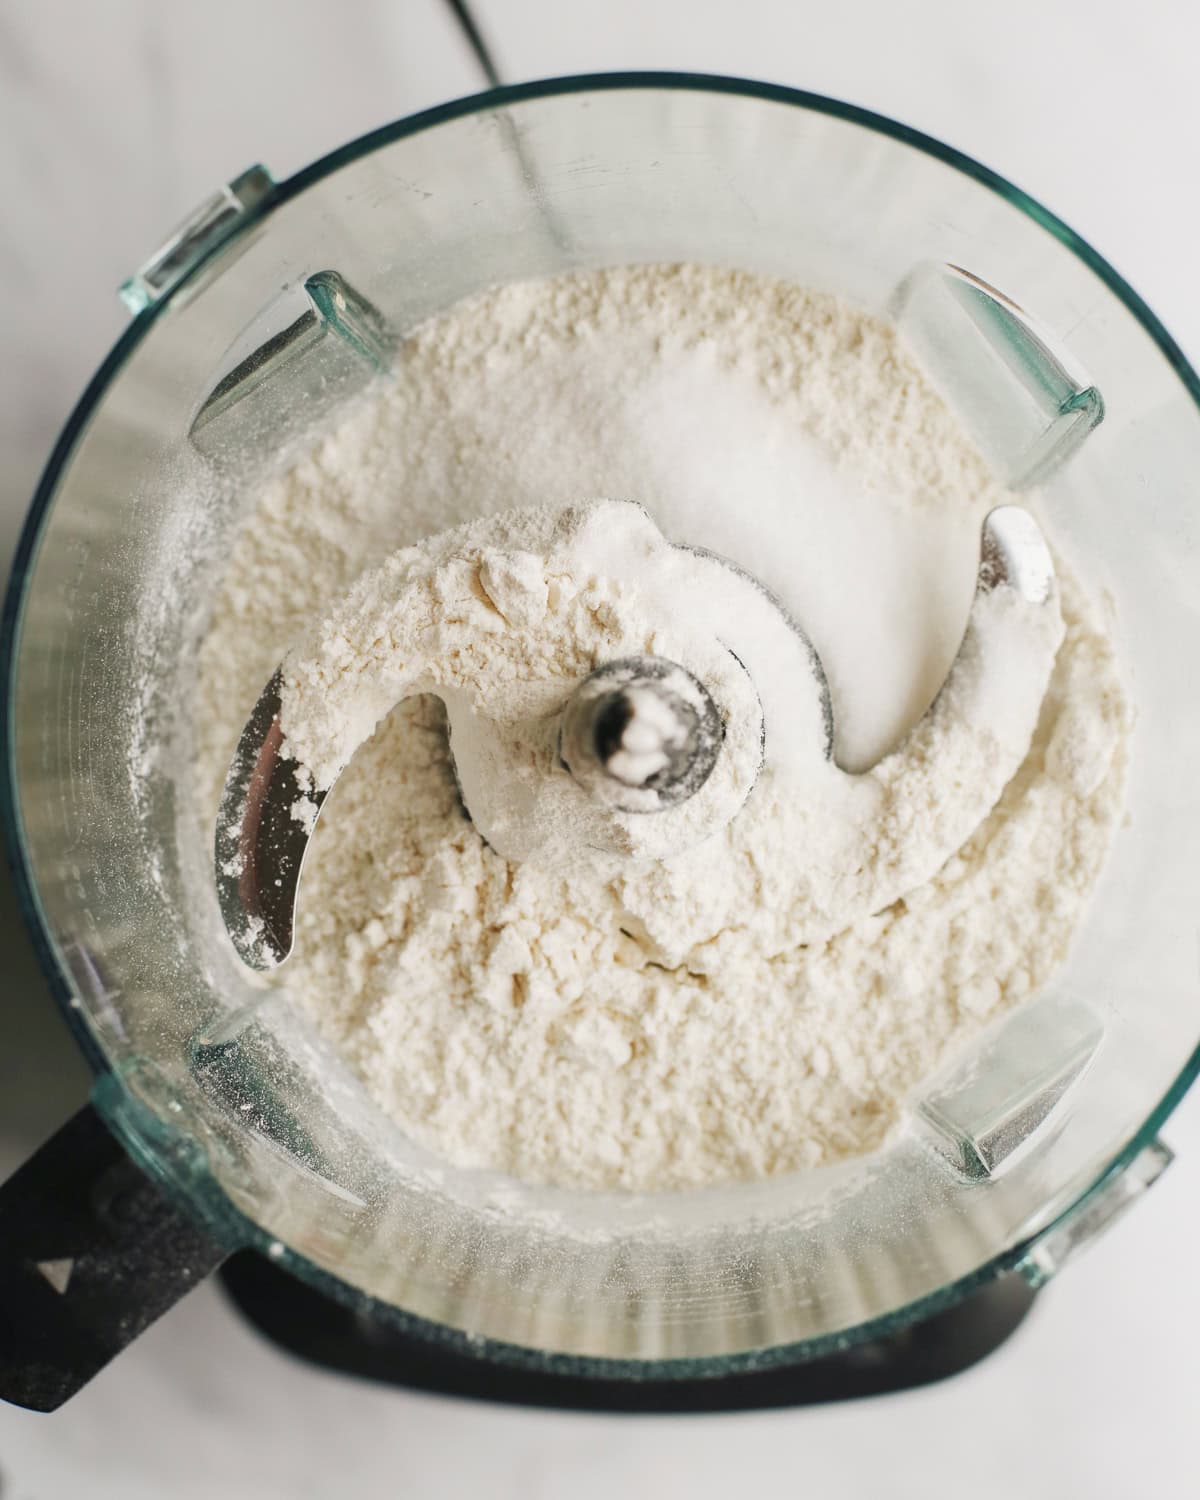
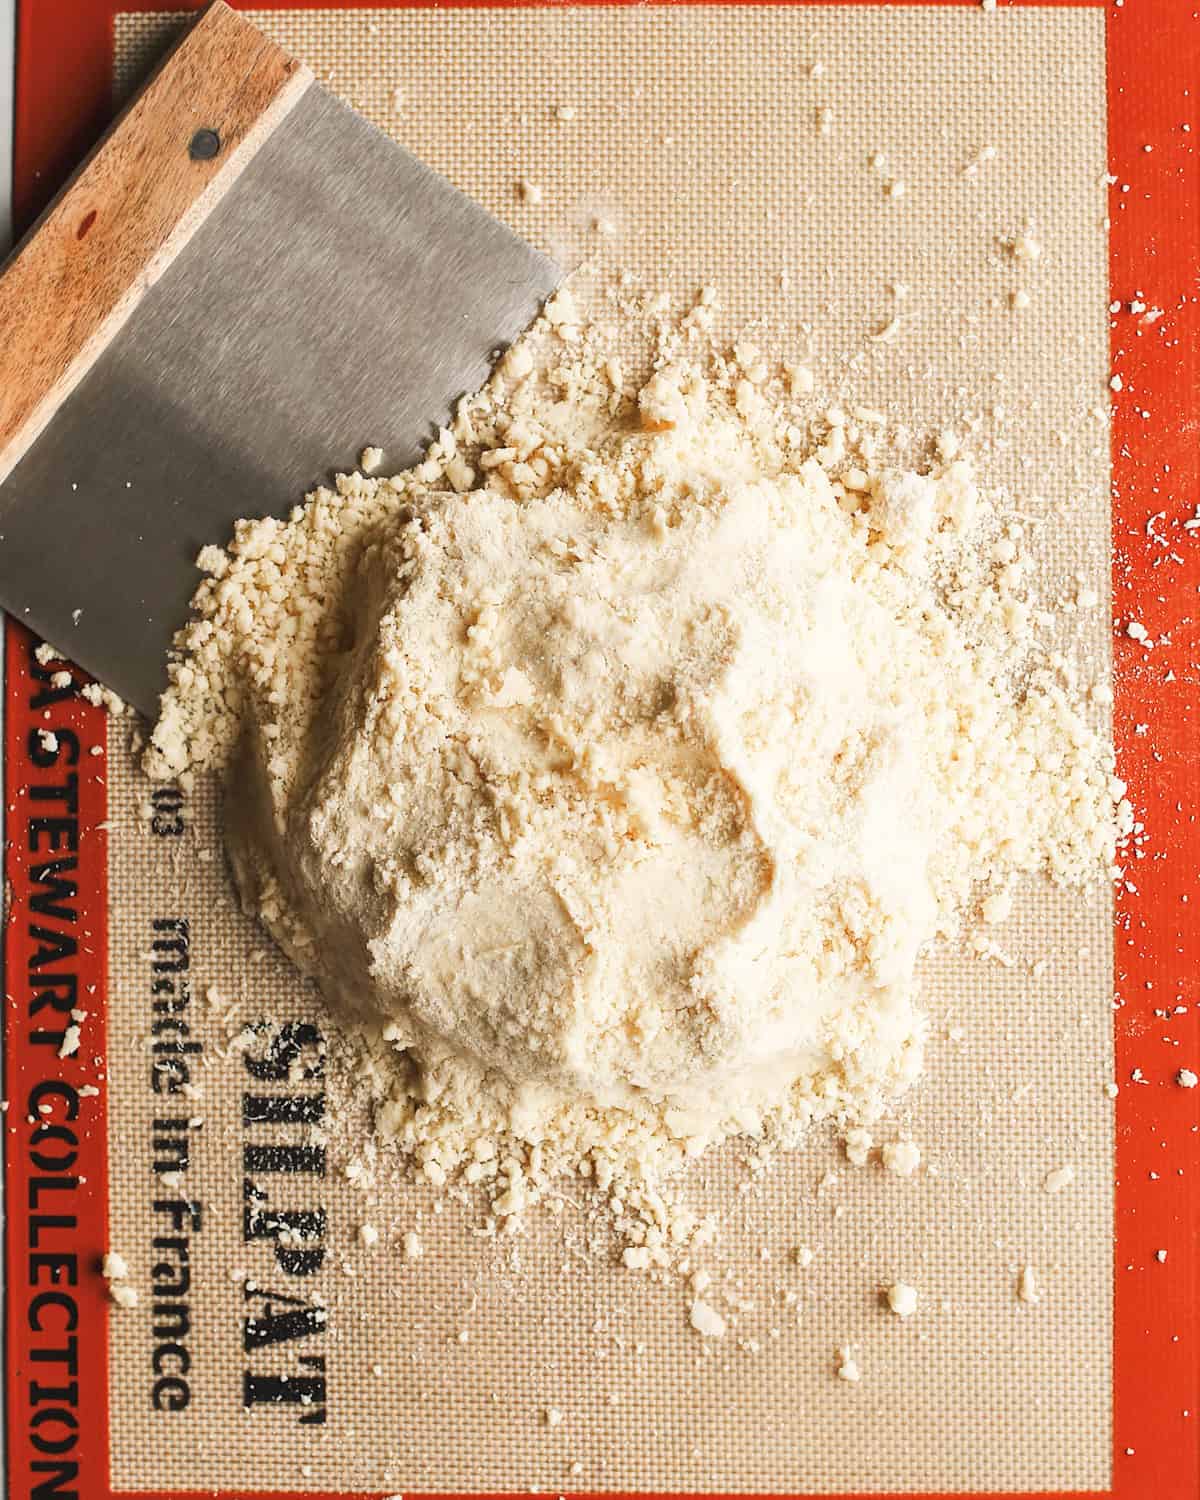
Begin by placing the dry ingredients in the container of a food processor fitted with the “S” blade. Pulse to combine (about 5-10 seconds).
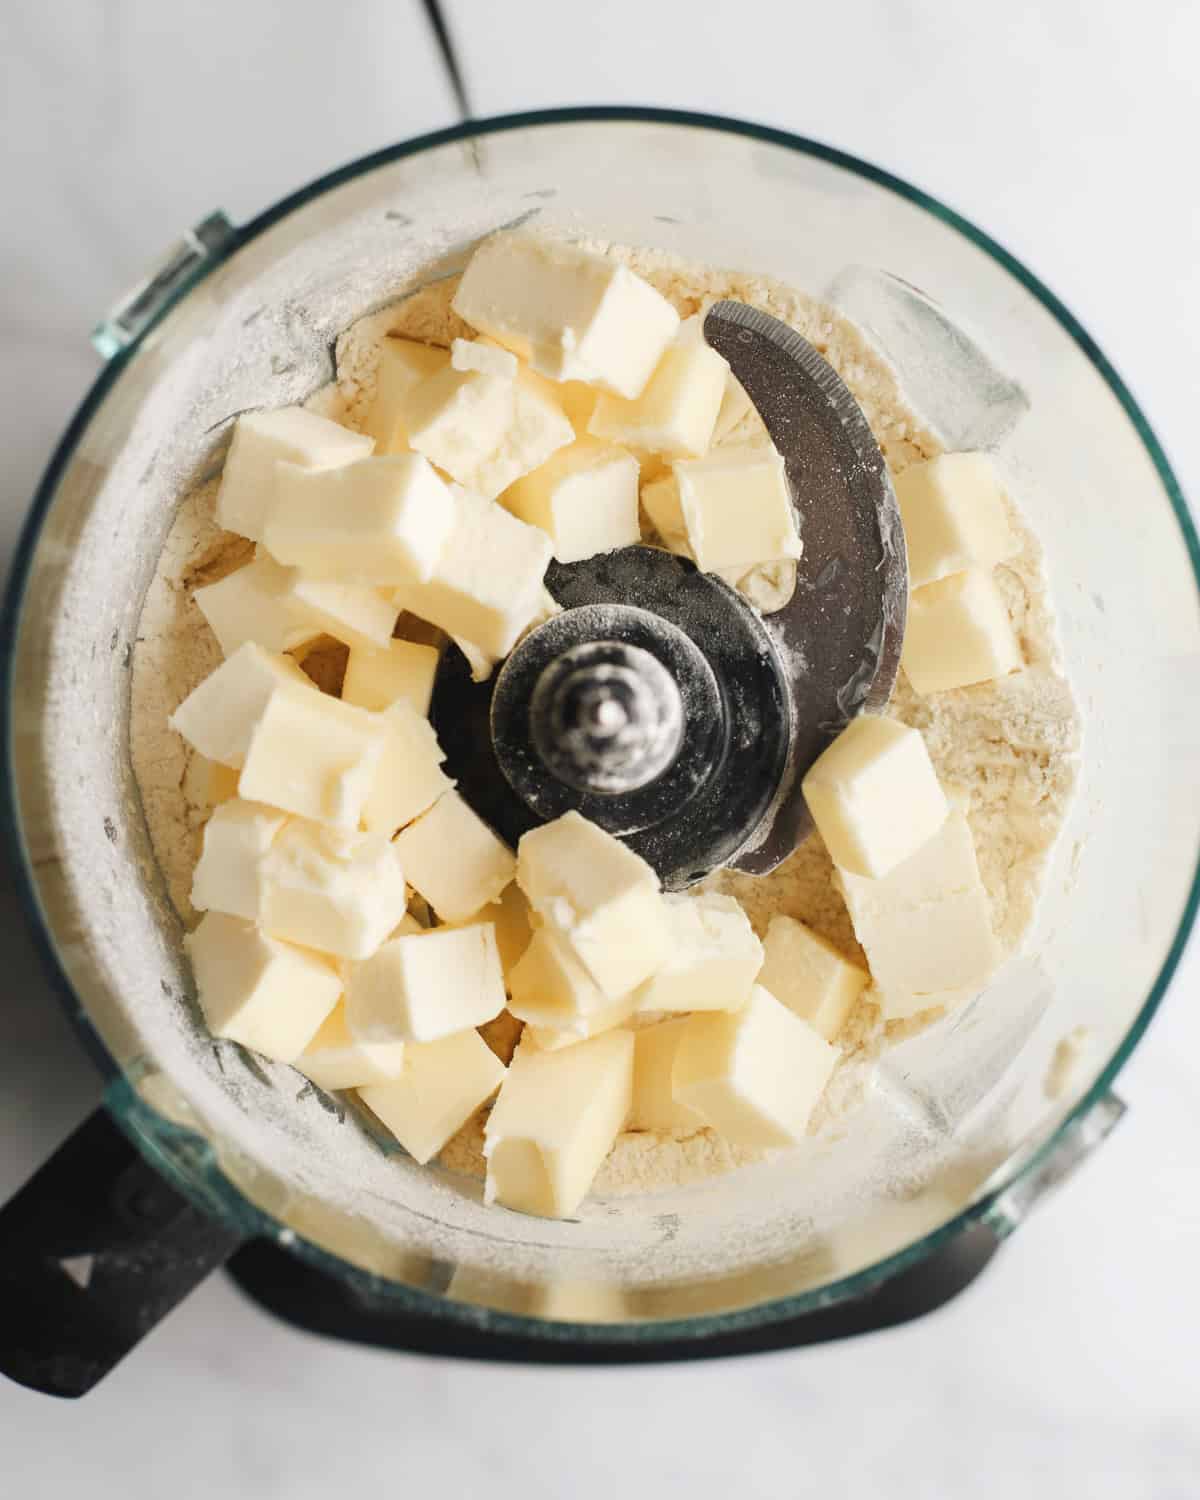
Then, add the cold butter and water and process until the mixture holds together when pinched (15 to 30 seconds).
Make it By Hand
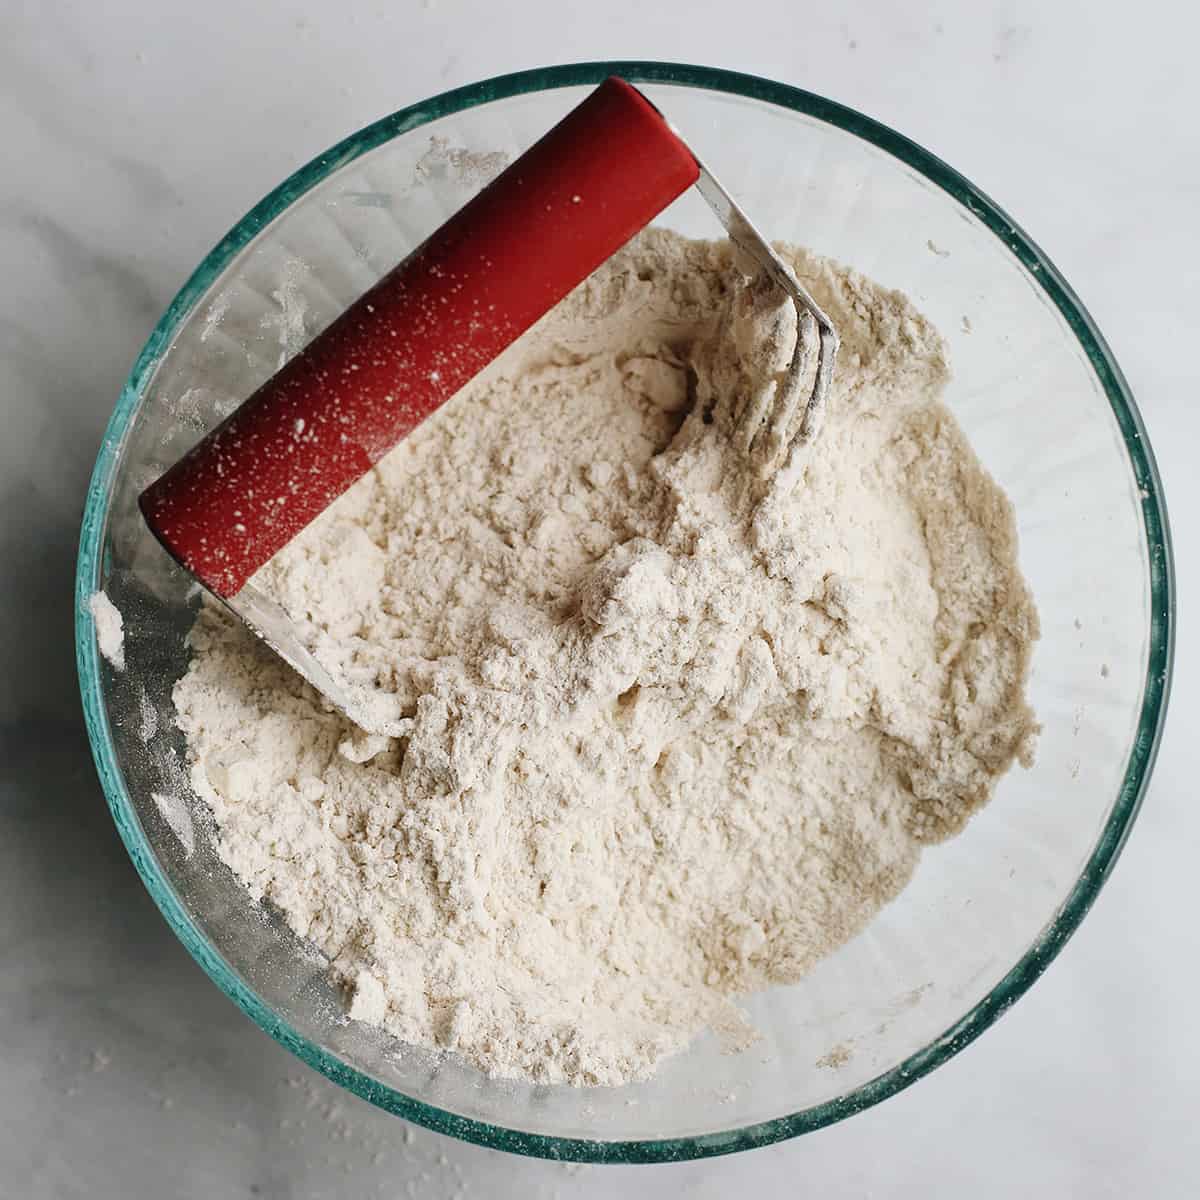
You can also mix the crust by hand in a large bowl with a pastry cutter or fork.
Both methods work well, and the benefit of both is that homemade pie crust is worlds tastier than anything you can buy in a store!
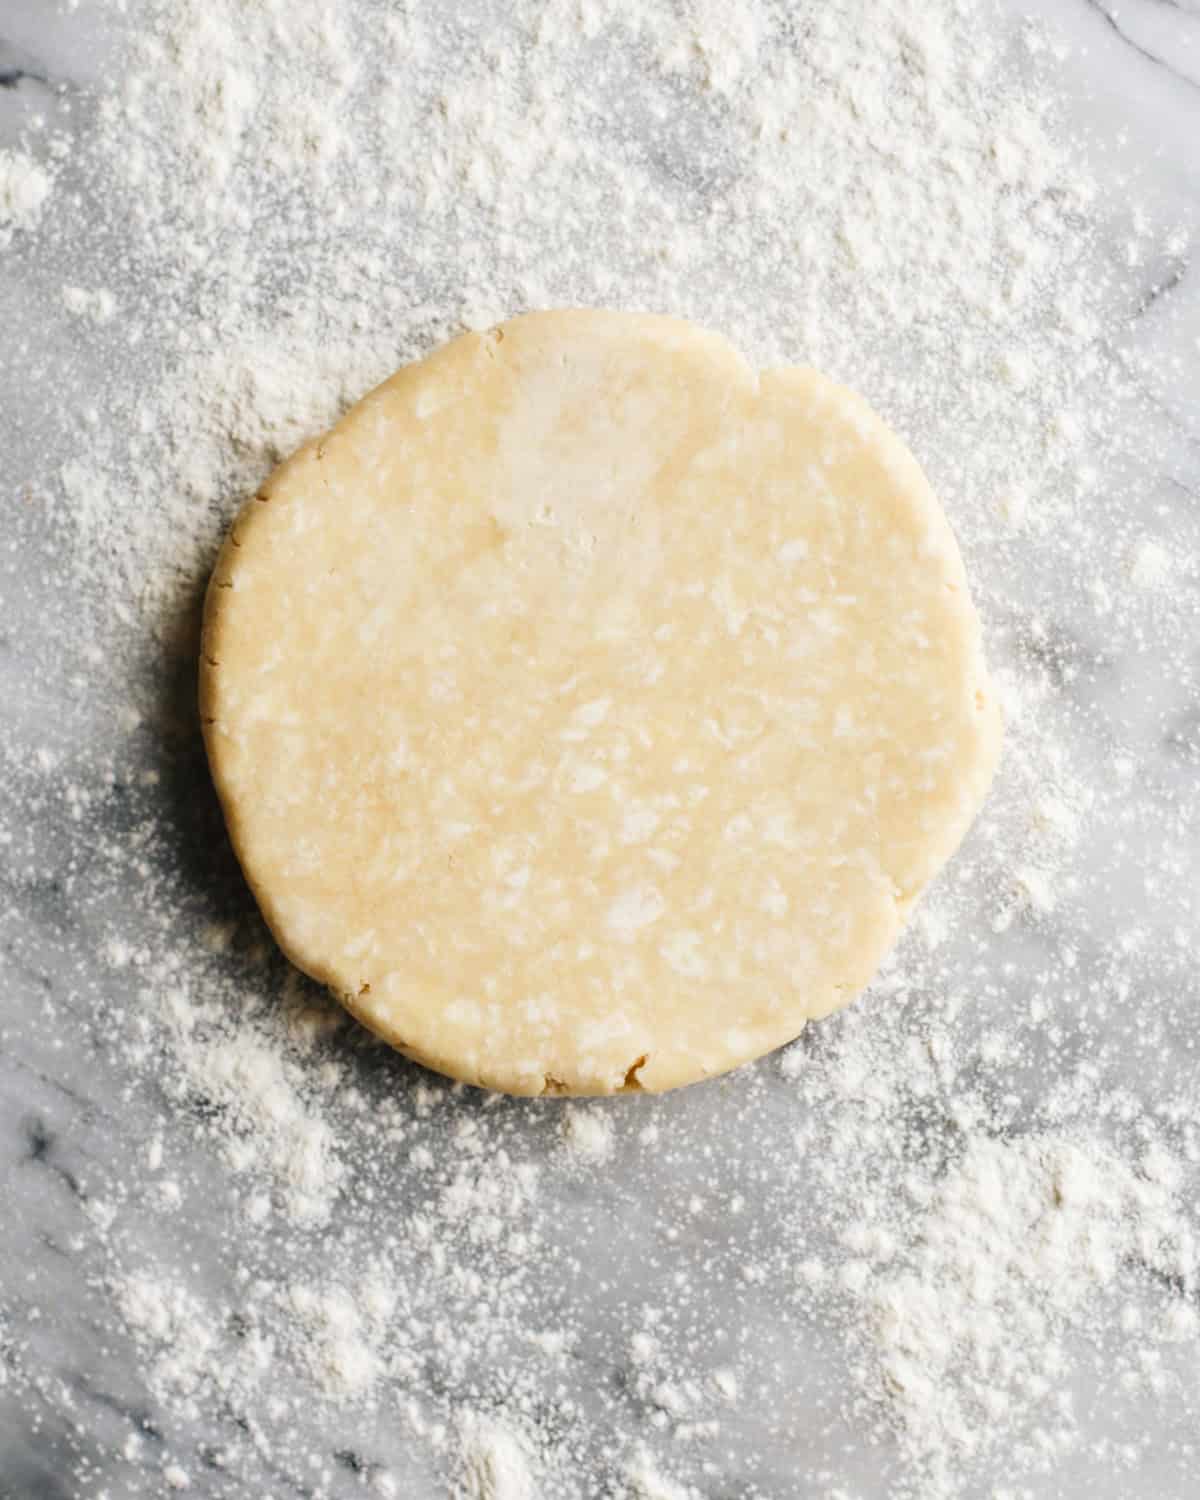
Next, turn the pie crust dough out onto a well-floured surface or into a large bowl and form it into a ball. Remember it’s important not to overwork the dough.
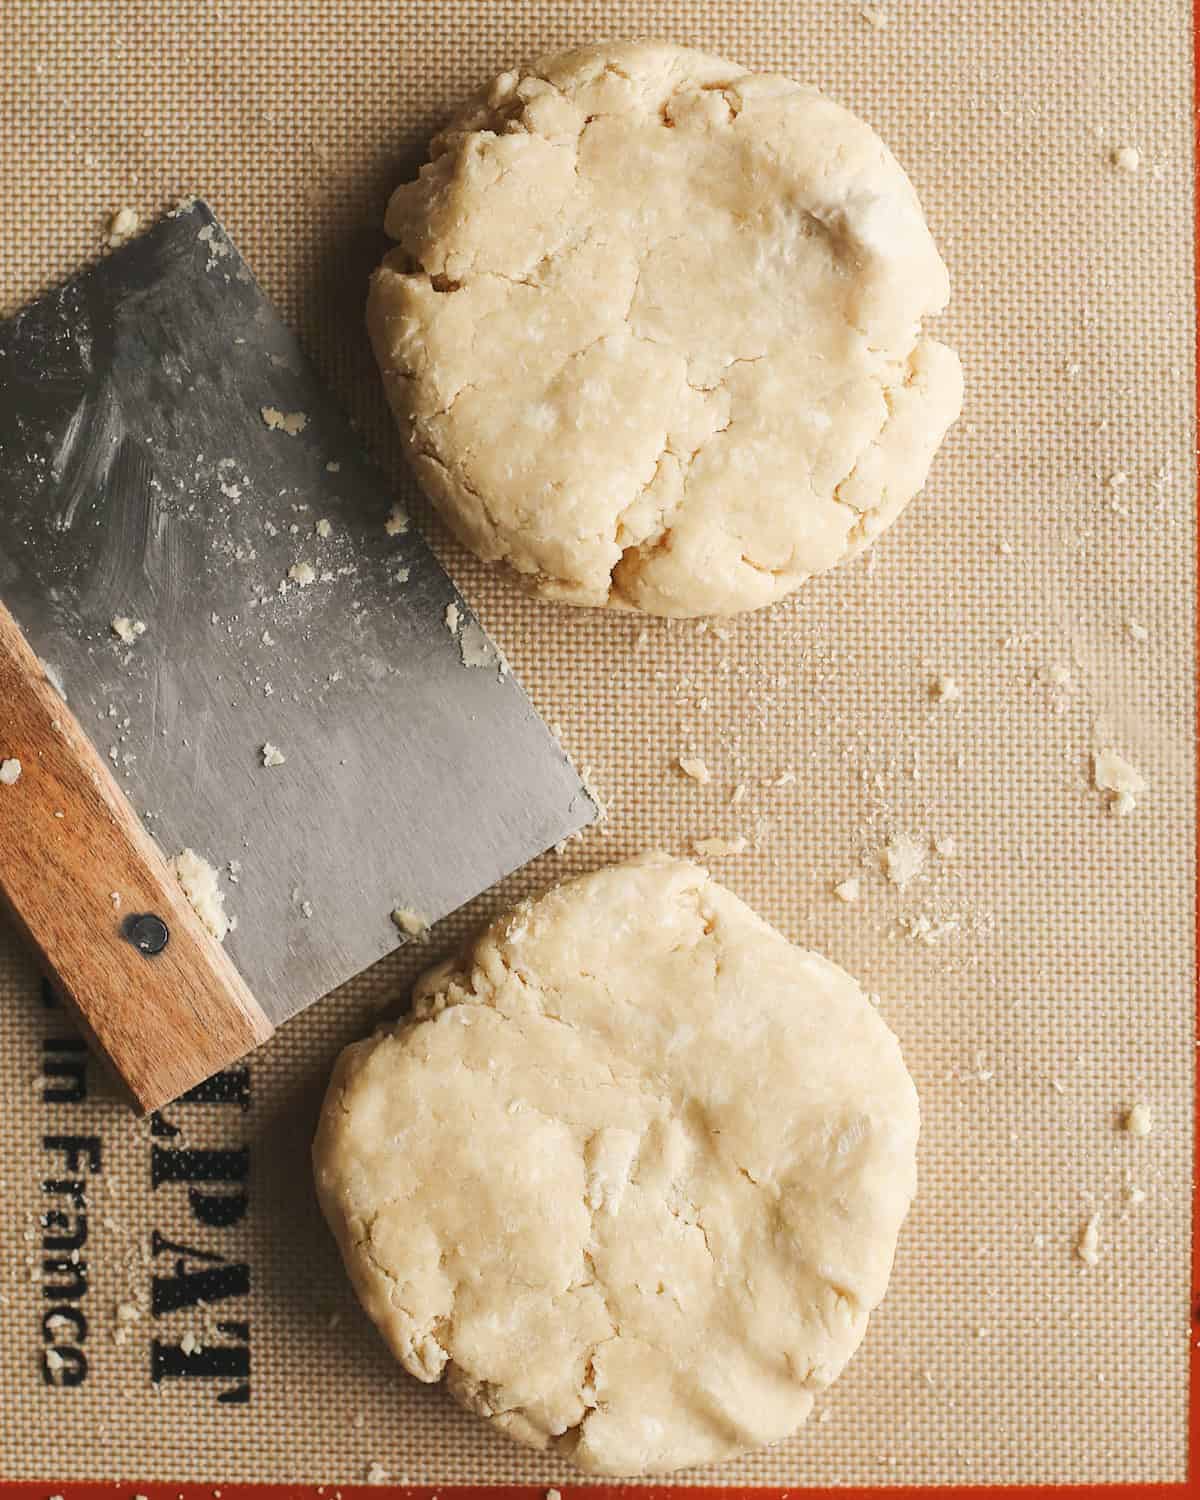
After you have one large ball of pie crust dough, cut it in half and form it into two circles that are the same size.
If your’e not great at eyeballing things, use a food scale. Weigh the whole batch of dough, divide that number in half and make sure each portion of dough weighs that amount.
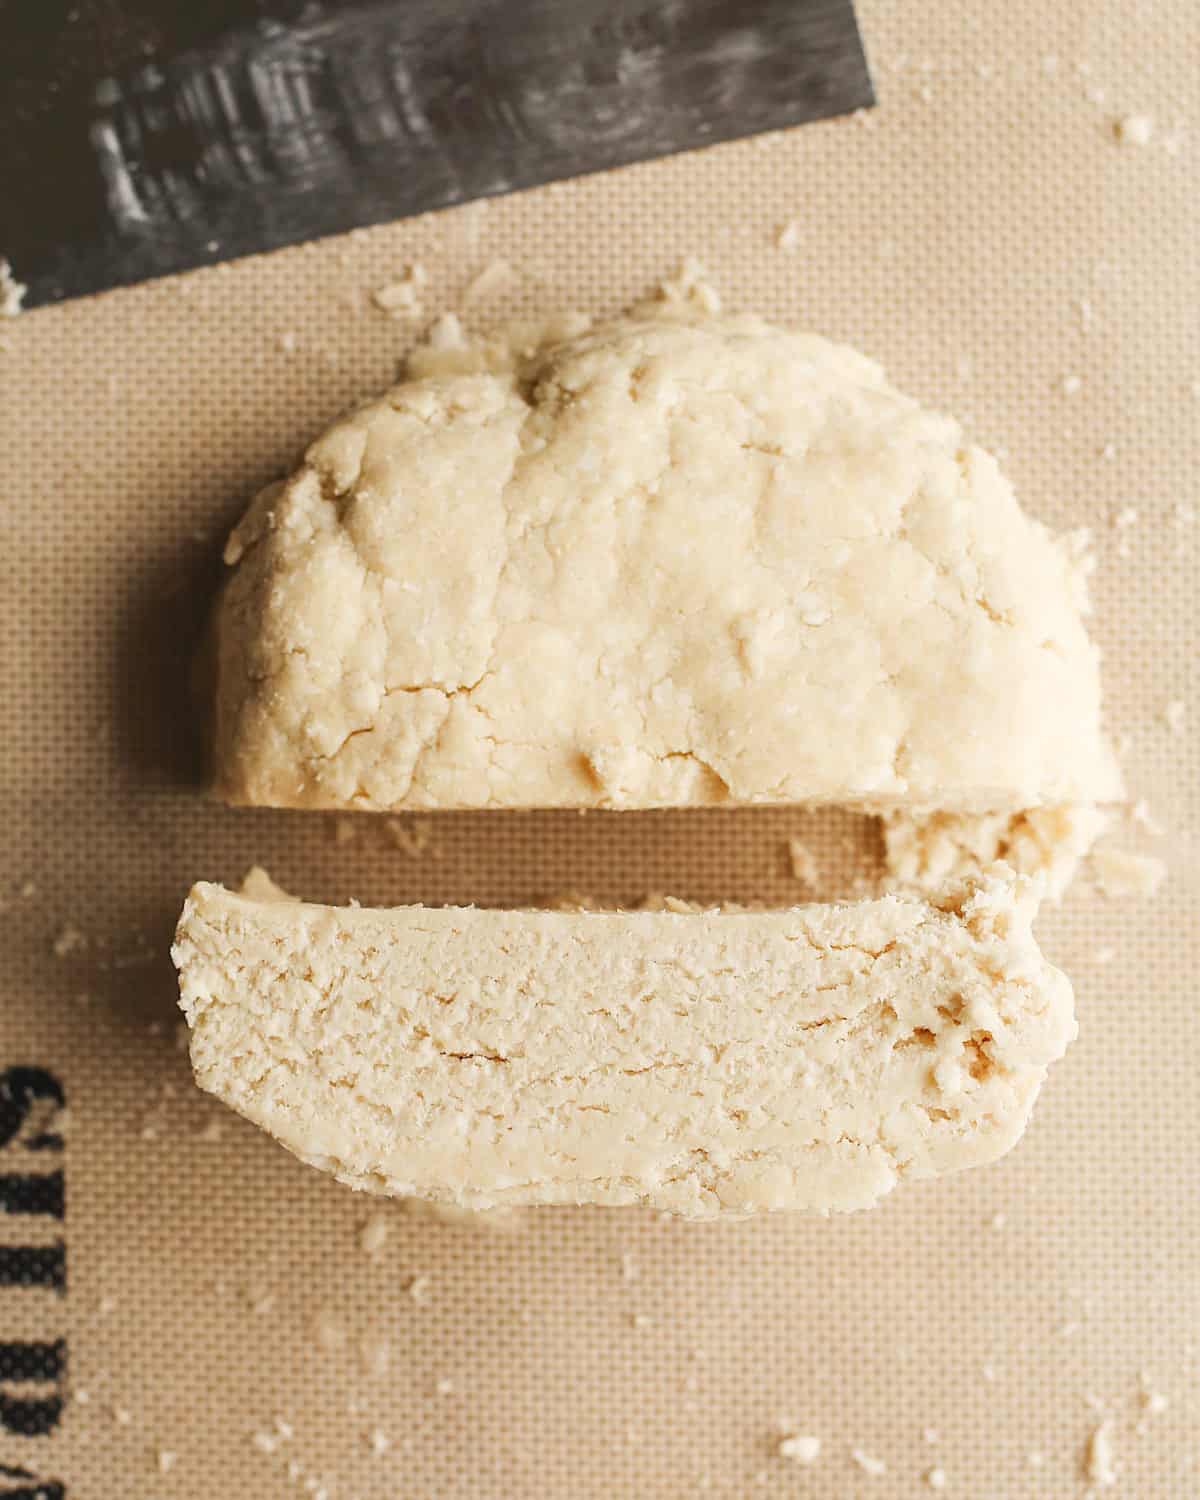
Make two 1″ thick discs of dough. When making this double pie crust recipe it’s important to shape the dough into two discs about 1″ thick. This will make rolling it out much easier!
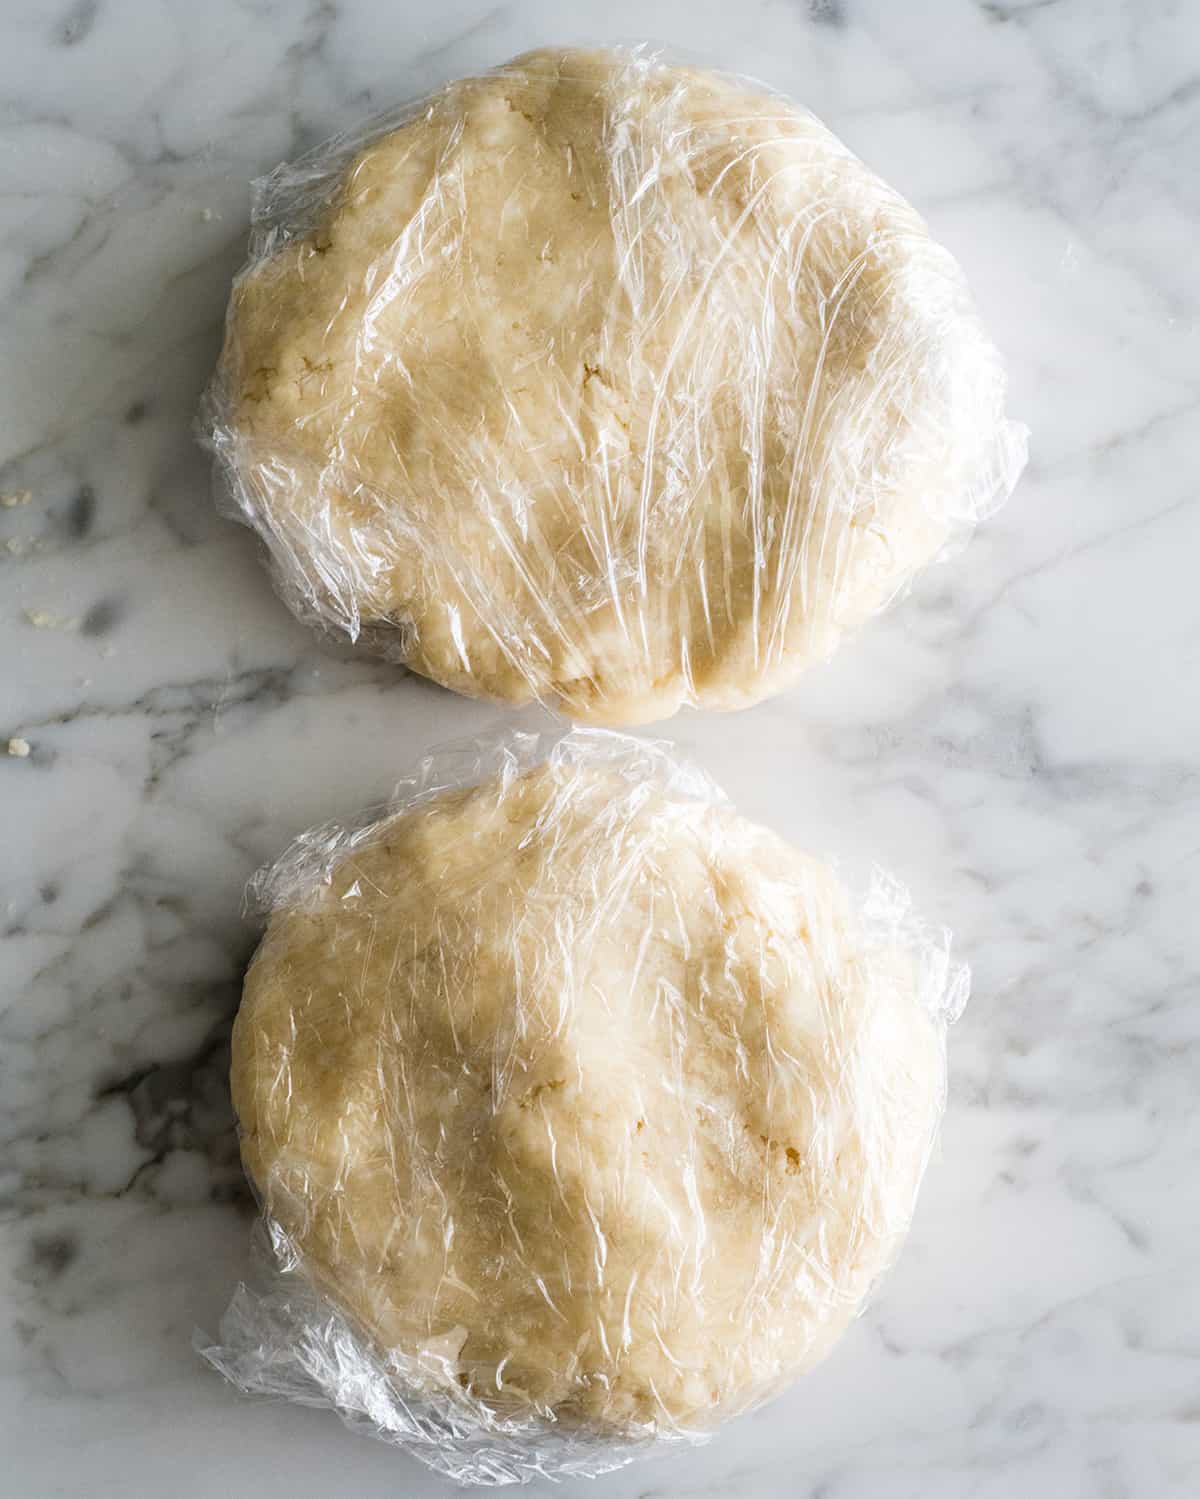
Chill the Dough
Once you have two dough discs, individually wrap them in plastic wrap (tightly) and put them in the refrigerator to chill for at least 1 hour and up to overnight.
If you are chilling the dough overnight or for a long period of time (more than 2 hours), I recommend putting the wrapped Butter Pie Crust dough into a plastic bag or another airtight container to ensure that it does not dry out.
Form the Bottom Crust
Once you’re ready to bake the pie, preheat the oven and roll out the dough. You will need to remove the circles from the fridge, place them on a well-floured surface and let them sit at room temperature for about 5 minutes so they’re soft enough to roll (shorter if it’s a hot day).
Use a heavy rolling pin
I have had this marble rolling pin for 17 years and couldn’t live without it. It applies the perfect amount of pressure to the chilled crust to make it roll easily.
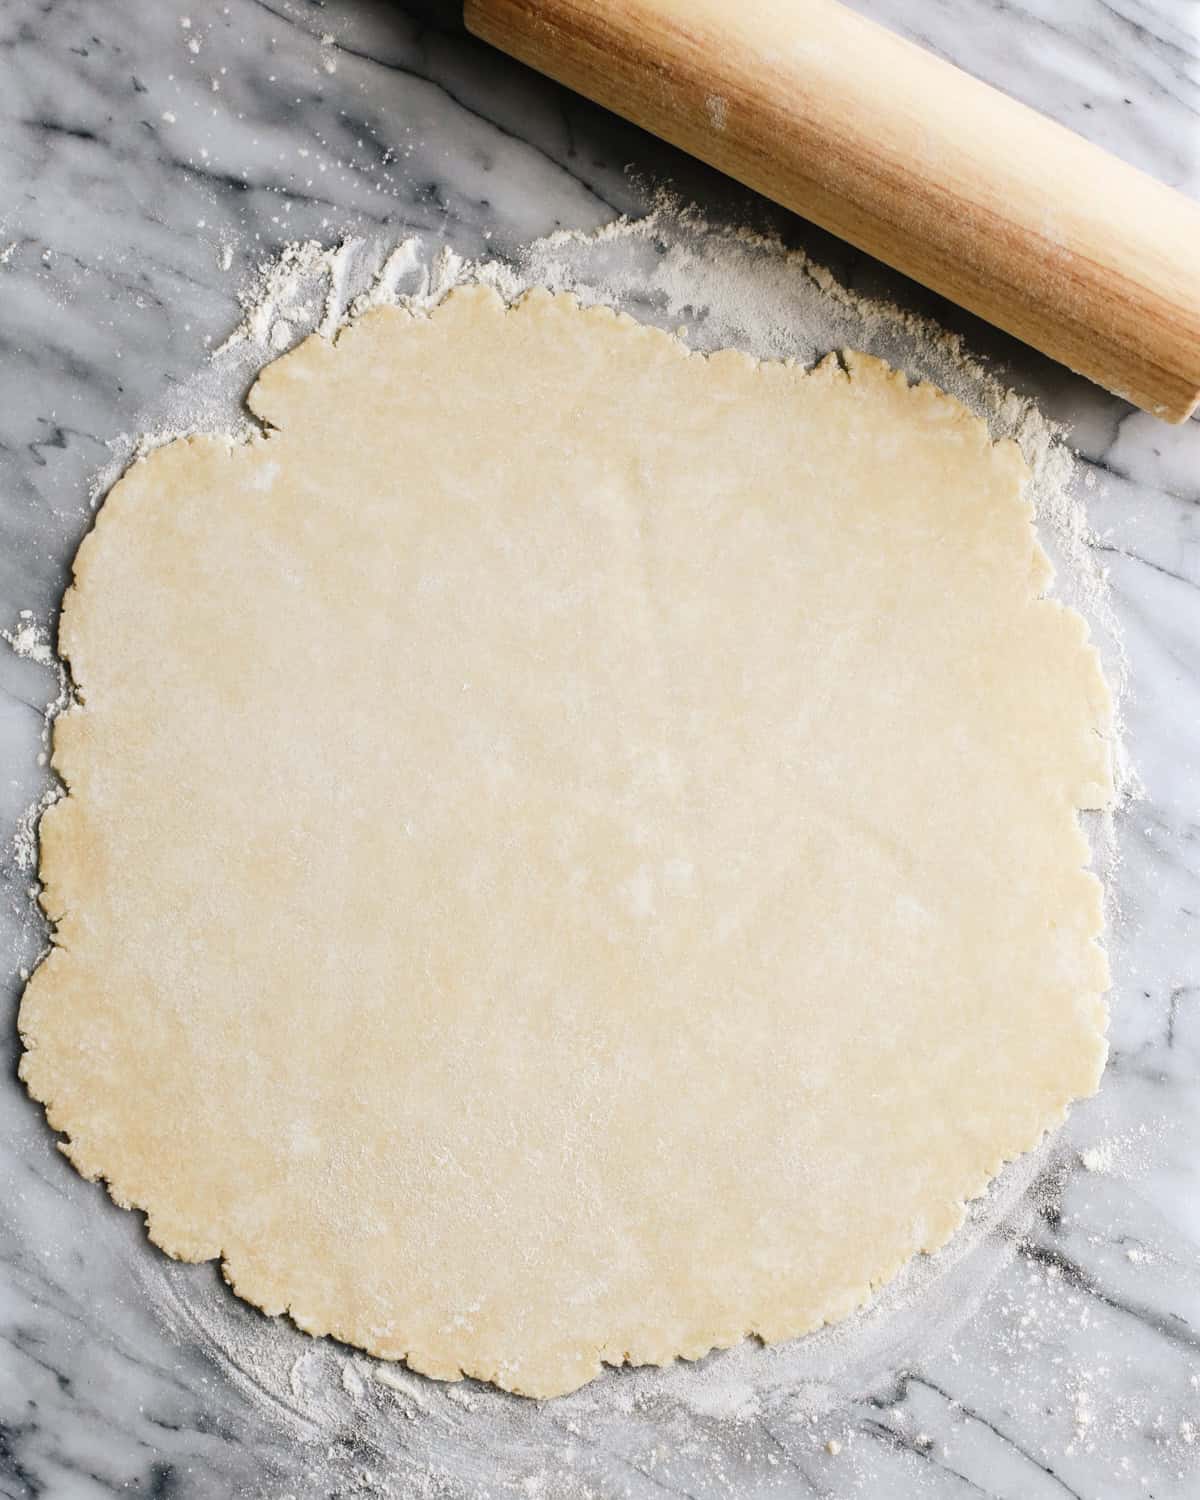
Tip: Measure the crust with a pie plate to make sure it fits with enough hanging over the sides to form a fluted edge.

Use a Pastry Cloth
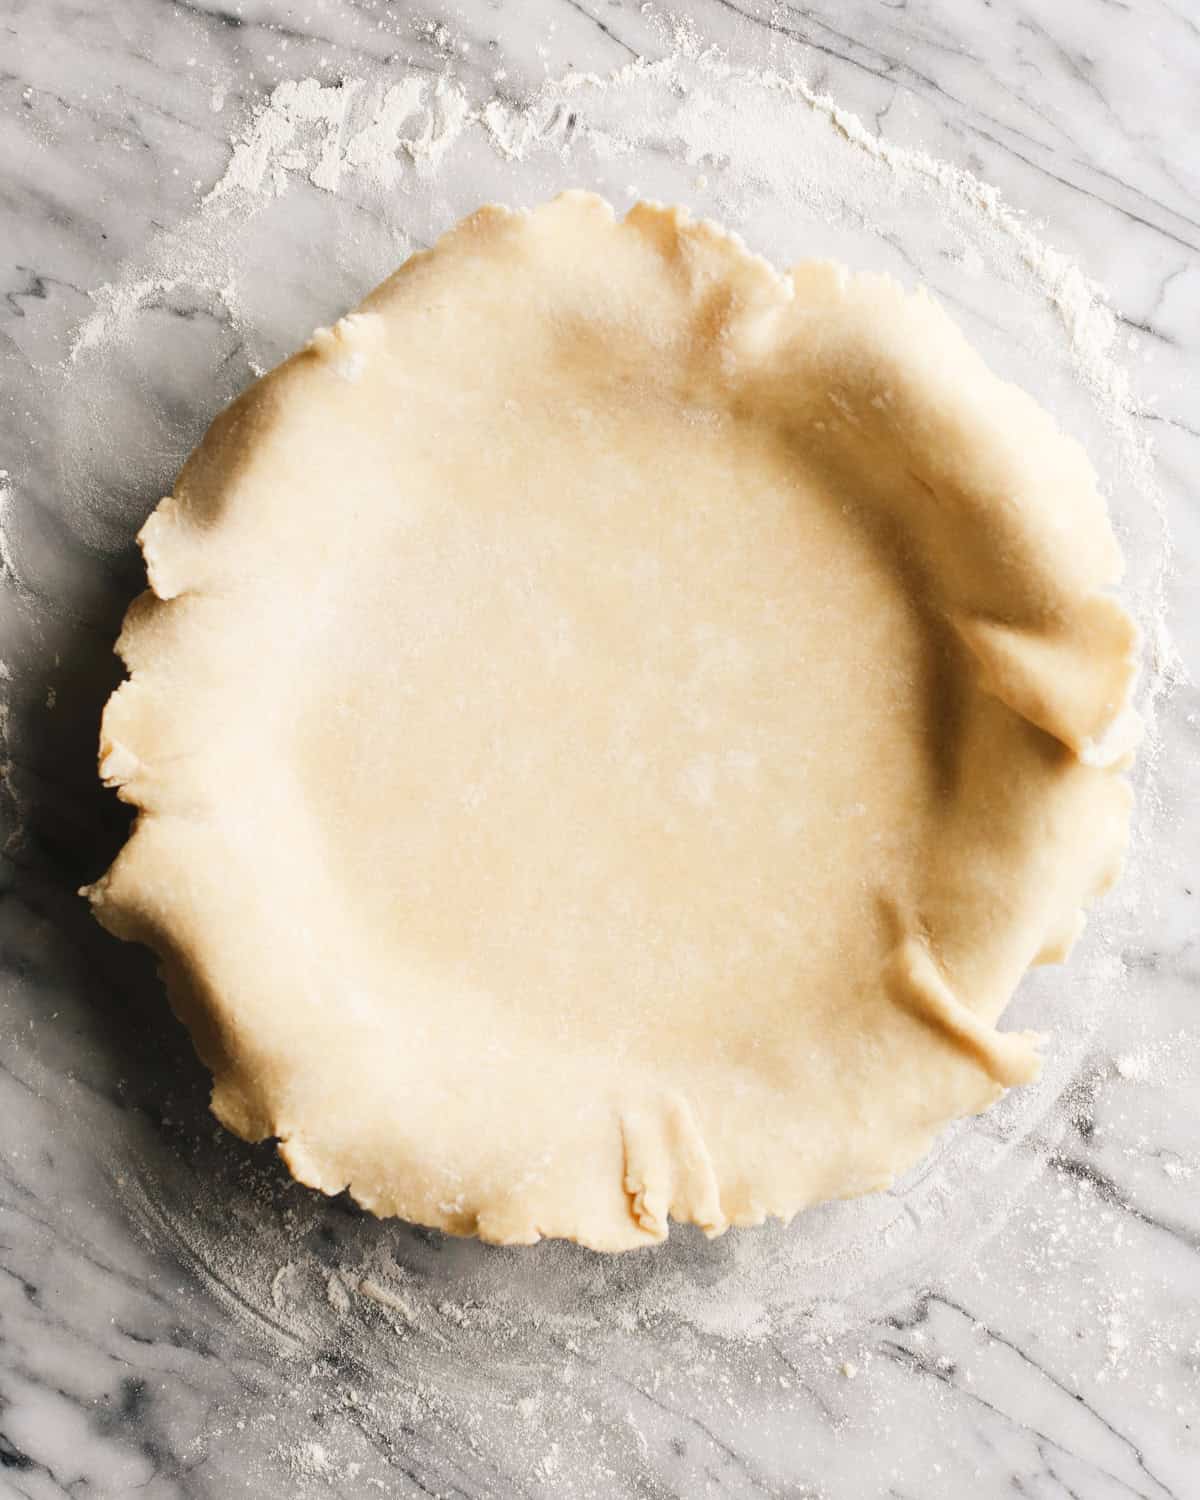
I usually roll my pie crusts out on a pastry cloth. It makes transferring it from the counter to the pie dish so much easier. You can also use wax or parchment paper to roll out the crust if you do not have a pastry cloth!

Once you have transferred the crust from the rolling surface to the pie dish, put in the the fridge to chill while you form the top crust.
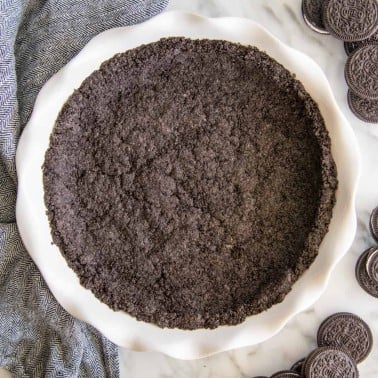
Or, at this point you can blind bake the crust.
If you want to make one all-butter crust to blind bake, you will need to halve the recipe. Or make two crusts.
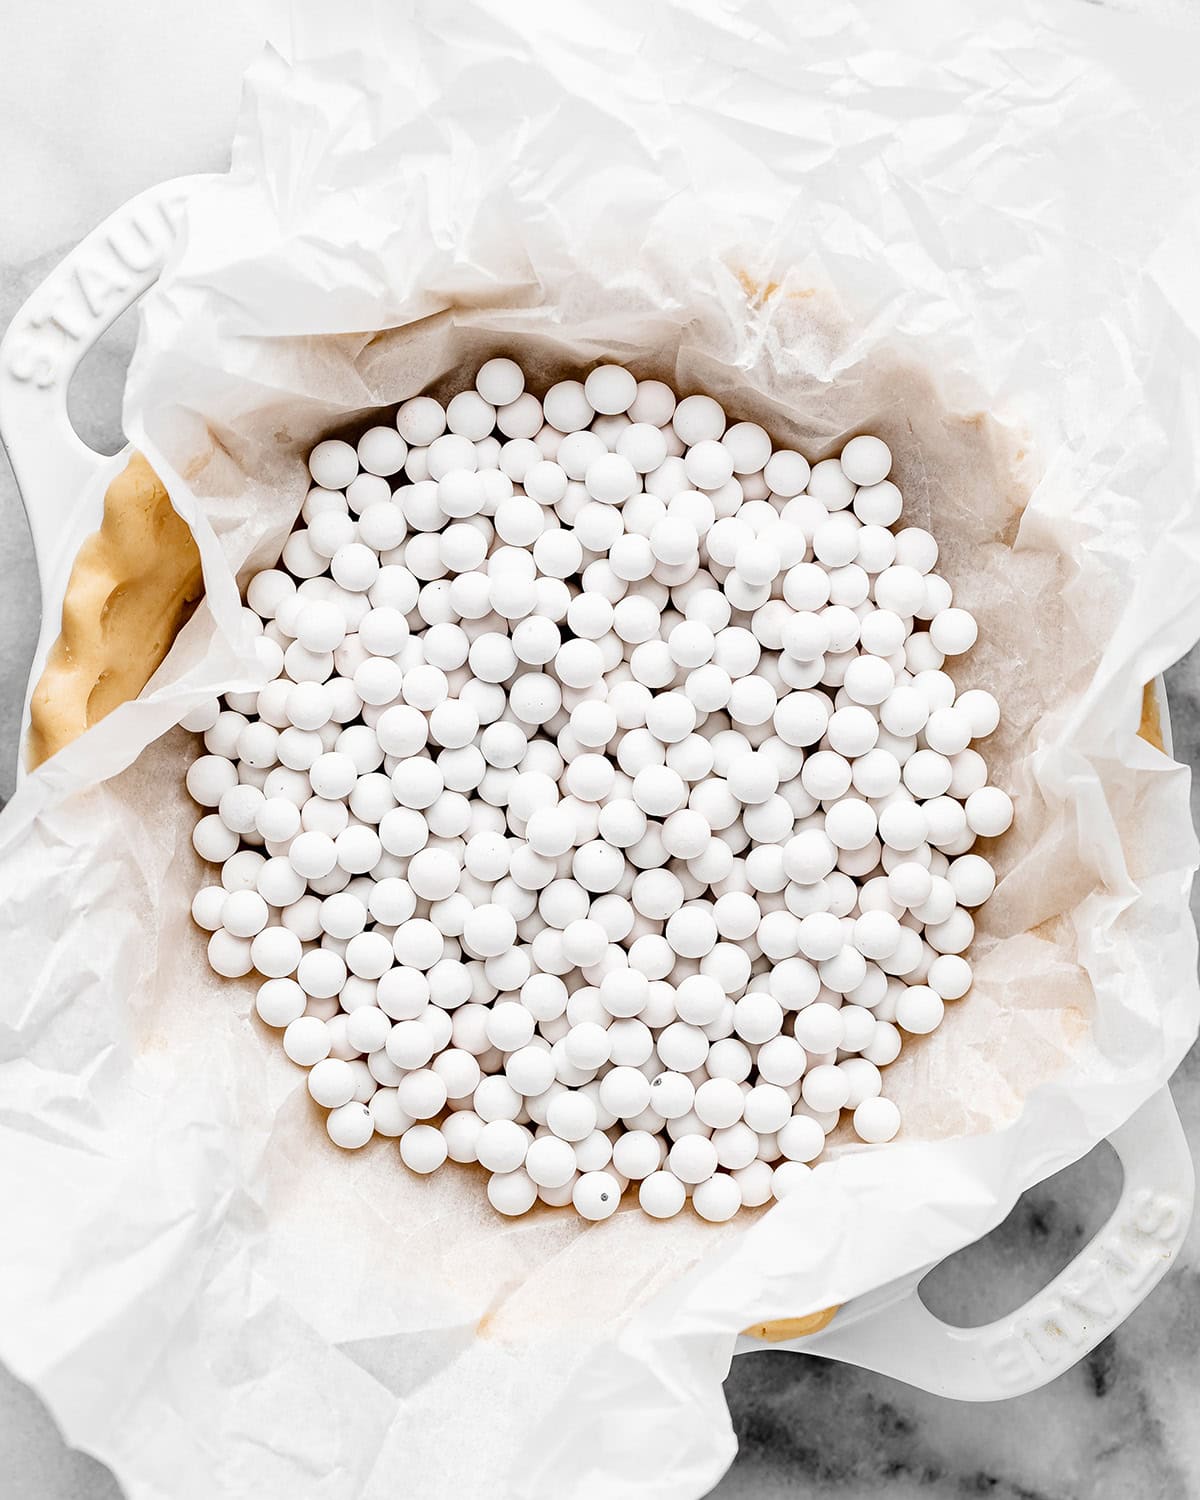
To blind bake, line the homemade pie crust with parchment paper and fill with pie weights. Then bake until golden-brown.

Form the Top Crust
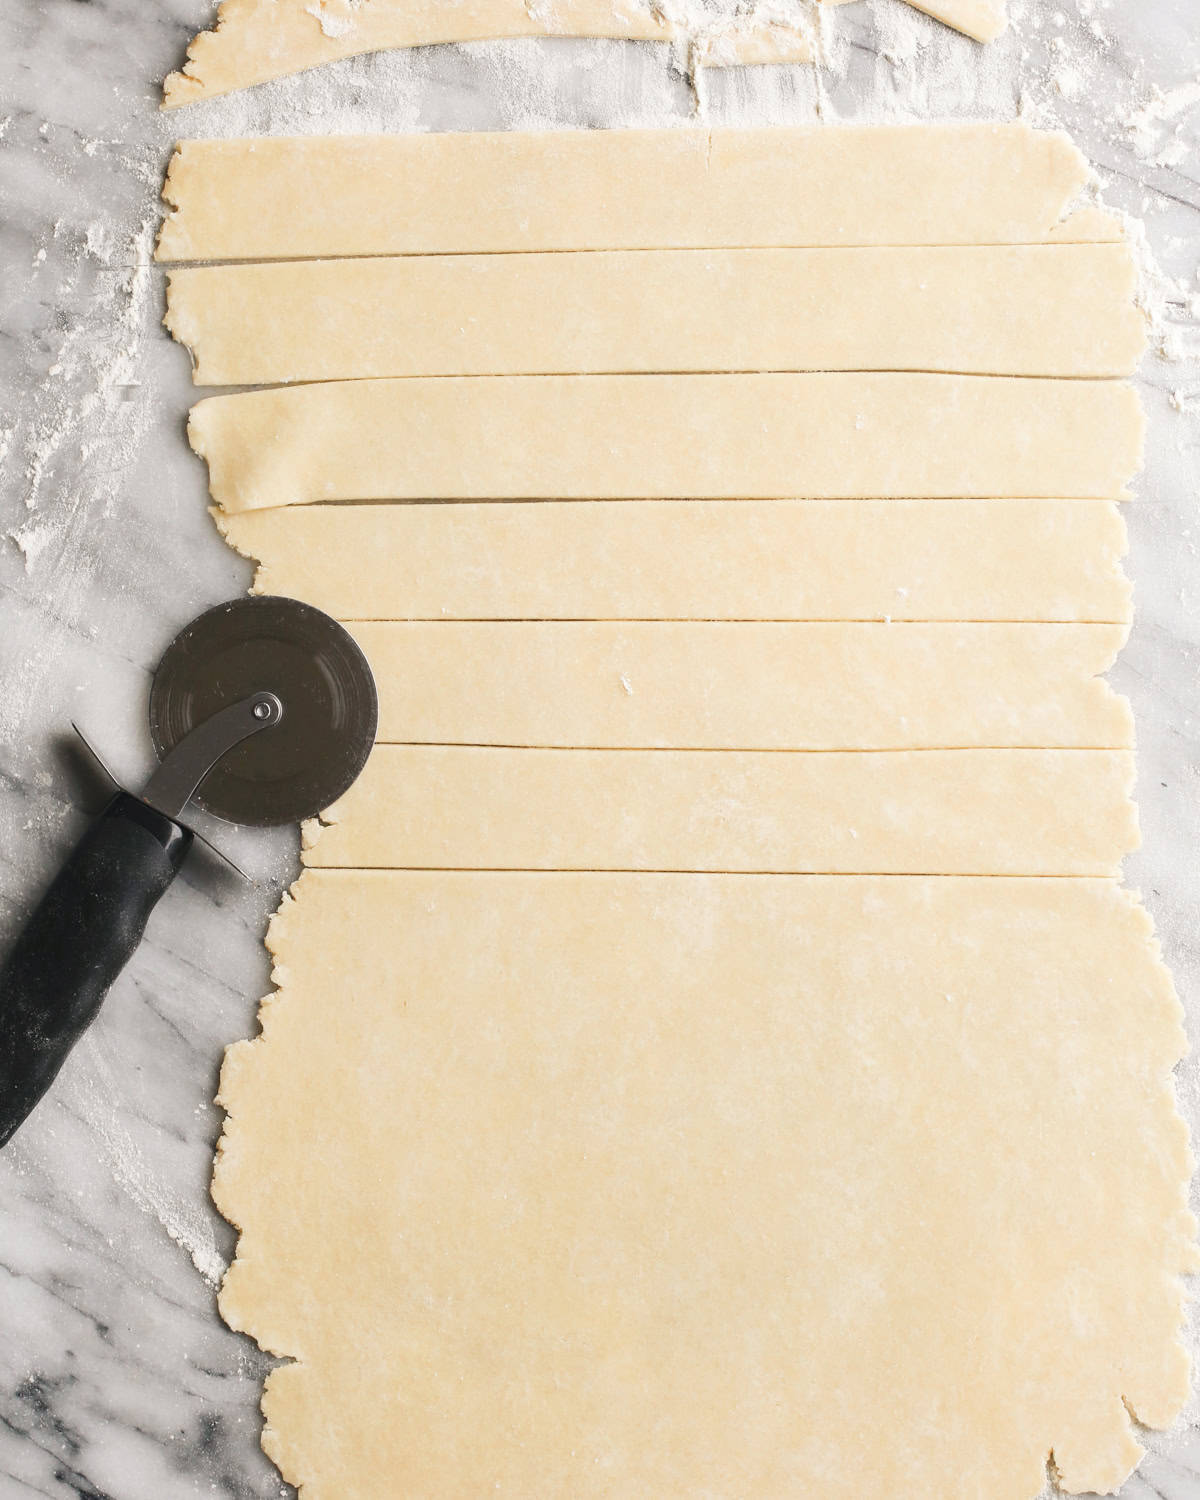
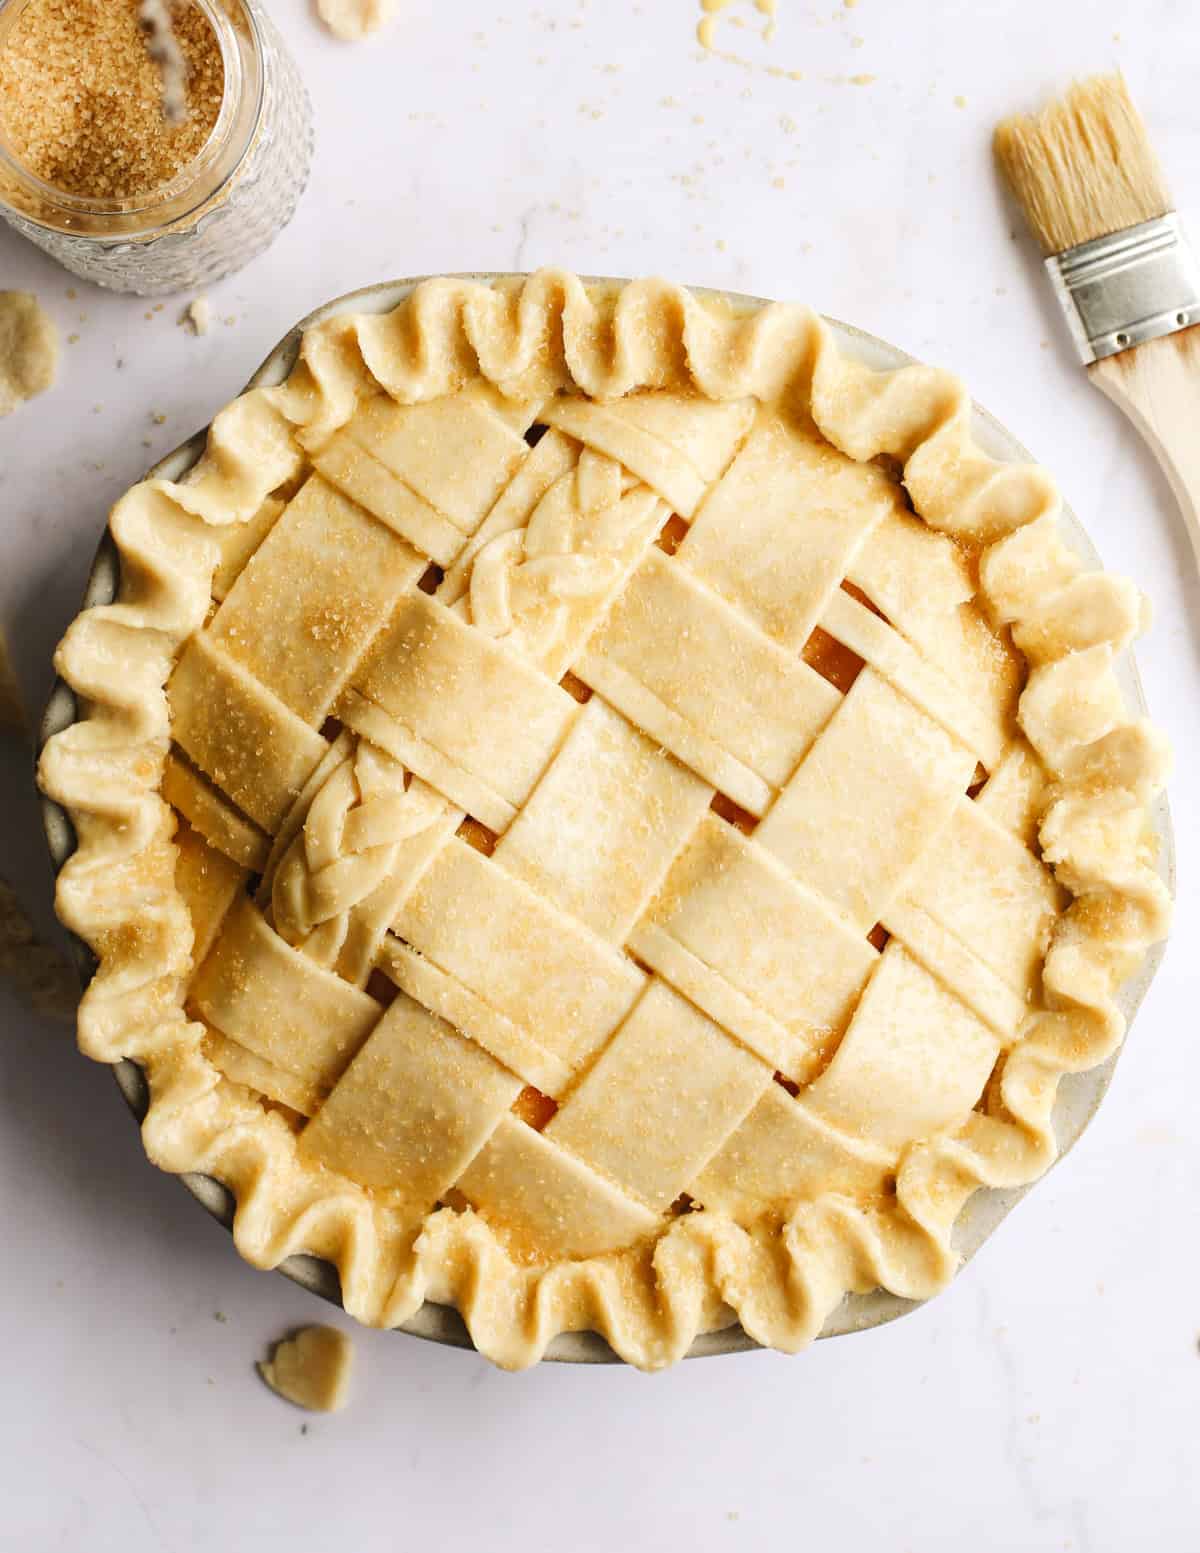
Or, if you’re making a double-crust pie, form the top crust while the bottom chills in the fridge. If you want to make a lattice crust, see this post on how to make a lattice pie crust.
If you prefer to just have a solid piece of crust on the top (no fancy shapes), simply roll both of the crust circles in this way. Cut an “X” in top crust to vent the steam while baking.
Or, use pie crust cutters. I have a few sets of pie crust cutters from Williams Sonoma and love them! I also use fondant cut & press sets. Both work well to make pretty pie crust shapes to top your pies with!
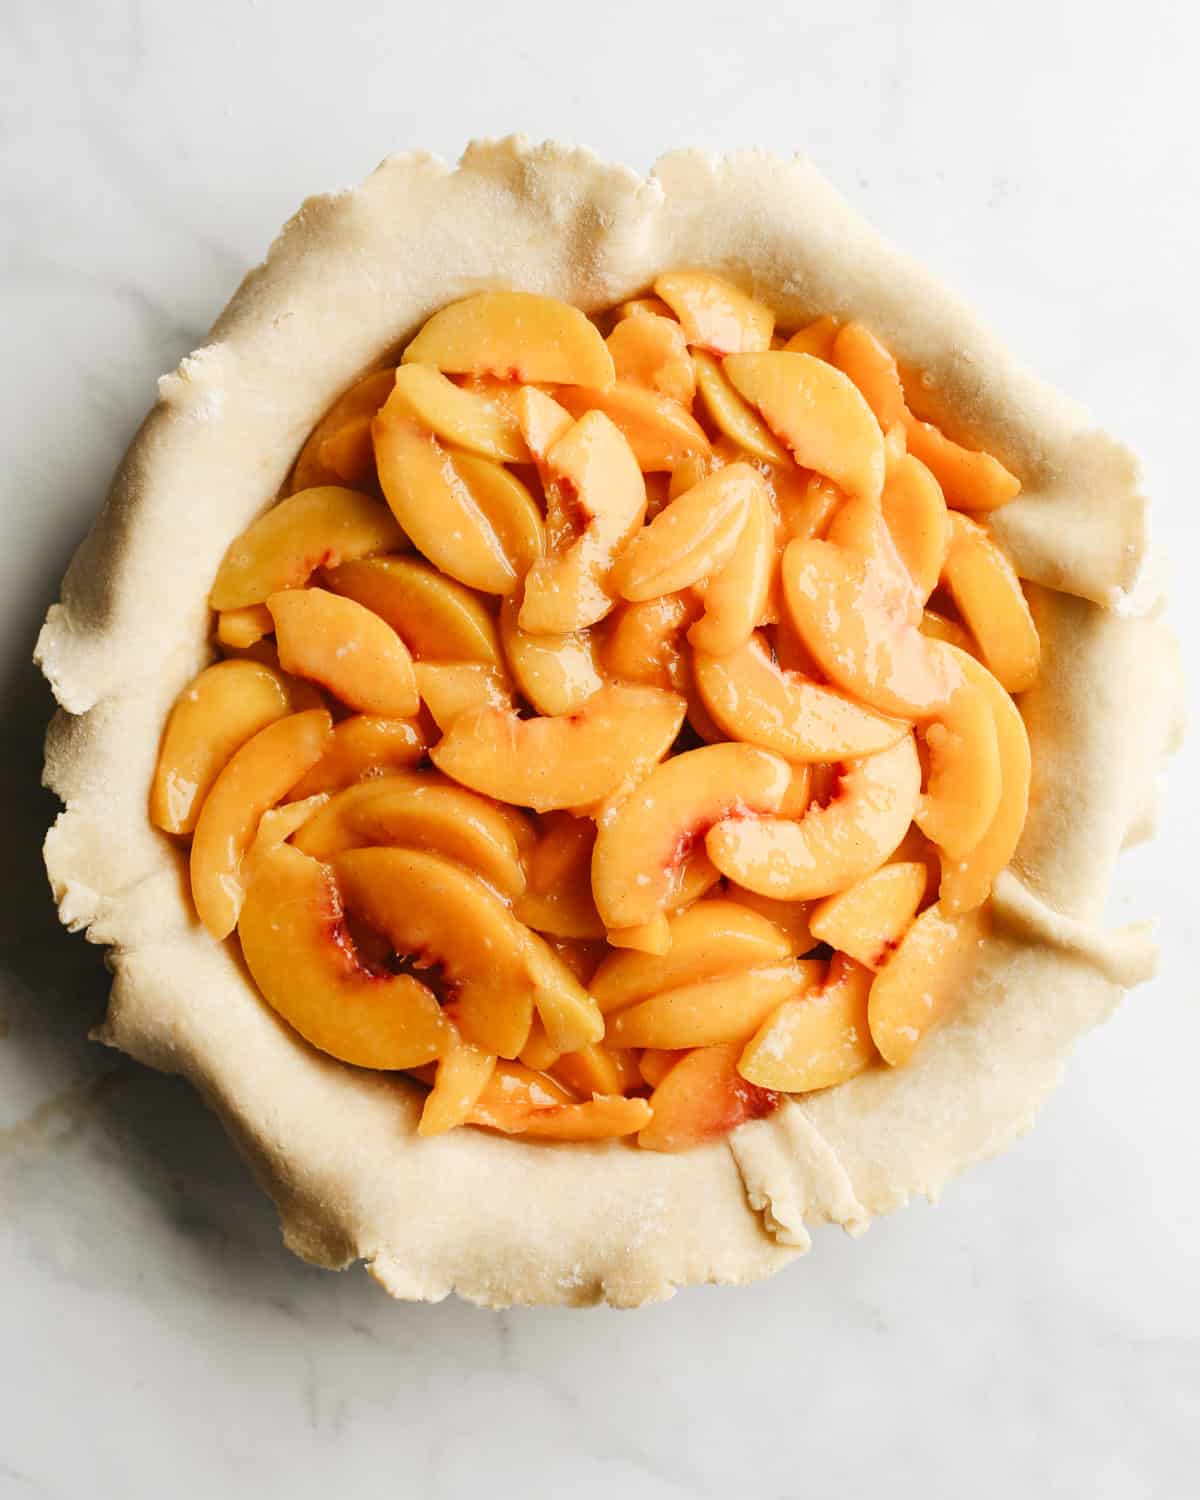
Assemble the Pie
Once the pie filling of your choice is made, it’s time to complete this Flaky Homemade All Butter Pie Crust recipe!
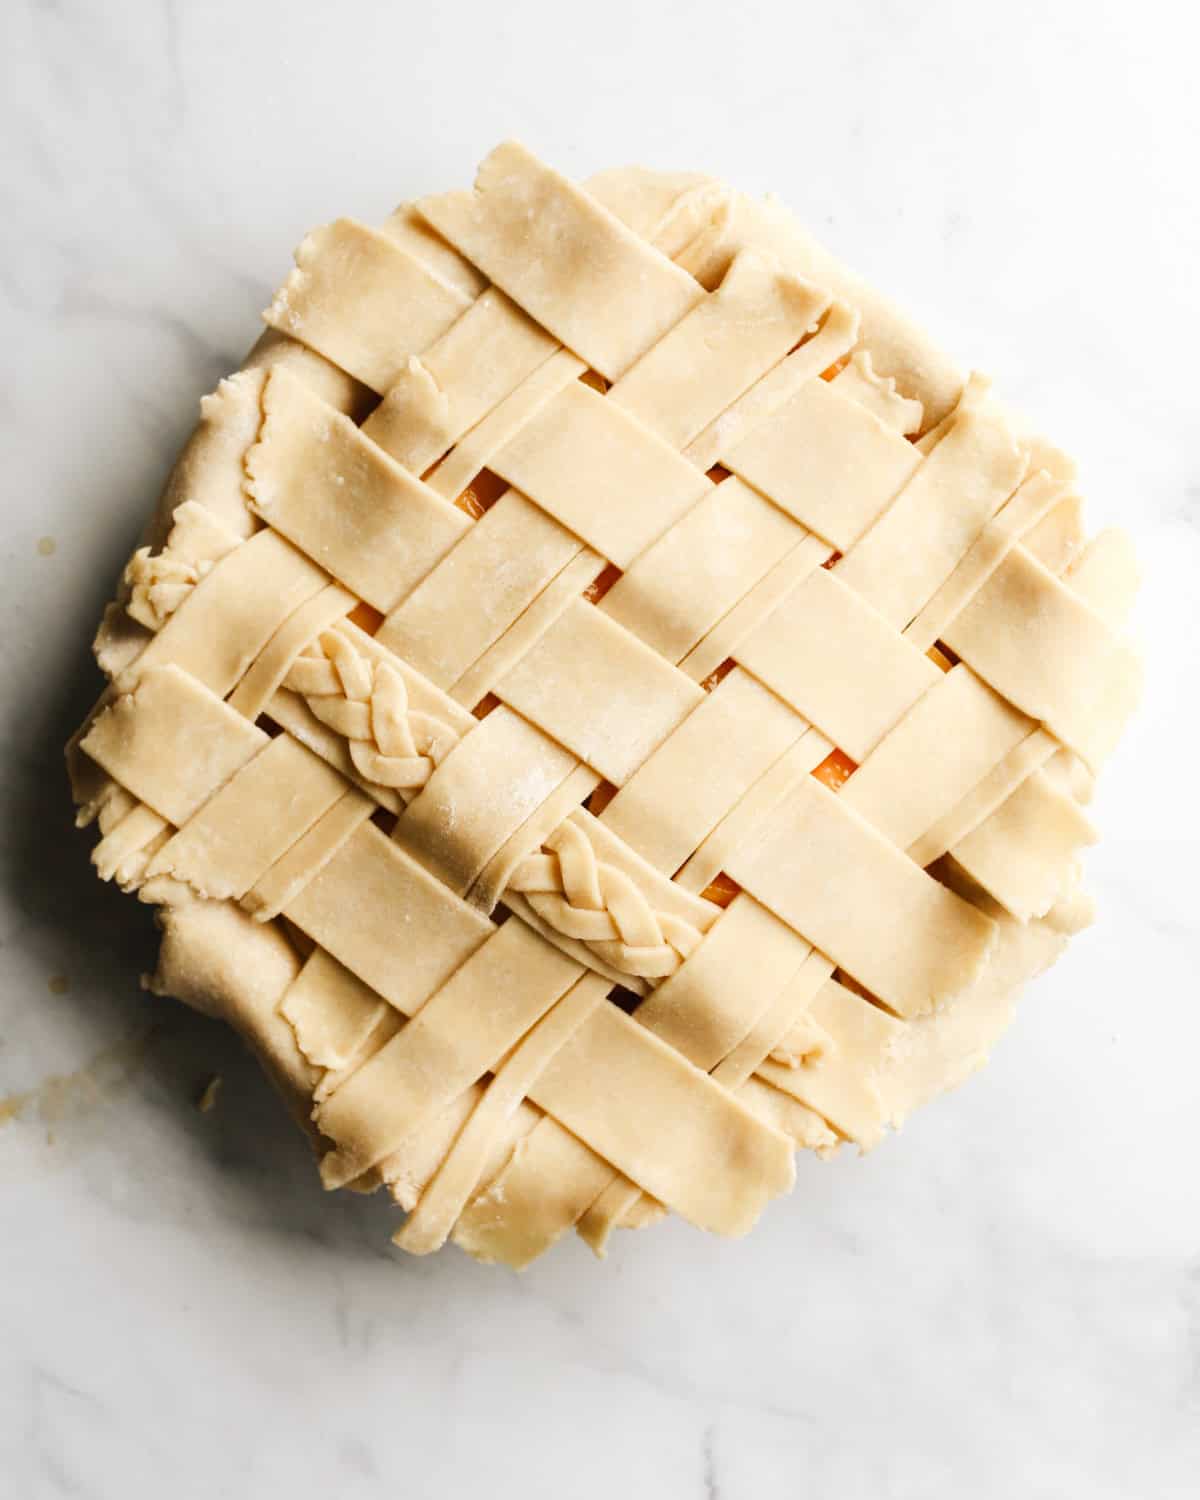
Pour the filling into the bottom pie crust and then put the top crust over the filling.
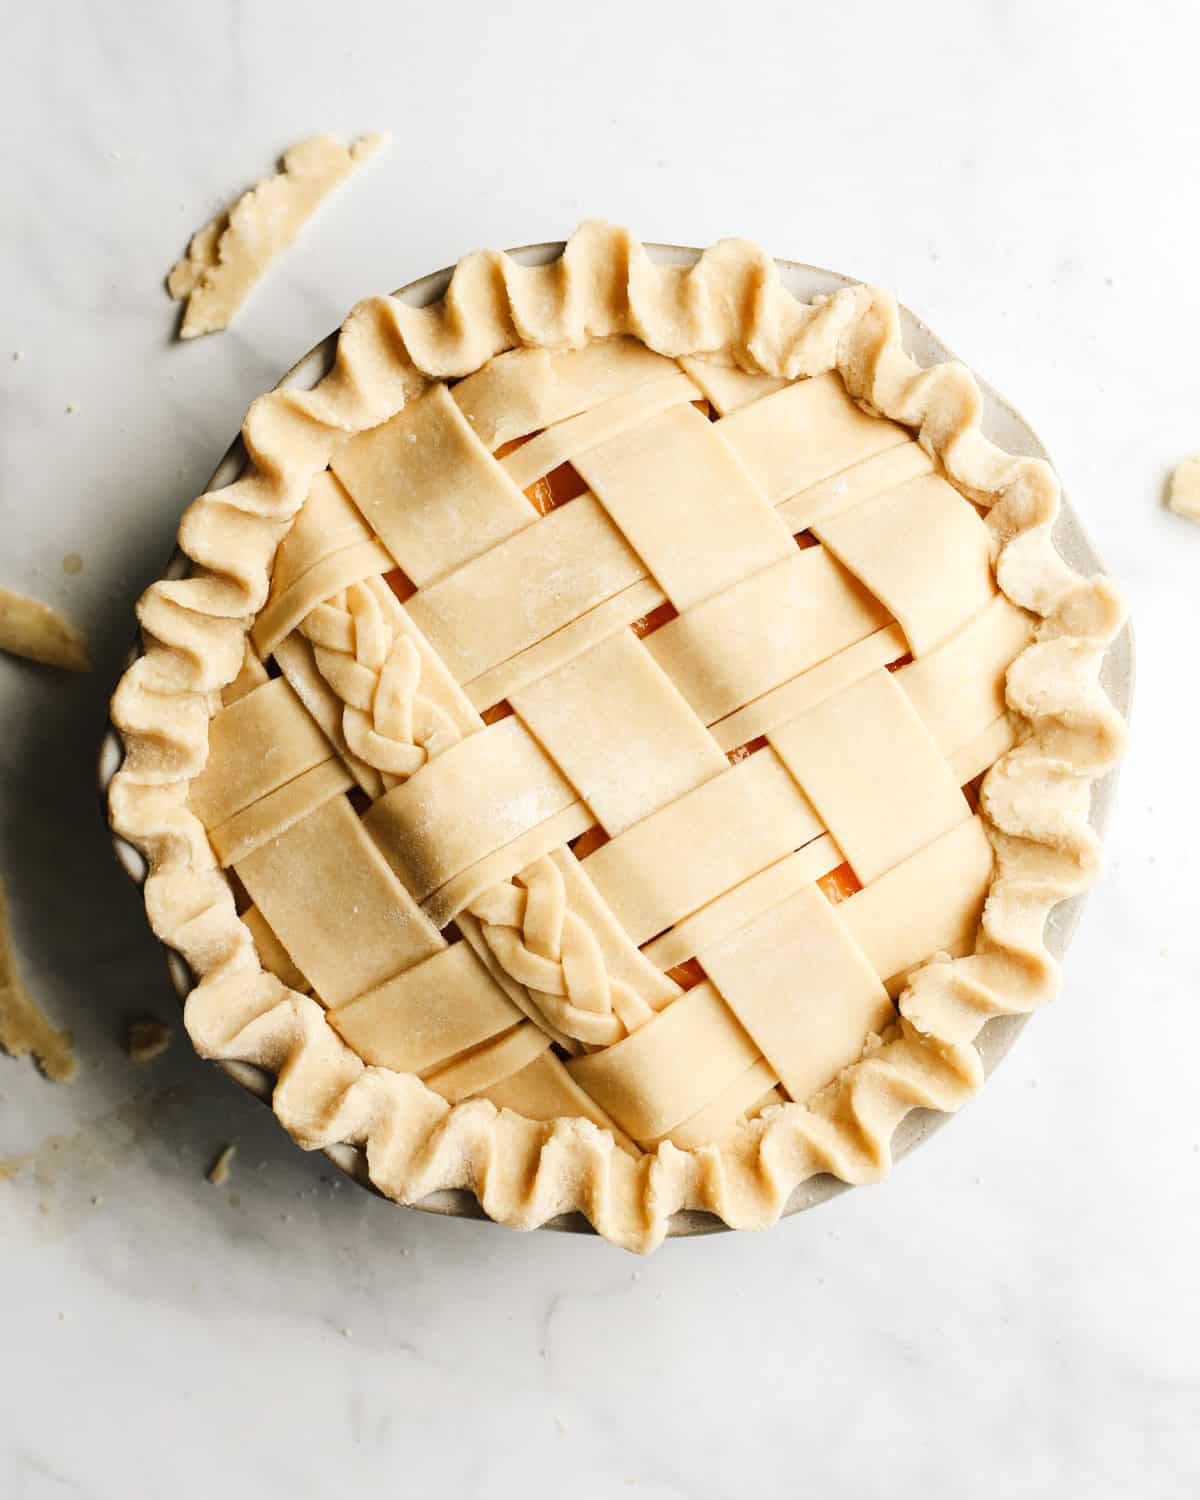
Pinch the edges. Start by folding the crust and making a nice edge around the pie dish. Then, use your thumb and pointer finger to pinch the edges of the crust and make a nice design.
leftover pie crust
If you have leftover pie crust, use it to make these pie crust cookies!
Use an Egg wash
Brushing an egg wash over the crust gives it a shiny, golden-brown finish. It’s not necessary but it is highly recommended!
Simply beat 1 egg yolk with 1 Tablespoon heavy cream.

Then, use a pastry brush to brush the crust gently with the egg before baking. If desired, sprinkle raw sugar over the egg wash for a nice sugary crispy finish.
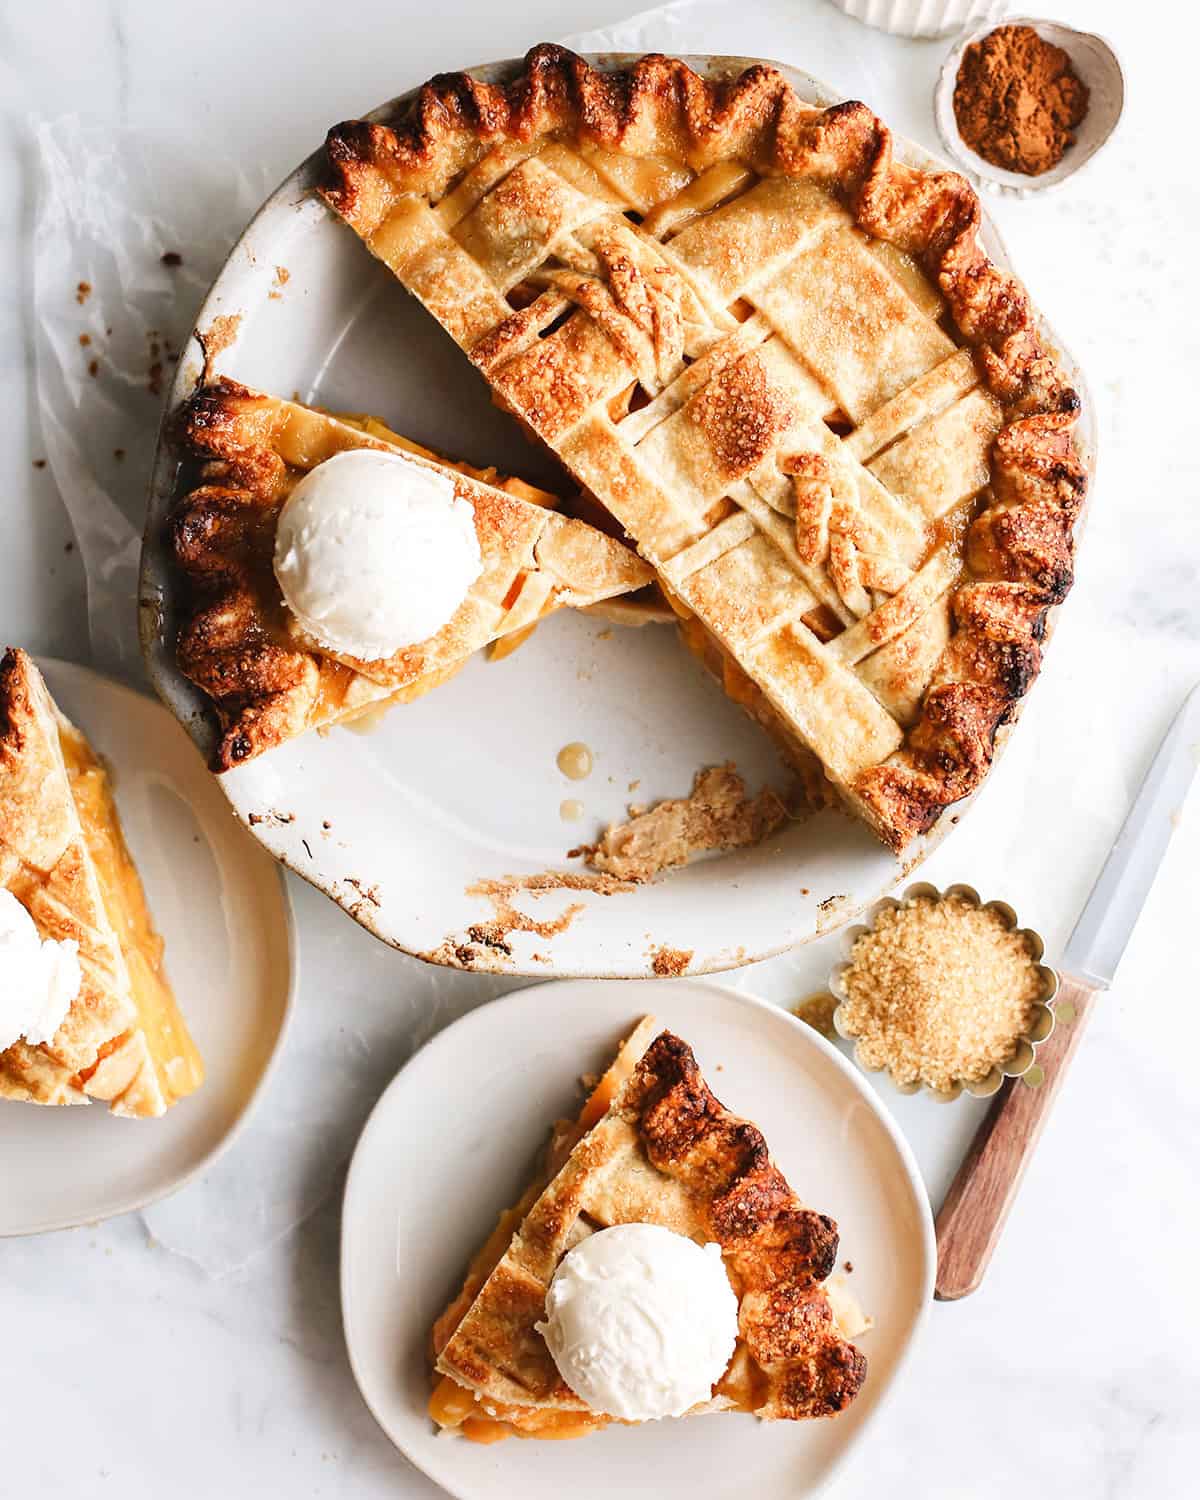
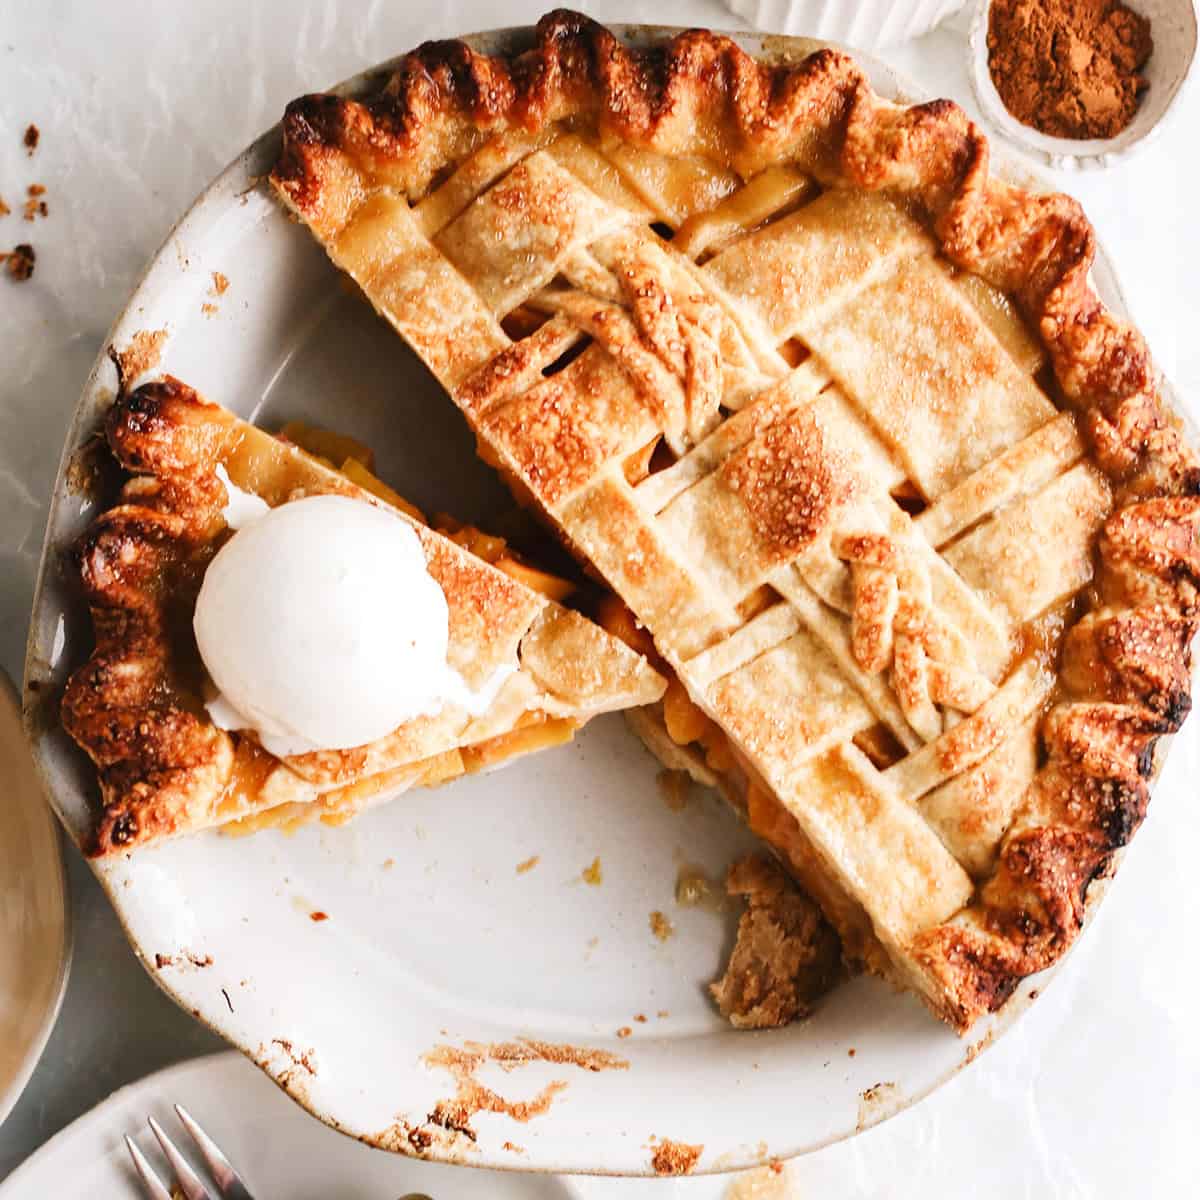
Bake the Pie
Most butter pie crusts with filling are baked at a higher temperature in the beginning, and then after 20 minutes the temperature is decreased and baking continues. This helps bake the crust without it becoming soggy.
I suggest using one of our many pie recipes.
Butter Pie Crust Recipe FAQs
We use the same method to bake this butter pie crust if you are using it for a no-bake filling. Start by baking at a high temperature with pie weights inside, and after a while remove the weights and finish baking at a lower temperature. (See full instructions in the recipe card).
Here are my favorite pies to make with this pie crust.
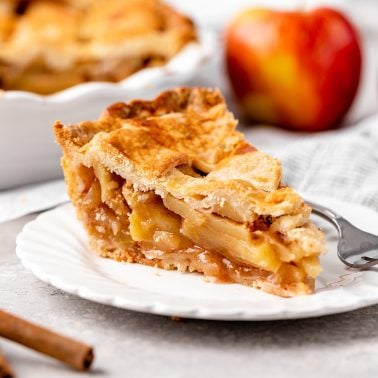
Apple Pie
Blueberry Pie
Strawberry Pie
Raspberry Pie
Pear Pie
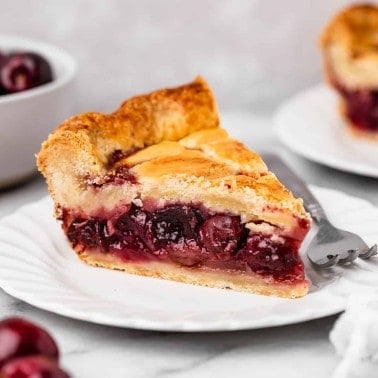
Cherry Pie
Mixed Berry Pie
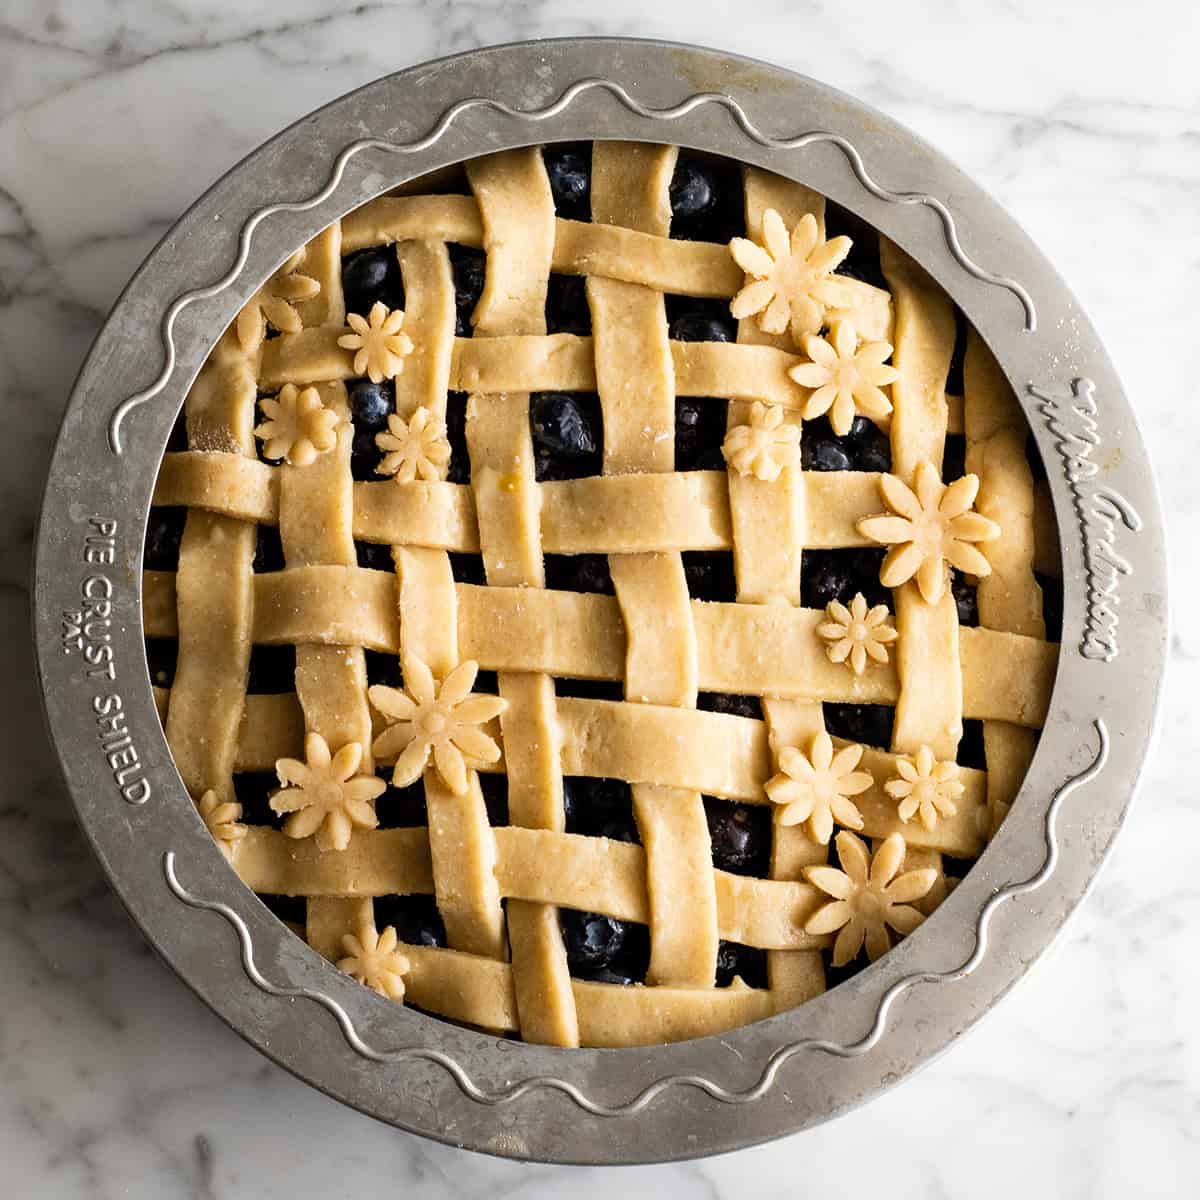
Use a pie crust shield to protect the outer crust from burning. If you don’t have a pie crust, you can make one yourself by cutting a circle out of aluminum foil that covers the crust and fits the outer edge of the pie dish.
If you find that the center crust is browning too fast, create a loose-fitting “tent” out of aluminum foil and place it over the entire pie. This way the filling will continue baking and the browning of the crust will be slowed!
YES! I do, all the time. Unsalted butter works too, however I prefer it to be saltier tasting because it compliments sweet pie filling so well!
I suggest using a food processor or pastry cutter.
If you have leftover pie crust, use it to make these pie crust cookies!
Pie Crust Tools
There are a few tools that I consider essential in the pie crust-making process.
- Marble Rolling Pin: You will need to roll out the dough to achieve the perfect shape and thickness.
- Pastry Cloth: makes transferring the crust from rolling to the pie dish easy.
- Pie Crust Shield: In order to prevent the crust from burning I always use a pie crust shield. It’s way easier than cutting foil to fit your pan.
- Food Processor. Does all the hard work mixing.
- Pie weights. If you will be baking this pie crust by itself (without filling) then using pie weights helps the crust retain its shape.
Obviously you can make a crust without these things (well except for a rolling pin)…but if you anticipate there will be lots of pie-making in your future, I highly recommend checking these out!
Pie Recipes
Here are some of my favorite pie recipes that use this easy pie crust recipe.
- For savory options – make this quiche recipe or chicken pot pie.
- Apple pie! We love both of these: Homemade apple pie and Apple Crumble Pie recipes.
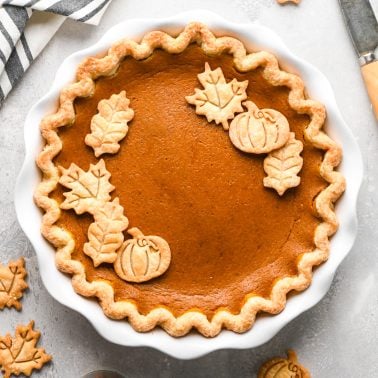
- Who doesn’t love this Classic Pumpkin Pie From Scratch or Dairy-Free Pumpkin Pie!
- This Strawberry Pie From Scratch, raspberry pie and this fresh peach pie are perfect for summer!
- Fresh Blueberry Pie Recipe might be my favorite!
- This Apple Galette tastes just like an apple pie, only it’s even easier to make! Also try peach galette.
- Cherry pie is a delicious fall/winter treat.
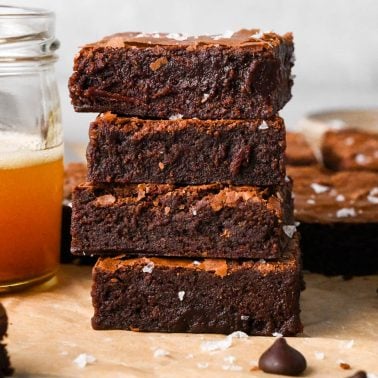
- Brownie pie and chocolate chip cookie pie are extra decadent desserts that use this butter pie crust.
If you make and love my recipes, it would mean so much to me if you would leave a comment and rating! And don’t forget to follow along on Instagram, Pinterest, Facebook, TikTok and Youtube – be sure to tag @joyfoodsunshine and use the hashtag #joyfoodsunshine so I can see your creations!

Homemade Butter Pie Crust (Double Crusted Pie)
Video
Ingredients
- 2 ½ cups all-purpose flour
- 1 teaspoon fine sea salt
- 2 Tablespoons white sugar
- 1 cup salted butter (cold, cut into 1 inch pieces)
- ½ cup ice cold water
Egg Wash (Optional)
- 1 egg yolk
- 1 Tablespoon heavy cream
Instructions
Chill the Butter
- Cut 1 cup of butter into ½”-1” cubes. Place on a nonstick surface and put in the freezer for at least 10 minutes.
Chill the Water
- Measure out ½ cup cold water and add 2-3 ice cubes, set aside.
Make the Crust in a Food Processor:
- Place the flour, salt, and sugar in a food processor fitted with an “S” blade and pulse to combine.
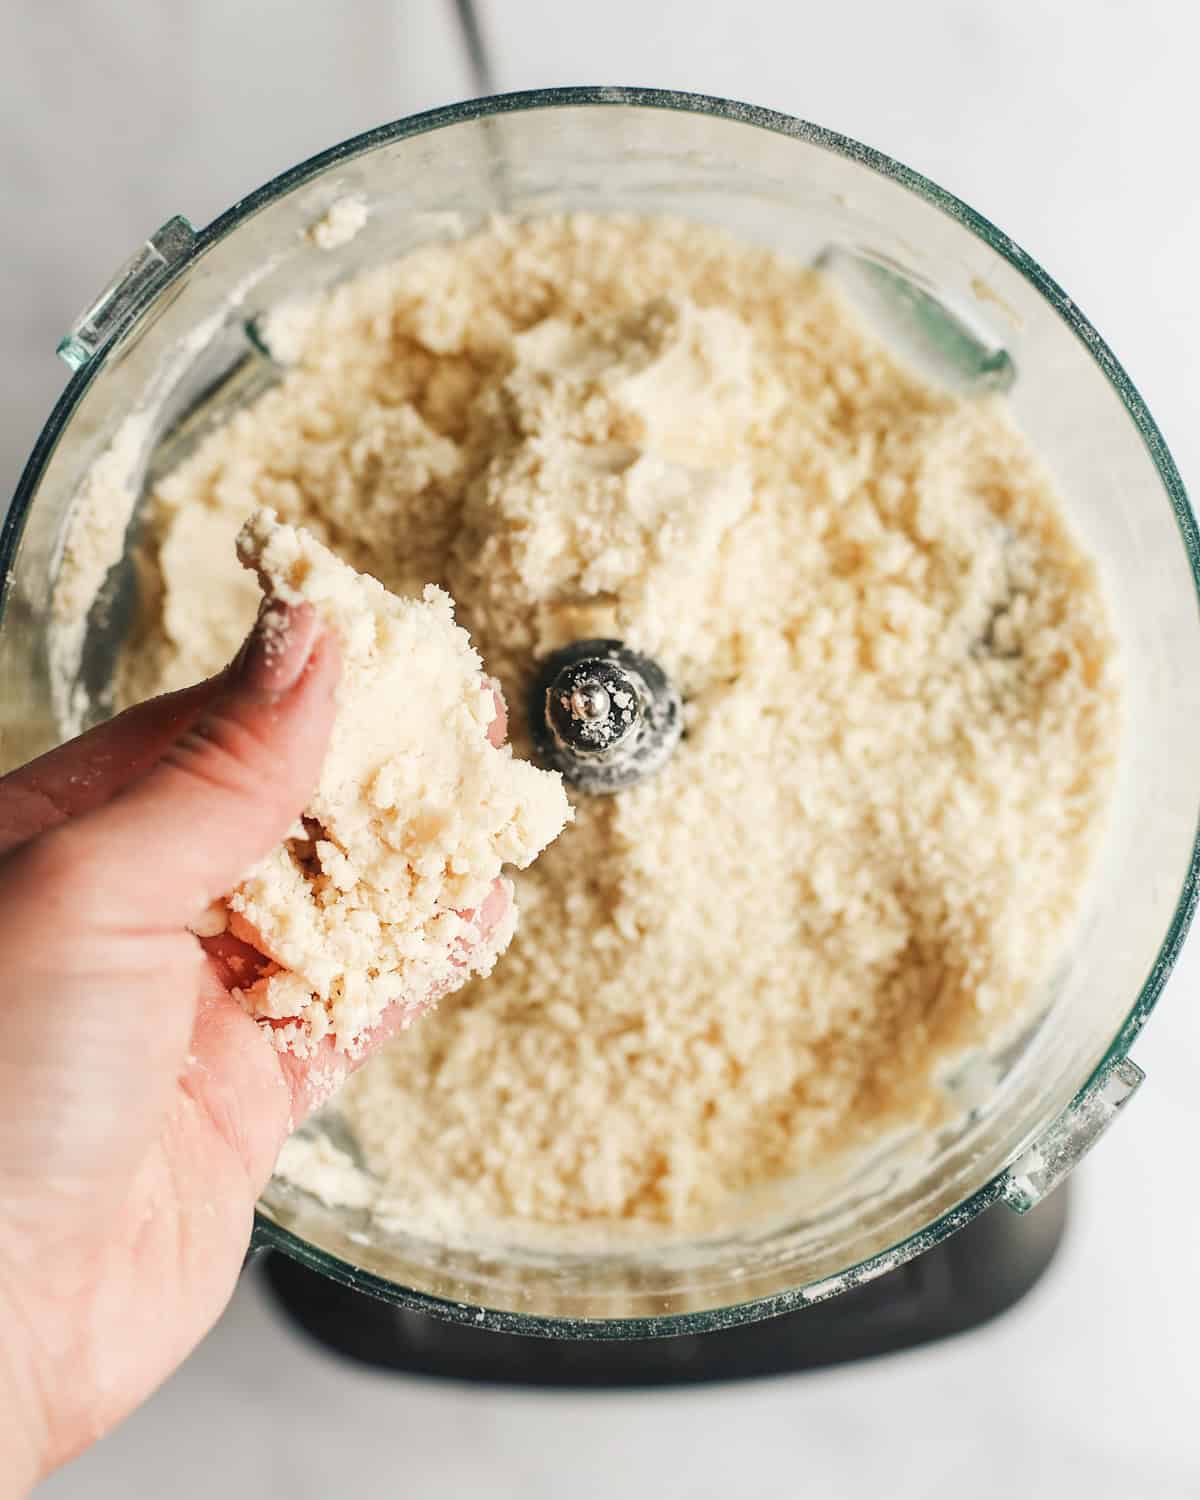
- Add the butter and cold water and process until the mixture resembles a coarse meal, begins to stick together, and holds together when pinched.
- Remove dough from processor (will be crumbly) and form into two discs about 1” thick.
- Wrap both dough circles in plastic wrap and place them in an airtight container.
- Refrigerate for at least 30 minutes, or overnight.
Make the Crust by Hand
- Place the flour, salt, and sugar in a large bowl and stir to combine.
- Add the chilled butter and cut it in with a pastry cutter, fork or your hands.
- Add cold water and mix until the mixture resembles a coarse meal, begins to stick together, and holds together when pinched.
- Turn the dough out onto a well-floured surface (it will be crumbly) and form into two discs about 1” thick.
- Wrap both dough circles in plastic wrap and place them in an airtight container.
- Refrigerate for at least 30 minutes, or overnight.
Roll & Shape Bottom Crust
- After the crust has chilled and you are ready to bake the pie, remove the pie crust dough from the refrigerator and roll one disc into a circle, about ¼ to ½ inches thick. (if it has been refrigerated overnight you will need to let it sit on the counter at room temperature until it is pliable).
- Gently place the crust into pie plate and form it to look how you would like!
- Place the crust in the pie dish in the refrigerator while you shape the top.
Roll and Shape Top Crust
- Repeat the procedure with the top crust. If you would like the top crust to be a simple circle, add it to the top of your pie after putting the filling in the bottom crust and bake according to the recipe instructions.
- If you would like to make the top shape into a design, use pie crust cutters, braid the dough for the edges, or make a lattice crust. Then place the crust on top of the pie and bake according to the instructions in your recipe.
Make the Egg Wash
- Whisk together the egg yolk and heavy cream.
- Lightly brush over the surface of the pie crust.
How to Blind Bake Pie Crust
- Preheat oven to 425 degrees F.
- After you have shaped the bottom crust (half of the recipe) into the pie dish, line the pie crust with foil and fill it with dried beans or pie weights.
- Bake for 15 minutes in the preheated oven; remove the foil and the beans or weights. Reduce the oven temperature to 375°F.
- Bake 5 to 7 additional minutes, until the crust looks just barely browned. Let cool on a rack while you prepare the filling.
Bake Pie Crust Shapes Alone
- Cut out desired shapes. Place them on a parchment-lined baking sheet.
- Place them on a parchment-lined baking sheet.
- Bake at 350 degrees F for 8-12 minutes depending on the thickness – until they just begin to brown.
Use in your favorite Pie Recipes
- Or, do not bake the crust alone and use it in your favorite Pie Recipes.
Notes
- All-purpose flour. Pastry flour works well in place of all-purpose flour in this pie crust recipe. Use a 1:1 all-purpose gluten-free flour to make this recipe gluten-free.
- Salted butter: Unsalted butter can be used in place of salted butter. For a dairy-free, vegan pie crust you can substitute vegan butter (like Earth balance) (which is what was used to make this dairy-free pumpkin pie)!
- Granulated Sugar. white or organic cane sugar are great substitutes. If making a savory pie like chicken pot pie, you can omit if desired.
- Sea Salt. I always recommend baking with pure sea salt. If you have iodized table salt, you may need to decrease the amount of salt.
- Egg Wash. this is optional. Heavy cream can also be used in place of eggs, or a 1:1 mixture of the two.
Nutrition
Nutrition information is automatically calculated, so should only be used as an approximation.

I can see how this applies in real life. This article is both informative and inspiring. The tips here are easy to apply.
Good afternoon I have a question can I use this all butter pie crust for sweet potato pie and pecan pie
Yes you can. I do! See my sweet potato pie recipe.
My mother was the queen of pastry. I’ve never been able to live up to her crusts, until now ! This recipe is fool proof and absolutely delicious. I’ve also made the savoury version with great success (turkey pot pies). Thank you !
I’m SO happy you love this recipe Debra! Looks like you’re the new queen of pastry!
This pie crust recipe has been my favorite. However, I wanted to ask your input on whether using this for a pecan pie requires blind baking this crust?
How far in advance can you make and keep refrigerated before rolling out? Is 2 days too much? This crust always rolls out beautifully, I don’t want to do anything to mess that up!
I have left it in the refrigerator for up to 2 days. I suggest wrapping each disc of dough tightly with plastic wrap and then putting them in ziplock bags and squeezing out all the air.
Delicious!
Made my first pie crust a few weeks ago and the apple pie was amazing, flaky crust.
The other day I made 3 pie crusts at once. They came out crunchy but good. A few things may have made the difference:
~ 3 at one time
~ May not have mixed in the butter well enough
~ Forgot to let the crust sit out a bit before rolling
The recipes on this site are amazingly delicious, thank you!
Thank you, Sandy! Yes things are always a bit trickier when you triple a recipe!
Hi, I made a chunky applesauce pie with this recipe (I basically used frozen applesauce that my mum made, and defrosted it in a saucepan) and it turned out incredible!! Thanks so much for this recipe! An awesome sub for traditional lard pie crust. I also love the way your pies turned out. So beautiful!
This recipe is great! I am a 74 year old woman without much cooking experience. I made a pie, using this crust and everyone LOVED it! Not as pretty as your examples, but tasty none-the-less. Thank you!
I’ve used this recipe every year and make it by hand and it always comes out great. I wanted to see if it can be frozen ahead of time? If so, which step in the process?