Best Apple Crumb Pie
Updated Sep 30, 2024
This post may contain affiliate links. Please read our disclosure policy.
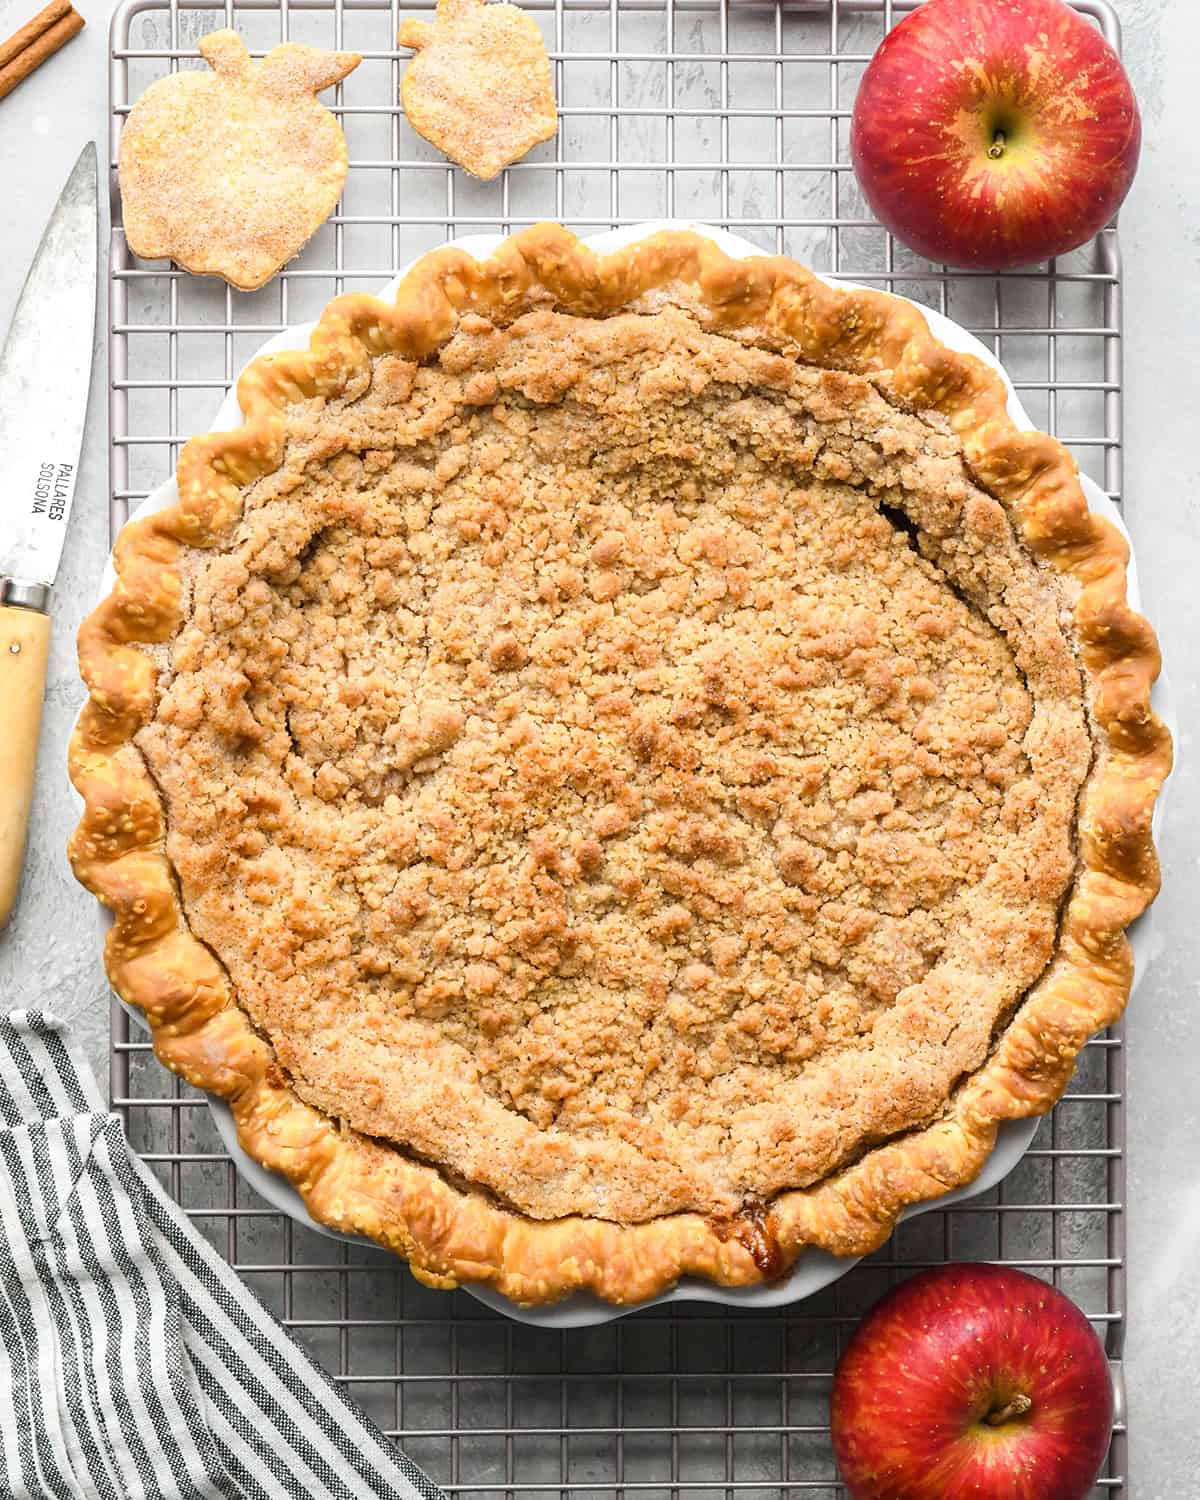
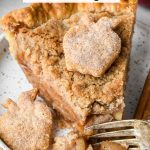
This apple crumb pie recipe is a delicious twist on classic apple pie! An apple filling is layered between a flaky pie crust and buttery crumble topping. Serve with a scoop of vanilla ice cream for the perfect fall dessert.

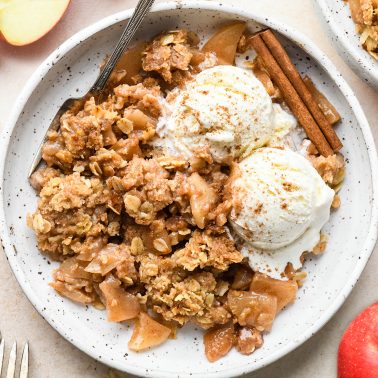
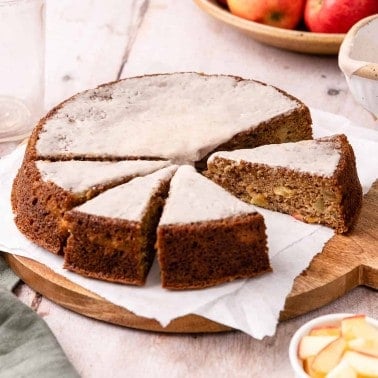
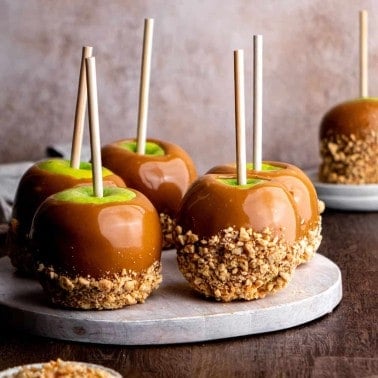
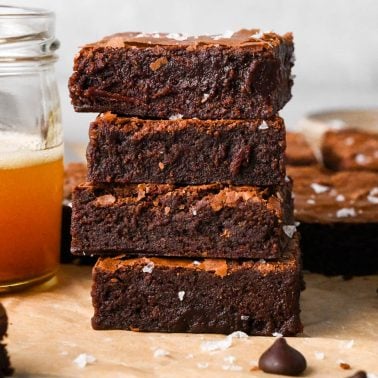
My favorite thing about the fall is that it’s apple season. So, I found it fitting to share our family’s favorite Apple Crumb Pie Recipe with you (also try this apple crisp, apple cobbler, homemade caramel apples, and these easy cinnamon apples).
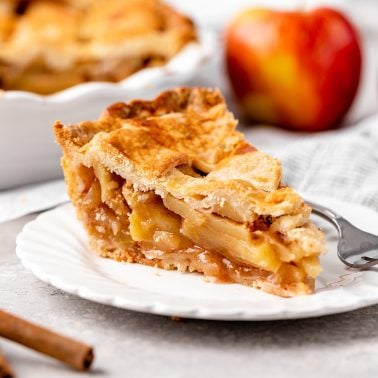
I prefer a crumb topping on my pies instead of a double pie crust (click here for a double-crust apple pie). It’s buttery, sugary crumbly texture is just irresistible! And it’s easy to sprinkle on the top instead of form into shapes (like a lattice).
This homemade Apple Crumb Pie recipe uses only a few, simple ingredients, allowing the taste of the apples to really shine. It’s the perfect dessert for Thanksgiving (along with these Thanksgiving recipes) or any time of the year.
Fun fact, this was the very first Thanksgiving dessert recipe I shared when I started my blog in 2016.

Apple Crumb Pie: Ingredient Substitutions
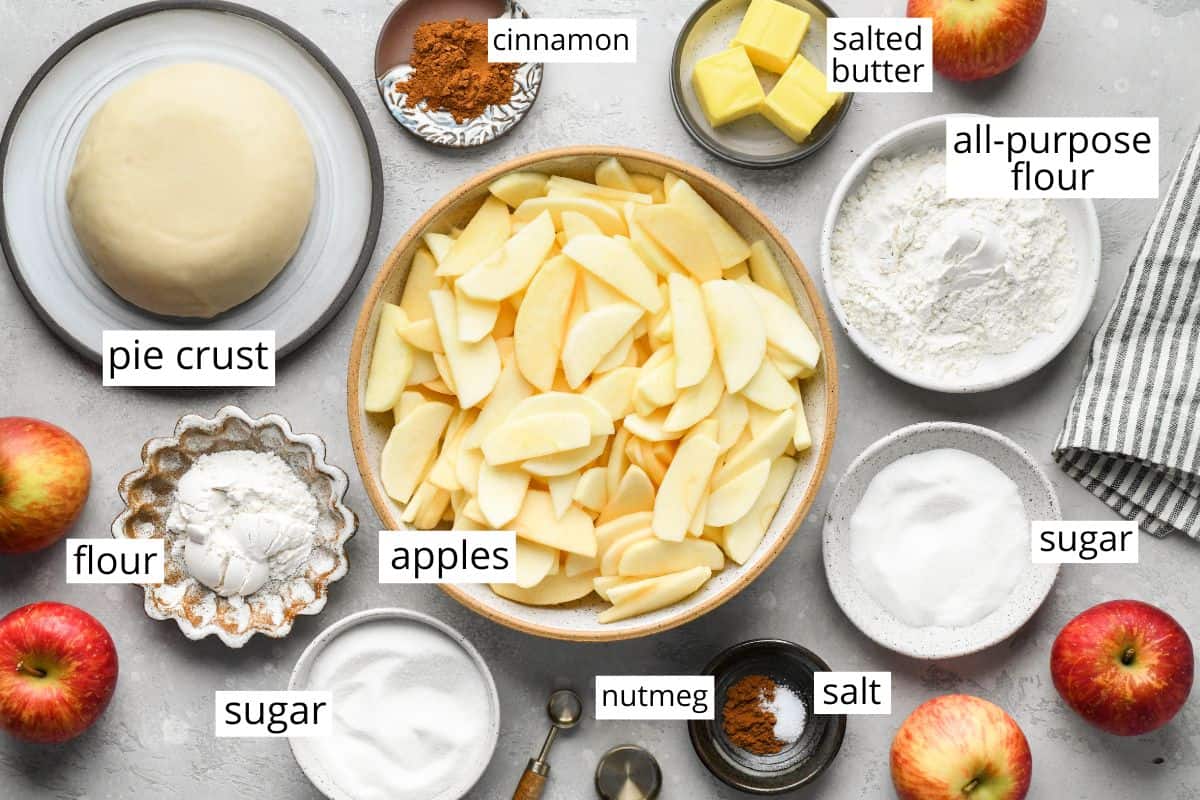
- Pie crust. I suggest making your own flaky butter pie crust (instructions are in the recipe card). Or, you can use a store-bought crust to make the recipe even easier.
- All-Purpose Flour. Use a 1:1 all-purpose gluten-free flour blend to make the recipe gluten-free. Pastry flour also works well.
- Granulated Sugar. Brown sugar can be used in place of granulated sugar in the filling for a deeper flavor.
- Apples. Choose your favorite apple variety. I recommend pink lady, honey crisp, gala, jazz, granny smith, McIntosh, etc. A sweet/tart mixture is my favorite.
How to make Apple Crumble Pie
Let’s walk through this recipe together, and don’t forget to watch the video.
Make the Crust
Since this apple crumble pie is homemade, begin by making the crust. I always make pie crust because it’s easy and delicious (like in this French Silk pie and this Pumpkin Pie).
Whether you use a food processor or a good old-fashioned pastry cutter, making this all-butter pie crust recipe literally takes 5 minutes. It is super easy and tastes so much better than the store-bought crusts. Halve the recipe and follow the instructions here: Butter Pie Crust.
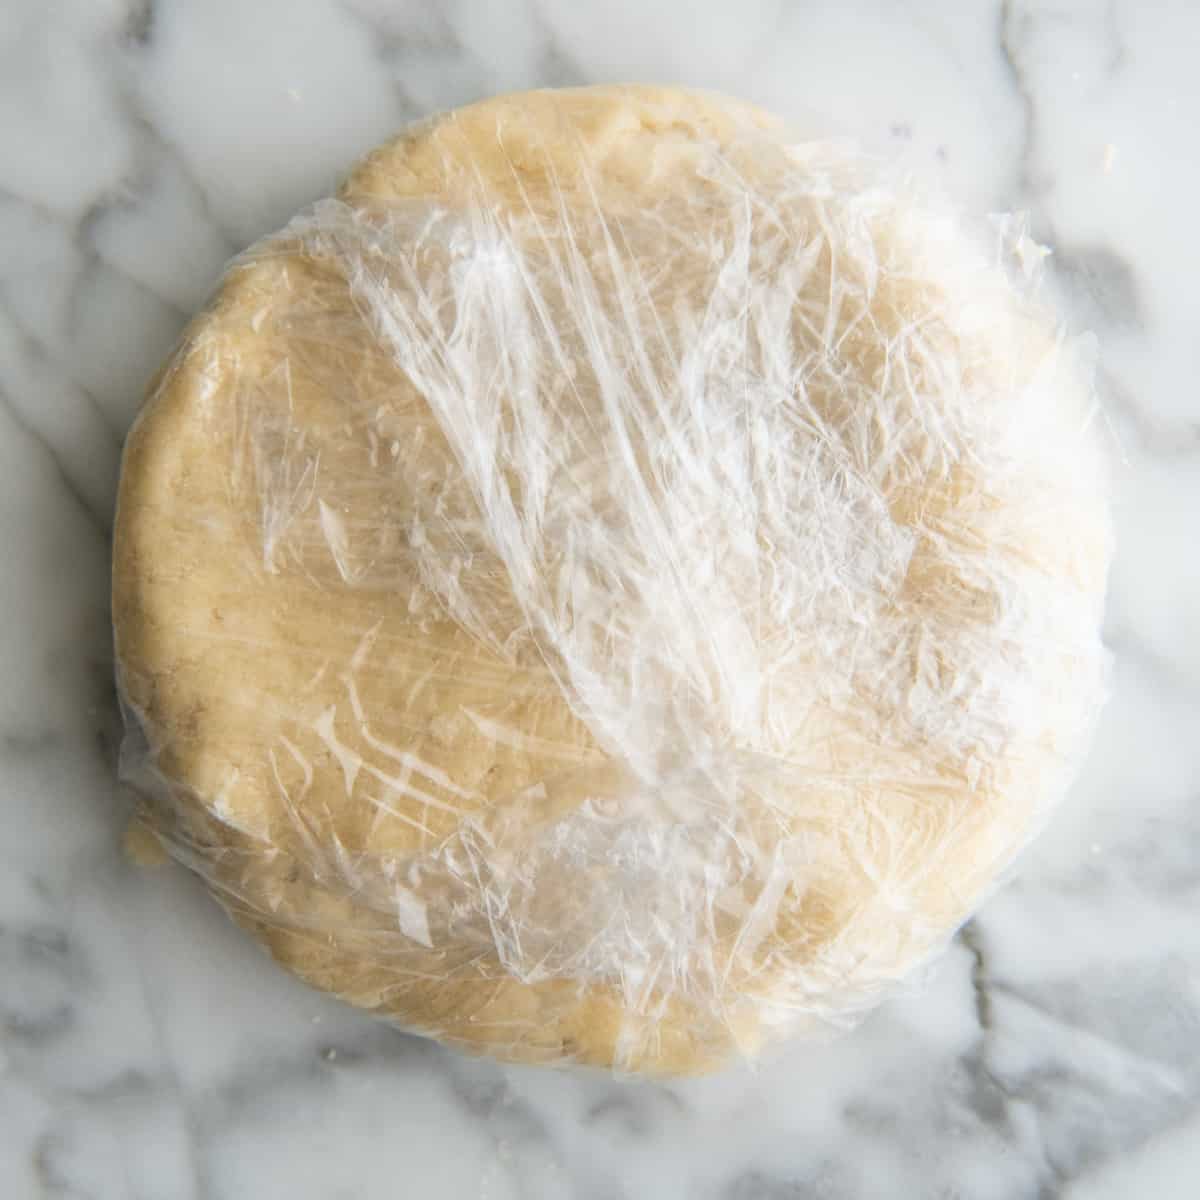
The crust needs to be chilled for at least 1 hour or overnight. Wrap it tightly in plastic wrap and put it in the fridge.
After chilling, roll out the dough. I suggest using your pie plate to measure the dough to make sure I rolled it large enough.

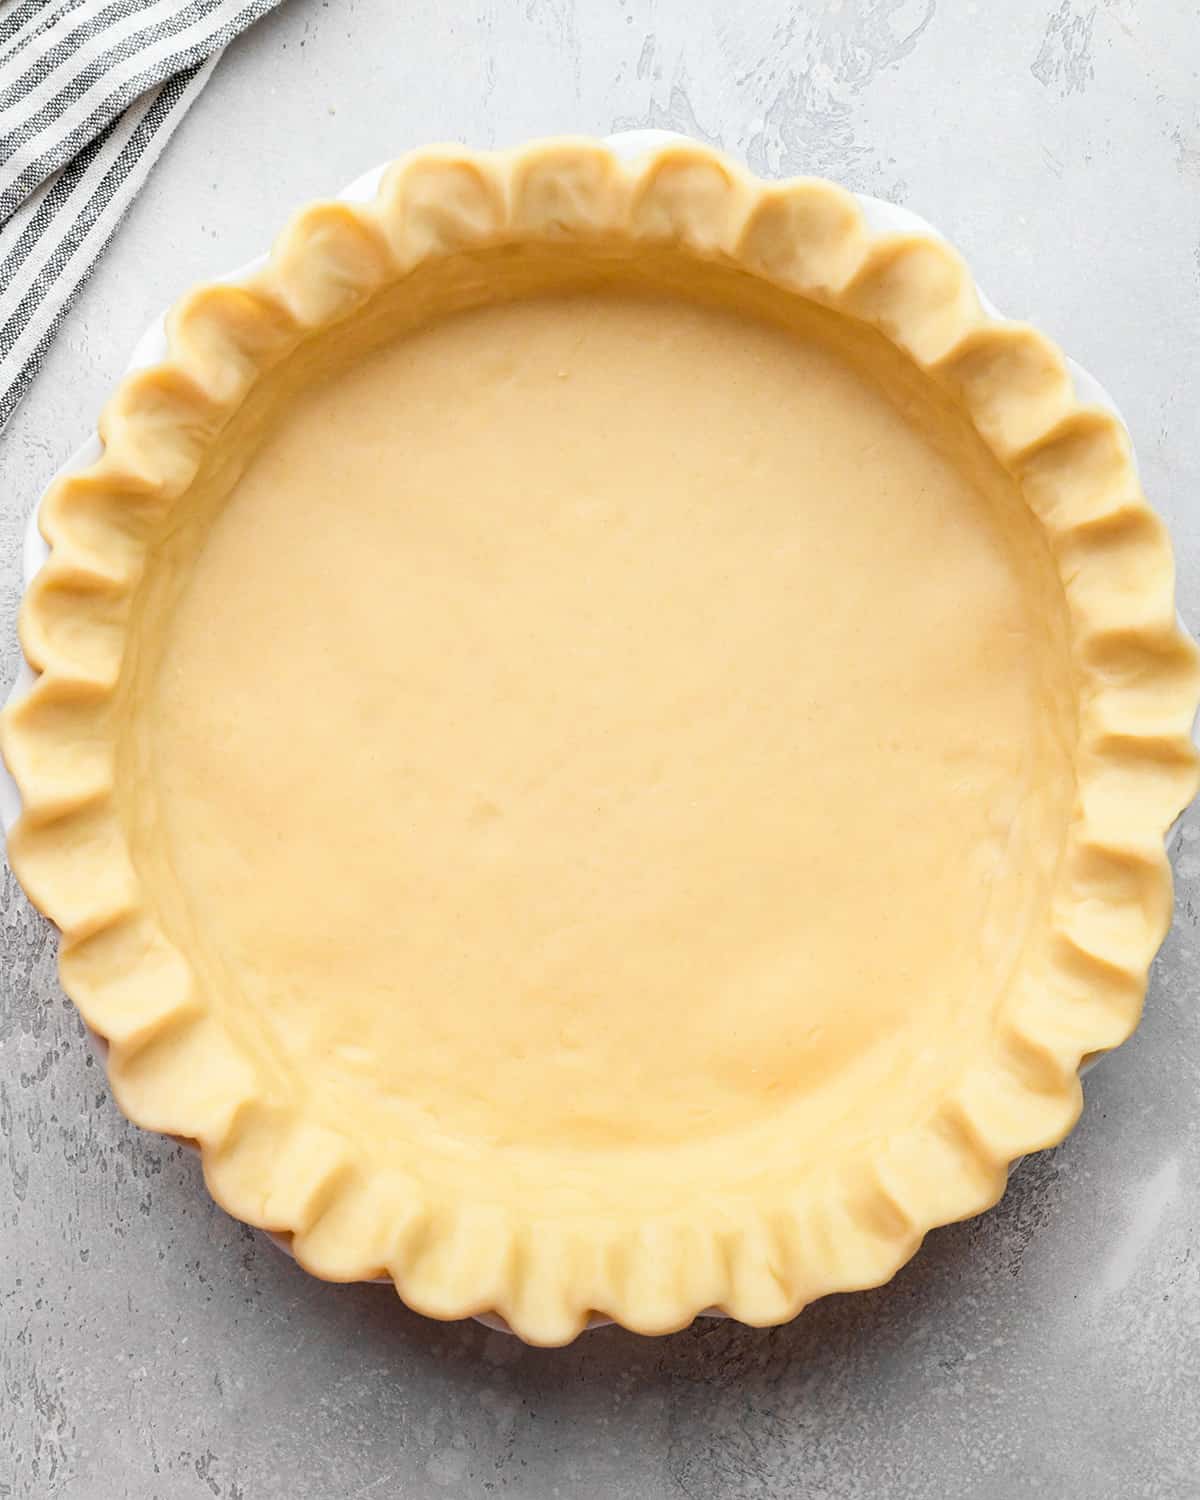
Then, form it into the pie dish and crimp the sides with your thumb and pointer finger (see the video).
Make the Apple Crumble Pie Topping
While the pie crust is chilling, make the crumble topping. Begin by combining the dry ingredients in a large bowl.
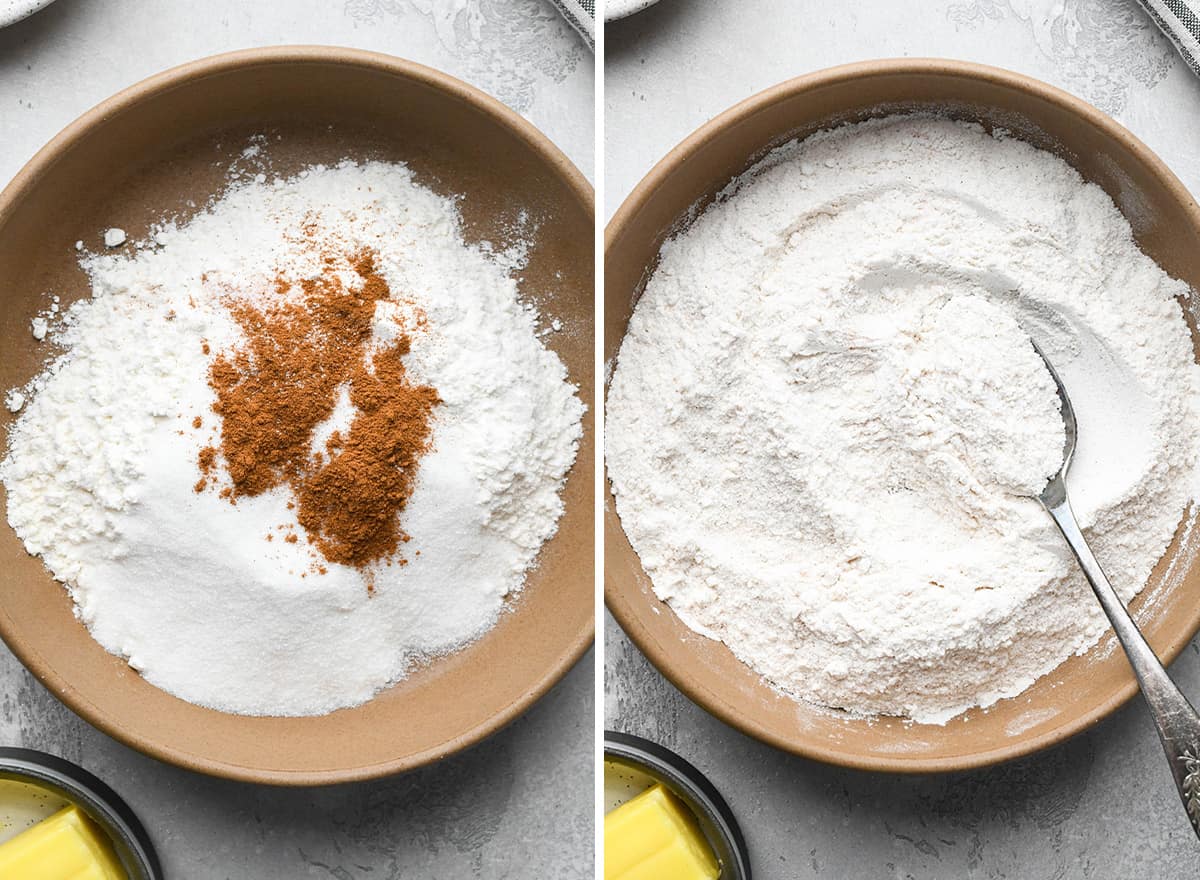
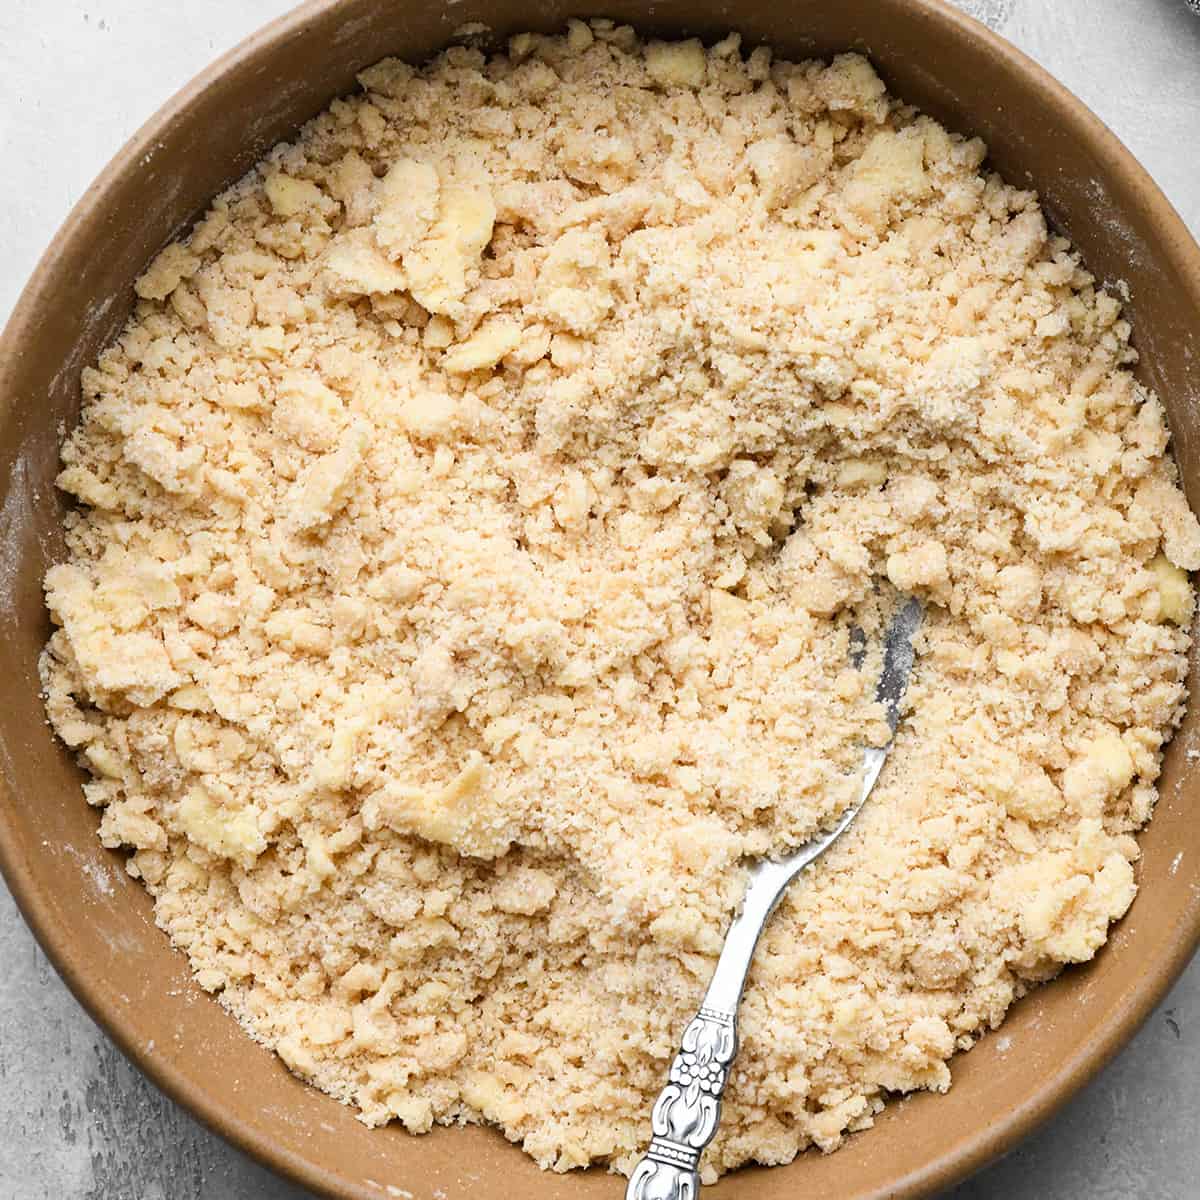
Then, cut in the softened butter with a fork or pastry cutter, or with your hands.

The topping should look like the photo below, well-mixed with large crumbs. Set it aside until you assemble the pie.
Make the Apple Crumble Pie Filling
I suggest making the apple filling with the dough is chilling as well. Begin by peeling, coring and slicing the apples and placing them in a microwave-safe bowl.
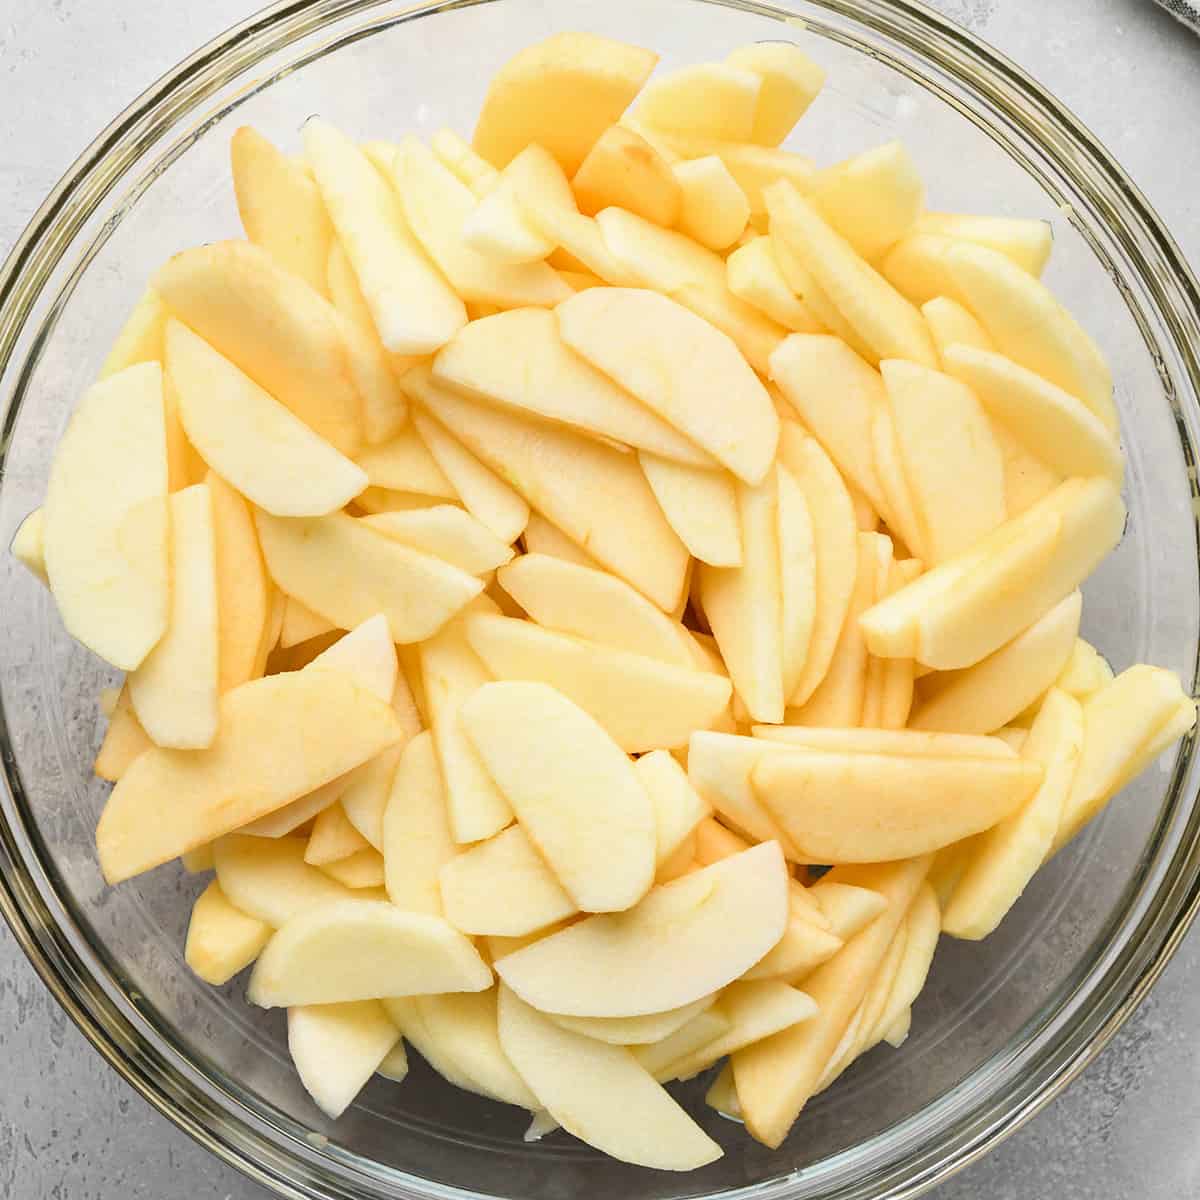
Then, cook the apples in the microwave for 5 minutes, until they are soft to the touch.
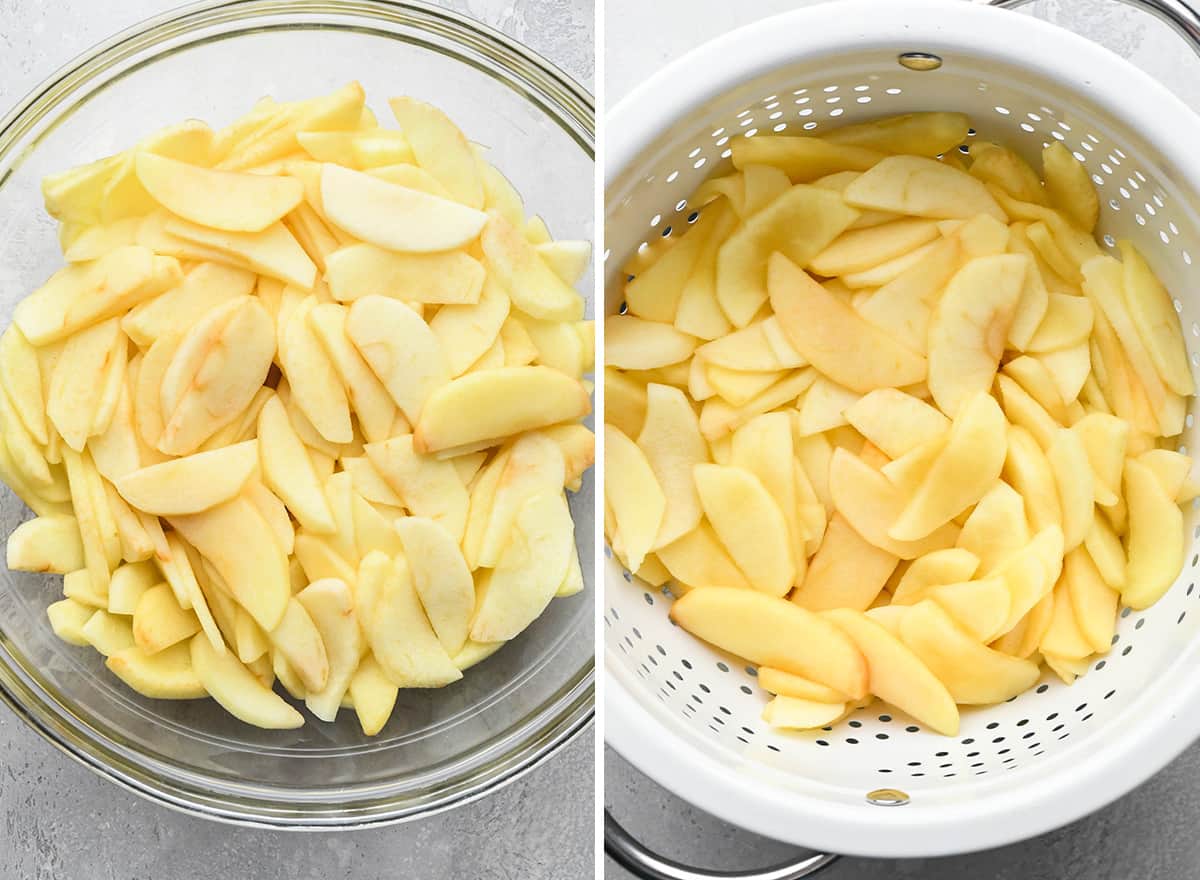
Once they finish cooking, transfer them to a colander to drain any excess water.
Why Precook Apples?
I suggest cooking the apples slightly before using them in this Apple Crumb Pie (and this classic apple pie) because it ensures two things
- The pie won’t “sink” when it’s baked and
- The filling and crust will finish baking at the same time.
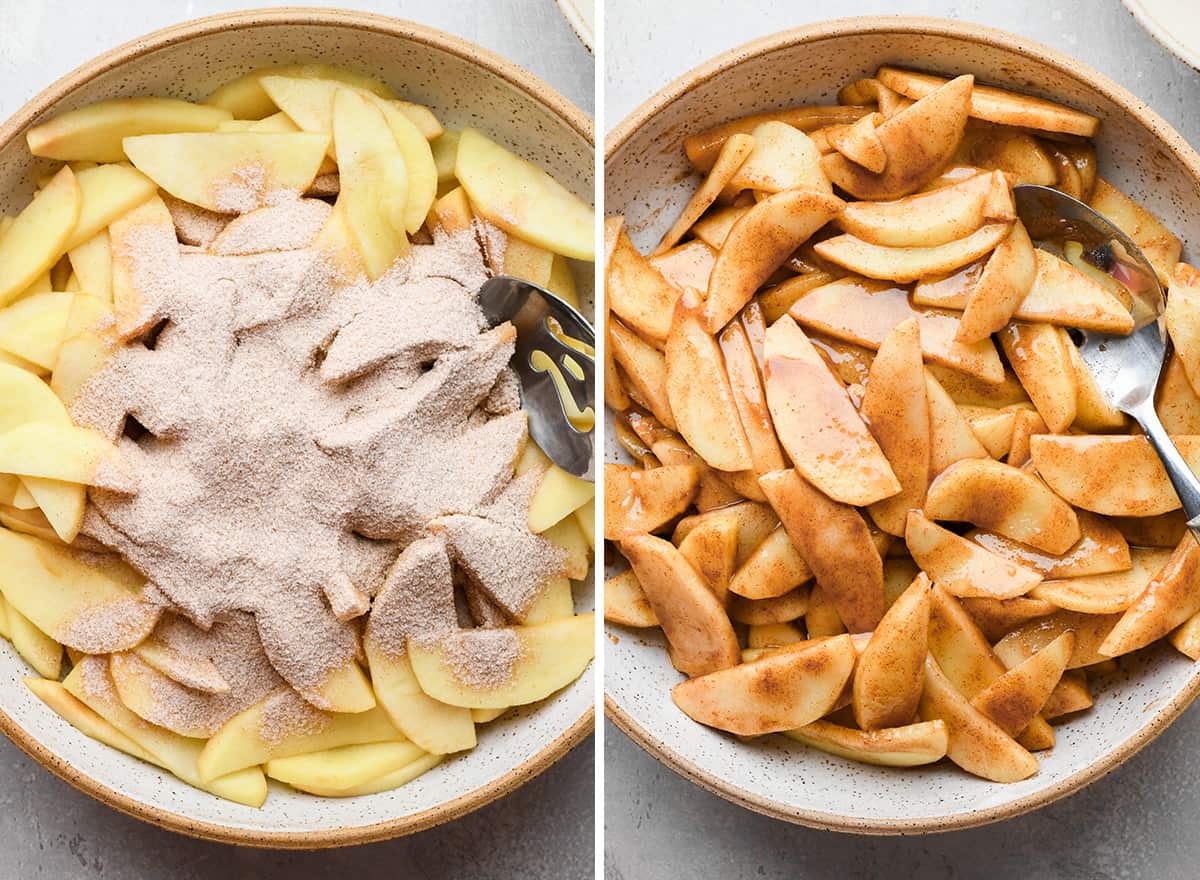
While the apples are cooking, combine the dry filling ingredients (sugar, flour, cinnamon, and nutmeg) in a small bowl.

After the apples have been drained and cooled slightly, add the dry filling mixture and stir to combine.
Assemble the Apple Crumb Pie
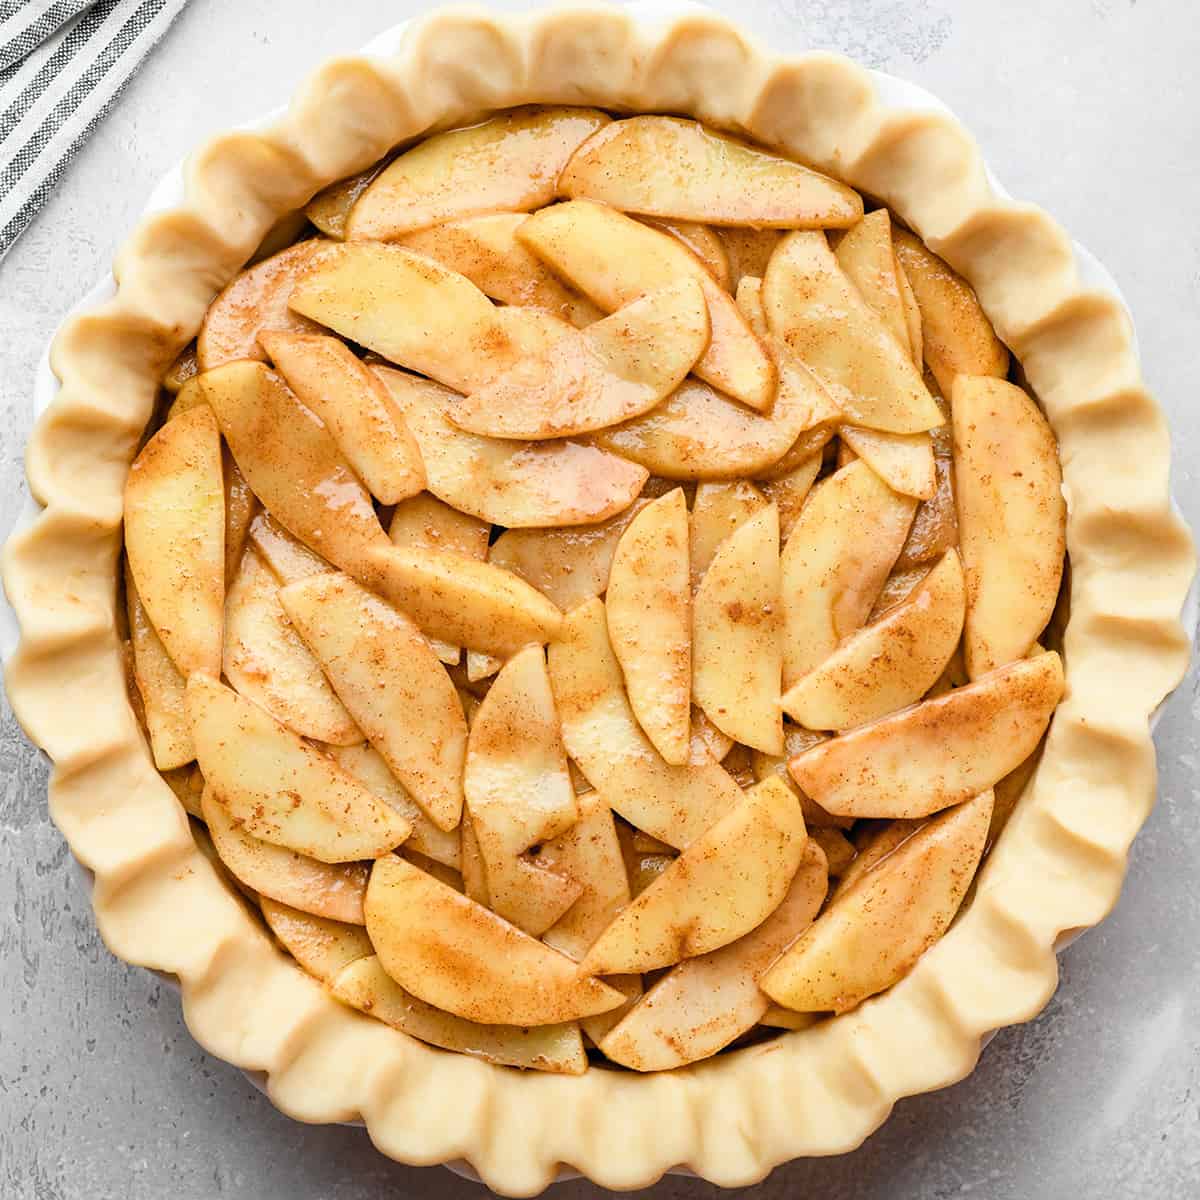
Once all the components are ready, it’s time to assemble the pie. Pour the apple filling into the prepared pie crust.
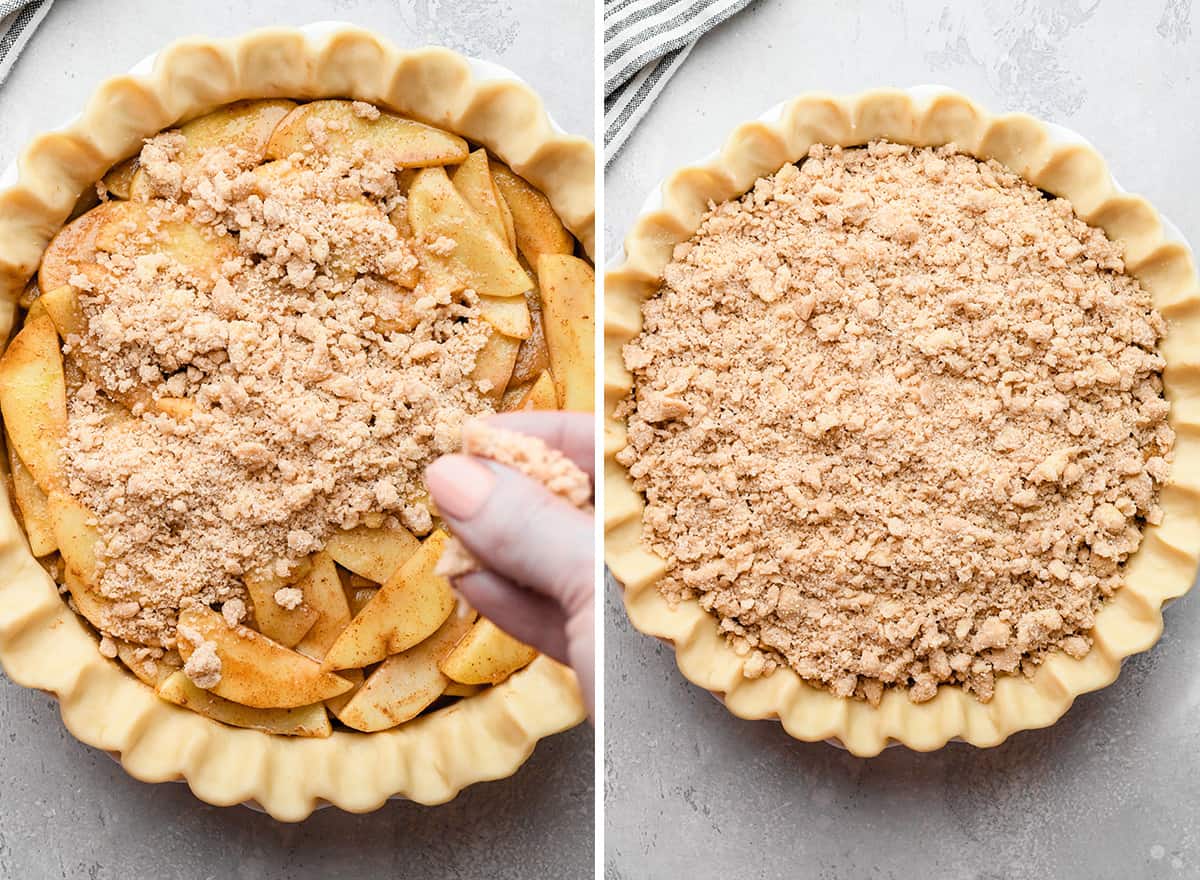
Then, evenly sprinkle the crumble topping over the apple filling.
Bake & Cool
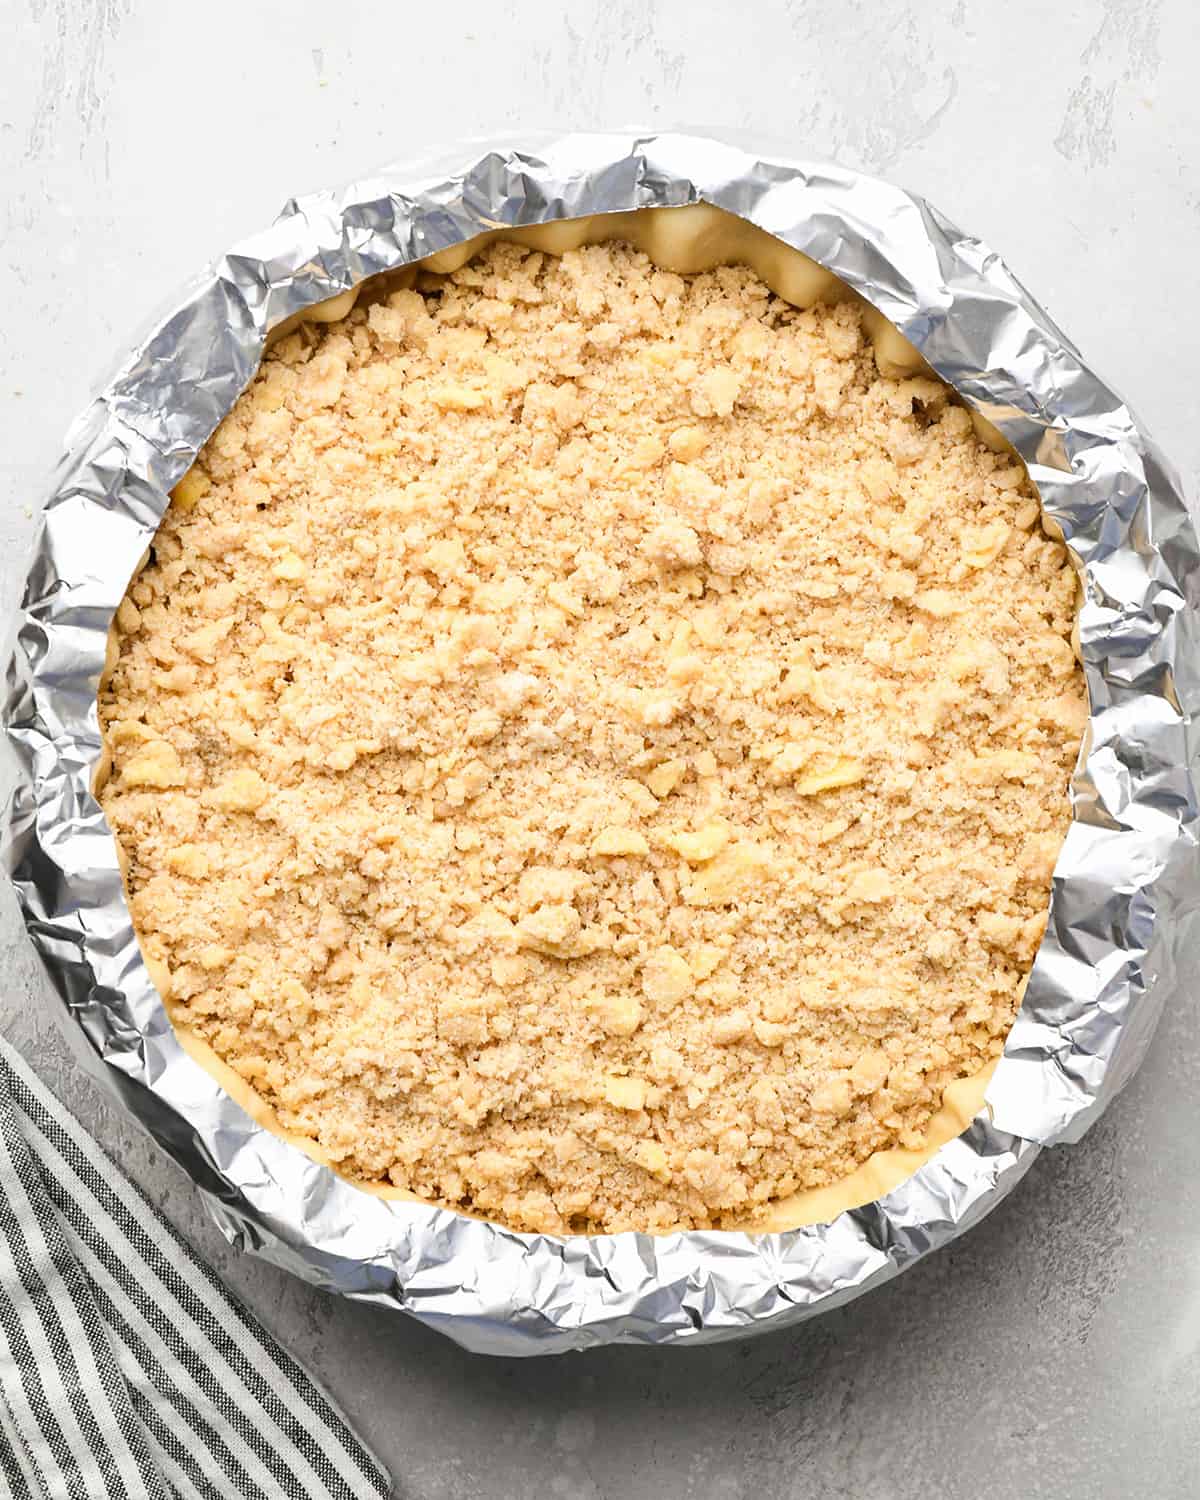
Cover the crust with a pie crust shield and bake in the preheated oven for about one hour.
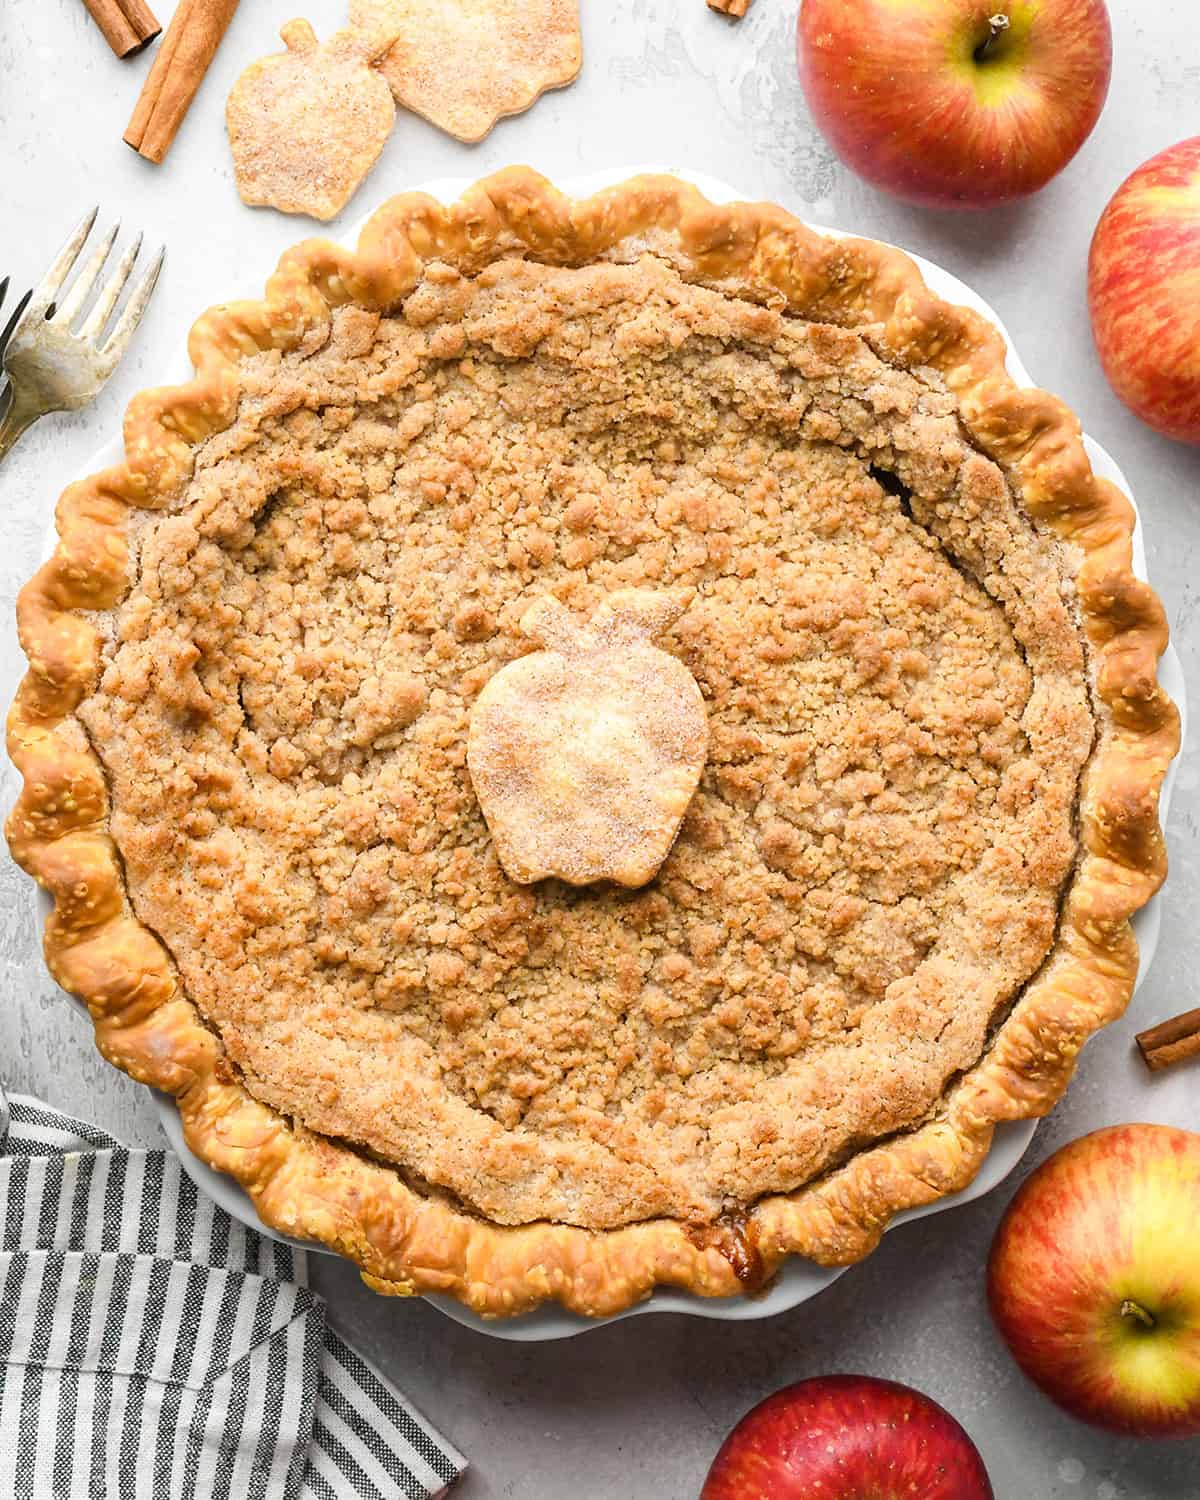
You know this Apple Crumble Pie is done when the filling starts to bubble and the top is a delicious golden-brown.
This pie is best after it has cooled until it’s just barely warm. I recommend letting it cool on a wire rack for at least 3 hours, preferably longer.
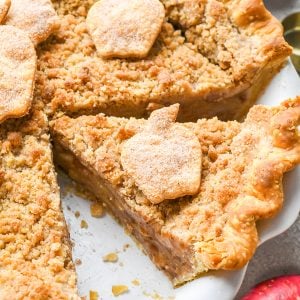
Serve
Serve this apple crumble pie with a dollop of fresh homemade whipped cream or a scoop of vanilla ice cream for a perfect fall treat.
Store
Store leftovers at room temperature for up to 2 days or in the refrigerator for up to 1 week.

Freeze
This pie freezes very well! There are 2 ways to freeze this recipe:
- Freeze the entire pie. Let the pie come to room temperature, then wrap it tightly with plastic wrap and foil and freeze for up to 2 months. Thaw in the refrigerator overnight before cutting and serving.
- Freeze individual slices. Put the slices on a baking sheet and transfer them to the freezer. Then, once they’re frozen, wrap them in plastic wrap and store in an airtight container for up to 2 months. Thaw in the refrigerator for about 6 hours.

Apple Crumb Pie Recipe FAQs
The crumble topping is make with granulated sugar, all-purpose flour, butter softened, ground cinnamon, and sea salt.
I really like a tart variety like Granny smith or pink lady, but all varieties work well.
Be sure to use a colander to let the water drain out of your apples as they cool before mixing the dry ingredients into them.
Let the apple pie cool completely before serving. This will thicken up the filling and harden the crust.
Do not add any excess water to the pie when you add the filling.
Bake the apple crumb pie on the bottom rack in your oven.

If you make and love my recipes, it would mean so much to me if you would leave a comment and rating! And don’t forget to follow along on Instagram, Pinterest, Facebook, TikTok and Youtube – be sure to tag @joyfoodsunshine and use the hashtag #joyfoodsunshine so I can see your creations!
Apple Crumble Pie
Video
Ingredients
Pie Crust
- 1 ¼ cups all-purpose flour
- ½ tsp fine sea salt
- 1 Tablespoon granulated sugar
- ½ cup salted butter
- ¼ cup water (ice cold)
Filling
- 4 pounds apples (peeled, cored and sliced – 9 to 10 cups apples)
- ½ cup granulated sugar
- 3 Tablespoons all-purpose flour
- 1 ½ teaspoons ground cinnamon
Topping
- 6 Tablespoons salted butter (softened)
- ⅓ cup granulated sugar
- ¾ cup all-purpose flour
- ½ tsp ground cinnamon
- ¼ tsp fine sea salt
Instructions
Make the Pie Crust:
- Place the flour, salt, and sugar in a food processor fitted with an “S” blade and pulse to combine.
- Add the butter (or earth balance) and cold water and process until the mixture resembles a coarse meal, begins to stick together, and holds together when pinched.
- Remove dough from processor (will be crumbly) and form into a ball.
- Wrap in plastic wrap and refrigerate for at least 1 hour or overnight.
Make the Crumble Topping:
- In a small bowl, mix together sugar, flour, cinnamon and salt until combined.
- Cut in butter with a fork, a pastry cutter, or your hands until crumbly. Set aside.
Make the Apple Filling:
- Place the peeled and cored apples in a microwave safe dish and microwave for 5 minutes, until apples are slightly soft to the touch.
- While apples are in the microwave, mix together sugar, flour cinnamon and nutmeg in a small bowl.
- Remove apples from the microwave and transfer them to a colander to drain any excess water.
- Then, put them in a large bowl, add the dry mixture to the partially cooked apples and stir to coat.
Assemble the Pie
- Towards the end of the chilling time for the crust, preheat the oven to 350 degrees Fahrenheit.
- Remove crust from refrigerator and roll into a circle, about ¼ to ½ inches thick. (if it has been refrigerated overnight you will need to let it sit on the counter at room temperature until it is pliable).
- Place crust into pie plate and form the crust as you wish (pinch the sides).
- Pour filling into unbaked pie crust.
- Use your hands to evenly sprinkle the crumb topping over the filling.
- Put a pie crust shield or aluminum foil over the outer crust of the pie to protect it from burning. Remove the shield in the last 10-15 minutes of baking if it doesn’t begin to brown under the shield.
Bake & Cool
- Bake the pie in the preheated oven, on the lower rack, for 55-60 minutes, or until the filling begins to bubble and the top & crust is lightly browned.
- Let cool for at least 1 hour then serve.
Notes
- Pie crust. I suggest making your own flaky butter pie crust (instructions are in the recipe card). Or, you can use a store-bought crust to make the recipe even easier.
- All-Purpose Flour. Use a 1:1 all-purpose gluten-free flour blend to make the recipe gluten-free. Pastry flour also works well.
- Granulated Sugar. Brown sugar can be used in place of granulated sugar in the filling for a deeper flavor.
- Apples. Choose your favorite apple variety. I recommend pink lady, honey crisp, gala, jazz, granny smith, McIntosh, etc. A sweet/tart mixture is my favorite.
- Freeze the entire pie. Let the pie come to room temperature, then wrap it tightly with plastic wrap and foil and freeze for up to 2 months. Thaw in the refrigerator overnight before cutting and serving.
- Freeze individual slices. Put the slices on a baking sheet and transfer them to the freezer. Then, once they’re frozen, wrap them in plastic wrap and store in an airtight container for up to 2 months. Thaw in the refrigerator for about 6 hours.
Nutrition
Nutrition information is automatically calculated, so should only be used as an approximation.


Enjoyed this pie! Used a variety of apples. I suggest maybe less sugar if some of the apples are sweet. I could not find the pie dish size in the directions–perhaps I missed it. I used a 9 1/2″ deep dish pie plate which luckily worked great. In the directions, nutmeg was mentioned, but again I didn’t see any measurement in the ingredients. Added 1/8 tsp. to filling and a smaller amount to the topping. Next time I plan to use brown sugar in topping for more color. Thanks for sharing this recipe. Will be great addition to Thanksgiving menu.
I’m so glad you enjoyed it Susan!
What size pie plate do you use? Thanks
9″ deep or 10″!