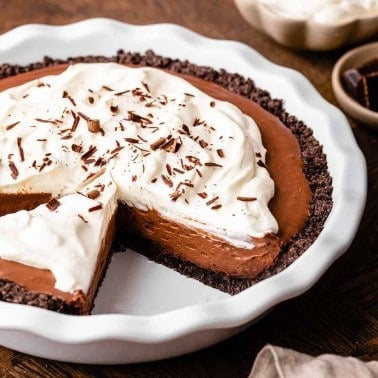
French Silk Pie
Updated Feb 08, 2025
This post may contain affiliate links. Please read our disclosure policy.
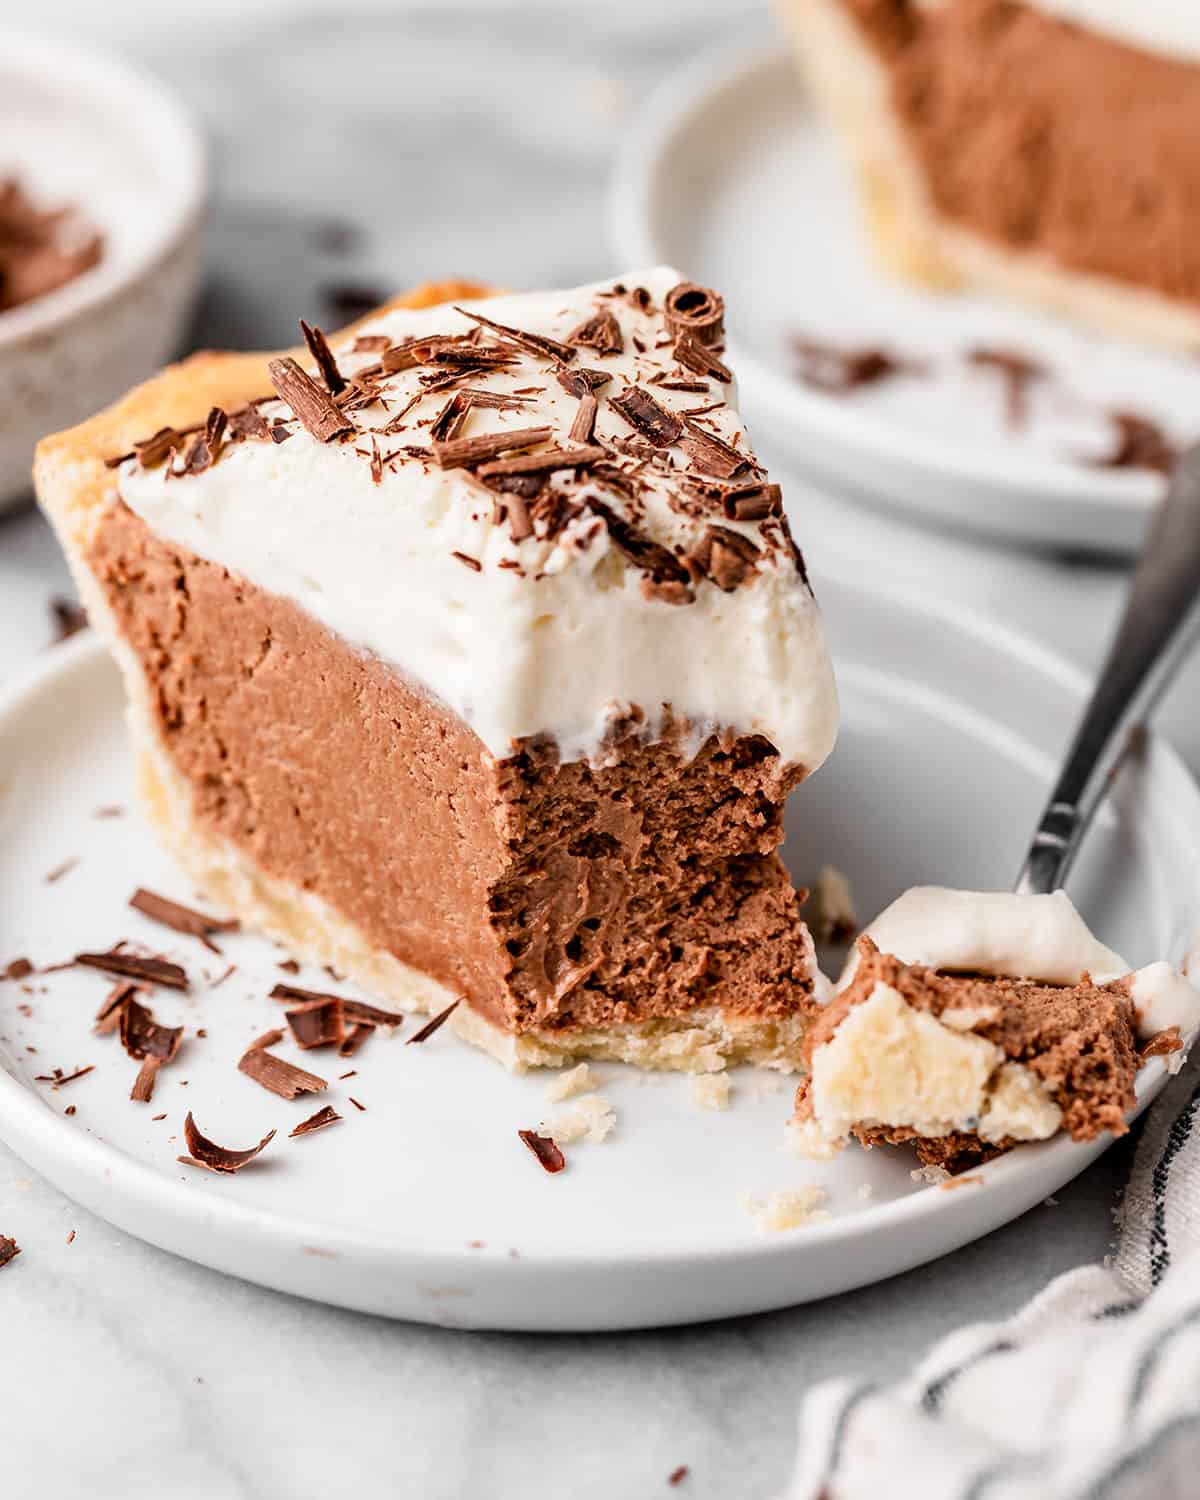
This homemade French silk pie is even better than your favorite restaurant. A luscious chocolate silk filling sits on a flaky crust and is topped with whipped cream. The perfect pie for chocolate lovers!

This Homemade French Silk Pie is made completely from scratch and is even more delicious than the famous version from Village Inn (or Baker’s Square for my Midwest-dwelling friends)!! Yes, you heard me right! It’s even better! (Just like this Oreo Pie)!
What makes it better than it’s store-bought counterpart? Well, this homemade version is just as silky and smooth, but it packs a richer, deeper chocolate flavor and is not overly sweet. Plus it is made with real-food ingredients (no packaged puddings or cool whip like this peanut butter pie – yum!).
The inspiration for this recipe comes from my husband’s mom. I took her recipe that she created many years ago and tweaked it over the last decade to dial it in to be, what I consider, the perfect french silk pie!

French Silk Pie: Ingredients and Substitutions
Since people often wonder what French silk pie is made of, let’s chat about the ingredients in this recipe! Remember there are no packages puddings or mixes which is why it is so delicious!

- Pie Crust: If you make the pie crust I recommend not making any substituions, except that you can swap shortening for butter, and follow this all-butter pie crust recipe. Or use Oreo Pie Crust, or store-bought crust for convenience.
- Salted Butter. unsalted butter can be used in place of salted butter.
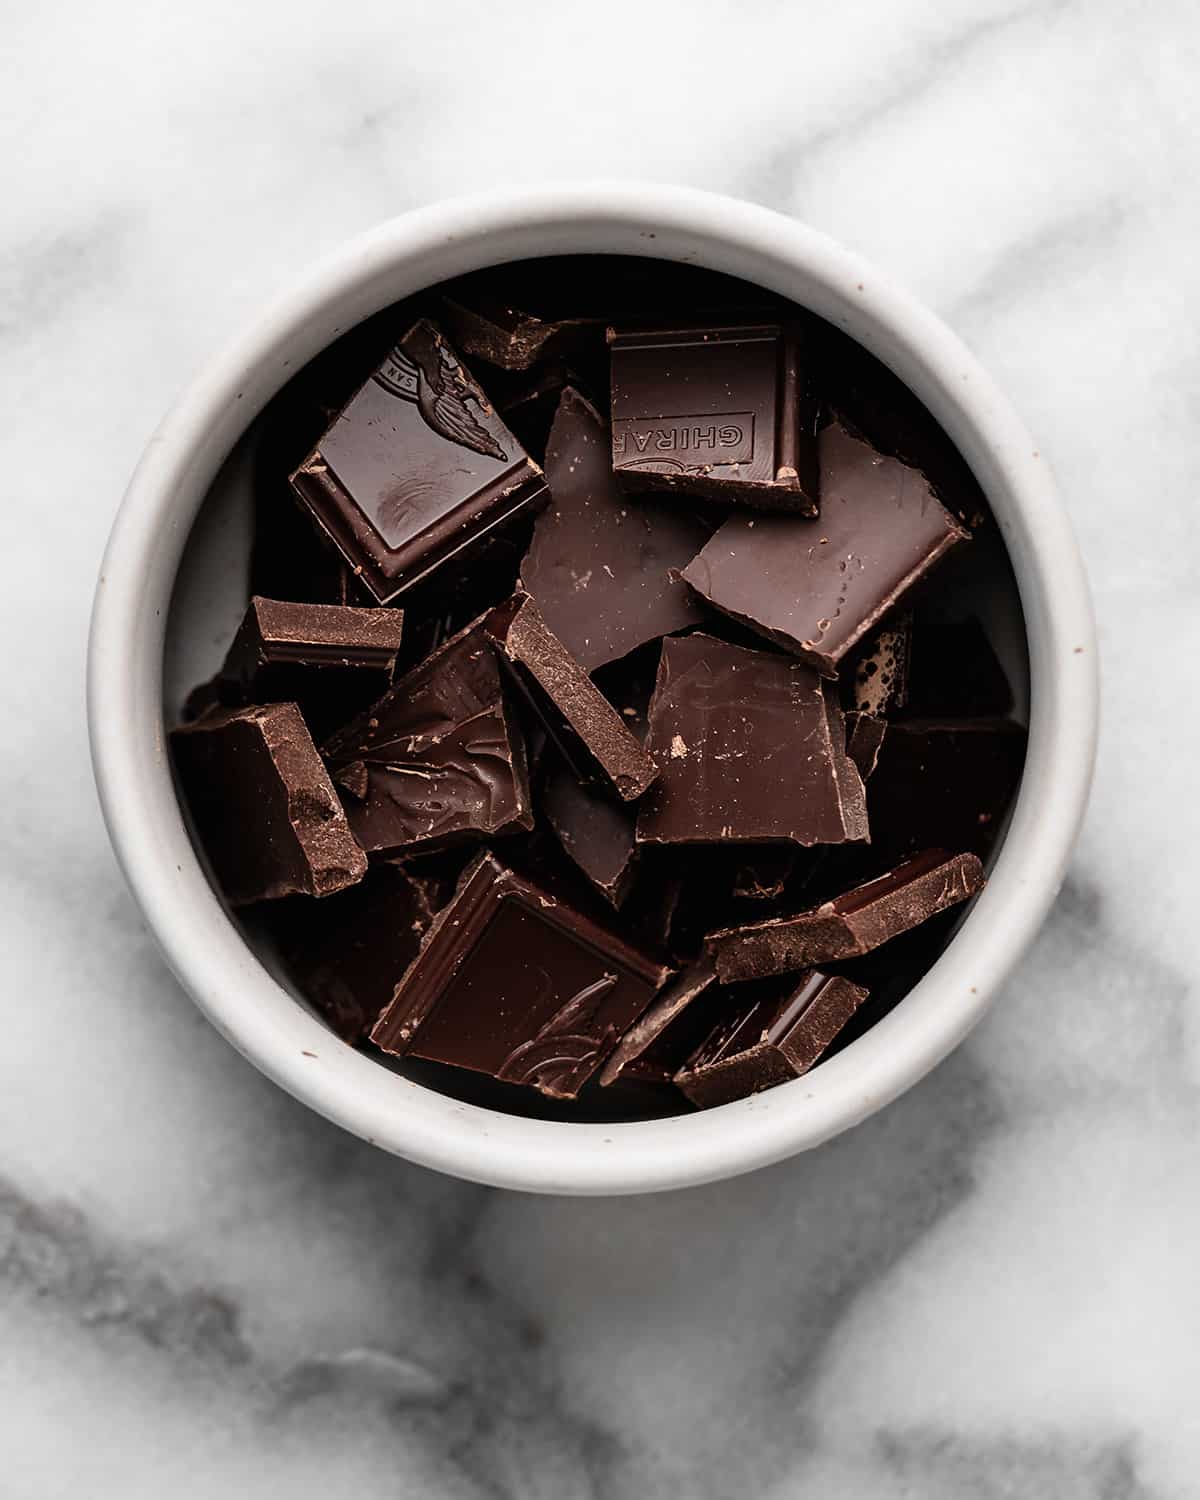
- Semi-sweet chocolate. You can use any form (chips, chocolate bars, melting discs, etc.) or any percentage of chocolate in this recipe and it will taste amazing. Milk chocolate yields a sweeter pie, while dark or unsweetened chocolate results in a less sweet pie.
- Whipping cream. Heavy whipping cream, whipping cream, or heavy cream each work well in this recipe. I discuss the difference in this post: how to make whipped cream.
How to Make French Silk Pie
We’ll walk through this recipe, and don’t forget to watch the video. Over the years I have found that it’s easiest to make this recipe in the following series of steps:
- Make and bake the crust, then let it cool.
- Whip whipping cream for the filling – store in the refrigerator for later.
- Make sweetened whipped cream topping – then store in the refrigerator.
- Make chocolate silk filling.
- Assemble & Chill
Make the Pie Crust
The first step in this recipe is to bake and cool the pie crust. Please note, the crust has to chill for at least 1 hour, so plan accordingly. I usually make it the day before and let it chill overnight.
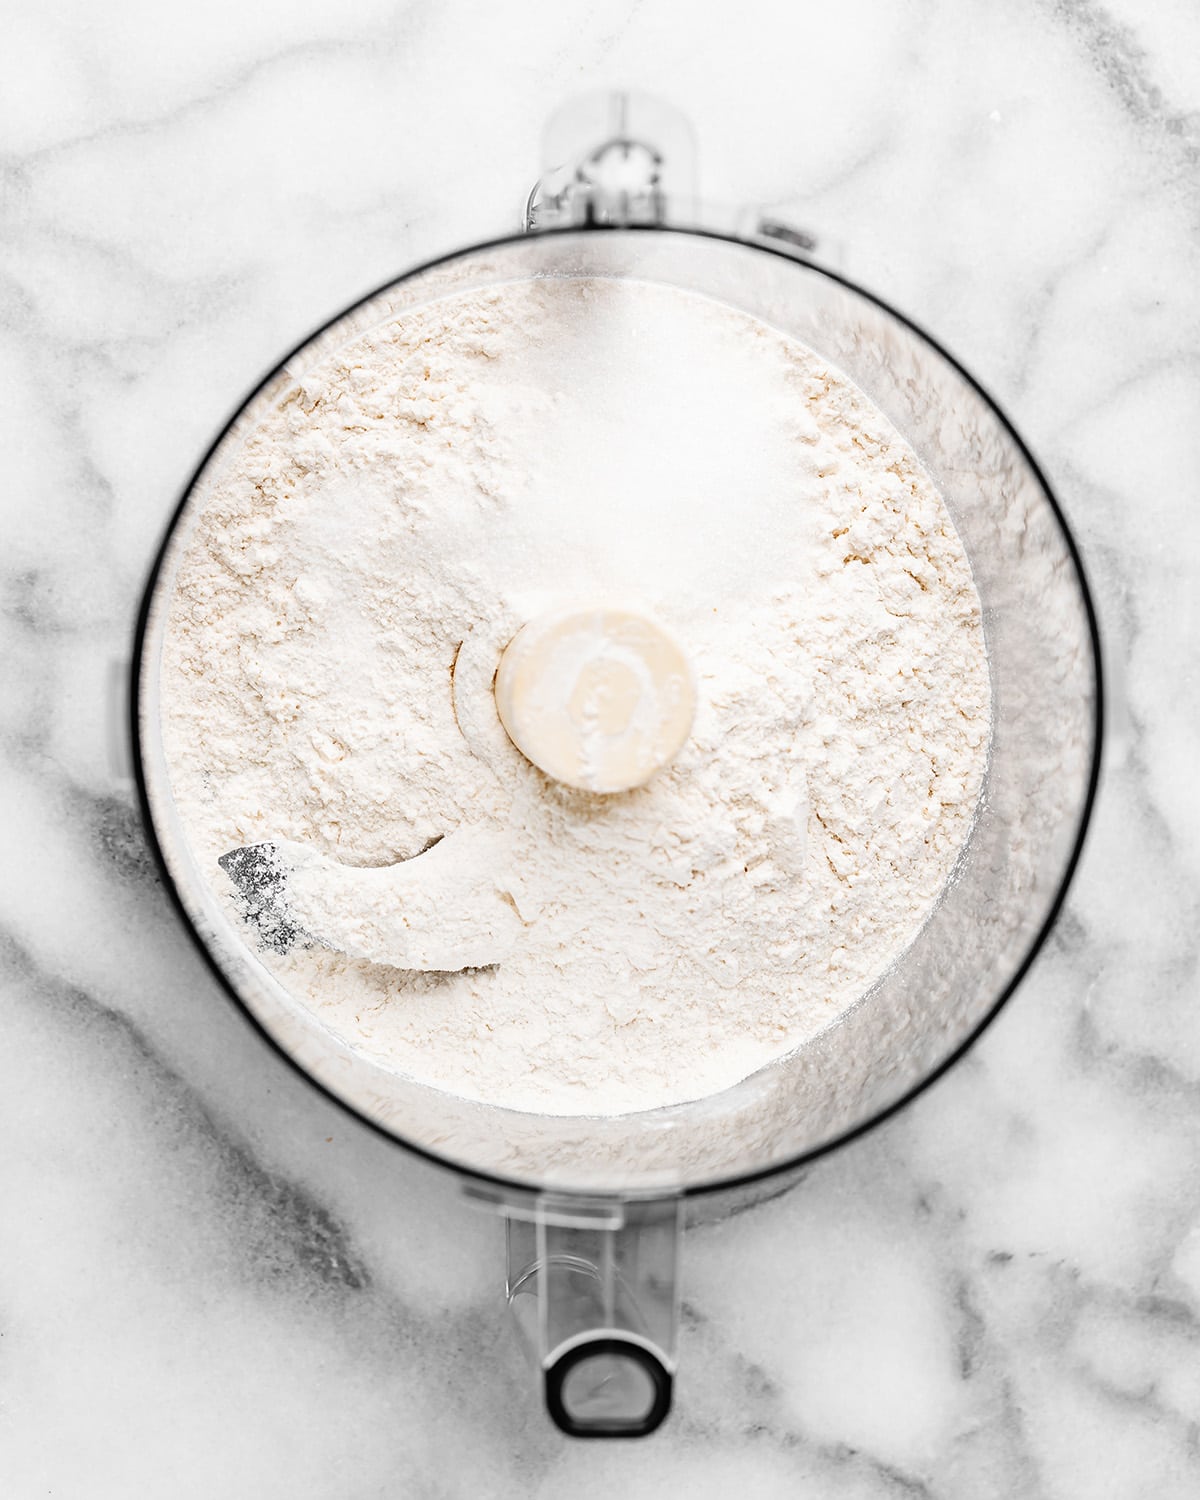
Begin by combining the flour, salt, and sugar in a food processor fitted with an “S” blade.
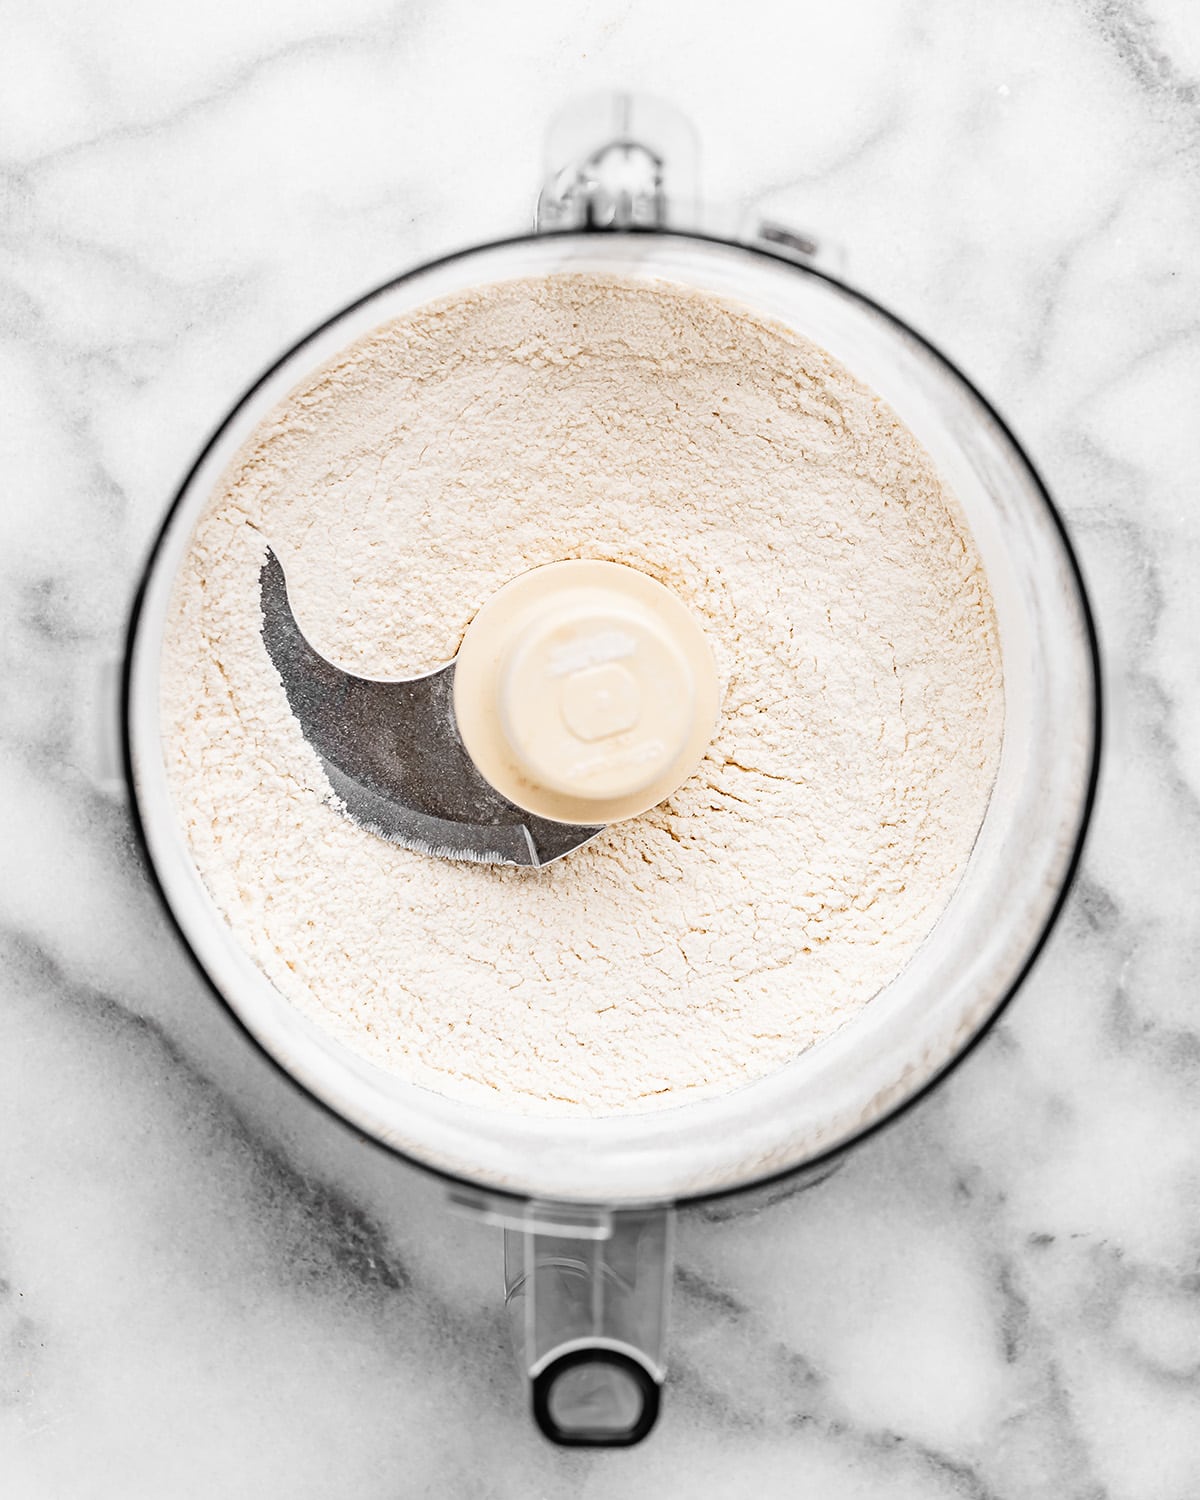
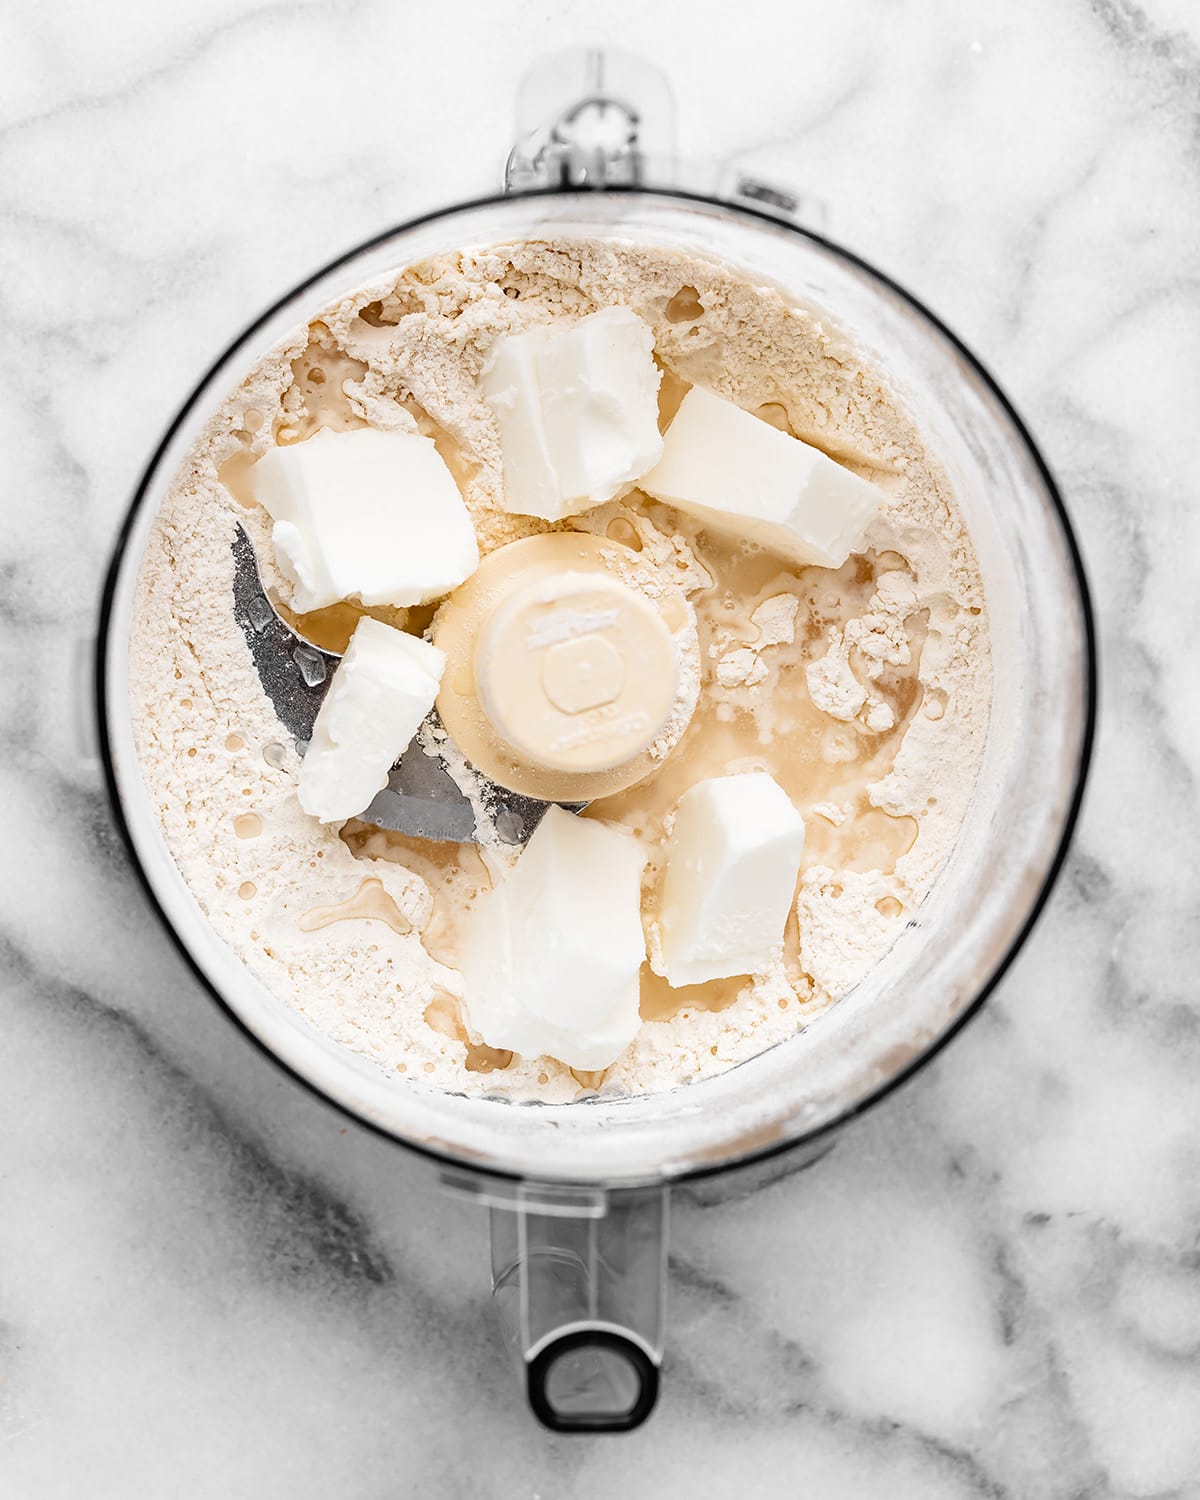
Then, add the shortening and cold water and process until the mixture resembles a coarse meal, begins to stick together, and holds together when pinched.
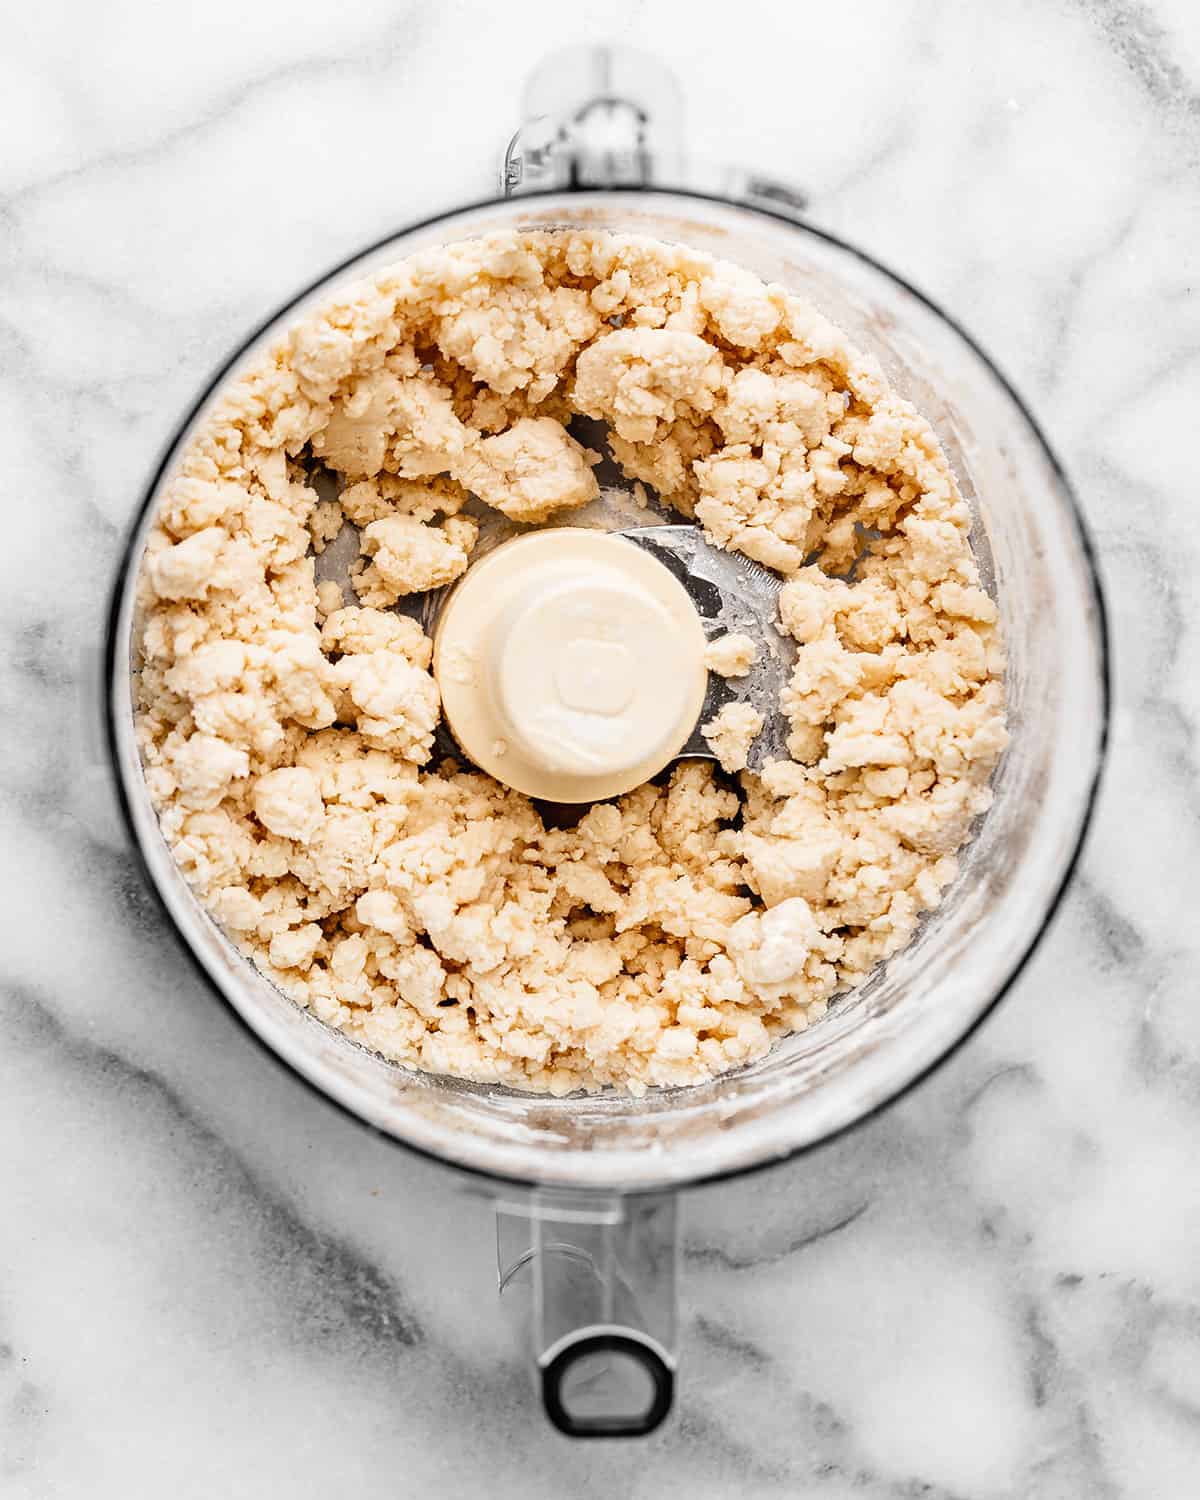
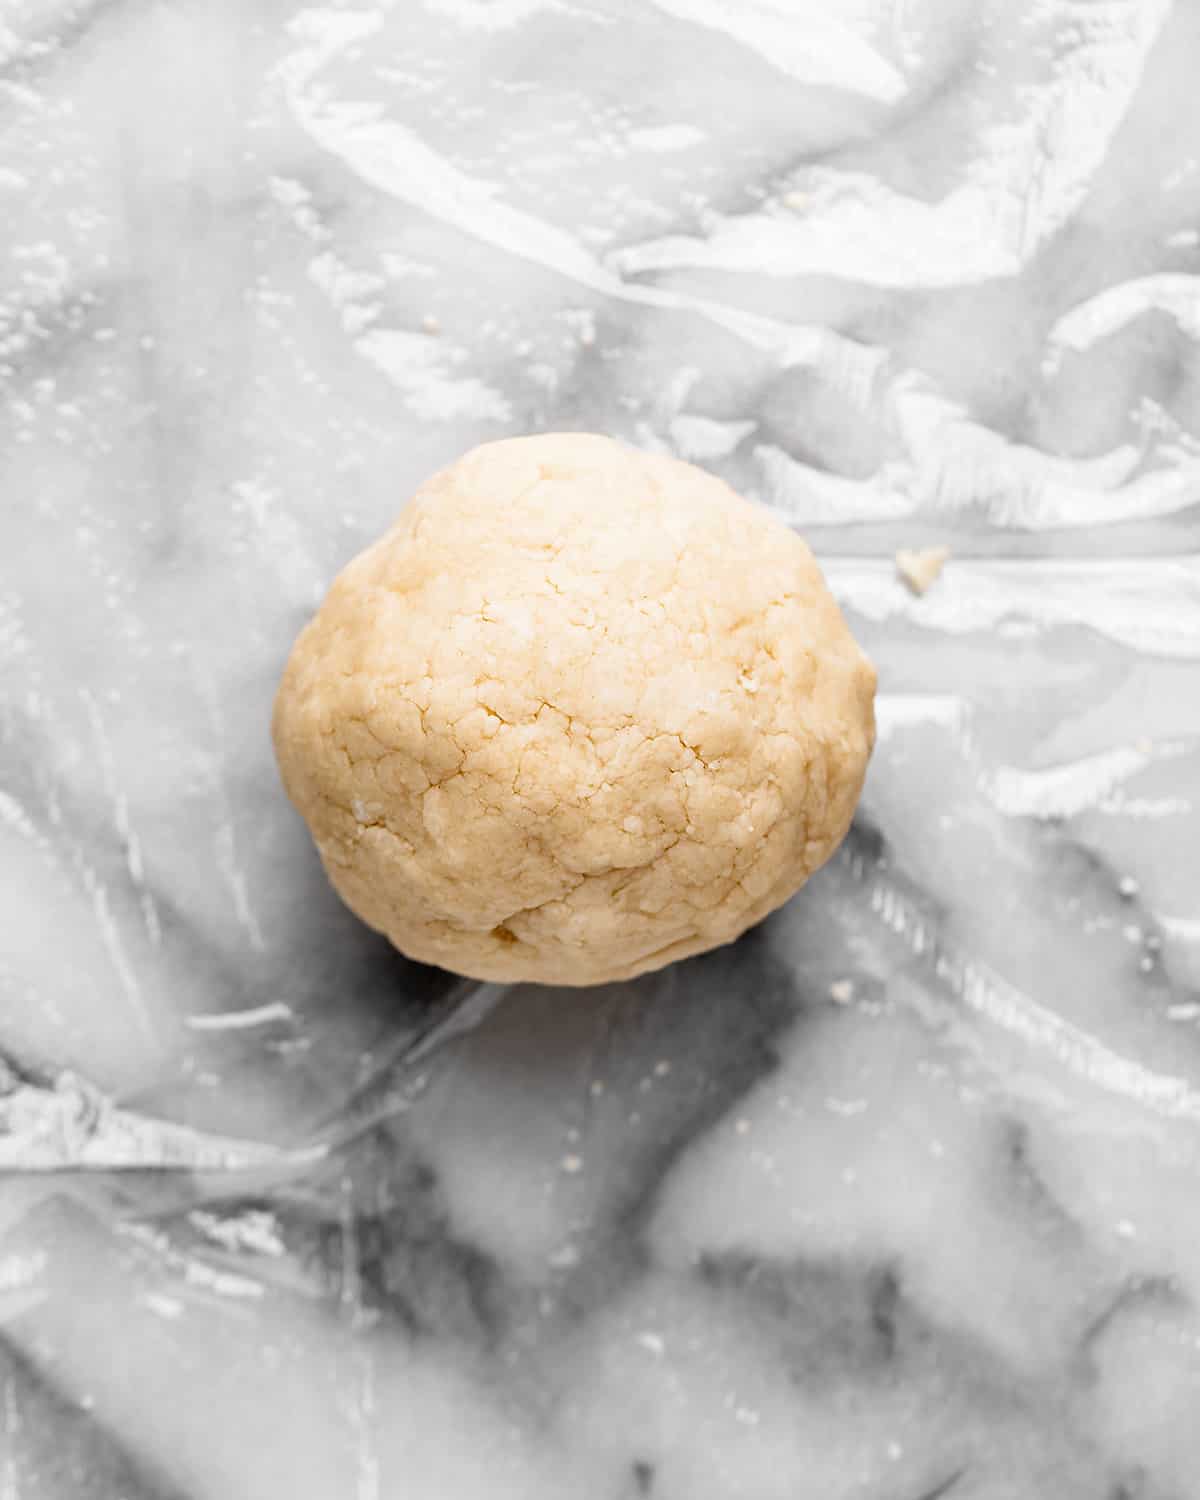
Next, remove the dough from the food processor (it will be crumbly) and form it into a thick disc.
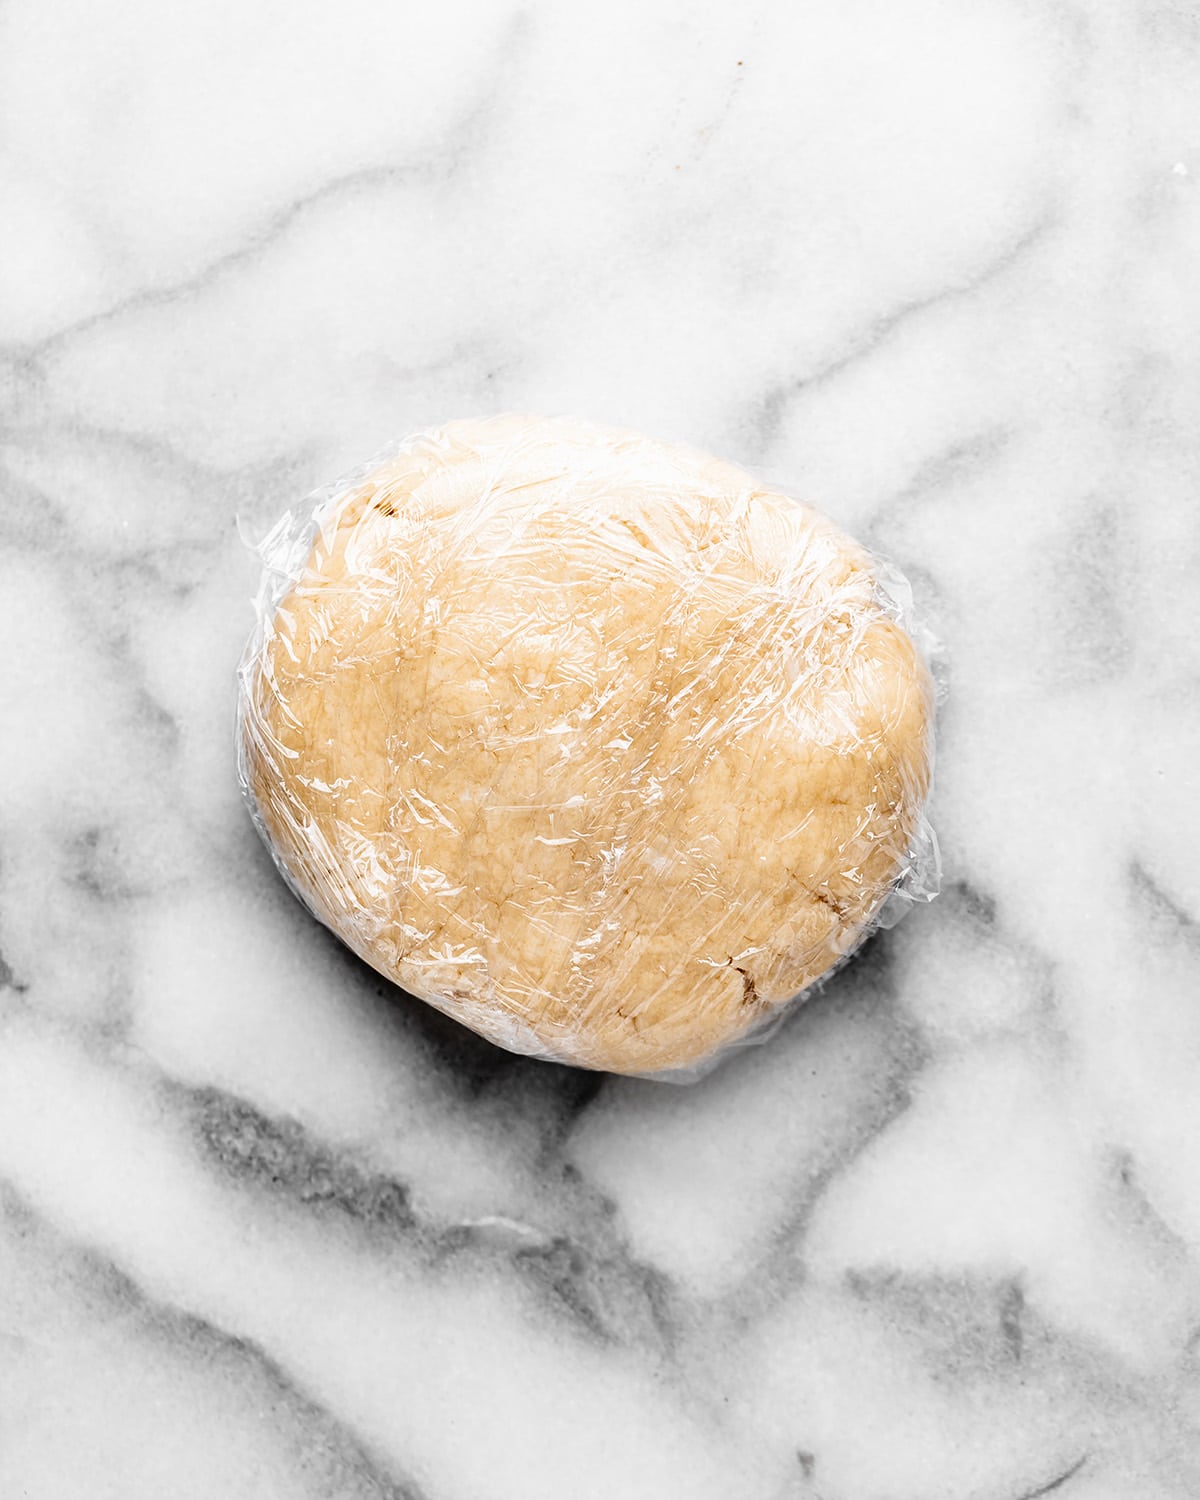
Then, wrap the dough in plastic wrap and refrigerate for at least 1 hour, and up to one day (overnight).
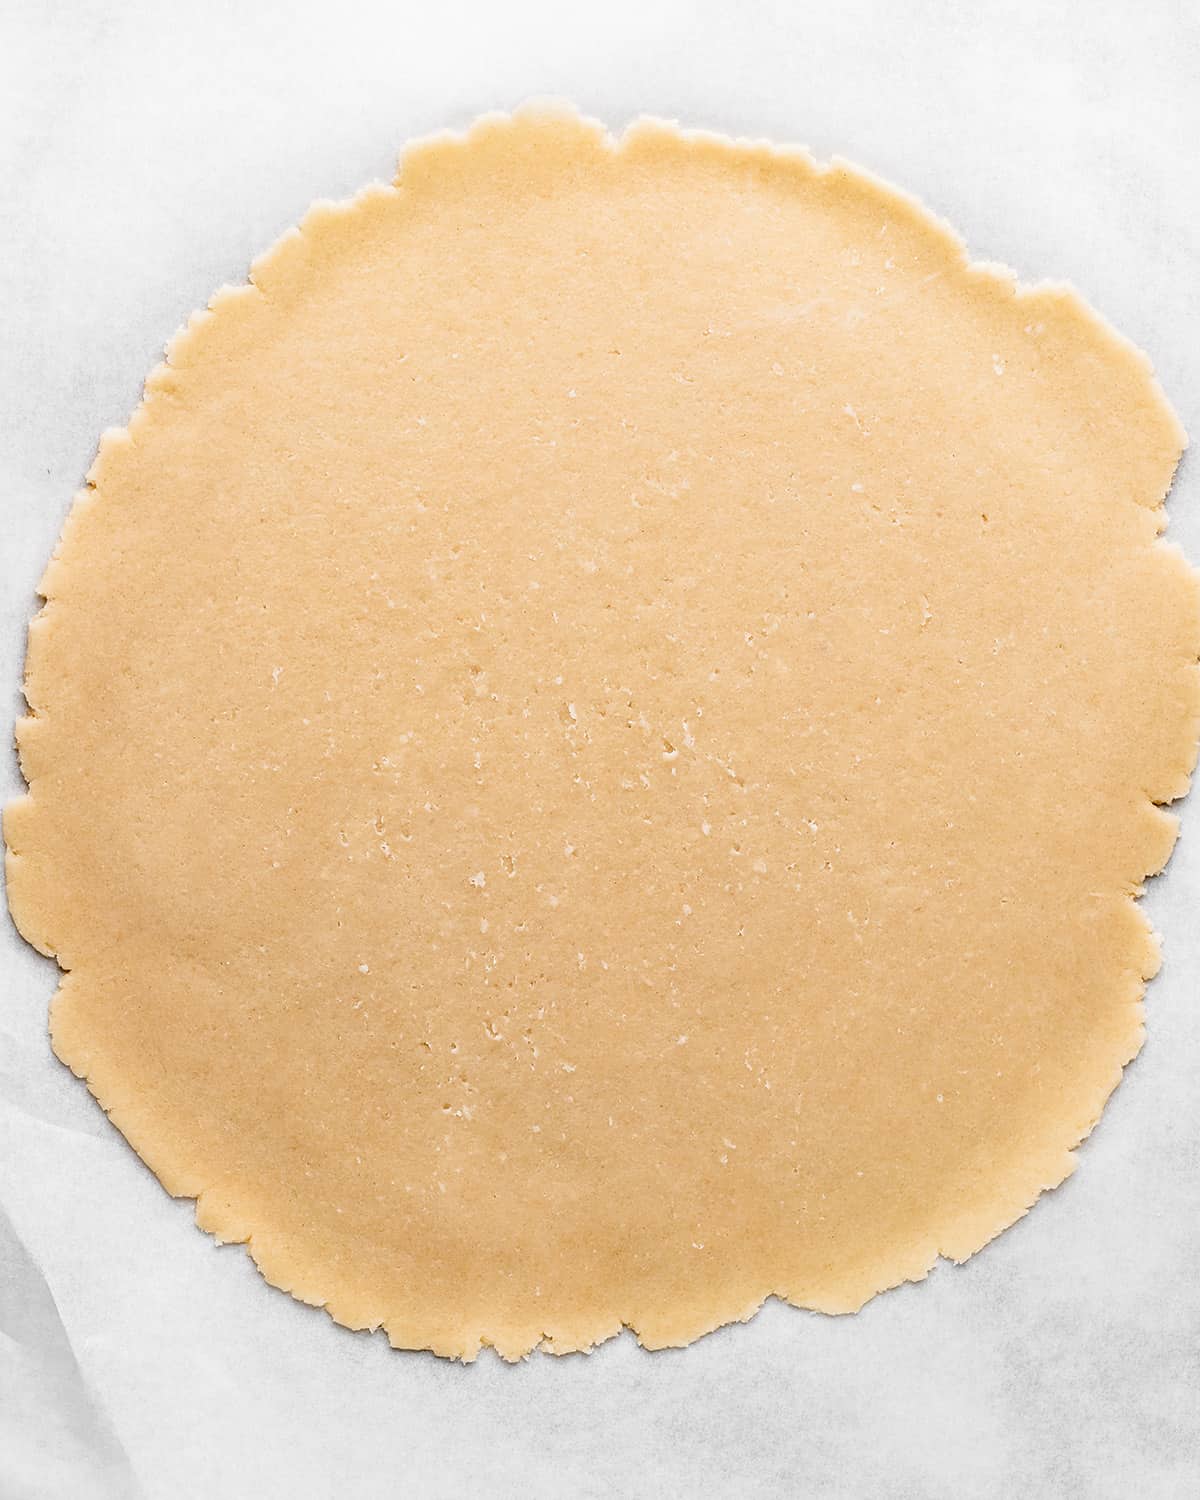
After the dough has chilled, preheat oven and roll out the dough on a well-floured surface or pastry cloth.
Then, place it into a deep, 9-inch, round pie plate and pinch the edges to form a crust and gently prick the dough with a fork.
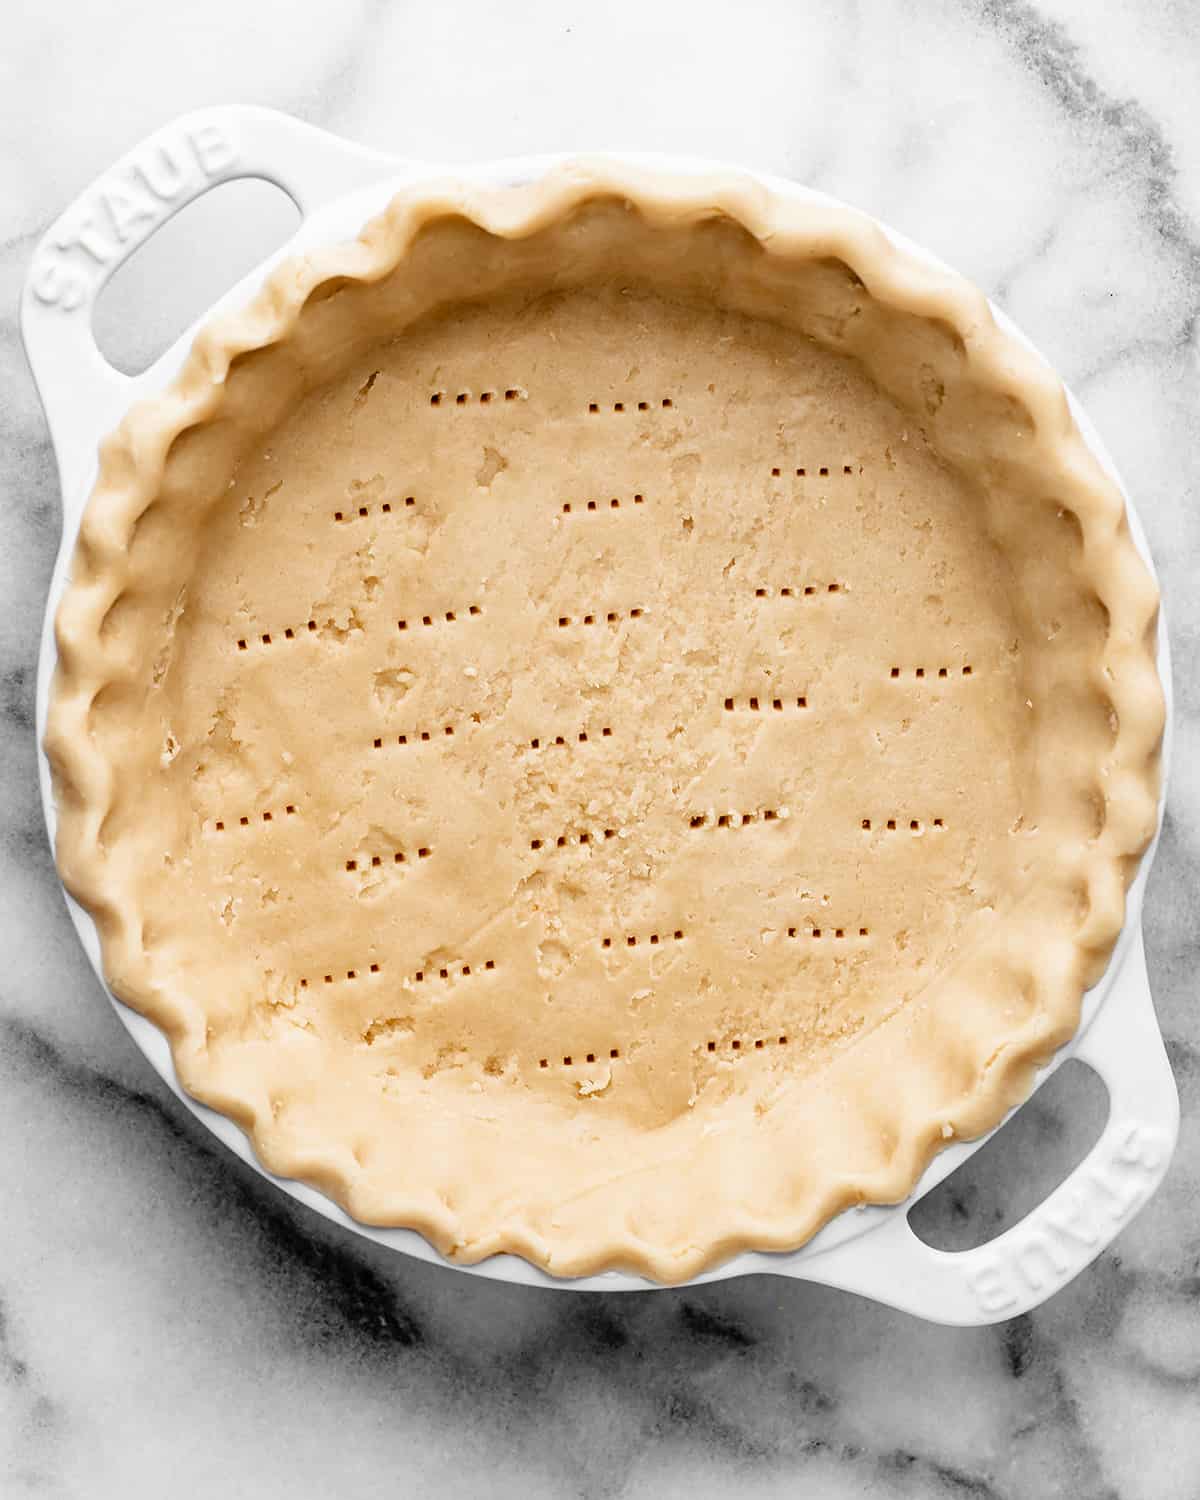
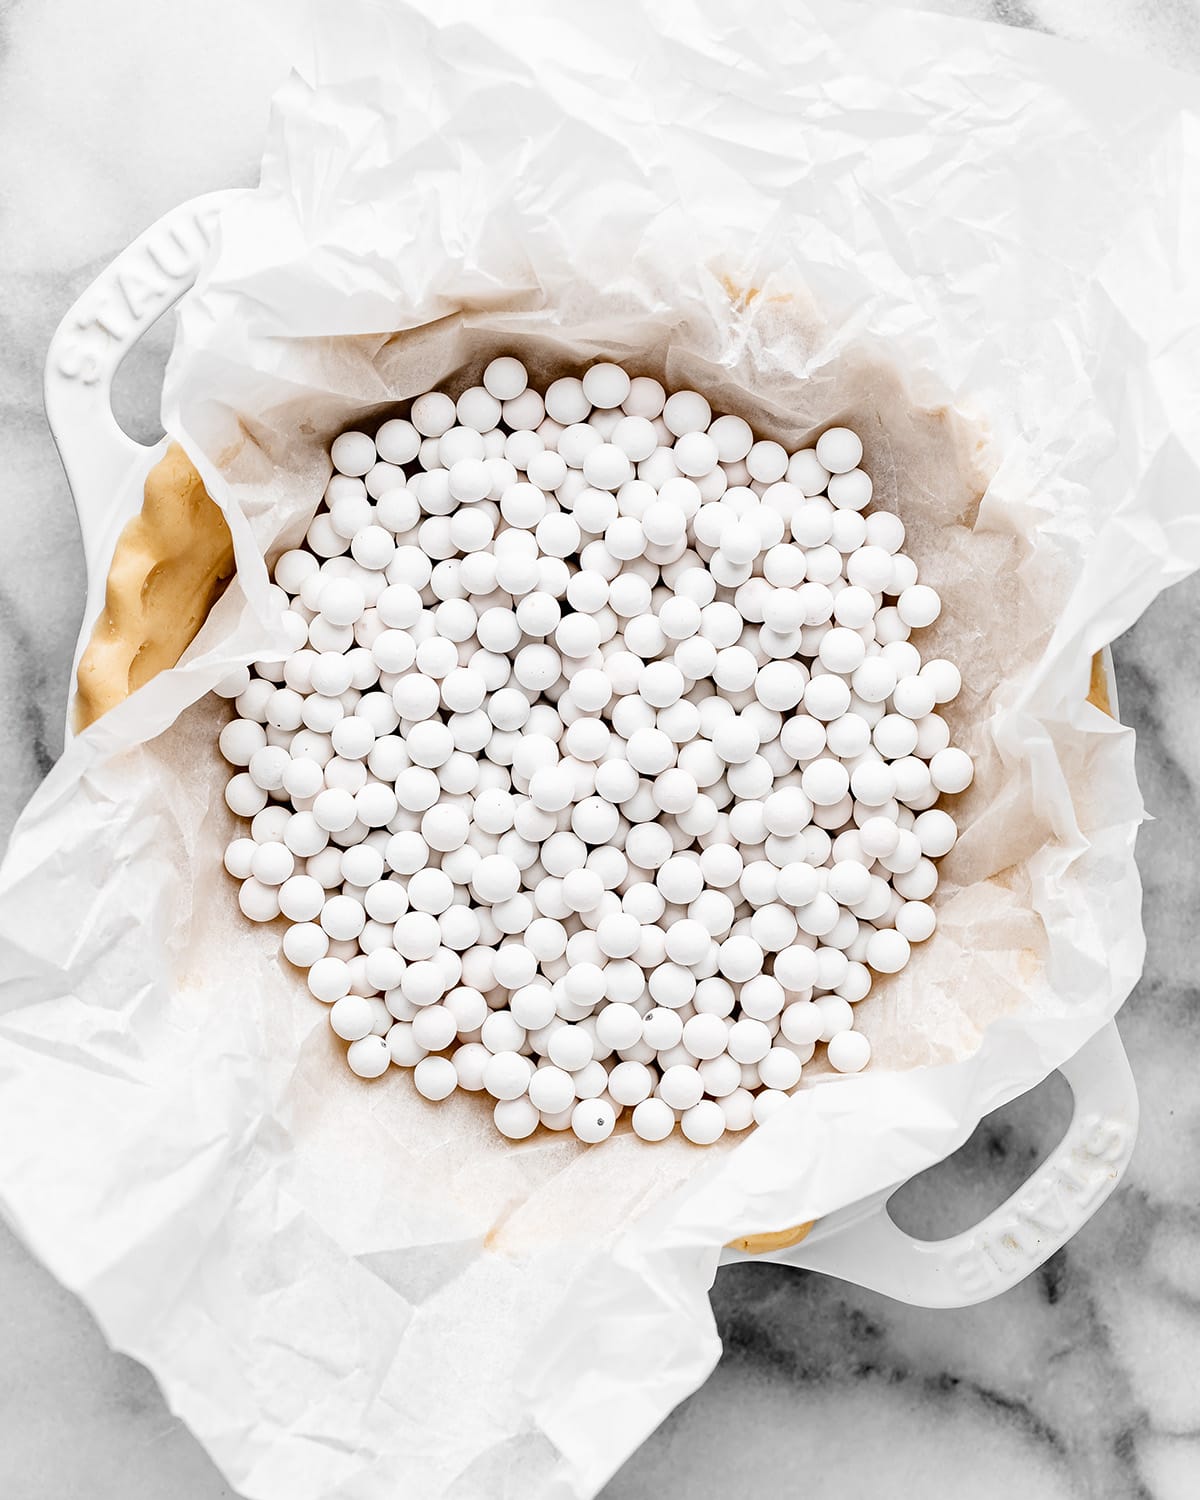
Then, place a piece of parchment paper on top of the crust, and put pie weights on top of the parchment paper.
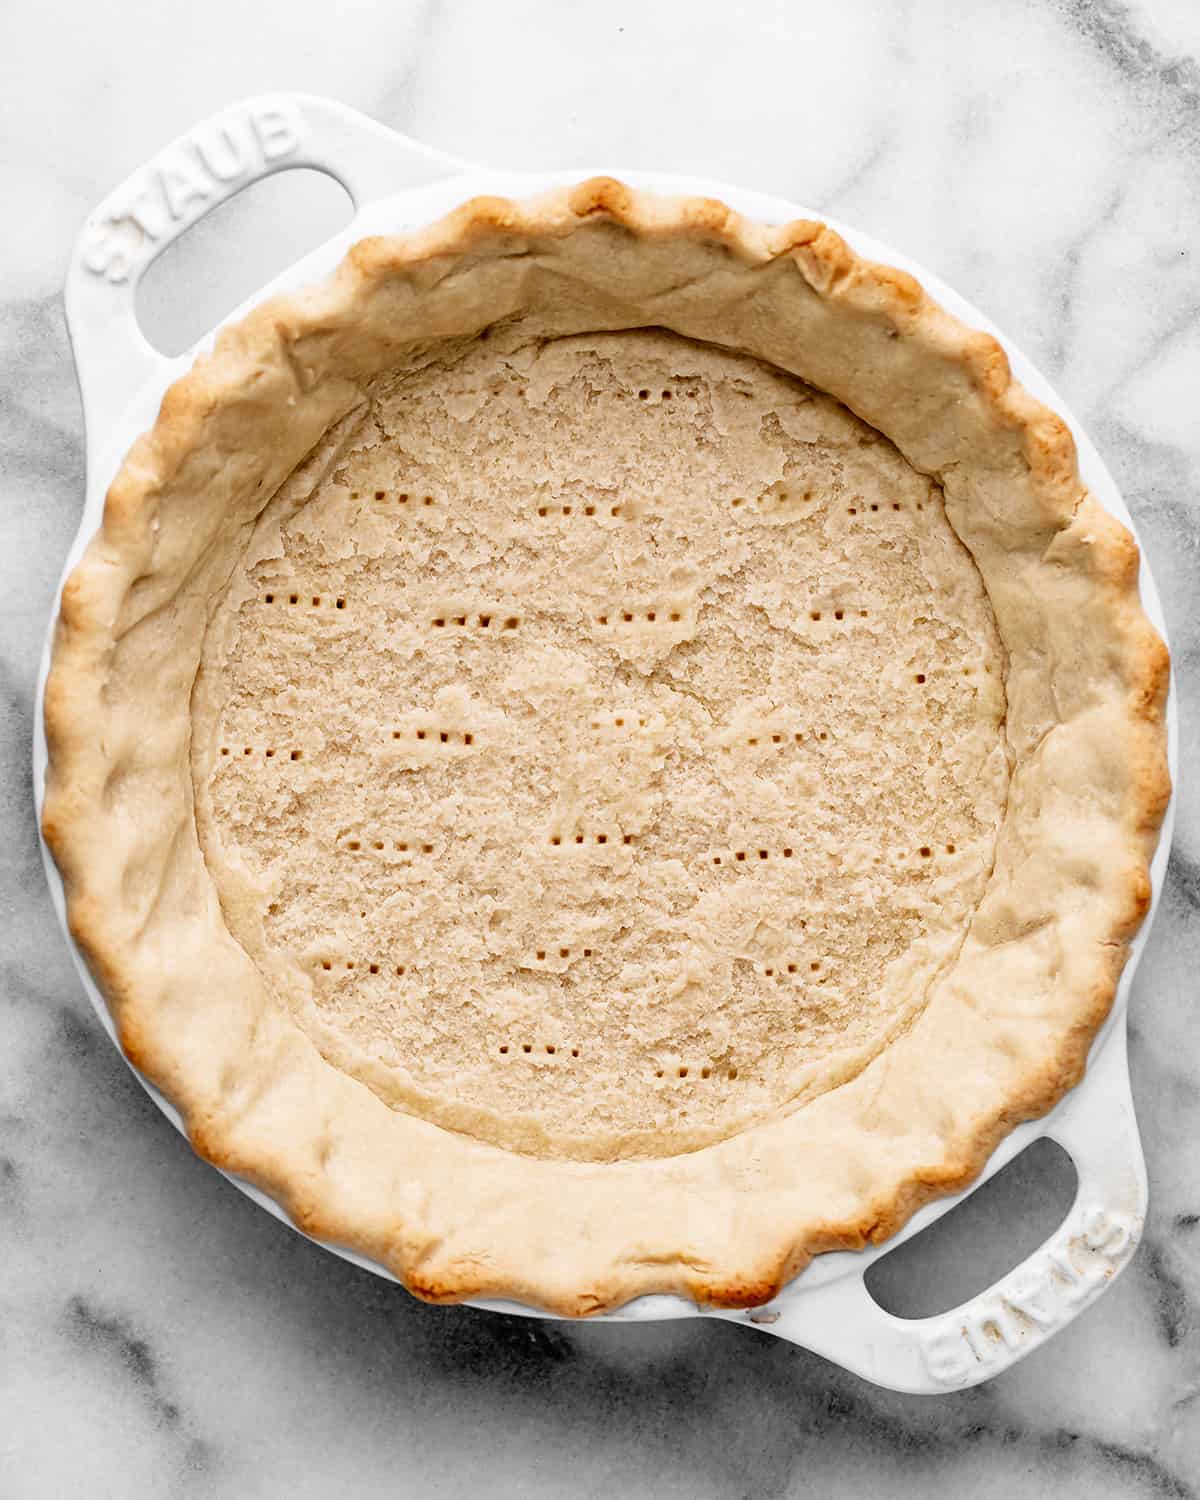
Bake the pie crust for 10-12 minutes or until it just begins to brown. If any bubbles form, gently deflate them by pricking with a fork or sharp knife. Set aside to cool.
Whip the Cream
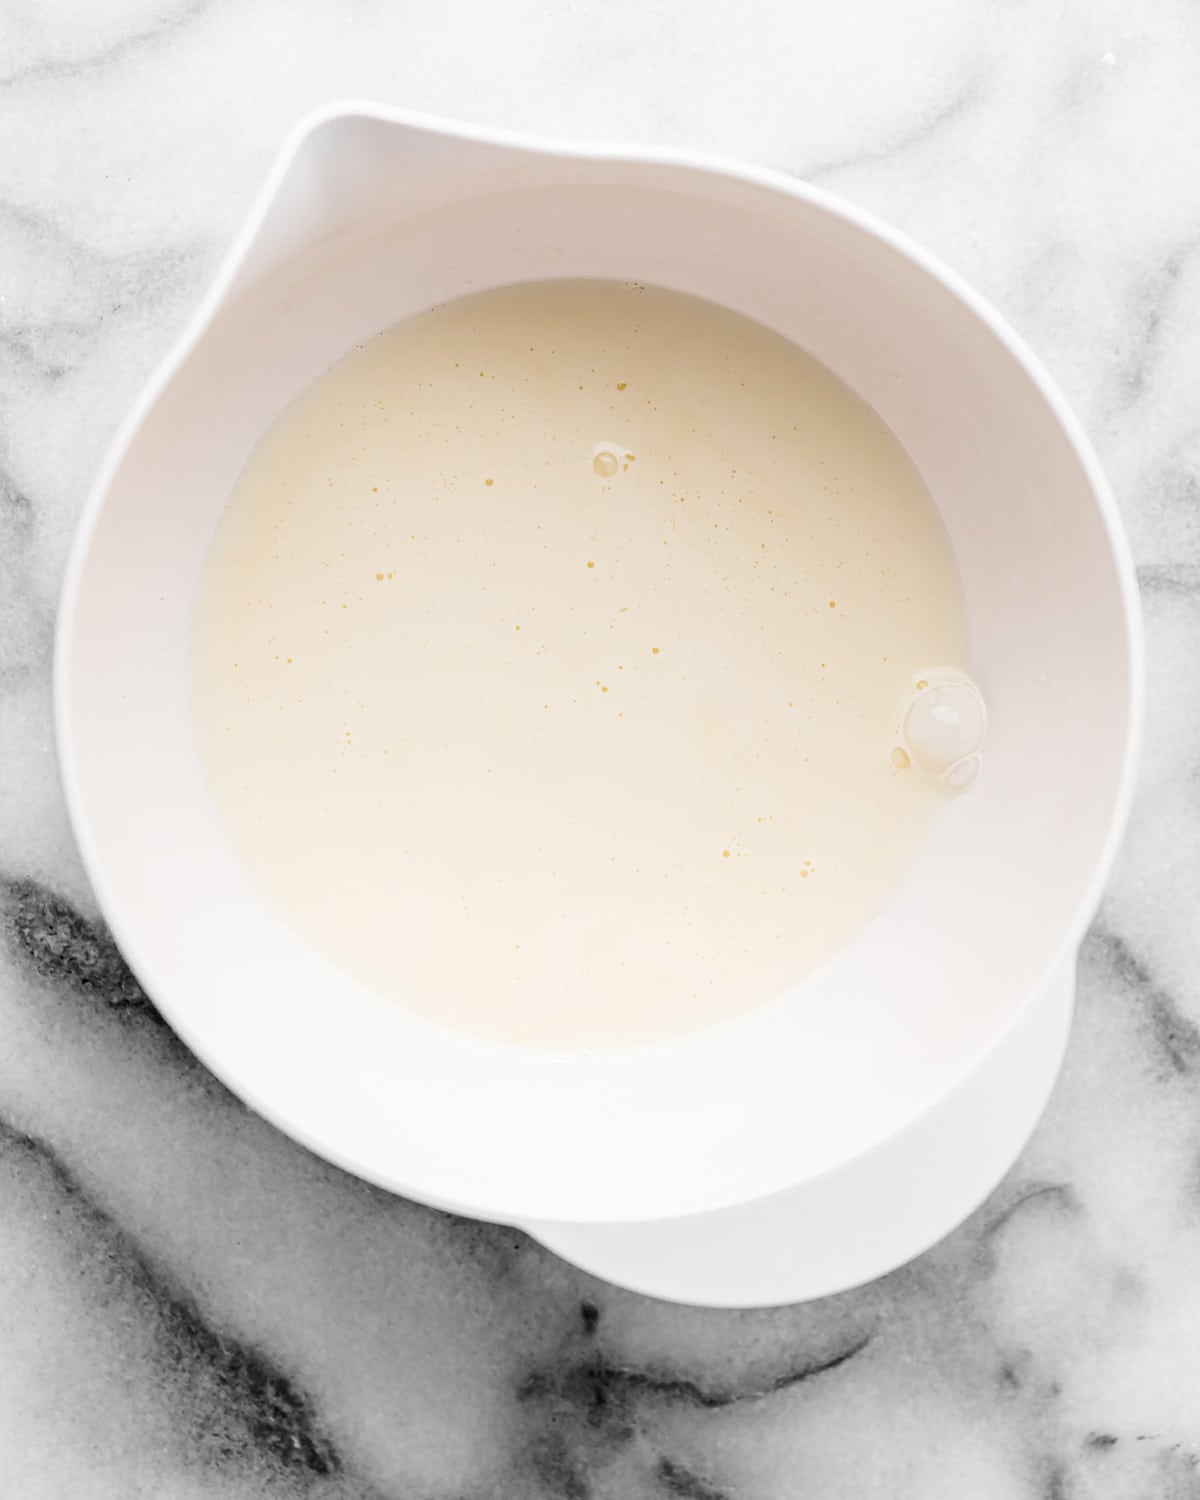
Next, you will need to whip the cream in two separate batches. First, whip ¾ cup of the whipping cream until stiff peaks form. Then set it aside in the refrigerator. This is to be used in the chocolate silk filling.
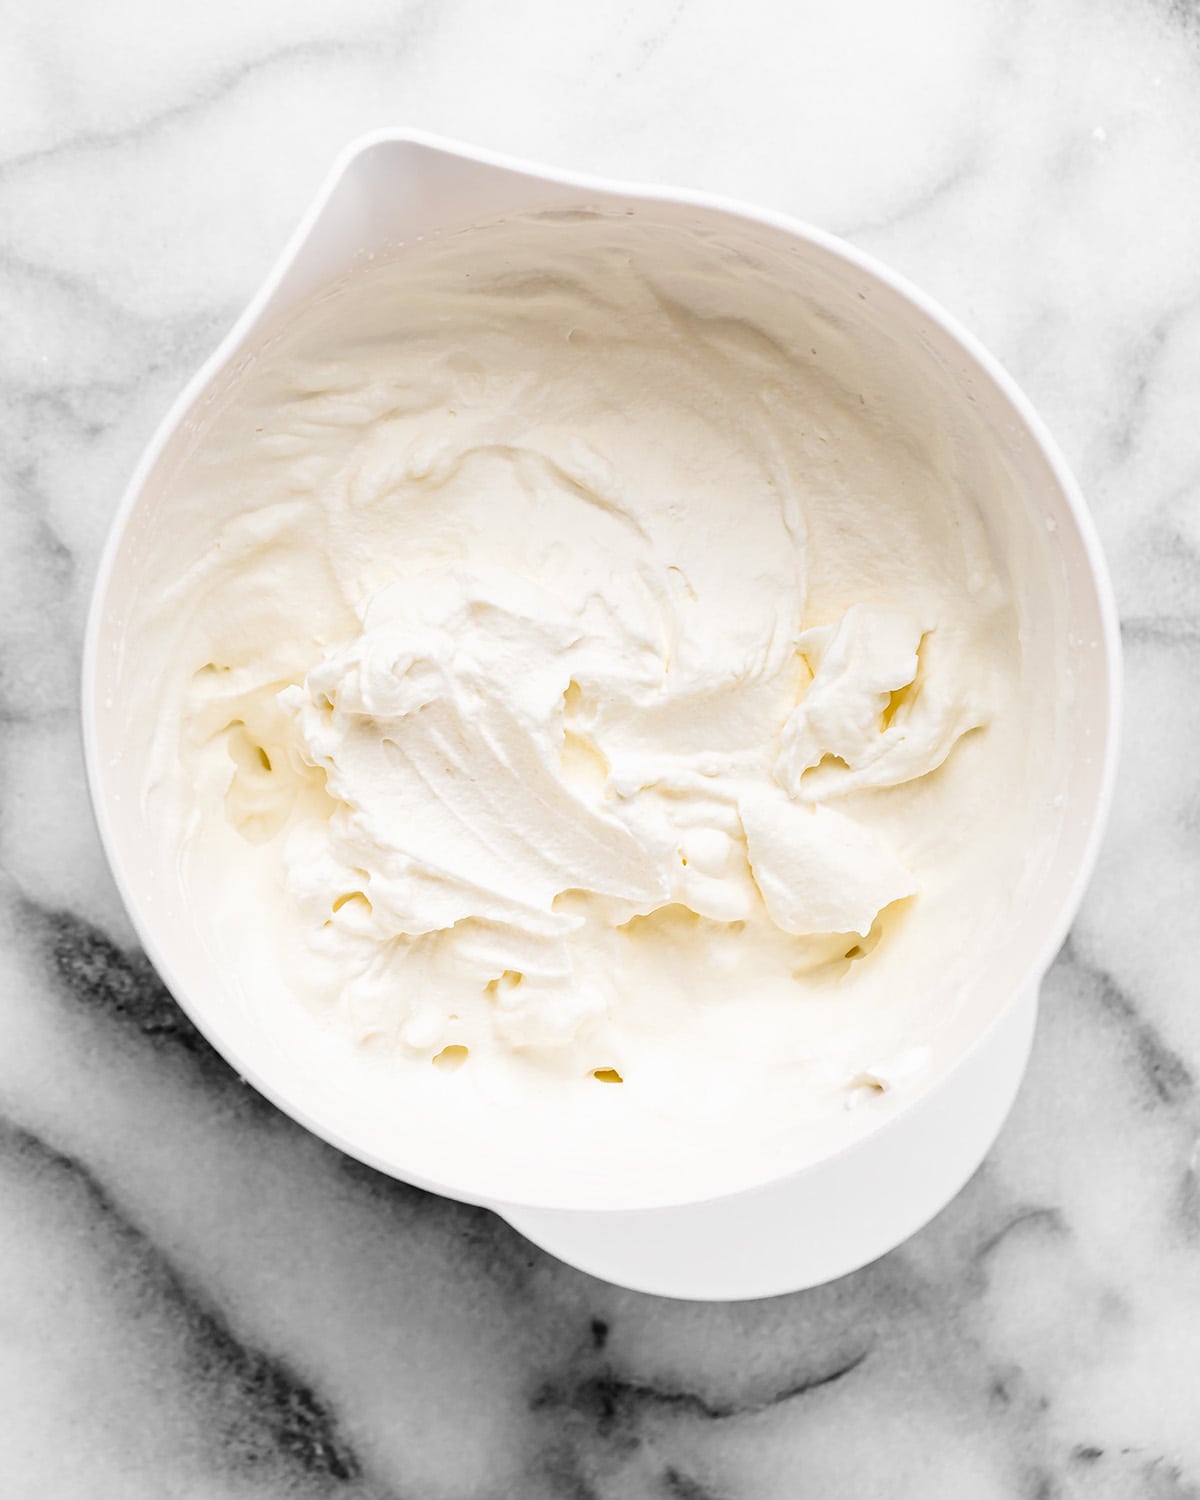
Next, make the whipping cream for the topping. I have a full post and video on how to make homemade whipped cream (<- click here), with all my tips and tricks for you! But you’ll want to make it and then set it aside in the refrigerator for later.
Make French Silk Pie Filling
While the pie crust is cooling and the whipped cream is chilling in the refrigerator, make the chocolate silk pie filling.
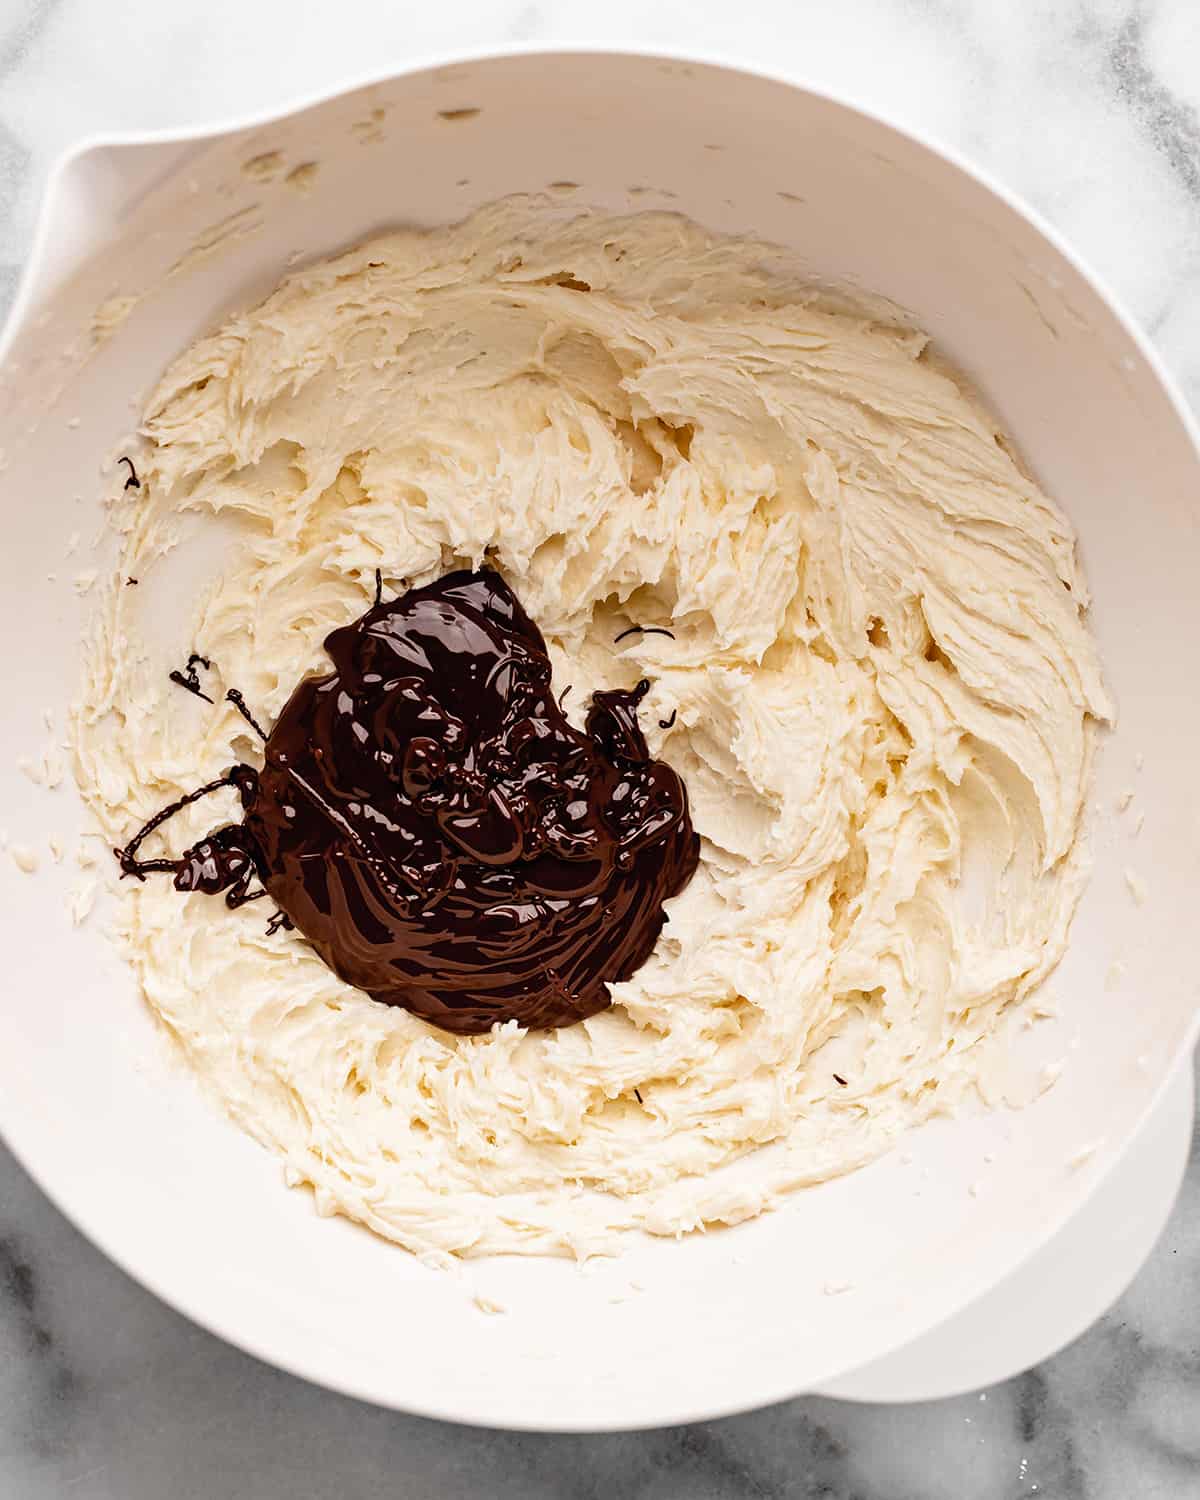
Begin by melting the chocolate in the microwave or on a double boiler on the stovetop. Then set aside to cool slightly.

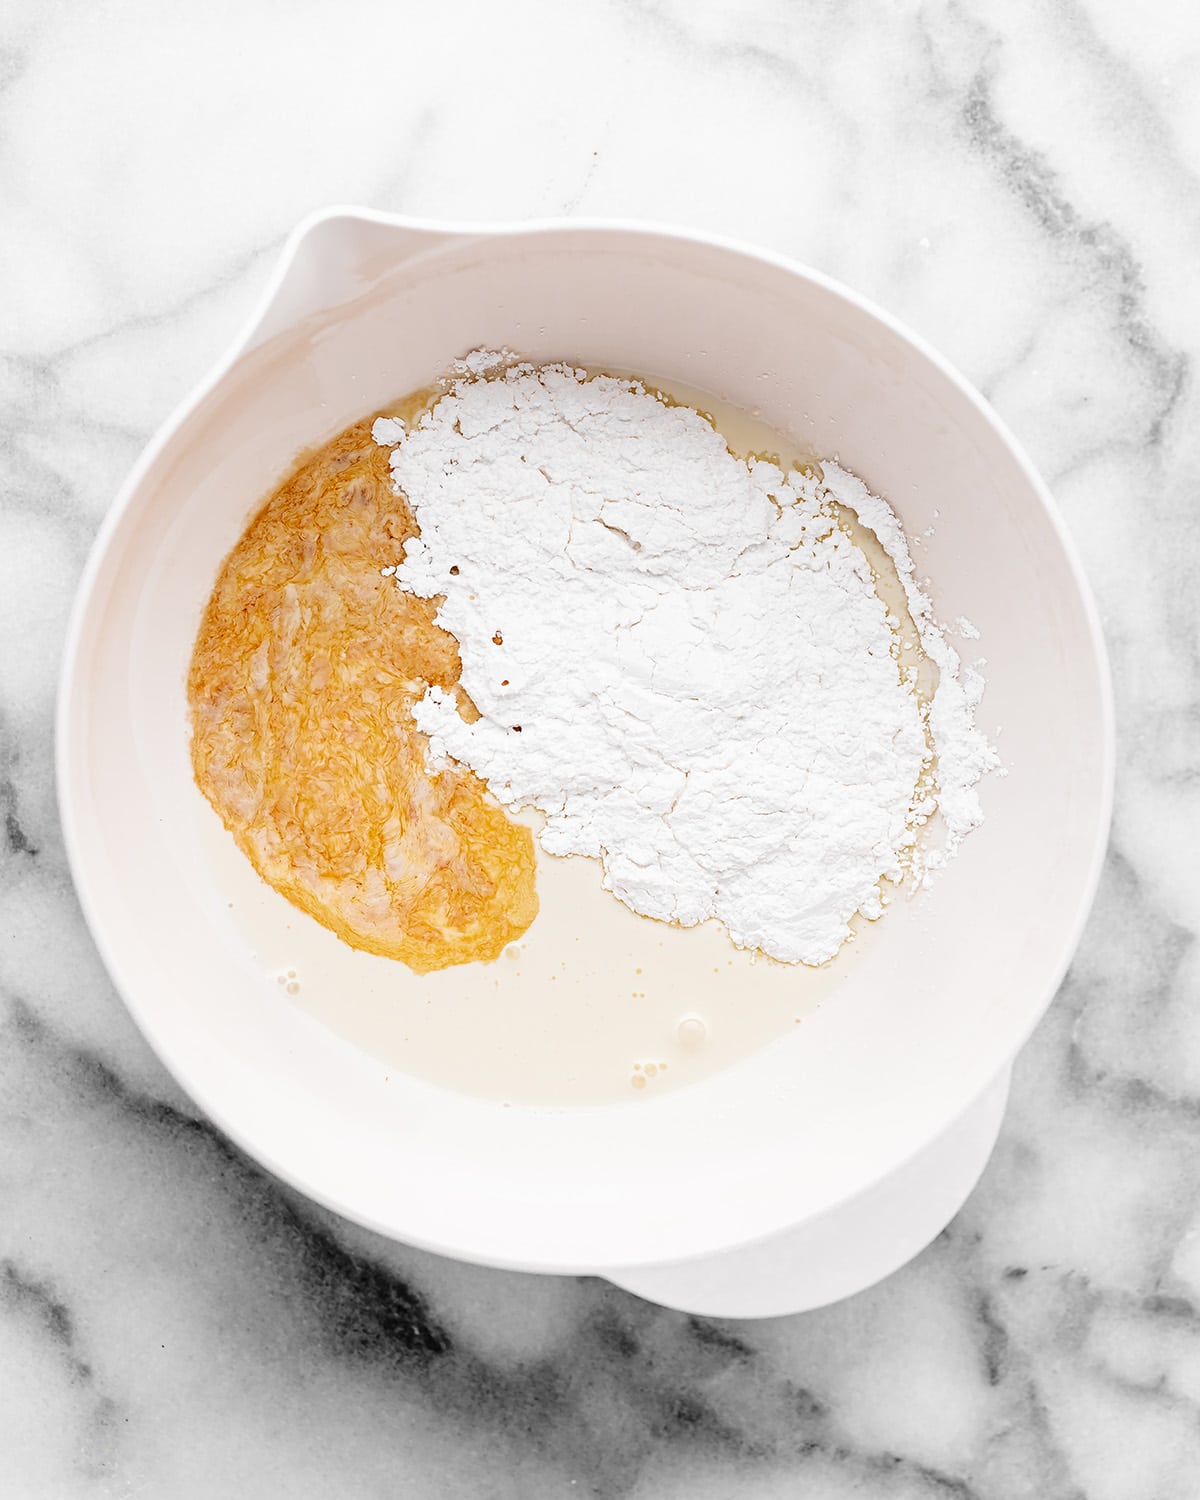
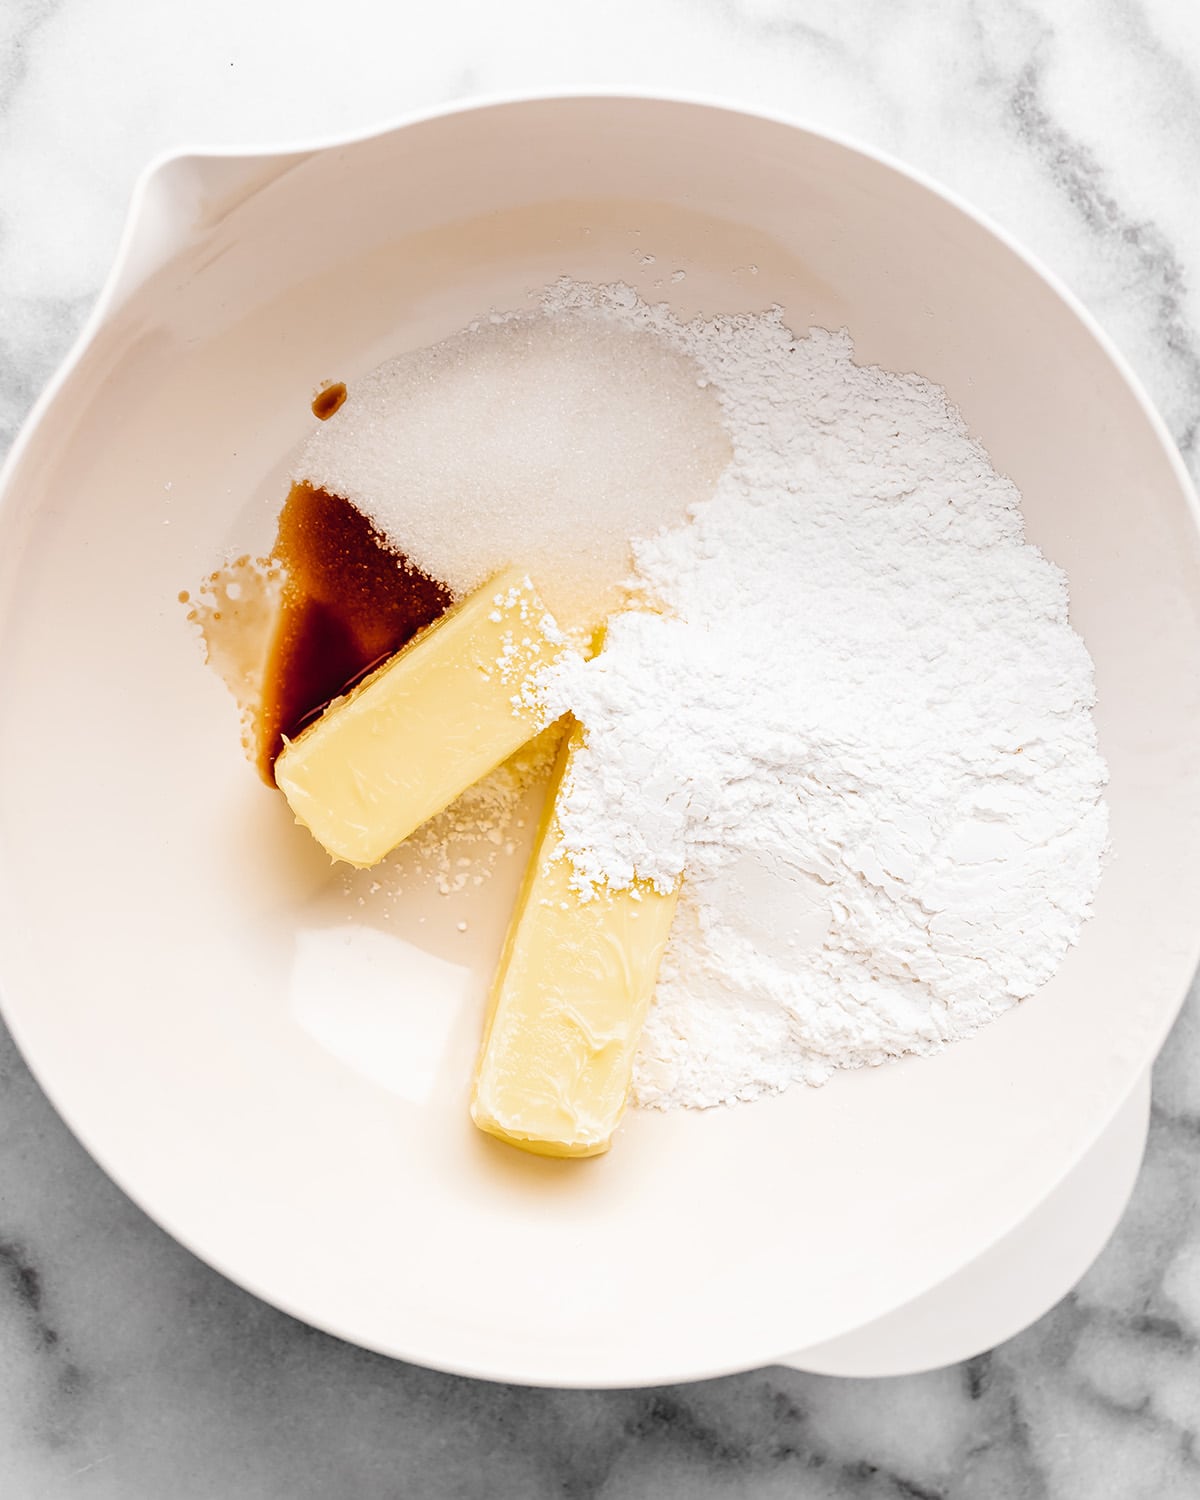
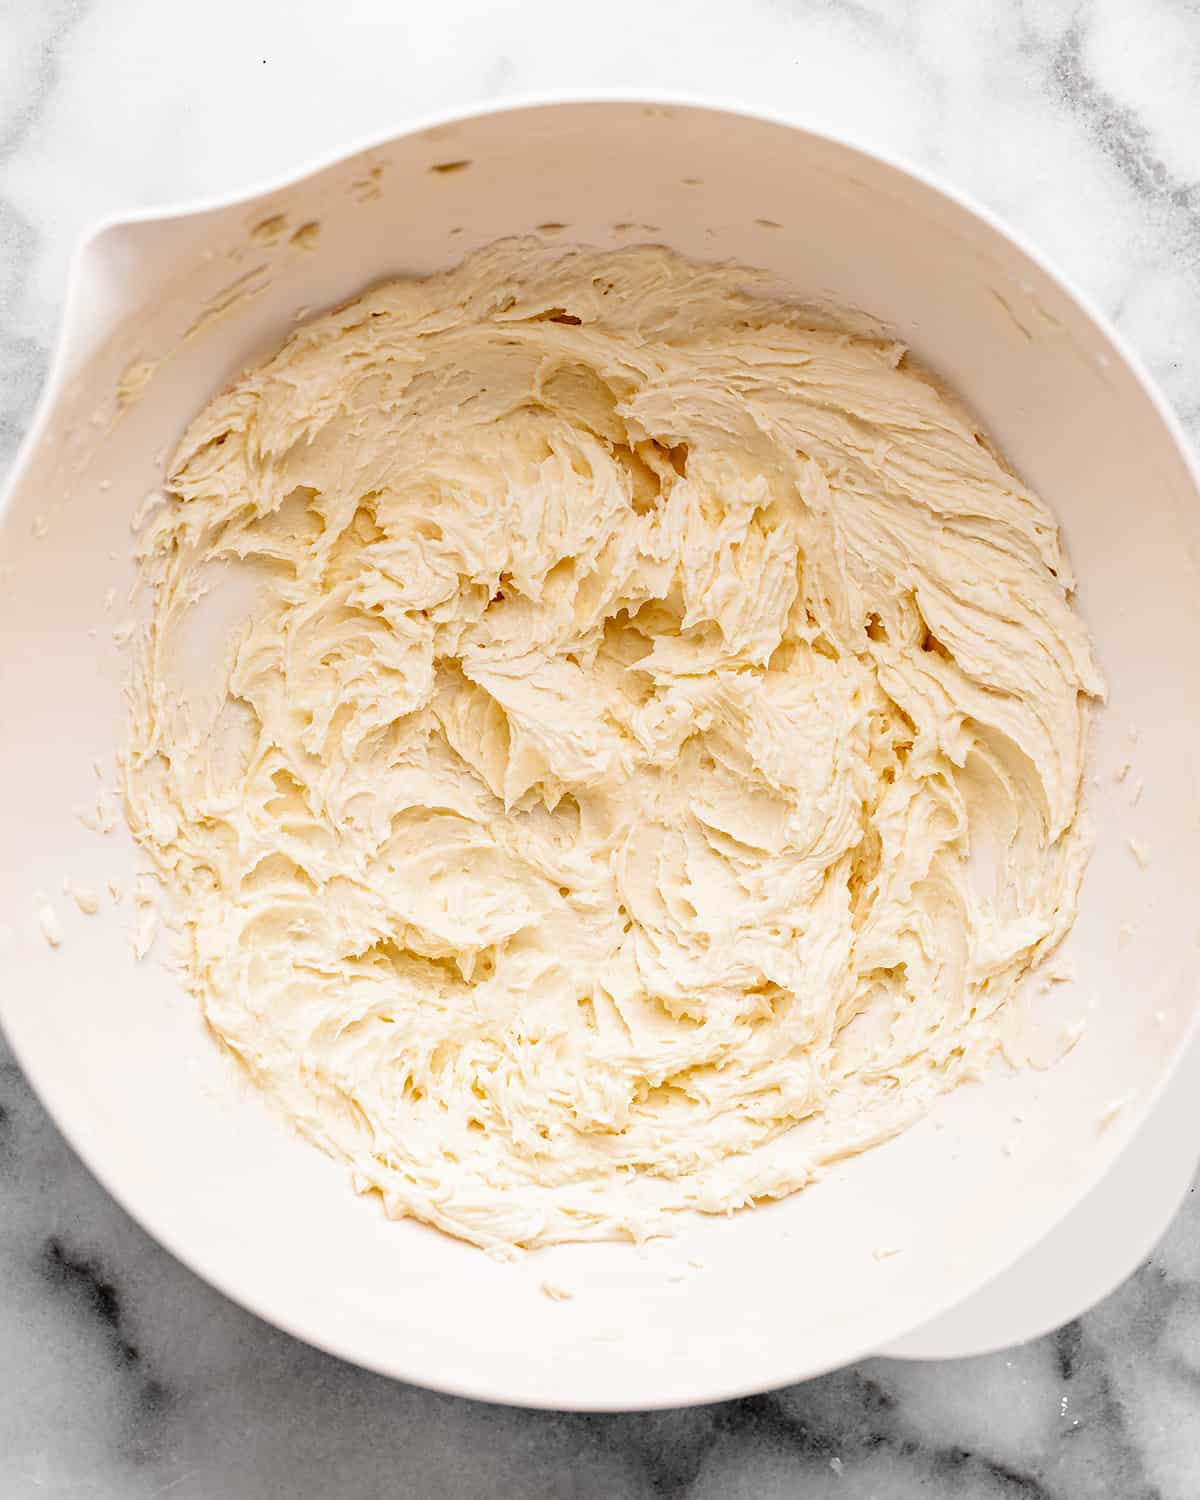
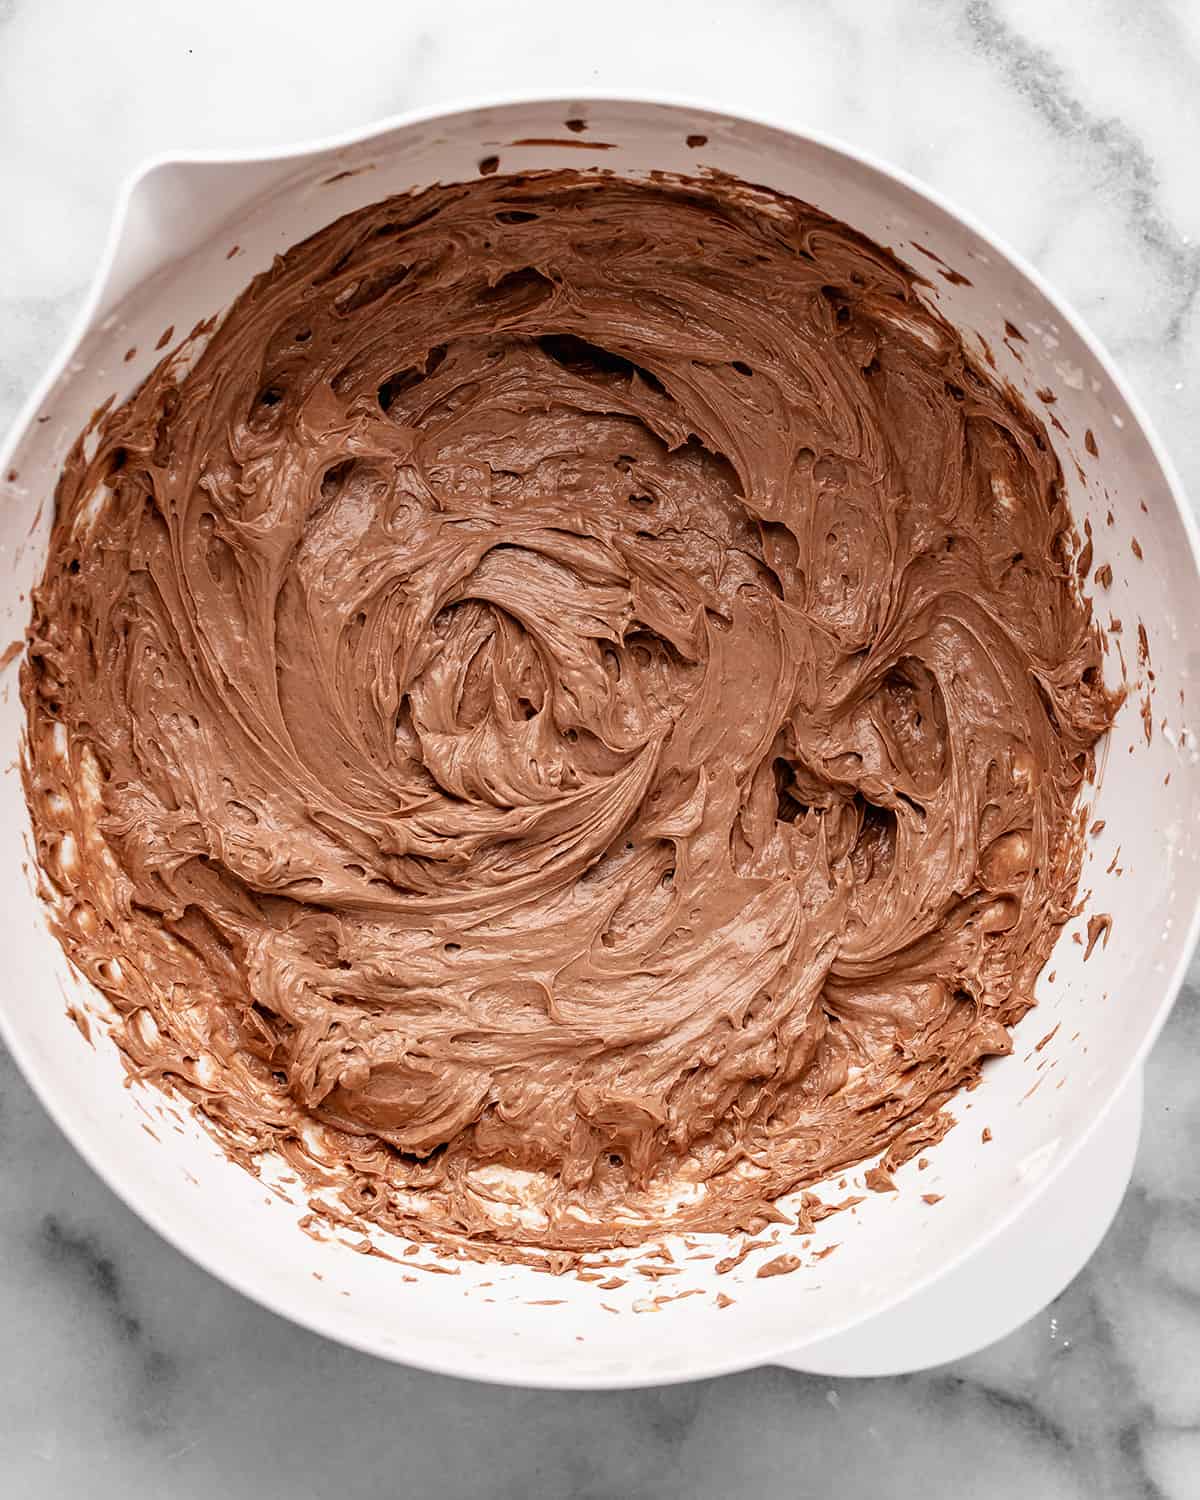
Then, cream the butter, vanilla and sugars together until the mixture is smooth and sugar is dissolved.
Next, add the melted (and slightly cooled) chocolate and beat again.

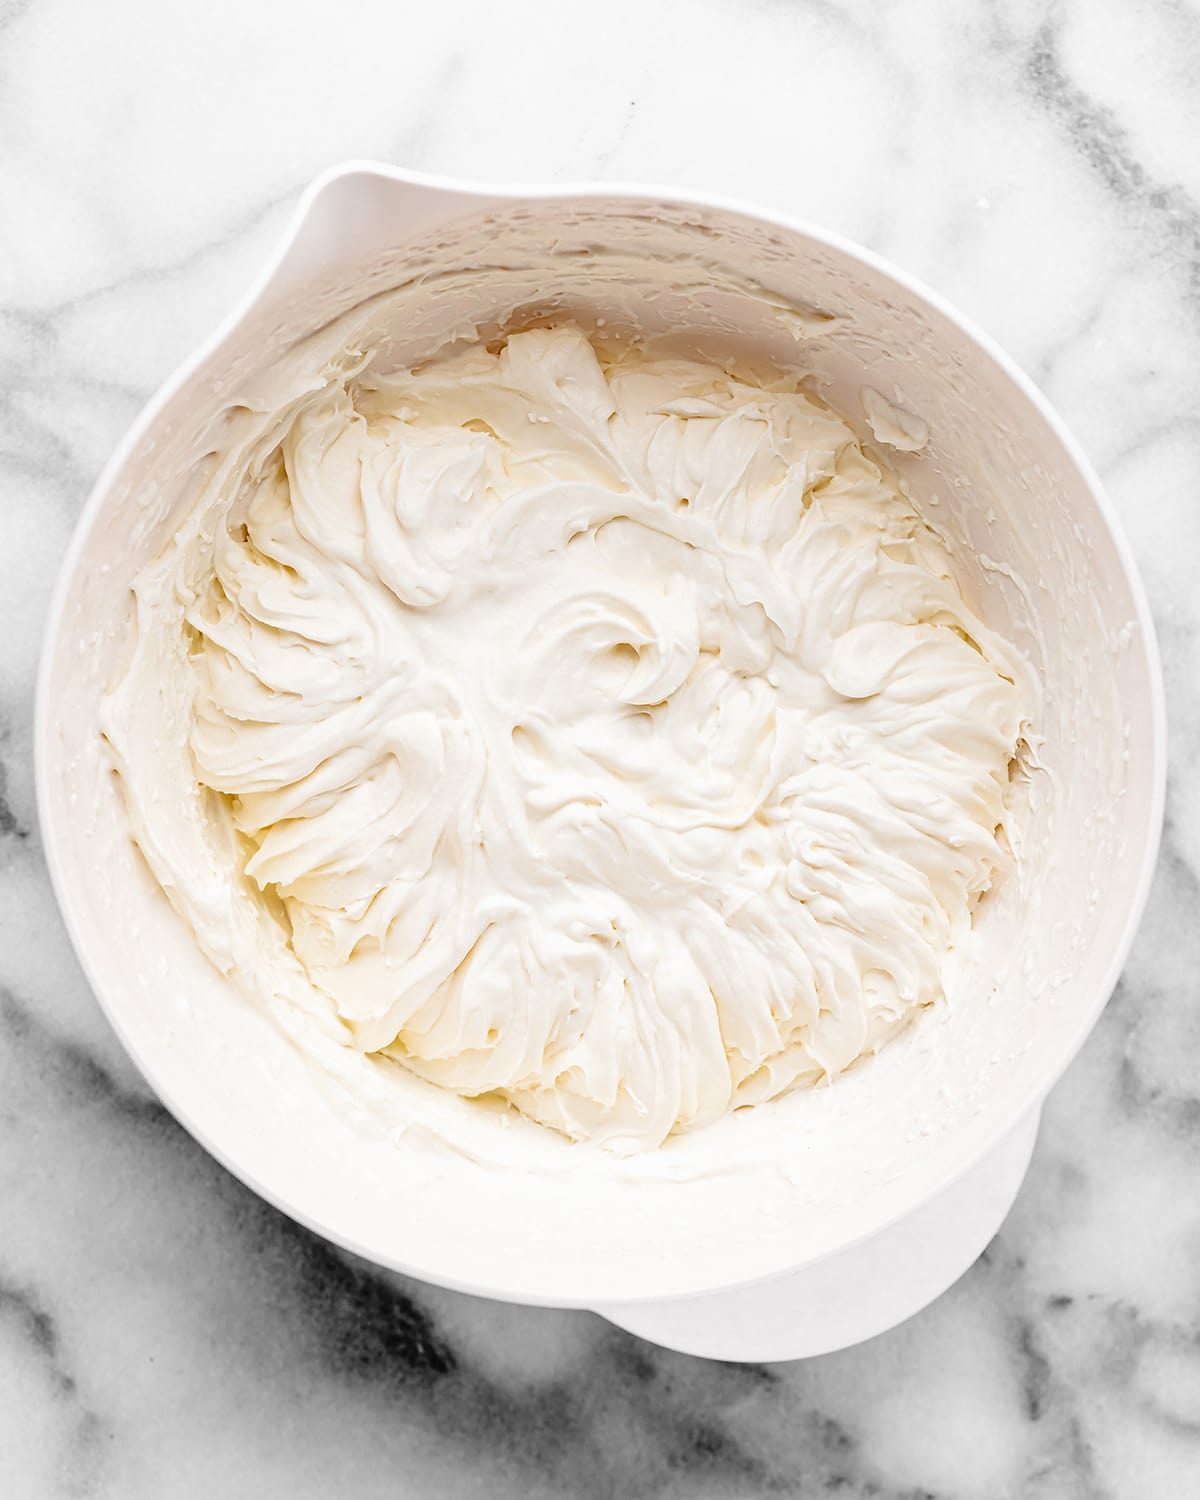
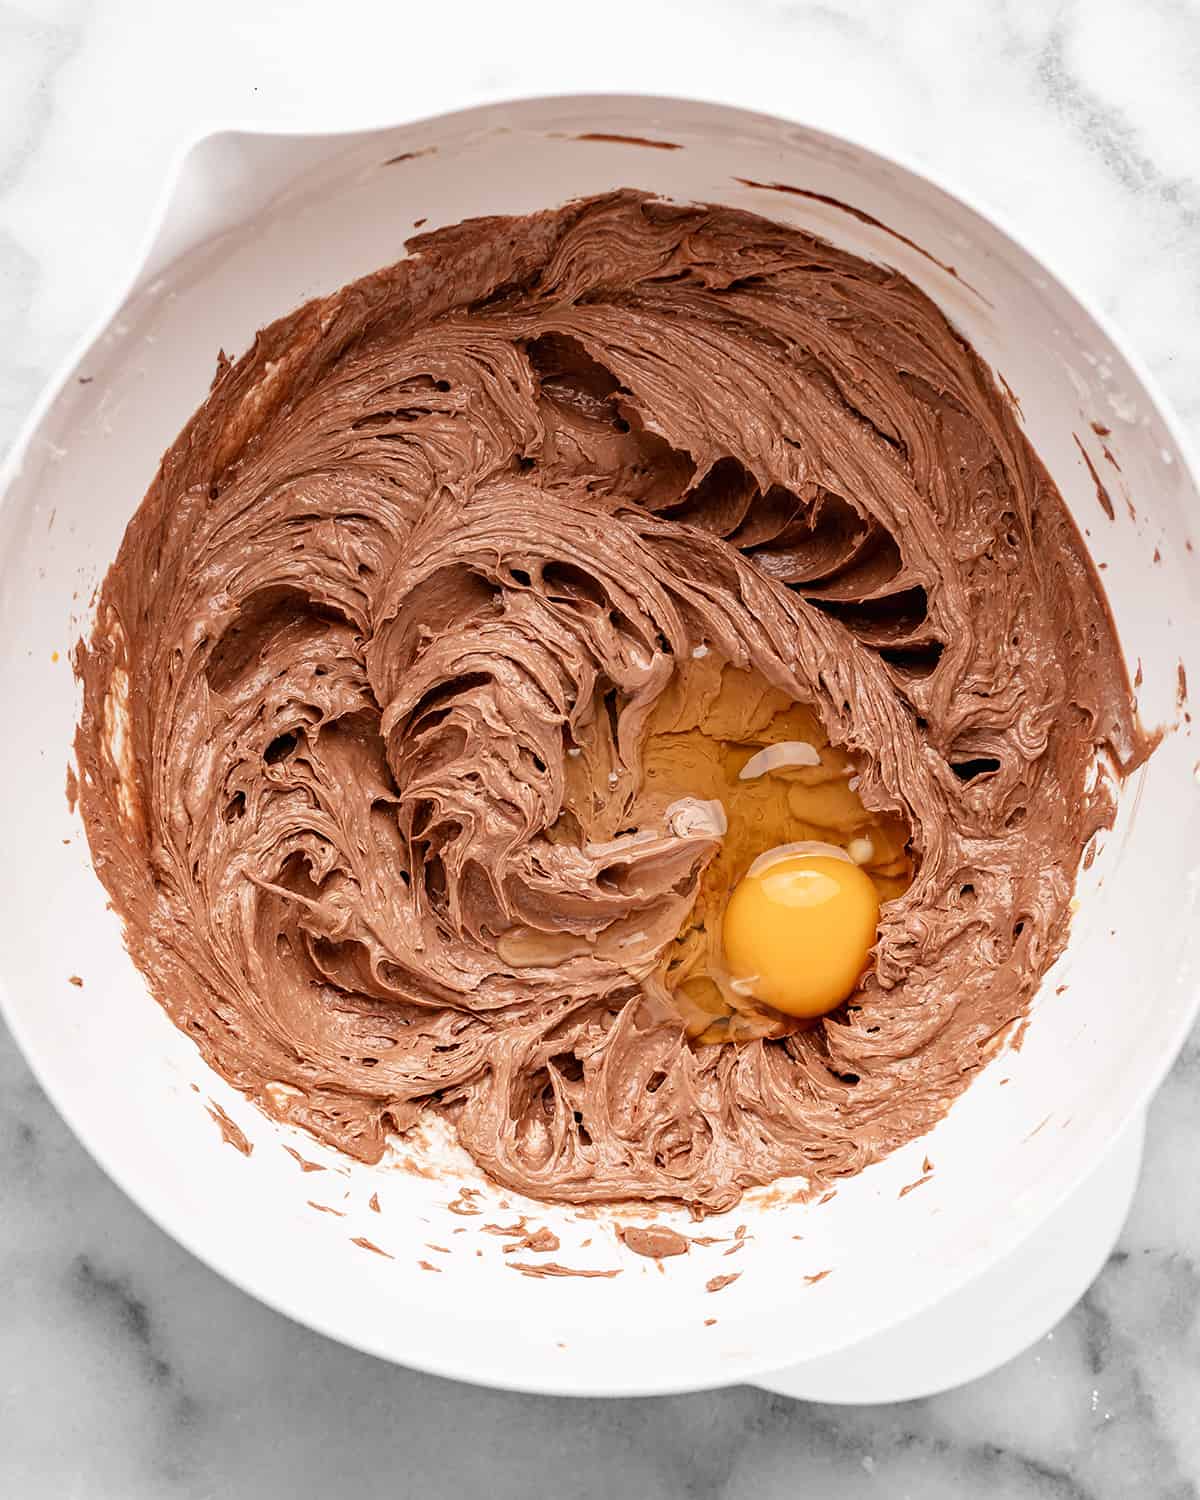
Then, add the eggs, 1 at a time, beating for 1 minue after each addition.
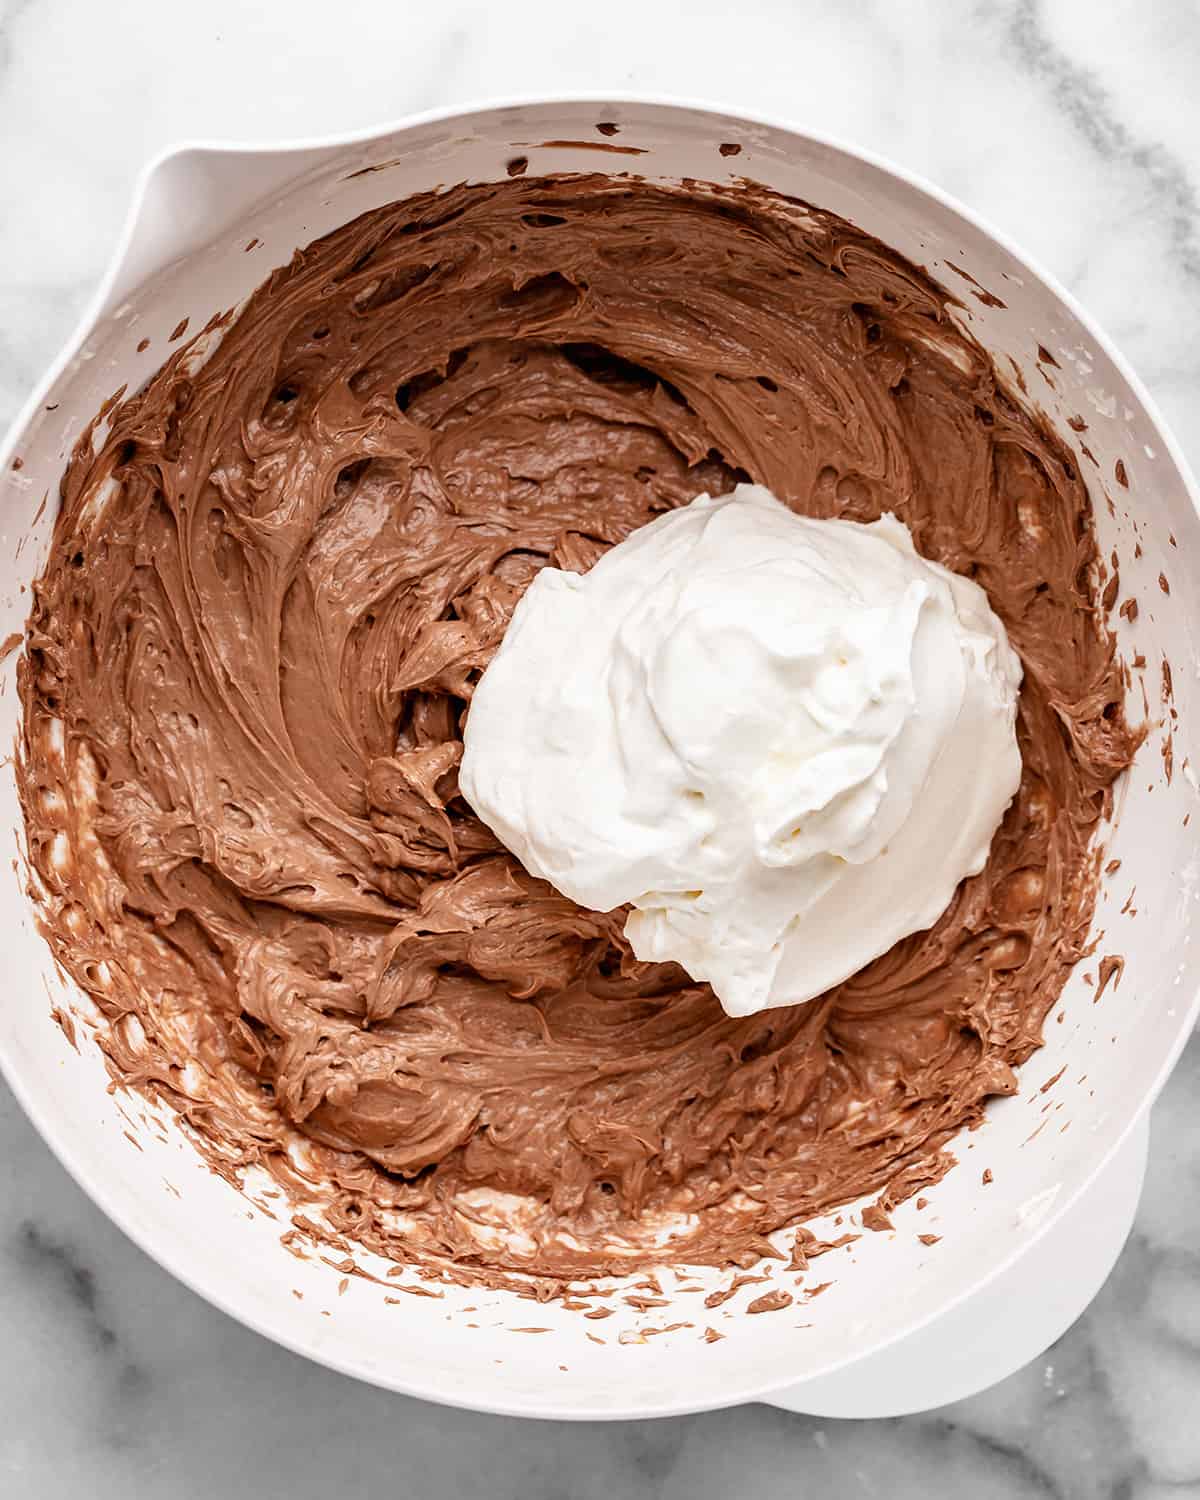
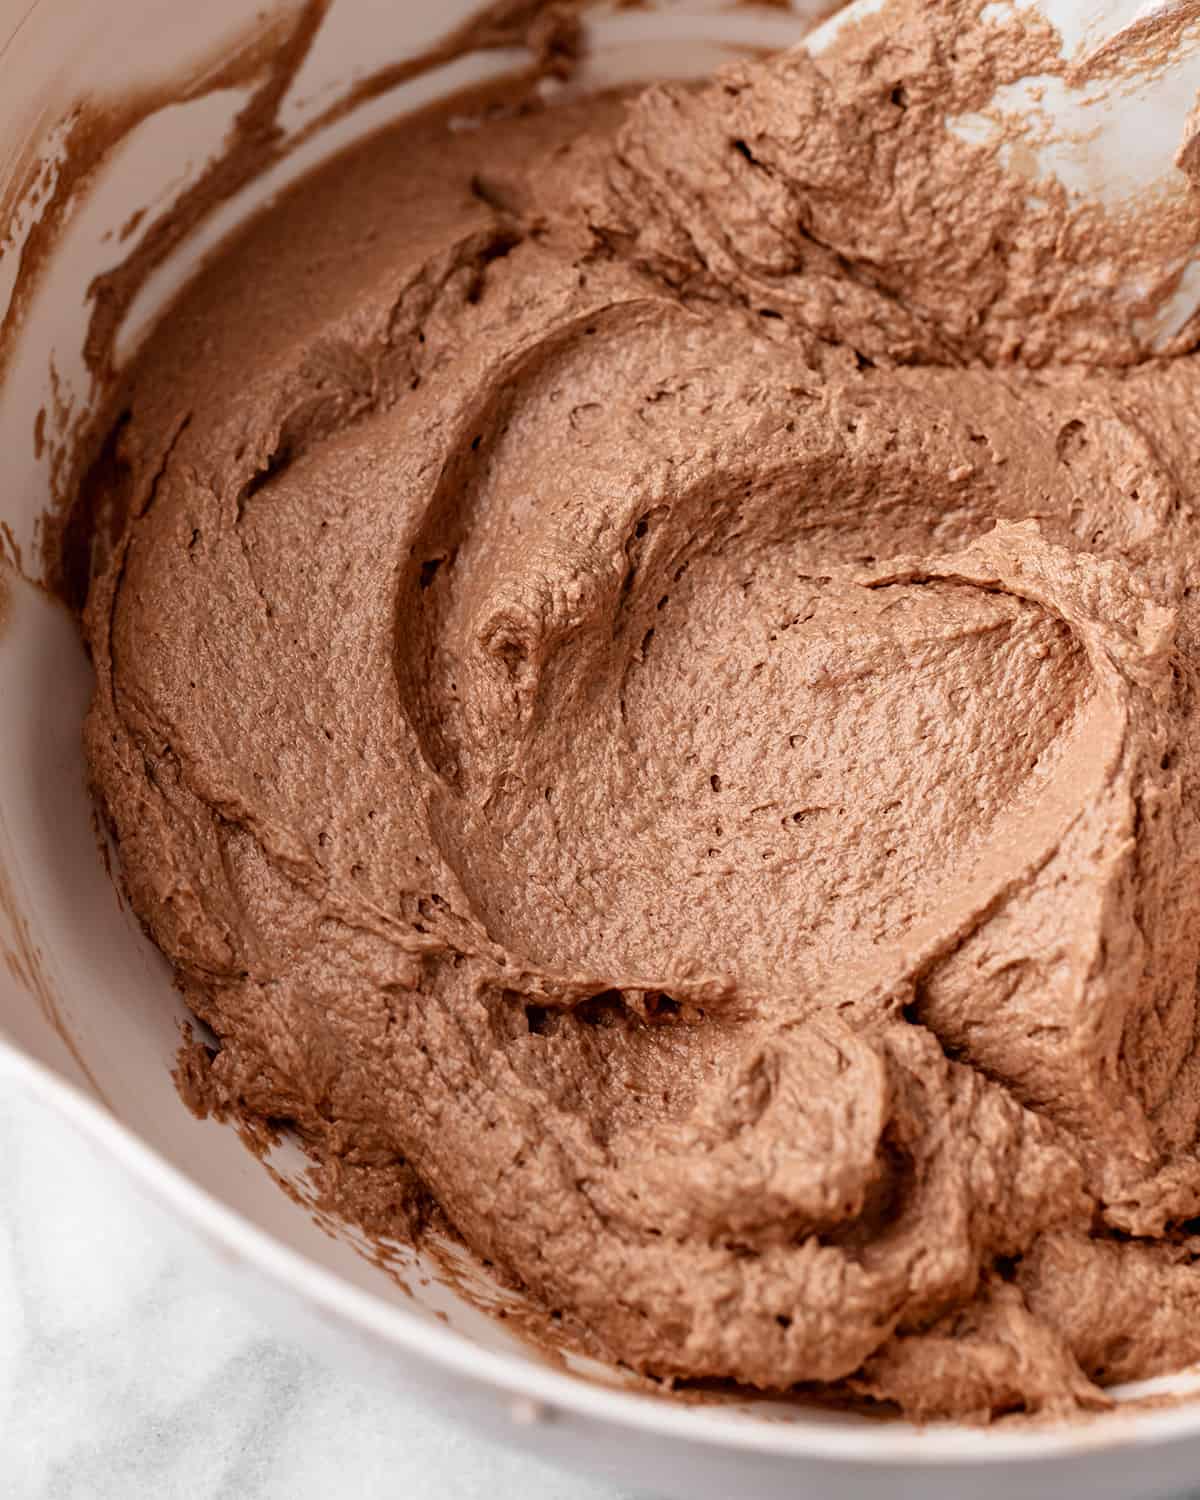
After all the eggs have been beaten into the filling, gently fold in the plain whipped whipping cream. with a spatula until the mixture is smooth.
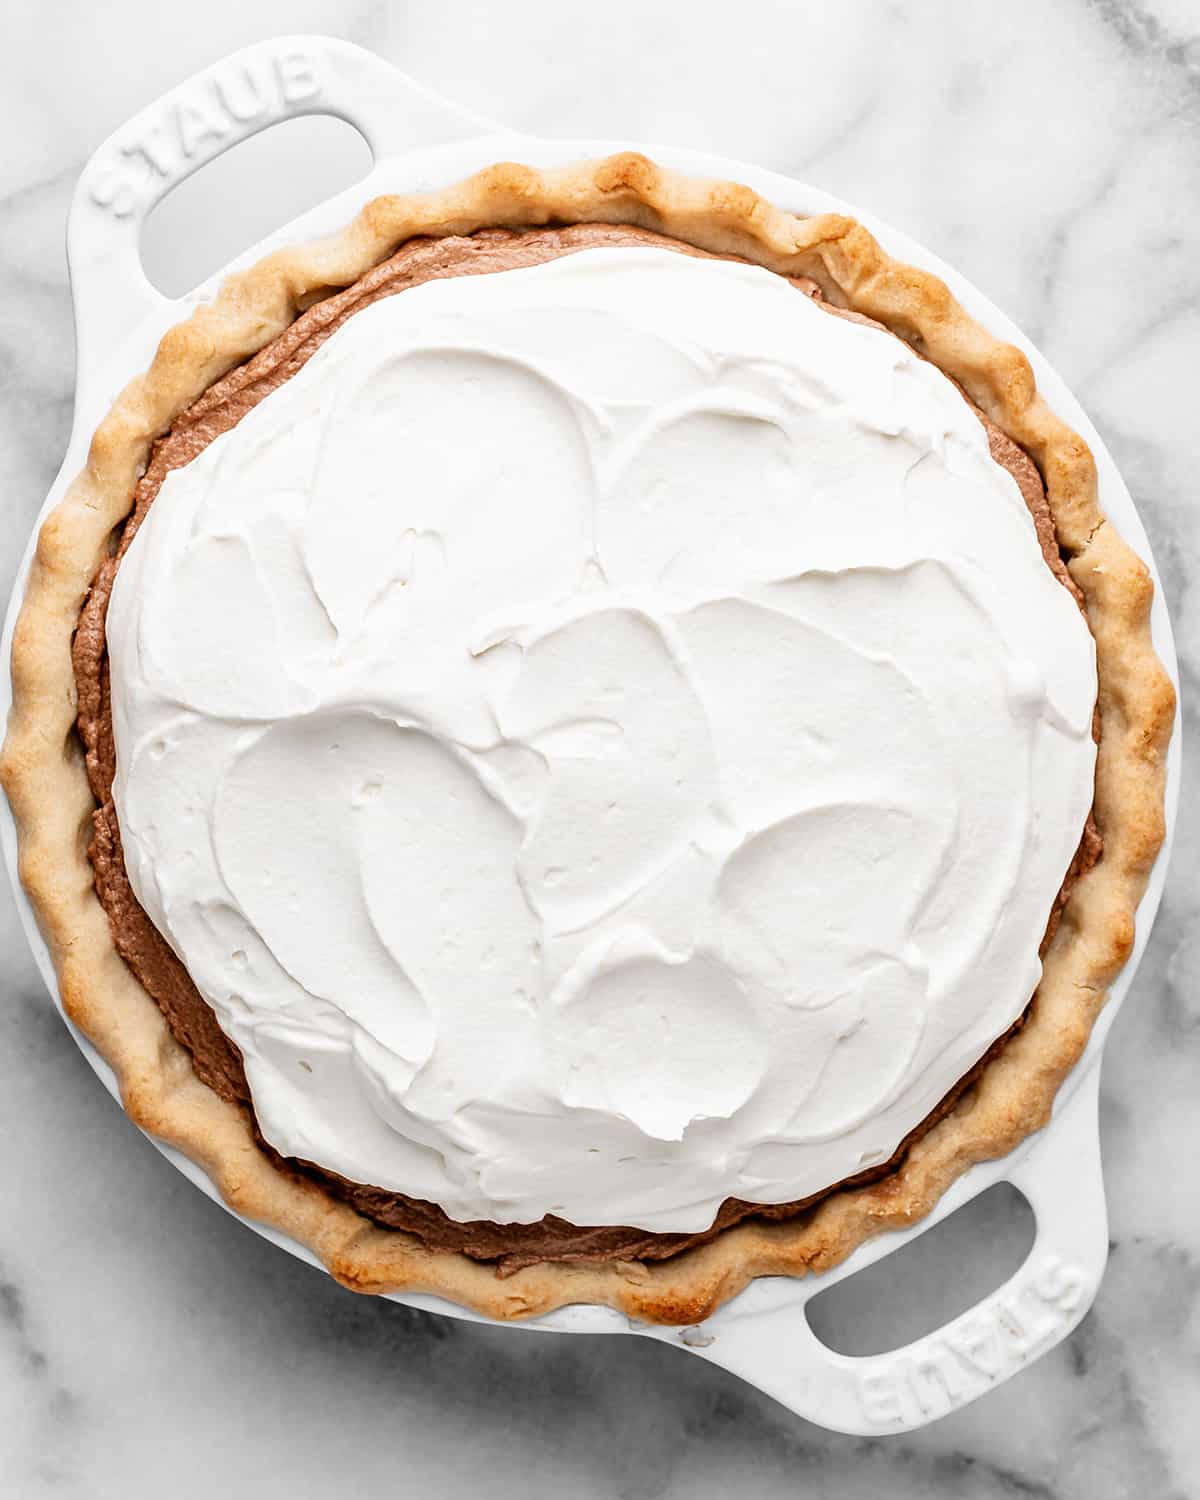
Assemble the French Silk Pie
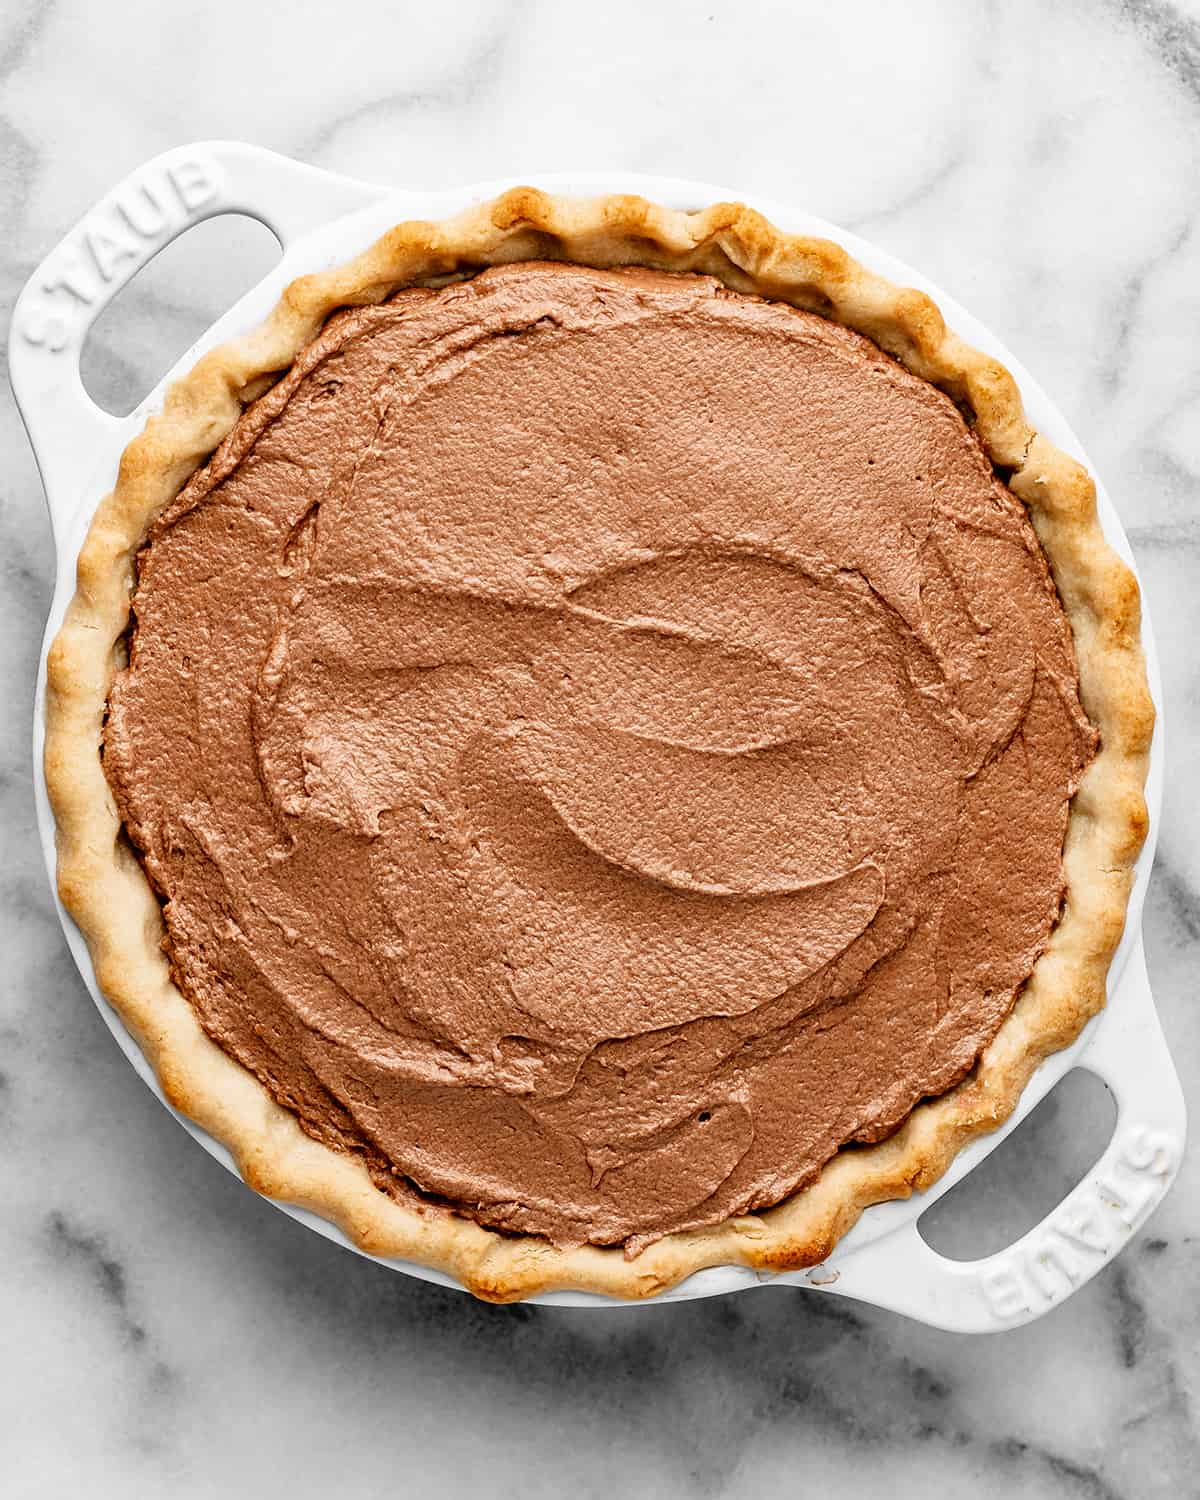
Next, evenly spread the chocolate filling into the baked and cooled pie crust.
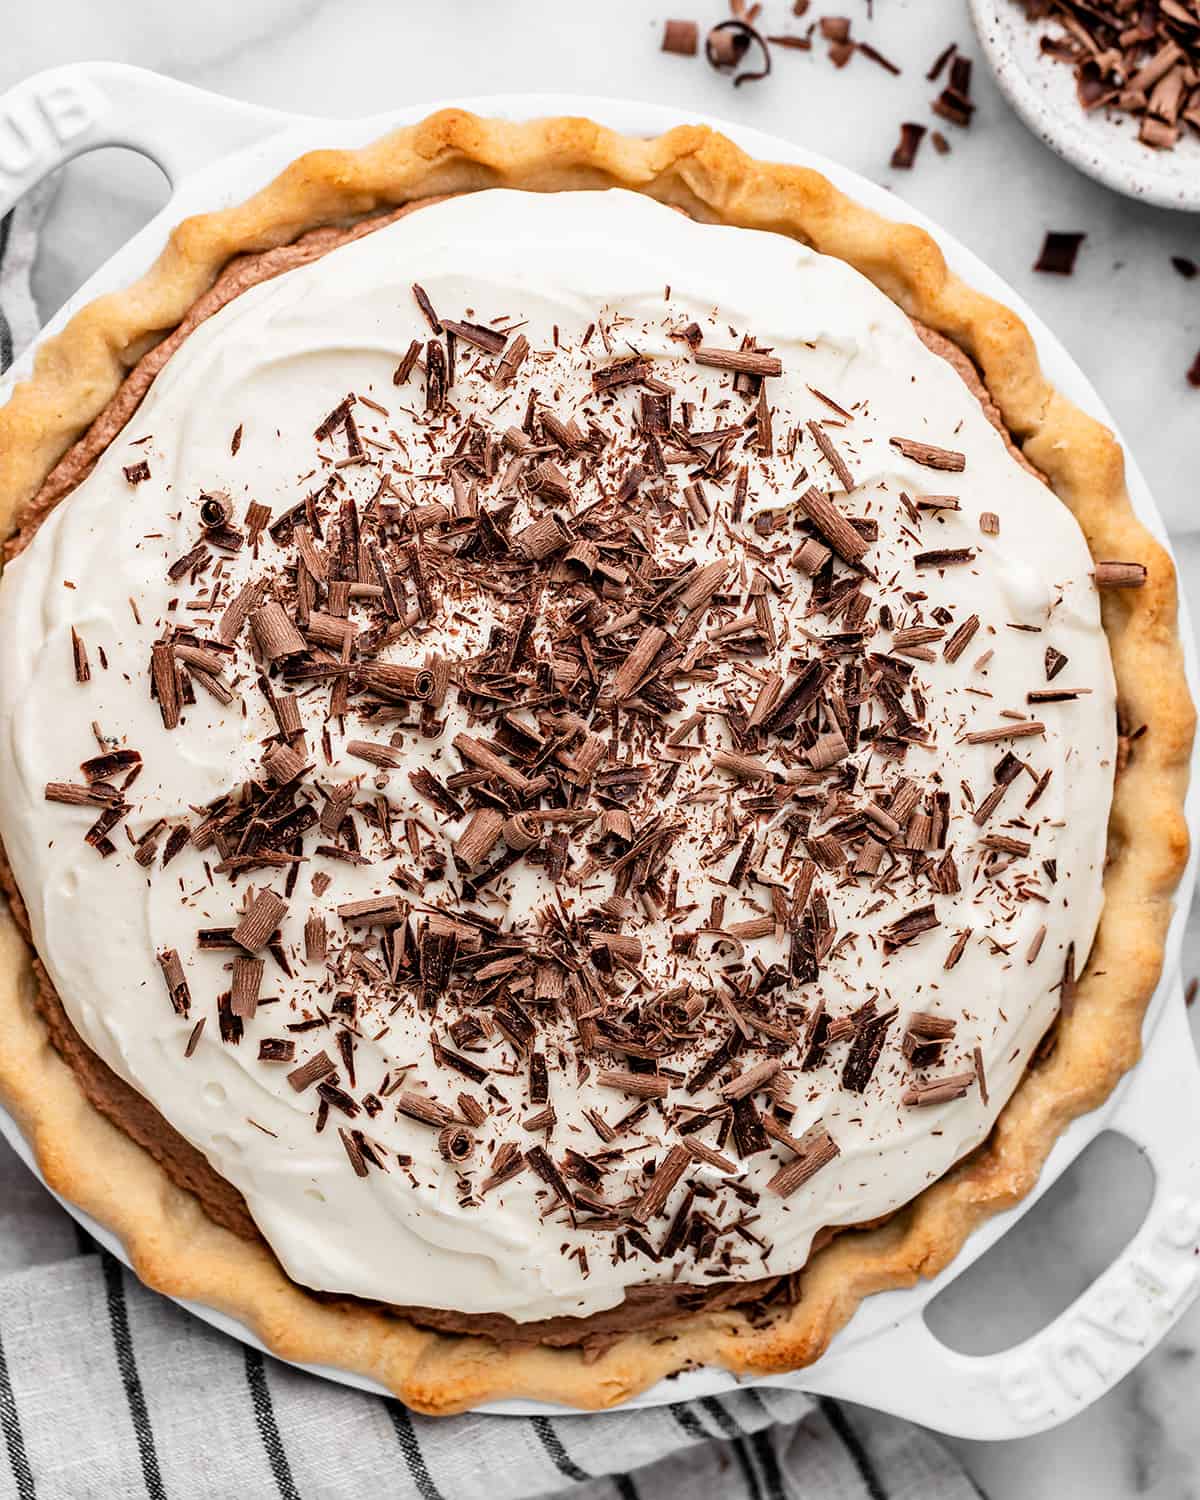
Use a piping bag to pipe the whipped cream onto the top of the chocolate silk filling, or just spread it on with a spatula or knife. To pipe the rose design I use a Wilton 1M tip and a large coupler.
If desired, add chocolate shavings, chocolate curls, etc. to the top of the whipped cream.
Chill & Serve
Once the French silk pie is assembled, chill it in the refrigerator for at least 4 hours, or overnight. I usually make this chocolate silk pie the day before and let it chill overnight in the refrigerator.
Serve the pie chilled.
Freeze
- Place assembled pie in the freezer, or put individual pie slices on a baking sheet in the freezer.
- Freeze for 2 hours, or until the whipped cream is frozen solid.
- Tightly wrap with plastic wrap and foil and freeze for up to 2 months.
Thaw
Transfer the frozen French Silk Pie to the refrigerator at least 24 hours before you would like to serve it. Serve chilled.

French Silk Pie Recipes
French silk pie keeps well in the refrigerator for up to 5 days, and in the freezer for 2 months.
Some people raise concerns about eating French silk pie, because traditional recipes (like this one) contain raw eggs. Raw eggs are safe to eat if they are pasteurized, which means that they are heated slightly to kill food-borne diseases and pathogens.
Full disclosure, I usually just buy excellent quality eggs to use in this French silk pie recipe, because the risk of eggs being contaminated is pretty low. However, note that there is a risk involved in eating raw eggs (just like eating anything really), so you have to choose what is best for you.
Pasteurized eggs can be hard to find, but don’t worry because pasteurizing eggs at home is super easy! Check out this tutorial on how to pasteurize eggs to find out how!

If you make and love my recipes, it would mean so much to me if you would leave a comment and rating! And don’t forget to follow along on Instagram, Pinterest, Facebook, TikTok and Youtube – be sure to tag @joyfoodsunshine and use the hashtag #joyfoodsunshine so I can see your creations!

French Silk Pie Recipe (Chocolate Silk Pie)
Video
Equipment
Ingredients
Crust:
- 1 ¼ cups all-purpose flour
- ¼ tsp sea salt
- 1 Tablespoon granulated sugar
- ½ cup shortening chilled
- 3-4 Tablespoons ice water
Chocolate Silk Pie Filling
- ¾ cup salted butter softened
- ¼ cup granulated sugar
- 1 cup powdered sugar
- 4 oz semisweet chocolate melted
- 1 teaspoon pure vanilla extract
- Pinch sea salt
- 3 eggs room temperature
- ¾ cup heavy whipping cream
Whipped Topping
- 1 ¼ cups heavy whipping cream
- ½ cup powdered sugar
- 1 teaspoon pure vanilla extract
Instructions
Make the Crust
- Place the flour, salt, and sugar in a food processor fitted with an “S” blade and pulse to combine.
- Add the shortening and cold water and process until the mixture resembles a coarse meal, begins to stick together, and holds together when pinched.
- Remove the dough from processor (it will be crumbly) and form it into a round, flat disc.
- Wrap the disc in plastic wrap and refrigerate for at least 1 hour, and up to one day (overnight).
- After the dough has chilled, preheat oven to 450 degrees F.
- Roll out dough on a well-floured surface or pastry cloth.
- Place it into a deep, 9-inch, round pie plate and pinch the edges to form a crust. Then, gently prick the dough with a fork all over.
- Set a piece of parchment paper on top of the crust, then add the pie weights.
- Bake for 10-12 minutes or until it just begins to brown. If any bubbles form, gently deflate them by pricking with a fork or sharp knife.
- Set aside to cool.
Make the Whipped Topping
- Put 1 ¼ cups of whipping cream, powdered sugar and vanilla into the bowl of a standing mixer fitted with the wire whisk attachement (or use a large bowl and handheld mixer).
- Beat, starting on low speed and increasing to high speed for 2-3 minutes, or until stiff peaks form.
- Transfer to another bowl, or to a large piping bag, and set aside in the refrigerator.
Make the French Silk Pie Filling
- Whip ¾ cup whipping cream (for the filling) in a standing mixer fitted with the wire whisk attachment on high until stiff peaks form. Set aside in the refrigerator.
- Melt chocolate in the microwave or over a double boiler, stirring occasionally, until smooth. Set aside to cool.
- In the bowl of a standing mixer fitted with the paddle attachement, or in a large bowl with a handheld mixer, cream the butter sugar, powdered sugar and vanilla together 3 minutes – until the sugar is dissolved and the mixture is light and fluffy.
- Add the melted chocolate and beat for 1 minute, pausing and scraping down the sides once halfway through.
- Add eggs one at a time, beating on medium speed for 1 minute after each addition.
- Gently fold in the ¾ cup of whipped cream by hand.
Assemble
- Evenly spread the chocolate filling into the baked and cooled pie crust.
- Top with whipped topping in one of two ways: 1) Simply spread the whipped topping over the pie with a spatula or 2) Pipe the whipped topping on top with a decorator’s tip to make a pretty design.
- Place in the refrigerator to chill for at least 4 hours or overnight.
- Serve chilled and enjoy.
Notes
- Pie Crust: If you make the pie crust I recommend not making any substituions, except that you can swap shortening for butter, and follow this all-butter pie crust recipe. Or use Oreo Pie Crust, or store-bought crust for convenience.
- Salted Butter. unsalted butter can be used in place of salted butter.
- Semi-sweet chocolate. You can use any form (chips, chocolate bars, melting discs, etc.) or any percentage of chocolate in this recipe and it will taste amazing. Milk chocolate yields a sweeter pie, while dark or unsweetened chocolate results in a less sweet pie.
- Whipping cream. Heavy whipping cream, whipping cream, or heavy cream each work well in this recipe. I discuss the difference in this post: how to make whipped cream.
- Place assembled pie in the freezer, or put individual pie slices on a baking sheet in the freezer.
- Freeze for 2 hours, or until the whipped cream is frozen solid.
- Tightly wrap with plastic wrap and foil and freeze for up to 2 months.
Nutrition
Nutrition information is automatically calculated, so should only be used as an approximation.


This looks so delicious. Is there a way to make this without using raw eggs?
Don’t be afraid of the eggs!
The eggs are not cooked?
Nope!
Made this for Easter and it was delish! So good…go ahead and make it! You won’t be sad.
I’m so glad you love it and enjoyed it as a part of your Easter celebrations, Kathy!
Wonderful pie reciepe. great instructions for first time making. I’m sure this pie will be a holiday favorite for future holidays. Definitely will make again.
Thank you so much Kathy!!!
Definitely worth the effort and I’ll be skipping the store bought stuff from now on! The first time I made this it took me a bit longer to complete, but the second time I completed it much faster. This is my husband’s favorite pie and he was thrilled I made it for him from scratch. Can’t wait to hear what my fam thinks of it at Thanksgiving!
Thank you so much Emily! I’m so glad that you love it and I hope it brings tons of joy at your Thanksgiving celebration!
Delicious! My husband’s favorite pie!
Made this pie tonite, it was amazing. Very creamy and smooth! Will definitely make again
I’m so glad you love it, Mary!
Can’t wait to try this! If I make it a day ahead, should I wait for the whipped cream topping until just before serving? I’d hate to see piped whit cream collapse!
If you whip the cream to stiff peaks and pipe it on it will hold it’s shape if stored in the refrigerator overnight.