Healthy No-Bake Cookies

Updated Sep 27, 2026
This post may contain affiliate links. Please read our disclosure policy.
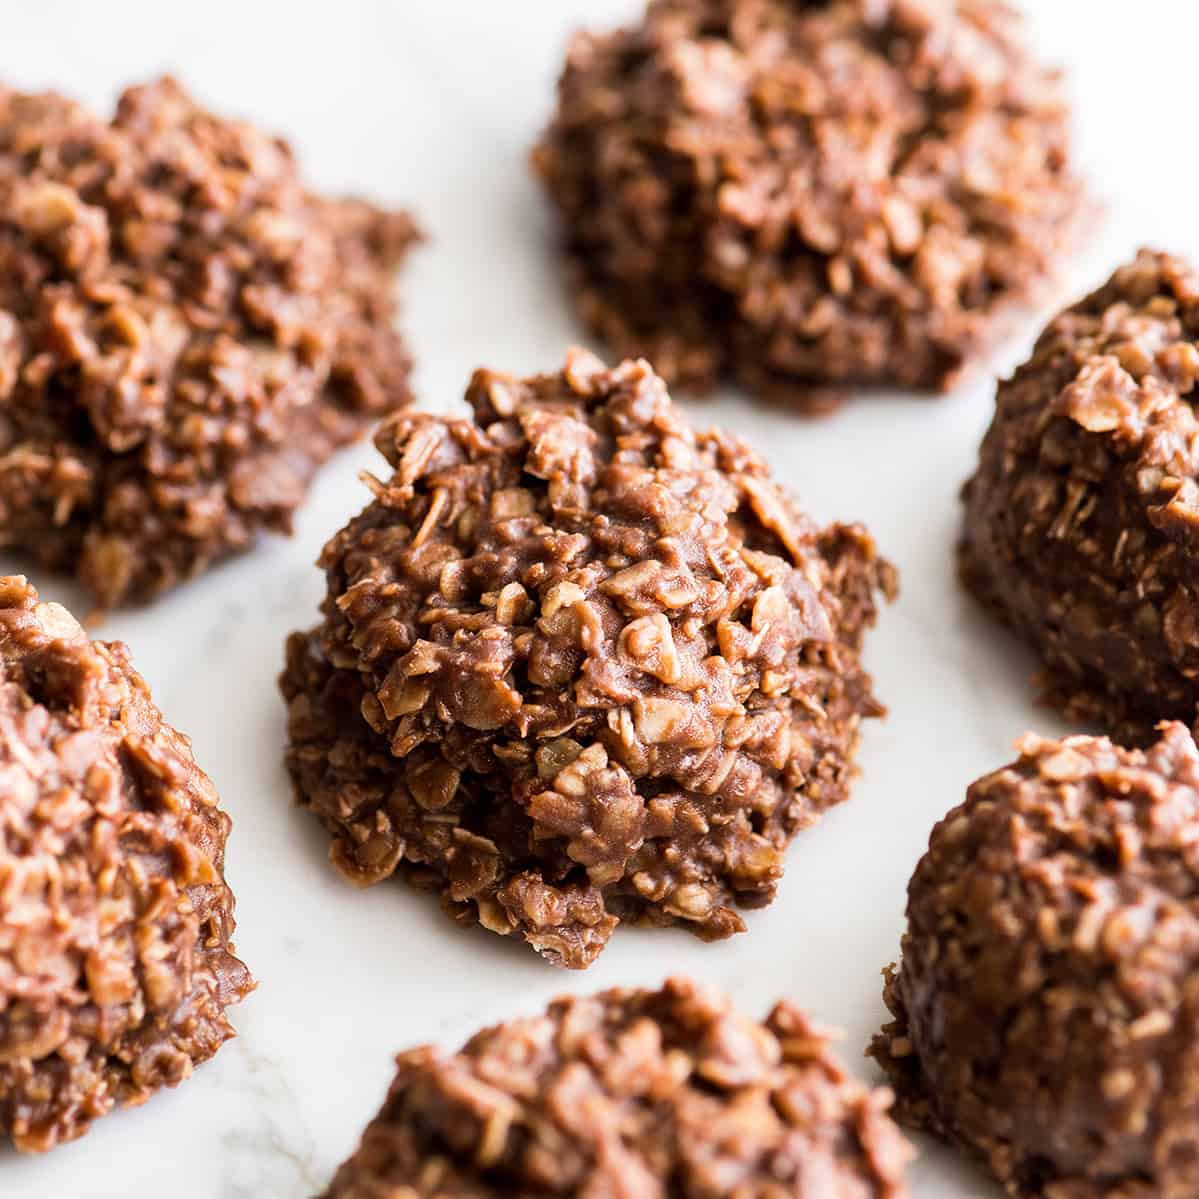
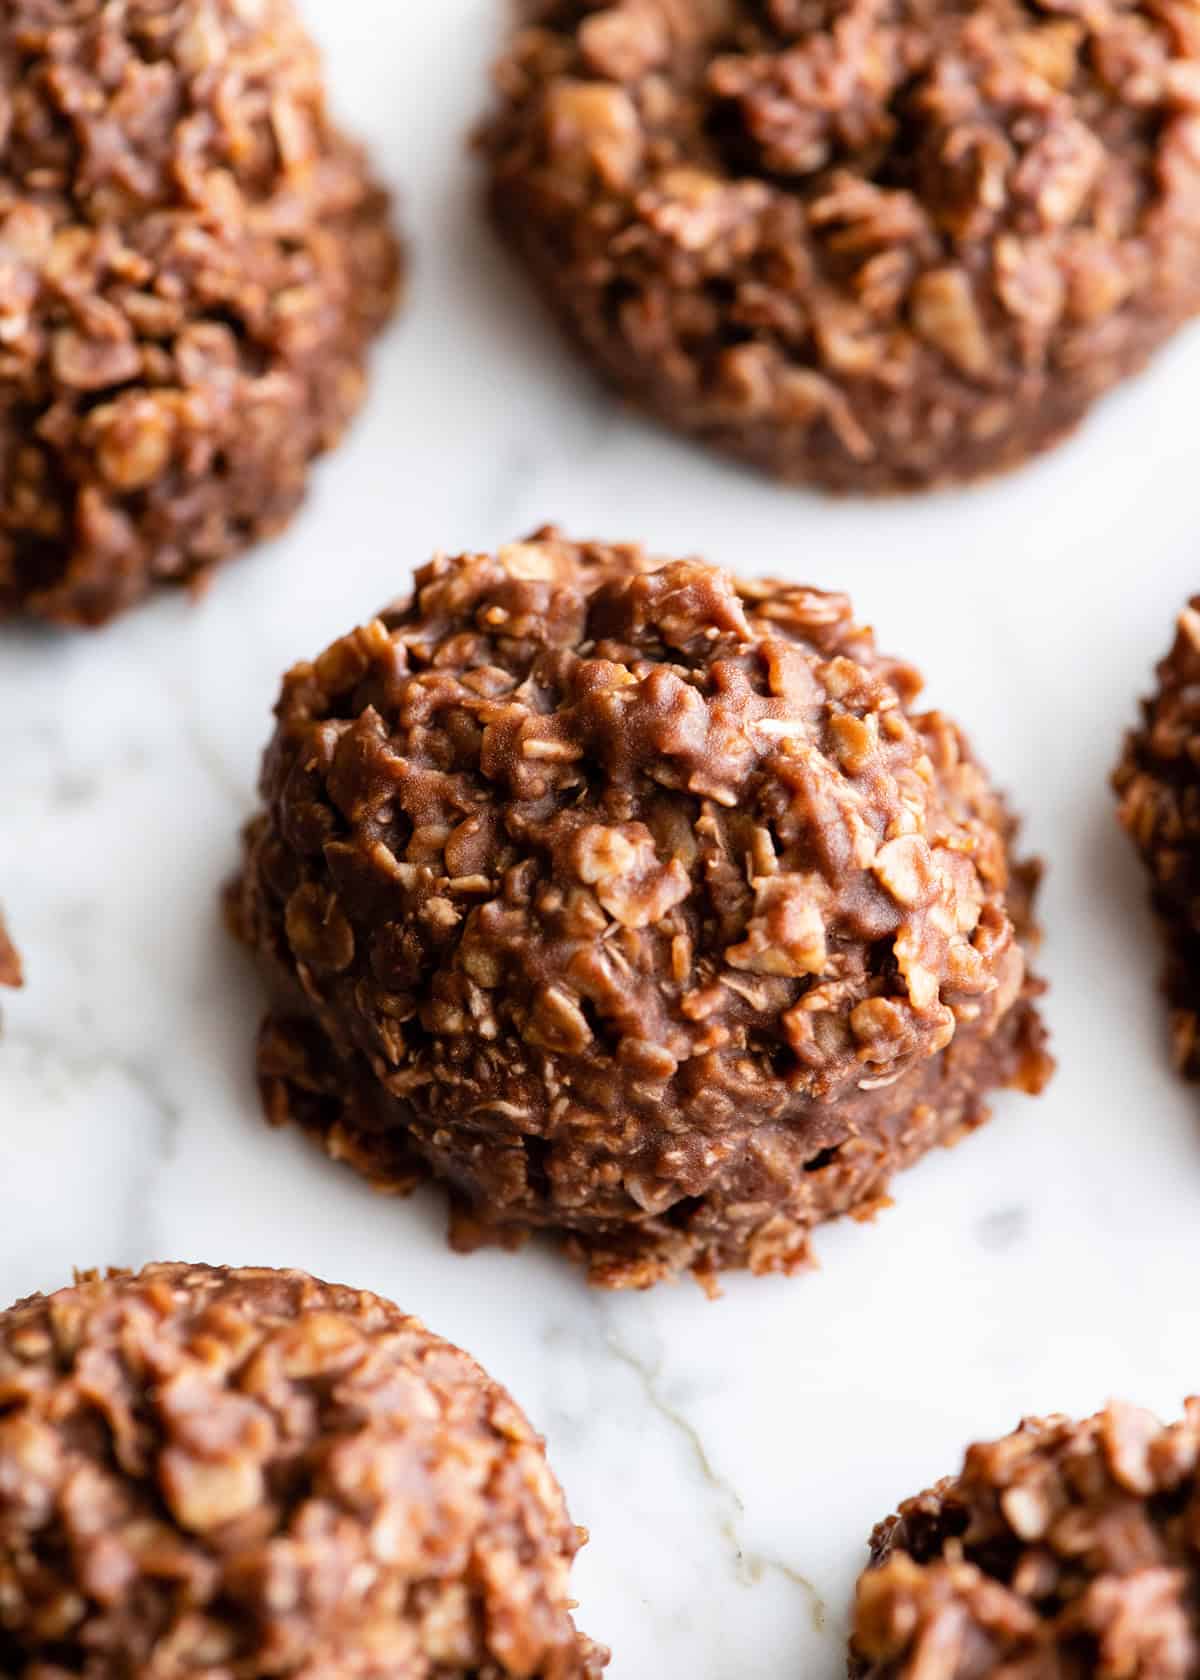
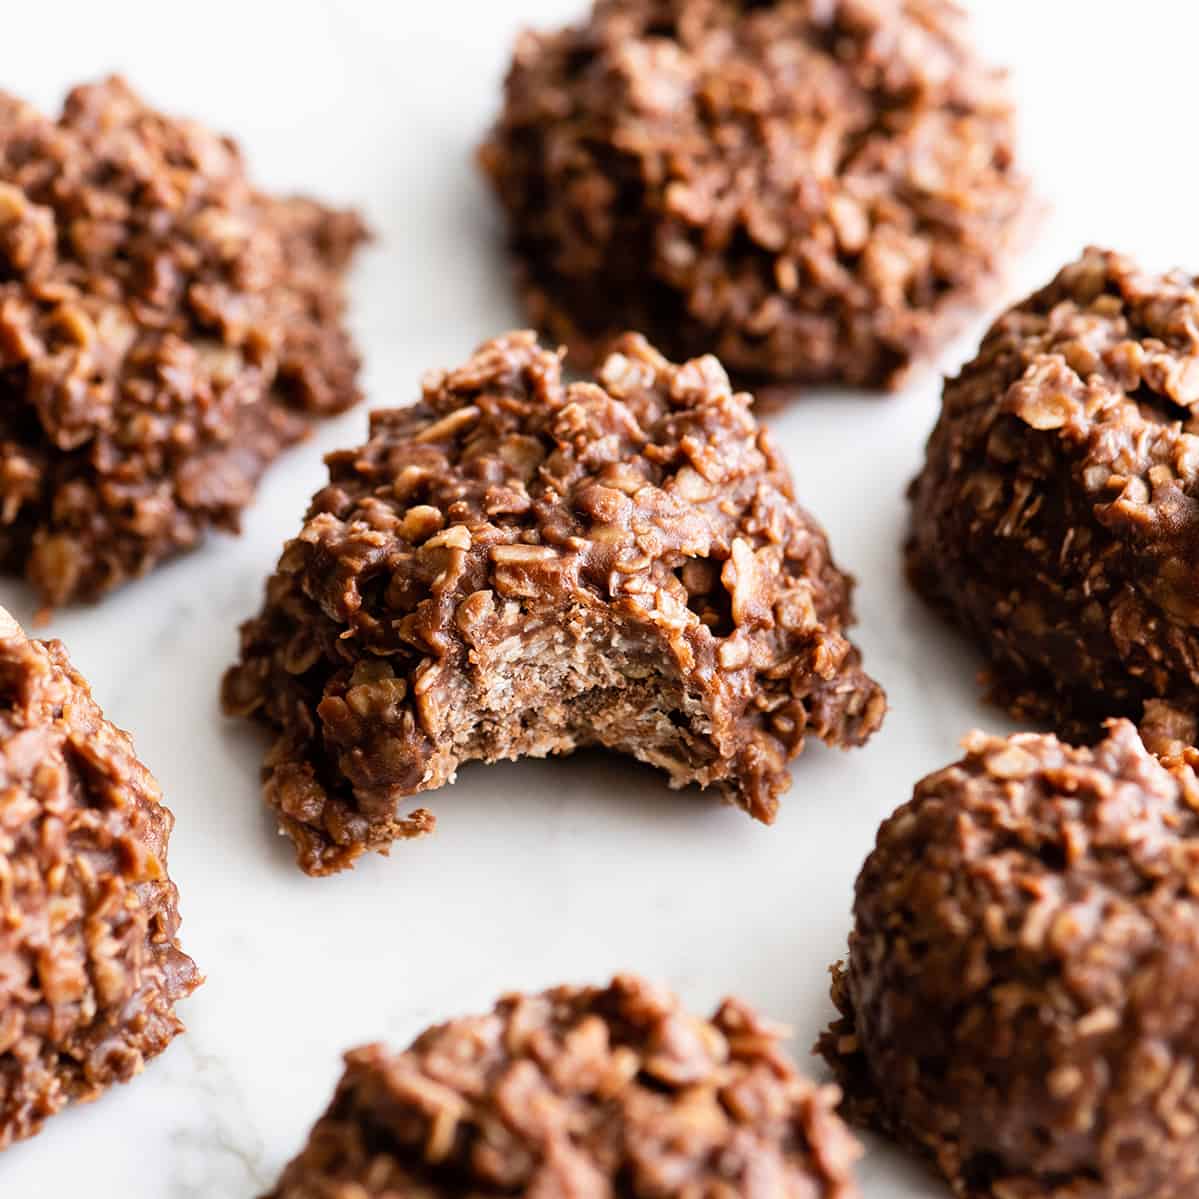
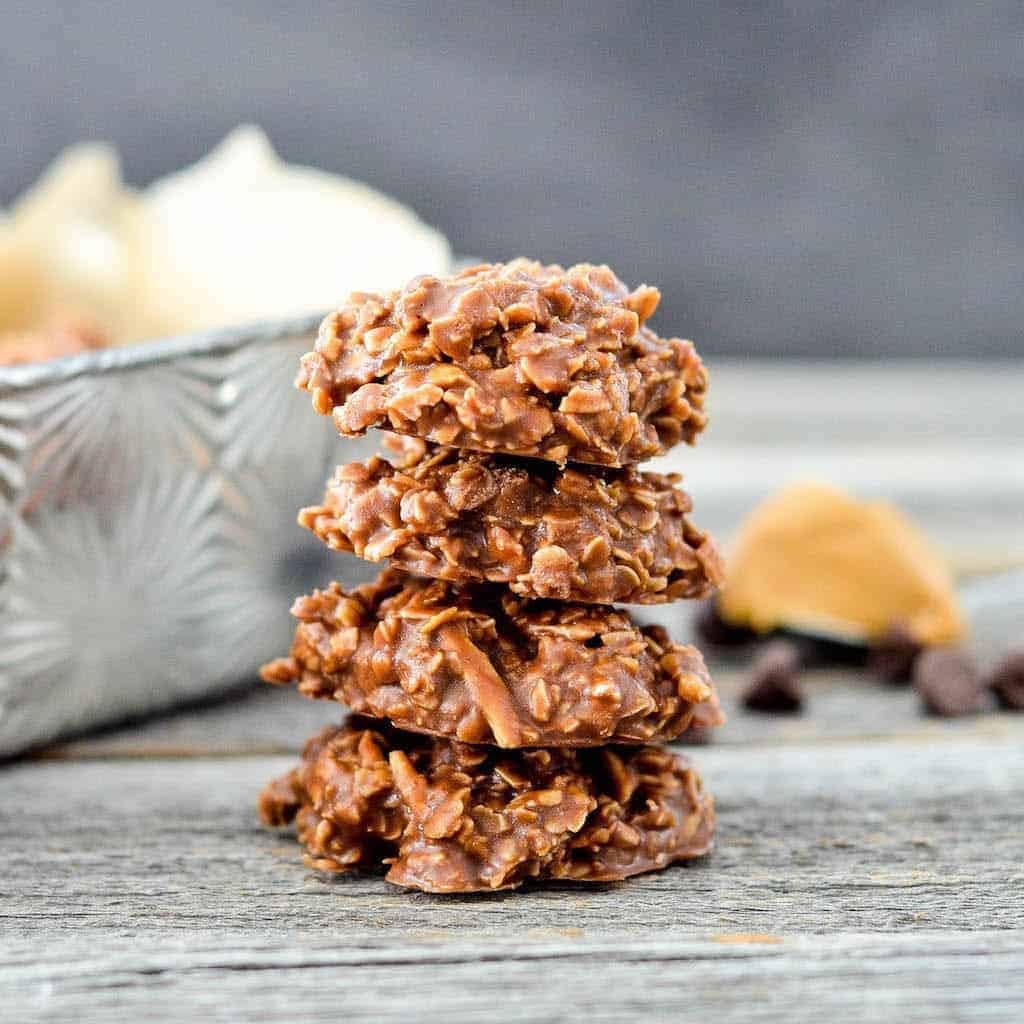
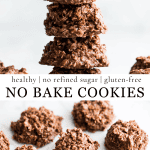
These healthy no-bake cookies are an easy, delicious treat made with only 8 nutritious ingredients! They’re loaded with rich chocolate peanut butter flavor, naturally sweetened with honey (or maple syrup) and made with oats and coconut. Plus, these healty chocolate peanut butter no bake cookies are gluten-free, dairy-free, refined sugar free and vegan-friendly!
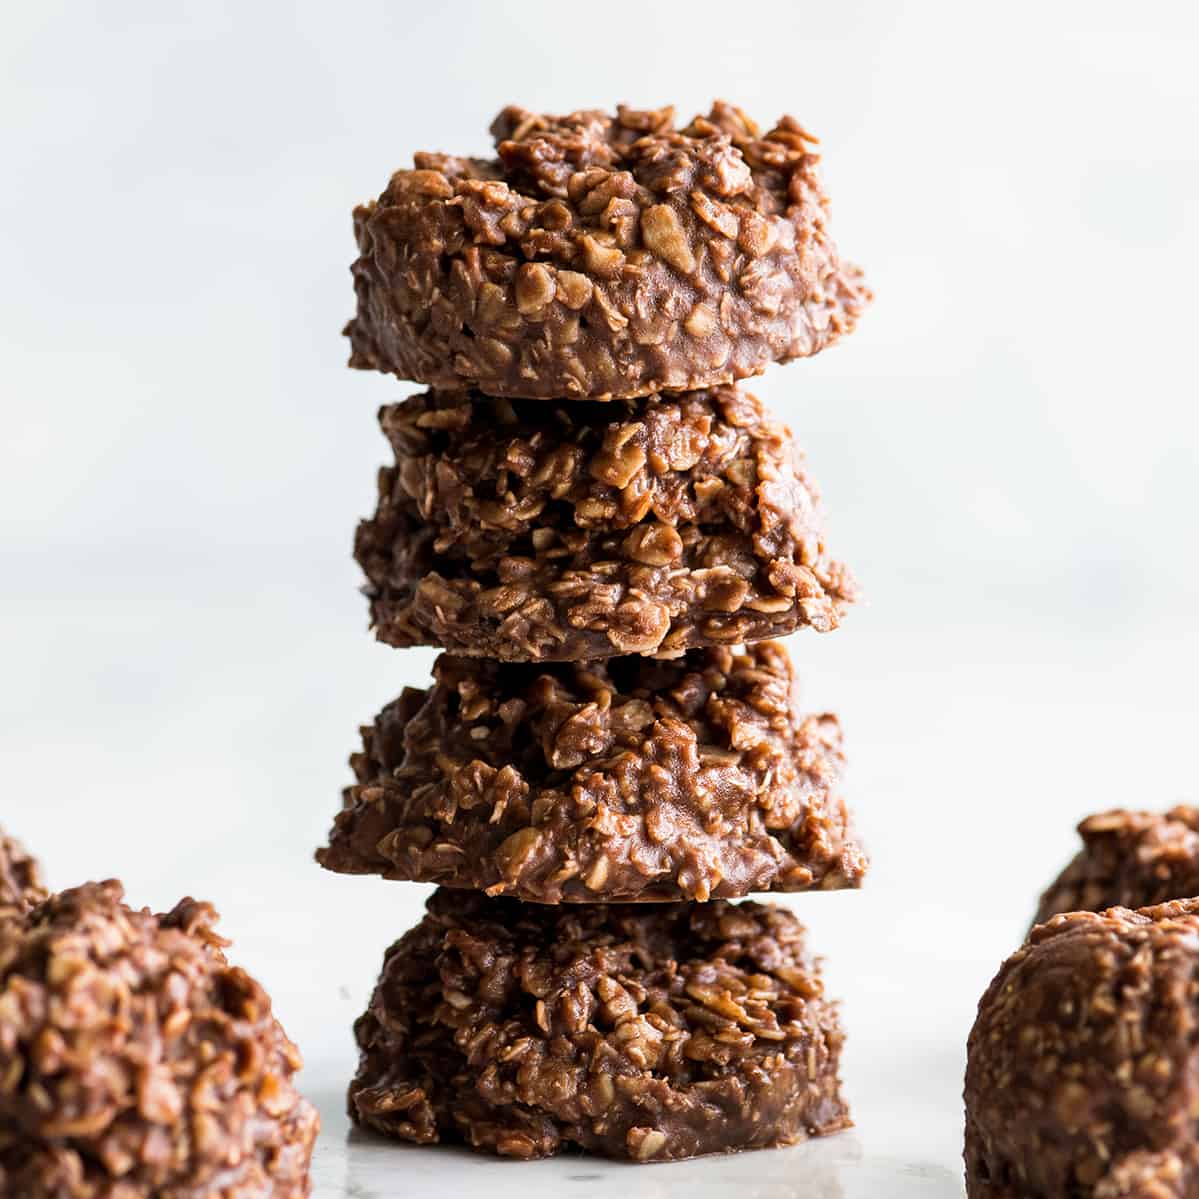
I created these healthy chocolate peanut butter no-bake cookies because I loved classic no-bake cookies, but wanted to make a version with healthier ingredients that tasted just as delicious. I’ve been making this recipe for over a decade, and they’re still one of my favorite healthy treats!
They’re easy to make in 30 minutes with 8 ingredients you probably already have on hand! These healthy no bake cookies are perfect when you’re craving something sweet but want a healthier dessert.
Why You’ll Love These Healthy No-Bake Cookies
- Chocolate peanut butter perfection. They’re rich, fudgy and loaded with chocolate peanut butter flavor.
- Don’t taste healthy. They’re good for you but don’t taste like it.
- 8 ingredients. You probably already have on hand.
- Naturally sweetened. Honey or maple syrup sweetens these cookies instead of refined sugar.
- No oven required. Made on the stovetop!
- Quick and easy. It only takes about 10 minutes to make the cookies, then they just have to chill until firm.
- Allergy-friendly. These healthy no bake cookies are naturally gluten-free and dairy-free and can easily be made vegan.
Love this recipe! Turns out perfect every time. Everyone loves them! Easy, quick and no seed oils or refined sugar.
– Alyssa
Healthy No-Bake Cookies: Ingredients & Substitutions
Here are a few potential substitutions for this recipe!
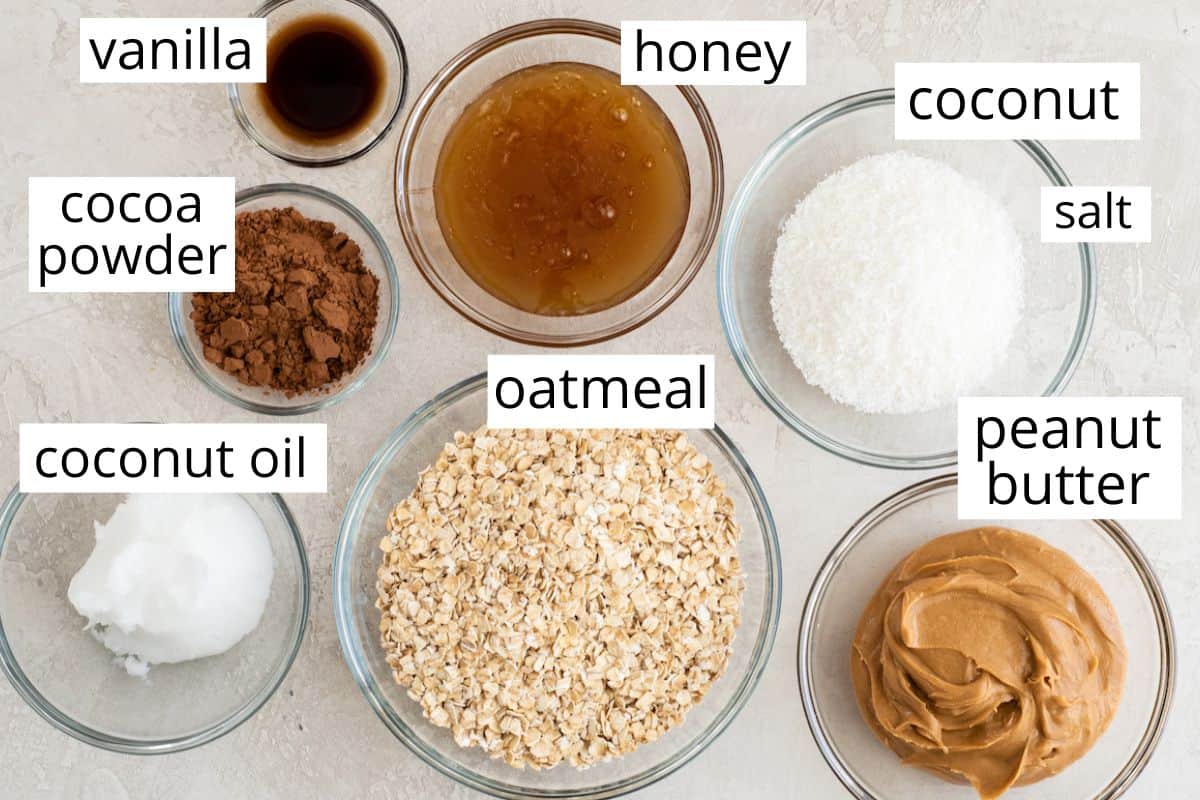
- Peanut butter. Creamy is best, but you can also use crunchy. Any nut or seed butter works well in this recipe, including almond butter, cashew butter or sunflower seed butter if you have a nut allergy.
- Coconut oil. Butter (my favorite) or ghee can be used in place of coconut oil, although the cookies will no longer be dairy-free if you use butter.
- Honey. Honey is my favorite way to naturally sweeten these healthy no bake cookies. Use pure maple syrup to make them vegan.
- Shredded coconut. If you don’t care for coconut, simply replace it with an extra 1/4 cup quick-cooking oats.
- Cocoa powder. Use unsweetened cocoa powder. You can use regular or dark cocoa powder for a richer chocolate flavor.
- Quick cooking oats. I recommend quick-cooking oats because they give these cookies the best texture. If you need the recipe to be gluten-free, choose certified gluten-free oats. If you only have old-fashioned oats, pulse them in the blender or food processor 1 or 2 times before using them in this recipe.
How to Make Healthy No-Bake Cookies
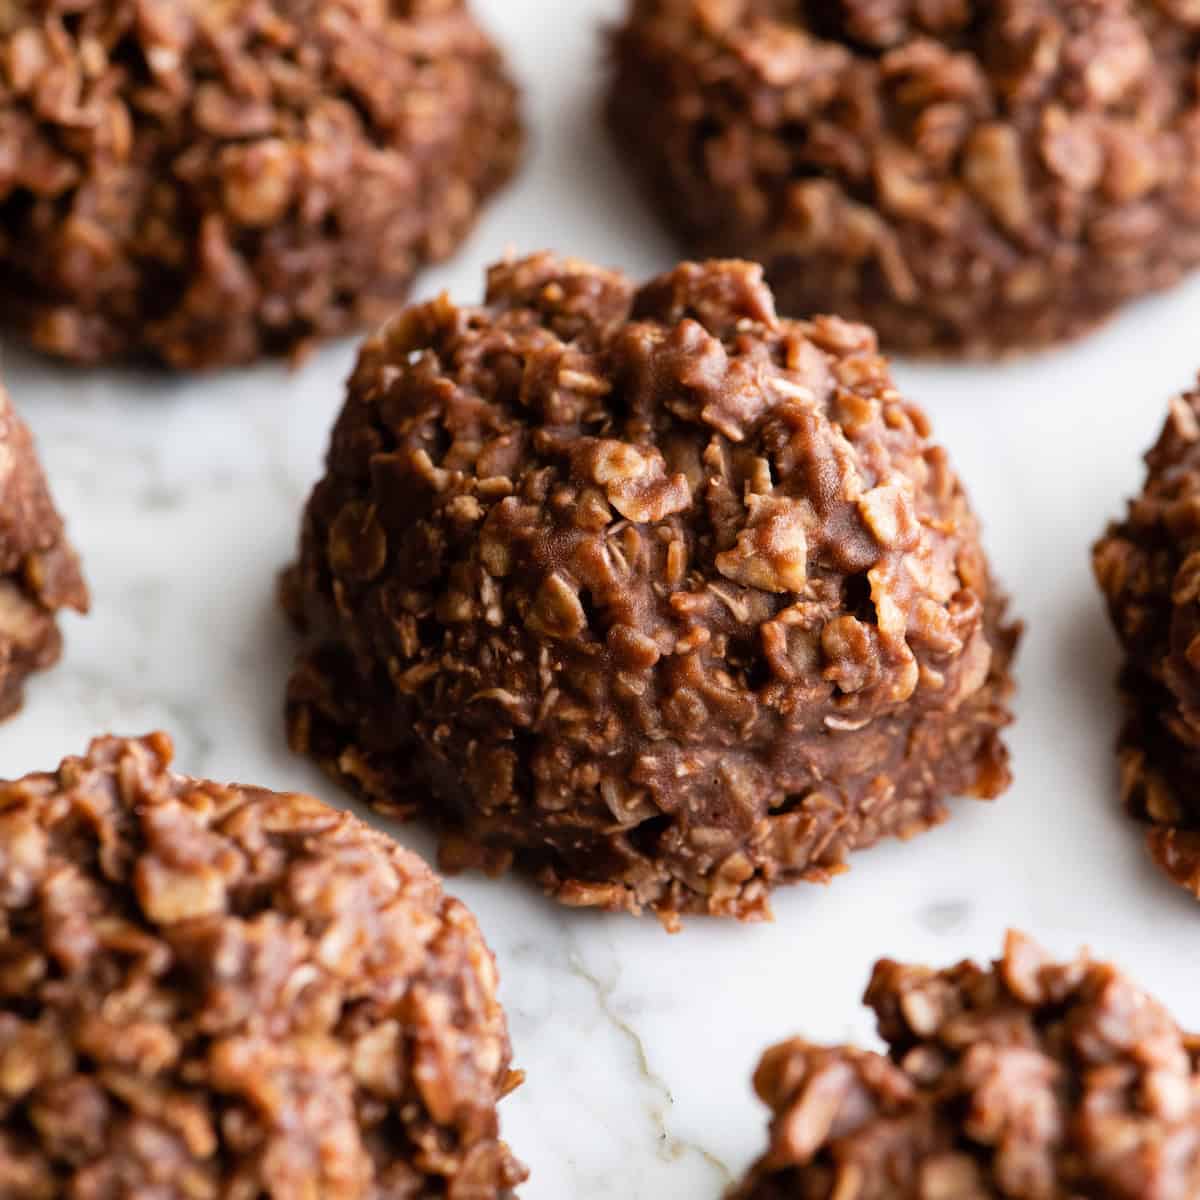
These healthy no bake cookies are so easy to make! We’ll walk through the process together and don’t forget to watch the video.
Start by melting together the coconut oil, peanut butter and honey!
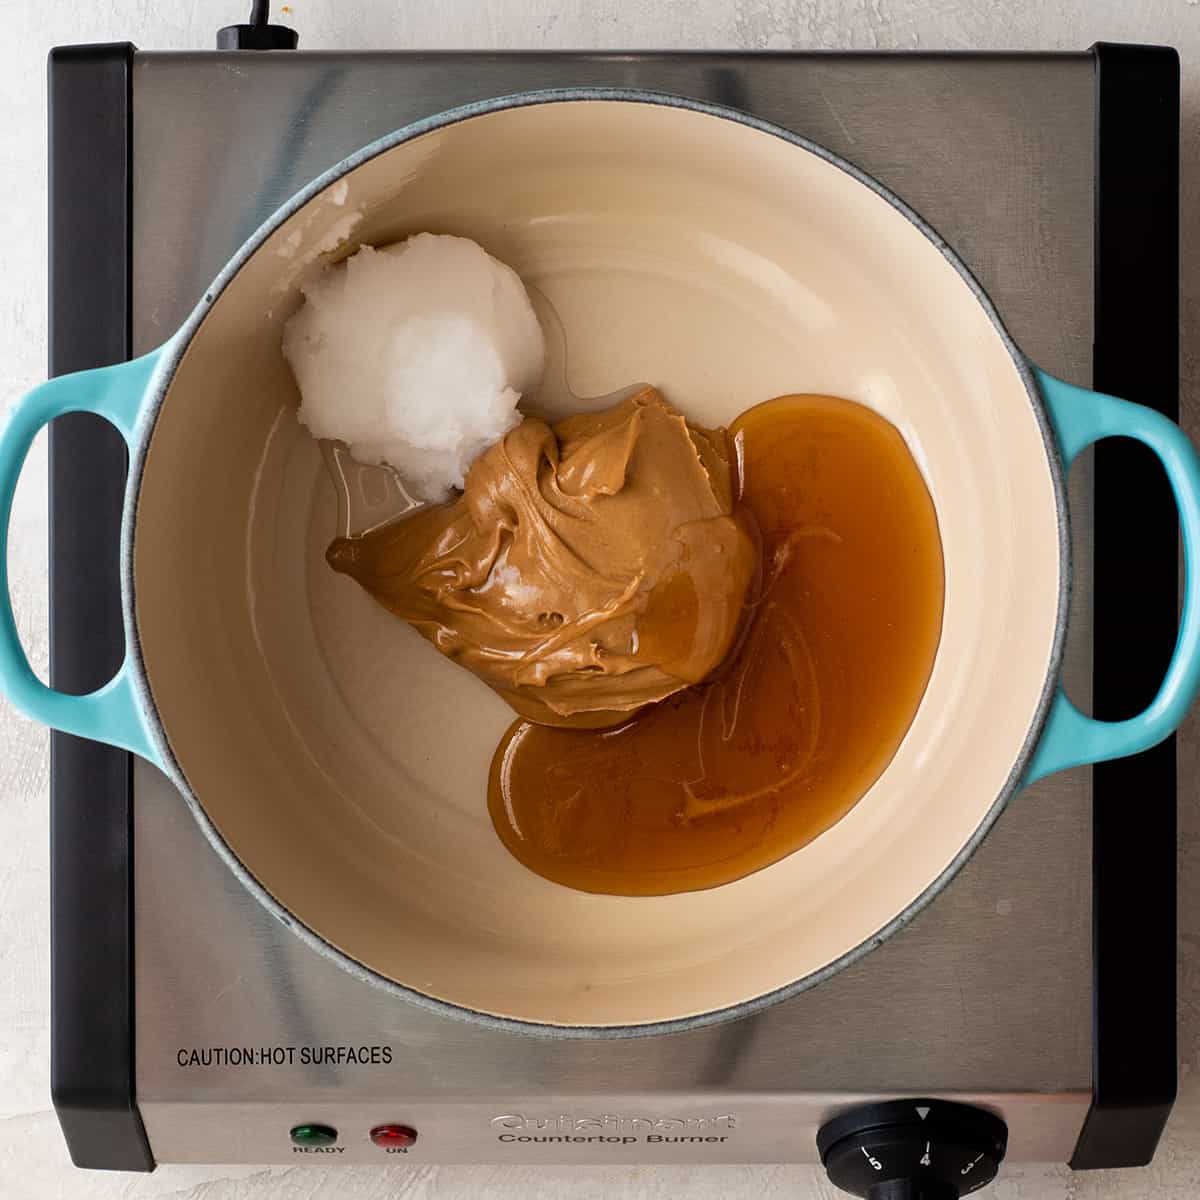
Then, stir or whisk the wet ingredients together over medium-low heat until the mixture is smooth.
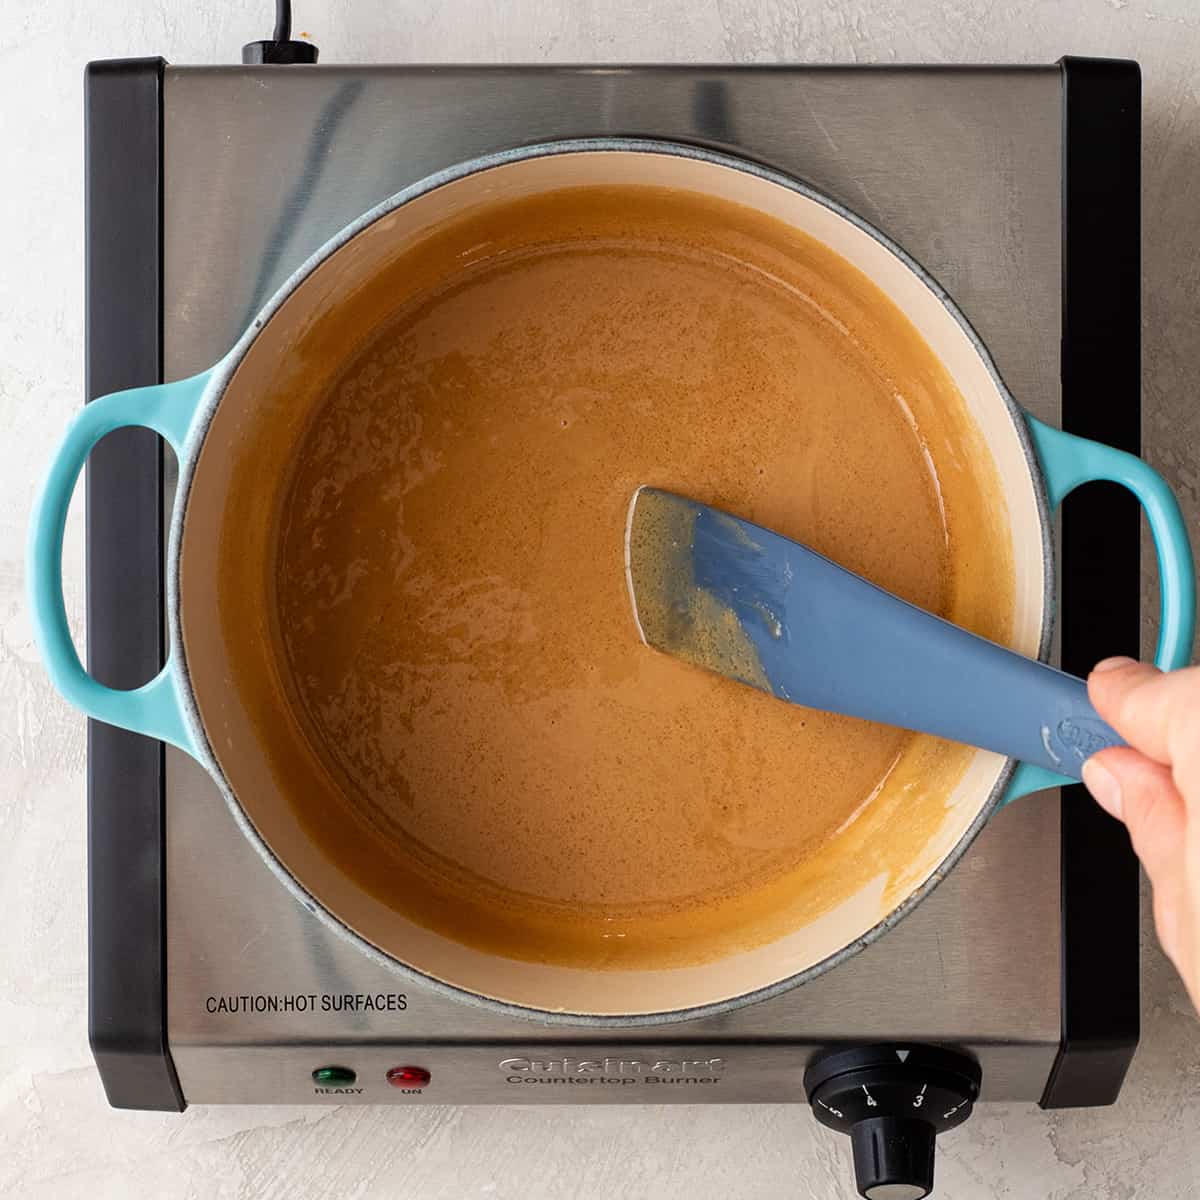
Next, add the dry ingredients – cocoa powder, quick-cooking oats and coconut.
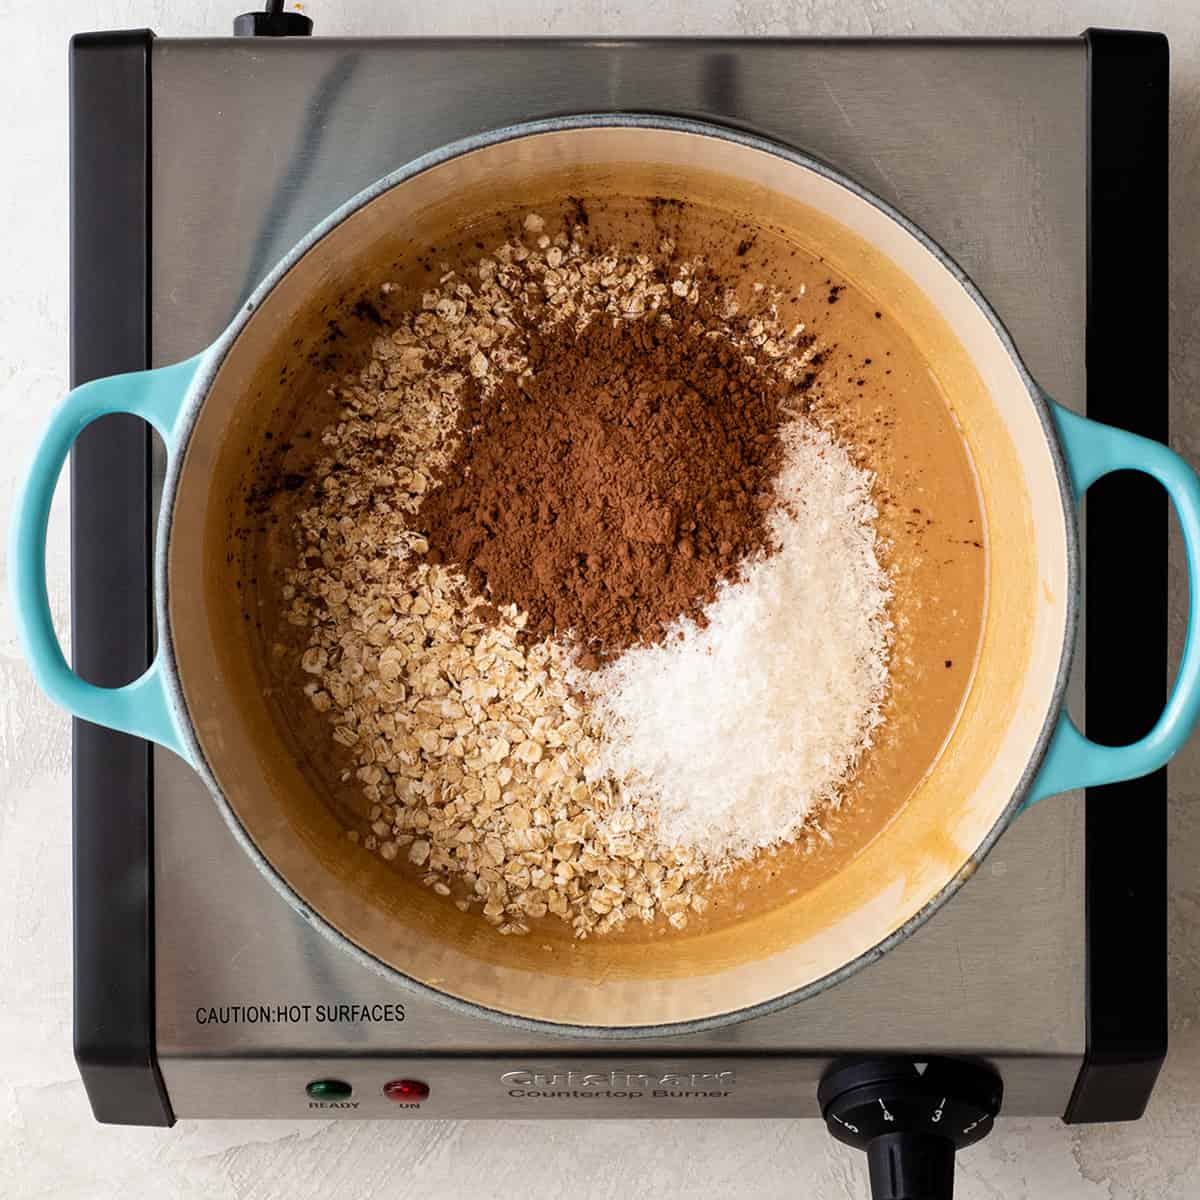
Stir until the ingredients are combined, and continue cooking for 1-3 minutes, or until the mixture thickens slightly.
do not overcook
If you over-cook the cookies here they will be dry. Make sure to cook just until they’re thickened and don’t use too-high heat.
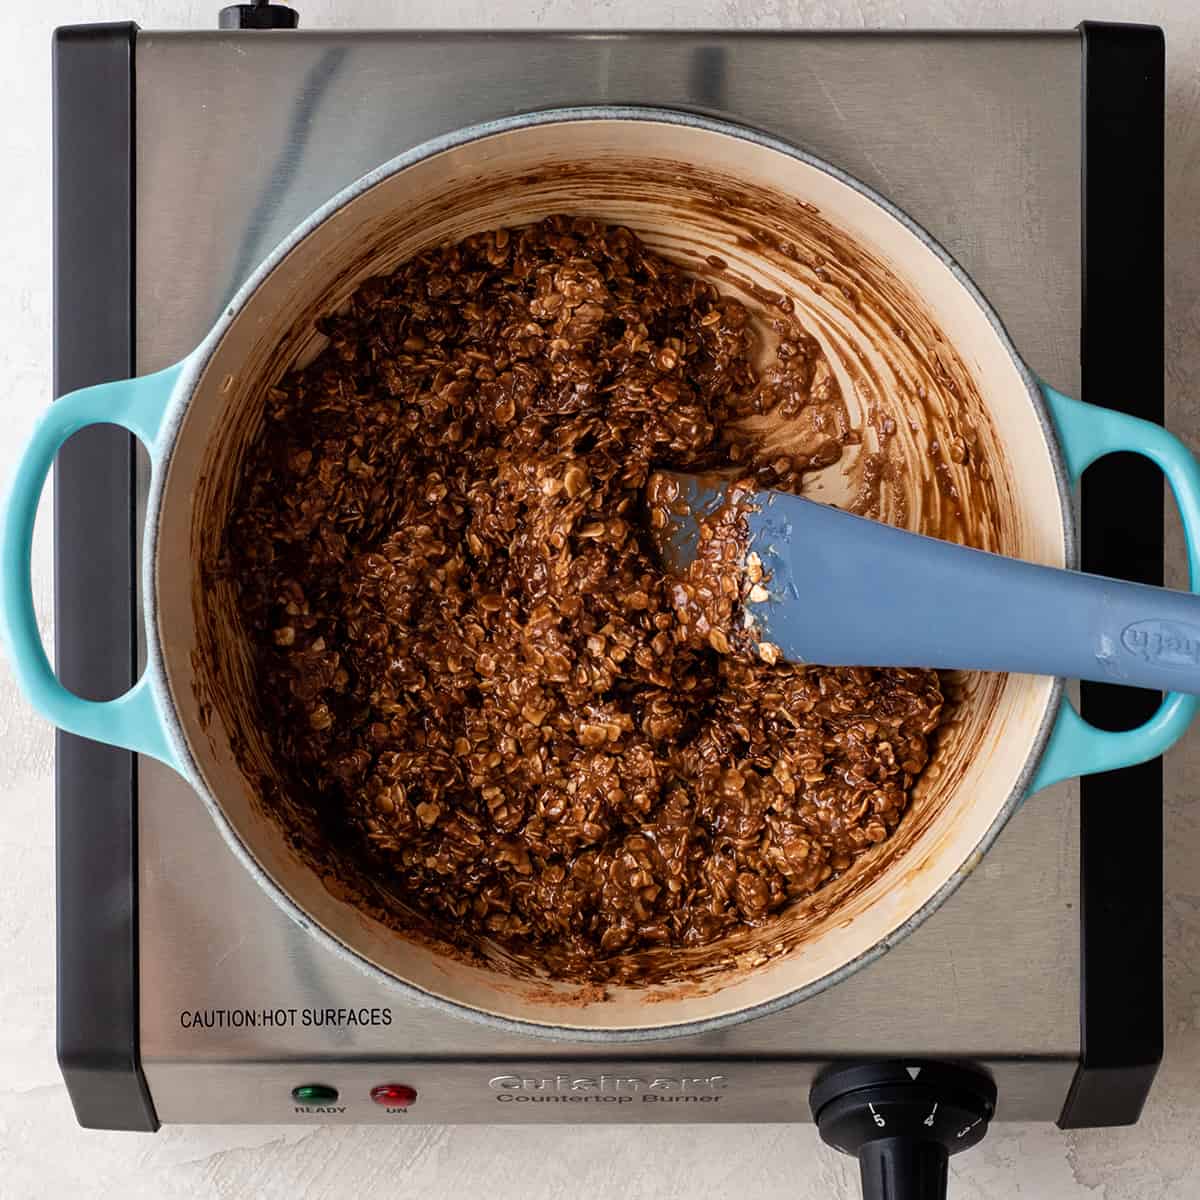
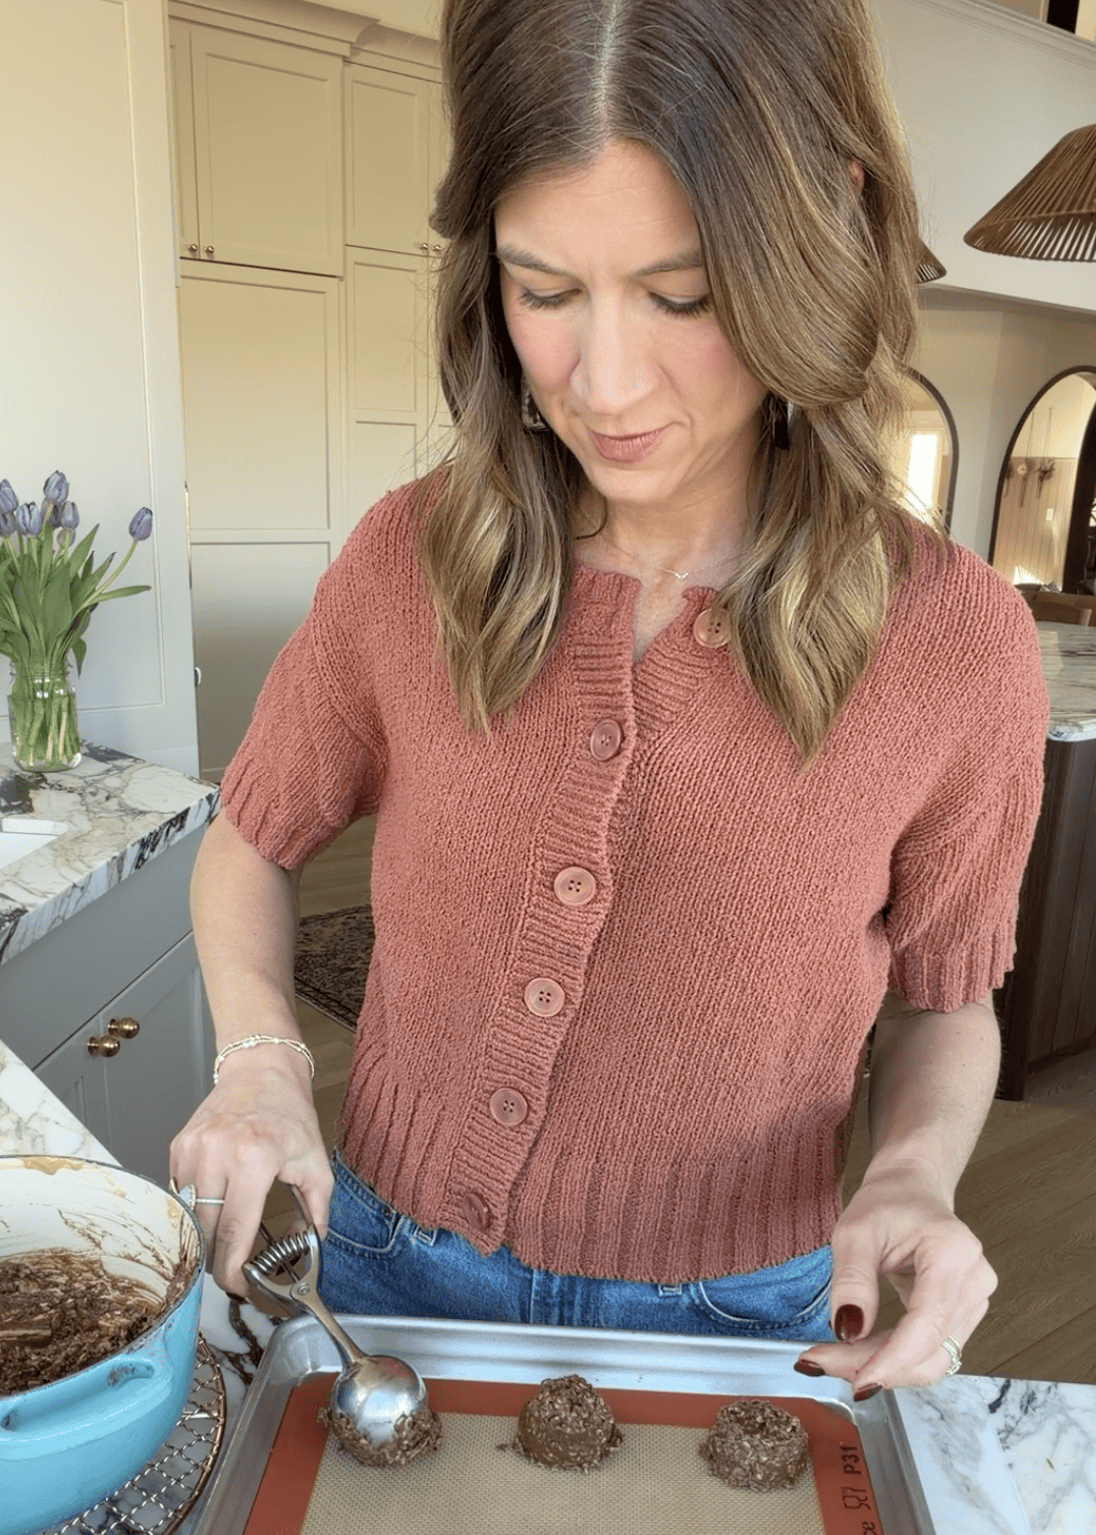
Then, use a 1 Tablespoon measuring spoon or cookie scoop to portion out the no bake cookies. I prefer a cookie scoop because it’s easier to release the dough.
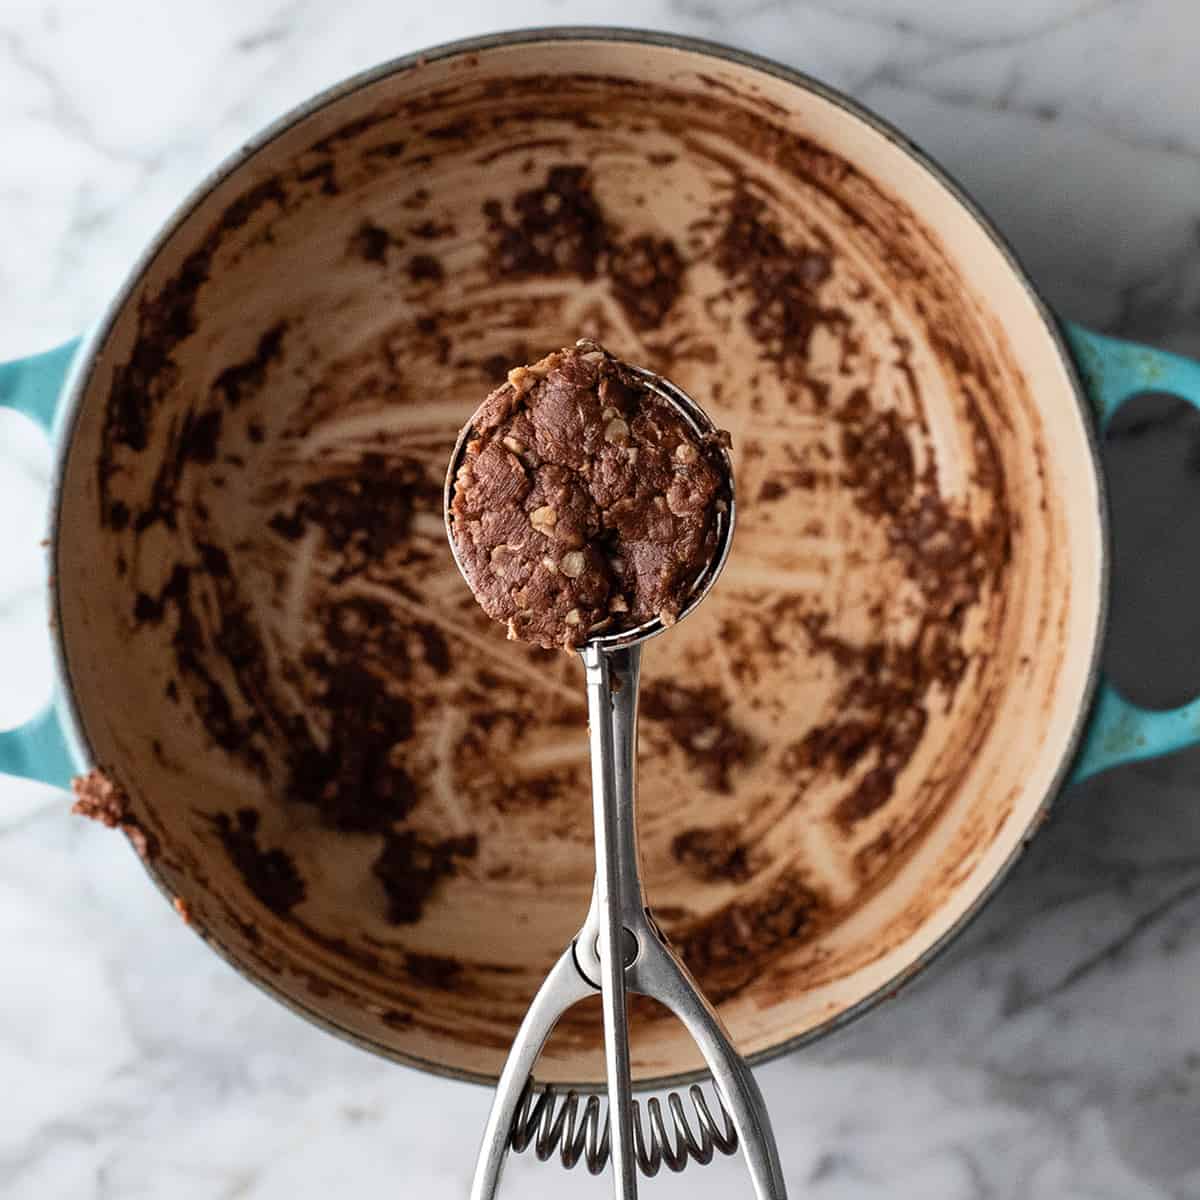
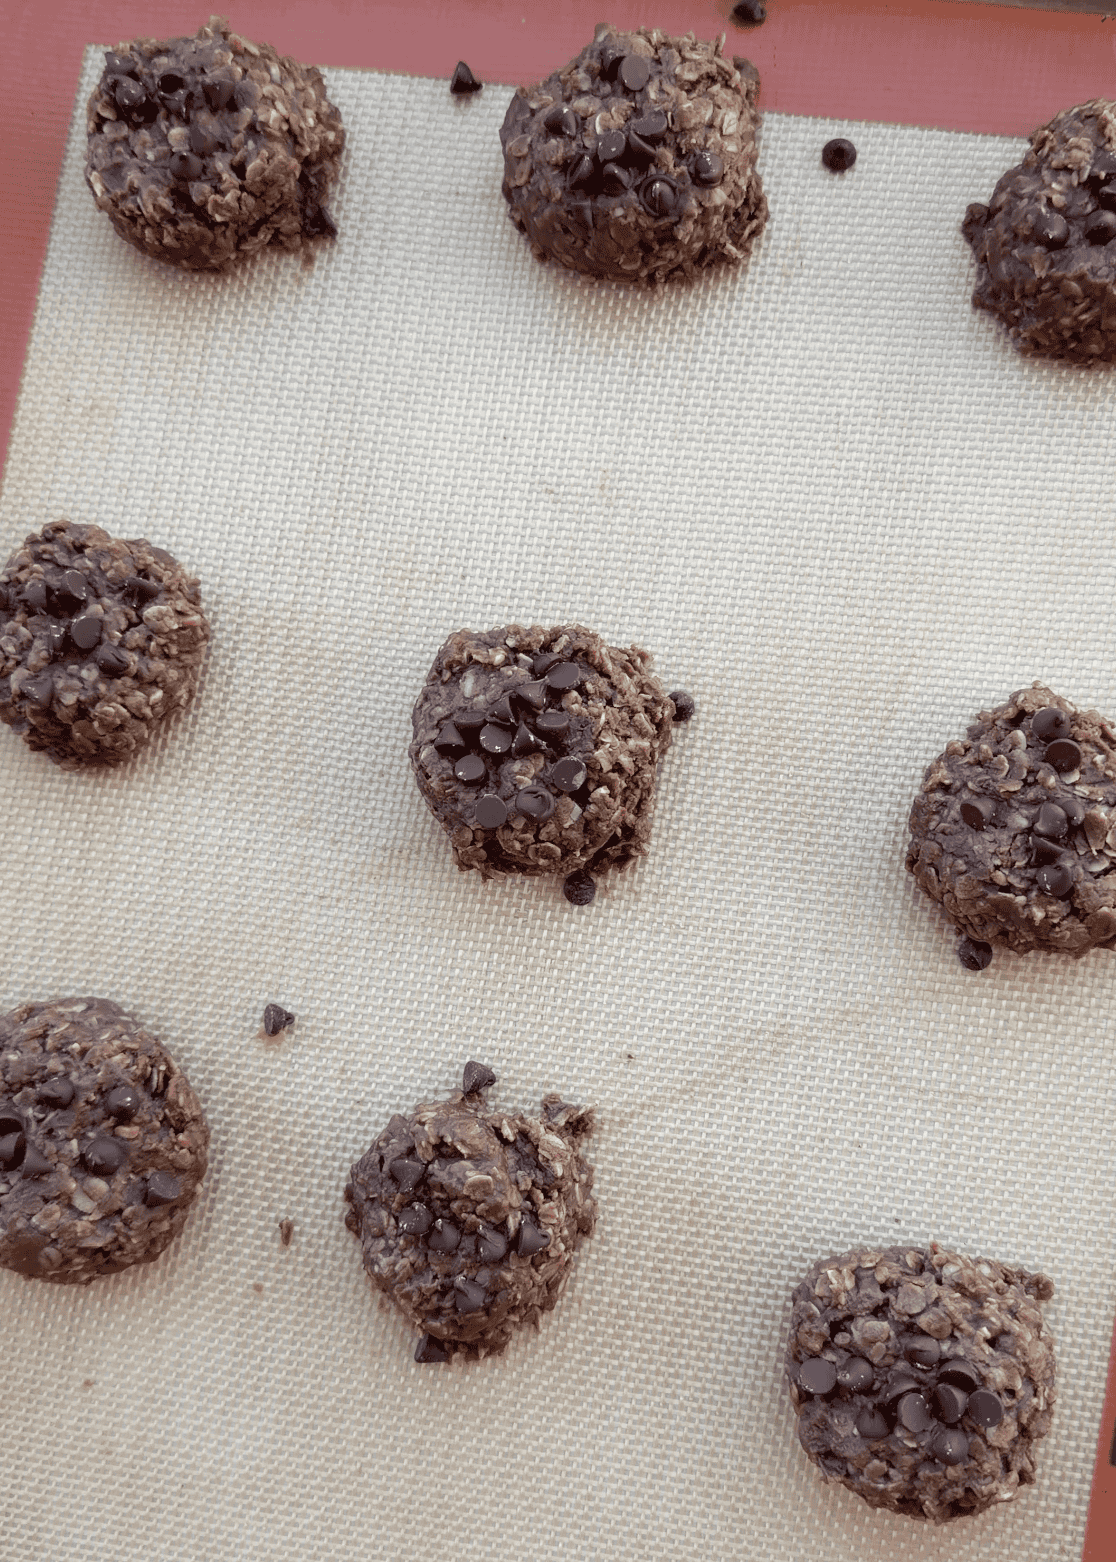
Put the healthy no bake cookies onto a baking sheet lined with waxed paper or a silicone baing mat. Let them harden at room temperature or in the refrigerator or freezer.
How to Serve Healthy No Bake Cookies
These healthy no-bake cookies are best served cold, straight from the refrigerator or freezer. Since they’re made with coconut oil, they soften as they sit at room temperature.
I love keeping a batch in the freezer for an easy healthy dessert whenever a chocolate peanut butter craving strikes!
How to Store Healthy No Bake Cookies
Store these cookies in an airtight container in the refrigerator for up to one week.
Freeze
Or, put them in an airtight container and freeze for up to 2 months. Thaw slowly in the refrigerator or at room temperature – do not microwave!
Healthy No Bake Cookies FAQs
If you only have old-fashioned oats, pulse them in the blender or food processor 1 or 2 times before using them in this recipe.
If your cookies don’t harden, the mixture probably wasn’t cooked long enough. After adding the oats and coconut, cook the mixture for 1 to 3 minutes, until it thickens slightly. Also, be sure to chill the cookies completely in the refrigerator or freezer.
The most likely reason is that you over-cooked them. Cook for less time next time.
If you over-cook these healthy no bake cookies, simply add a Tablespoon of each: honey, peanut butter and coconut oil by melting them together and then mixing them into the dry cookie batter. This should help. If you burnt them, you will have to start over.
Yes. Substitute your favorite nut or seed butter for the peanut butter. Almond butter, cashew butter and sunflower seed butter are all good options.
They can be if you use gluten-free oats. All of the other ingredients are naturally gluten-free, so simply use certified gluten-free quick-cooking oats.
If you make and love my recipes, it would mean so much to me if you would leave a comment and rating! And don’t forget to follow along on Instagram, Pinterest, Facebook, TikTok and Youtube – be sure to tag @joyfoodsunshine and use the hashtag #joyfoodsunshine so I can see your creations!

Healthy No-Bake Chocolate Peanut Butter Cookies
Video
Ingredients
- ½ cup creamy peanut butter
- ¼ cup honey (or maple syrup)
- ¼ cup coconut oil (or butter)
- 2 Tablespoons unsweetened cocoa powder
- ¼ teaspoon fine sea salt
- 1 teaspoon pure vanilla extract
- 1 cup quick cooking oats
- ¼ cup unsweetened coconut (shredded)
Instructions
- Line a cookie sheet with waxed paper, set aside.
- Combine peanut butter, honey salt and coconut oil in a saucepan and cook on medium heat, stirring continuously, until the ingredients are melted and the mixture is smooth.
- Stir in vanilla and cocoa powder.
- Add quick-cooking oats and coconut and stir until combined.
- Continue cooking over medium heat until the mixture is slightly thickened, 1-3 minutes.
- Drop 1 Tablespoon portions of the mixture onto the prepared baking sheet. Continue until you’ve used all the cookie mixture.
- Let cool in the refrigerator or freezer until hardened.
- Serve cold or at room temperature.
- Store in an airtight container in the refrigerator.
Notes
- Peanut butter. Creamy is best, but you can also use crunchy. Any nut or seed butter works well in this recipe, including almond butter, cashew butter or sunflower seed butter if you have a nut allergy.
- Coconut oil. Butter (my favorite) or ghee can be used in place of coconut oil, although the cookies will no longer be dairy-free if you use butter.
- Honey. Honey is my favorite way to naturally sweeten these healthy no bake cookies. Use pure maple syrup to make them vegan.
- Shredded coconut. If you don’t care for coconut, simply replace it with an extra 1/4 cup quick-cooking oats.
- Cocoa powder. Use unsweetened cocoa powder. You can use regular or dark cocoa powder for a richer chocolate flavor.
- Quick cooking oats. I recommend quick-cooking oats because they give these cookies the best texture. If you need the recipe to be gluten-free, choose certified gluten-free oats. If you only have old-fashioned oats, pulse them in the blender or food processor 1 or 2 times before using them in this recipe.
Nutrition
Nutrition information is automatically calculated, so should only be used as an approximation.


These cookies are absolutely delicious! I even like them better than the original no bake cookies with all the sugar! Thanks so much for sharing!
Thank you Tonya!
The recipe is quick , easy and very good. They don’t taste any different than the no bake cookies made with actual sugar. I’ve made this recipe 3 times and will continue. I added some crushed walnuts the third time. I put the crushed walnuts in the 1 cup measuring cup with the oats to keep the same portions in this recipe. Delicious 🤤
I’m so so happy you love them Brandi! Walnuts sound delicious!
What would be the best way to add protein to this recipe to have a nice protein cookie sweet treat?
Maybe a scoop of chocolate protein powder?
Delicious little healthy treat! I made these and keep them in the refrigerator for when I am craving a treat. No guilt involved. They are just as good as the high sugar version.
Thanks Gina!