The Best Pumpkin Pie Recipe

Updated Aug 13, 2026
This post may contain affiliate links. Please read our disclosure policy.
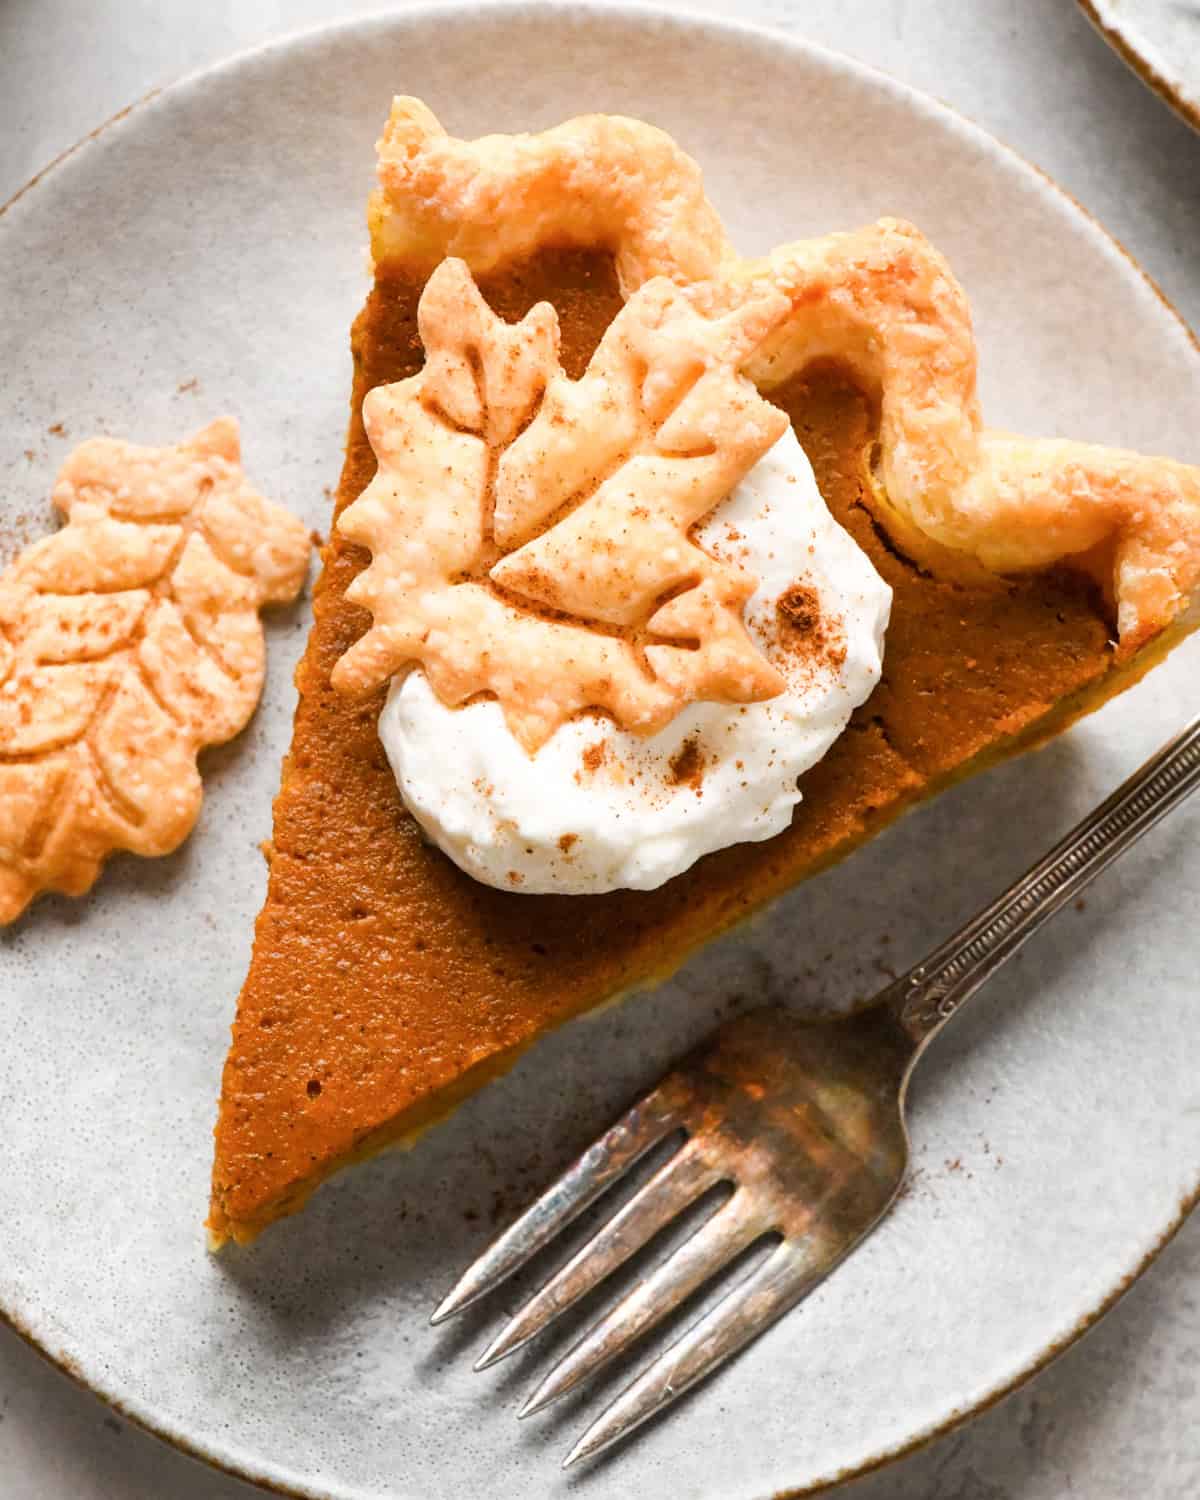
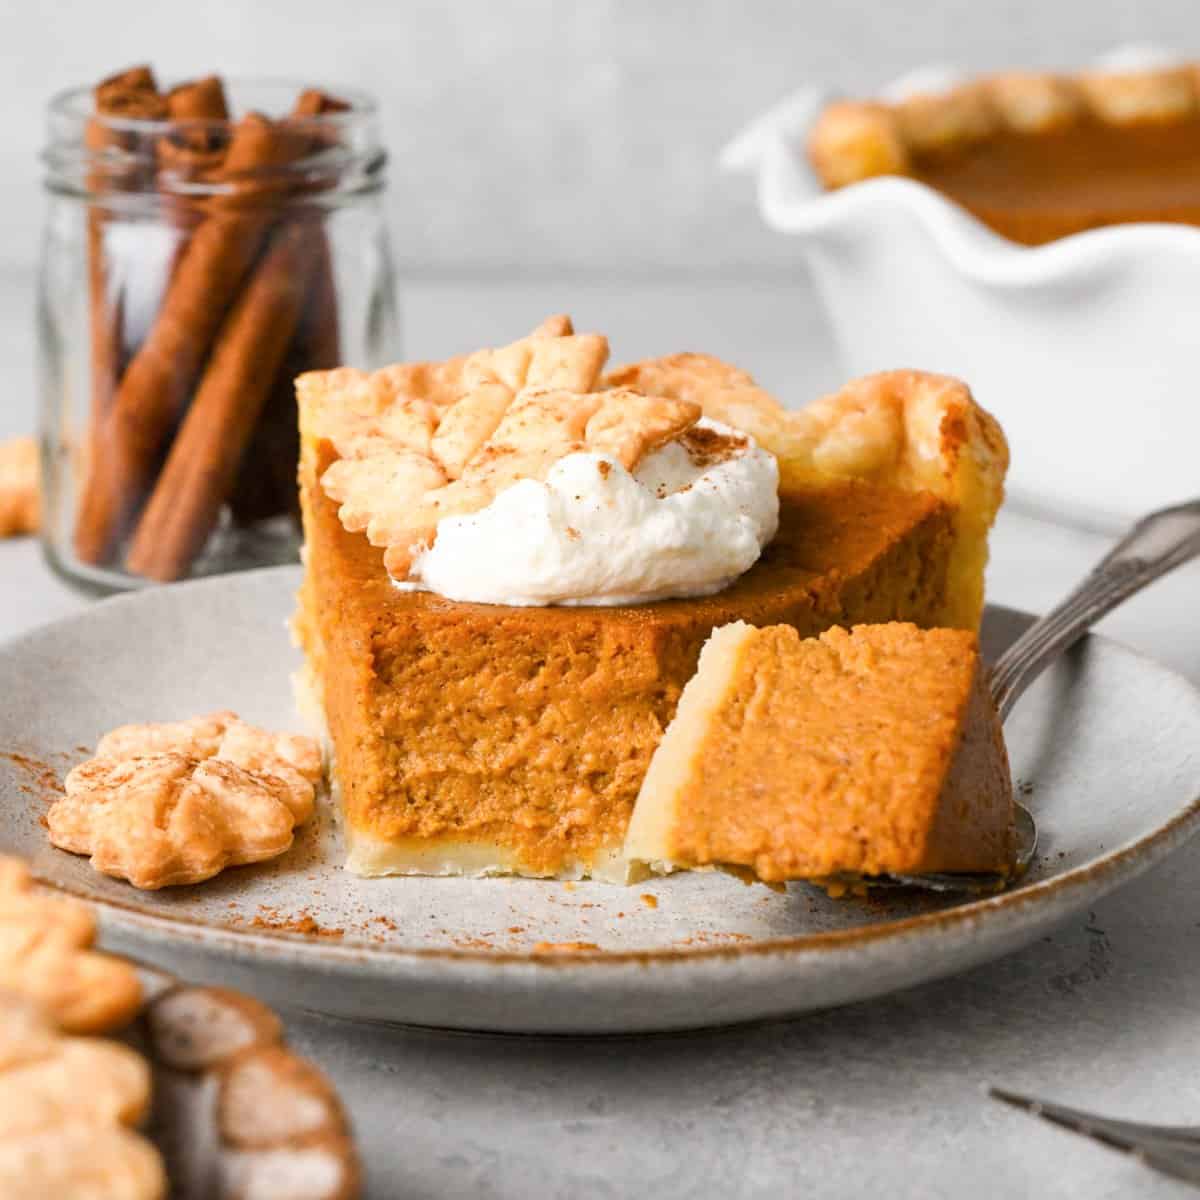
This is the best pumpkin pie recipe ever. A rich, silky smooth, perfectly spiced, from-scratch pumpkin pie filling is baked in buttery pie crust for a delicious homemade pumpkin pie that will become your favorite Thanksgiving dessert.
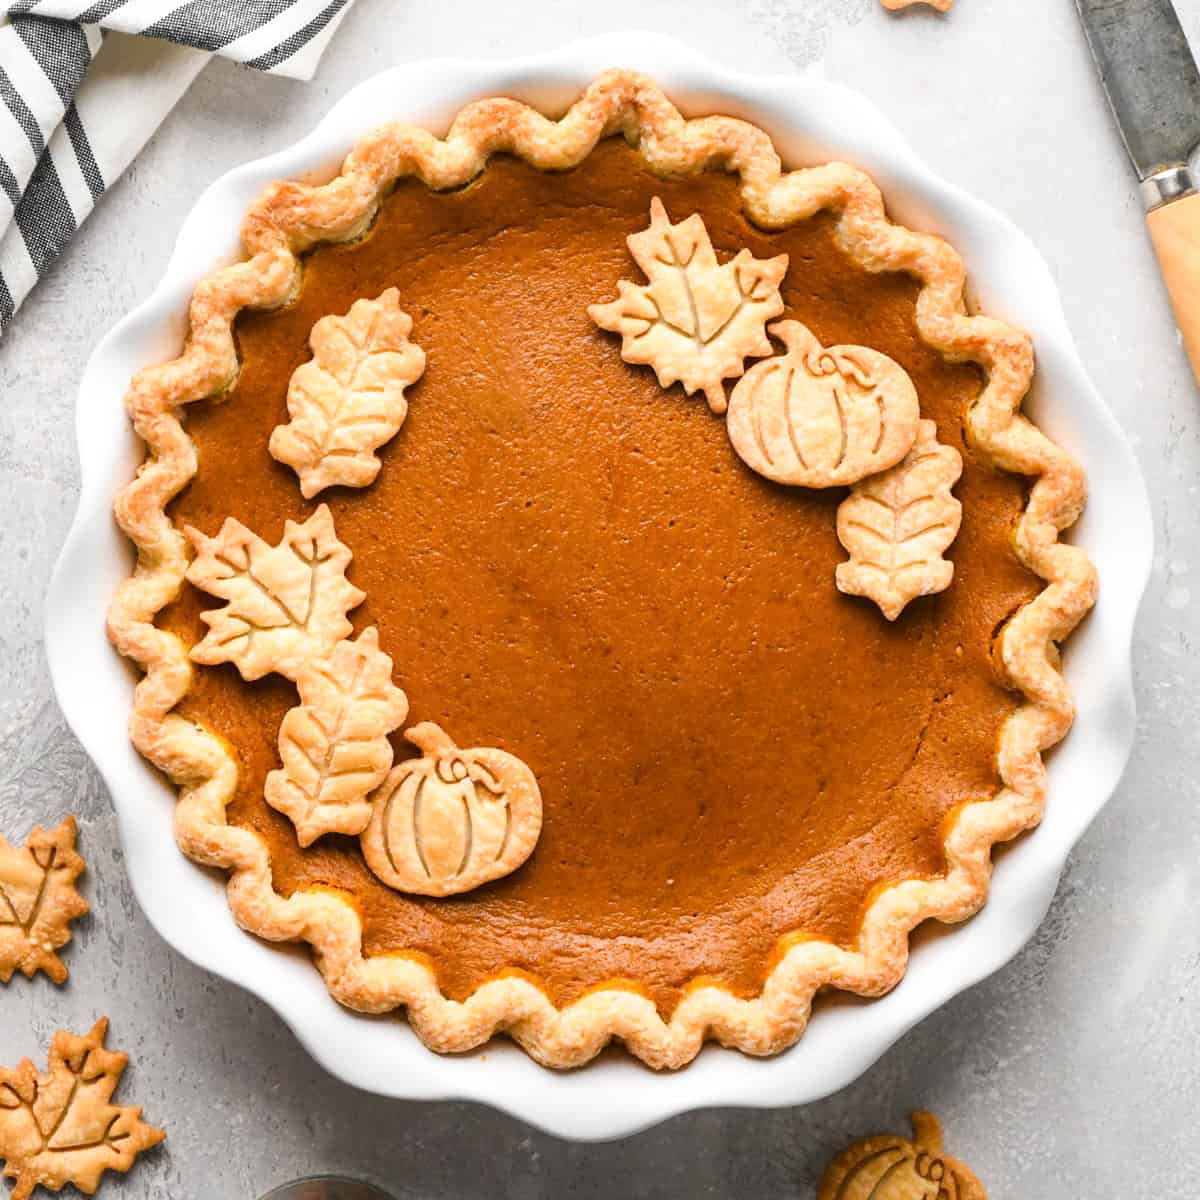
If you’re looking for the best pumpkin pie recipe where the filling is made from scratch without condensed milk – you’ve found it here! I’ve been making this homemade pumpkin pie for forever, and it has become a holiday tradition in homes around the world. With nearly 300 five-star reviews, you can make it and trust it will turn our perfectly every time!
The pumpkin pie filling is silky smooth, perfectly spiced and made with heavy cream and brown sugar without sweetened condensed milk or evaporated milk. Use my homemade all-butter pie crust and make your own pumpkin puree for a truly from-scratch pie, or use your favorite store-bought crust and a can of pumpkin to make it even easier (but just as delicious).
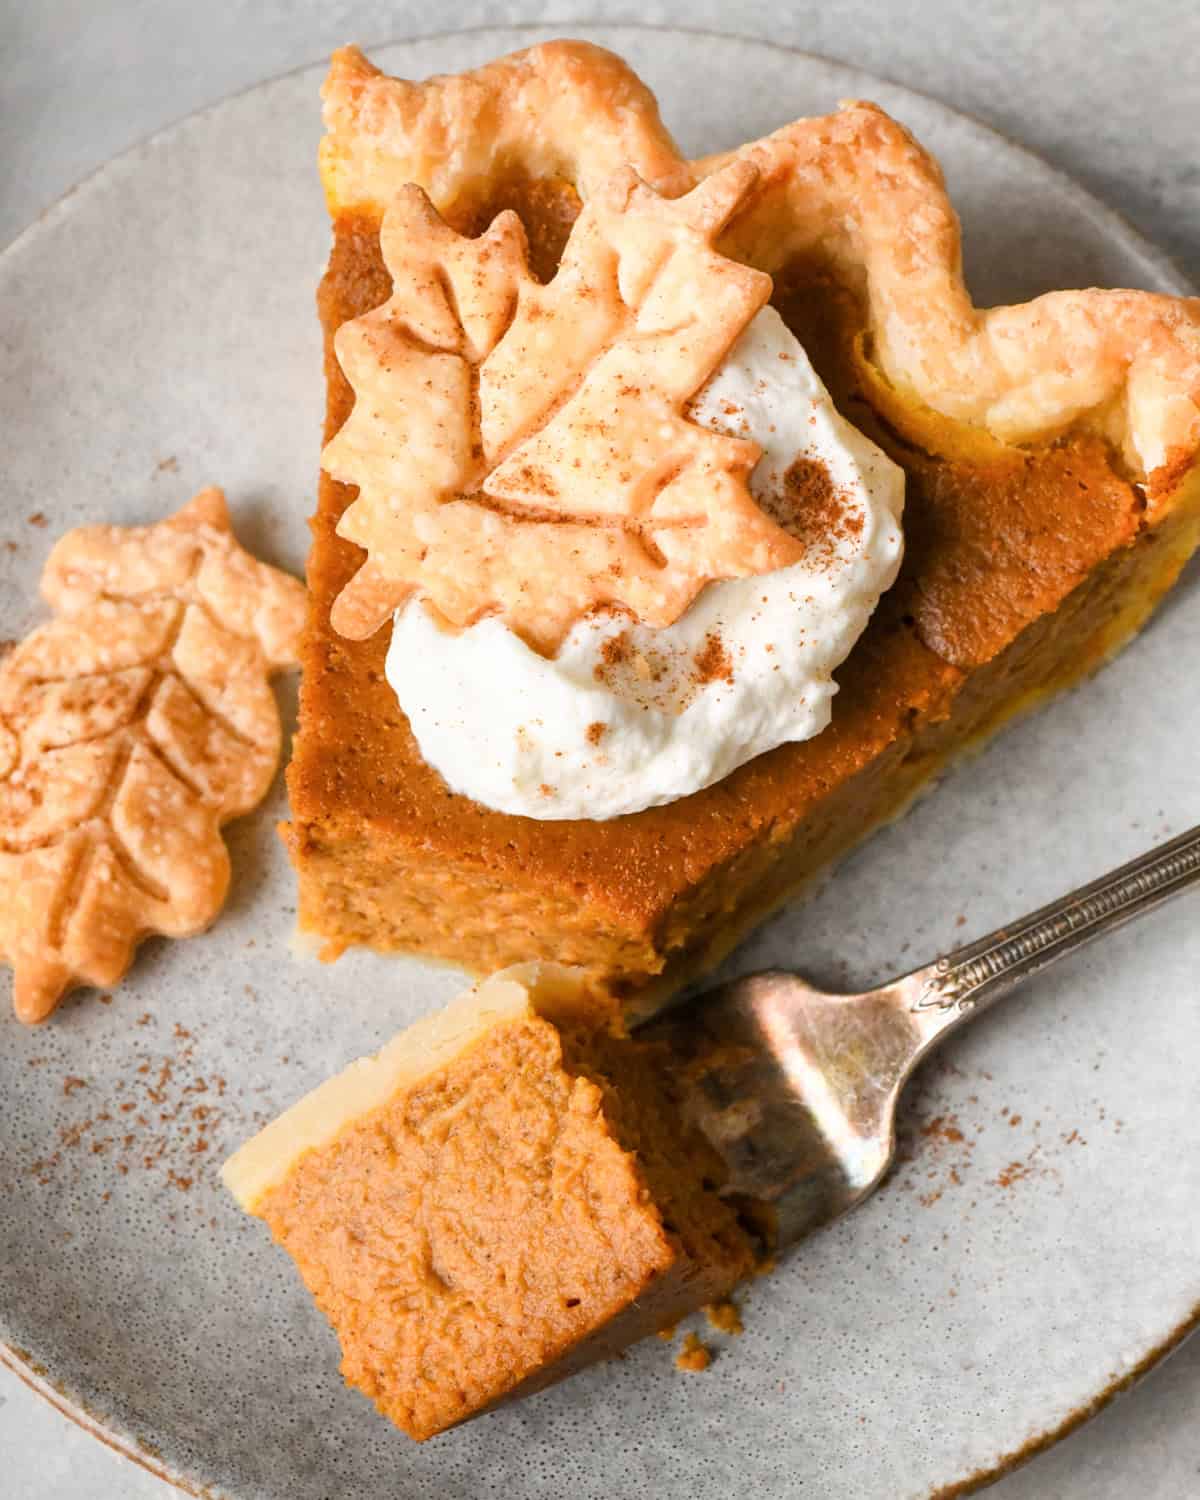
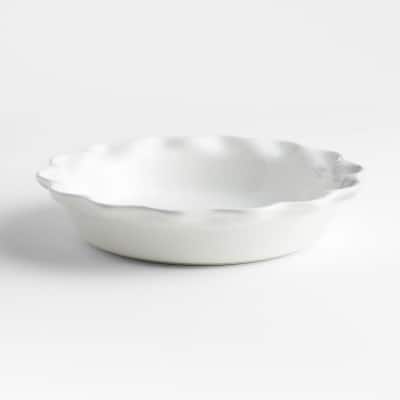
Serve each slice with homemade whipped cream for the perfect Thanksgiving dessert! See what Nia says:
“Truly the best pumpkin pie recipe! I’ve made it three or four Thanksgivings in a row and it’s always the first dessert to disappear. Perfection!”
– Nia

Why You’ll Love This Pumpkin Pie Recipe
- The best pumpkin pie filling – it’s silky smooth, sweet and perfectly spiced.
- No condensed or evaporated milk – heavy cream does the job without a can.
- Homemade pie crust – is buttery and perfect.
- Easy to make – The filling is made in 5 minutes in one bowl.
- Make Ahead. Bake one day, chill, serve the next.
- Proven recipe. Readers have been making and loving this recipe for almost a decade, with nearly 300 five-star reviews.
Pumpkin Pie Ingredients & Substitutions
The great thing about this pie is that it is actually fairly versatile (for a pie)! You can tweak a few ingredients to make this pie suitable for all sorts of dietary needs!

- All-purpose flour. Use gluten-free all-purpose flour to make the pie gluten-free. You can also substitute your favorite gluten-free crust if desired!
- Butter. vegan butter and coconut oil work well in the crust for a dairy-free version. (See my dairy-free pumpkin pie recipe).
- Heavy Cream. Half and half and coconut milk are both great substitutes.
- Light Brown Sugar: dark brown sugar is a good substitute, but note that it will impart a bolder molasses taste. Coconut sugar also works well.
- Pumpkin puree. Use a 15-ounce can of pure pumpkin puree. Be sure to use 100% pure pumpkin, not pumpkin pie filling, which already contains sugar and spices. You can also use 2 cups of homemade pumpkin puree (learn how how to make pumpkin puree from a fresh pie pumpkin (instructions in this post)). Or try this sweet potato pie!
- Pumpkin pie spice. Use store-bought or make your own with this homemade pumpkin pie spice recipe.
- There are no substitutions for eggs.
Pumpkin Pie Tools
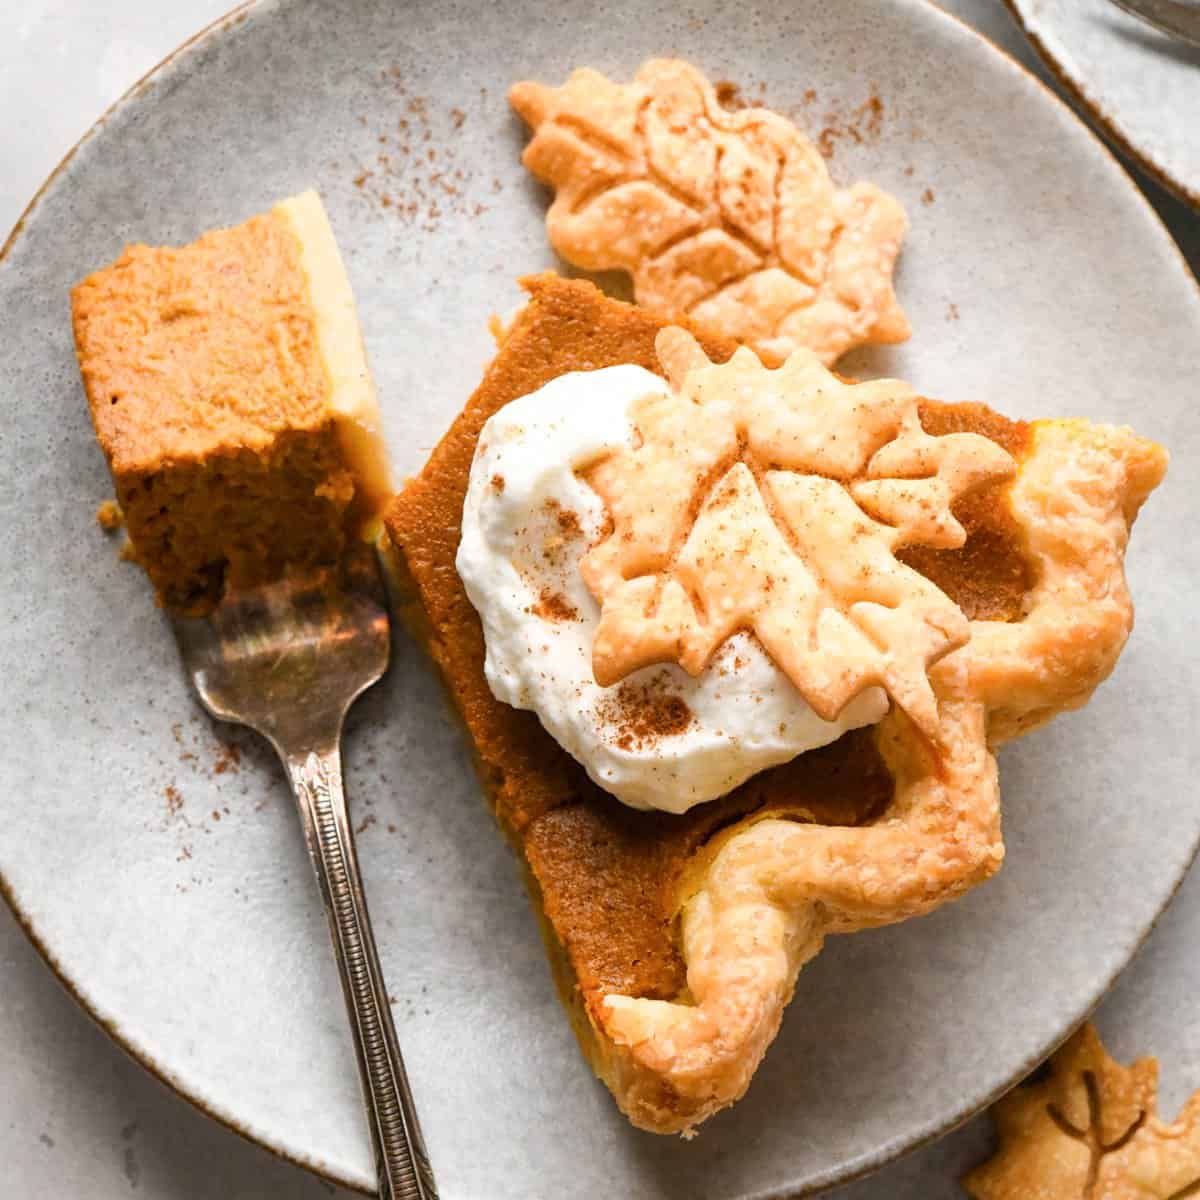
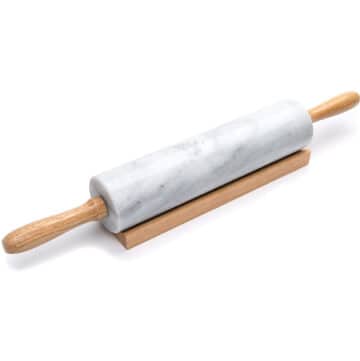
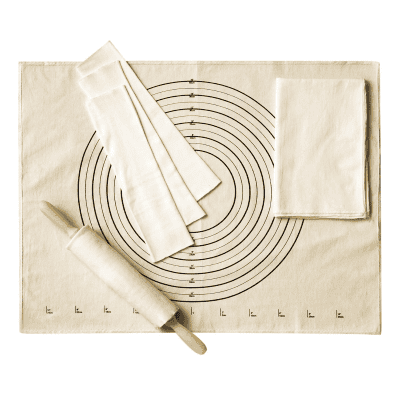
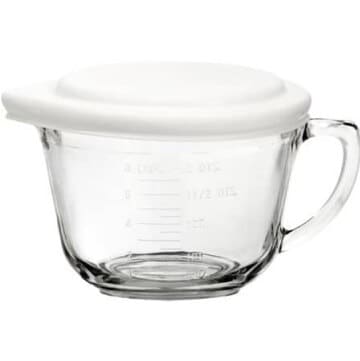
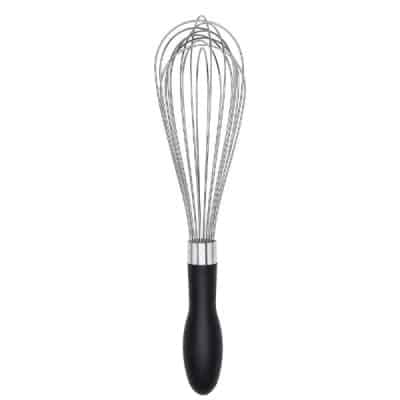
These are my must-have tools that I use make this homemade pumpkin pie recipe (really, most of my pie recipes).
How to Make Pumpkin Pie
Now that we’ve discussed ingredients and equipment, I will walk through how to make pumpkin pie step-by-step. You can also watch the video for further guidance. Here’s an overview of the process, then we’ll walk through it step-by-step.
- Make the pie crust. Make the dough and chill it for at least 2 hours (up to overnight) – or use store-bought and skip this step.
- Make the pumpkin pie filling. Whisk everything together in one bowl.
- Assemble. Roll out the crust, transfer it to a pie plate and pour in the filling.
- Bake and cool. Bake at 425°Fahrenheit (218°C) for 15 minutes, reduce the temperature to 350°Fahrenheit (177°C) and continue baking until the edges are set and the center jiggles slightly.
Make the Crust
I have a tutorial on how to make an all-butter pie crust, so if you have any unanswered questions you can ask them below or reference that post.
Chill the Dough
Remember that you need to make the crust and chill it in the refrigerator for at least 2 hours before rolling it out, So be sure to plan accordingly.
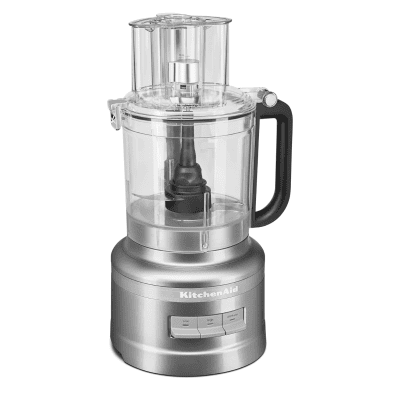
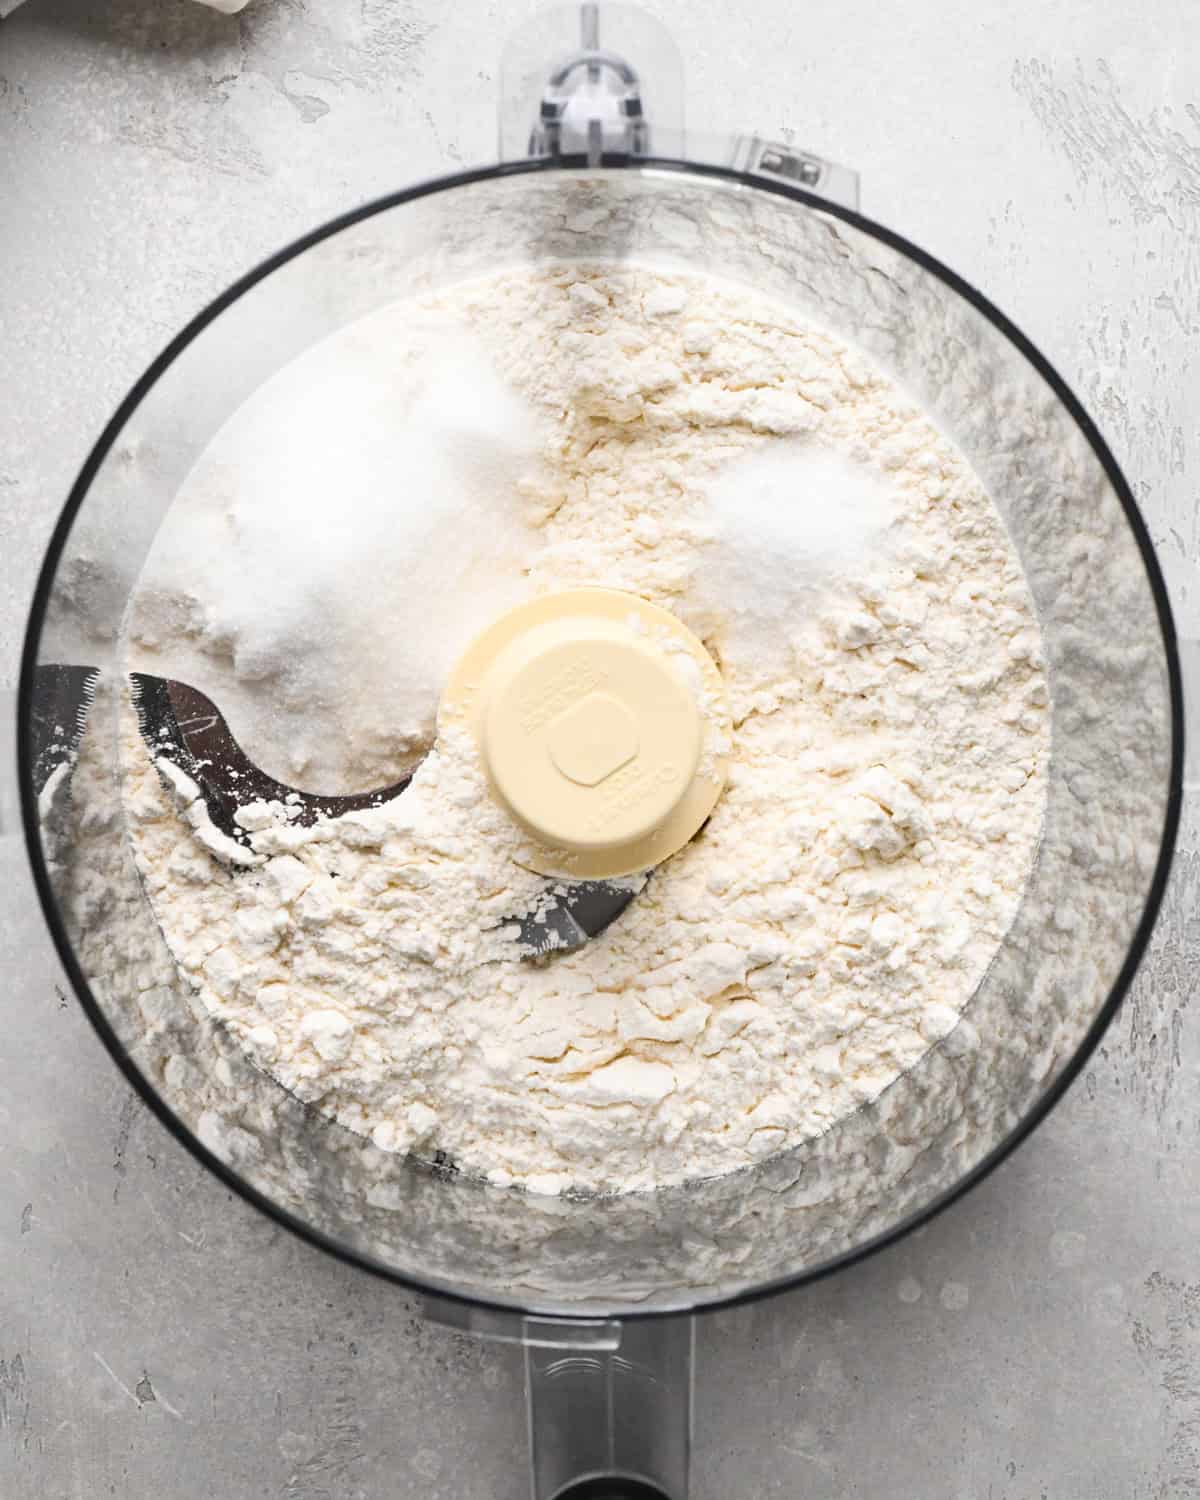
Begin by pulsing the flour, salt and sugar in a food processor. If you don’t have a food processor, you can mix by hand and cut the butter in with a pastry cutter, but using a food processor makes the process so easy and fast.
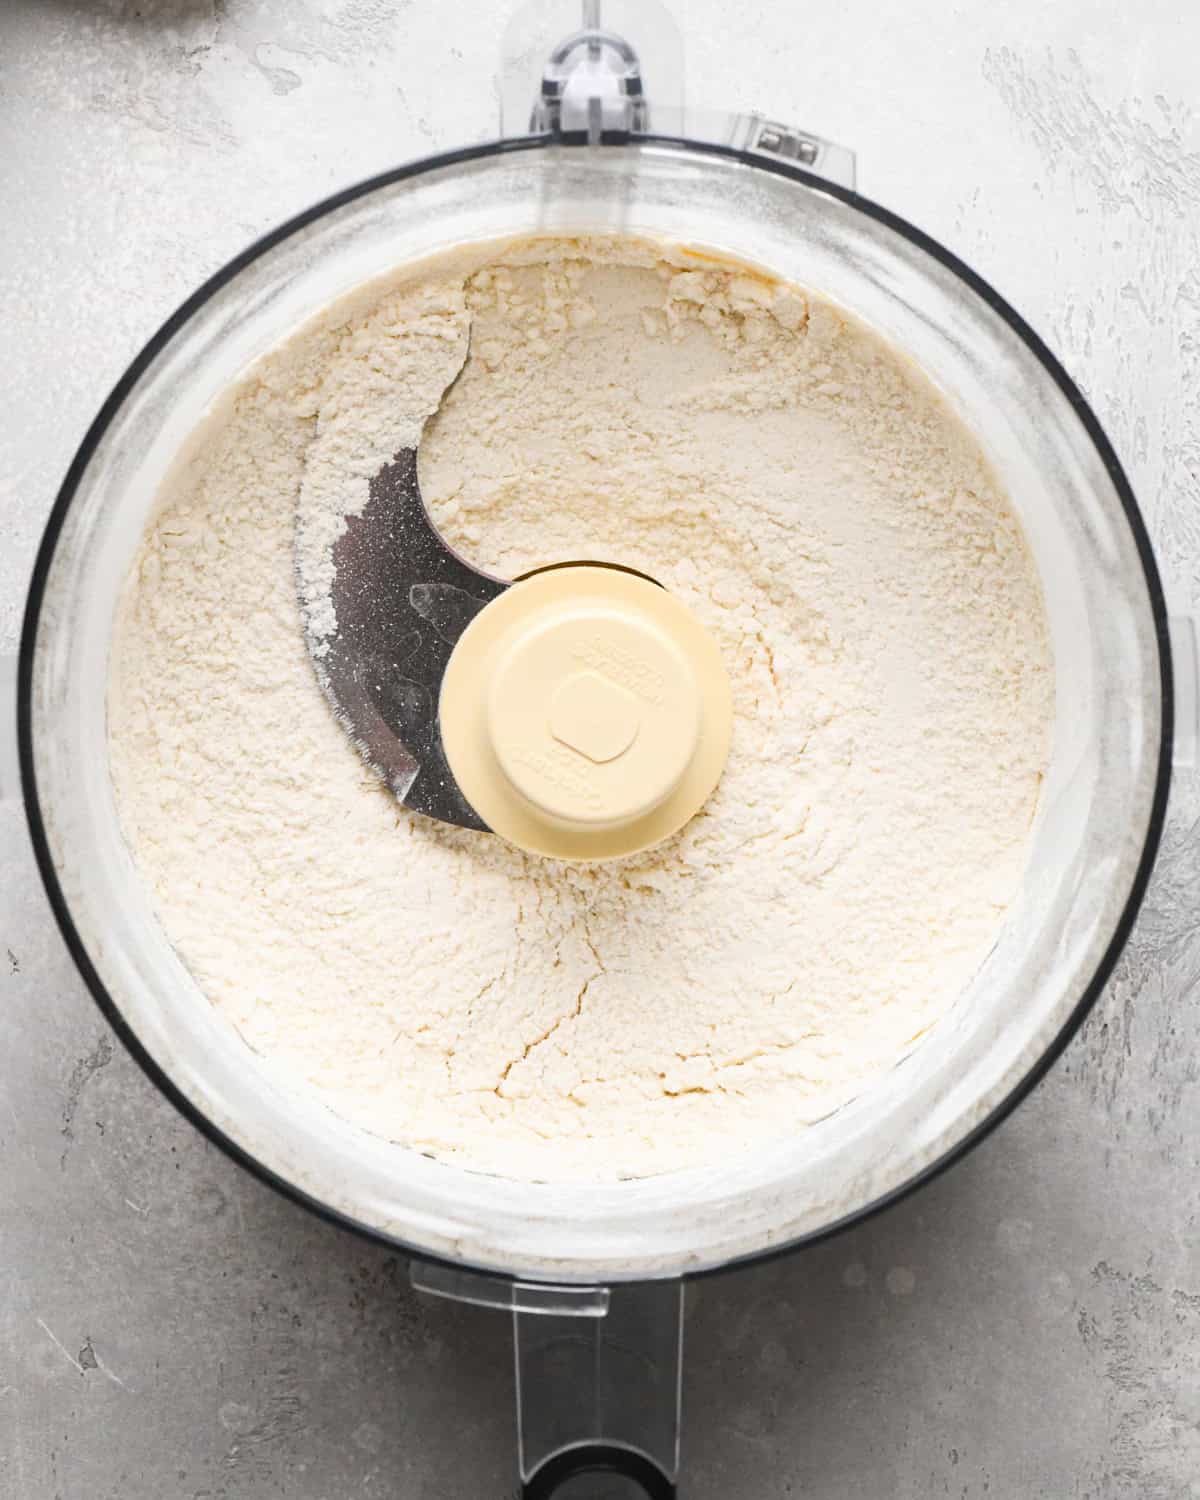
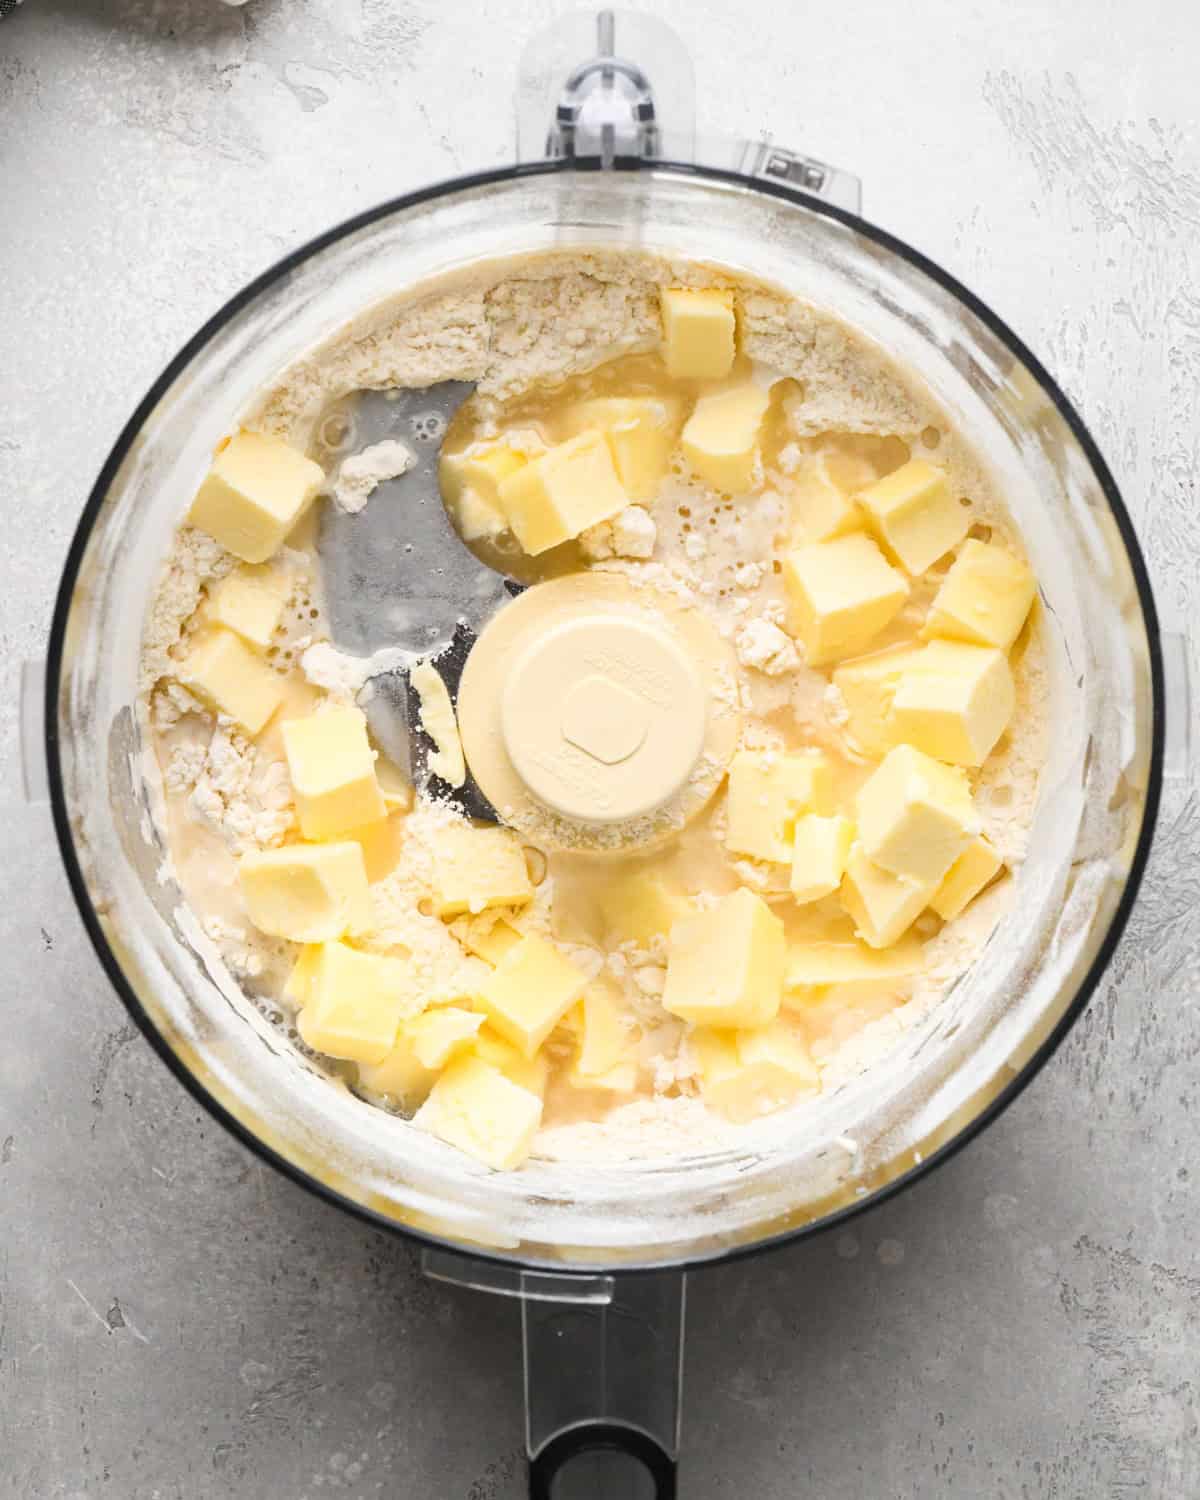
Then add the frozen butter and ice water all at once and pulse until the dough just begins to clump together. It’s important to add both of the cold ingredients at the same time so you don’t over-work your dough. You want the pie crust dough to still have some chunks of frozen butter in it.
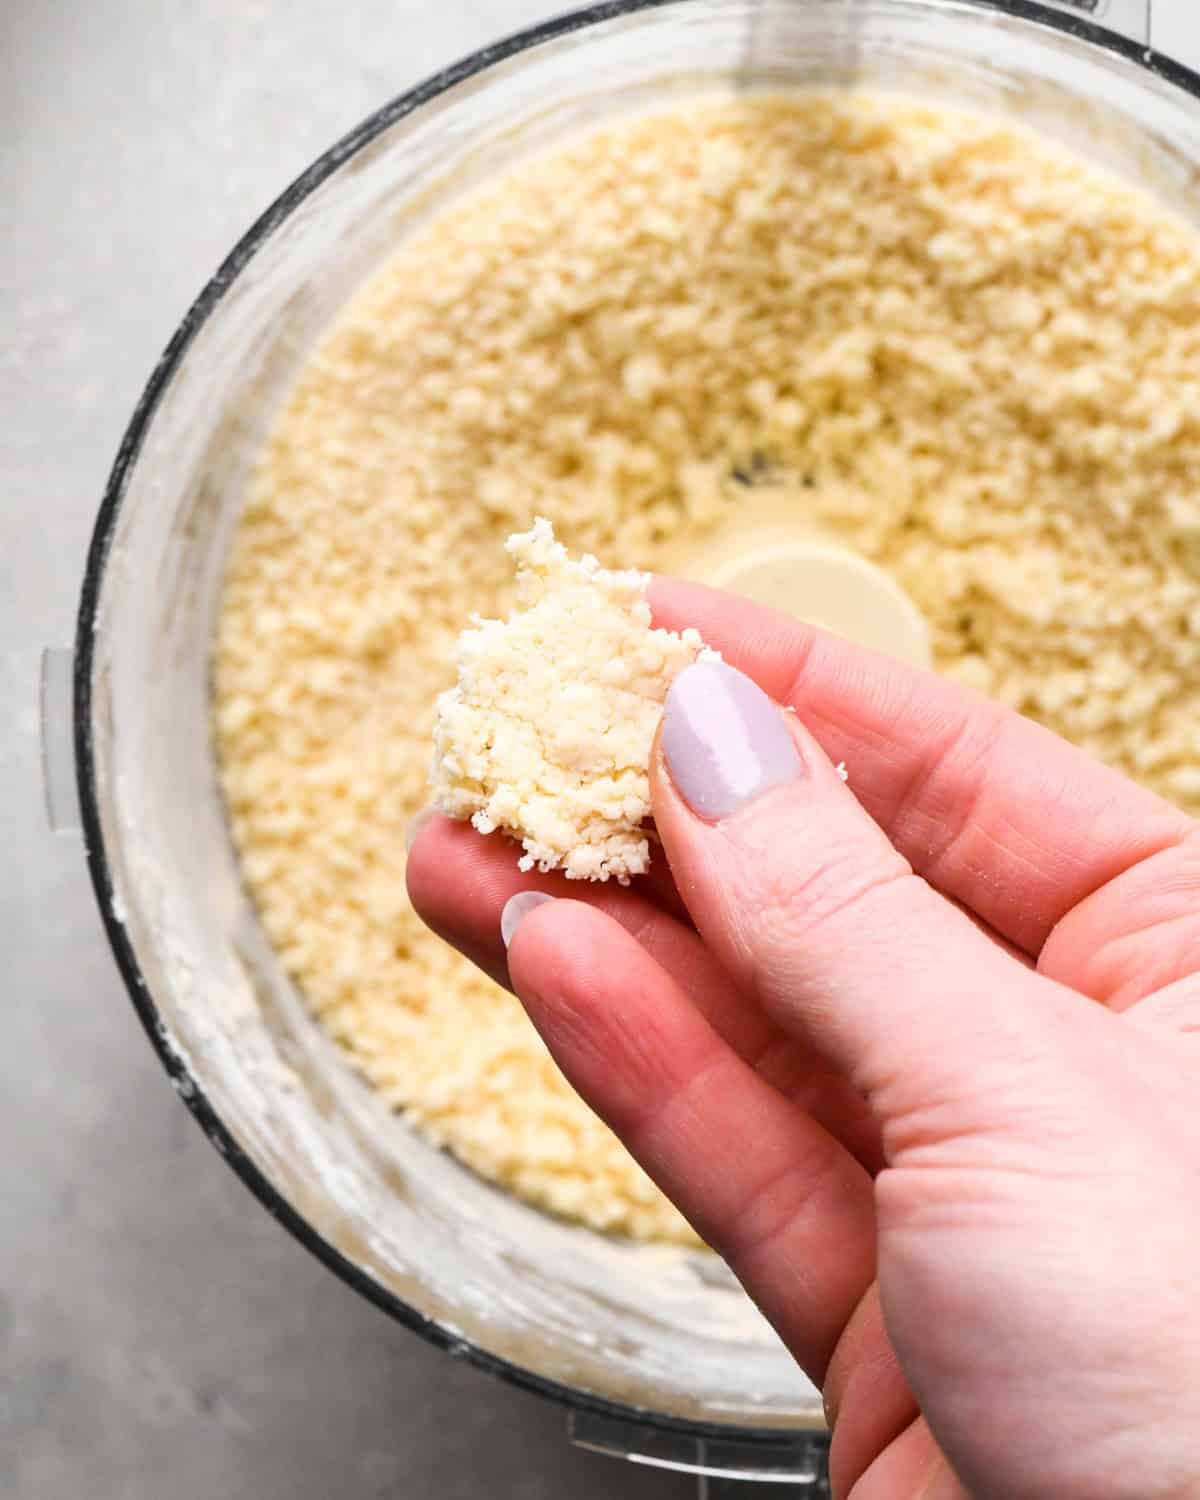
Once the dough begins clumping together, turn it out onto a floured work surface and form it into a round disc. Then cover the dough with plastic wrap and chill for at least 2 hours.
If you are chilling the dough overnight (which I do often), you will want to wrap it in plastic wrap and store it in an airtight container (like a plastic or silicone bag) to ensure it doesn’t dry out.
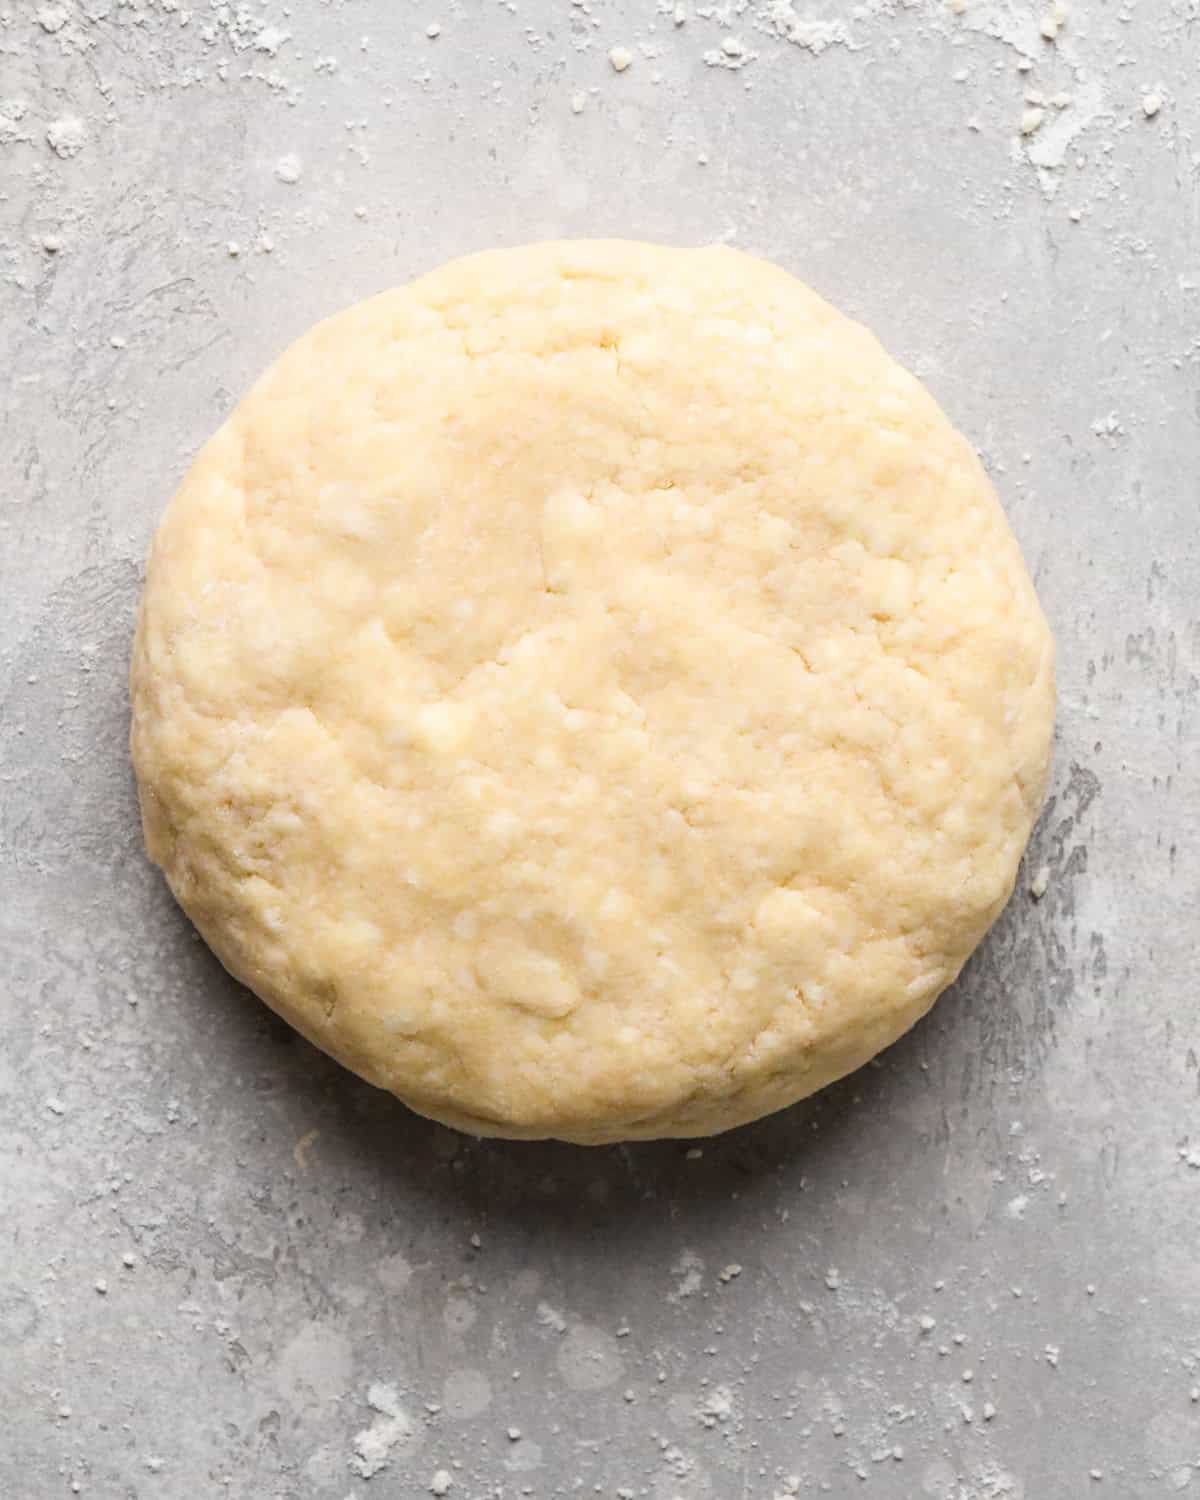
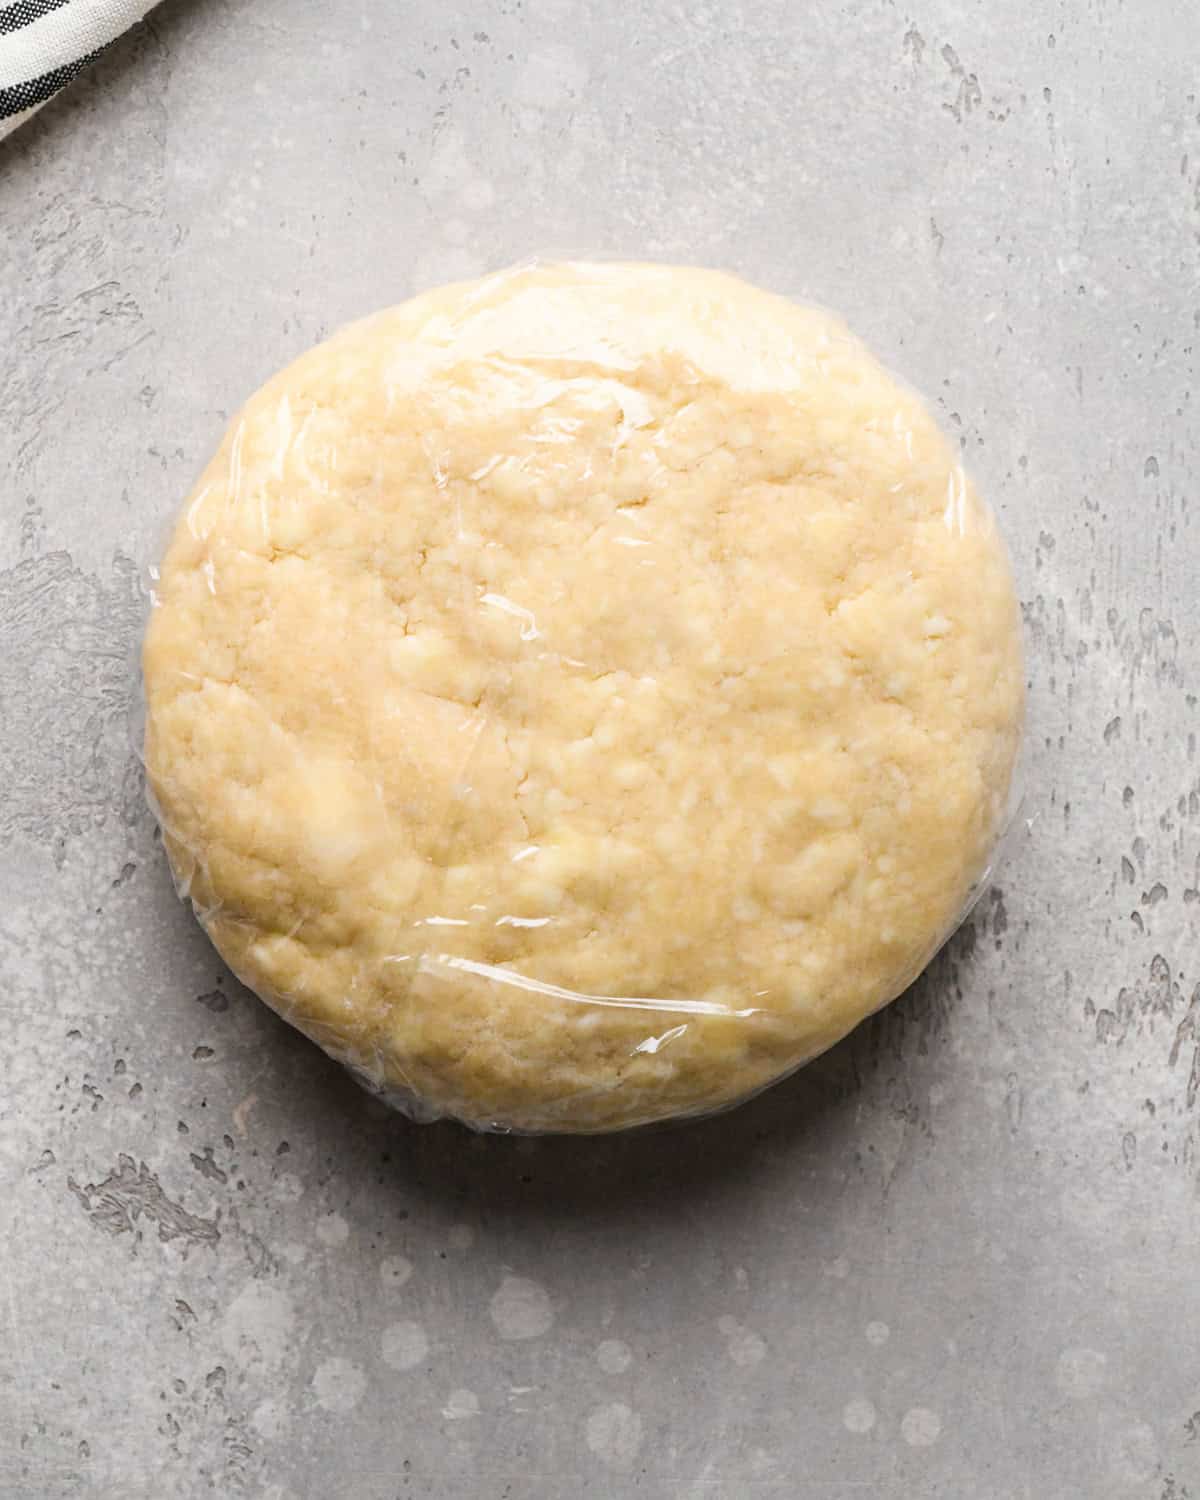
Then, after the dough has chilled, remove it from the refrigerator, put it on a floured work surface and roll it into a large circle that fits inside our pie dish.
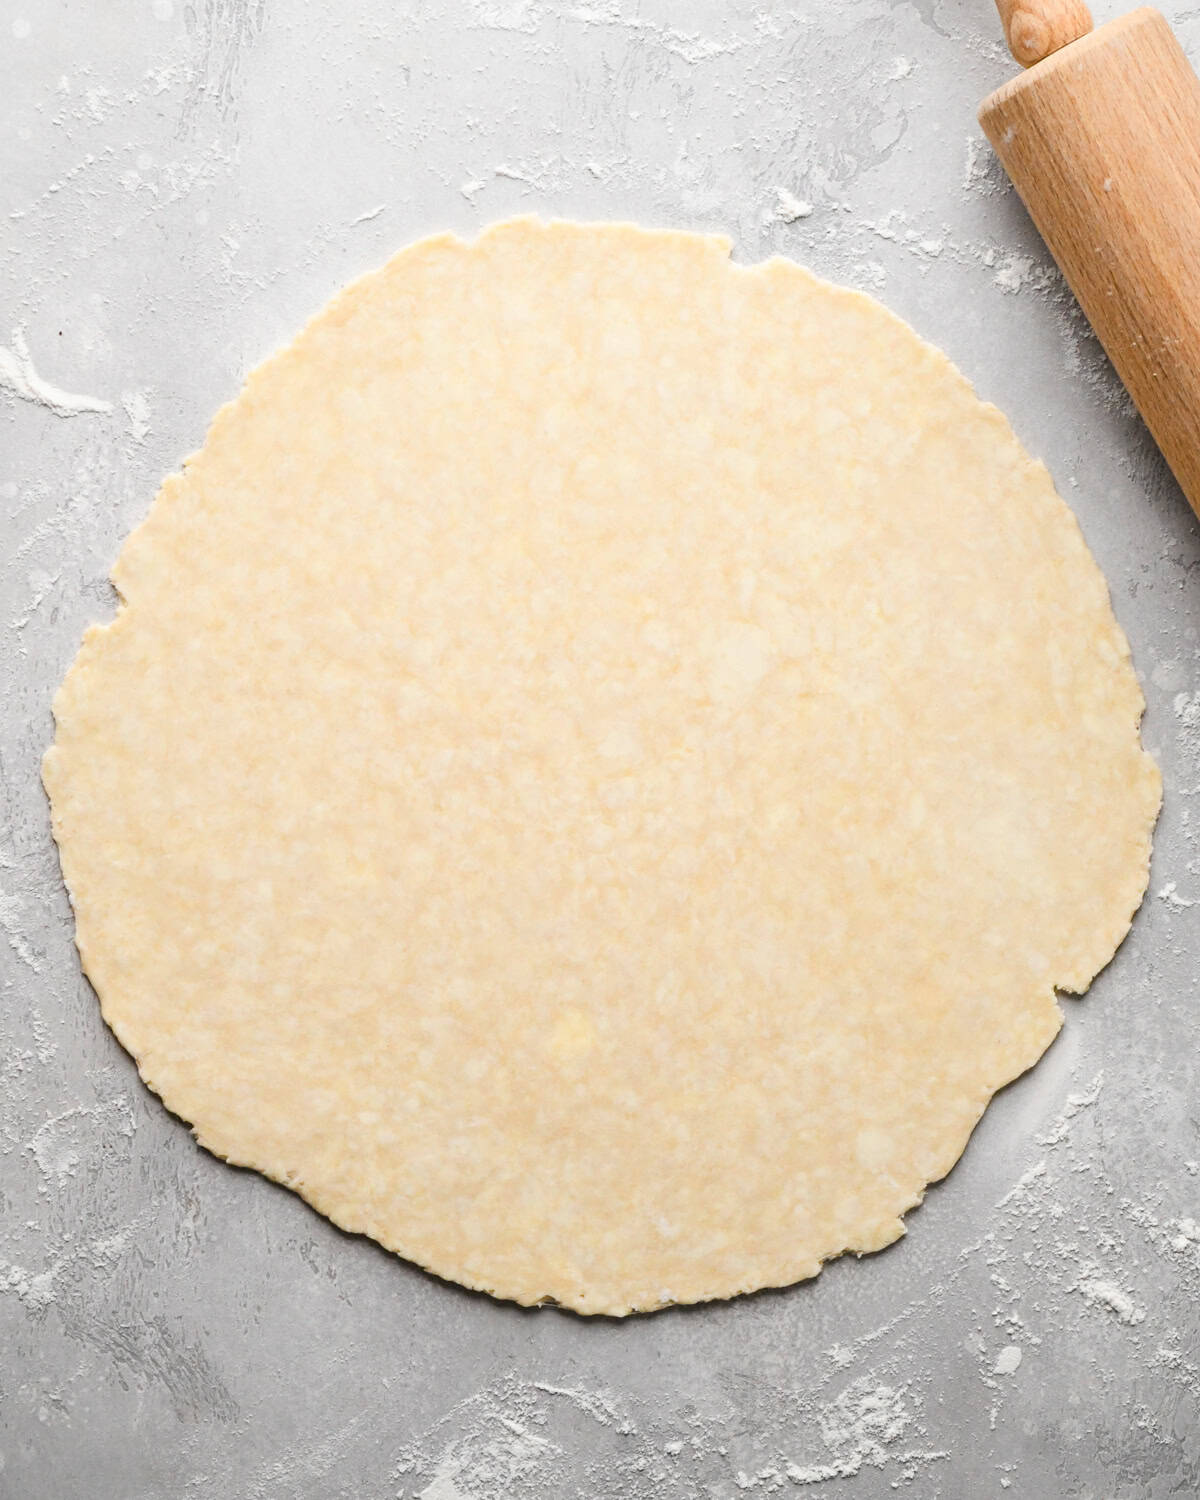
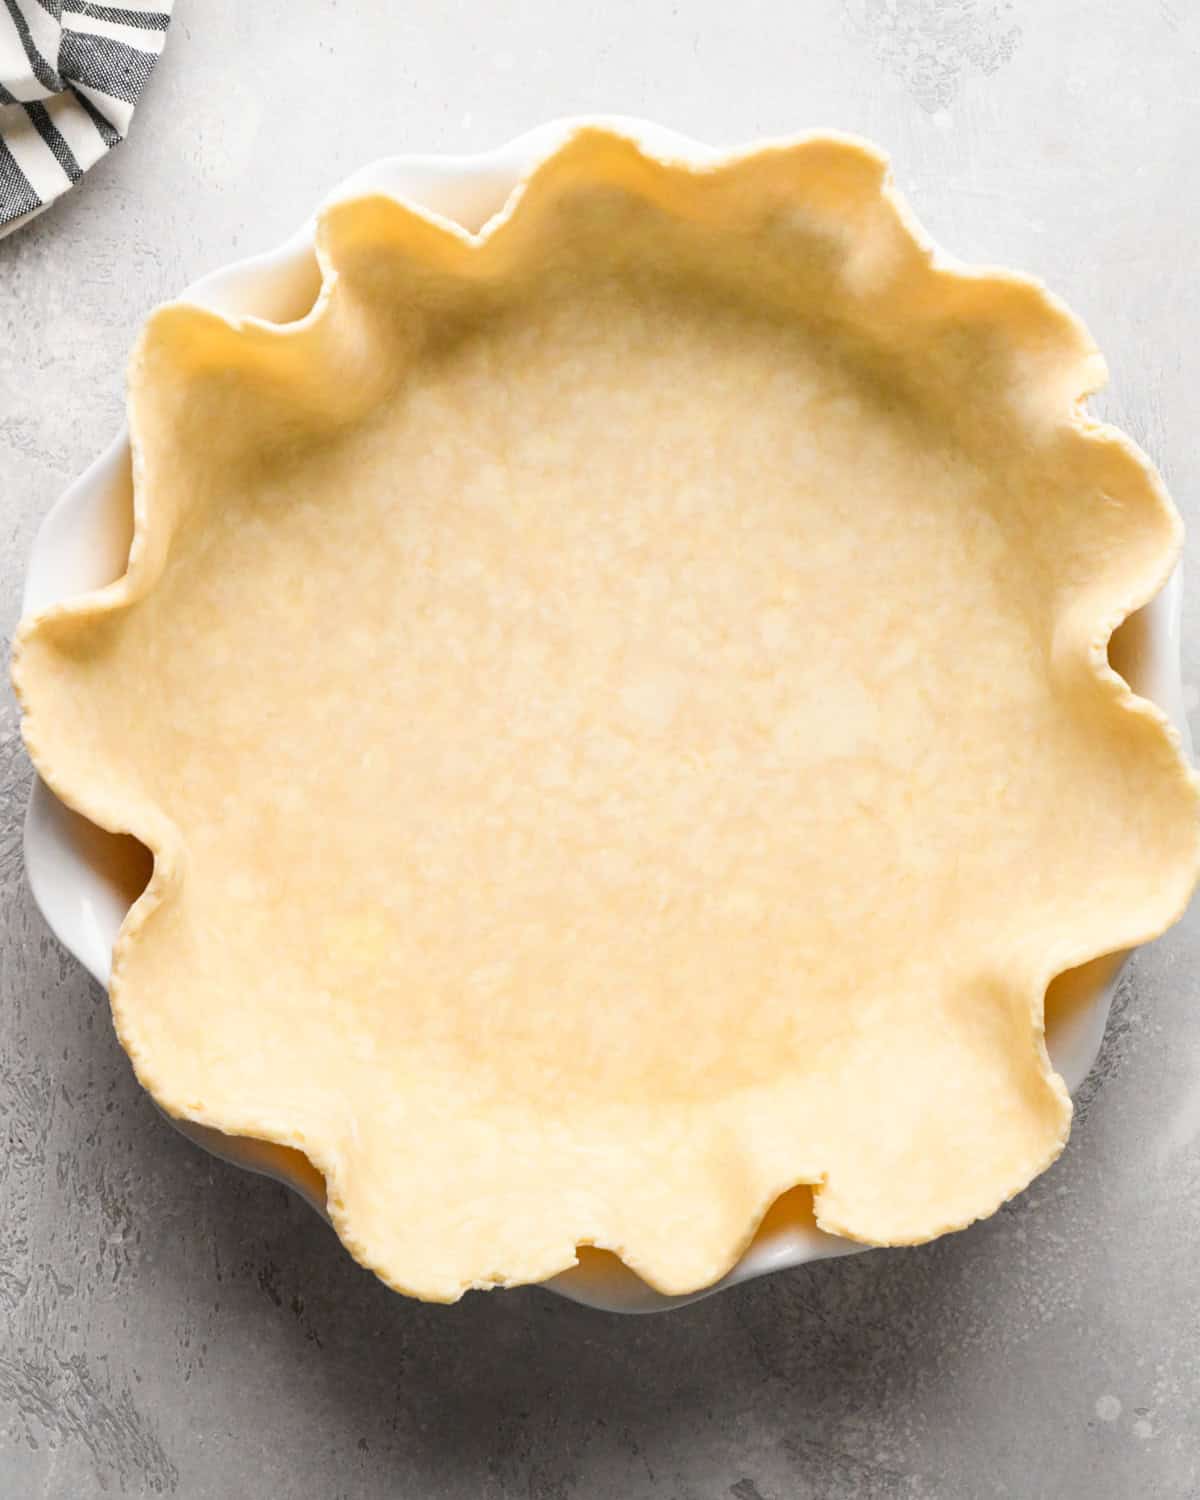
Make a fluted edge by pinching the dough between your thumb and pointer finger all the way around the edge.
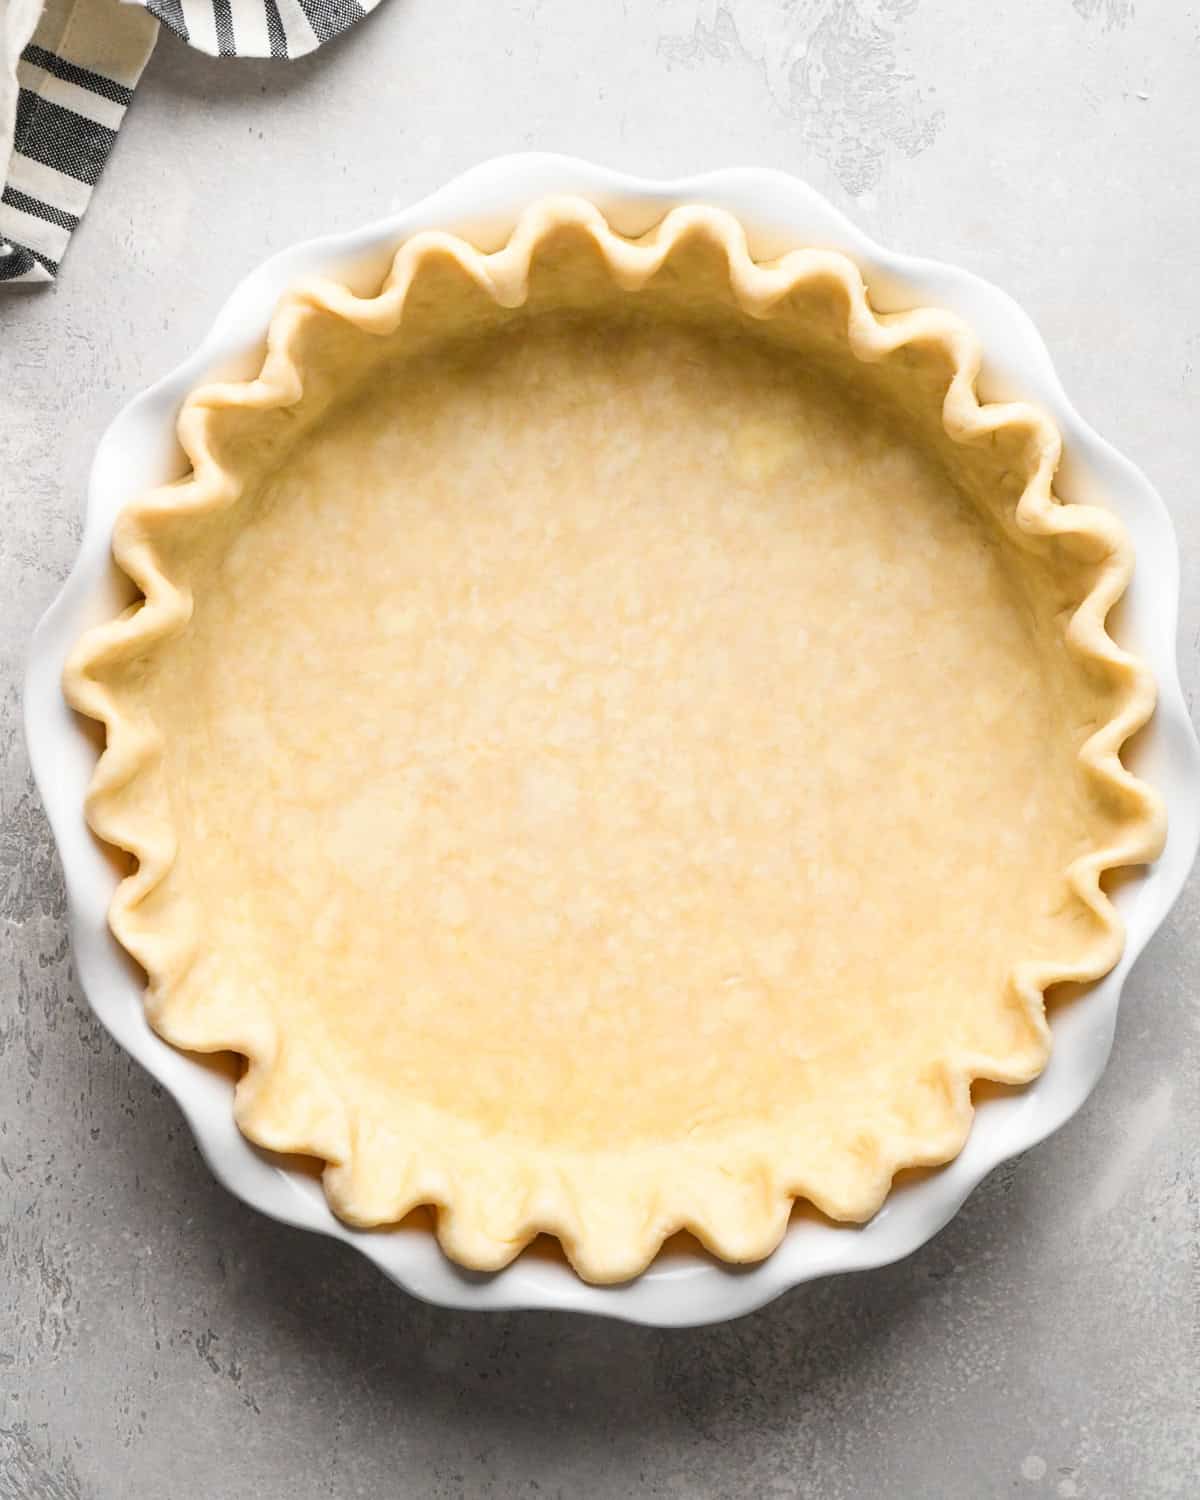
Make the Pumpkin Pie Filling
I suggest making the pumpkin pie filling while the pie crust dough is chilling so it’s ready to go as soon as you finish rolling and shaping the crust into the pie dish.
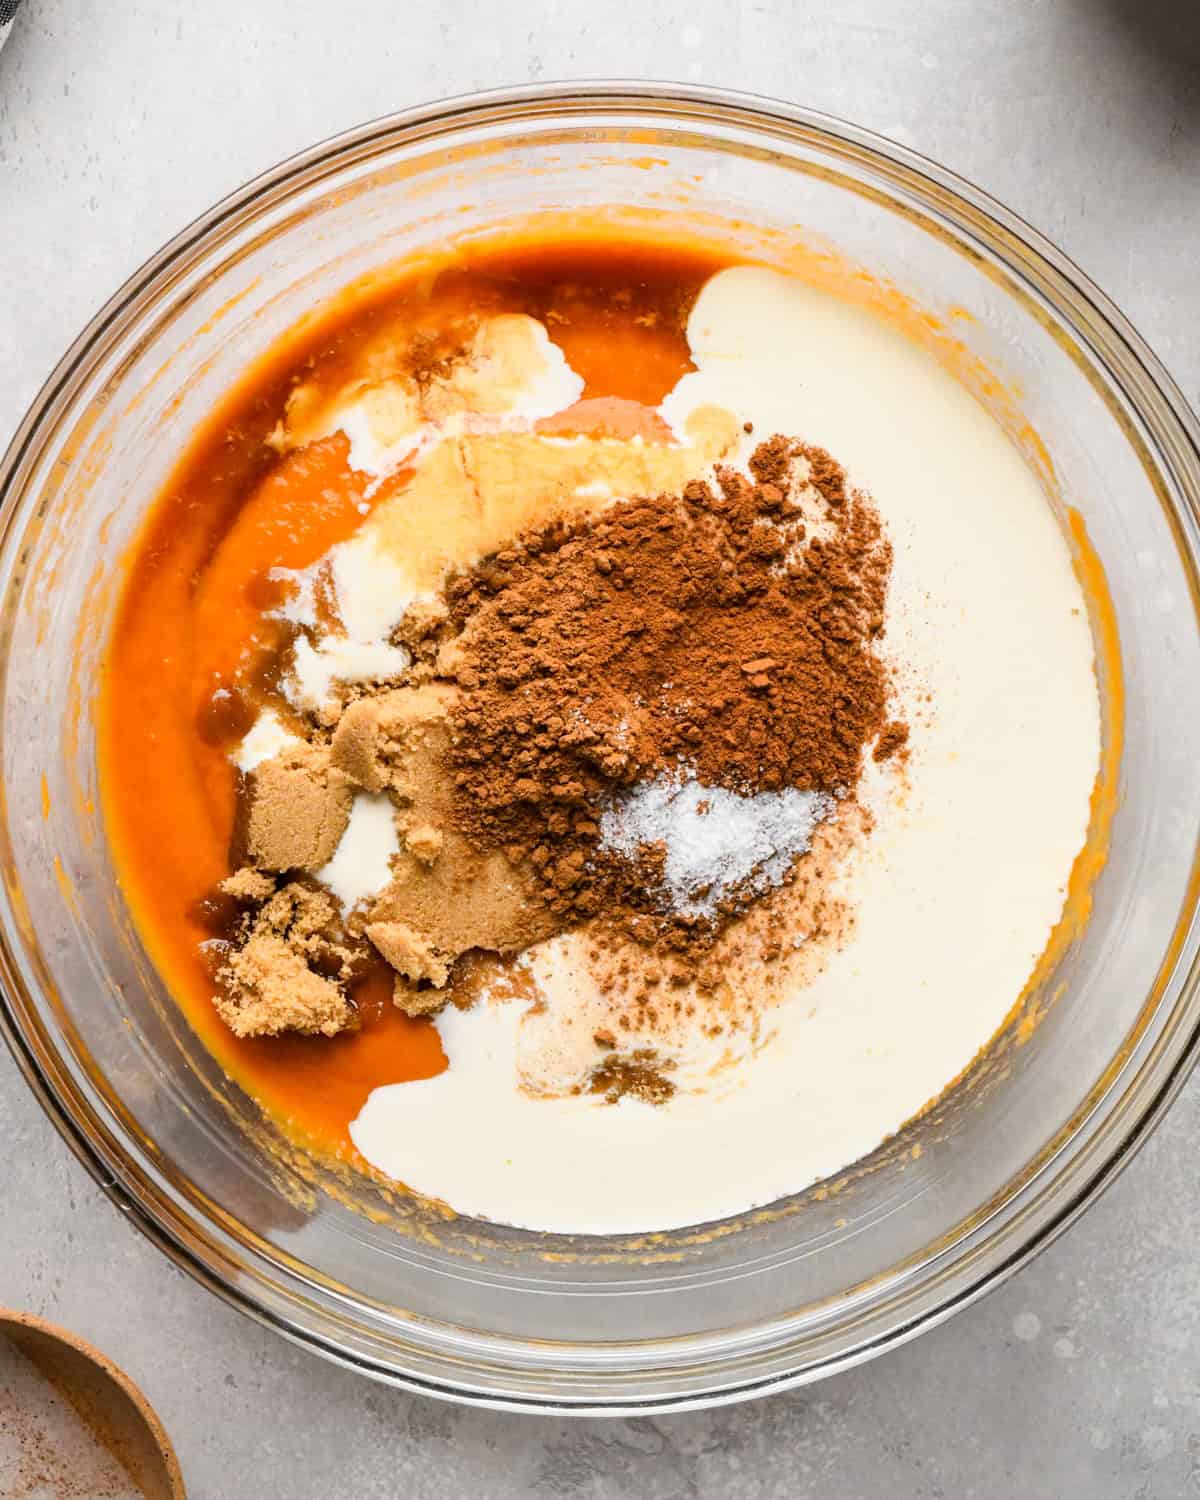
I like to do this first to ensure the eggs are fully incorporated into the pumpkin puree before adding the rest of the ingredients.
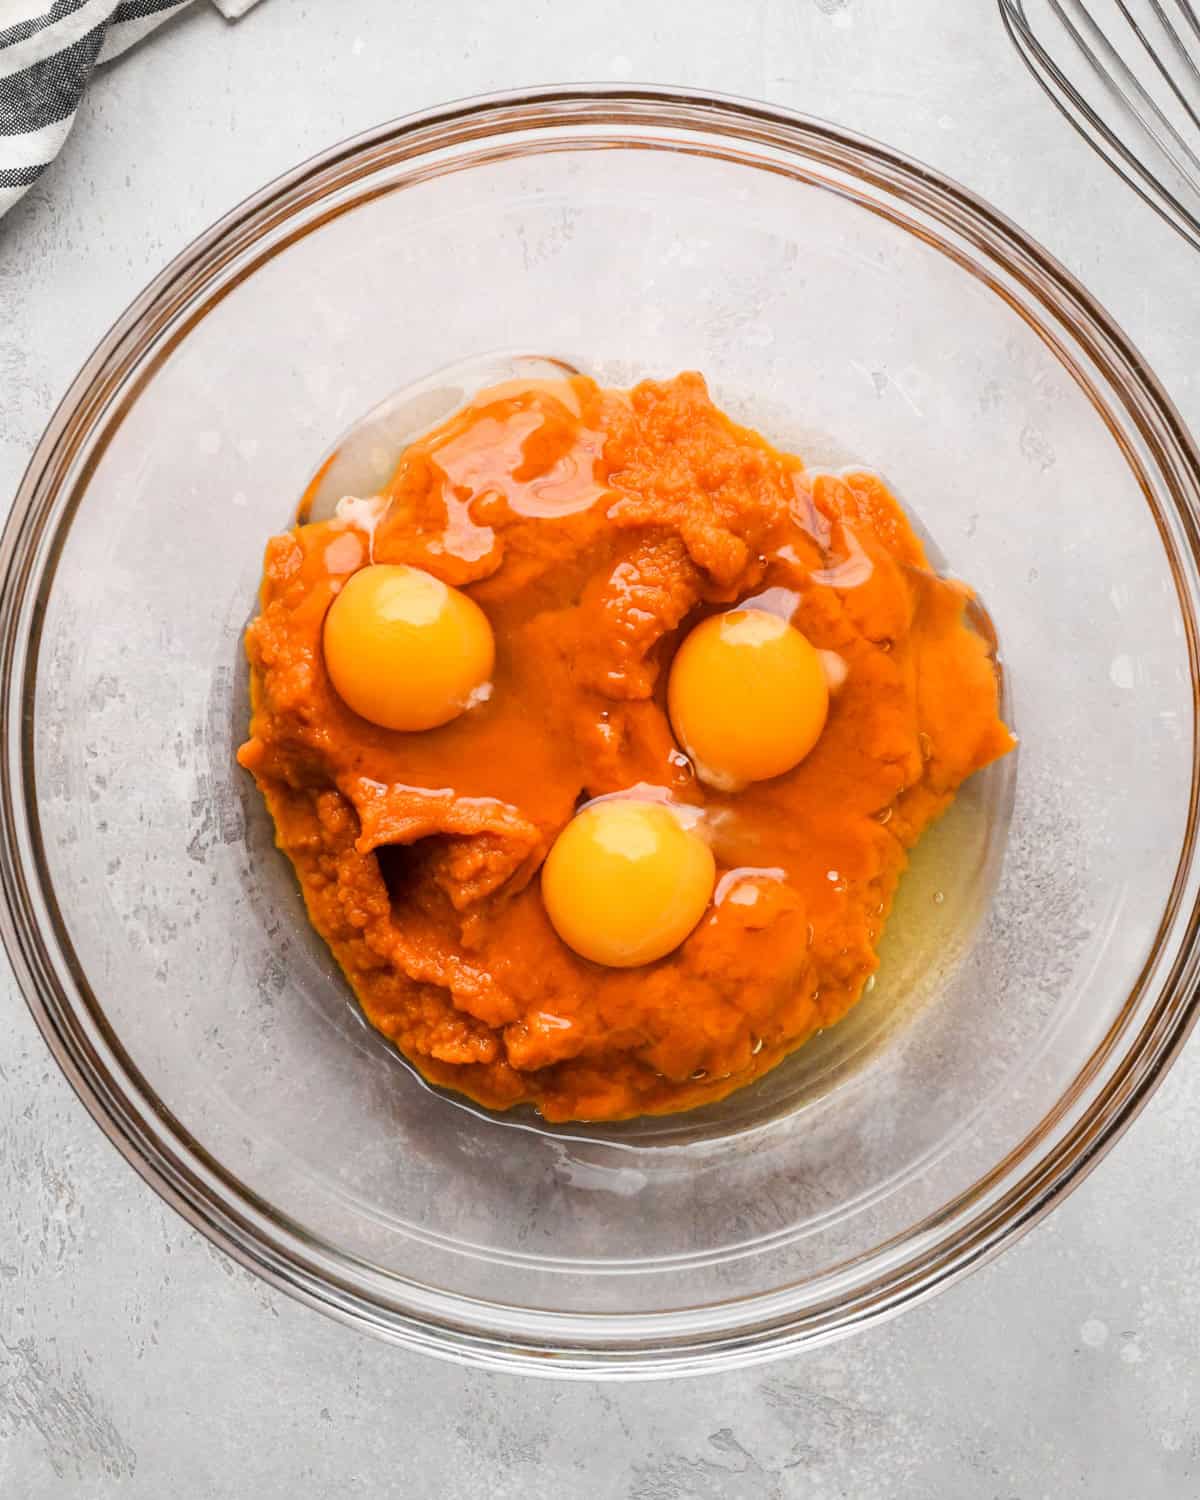
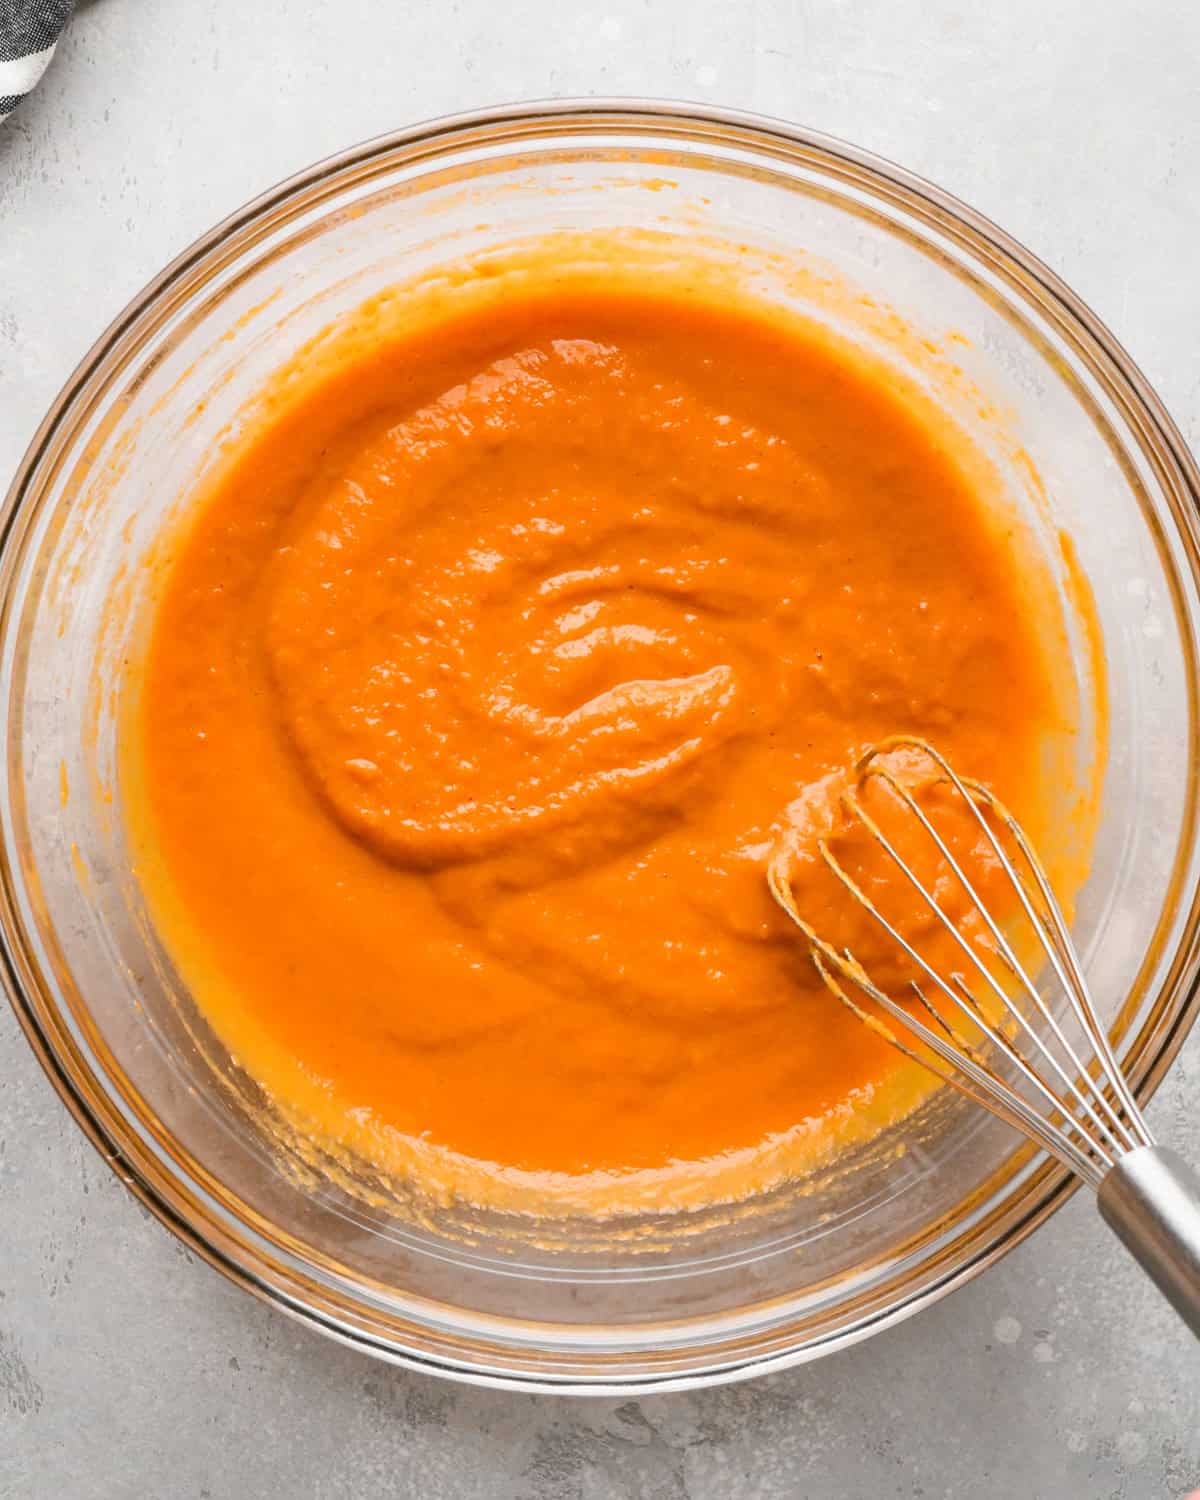
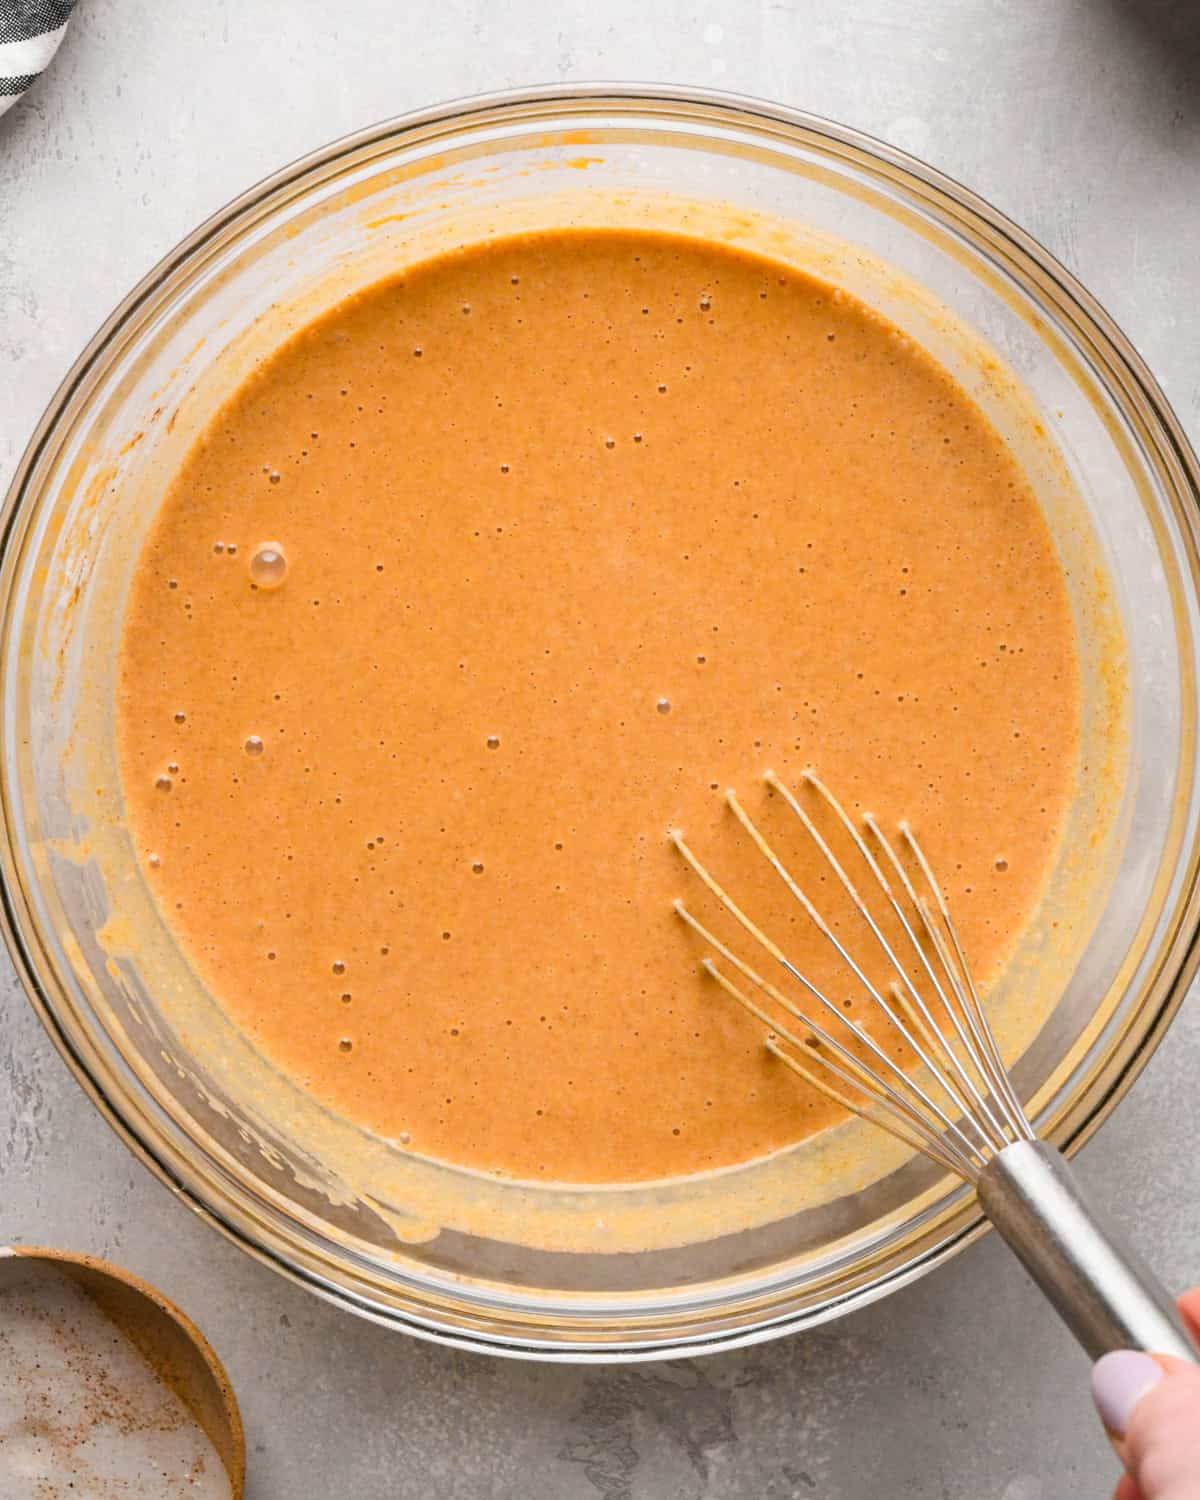
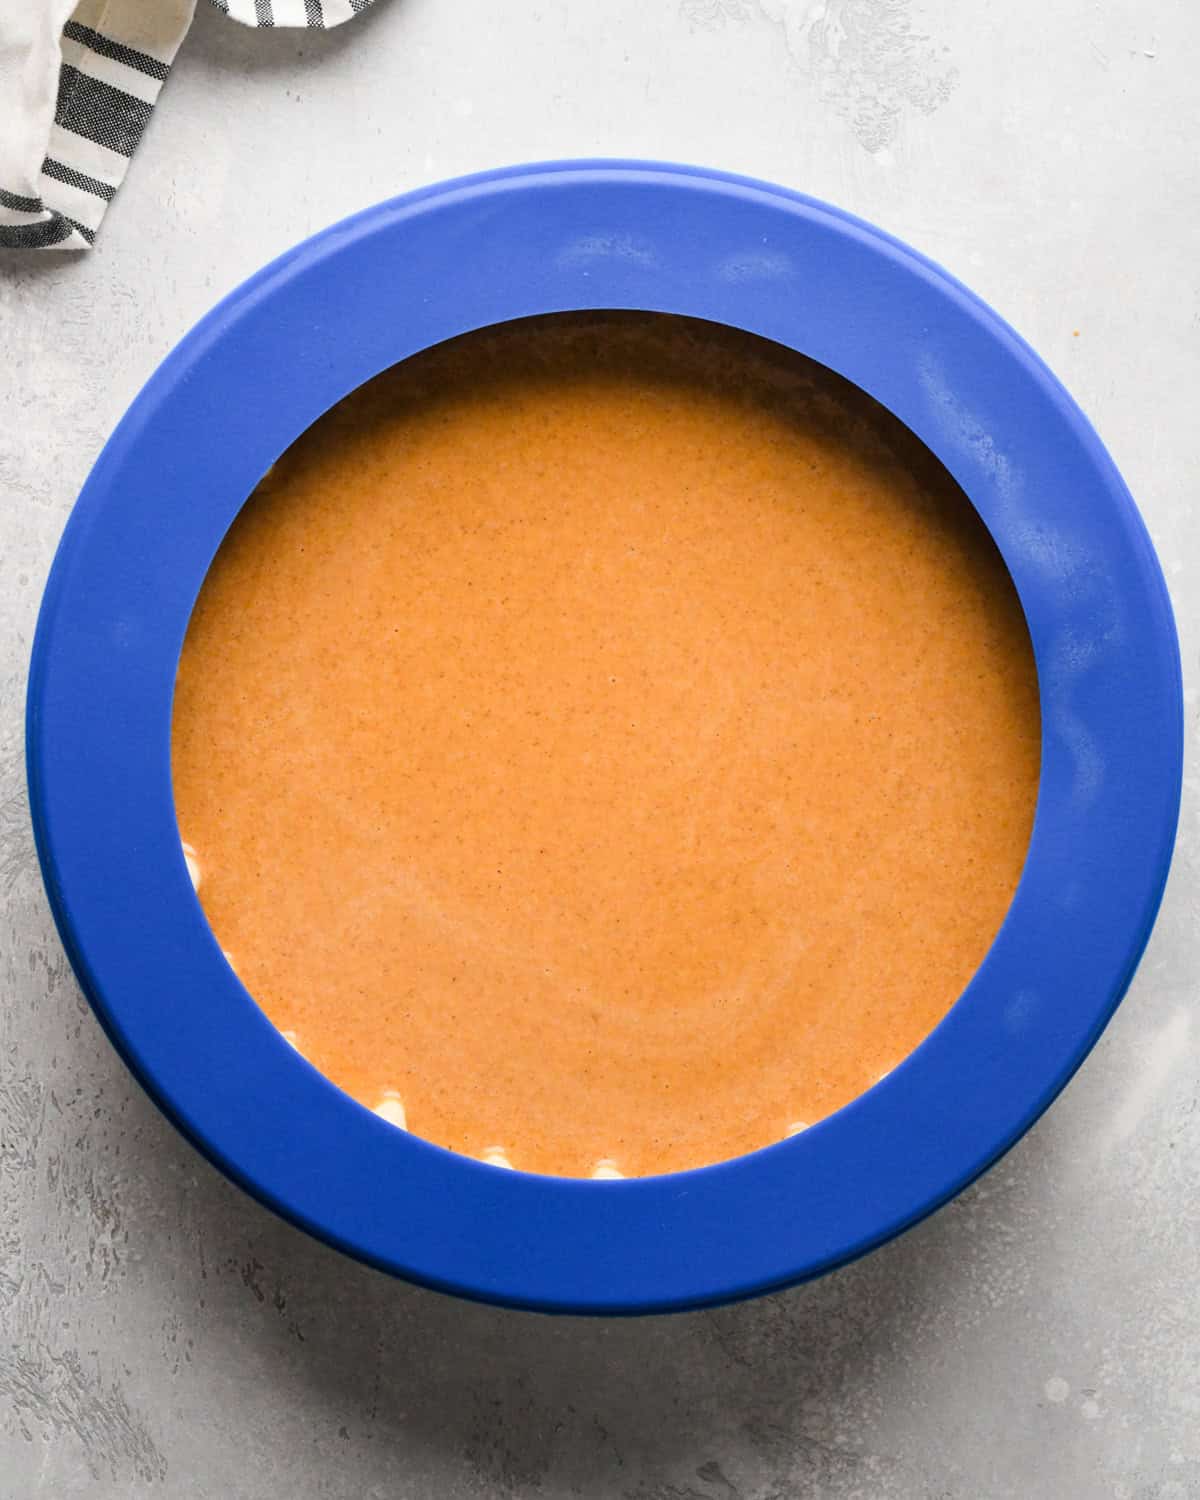
Then, add the rest of the filling ingredients and whisk to combine. Make sure the filling is silky smooth and there are no lumps before proceeding.
Assemble the Pumpkin Pie
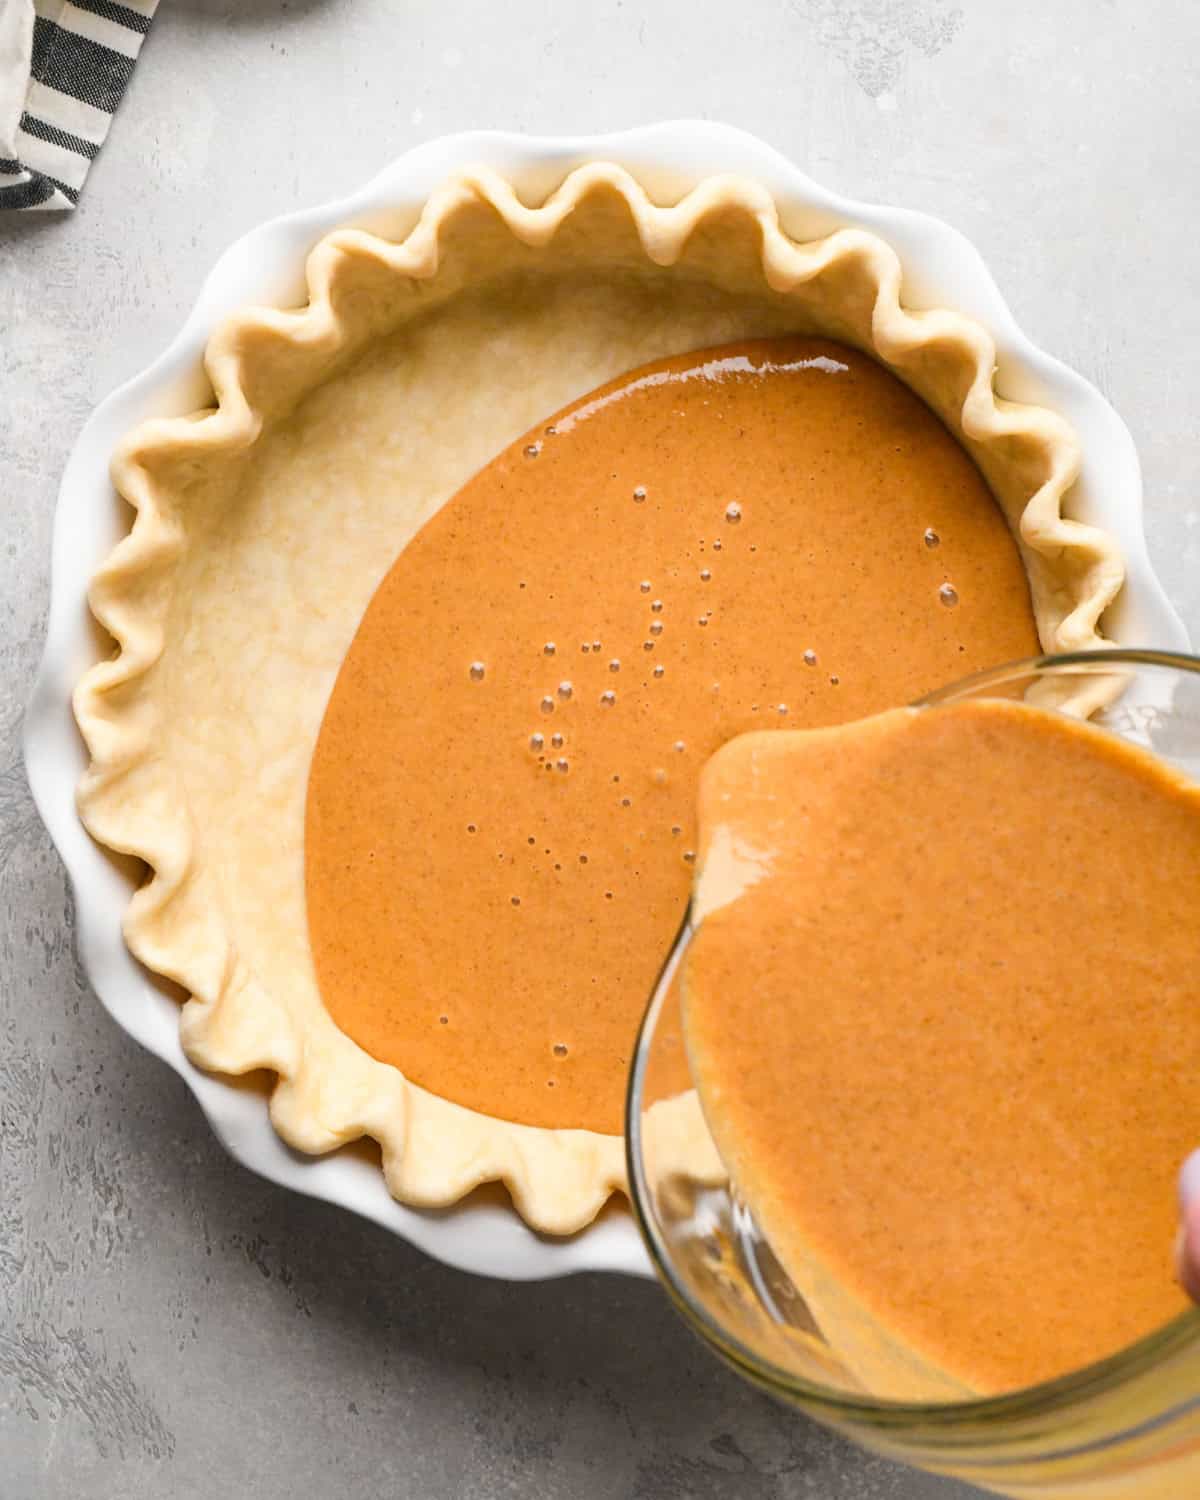
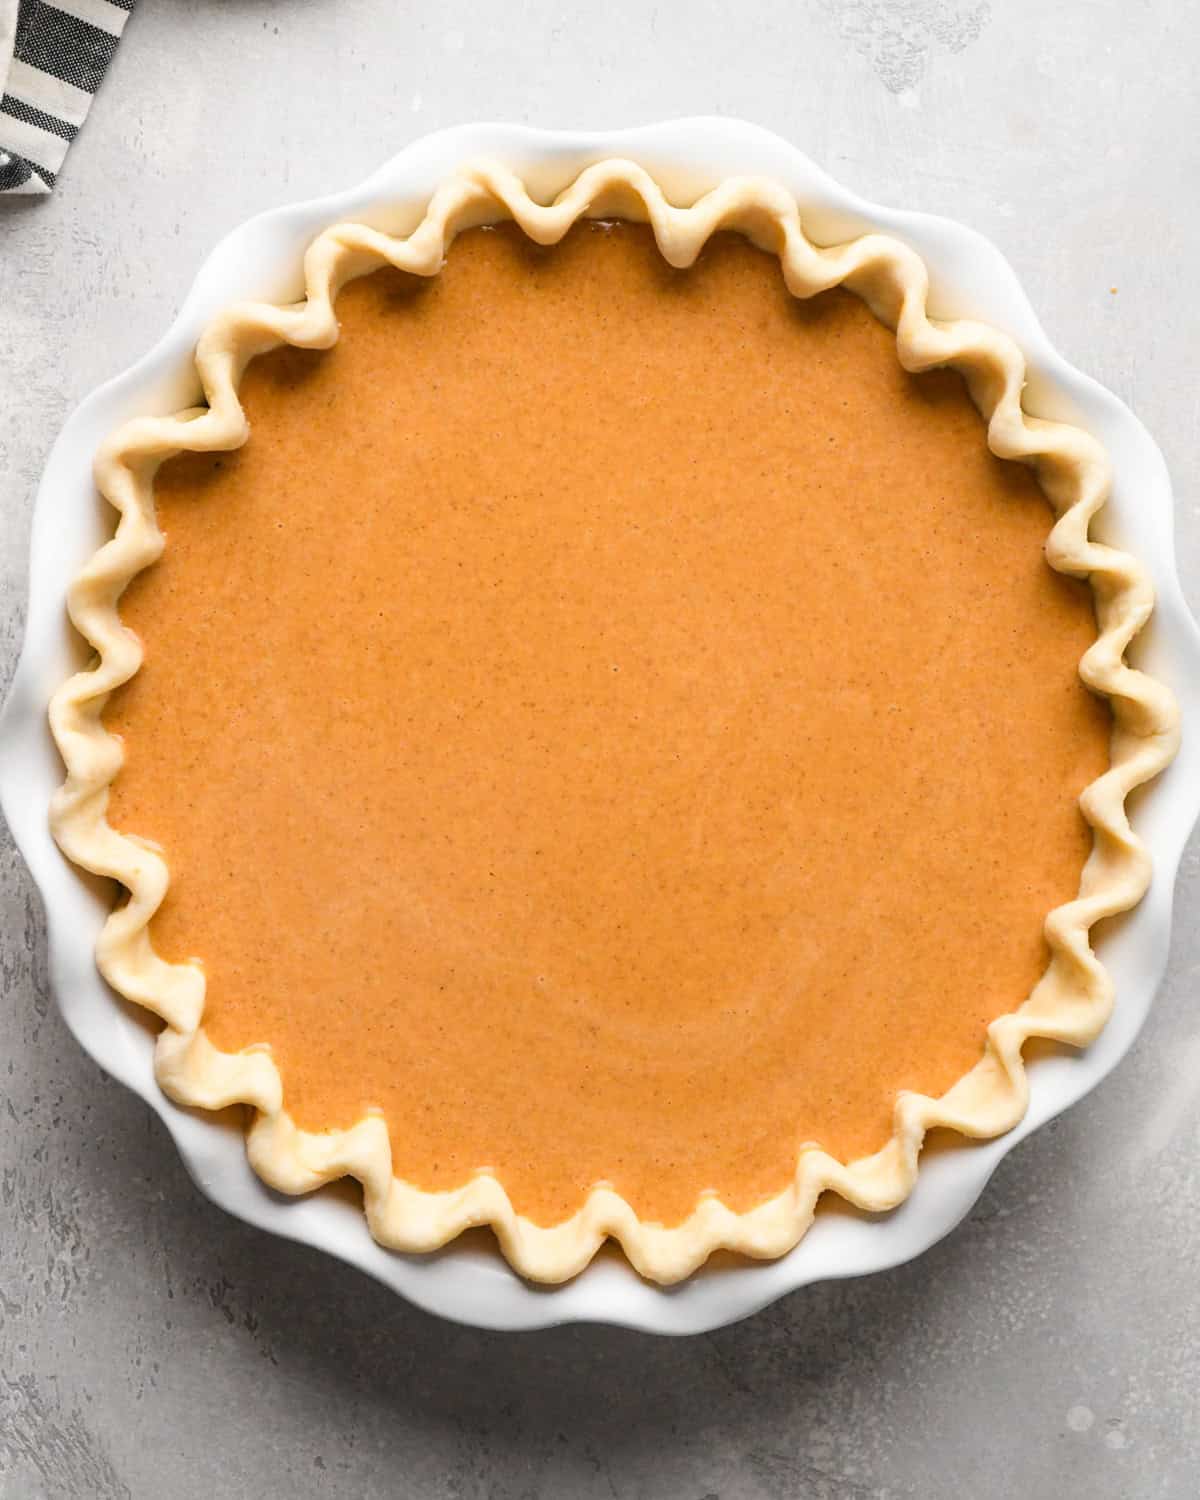
Fill the crust with the pumpkin pie filling quickly. You do not want the crust to get warm before baking!
Do You Need to Blind Bake the Crust for Pumpkin Pie?
No, you don’t need to blind bake the crust for this pumpkin pie recipe. The pumpkin filling is poured into the unbaked crust, then the pie is baked on the lowest rack in your oven at a high temperature for the first 15 minutes to help the crust begin to bake and set. It stays on the lowest rack while it continues to bake.
Bake the Pumpkin Pie
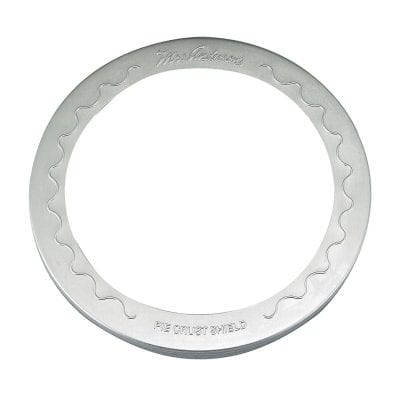
Use a pie crust shield or aluminum foil to cover the outer crust, otherwise it will brown too much and possibly burn before the filling has finished baking completely. Then, bake the pumpkin pie on the lower rack for 15 minutes at 425 degrees Fahrenheit (218 degrees Celsius).
After 15 minutes, reduce the temperature to 350 degrees Fahrenheit (177 degrees Celsius) and continue to bake for 50 to 60 minutes. Remove the pie crust shield int he last 10 minutes of baking if neceessary.
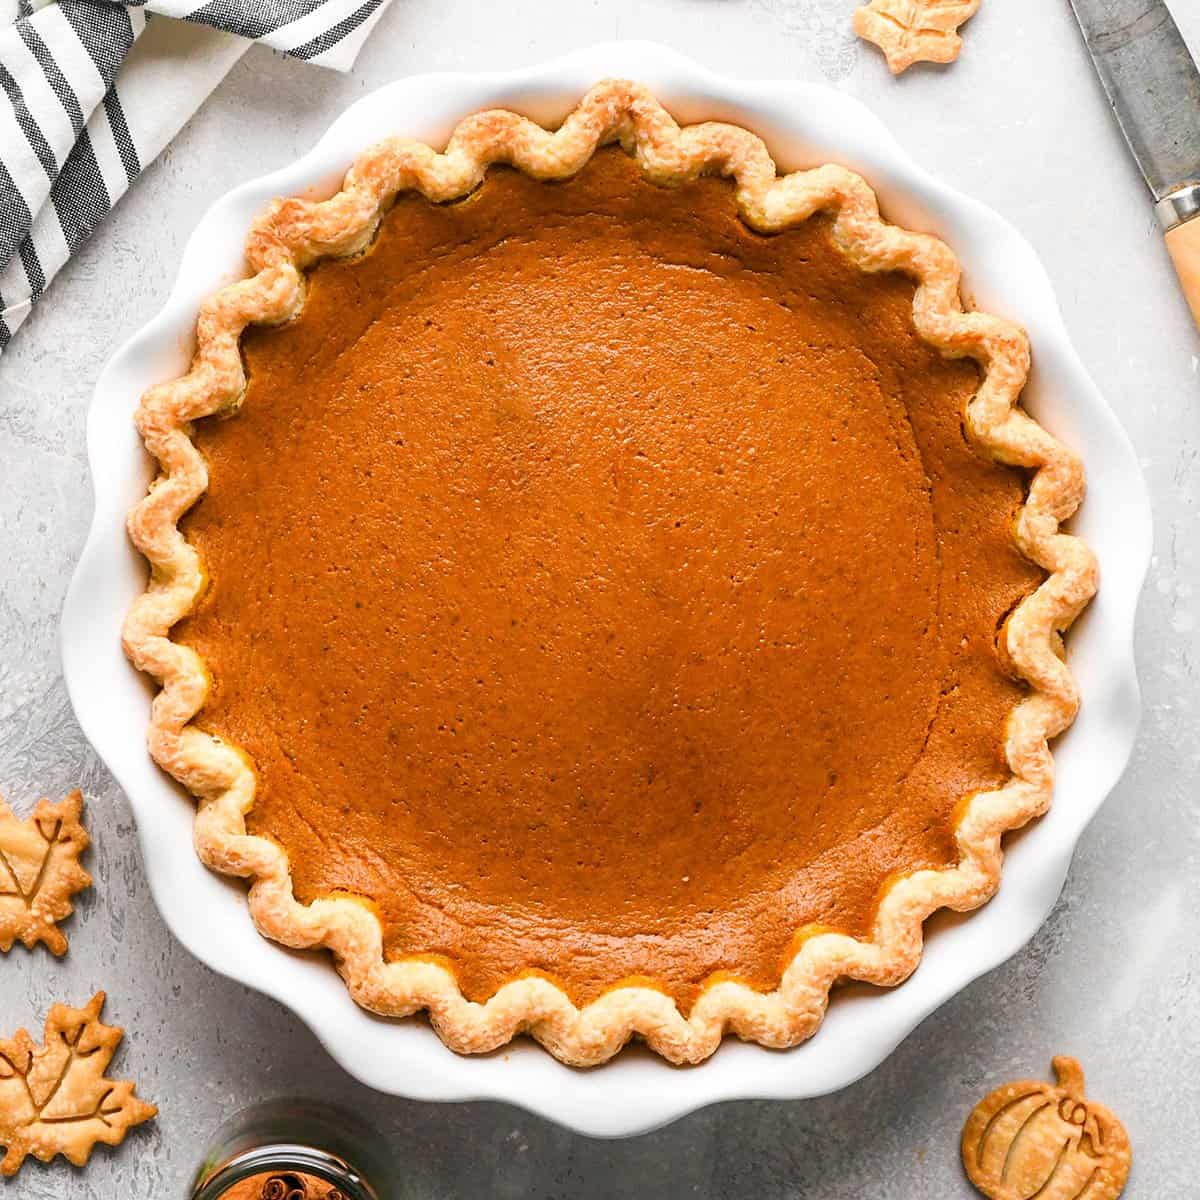
How to Know Pumpkin Pie is Done
You know this pumpkin pie has finished baking when the edges are set and slightly puffed. If you gently shake the pie, the center should wiggle a little like Jell-O, but It should not look liquid at all. The filling will continue to set as the pie cools.
How to Keep Pumpkin Pie From Cracking
Pumpkin pie cracks when the custard filling is over baked or it cools too quickly.
- Don’t overbake it.
- Remove it when the center still has a slight jiggle.
- Let it cool gradually at room temperature.
- Don’t immediately move the hot pie into the refrigerator.
- Don’t insert a knife or cake tester into the center – this will for sure tell you if it’s done, but it will also certainly cause the pie to crack as it cools.
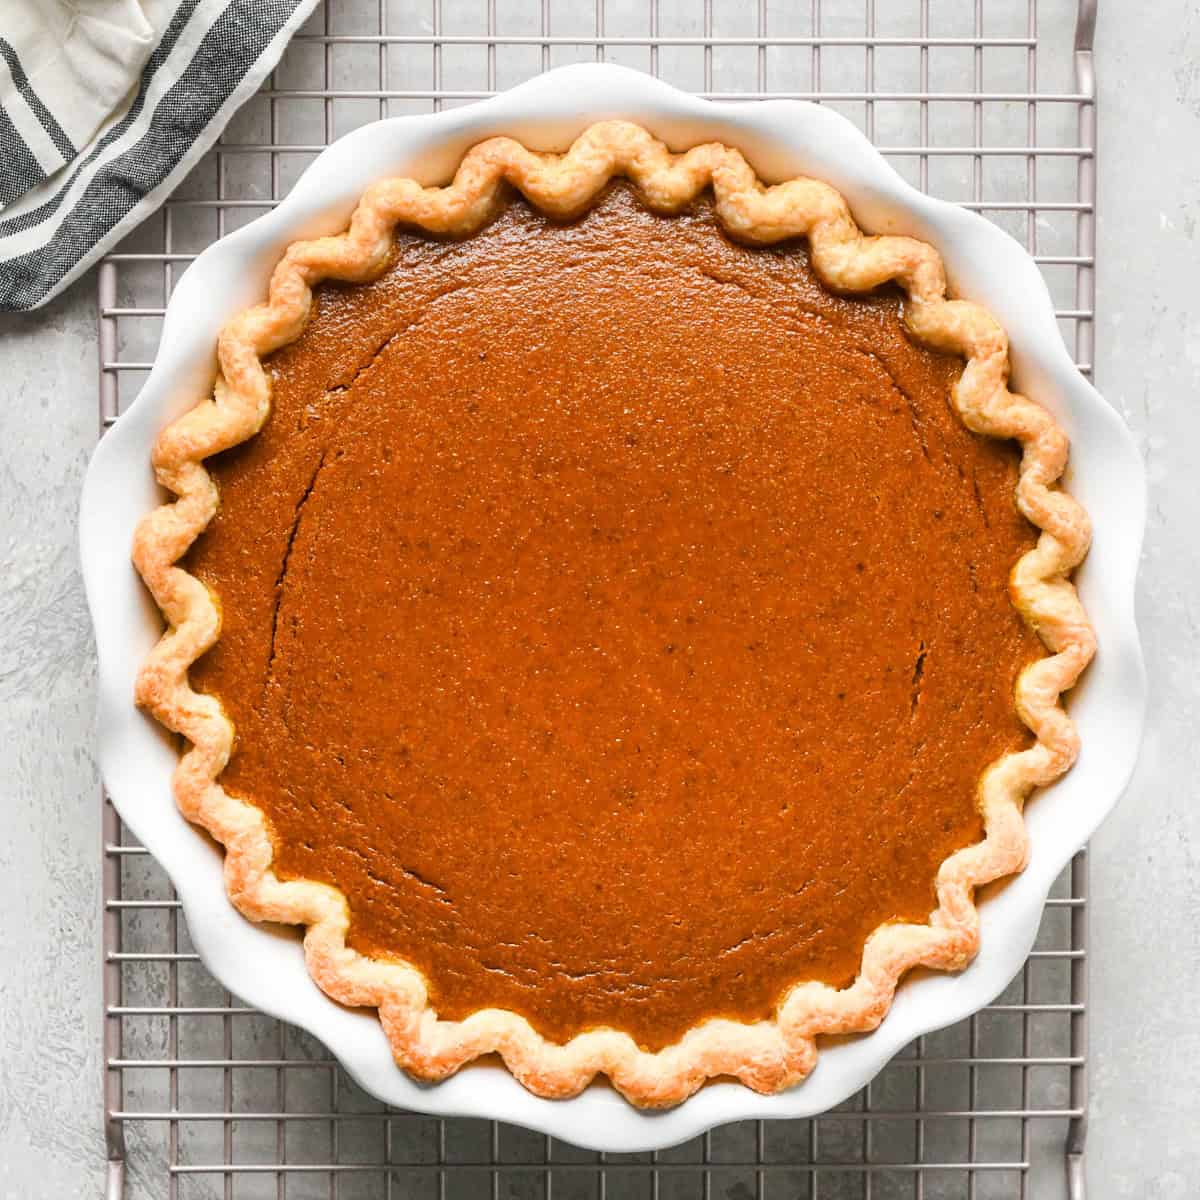
Cool
After it’s baked, transfer the pumpkin pie to a wire rack to cool completely. This takes at least two hours at room temperature, sometimes longer if you live in a warm environment. You can put it in the fridge (or outside on your cold porch) to speed up the process.
Make-Ahead Pumpkin Pie
This pumpkin pie recipe is one of my favorite Thanksgiving deserts because it’s best when it’s made a day or two in advance. Just bake it, let it cool completely to room temperature, then cover it and store in the refrigerator. When you’re ready to serve, let it sit at room temperature for about 1 hour for the best texture, or serve it cold.
How to Make Pie Crust Shapes
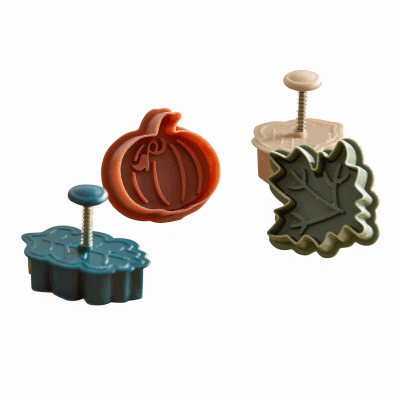
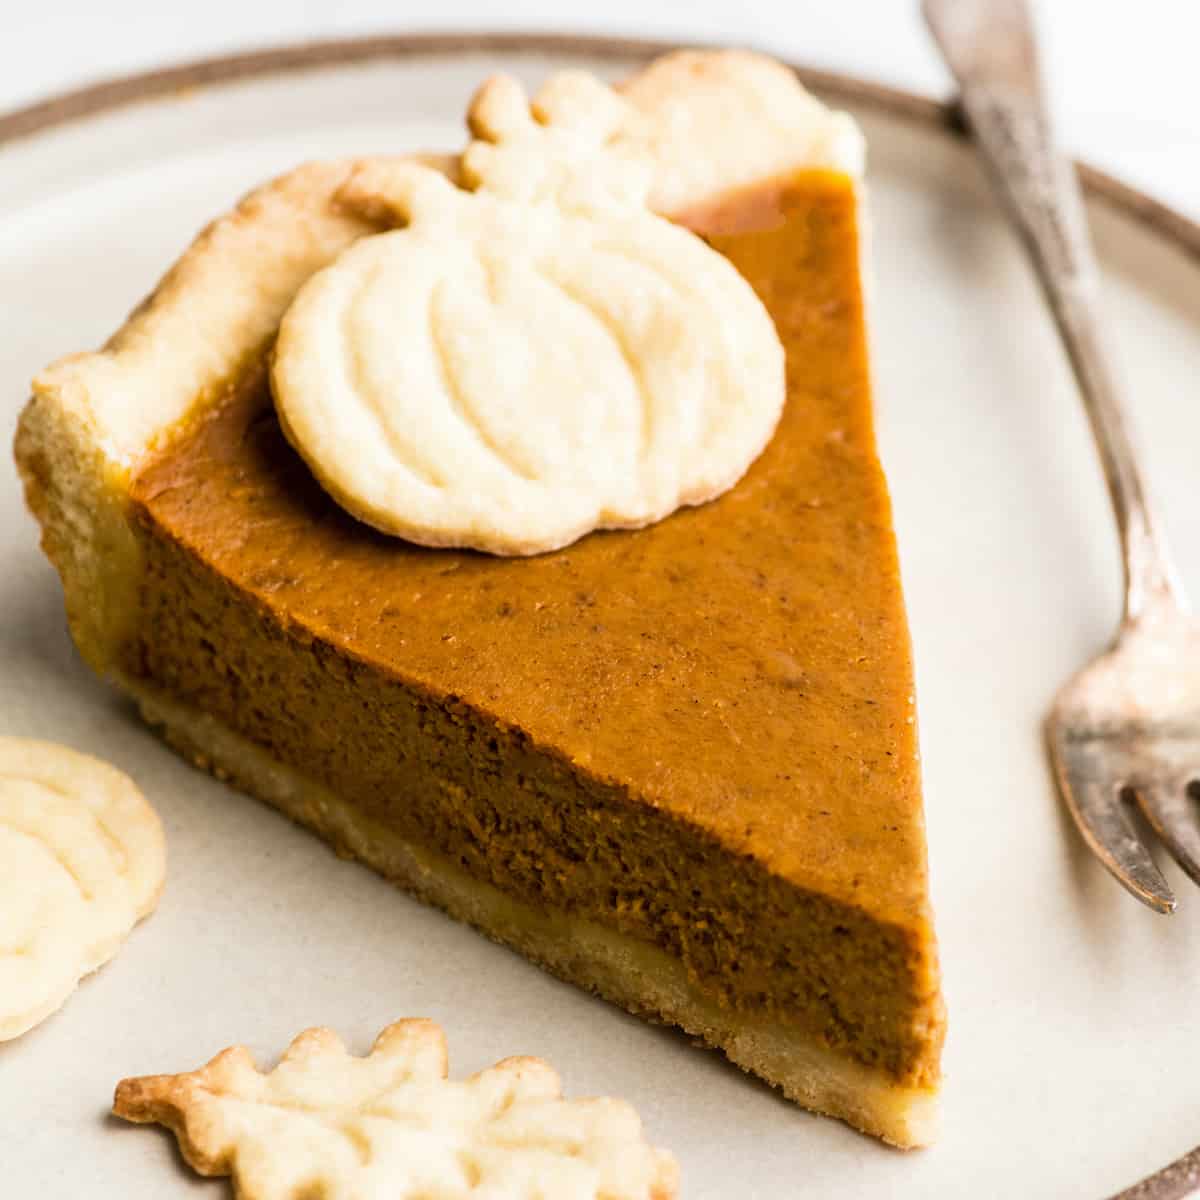
I like to use these fall pie crust cutters to cut fun shapes into any extra dough! To do this, roll out extra dough (or make another half batch of pie crust dough just to make shapes). Then, use pie crust cutters or cookie cutters to cut out your favorite shapes.
Evenly spread them onto a baking sheet lined with parchment paper or a silicone baking mat.
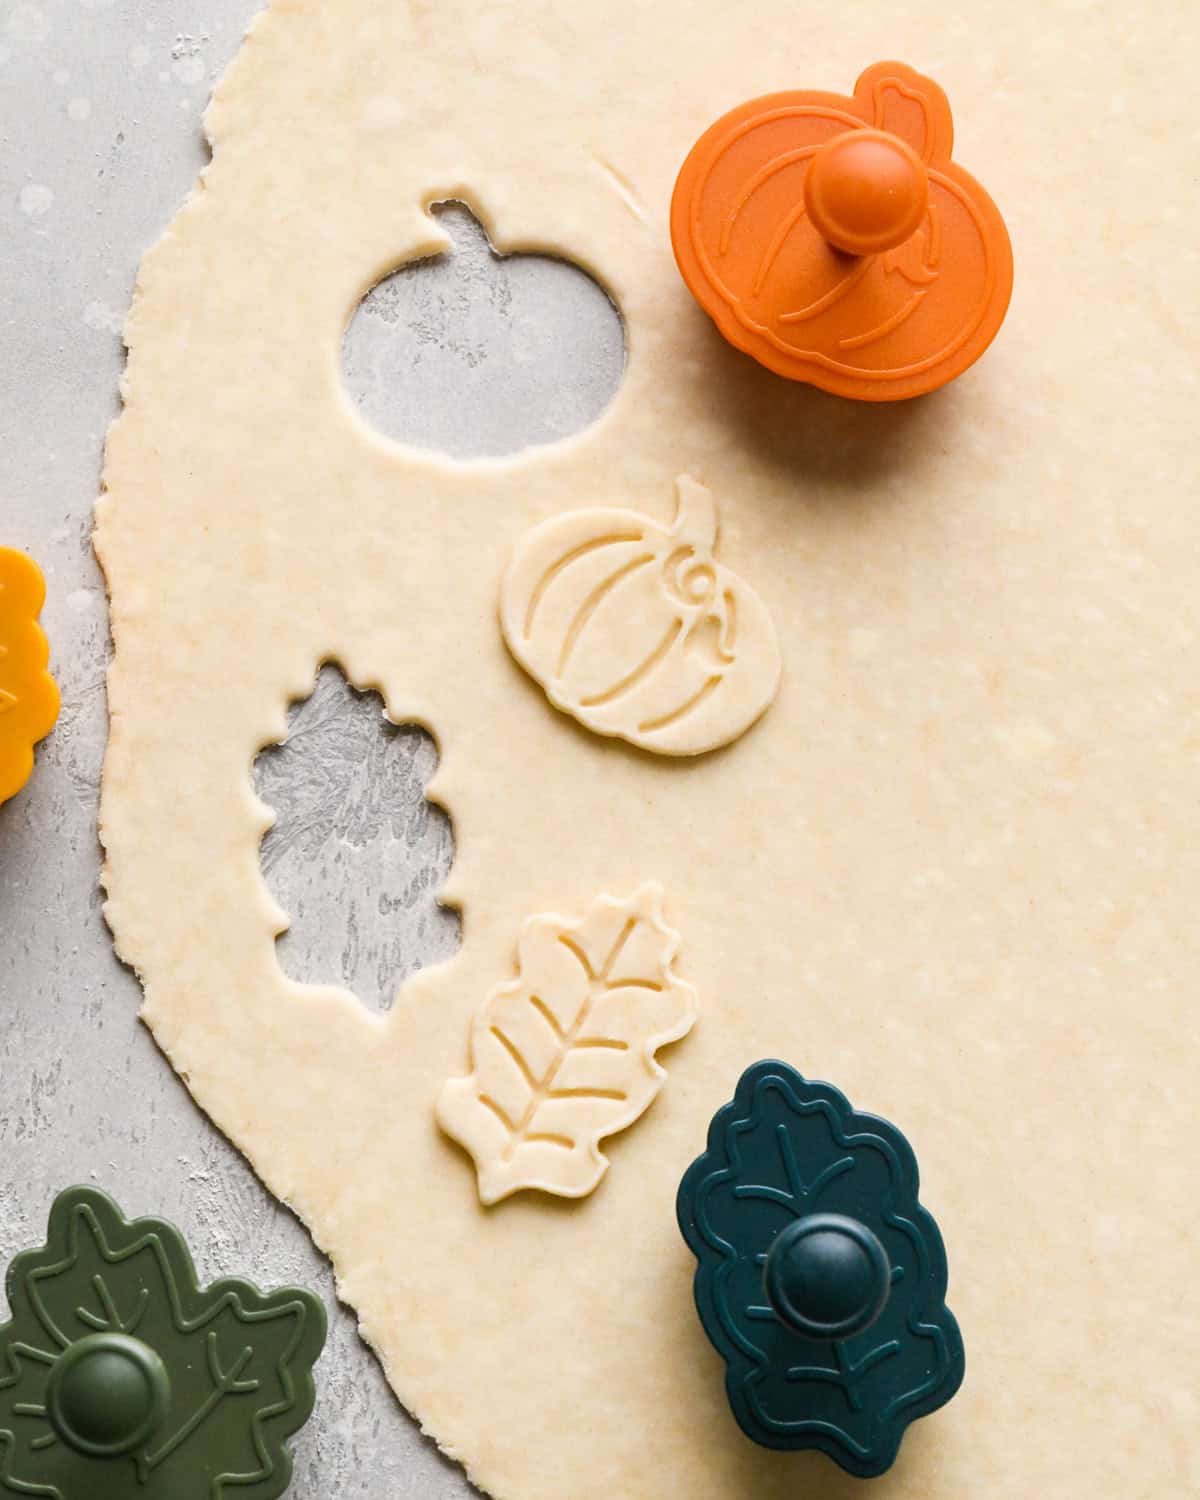
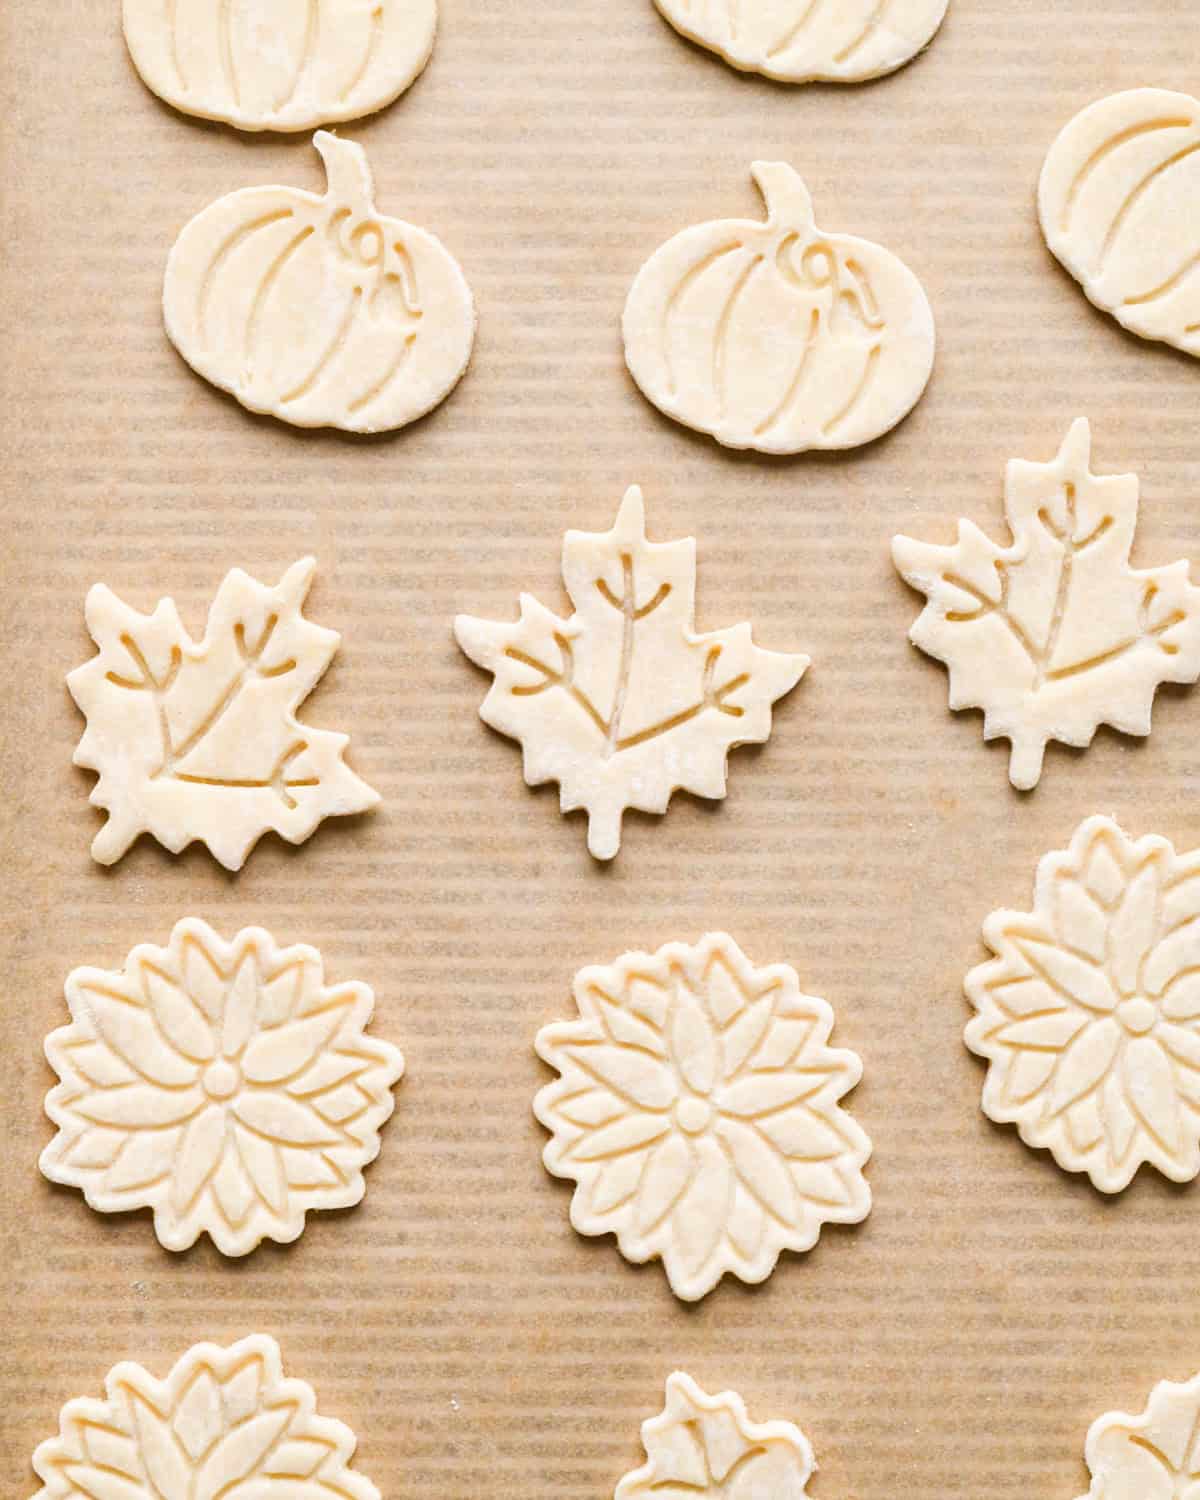
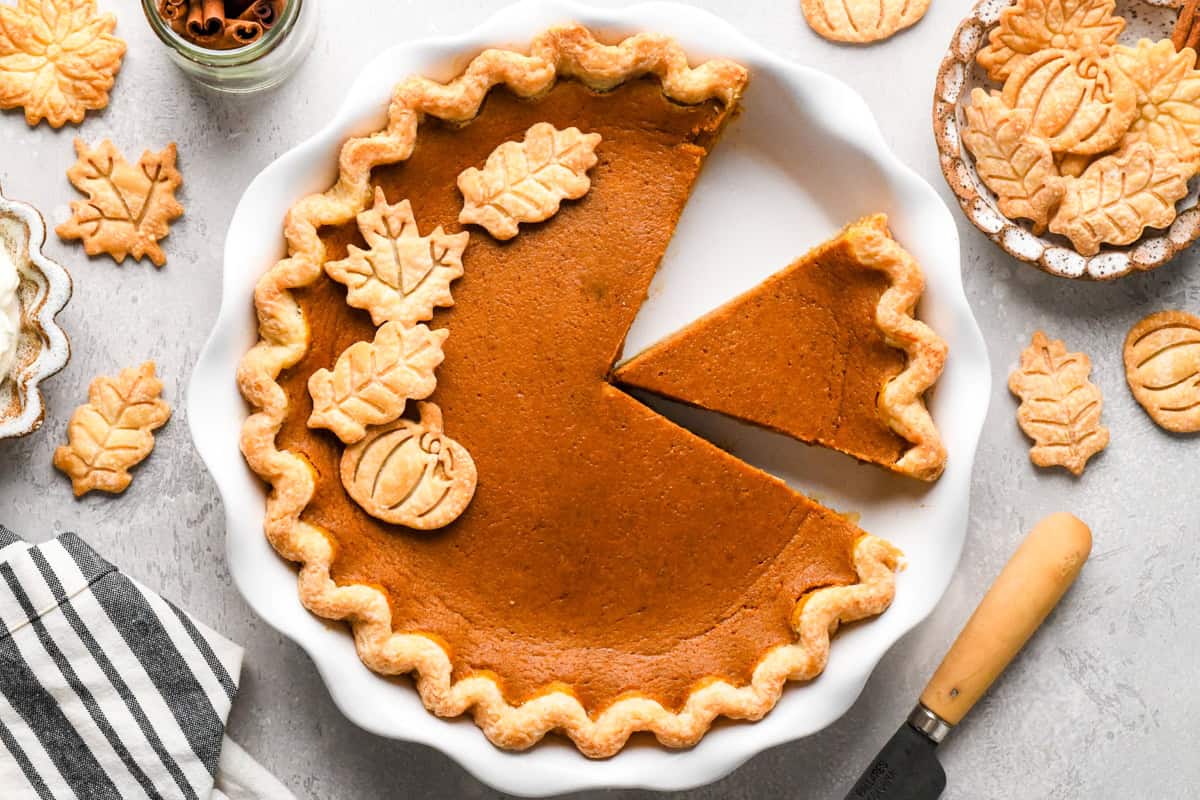
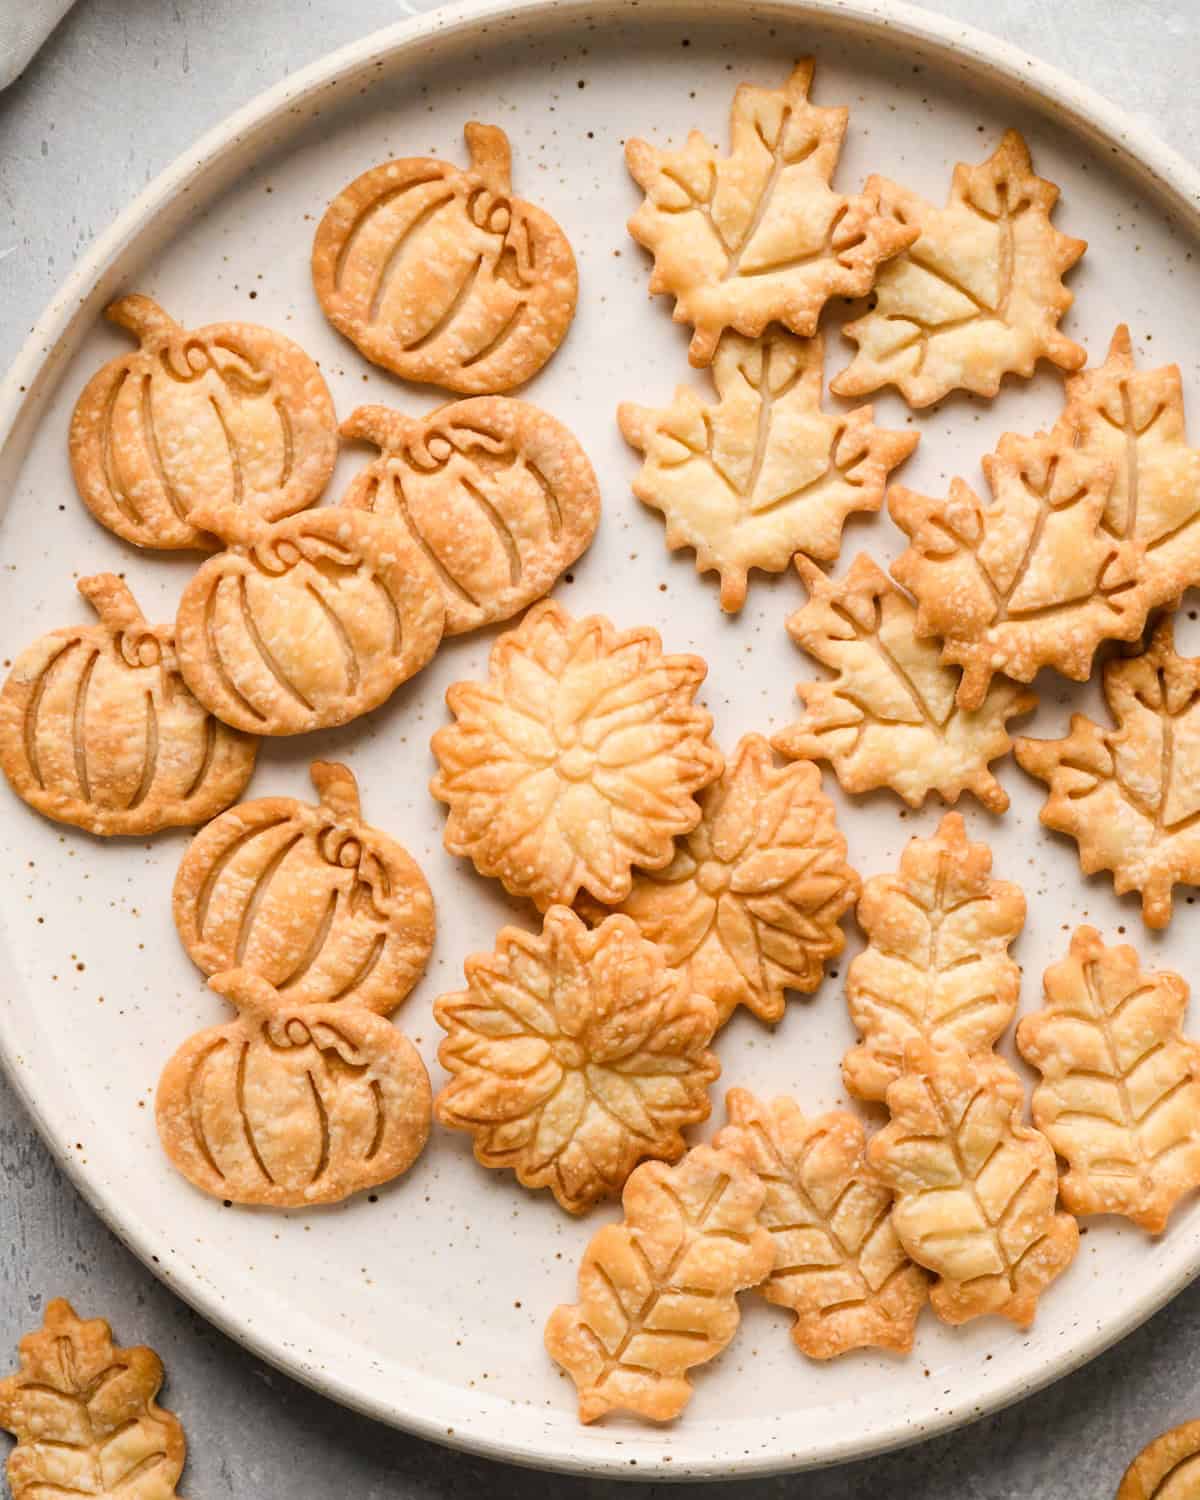
Then, bake the pie crust shapes at 350 degrees Fahrenheit (177 degrees Celsius) for 10-12 minutes or until lightly browned. Use the baked shapes to decorate the top of the pie after it’s cooled.
Serve
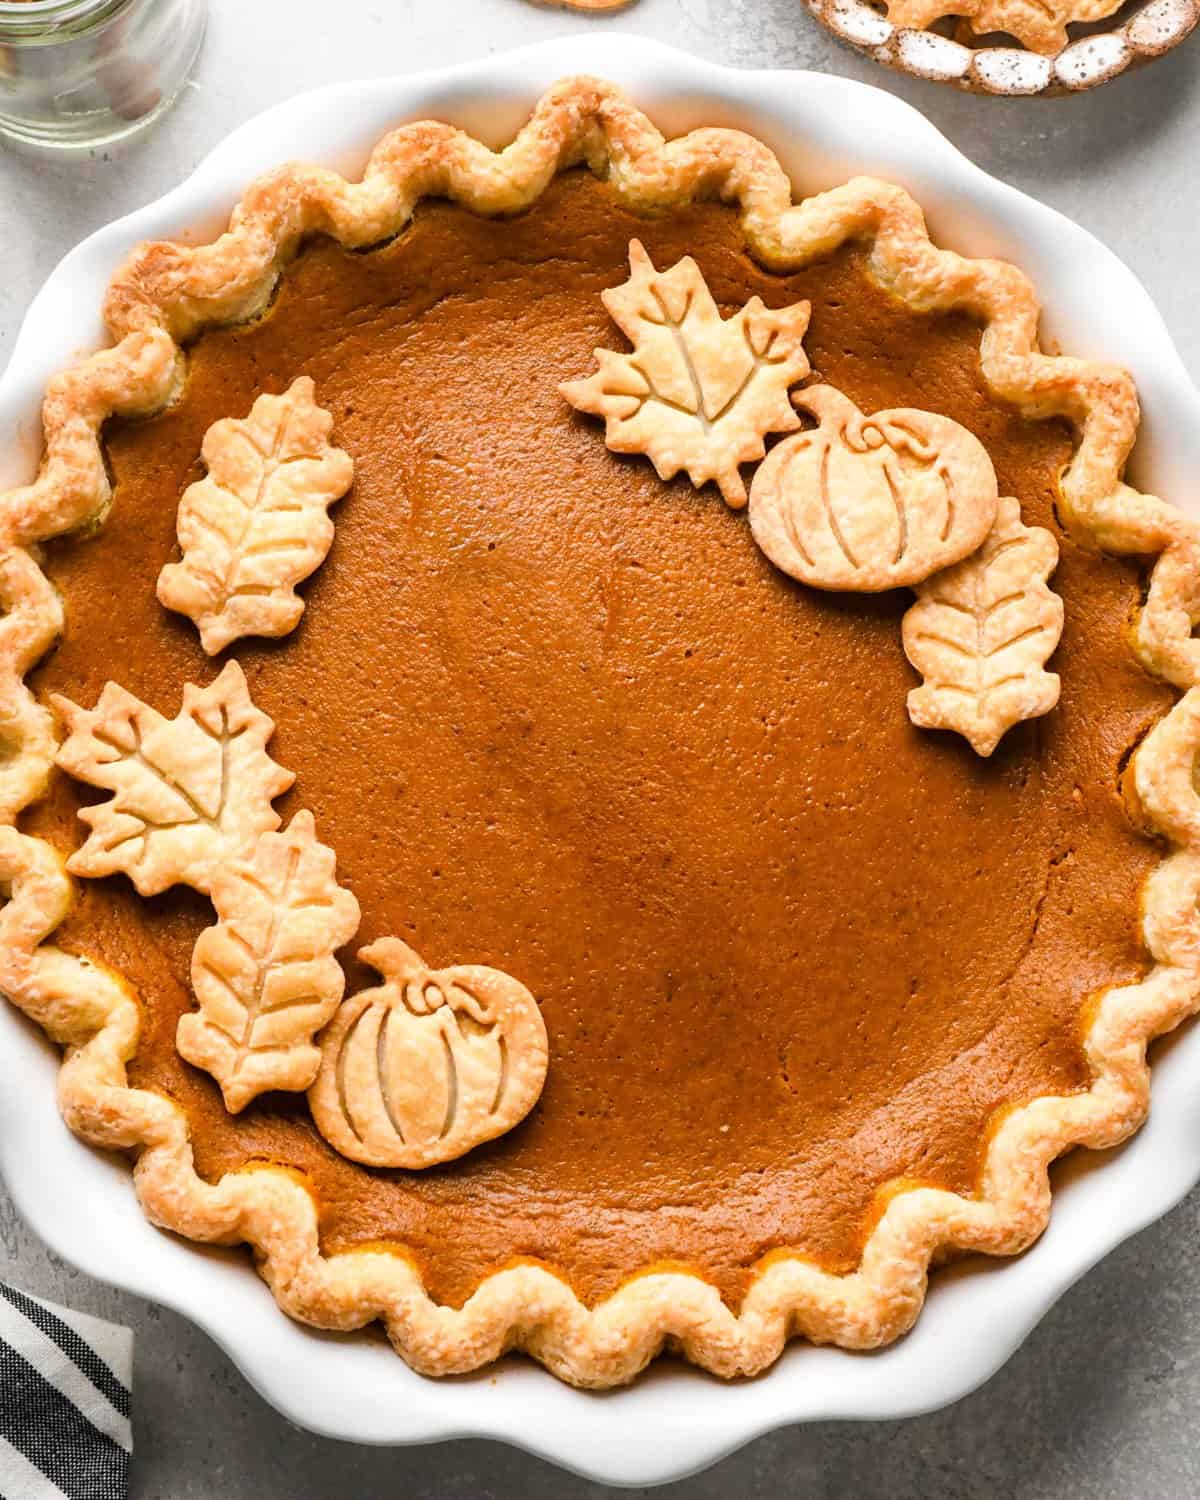
Decorate the pumpkin pie with beautiful pie crust shapes. Then, you can serve it room temperature, or chill it in the refrigerator and serve chilled. It’s really up to you and your personal preferences.
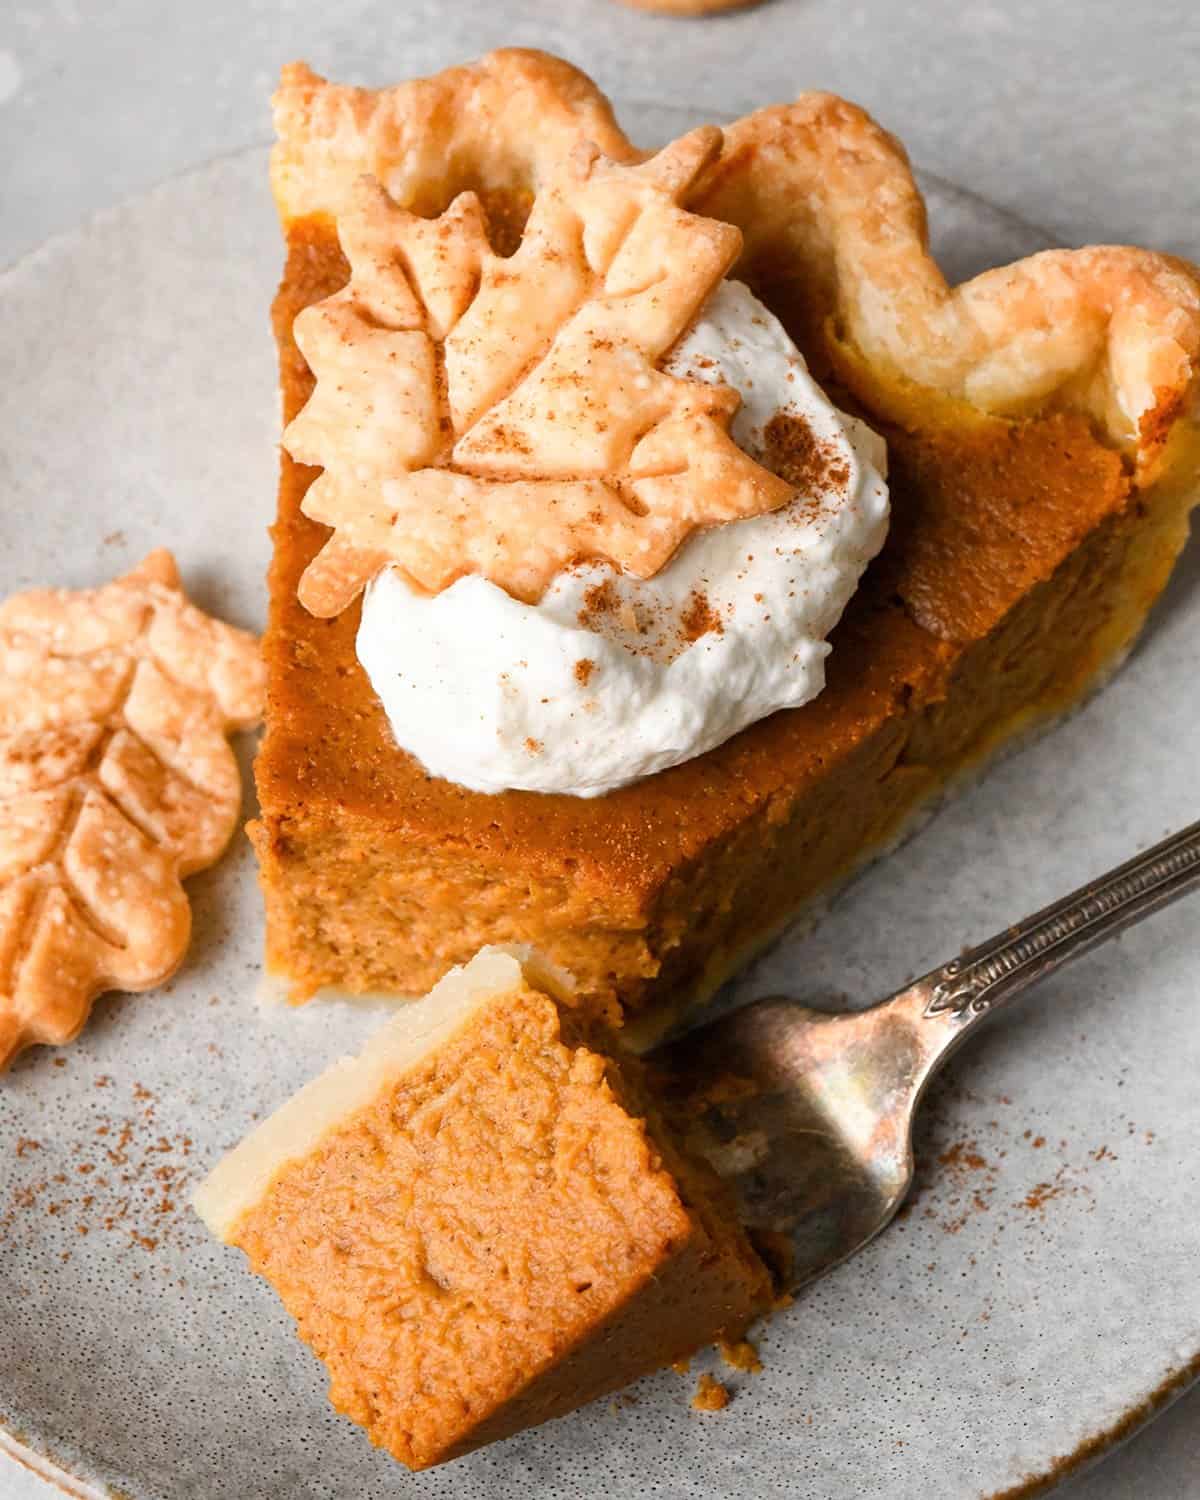
I suggest serving it with homemade whipped cream on top for the perfect fall dessert.
More Delicious Pumpkin Recipes
You’ll love all of these pumpkin Recipes
- For a dairy-free version, make my dairy-free pumpkin pie.
- Or make it into bars and make these pumpkin pie bars.
- Start the day a dose of pumpkin spice with pumpkin muffins, a pumpkin smoothie, pumpkin pancakes, pumpkin scones, or pumpkin cinnamon rolls.
- Bake these pumpkin chocolate chip cookies!
How to Store Pumpkin Pie
Store the pumpkin pie in the refrigerator for up to 5 days.
How to Freeze Pumpkin pie
There are two ways to frees this pumpkin pie, which honestly freezes beautifully.
- Freeze the entire pie. Bake and chill the pie, then wrap it tightly with plastic wrap and foil and freeze for up to 2 months. Thaw in the refrigerator overnight before cutting and serving.
- Freeze individual slices. Place pie slices on a baking sheet and put them in the freezer to flash-freeze them. Then, once they’re frozen, wrap them in plastic wrap and store in an airtight container for up to 2 months. Thaw in the refrigerator for about 6 hours.
Pumpkin Pie Recipe FAQs
Here are some commonly asked questions about making this pumpkin pie recipe.
Yes, since pumpkin pie is an egg-based custard, it needs to be covered and stored in the refrigerator after it has cooled completely.
Yes, it’s best when baked it 1 to 2 days in advance and stored in the refrigerator until you’re ready to serve so the flavors have time to really deepen.
Pumpkin pie filling separates from the crust after baking because it shrinks. This happens more dramatically if the pie is over baked.
– The top will be set and slightly puffed.
– It will be set on the edge and have a very slight jiggle in the middle.
– A cake tester inserted in the middle of the pie will come out clean.
Yes, both canned and fresh work well in this recipe. Canned pumpkin tends to yield the most consistent texture since there can be a wide range in the moisture level of homemade pumpkin puree. But if you want to make fresh pumpkin puree, follow this recipe.
If your pumpkin pie develops droplets of water on top (or “weeps”) that likely means that it was over baked. Or, you tried to cool it too quickly by putting it in the refrigerator before it had cooled to room temperature.
The most common reason pumpkin pie cracks is because it was overbaked. Remove the pie from the oven when the edges are set but the center is till slightly jiggly (but not liquidy).
Absolutely! While I love making this pumpkin pie with my homemade butter pie crust, but you can use a store-bought pie crust to make it super easy. Make sure you use a crust that fits a 9-inch pie plate and follow the recipe.
Let pumpkin pie cool completely before slicing and serving – which typically takes 2-4 hours. I do not recommend refrigerating before it has cooled to room temperature because it can cause the pie to crack.
Nope – don’t do that! It’s a custard-based pie so you need to store it in the refrigerator.
If you make and love my recipes, it would mean so much to me if you would leave a comment and rating! And don’t forget to follow along on Instagram, Pinterest, Facebook, TikTok and Youtube – be sure to tag @joyfoodsunshine and use the hashtag #joyfoodsunshine so I can see your creations!

Homemade Pumpkin Pie Recipe
Video
Equipment
Ingredients
Pumpkin Pie Filling:
- 3 large eggs
- 15 ounces pumpkin puree
- 1 cup heavy cream (or half and half)
- 1 teaspoon pure vanilla extract
- ¾ cup light brown sugar
- ½ teaspoon fine sea salt
- 2 teaspoons ground cinnamon
- 2 teaspoons pumpkin pie spice
Pie Crust:
- 1 ¼ cups all-purpose flour
- ½ teaspoon sea salt
- 1 Tablespoon granulated sugar
- ½ cup salted butter (chilled, and cut into 1 inch pieces)**
- ¼ cup cold water
Instructions
Make the Pie Crust
- Place the flour, salt, and sugar in a food processor fitted with an “S” blade and pulse to combine.
- Add the butter and cold water and process until the mixture resembles a coarse meal, begins to stick together, and holds together when pinched.
- Remove dough from processor (will be crumbly) and form into a ball.
- Wrap in plastic wrap and refrigerate for at least 2 hours, or overnight.
Make the Pumpkin Pie Filling
- While the dough is chilling, make the filling.
- In a large bowl whisk the egg and pumpkin together until smooth.
- Then, whisk in the heavy cream, vanilla, brown sugar, salt cinnamon and pumpkin pie spice until the mixture is smooth.
Assemble
- Preheat your oven to 425 degrees Fahrenheit (218 degrees Celsius).
- Roll out the pie dough on a well-floured surface (or pastry cloth) to fit the size of your pie plate.
- Carefully transfer the dough to the pie plate and shape the crust as desired (pinch the edges with your thumb and pointer finger to make a fluted edge).
- Pour the pumpkin pie filling into the unbaked pie crust and cover the crust with a pastry shield.
Bake & Cool
- Bake for 15 minutes at 425 degrees Fahrenheit (218 degrees Celsius).
- Reduce the temperature to 350 degrees Fahrenheit (177 degrees Celsius) and continue baking for 50 to 60 minutes, or until the top is puffed, the edges are set while the center is only slightly wobbly, and a cake tester inserted in the center comes out clean.
- Allow the pie to cool on a wire rack for 2 hours. Serve or refrigerate until ready to serve.
Notes
- Pumpkin puree. Use a 15 ounce can of pumpkin puree, or 2 cups of fresh homemade pumpkin puree.
- All-purpose flour: Gluten-free purpose flour is a great choice to make this pie gluten-free.
- Heavy Cream. half and half and full-fat coconut milk are great substitutes.
- Light Brown Sugar. dark brown sugar works great.
- Preheat oven to 450 degrees Fahrenheit (232 degrees Celsius).
- Cut pumpkins in half and remove the pulp and seeds.
- Place pumpkins facedown in a baking dish, dutch oven or on a sheet pan with edges.
- Pour water into the bottom of the baking dish to cover about 1/4″ of the bottom of the pumpkins.
- Cover, either with a lid (as in a dutch oven) or with aluminum foil.
- Roast for 60 minutes, or until the shell of the pumpkin depresses downward when pushed.
- Let pumpkins cool, then peel the shell off of the pumpkin.
- Blend the pumpkin flesh in a blender or process in a food processor until smooth. Then use in your baking!
- 1 ½ tsp cinnamon
- ½ tsp nutmeg
- ½ tsp cloves
- ½ tsp allspice
Nutrition
Nutrition information is automatically calculated, so should only be used as an approximation.


Will it affect the pie if you don’t have a food processor? I don’t have one..
Not at all, it’s only for the crust and you can easily make the crust by hand!
Will it effect the pie if you don’t make the crust shapes?
Not at all!
Amazing recipe with excellent results! I made 4 pies for Thanksgiving, 2 to take and 2 for the house (of 5 pie eaters). Was asked by both locations to bring MORE next year! Made as directed, including the home mixed pumpkin pie spice and homemade whipped cream, but used store bought crusts. Absolutely delicious – thanks for a fantastic recipe!
Thank you so much Stev! 🙂
Yes, this is the best. Love that it has neither evaporated nor condensed milk. Incredible texture and authentic taste. Thank you!
Quen
I made this for a Thanksgiving dinner with friends, and it is delicious. Although the amount of cinnamon seemed unusual, I decided to take the word of all the previous reviewers. I’m so glad I did. The pie turned out so smooth and creamy! I made a maple whipped cream to go with it, and it was a huge success! Thanks for my new go-to pumpkin pie recipe.
I’m SO happy you love it Linda! We made it yesterday too!
Truly the best pumpkin pie recipe! I’ve made it three or four Thanksgivings in a row and it’s always the first dessert to disappear. Perfection!
Thank you so much Nia!!! It means so much to me to know that this recipe has been part of your holiday for so many years!
I was using your Your pie crust page for the pie crust and wanted to make 2 pies so I used 2X recipe which shows 5 cups flour for the pie crust but this page 2x recipe shows half the amounts for everything and so I used 5 cups of flour but only 1 cup of butter and now I have no idea what I’m supposed to be doing for 2 pie crusts. Why are the pages conflicting? The recipe on both says it’s for 1 so why is the pie crust page double?
The pie crust page is for a double pie crust (bottom and top). A pumpkin pie only uses the bottom crust, so that is why it is half. If you want to make two pumpkin pies, use the amounts listed for the pie crust in all butter pie crust post.
This pie was perfect! I followed the recipe exactly, and I was impressed with the crust and the flavor! I did have trouble rolling the crust. I’m thinking I didn’t pulse it quite enough in the food processor. I was able to get a good amount rolled, but I basically had to hand squeeze/combine the sides of the crust together in the pie plate. That worked just fine, but I didn’t get it thin enough. It was a little hard to cut in some spots due to its thickness, lol. Today, I’m making it again, and after learning from my mistakes, I know it’ll be perfect for Thanksgiving tomorrow! Yay. Thanks for a great, easy recipe!
Hello Jordan! If you need some help with your crust as you make it today, email me photos at joyfoodsunshine@gmail.com and I can help you troubleshoot!!!!
You are so sweet! I pulsed it longer, and it was much more manageable to work with! It’s the oven, and I’m sure it’s going to turn out perfectly! Thank you!
I’m so happy it worked better this time, Jordan!
Perfectly delicious pumpkin pie! This is now my go-to recipe, with one important change–blind bake the crust before adding filling! Pre-baking the crust makes all the difference and gives you a crispy flaky crust, even the bottom crust, instead of a soft or pasty crust, which always happens with liquid fillings.
I pre-bake at 375 with pie weights for 10 minutes, then remove the pie weights, prick with a fork and bake another 10 minutes, just until the crust gets a little color. Then, add filling and bake at 375 for 55-60 minutes.
(For perfect crusts, I also preheat my oven with a baking sheet inside for at least 15 minutes and I always use a metal pie tin. Heating the baking sheet and putting your pie directly on it ensures a. Risky, flaky crust.)
I’m so glad you like it Jeff!
I made this pumpkin pie last Thanksgiving. It was a hit! Thank you!
I was wondering if it can be made ahead and frozen.
Hey Gail! Yes, you can absolutely bake it in advance and freeze! Just make sure to wrap it tightly with plastic wrap and foil so it doesn’t dry out!