Baked Mac & Cheese Cups
Posted Oct 19, 2022, Updated Feb 15, 2024
This post may contain affiliate links. Please read our disclosure policy.
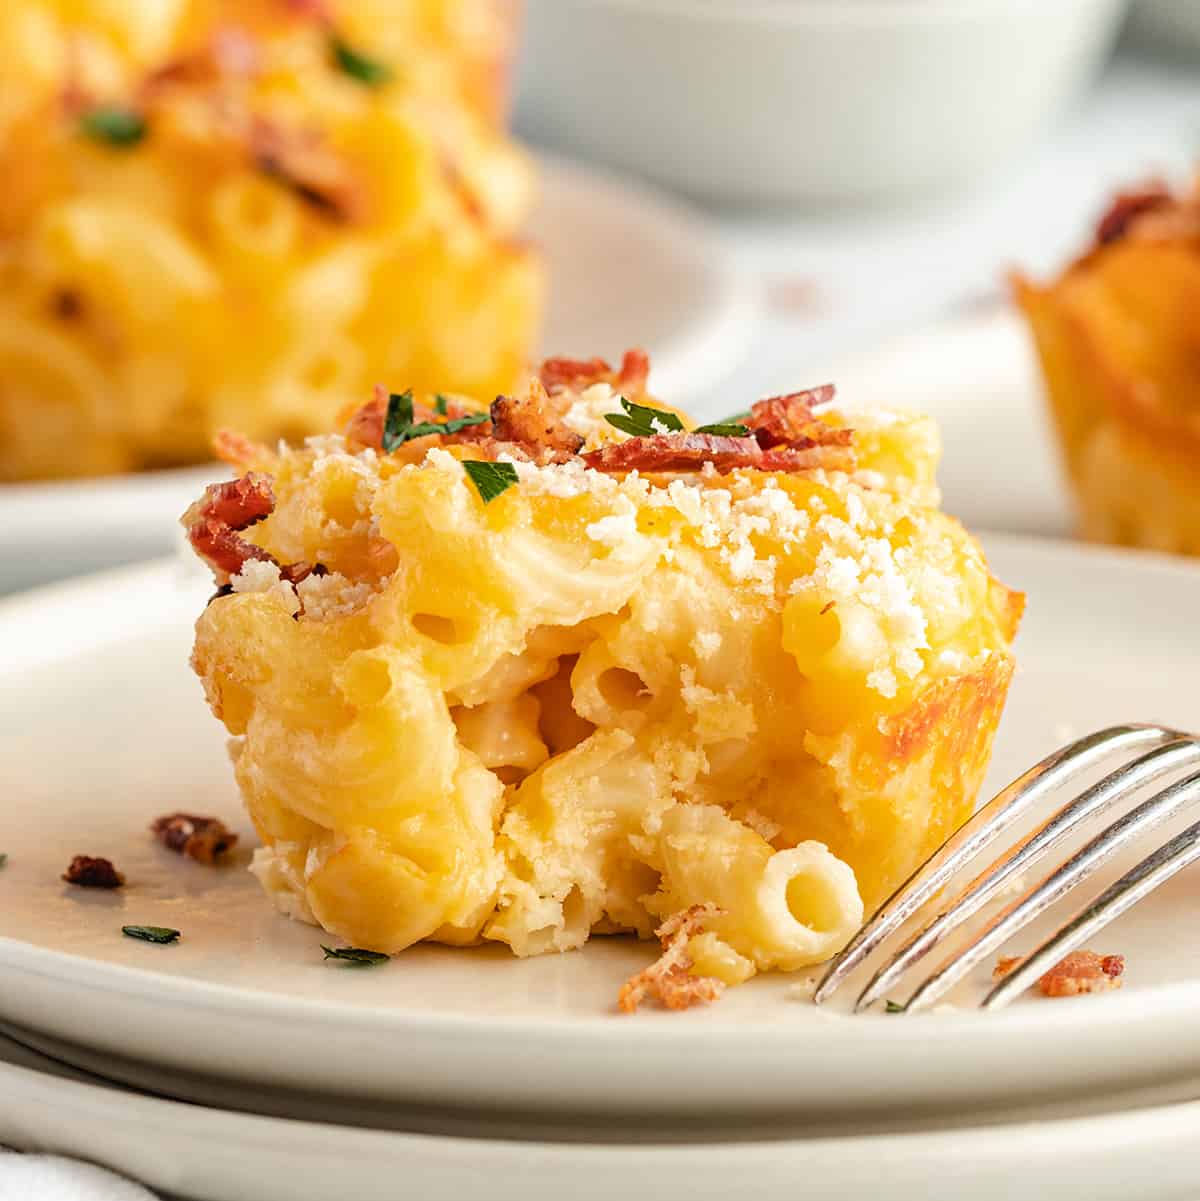
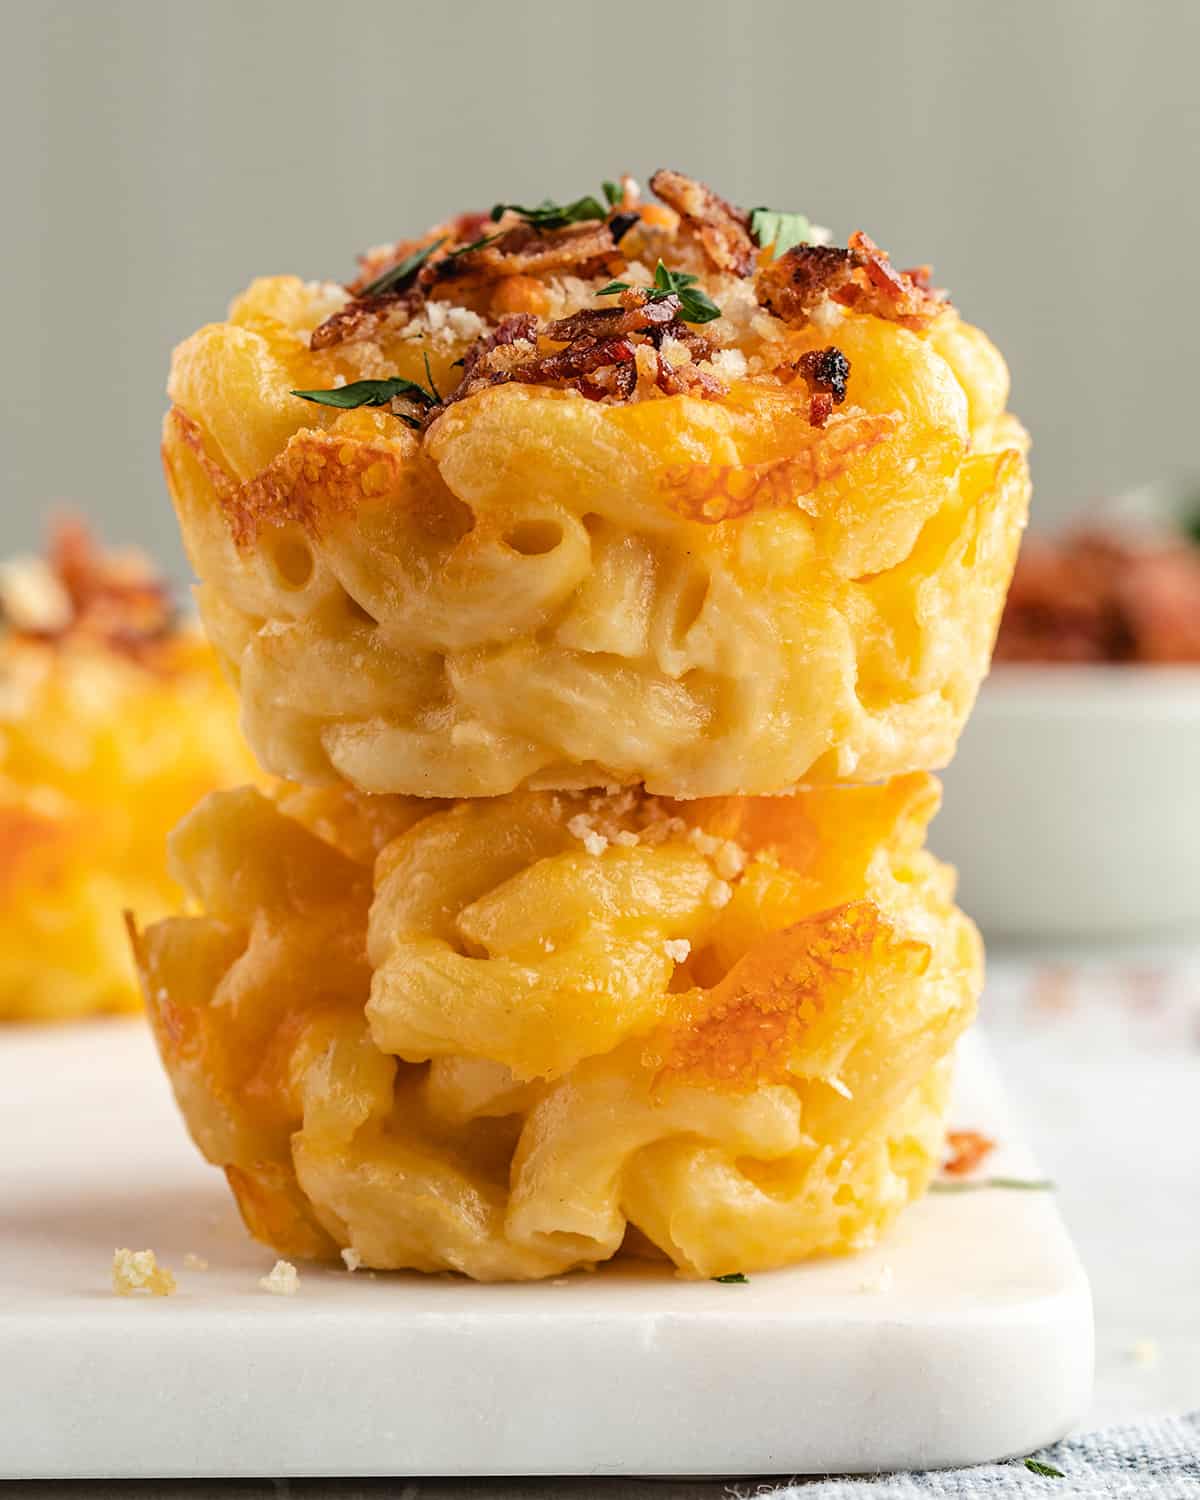
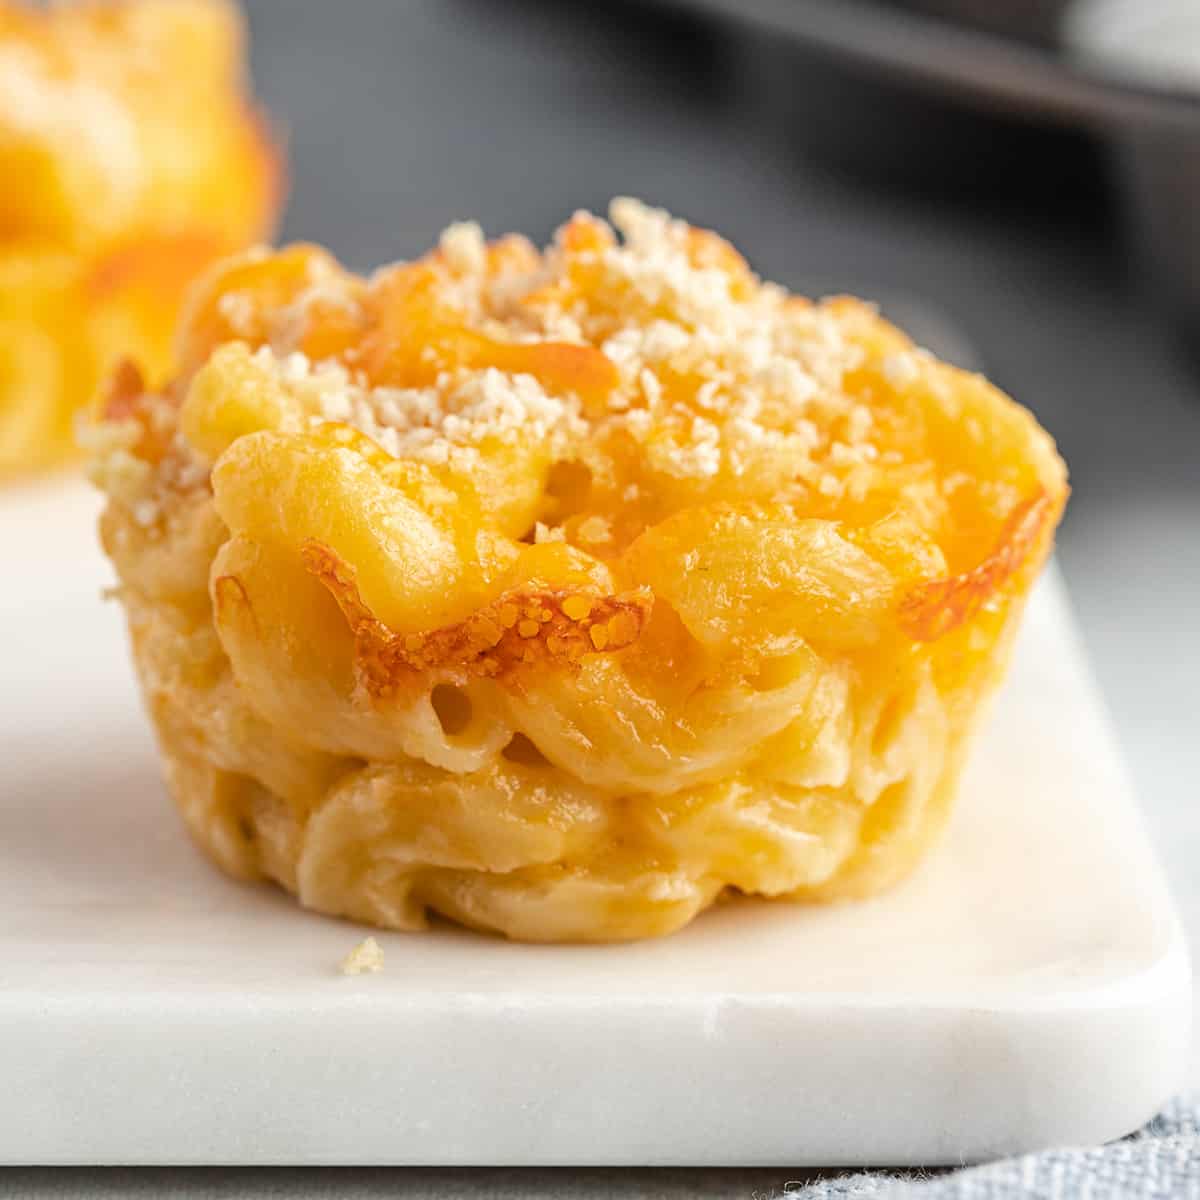
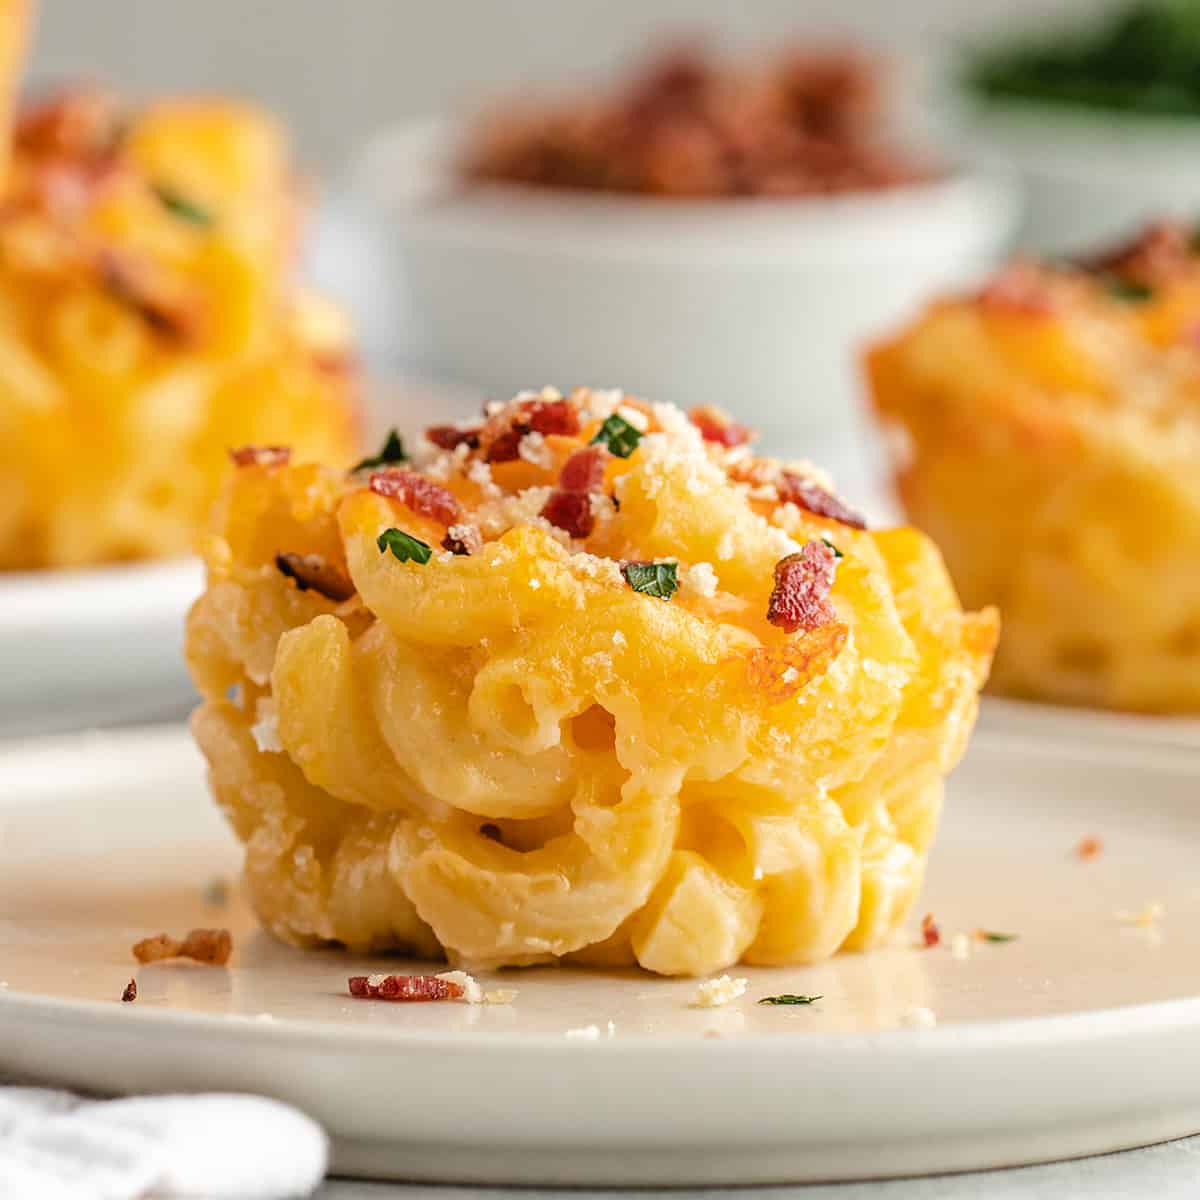
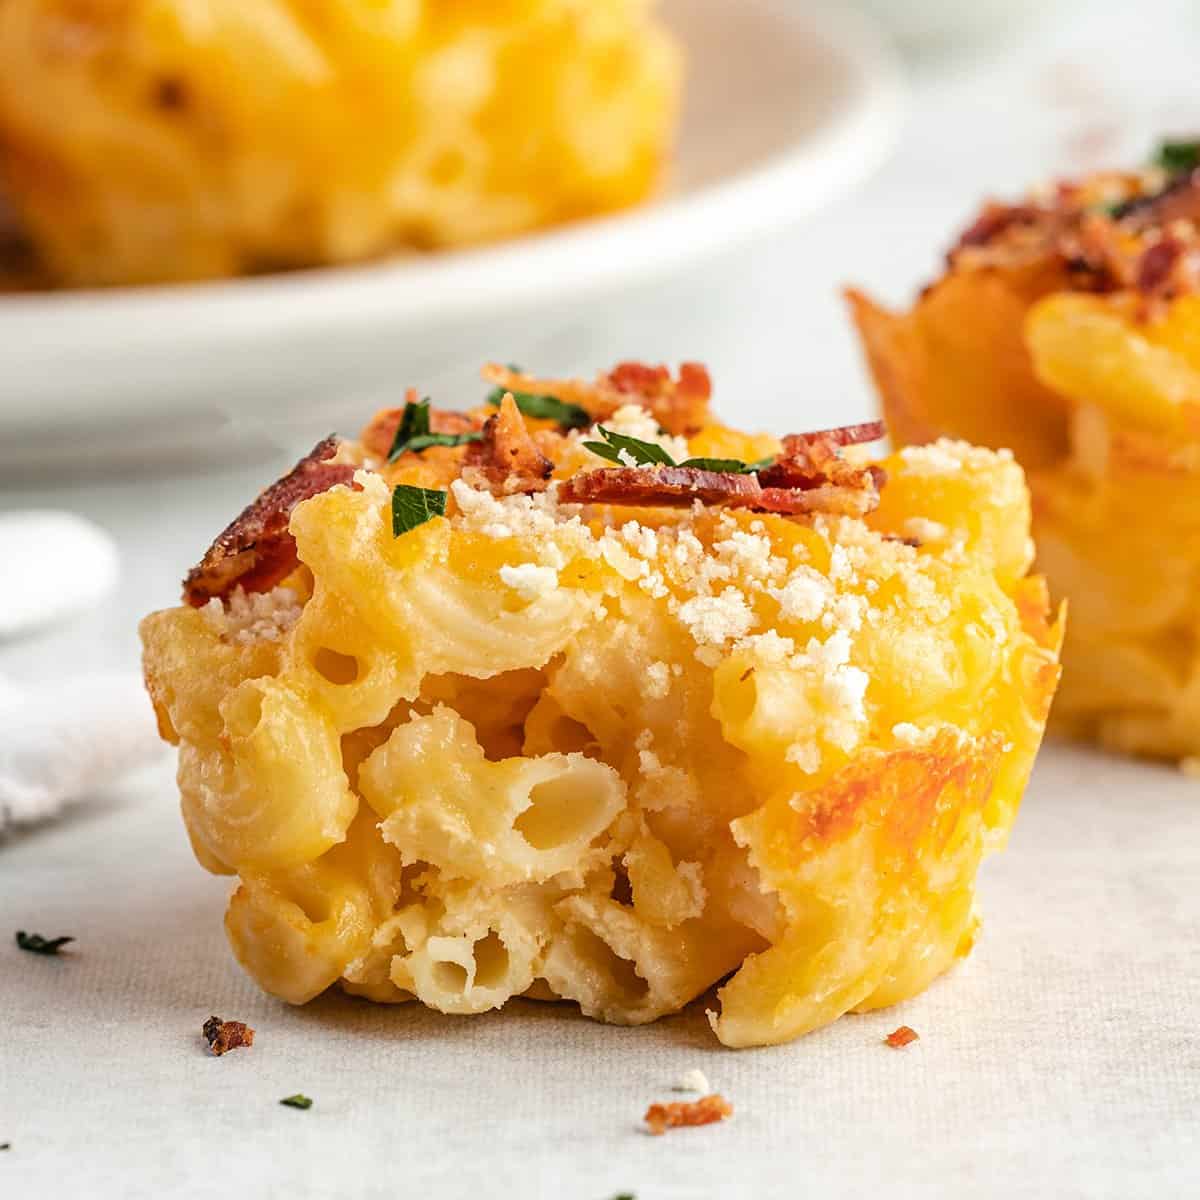
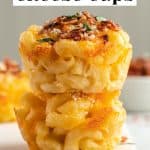
These baked mac and cheese cups are fun, individual servings of mac and cheese perfect for entertaining. Cheesy homemade mac and cheese is topped with a crispy topping and baked in a muffin tin.

With 6 kids, you can imagine we eat a lot of mac and cheese around here (a lot of mac & cheese). These baked mac and cheese cups are a fun dish to serve to a crowd.
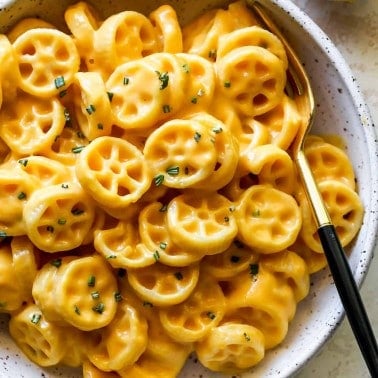
We have our favorite recipe for 15-minute homemade mac and cheese that we make all the time to replace boxed varieties.
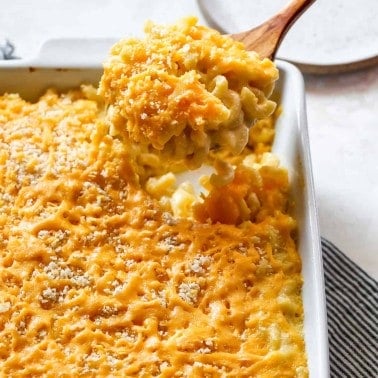
And of course, our classic baked mac and cheese, which I adapted to make these mac and cheese cups.
They are creamy, cheesy, moist and still hold up well after baking. The crunchy breadcrumb & cheese topping make them extra delicious.
Mac and Cheese Muffins: Ingredients & Substitutions
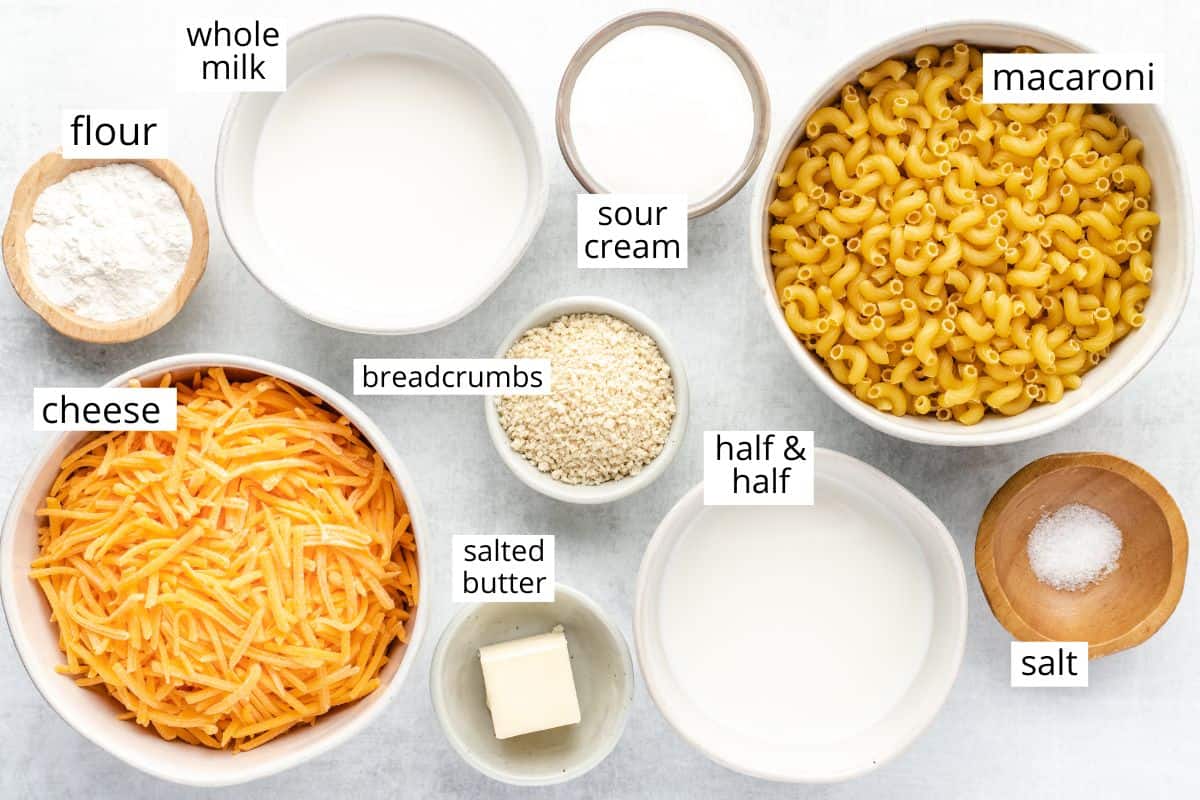
- Elbow macaroni. To make sure this recipe sticks together, I don’t recommend substituting a different pasta shape. You can use gluten-free macaroni to make this recipe gluten-free.
- Salted butter. Unsalted butter is a good substitute.
- All-purpose flour. Corn starch and all-purpose gluten-free flour both are good substitutes.
- Whole milk/half and half. this recipe calls for a total of 1 cup of liquid dairy. You can replace either whole milk or half and half with heavy cream or 2% milk.
- Sour cream. I recommend full-fat sour cream. Full-fat Greek yogurt is a great substitute.
- Cheddar cheese. The quality of the cheese that you use in this recipe really matters. I recommend a high-quality medium to sharp cheddar cheese for the best flavor. I often use half sharp cheddar, half shredded gouda and it’s so, so good.
- Panko breadcrumbs. Any breadcrumbs work in this recipe, I like the crunchy texture of panko. I explain how to make your own in the recipe card.
How to Make Mac and Cheese Cups
Let’s walk through this recipe step-by-step, and don’t forget to watch the video!
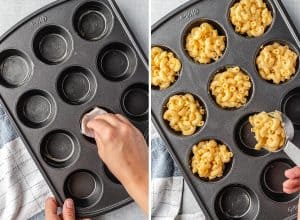
Begin by preheating the oven and generously buttering a standard 12-cup muffin tin.
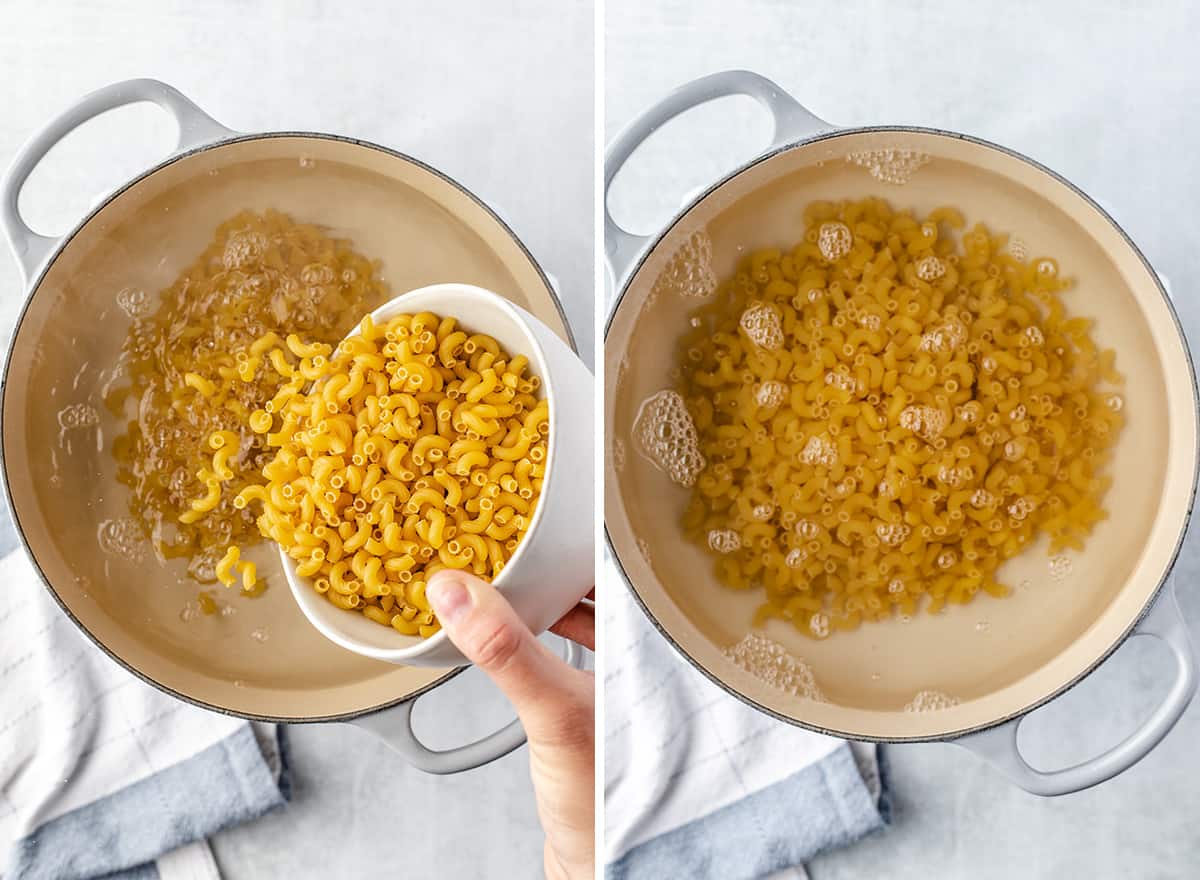
Cook the Macaroni
Then, cook the elbow macaroni according to package instructions in salted water. Once it’s finished cooking, drain and set aside but do not rinse.
Make the Topping
While the noodles are cooking, make the topping by combining breadcrumbs, sea salt and cheese in a small bowl, set aside.

Make the Cheese Sauce
Also while the noodles are cooking, start making the cheese sauce. Begin by melting the butter in a saucepan over medium heat.
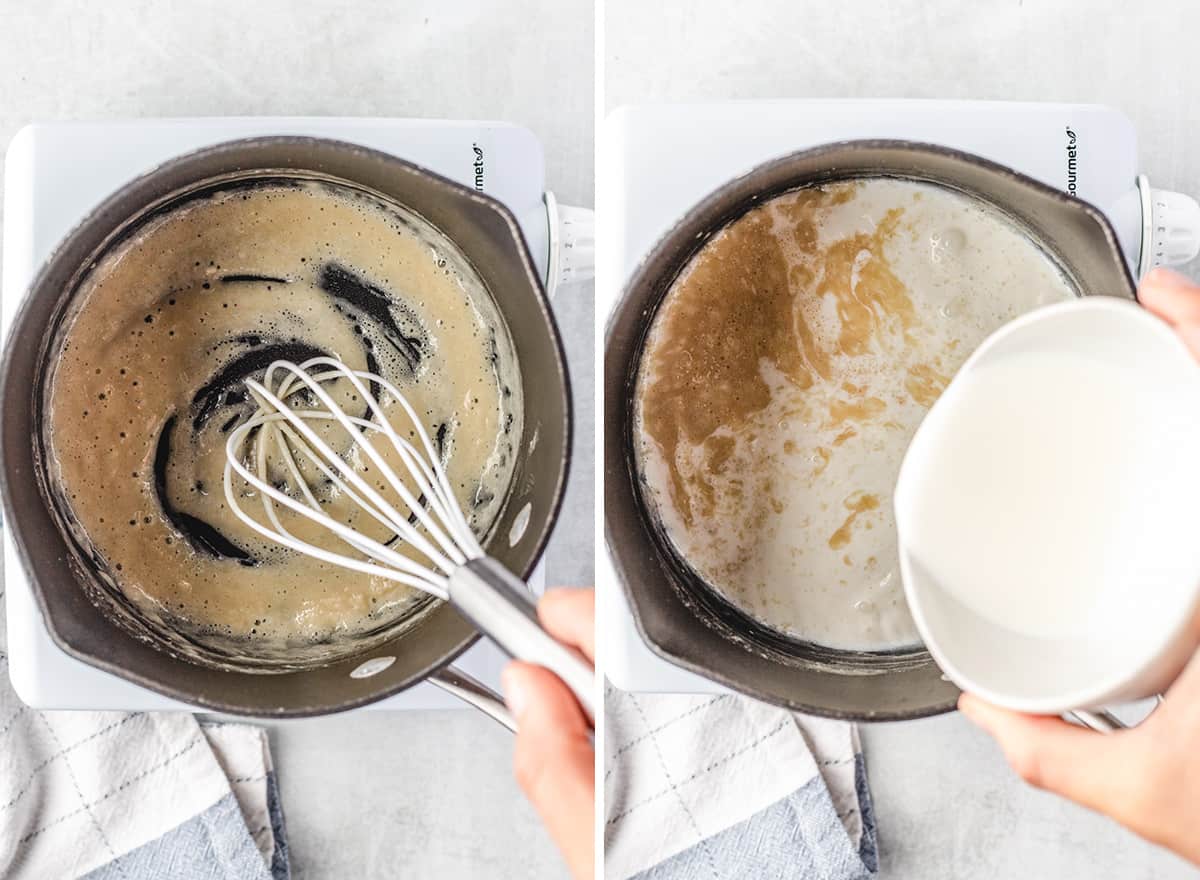
Then, whisk in the flour and sea salt and cook for 1 minute until mixture is slightly brown.

Next, add the milk and half and half and whisk until the mixture is smooth.
Then whisk in the sour cream.
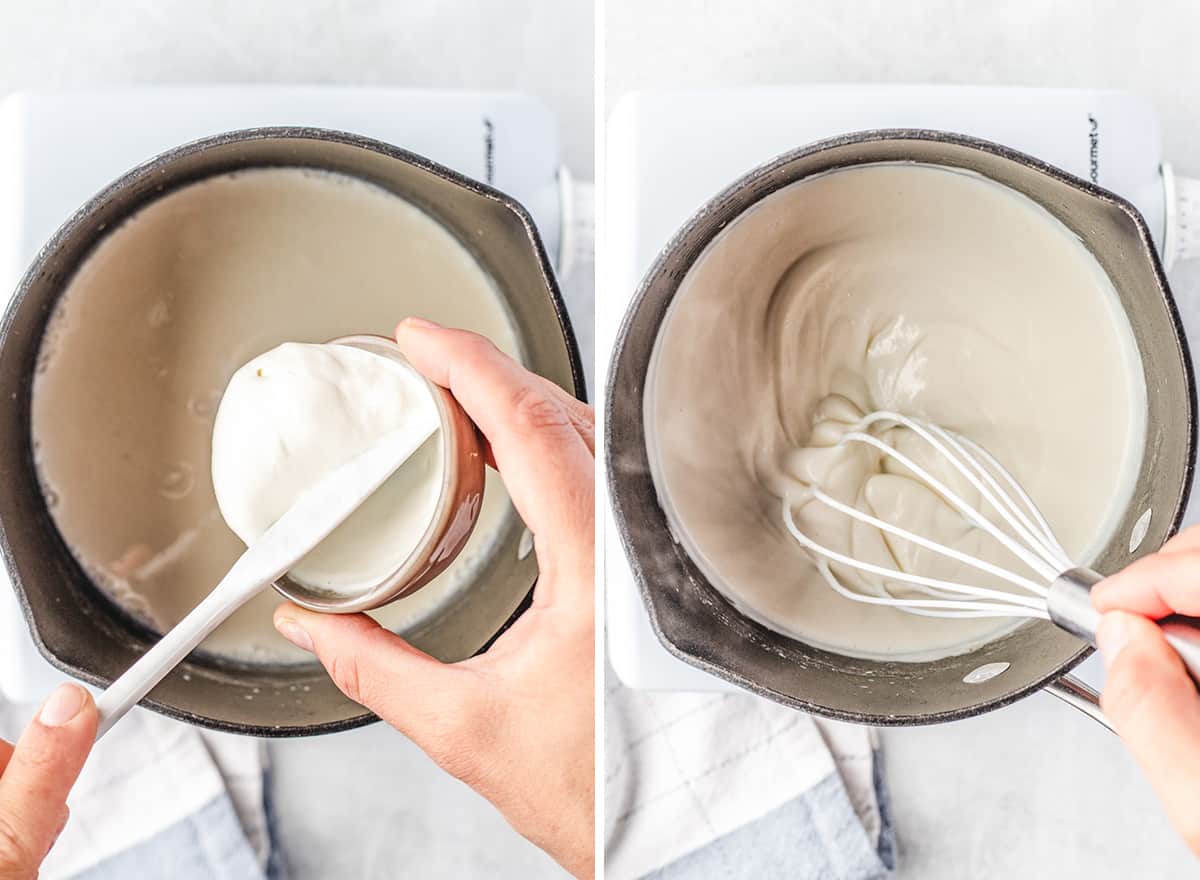
Cook the mixture on medium-high heat until it is thickened (about 3-5 minutes), whisking constantly. Do not let it boil.
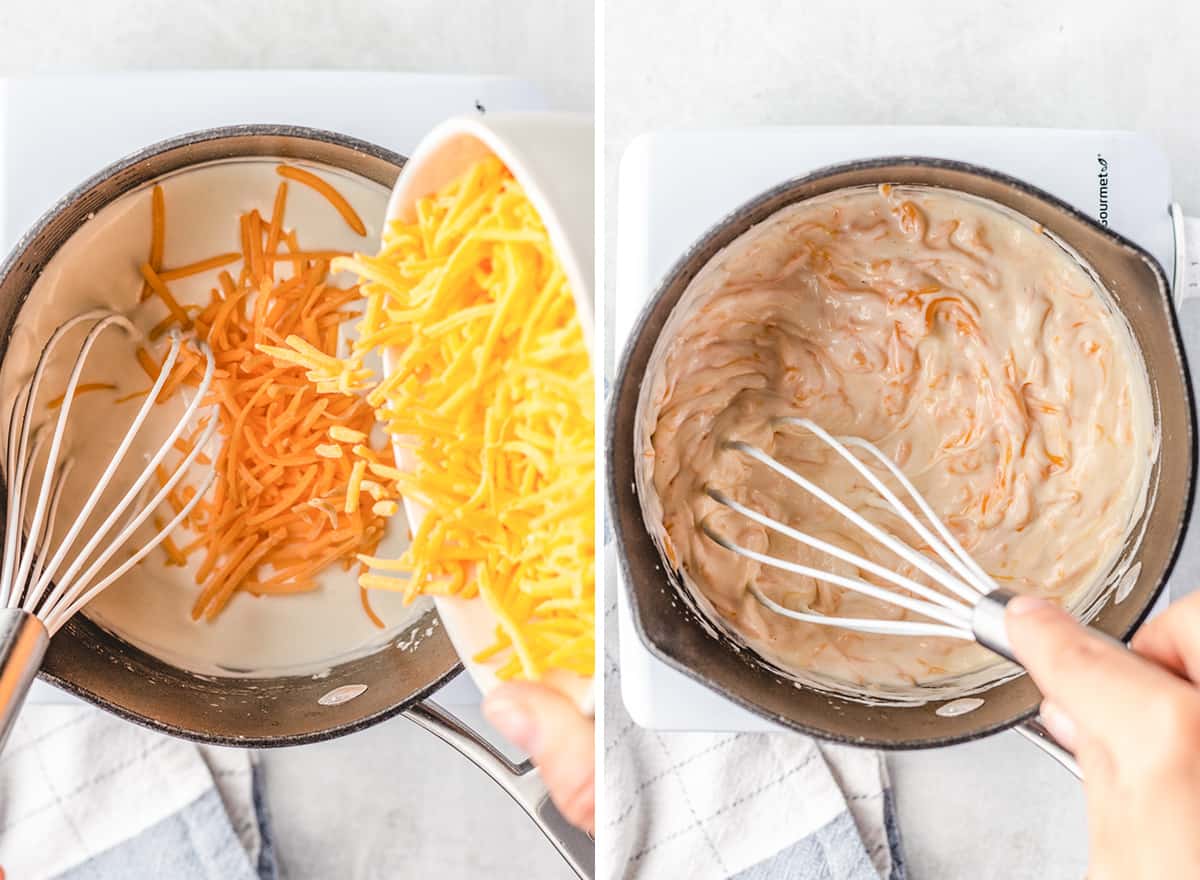
Once the mixture is thick (sticks to the back of the spatula), reduce the heat to low and add cheese. Whisk until cheese is melted and mixture is smooth.
Assemble
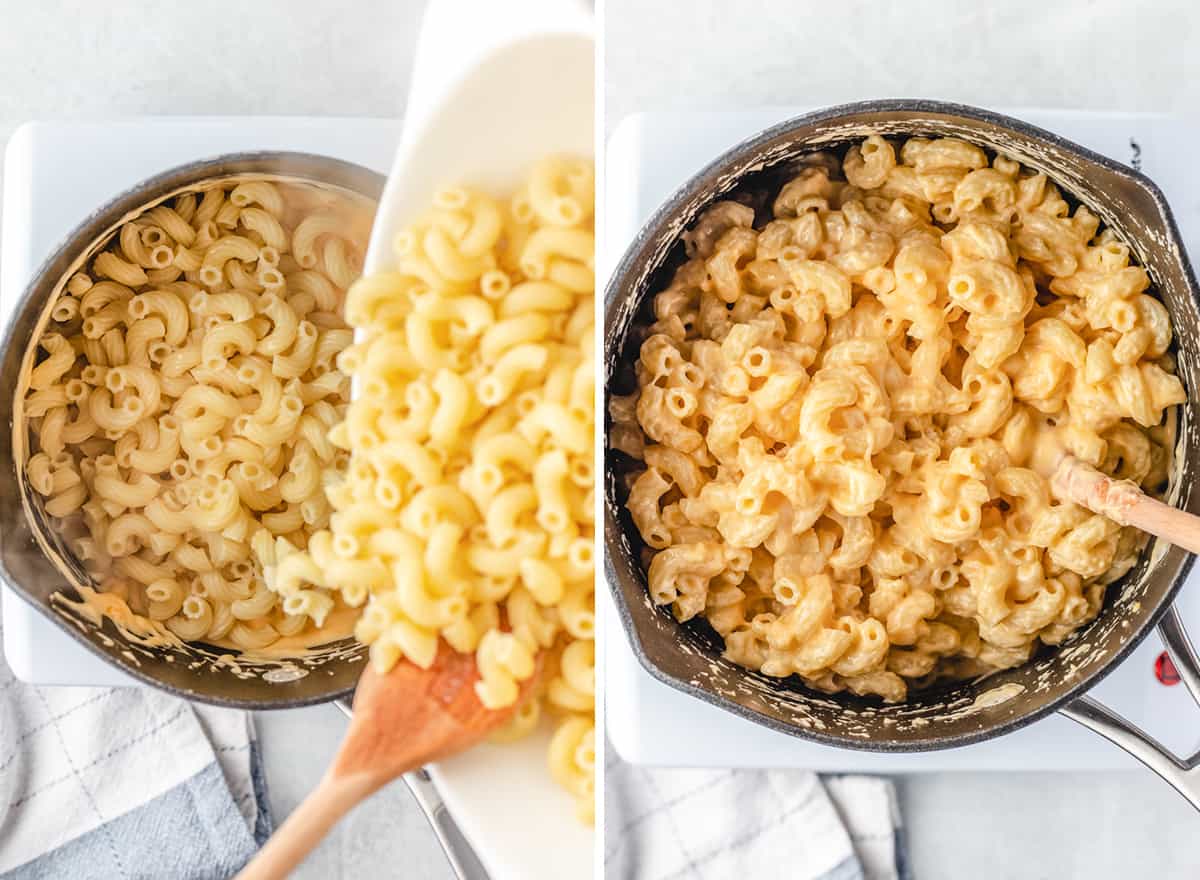
Next, add the cooked & drained pasta to the pot of cheese sauce and stir until the sauce is evenly distributed.
Generously grease a standard muffin tin with butter (preferred) or cooking spray. You can use a silicone muffin tin, however the sides of the mac and cheese cups won’t get as brown and crispy but they will still hold up well when removed.
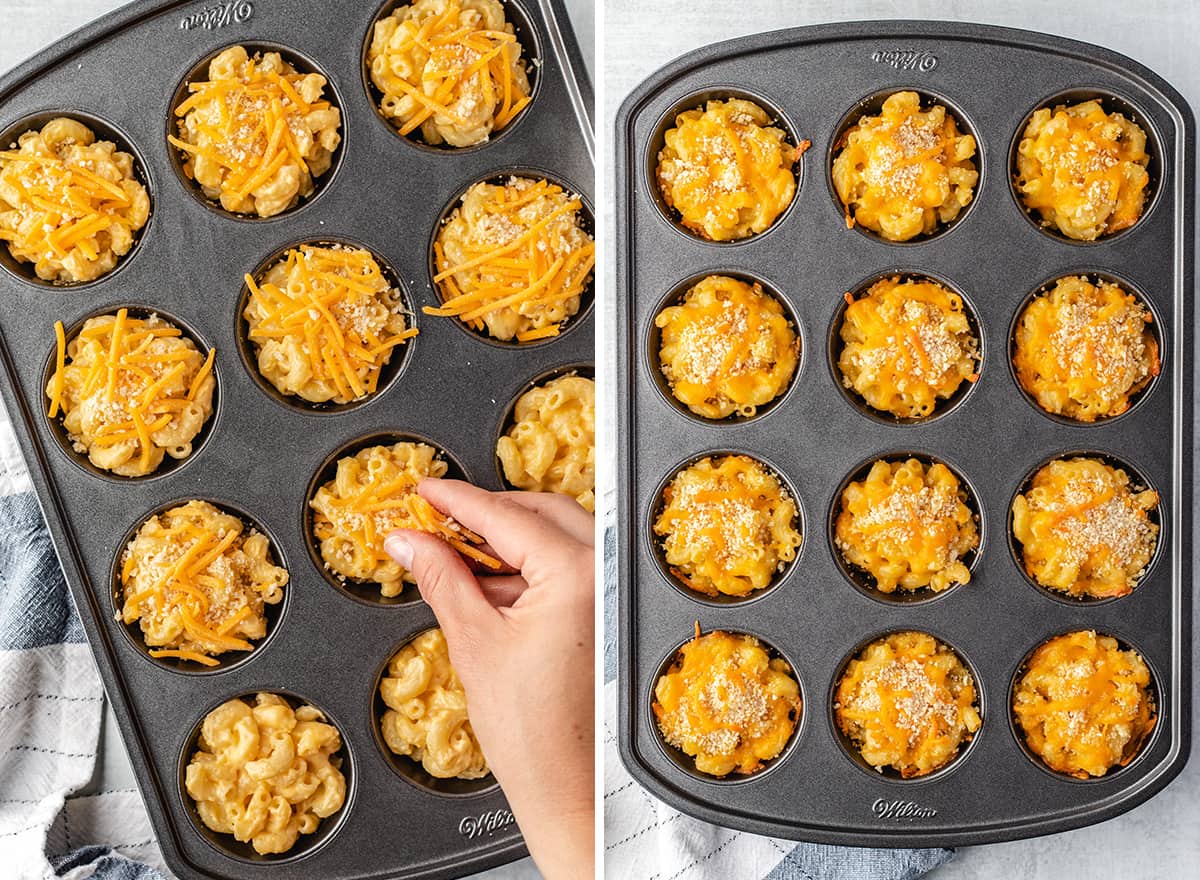
Then, use a ¼ cup measuring cup to portion out the mac and cheese into each well of the prepared muffin tin and sprinkle the topping over the mixture in the wells.
Bake for 20 minutes until the top is set and the filling is bubbling.
Then, remove the baked mac and cheese cups from the oven and let them cool in the muffin tin for 5 to 10 minutes. Use a spoon to release the sides and carefully lift them out of the muffin tin.
Serve
Serve warm with your favorite main dishes. Here are some suggestions:
- We always serve a veggie on the side (check out all of our vegetable recipes), usually roasted broccoli or a kale salad for a balanced meal.
- Enjoy it with these homemade chicken nuggets or the best meatloaf!
- It’s also a great Thanksgiving side dish – check out my list of our favorite Thanksgiving Recipes.
Store
Store leftovers in an airtight container in the refrigerator for up to 5 days. Reheat in the microwave or in the oven set to warm.
Freeze
To freeze these baked mac and cheese cups, let them cool completely. Then arrange them in an even layer on a baking sheet (preferably lined with a silicone baking mat) and put them in the freezer until hardened.
Then, transfer them to an airtight container and freeze for up to 2 months. Thaw in the refrigerator or by warming gently in the microwave or oven.
Mac & Cheese Cups Recipe FAQs
Yes, you can double the recipe and it will make 24 mac and cheese muffins.
We prefer sharp cheddar and gouda.
I worked hard to create this recipe to be moist and creamy while still holding together when baked as muffins.
If you make and love our recipes, it would mean so much to me if you would leave a comment and rating! And don’t forget to follow along with us on Instagram, Pinterest, Facebook, and Youtube – be sure to tag @joyfoodsunshine and use the hashtag #joyfoodsunshine so we can see your creations!

Mac and Cheese Cups (Mac & Cheese Muffins)
Ingredients
- 8 ounces elbow macaroni uncooked
Cheese Sauce:
- 2 Tablespoons salted butter
- 2 Tablespoons all-purpose flour
- ¼ teaspoon sea salt
- ½ cup whole milk
- ½ cup half and half
- ¼ cup sour cream or Greek yogurt
- 1 ½ cups shredded cheddar cheese
Topping:
- ½ cup shredded cheddar cheese
- ¼ cup panko breadcrumbs
- Pinch sea salt
Instructions
- Preheat oven to 375 degrees F. Generously butter or grease a standard muffin tin (or use a silicone muffin tin).
- Cook the elbow macaroni according to package instructions in salted water. Once it’s finished cooking, drain and set aside but do not rinse.
Make the Topping
- Combine breadcrumbs, sea salt and cheese in a small bowl, set aside.
Make the Cheese Sauce
- In a large saucepan over medium heat, melt the butter.
- Whisk in the flour and sea salt.
- Cook for 1 minute until mixture is slightly brown.
- Add milk and half and half and whisk until the mixture is smooth.
- Add sour cream (or Greek yogurt) and whisk until smooth.
- Cook on medium-high heat until the mixture is thickened (about 3-5 minutes), whisking constantly. Do not let it boil.
- Once mixture is thick (sticks to the back of the spatula), reduce heat to low and add cheese. Whisk until cheese is melted and mixture is smooth.
Assemble & Bake
- Add cooked pasta to the pot of cheese sauce and stir until the sauce is evenly distributed.
- Use ¼ cup measuring cup to portion out the mac and cheese into each well of the muffin tin.
- Sprinkle topping over the mixture.
- Bake for 18-20 minutes until the top is set and the filling is bubbling.
- Remove the baked mac and cheese cups from the oven and let them cool in the muffin tin for 5 to 10 minutes. Use a spoon to release the sides and carefully lift them out of the muffin tin.
Video
Notes
- Elbow macaroni. To make sure this recipe sticks together, I don’t recommend substituting a different pasta shape. You can use gluten-free macaroni to make this recipe gluten-free.
- Salted butter. Unsalted butter is a good substitute.
- All-purpose flour. Corn starch and all-purpose gluten-free flour both are good substitutes.
- Whole milk/half and half. this recipe calls for a total of 1 cup of liquid dairy. You can replace either whole milk or half and half with heavy cream or 2% milk.
- Sour cream. I recommend full-fat sour cream. Full-fat Greek yogurt is a great substitute.
- Cheddar cheese. The quality of the cheese that you use in this recipe really matters. I recommend a high-quality medium to sharp cheddar cheese for the best flavor. I often use half sharp cheddar, half shredded gouda and it’s so, so good.
- Panko breadcrumbs. Any breadcrumbs work in this recipe, I like the crunchy texture of panko. I explain how to make your own in the recipe card.
Nutrition
Nutrition information is automatically calculated, so should only be used as an approximation.

Can I make the mac n cheese a few hours ahead and then bake right before guests arrive?
Yes you can!